Think about the last time you took a photo that was almost perfect. Maybe it was a bit blurry, a little too dark, or an old family picture was showing its age. What if you had a photo expert on call, ready to fix those flaws in an instant? That’s pretty much what AI image enhancement brings to the table.
This isn't about slapping on a simple filter. AI goes much deeper, intelligently analyzing and rebuilding your images pixel by pixel to get them just right. This guide will walk you through practical, step-by-step examples of how to use these powerful tools.
What Is AI Image Enhancement?
At its heart, AI image enhancement is about teaching a computer what makes a great photo. The AI learns by studying millions of before-and-after pictures—one blurry or faded, the other crystal clear. Over time, it gets incredibly good at spotting the flaws and knowing exactly how to fix them.
This is a world away from traditional photo editing software, where you’re the one manually fiddling with sliders for things like brightness, contrast, and sharpness.
From Simple Filters to Intelligent Restoration
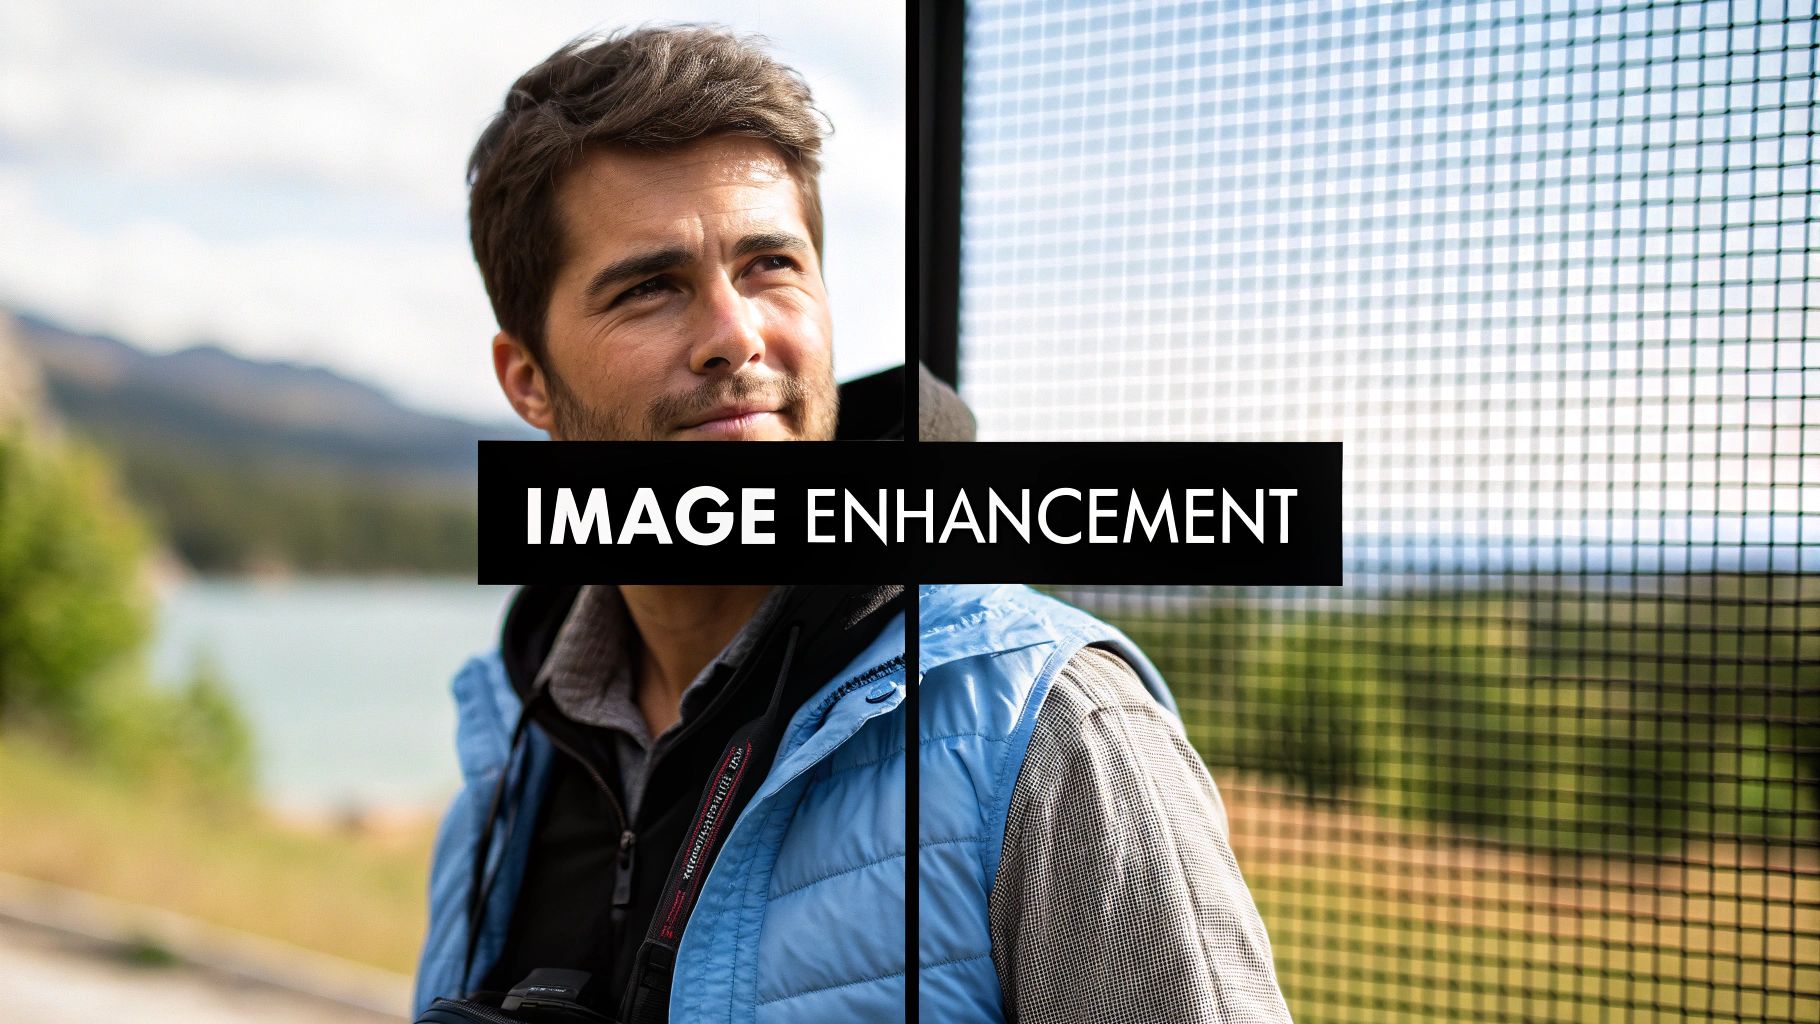
A basic filter applies the same effect uniformly across the entire image, whether it needs it or not. An AI enhancer is much smarter. It looks at the whole picture and understands the context. It can see a blurry face in a portrait and sharpen just the face, leaving the soft, out-of-focus background exactly as you intended. This ability to make smart, selective edits is what makes all the difference.
This powerful capability is why everyone from e-commerce brands to social media influencers is jumping on board. The global market for these tools hit around $2.11 billion and is expected to keep climbing at a rate of 15.9% annually. The demand for high-quality visuals is exploding, and AI is helping everyone keep up. If you're interested in the numbers, you can dive deeper into the AI image generator market.
The real game-changer here is automation at scale. An AI can color-correct, denoise, and sharpen an entire photoshoot in the time it would take a person to manually edit a single image.
Common Problems and AI Solutions
AI is brilliant at tackling those annoying photo problems that used to take hours of tedious work to fix. Because it understands the root cause of the issue, it can apply a precise, effective solution.
Here are a few common fixes where AI truly shines:
- Fixing Blur and Focus: It can reverse motion or lens blur by predicting how the image was distorted, resulting in a dramatically sharper picture.
- Removing Digital Noise: For those grainy photos taken in low light, AI can smooth out the noise while keeping the important details intact.
- Upscaling Resolution: Need to make a small image bigger? AI can increase its size (say, from 500px to 2000px) by creating new, realistic pixels instead of just stretching the old ones.
- Restoring Old Photos: AI algorithms are trained to spot and repair damage like scratches, tears, and faded colors in vintage photos, bringing them back to life.
What this all means is that professional-level photo restoration is no longer just for the pros. These tools make it easy for anyone to get fantastic results.
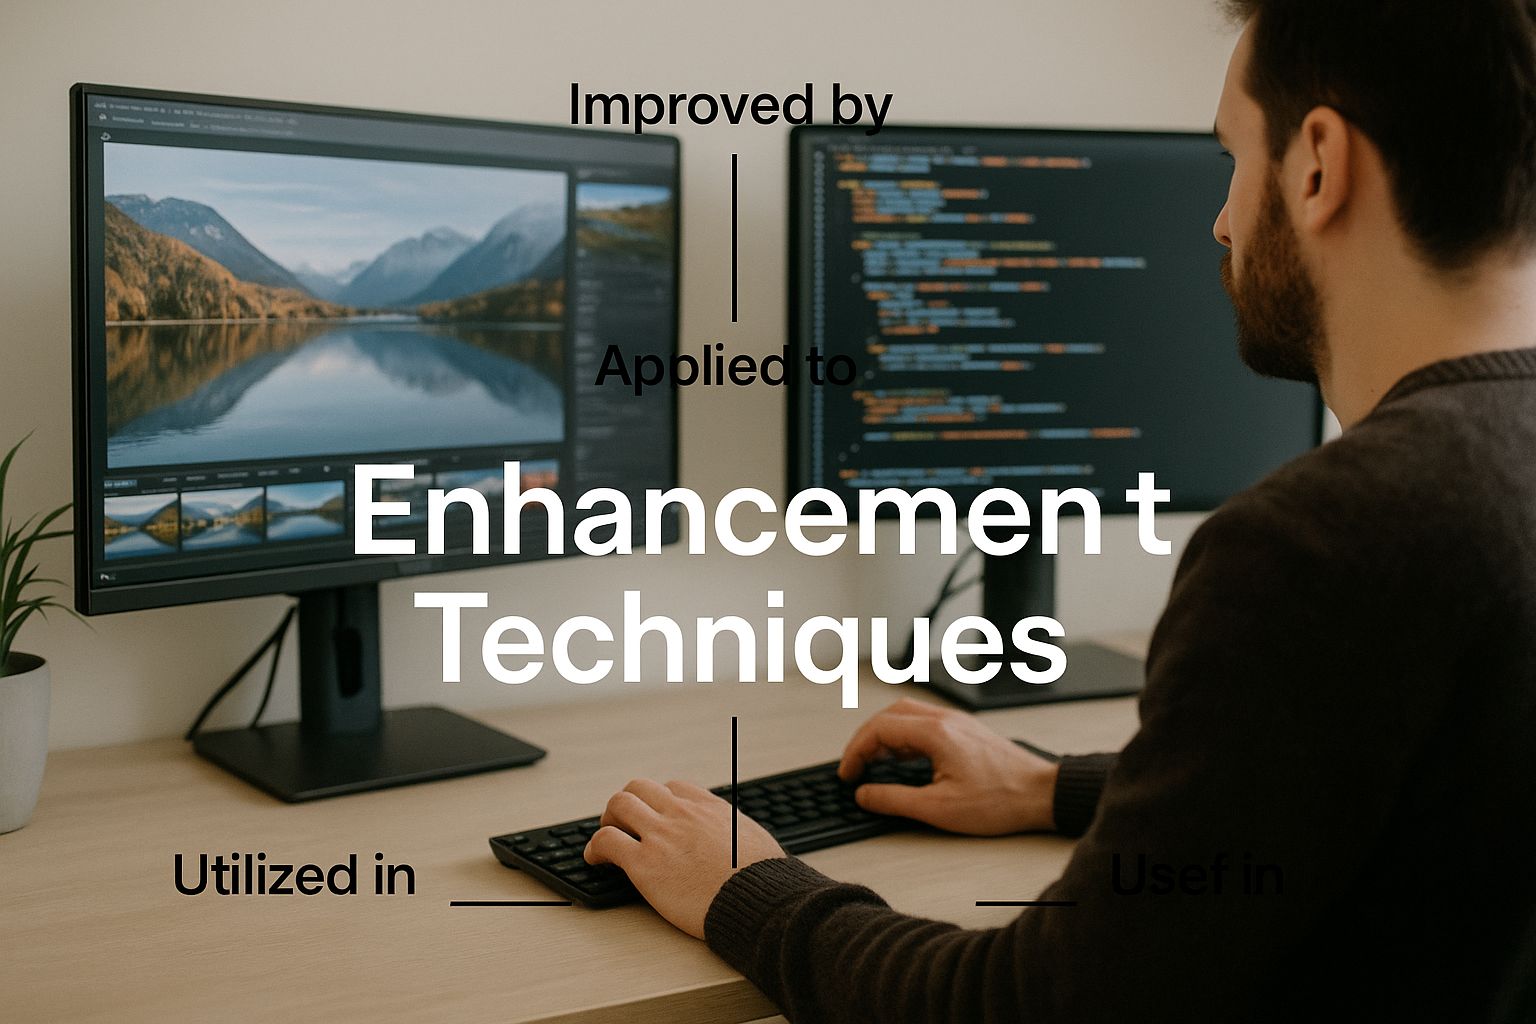
To make it even clearer, let's break down the core techniques and what they're best used for.
Core AI Enhancement Techniques at a Glance
This table gives you a quick snapshot of the main AI technologies and the specific problems they're designed to solve. Think of it as a cheat sheet for choosing the right tool for the job.
| Enhancement Type | What It Does | Best For |
|---|---|---|
| Super-Resolution | Intelligently increases an image's pixel count to make it larger and sharper. | Printing small images, enhancing low-res social media photos. |
| Denoising | Removes grainy textures caused by high ISO or low-light conditions. | Night photography, concert photos, fixing old digital images. |
| Deblurring | Corrects blur caused by camera shake or a moving subject. | Salvaging slightly out-of-focus shots, sharpening action photos. |
| Colorization | Adds realistic color to black-and-white photos. | Revitalizing historical images, adding life to old family photos. |
| Scratch Removal | Identifies and digitally repairs physical damage like scratches, tears, and dust spots. | Restoring scanned vintage prints and film negatives. |
As you can see, there’s a specific AI solution for nearly every common photo problem. By understanding these basics, you can start to see how this technology can fit into your own creative or professional workflow.
How AI Actually Learns to Enhance Photos
Ever wonder what’s happening under the hood when you click that "enhance" button? It feels like magic, but it’s actually a brilliant process of teaching a machine to see and "think" like a seasoned digital artist. This all boils down to two core technologies: Generative Adversarial Networks (GANs) and Convolutional Neural Networks (CNNs).
Let's start with GANs. The easiest way to think of a GAN is as a team of two: an aspiring artist and a brutally honest art critic. They have one single goal—to create a new image so convincing it fools the critic.
- The Generator (The Artist): This is the creative engine. It takes your low-quality photo and starts painting—filling in missing pixels, guessing at colors, and trying to reconstruct lost details. It's essentially making its best artistic guess.
- The Discriminator (The Critic): This part of the AI has studied thousands, even millions, of high-resolution photos. Its entire job is to look at the Generator's work and call it out. It says, "Nope, that looks fake," or, "Okay, that one is starting to look real."
This intense back-and-forth happens at lightning speed. The artist continuously refines its technique to fool the critic, while the critic gets better and better at spotting imperfections. After thousands of rounds, the artist becomes so skilled that its work is virtually indistinguishable from a real high-quality photo. The result? A beautifully enhanced image for you.
But How Does It Know What to Enhance?
So, how does the AI know to sharpen an eye but leave the background soft? How does it recognize a face or a tree in the first place? That’s where Convolutional Neural Networks (CNNs) come in. Think of a CNN as the AI's visual cortex—it’s designed specifically to identify patterns, shapes, and objects within an image.
A CNN breaks down your photo into layers, analyzing it piece by piece. It starts small, first identifying basic elements like edges, textures, and colors. Then, it starts piecing them together to recognize more complex shapes—an eye, a nose, a leaf. Finally, it builds a complete understanding of the subject, like a person's entire face or a dense forest.
This deep, contextual understanding is what allows an AI enhancer to make incredibly smart decisions. It’s why it can add sharpness to a specific detail without making the whole image look fake and over-processed.
The real breakthrough isn't just about creating new pixels, but creating the right pixels. By understanding the context of the image, the AI adds details that feel natural and actually belong there. That’s what separates modern AI enhancement from a simple sharpening filter.
This process allows different AI models to tackle specific problems, like low resolution or poor color, and bring them together for a much-improved final image.
It All Comes Down to Training Data
Of course, neither GANs nor CNNs could do any of this without a massive library of information to learn from. These AI models are trained on enormous datasets, each containing pairs of images: a low-quality version and its corresponding high-quality original.
By comparing these pairs millions of times, the AI starts to learn the statistical relationships between "bad" and "good." It figures out what digital noise looks like and how to remove it. It sees the difference between a blurry edge and a sharp one and learns how to reconstruct it.
It's a lot like how a human artist learns—by studying the works of masters and practicing relentlessly until they can create masterpieces of their own. The only difference is that AI does this on an unimaginable scale, giving it a near-encyclopedic knowledge of what makes a photo look great.
This very technology is what’s fueling growth in related fields. The AI image generator market, for example, is surging because of these same deep learning advancements, especially GANs that can produce stunningly realistic images from scratch.
Upscaling Images Without Losing Quality
We've all been there. You have a photo you absolutely love, but it’s just not sharp enough. Maybe it’s a treasured memory from an old phone, a company logo that looks pixelated on a new website, or a product shot that's just too small for a marketing campaign. For years, trying to enlarge a low-resolution image just meant accepting a blurry, unusable mess.
But that’s not the world we live in anymore. AI image enhancement has completely changed the game. Instead of just stretching existing pixels, AI-powered upscaling—or super-resolution—intelligently adds new, believable detail.
This is a hands-on look at how you can turn those fuzzy, low-res photos into crisp, print-ready images. We'll walk through a typical AI upscaling workflow and show you how to get those dramatic before-and-after results yourself.
Tutorial: The 3-Step AI Upscaling Workflow
While every tool has its own look and feel, the actual process of using an online image upscaler is almost always refreshingly simple. Here’s a breakdown of the exact steps.
Step 1: Upload Your Image Your journey starts by choosing the image you want to rescue. Most AI platforms have a dead-simple drag-and-drop area or a clear "Upload" button right on the homepage.
- Action: Find the file on your computer or phone. This will usually be a JPEG, PNG, or another common image format.
- Best Practice: Always start with the best version of the image you have, even if it's tiny. The more original data the AI has to work with, the more convincing the final result will be.
Step 2: Choose Your Enhancement Level Once your image is uploaded, the tool will ask you how much bigger you want to make it. This is usually presented as an upscaling factor, like 2x or 4x.
- 2x Upscale: This doubles the image's dimensions. A 500x500 pixel photo becomes 1000x1000 pixels. It’s perfect for sharpening up web graphics or social media posts.
- 4x Upscale: This quadruples the dimensions, turning that 500x500 image into a 2000x2000 powerhouse. This is often the sweet spot for high-quality prints or detailed digital work.
- 8x Upscale or Higher: This is for when you need to go big. Think large-format prints, posters, or canvas art from a very small source file.
Pro Tip: It’s usually best to start with a lower upscale factor like 2x or 4x. Pushing an image too far (say, 16x) can sometimes introduce weird little artifacts if the original is extremely low quality. You can always take the upscaled result and run it through the process again if you need it even bigger.
Step 3: Process and Download After you’ve made your choice, just hit the "Process," "Enhance," or "Upscale" button. The AI then works its magic, which can take anywhere from a few seconds to a minute, depending on the image size and the platform's servers.
When it's done, you’ll almost always be shown a before-and-after comparison. You can slide back and forth to see the incredible improvement in clarity. If you love what you see, just click "Download" to save your shiny new high-resolution image.
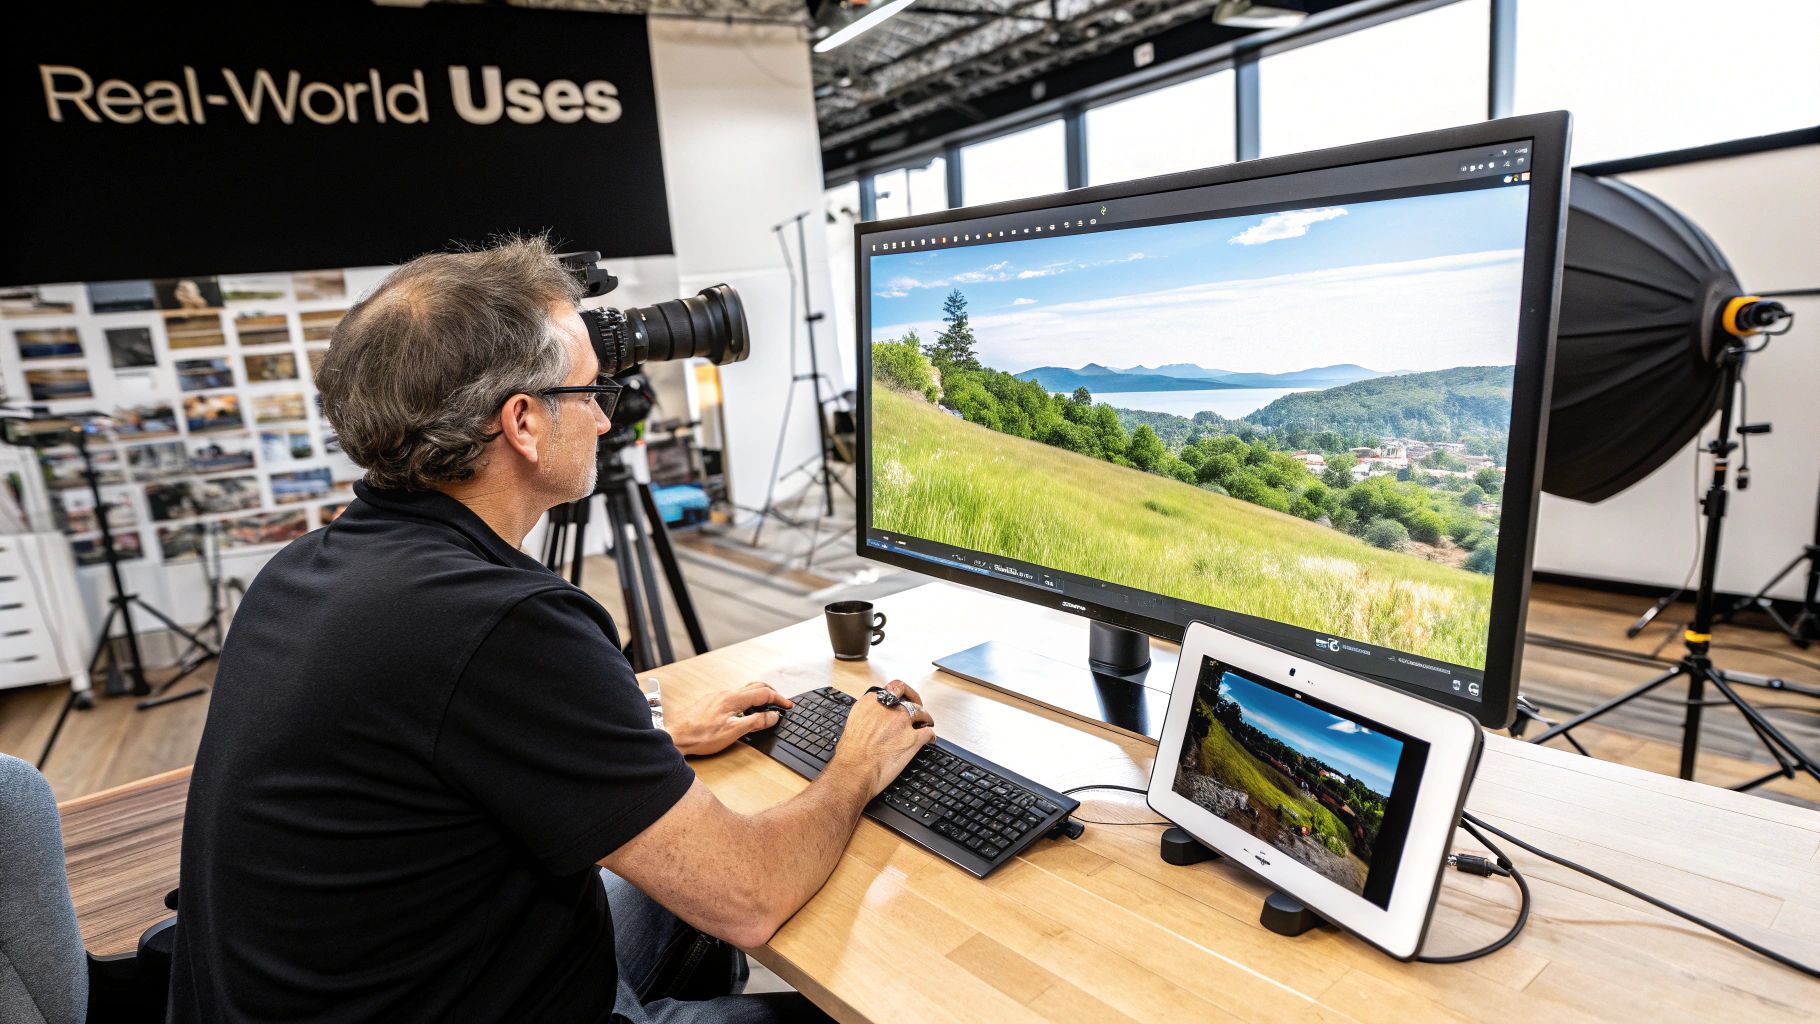
Practical Examples for AI Upscaling
This technology isn't just a cool trick; it solves real-world headaches for businesses, creators, and everyday people.
Example 1: Reviving Old Family Photos for Printing You’ve got a fantastic digital photo from a 2-megapixel camera circa 2005. Try to print it any larger than a 4x6, and it instantly turns into a pixelated disaster.
- Solution: Pop that photo into an AI upscaler and choose the 4x or 8x option. The AI will invent the detail needed to make it sharp enough for a large canvas, preserving the memory without the blur.
Example 2: Sharpening a Company Logo for a Website You're updating your website, but the only version of your company logo you can find is a tiny, 150x150 pixel file. When you put it in the new, spacious header, it looks fuzzy and unprofessional.
- Solution: A quick 2x or 4x AI upscale will generate a crisp, clean version of the logo. This keeps your branding looking sharp on everything from a phone screen to a giant desktop monitor.
Example 3: Enhancing E-commerce Product Images A supplier sent you a folder of low-resolution product shots. They're too small to show off the important details on your product pages, which is a recipe for lost sales.
- Solution: Run the photos through an AI enhancer at 2x resolution. This will bring out textures, clarify text on labels, and make the products look far more appealing, which helps build customer trust and boost conversion rates.
For a deeper dive into managing visuals for better web performance, it's worth reading up on optimizing website images. AI enhancement is a huge piece of that puzzle, helping you get images that are both stunningly clear and web-friendly.
Bringing Old Photos Back to Life

Old photographs are priceless windows into our family's past. But time is rarely kind, leaving behind scratches, tears, and faded colors. For decades, fixing these heirlooms meant finding a skilled artist for hours of painstaking manual work.
Now, AI image enhancement gives us a powerful and surprisingly easy alternative. It can intelligently repair physical damage and even add vibrant, true-to-life color to black-and-white photos. Let's walk through how you can breathe new life into your own old photos, step by step.
Step 1: Scan and Digitize Your Photograph
The whole restoration journey starts with a good digital copy. The quality of your scan directly affects how well the AI can work its magic, so it’s worth taking a moment to get this right.
- Use a Flatbed Scanner: This is your best bet. It captures a high-resolution, evenly lit image, avoiding the weird distortions from snapping a picture with your phone.
- Choose a High Resolution: Scan your photo at a minimum of 600 DPI (dots per inch). If it's a tiny photo or you plan to print a larger version, go for 1200 DPI. This gives the AI more data to analyze.
- Save as a Lossless File: Save the scan as a TIFF or a high-quality PNG. These file types keep all the original image data, unlike JPEGs, which can create compression artifacts that might throw the AI off.
Once you have that high-quality digital file, you're ready for the fun part.
Step 2: Repairing Scratches and Tears with AI
Physical damage is one of the most common problems with old photos. Creases, scratches, and tiny tears can hide important faces and details. This is where AI-powered “inpainting” or scratch removal tools shine.
- Action: Upload your scanned image to an AI photo restoration tool.
- Select the "Scratch Removal" or "Repair" Feature: Most tools automatically detect and highlight damage. If not, a simple checkbox will activate the feature.
- Process and Review: Let the AI analyze and fill in the damaged areas. It examines the surrounding pixels and intelligently paints over the flaws with matching textures and colors.
AI restoration is a game-changer for fixing those fine networks of cracks and scratches that would take forever to fix by hand. It's especially good at repairing textures like fabric or blurry backgrounds where it can easily predict the missing patterns.
Step 3: Restoring Faded Colors and Contrast
Over the years, the dyes in old color photos break down, leaving a yellow or reddish tint. Black-and-white photos can lose their punch, too. AI can fix this by automatically adjusting the color balance and tonal range.
- Action: With your image still in the tool, look for a "Color Correction" or "Clarity" enhancement.
- Apply the Enhancement: The AI analyzes the image's histogram—a map of its light and dark tones—and intelligently stretches it to restore deep blacks and bright whites. For faded color photos, it neutralizes the color cast, making the colors pop again.
Step 4: Colorizing Black and White Photos
This is where things get truly amazing. AI colorization can transform a monochrome image into a full-color photo with stunning realism.
- Action: Upload your black-and-white scan to a tool with a "Colorize" feature.
- Click to Colorize: In most cases, it's a one-click process. The AI identifies objects (sky, grass, faces, clothing) and applies historically and contextually appropriate colors.
- Fine-Tune if Needed: Some advanced tools may allow you to adjust the color intensity or "hint" at specific colors for better accuracy.
The results are often breathtaking, adding a whole new emotional layer to a classic family photo. You can also completely change a photo's style. Learn more in our guide on how AI image style transfer works.
After you’ve brought your treasured photos back to life, it's a great idea to safeguard your newly enhanced memories with cloud backup.
When to Use AI vs. Traditional Photo Editing
When it comes to editing your photos, you're faced with a choice: do you go for the automatic AI enhancer or the manual control of traditional software? One gets you there with incredible ease and speed, while the other gives you the thrill of total control.
There’s no single "best" choice. The secret is knowing which tool to grab for the job at hand.
Think of AI image enhancement as your tireless, 24/7 photo assistant. Its biggest strength is its ability to chew through tedious, repetitive tasks at a scale no human could ever match. Got 500 photos from a dimly lit wedding that need noise reduction? An AI can clean them all up before you've finished your first cup of coffee. Need to upscale an entire product catalog for a high-res website launch? AI handles it with perfect consistency, never getting tired or sloppy.
The Classic Trade-Off: Speed vs. Control
But all that speed comes at a price: creative control. An AI is fantastic at following orders—upscaling, denoising, or color correcting based on the millions of images it was trained on. What it can't do is understand your artistic intent. It can't grasp the subtle, emotional mood you want to evoke or make those tiny, subjective tweaks that tell a story.
This is where traditional editing software like Adobe Photoshop still reigns supreme. These programs give you absolute, pixel-level control over every part of your image. You can meticulously dodge and burn to shape the light, combine multiple photos into a single surreal masterpiece, or apply complex, layered effects to forge a style that is uniquely yours.
The core difference is simple: AI follows instructions based on data, while a human editor makes decisions based on intent. AI is a powerful tool for optimization, whereas manual editing is a tool for creation.
If you're curious about how AI can move beyond simple edits and into pure creation, our deep dive into Stable Diffusion vs Midjourney explores how these models generate entirely new images from scratch.
AI Enhancement vs Traditional Editing Software
To really see where each one shines, let's put them side-by-side. This table breaks down the key differences between automated AI tools and powerhouse manual editors.
| Feature | AI Image Enhancement | Traditional Photo Editing (e.g., Photoshop) |
|---|---|---|
| Speed | Extremely fast. Processes images in seconds, ideal for batch operations on thousands of files. | Slow and methodical. Editing a single image can take minutes to hours, depending on complexity. |
| Skill Required | Minimal. Most tools are designed for beginners with one-click interfaces. | High. Requires a deep understanding of complex tools, layers, and editing principles. |
| Consistency | Very high. Applies the exact same enhancement logic to every image, ensuring a uniform look. | Variable. Results depend entirely on the skill and focus of the human editor. |
| Creative Control | Limited. You choose the "what" (e.g., upscale 4x), but the AI decides the "how." | Total. Every adjustment, from a single pixel's color to a complex mask, is user-directed. |
| Best For | Bulk processing, quick fixes, denoising, upscaling, automated color correction, and photo restoration. | Detailed artistic retouching, creative compositing, unique stylistic edits, and fine-tuning final images. |
As you can see, they are built for fundamentally different jobs. One is a powerhouse for productivity, the other a canvas for creativity.
Tutorial: The Modern Hybrid Workflow
The smartest photographers and editors aren't picking a side; they're building a hybrid workflow that leverages the strengths of both.
Here’s what that looks like in practice:
- Start with AI: First, run your raw images through an AI enhancer. Let it handle all the time-consuming grunt work—removing noise, sharpening details, and performing initial color corrections across the entire batch.
- Finish with Finesse: Next, import those pre-cleaned images into a program like Photoshop or Lightroom for the final, creative touches. This is where you work your magic, fine-tuning skin tones, dodging and burning to guide the viewer's eye, and adding your signature artistic flair.
By working this way, you offload 80% of the tedious work to the AI. This frees you up to pour all your energy into the creative 20%—the part that actually makes an image memorable and uniquely yours. You get the speed of automation without ever giving up your artistic control.
Choosing the Right AI Enhancement Tool for You
The market for AI image enhancers is exploding, with tons of tools all promising to work miracles on your pictures. With so many choices, how do you find the one that actually fits what you need to do and what you're willing to spend?
Picking the right tool isn't about finding one "best" option for everyone. It's about matching the features to your specific goals. It's a bit like choosing a car. If you're just running errands, a simple, reliable sedan does the trick (like a free online tool). But if you're a contractor, you need a heavy-duty truck with specialized gear (a powerful desktop app with batch processing).
Let's find the right ride for you.
Define Your Primary Use Case
First things first: what are you actually trying to accomplish? Different AI tools are built for different jobs, and figuring out your main task will instantly narrow down your options.
- For Reviving Old Photos: You'll want a tool that's a pro at photo restoration. Look for great scratch removal and colorization features, as these models are trained specifically on old, damaged pictures.
- For Making Small Images Bigger: Your priority is high-quality super-resolution (or upscaling). See if the tool offers 2x, 4x, or even 8x enlargement.
- For Fixing Grainy, Low-Light Shots: Find a platform with excellent denoising that can clean up noise without making the photo look fake or "plastic."
- For Processing a Mountain of Images: For professionals, batch processing is an absolute must-have. It saves an incredible amount of time by applying the same edits to hundreds or thousands of photos in one go.
By locking in on your main goal, you'll avoid paying for a bunch of fancy features you'll never touch.
Compare Pricing Models and Features
AI enhancement tools usually come in three flavors when it comes to pricing. Each one is designed for a different kind of user.
| Pricing Model | Best For | Key Considerations |
|---|---|---|
| Free Online Tools | Casual users needing a quick fix for a few images. | Often have limits on resolution, file size, or daily uses. May add a watermark. |
| Subscription (SaaS) | Regular users, creators, and small businesses needing consistent access. | Gives you a set number of credits or images per month. Find a plan that fits your volume. |
| Pay-Per-Image | Users with rare but important projects, like printing one large photo. | Can be cheap for one-off tasks but gets expensive quickly for bulk work. |
For most serious creators and businesses, a subscription model hits the sweet spot. It gives you access to premium features like high-resolution exports and faster processing without the sticker shock of paying per image.
Match the Tool to Your Skill Level
Finally, think about how you like to work. Some tools are made for complete beginners with a one-click-and-done approach. Others are packed with advanced controls for pros who want to tweak every little detail.
- For Casual Users & Quick Fixes: Simple web-based tools are perfect. You just upload, click a button, and get your result in seconds. No tech skills needed.
- For Enthusiasts & Creators: Look for tools that give you a bit more control. Maybe you want to adjust the strength of the enhancement or turn specific features like face enhancement on or off.
- For Professionals & Agencies: Desktop apps or API access is usually the way to go. These offer the most control, robust batch processing, and can be integrated into your existing workflow, like an Adobe Photoshop plugin.
When you line up the tool's core job, its price, and its ease of use with your own needs, you can pick an AI image enhancer with confidence. If you want to explore beyond just image tools, you can also check out a wider list of the best AI content creation tools.
Got Questions About AI Image Enhancement? We've Got Answers.
Jumping into the world of AI image enhancement can bring up a few questions. How good is it, really? Is it safe to use? What are the actual limits? Let's clear the air and tackle some of the most common things people wonder about.
Will AI Make My Photo Look Fake?
This is probably the biggest worry we hear. Nobody wants their photos to end up looking artificial or like they've been run through a cheap "beauty" filter. The good news is that high-quality tools are trained on millions of real-world images, so they know what natural detail looks like. They learn to add realistic texture, not a plastic-y sheen.
That said, you can get unnatural results if you use a low-quality tool or just crank the enhancement settings up to the max. The trick is to start with a reputable tool and think of the adjustments as a subtle touch-up, not a total overhaul.
Is It Safe to Upload My Photos?
A totally valid and critical question. Reputable online services will always have a clear privacy policy that spells out exactly how they handle your files. Most will automatically delete your images from their servers after a short window, usually somewhere between one to 24 hours.
Always take a moment to review the terms of service before you upload anything sensitive or for commercial use. If you want maximum privacy, a desktop-based software is a fantastic choice. It processes everything locally on your computer, so your photos never even touch the internet.
Can AI Really Fix a Super Blurry Photo?
AI can pull off some amazing rescues, but it's not magic. It can do wonders for a photo that's moderately blurry, intelligently sharpening edges and rebuilding details you thought were lost. It's also fantastic for cleaning up minor scratches, dust, and small tears on old scanned photos.
But there are limits. If a key part of the photo, like a person's face, is completely blurred out or a large chunk of the image is just gone, the AI has to make a pure guess about what was there. The results can be… creative, but not necessarily accurate.
Here's a good rule of thumb: the more detail you give the AI to start with, the better the final image will be.
Ready to see what AI can do for your images? AI Photo HQ offers powerful, one-click enhancement and restoration tools to make your photos shine. Try AI Photo HQ today.

