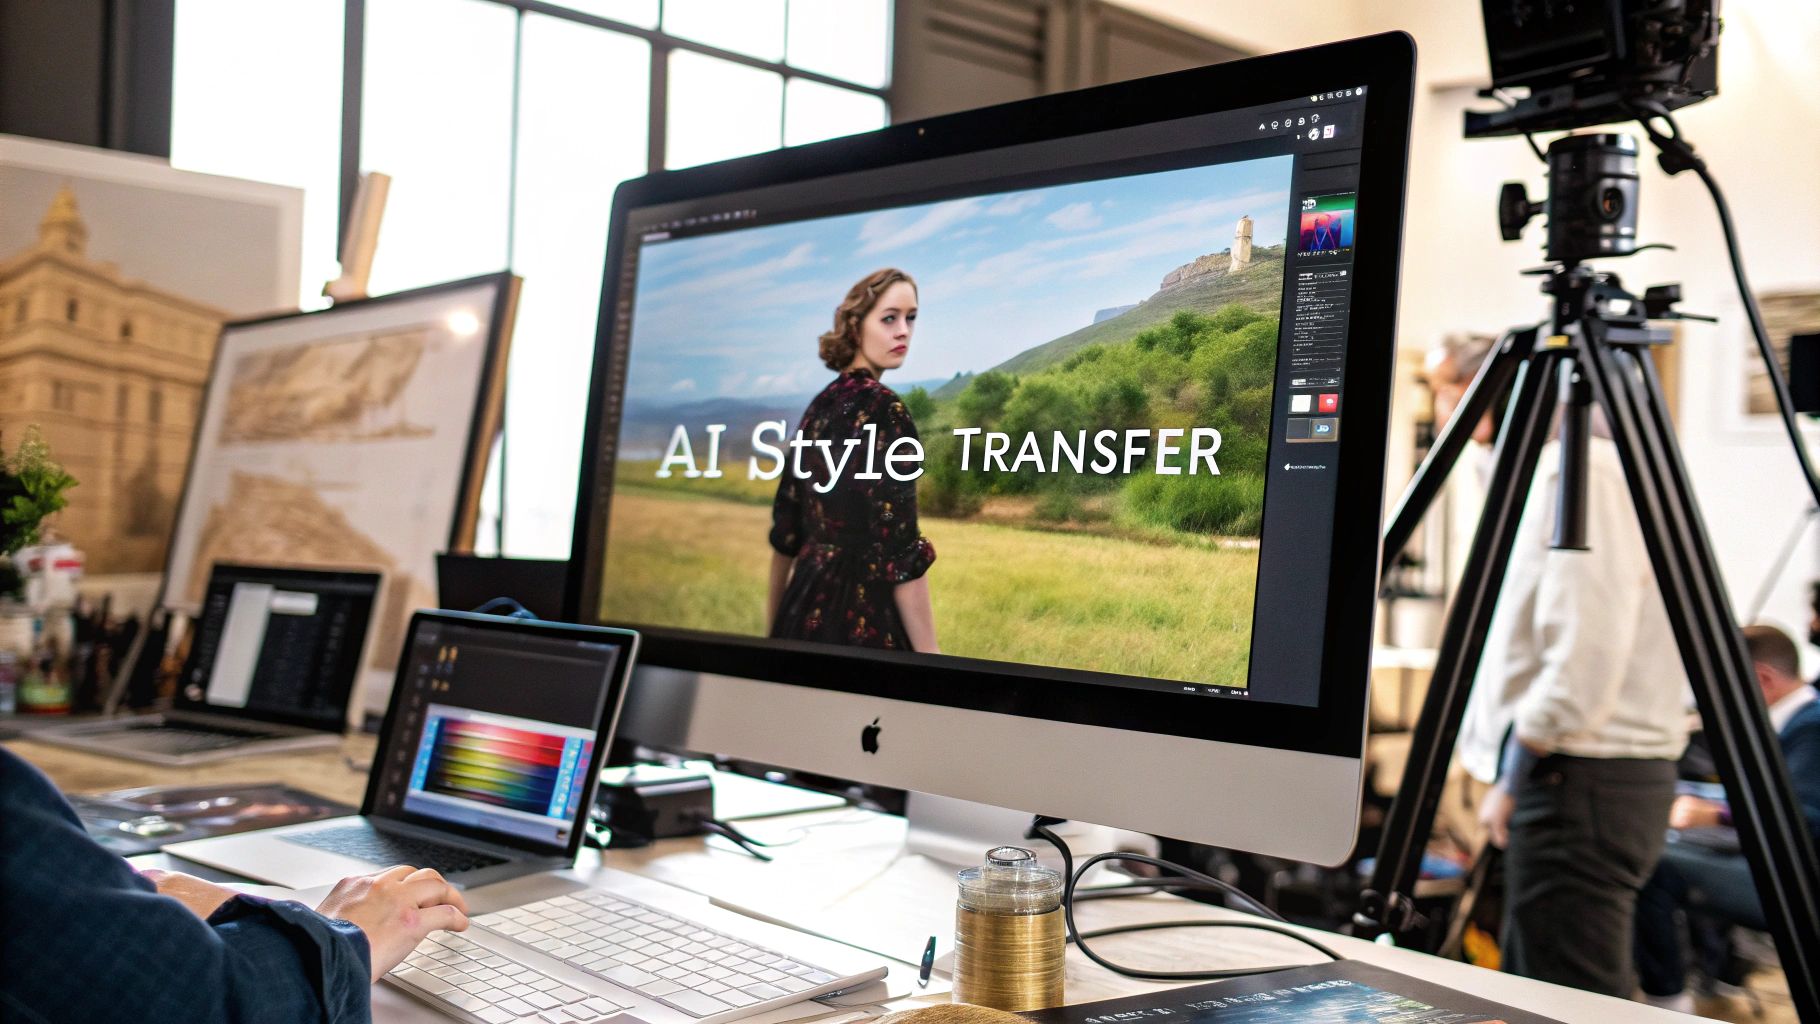
Have you ever seen a photo and wished you could make it look like it was painted by a master like Van Gogh? Or maybe you wanted to transform a simple selfie into a bold, graphic novel-style illustration. That's exactly what AI image style transfer lets you do.
What Is AI Image Style Transfer
At its heart, this technology takes the artistic style from one image and intelligently applies it to the content of another. You get to play the role of art director, and the AI acts as your incredibly skilled, incredibly fast digital painter.
The process starts with two images you provide:
- Content Image: This is your base photo. Think of it as the blueprint—a portrait, a landscape, or any picture whose subject and composition you want to keep. The AI looks at this image to understand what it's seeing.
- Style Image: This is where you get your artistic flair. It can be a famous painting, a modern graphic, or even just a cool texture. The AI studies this image to learn how it looks—its colors, patterns, and overall vibe.
The AI then gets to work, meticulously applying the aesthetic of the style image onto the structure of the content image. It's like telling an artist, "Here's a photo of my dog. Now, paint him, but use the exact same brushstrokes and color palette as The Starry Night."
How Does the Technology Work
The magic behind this isn't actually magic, but a powerful type of AI called a Convolutional Neural Network (CNN). CNNs are brilliant at processing visual information. They can break down an image into its fundamental layers—from simple lines and colors to more complex textures and shapes.
This whole idea really took off back in 2015 with a groundbreaking paper called the "Neural Algorithm of Artistic Style." This was the first time researchers showed how a CNN could effectively separate an image's content from its style, paving the way for the creative tools we have today. You can dive deeper into the original research on artistic neural networks at nnart.org.
To make this crystal clear, let's break down the core components involved.
Core Components of AI Style Transfer
Here’s a simple table summarizing the essential parts of the AI image style transfer process.
| Component | Role in the Process | Example |
|---|---|---|
| Content Image | Provides the underlying structure and subject matter. | A photograph of your house. |
| Style Image | Provides the artistic look and feel—colors, textures, etc. | A painting by Claude Monet. |
| CNN Model | The AI "brain" that analyzes both images and merges them. | A pre-trained network like VGG19. |
| Final Output | The newly created image blending the content and style. | Your house, rendered in an Impressionist style. |
As you can see, each piece has a distinct and crucial role in achieving the final artistic result.
At its core, AI image style transfer is a creative partnership between human intention and machine perception. You provide the 'what' and the 'how,' and the AI handles the complex task of merging them into a single, cohesive piece of art.
The end result is a completely new image. It has the recognizable subjects from your original photo but is reborn in an entirely different artistic form. This gives anyone a powerful way to generate stunning visuals, no art degree required.
In the next sections, we'll get practical and show you exactly how you can use this technology yourself.
2 Key Techniques Driving AI Style Transfer
To really get what makes AI image style transfer tick, you have to peek under the hood. There are a couple of core technologies that power this whole process, and they’re what let the AI analyze, break down, and then rebuild your photos into something entirely new. Each has its own way of getting the job done.
This graphic breaks down the basic idea of how these complex algorithms see and reinterpret an image.
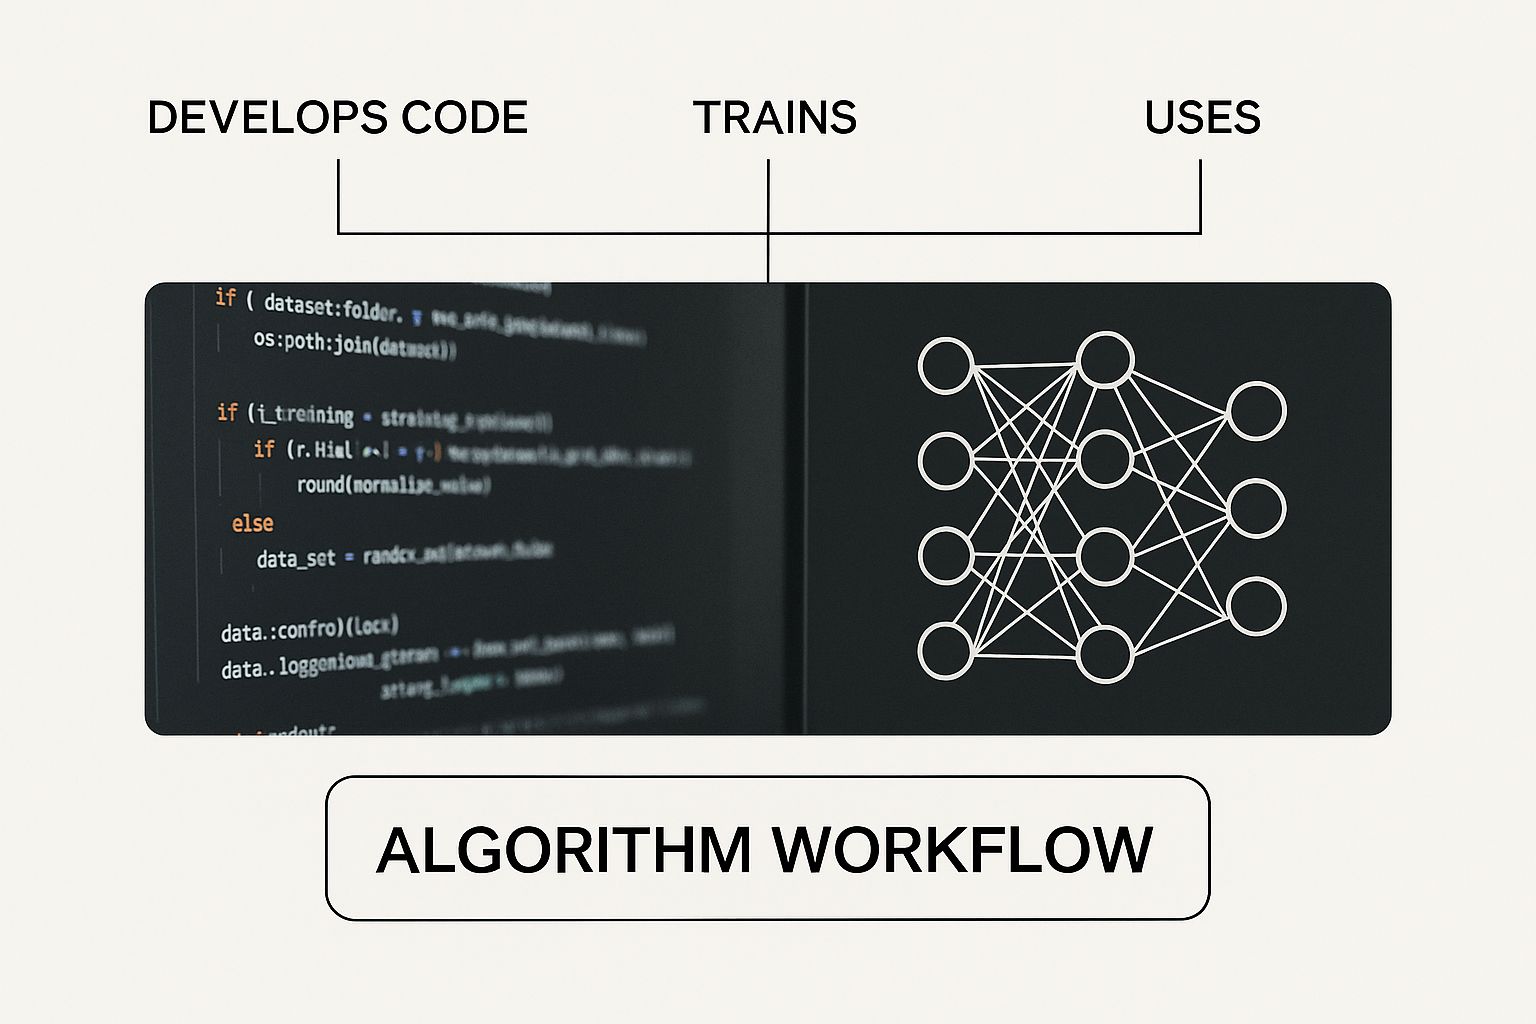
As you can see, the magic happens when the AI separates the style from the content and then cleverly merges them back together. Both major techniques are built on this fundamental concept.
The Original Method: Neural Style Transfer
The technique that started it all is Neural Style Transfer (NST). It uses something called a Convolutional Neural Network (CNN) to work its artistic magic. Think of this method as a classical painter who studies every last detail of a masterpiece before attempting to mimic its style.
Here’s a simple breakdown of how it works:
- Content Breakdown: The CNN first looks at your photo—the content image—to understand its basic structure. It figures out the shapes, objects, and overall layout, essentially creating a structural blueprint.
- Style Extraction: Next, that same network analyzes the style image—say, a Van Gogh painting—to pull out its artistic DNA. It identifies the texture, color palettes, and unique patterns of the brushstrokes.
- Artistic Fusion: Finally, the algorithm starts building a new image from scratch. It continuously adjusts this new image until it fits the blueprint of your photo while perfectly capturing the artistic "fingerprint" of the style image.
NST can produce some incredible images, but it has one major flaw: it's slow. Painfully slow. Because it has to process every image from the ground up, generating a single high-quality picture can take minutes, which just doesn't work for quick social media posts or real-time previews.
The Game Changer: Generative Adversarial Networks
The sluggish pace of NST paved the way for a much faster, more dynamic approach: Generative Adversarial Networks (GANs). If NST is the meticulous classical painter, a GAN is more like a competitive duo: a creative forger and a sharp-eyed art expert.
- The Generator (the forger) tries to create new images that copy a specific artistic style. Its first attempts are usually pretty clumsy and unconvincing.
- The Discriminator (the expert) inspects the Generator's work, comparing it to real examples of the art style. It gives harsh feedback, essentially saying, "Nope, that’s a fake. Go back and try again."
This constant back-and-forth pushes the Generator to get better and better with every attempt. Eventually, its creations become so authentic that the Discriminator can no longer tell the difference between the AI's work and the real thing. This competitive process makes GANs incredibly fast, capable of applying a style to an image in seconds.
Of course, getting the best results from these models means you need to tell them exactly what you want. You can learn more in our guide on how to write AI prompts for better results.
Key Insight: While NST painstakingly rebuilds a style onto one image at a time, GANs are pre-trained on entire artistic movements. This allows them to apply a learned style to any new photo almost instantly.
The arrival of GANs in 2014 was a huge deal, but it was NVIDIA’s StyleGAN in 2018 that really blew the doors off what was possible. StyleGAN gave creators unbelievable control over details like texture and composition, leading to photorealistic results that were once pure science fiction. Today, most modern tools, including AI Photo HQ, use advanced architectures based on GANs to give you those fast, high-quality results.
Create Your First Style Transfer Image
Alright, let's move past the theory. The real magic happens when you start making your own AI art, and this guide will walk you through creating your very first AI image style transfer from scratch. We'll be using AI Photo HQ, a super accessible web tool, to show you just how easy it is to turn a regular photo into something unique in just a few clicks.
To get started, you just need two things:
- A Content Image: This is your subject. For our walk-through, grab a clear, well-lit photo of a person, a pet, or even your favorite landscape. Simpler backgrounds usually work best, as they help the AI really lock onto the main subject.
- A Style Image: This is your artistic inspiration. You could use a classic painting like The Starry Night by Van Gogh or something bold and modern. The more distinctive the style—its colors, textures, and lines—the more dramatic your final image will be.
Once you have your two images, the rest is surprisingly simple.
Getting Started With The AI Interface
Most modern style transfer tools are built to be user-friendly, so you don't need a computer science degree to figure them out. When you open a platform like AI Photo HQ, you'll see a clean layout with obvious options for uploading your images.
Here’s a quick look at what a simple AI photo editor interface looks like.
This screenshot shows the key parts: a spot for your original photo and a bunch of style filters to choose from. The whole setup is designed to be intuitive, so you can jump right in and start experimenting without getting bogged down in menus.
Your Step-by-Step Guide to Style Transfer
Let's walk through the whole process. For this example, we're going to transform a standard portrait into a piece of art that looks like it was pulled straight from a comic book.
- Upload Your Content Image: First, find the "Upload Image" button (or something similar) and select your portrait from your computer. This photo provides the core structure—the person, their pose, and the background—that the AI will build upon.
- Choose Your Artistic Style: Now for the fun part. Instead of hunting for a separate style image, many tools like AI Photo HQ have a built-in library of pre-trained styles. You’ll see options like "Anime," "Fantasy Art," "Van Gogh," or "Comic Book." For our example, let's pick "Comic Book."
- Adjust the Style Strength (If Available): Some tools give you a slider for Style Strength or Style Weight. This is a powerful little control. A lower setting will just add a hint of the style, keeping your photo looking more like a photo. Cranking it up will make the final image look much more like the art style, though it might lose some of the original photo's details.
Pro-Tip: I'd suggest starting with the style strength around a medium level, maybe 50-60%. This usually hits a sweet spot, preserving your photo's key features while still clearly applying the new style. You can always run it again with a different setting to see what happens.
- Generate Your Image: Hit the "Generate," "Create," or "Apply Style" button. The AI now takes over. It's analyzing the structure of your portrait and the artistic DNA of the comic book style, then fusing them together. This usually only takes a few seconds.
- Review and Download: Your new, stylized image will pop up. What do you think? Does it have the bold lines and flat colors of a comic? If you love it, download it and share it around. If not, no big deal—just go back and tweak the style strength or even try a totally different style.
And that's it! You've just created your first piece of AI-generated art. The real power of AI image style transfer comes from playing around. Try out different combinations to see what you can come up with. What happens if you apply a mosaic tile pattern to a cityscape? Or the soft look of a watercolor painting to a photo of a flower? The possibilities are pretty much endless.
While we focused on applying a style to a face here, the same idea works for more complex scenes. If you're curious about creating bigger compositions, check out our guide on how to generate full body shots with Stable Diffusion XL. The underlying tech is incredibly flexible and can be adapted to all sorts of creative projects.
Advanced Techniques for Professional Results
Moving beyond the single-click generation opens up a whole new world of creative control. While the default settings can give you some fantastic results, the real magic happens when you start fine-tuning the process. This is where you shift from simply being a user to becoming a creator, directing the AI with much more precision to nail your specific artistic vision.
These advanced techniques for AI image style transfer are all about guiding the algorithm, not just accepting its first attempt. By getting a handle on concepts like image prep, style blending, and masking, you can produce some dramatically refined images that really stand out from the crowd.
Prepare Your Images for Better AI Interpretation
You know the old saying, "garbage in, garbage out"? It absolutely applies to AI. The quality and characteristics of your input images directly shape the final result. Pre-processing your photos before you even upload them is one of the single most effective ways to get cleaner, more predictable style transfers.
Here's a quick practical tutorial: Creating a Dramatic, High-Contrast Portrait.
- Open Your Content Image in a basic photo editor (like Photoshop Express or even your phone's built-in editor).
- Increase Contrast: Go to the image adjustments and slide the "Contrast" setting up by about 20-30%. This will make the shadows deeper and the highlights brighter.
- Slightly Boost Sharpness: Find the "Sharpen" or "Clarity" tool and increase it by 10-15%. This helps define edges, which the AI can latch onto.
- Save and Upload: Now, take this pre-edited image and use it as your content image for the style transfer. When you apply a style like "sketch" or "engraving," the AI will have a much clearer structure to work with, resulting in a more defined and impactful final piece.
These small tweaks might take less than a minute, but they can drastically improve how the AI "sees" your image, leading to a much more coherent final piece.
Go Beyond a Single Style with Blending
Why limit yourself to just one artistic influence? One of the most powerful features in modern AI image style transfer tools is the ability to blend multiple styles together. This is how you can create a truly unique aesthetic that doesn't exist anywhere else.
Let's try a practical example: Creating a "Sci-Fi Renaissance" look.
- Upload your Content Image, perhaps a portrait or a landscape.
- Select Your First Style: Choose a "Renaissance Painting" style and set its influence (or weight) to 60%. This will give your image the soft lighting and rich color base of an old master.
- Select Your Second Style: Now, add a second style. Pick something like "Cyberpunk" or "Futuristic" and set its influence to 40%. This will introduce neon highlights, sharp lines, and metallic textures.
- Generate the Image: The AI will blend these two styles. The result will be a unique fusion—the composition and colors of a classic painting infused with the high-tech details of science fiction.
Platforms like AI Photo HQ let you do this kind of experimentation, allowing you to fine-tune the "influence" percentage of each style you use.
Control the Canvas with Selective Masking
Sometimes, you don't want to apply a style to the entire image. Maybe you want to turn a person into a marble statue but keep the background as a photorealistic cityscape. This is exactly what masking is for.
Masking is just a way of telling the AI precisely which parts of your content image you want to be stylized. Here’s a step-by-step tutorial:
- Isolate the Subject: In an advanced AI tool, upload your content image (e.g., a photo of a car on a street). Select the "Masking" or "Magic Brush" tool. Carefully paint over the car until it is fully selected. The unselected area will be the street and buildings.
- Apply the Style: Now, choose an artistic style, like "Graffiti Art." Configure the tool to apply the style only to the masked area.
- Generate the Hybrid Effect: The final output will show the car covered in a vibrant graffiti style, while the street and buildings behind it remain perfectly photorealistic.
This technique is incredibly useful for digital artists and designers. It’s perfect for creating surreal visuals, placing stylized characters into realistic scenes, or making a product in an ad pop by stylizing everything around it. Some advanced features you might see, often called "inpainting" or "outpainting," are built on this same core concept of selective application.
Once you master pre-processing, style blending, and masking, you gain a massive amount of control over the creative process. You're no longer just pushing a button; you're actively collaborating with the AI to craft a deliberate and refined piece of art.
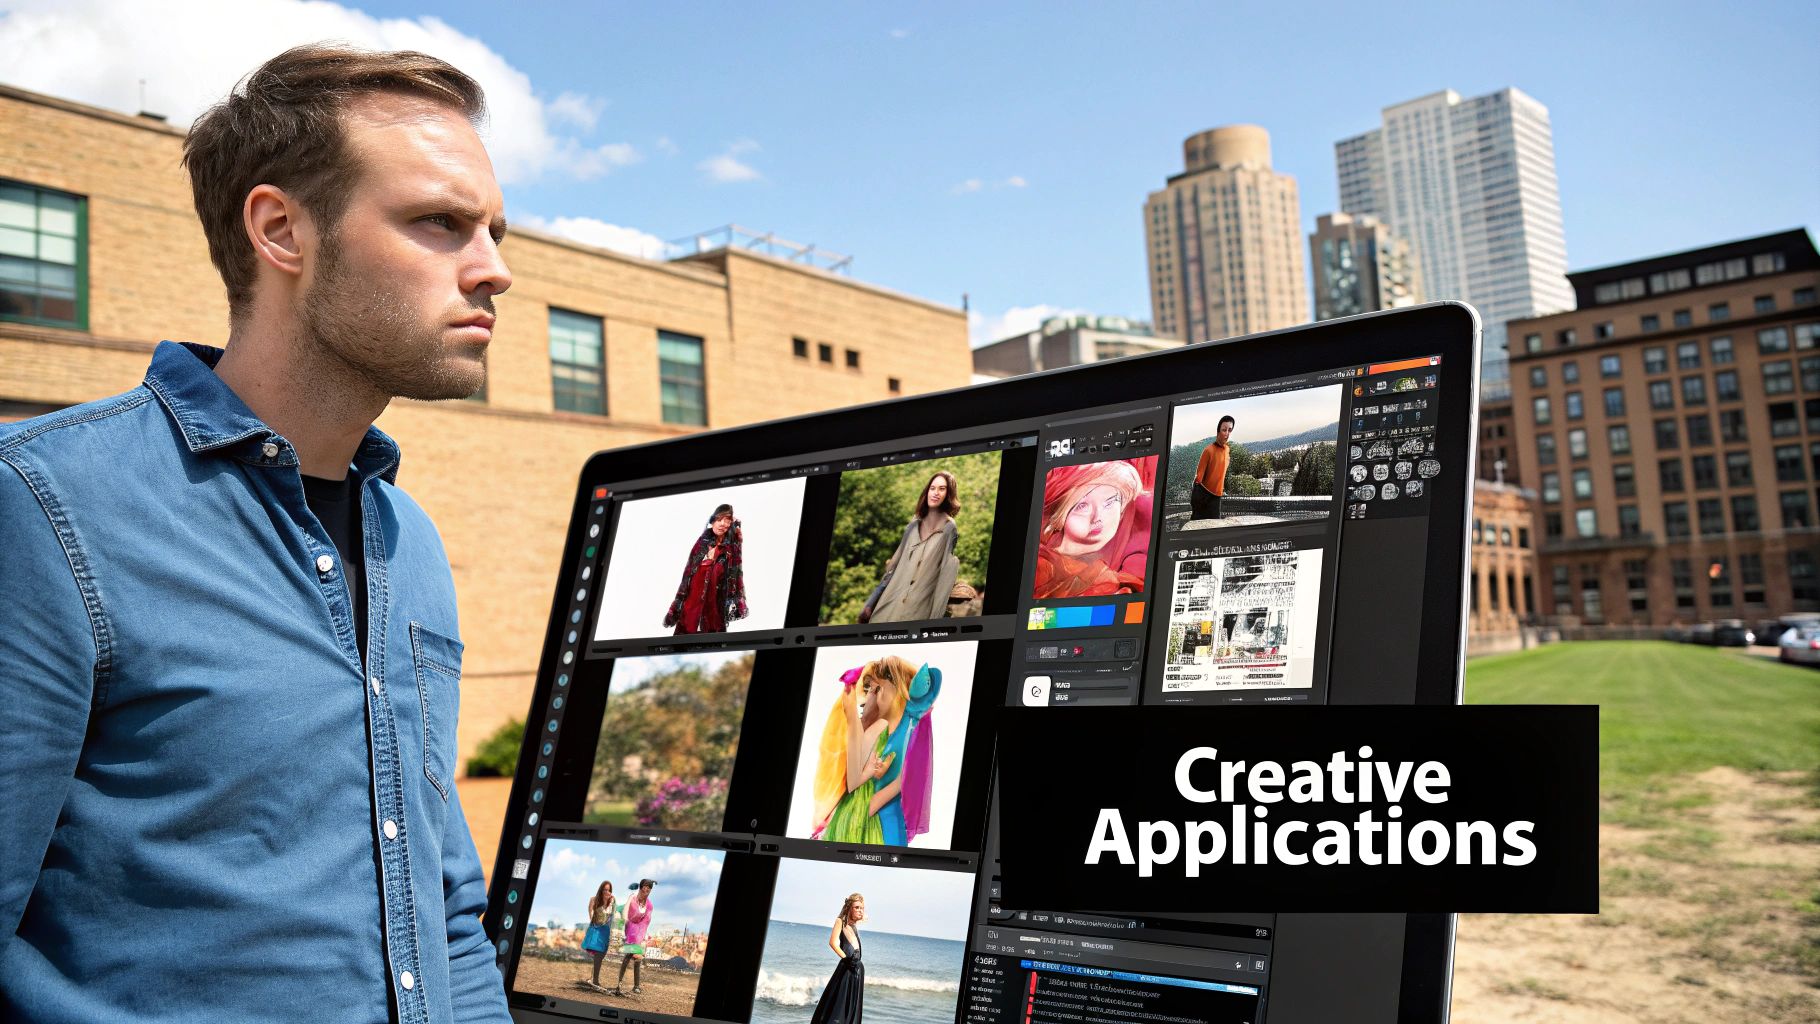
Practical Applications for AI Style Transfer
Sure, turning your photos into digital paintings is a lot of fun, but the real magic of AI image style transfer is what it can do in the real world. This isn't just a gimmick; it's a serious tool that helps creators, marketers, and designers work smarter, spark new ideas, and create visuals that actually make people stop and look.
Style transfer is the bridge between a simple photograph and a polished, artistic asset. It’s reshaping how professionals think about visual content, from building an unforgettable brand on social media to making complex design workflows feel almost effortless.
Building a Cohesive Social Media Aesthetic
If you've ever managed a social media account, you know that visual consistency is everything. A jumbled Instagram feed with a random mix of photos just feels amateur. AI style transfer is a fantastic fix for this, letting you create a unified and instantly recognizable look for your brand.
A Quick Workflow for Brand Consistency:
- Select a Core Style: Pick an artistic style that matches your brand’s vibe. Maybe it's a warm, painterly feel for a food blog or a sharp, anime-inspired look for a gaming channel. Let's choose "Vintage Film" for a travel blogger.
- Create a Batch of Images: Take 5-10 of your best travel photos. Upload them to a tool like AI Photo HQ and apply the "Vintage Film" style to all of them. Ensure the style strength is consistent across all images.
- Schedule and Post: Now, pair those fresh visuals with great copy. If you're looking to speed things up even more, you can use an AI caption generator to craft compelling text that complements your newly stylized images.
Following this simple process ensures every post reinforces your brand’s visual identity, making it stick in your audience's mind.
Generating Unique Assets for Design and Marketing
Graphic designers and marketing teams are always on the hunt for fresh, eye-catching visuals. AI style transfer is like having a creative partner on call, ready to help generate unique assets that would otherwise take hours—or a big budget—to produce. This is especially true when you start comparing different AI platforms; for a closer look, check out our breakdown of Stable Diffusion vs Midjourney to see how various models handle specific creative tasks.
Here are just a few ways designers are putting this tech to work:
- Custom Textures and Backgrounds: Need a one-of-a-kind background for a website or an ad? Snap a photo of something simple, like wood grain or crumpled paper, and then apply the style of an abstract painting. The result is a completely original, high-quality background you can't find anywhere else.
- Eye-Catching Marketing Materials: A standard product photo can get a massive boost with an artistic filter. Take a picture of a new sneaker, for example, and give it a "neon punk" aesthetic for a social media ad. It’s far more likely to stop someone mid-scroll.
- Product Mockups: E-commerce shops can use style transfer to create artistic mockups that sell. A plain photo of a coffee mug can be rendered in a dozen different ways—from minimalist line art to a vibrant pop-art design—to show off its potential.
The big win here is speed. By using AI image style transfer, creative teams can test out visual ideas in a fraction of the time. What used to take hours of painstaking work in Photoshop can now be done in minutes, freeing up designers to focus on bigger-picture strategy and concepts.
To give you a clearer idea, here’s a look at how different industries are using AI style transfer to get real results.
AI Style Transfer Applications Across Industries
The table below breaks down how various professional fields are putting this technology to work for both creative and commercial wins.
| Industry | Primary Use Case | Key Benefit |
|---|---|---|
| Social Media | Creating a consistent feed aesthetic. | Stronger brand identity and recognition. |
| Graphic Design | Generating unique textures and patterns. | Faster asset creation and originality. |
| E-commerce | Producing artistic product mockups. | Increased visual appeal and engagement. |
| Game Development | Creating concept art and storyboards. | Rapid visualization of game worlds. |
When you get down to it, AI image style transfer is much more than just a fancy photo filter. It's a genuinely practical and efficient tool that helps professionals everywhere step up their creative game and hit their goals.
Got Questions About AI Style Transfer? We've Got Answers
So you're ready to jump into the world of AI image style transfer. That's great! As you start exploring, you'll naturally run into a few questions. It's a powerful tool, but figuring out the practical side of things—like what you need to get started, where your creative limits are, and the legal stuff—is what separates a hobbyist from a pro.
Let's clear up some of the most common questions. My goal is to get you creating with total confidence. We'll cover the nuts and bolts so you can spend less time wondering and more time making incredible art.
Do I Really Need a Super-Powerful Computer for This?
This is probably the biggest myth out there. People hear "AI" and immediately picture a room full of whirring servers and a massive electricity bill. While it's true that training an AI model from scratch takes some serious computing power, just using one is a completely different ballgame.
For most of us, the answer is a resounding no, you don't need a powerful computer.
Platforms like AI Photo HQ are entirely web-based. All the heavy lifting, the complex math, and the pixel-crunching happens on our powerful cloud servers, not on your device.
- What your device does: Your laptop, tablet, or phone is just the command center. You upload your photos, pick a style, and our servers do all the hard work remotely.
- Create from anywhere: This makes style transfer incredibly accessible. All you need is a standard internet connection. You can literally create a masterpiece on your phone while waiting for a coffee.
You get all the power of a high-end AI setup without having to spend a dime on expensive hardware.
Can I Use My Own Photos for the Style?
Absolutely! This is where the real fun begins. While using styles from famous paintings is a great starting point, using your own photos as the style image is how you create something truly original. It's the key to moving beyond imitation and starting to develop your own unique aesthetic.
Here's a quick tutorial on how to do it:
- Find a Texture Photo: Look through your camera roll for a picture with an interesting texture. Examples include a close-up of rusty metal, peeling paint, tree bark, or a colorful knitted sweater.
- Find a Content Photo: Choose a simple photo for your subject, like a silhouette of a person or a simple building.
- Upload Both: In your AI tool, upload the silhouette as your "Content Image" and the texture photo as your "Style Image."
- Generate and See: The AI will "paint" your silhouette using the colors and patterns from your texture photo, creating a completely unique abstract art piece.
When you use your own image as a style, you're giving the AI a visual reference it has never seen before. The result is guaranteed to be one-of-a-kind.
The most incredible results often come from the weirdest combinations. Don't shy away from trying a style image that seems odd. The AI might interpret it in a way you never expected, leading to a "happy accident" that becomes your new favorite piece of art.
What's the Deal with Copyright and Using Famous Art?
This is a critical question, and it's smart to ask it, especially if you're thinking about using your creations for more than just personal fun. The legal side of using famous art for style transfer can be a bit of a gray area, and it really comes down to the copyright status of the original piece.
Here’s a simple way to think about it:
- Public Domain Art: This is your safest and most creative playground. Artworks in the public domain are no longer under copyright, so you can use them freely for any purpose, commercial or not. This includes the works of masters like Vincent van Gogh, Rembrandt, and Leonardo da Vinci, whose art is old enough that the copyright has long expired.
- Copyrighted Art: This is where you need to be careful. If the original artwork is still protected by copyright, your new image could be considered a "derivative work." Whether this is legal or not often depends on how much you've transformed the original. For personal projects you're just sharing with friends, it's usually not a big issue. But if you plan to sell it or use it for your business, you're entering a legal minefield.
For any commercial work, the clearest and safest path is to stick with public domain art or use styles that you've created yourself. It's the best way to avoid headaches and potential legal trouble later on.
Ready to stop wondering and start creating? With AI Photo HQ, you can jump right into making your own unique art. Transform your photos, experiment with endless styles, and see what you can dream up. Get started with AI Photo HQ today!

