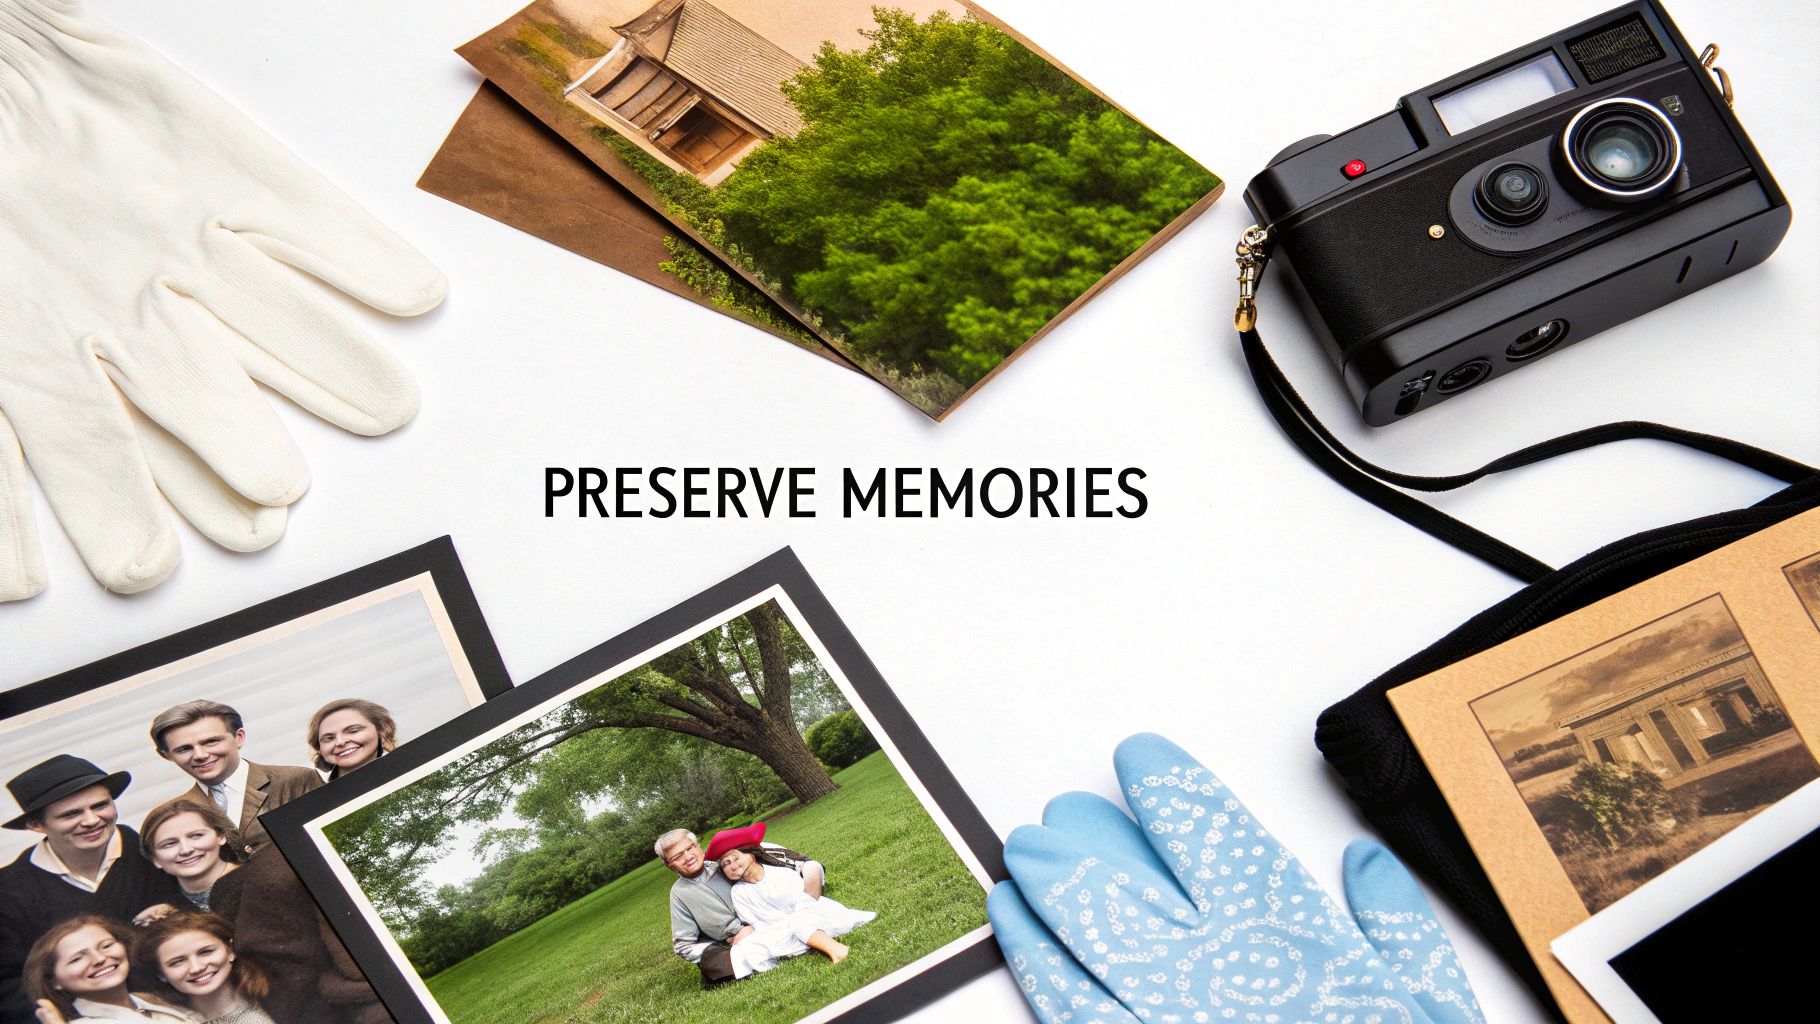
When you think about preserving old photos, it’s a two-part mission: protecting the physical prints and creating a digital lifeline for them. It really boils down to handling them carefully, keeping them in a cool, dry, and stable environment, and scanning them into a digital archive you can easily share and even restore.
Your First Steps in Photo Preservation
Kicking off a project to save your family photos can feel like a massive undertaking, but the most critical steps are actually the simplest. Before you even touch a single print, the most important thing you can do is set up a safe, organized workspace. This alone will prevent a world of accidental damage to your irreplaceable memories.
Think of yourself as a temporary archivist. Your first job is to get the lay of the land and handle everything with extreme care. The oils and dirt on your fingers can permanently damage a photo's delicate surface over time, which is why wearing soft, white cotton gloves is a must.
Assess Your Collection and Environment
Here's a step-by-step guide to getting started:
- Prepare Your Workspace: Find a clean, flat, and spacious surface, like a dining room table. Make sure it's far from direct sunlight, and have a strict no-food-or-drinks rule nearby.
- Gather Your Tools: Have your cotton gloves, a soft brush for dusting, and some archival-safe envelopes or temporary folders ready.
- Conduct an Initial Survey: Lay out your photos (with gloves on!) and start to get a feel for the physical condition and type of each photograph. You’ll likely see a mix of print types—modern glossy photos, older matte prints, or even super fragile formats like tintypes. Knowing what you're dealing with helps you understand their unique needs.
- Check Your Storage Climate: A huge part of preserving old photos is controlling their surroundings. Gelatin silver prints, a standard since the late 1880s, use a gelatin layer that is incredibly sensitive to heat and moisture. For the best shot at longevity, archival standards recommend keeping photos where the relative humidity is between 30-50% and the temperature stays around 18-20°C (64-68°F). An indoor closet is often a better choice than a basement or attic.
Create a Simple Sorting System
As you start handling the photos (with your gloves on!), create some simple categories to group them. A practical sorting workflow could look like this:
- Choose Your Categories: Decide on a simple sorting system. Common choices include:
- Family Branch: (e.g., Mom's Side, Dad's Side)
- Decade or Event: (e.g., The 70s, Grandma's Wedding)
- Condition: Make a separate pile for photos that are clearly damaged—torn, badly faded, or stuck together. These will need special attention later.
- Create Piles: Physically separate the photos into these piles on your workspace. Use acid-free paper as dividers if you need to stack them temporarily.
- Label Temporary Envelopes: Place each sorted pile into a clearly labeled envelope or folder. This turns a giant, overwhelming task into manageable little piles and helps you decide which photos to scan or archive first.
From the very beginning, understanding the best ways to store old photos—both the physical and digital methods—is absolutely essential.
Pro Tip: Whatever you do, resist the urge to pull apart photos that are stuck together. Forcing them will almost guarantee you tear them. Just set these aside in their own envelope and mark it clearly. You can deal with them later, either with very careful techniques or by getting a professional opinion.
Creating Your Own Physical Photo Archive
Once you've sorted through your collection, the next big step is giving your physical prints a safe home. Let's be honest, proper storage is the single most important thing you can do to protect old photos from the slow march of time. This is where you move from just planning to actually building a stable, archival environment right in your own house.
It all starts with picking the right materials. You’ll see terms like “acid-free” and “lignin-free” thrown around a lot, and it's crucial to know what they mean. Acid-free is great, but lignin—a natural component in wood pulp—can actually break down over time and create its own acids. So, for real peace of mind and long-term safety, always choose materials that are both acid-free and lignin-free.
Choosing Your Archival Supplies
Think of this as creating a personal little fortress for each photograph. Your main tools for the job will be individual sleeves, special interleaving paper, and some seriously sturdy storage boxes.
- Polyester Sleeves: I always recommend clear sleeves made from archival-quality polyester (you might see it sold as Mylar). They’re perfect for individual prints, protecting them from fingerprints, dust, and moisture while still letting you see the photo without touching it.
- Interleaving Paper: If you're stacking photos or putting them in an album, you need this. It’s a thin, buffered, acid-free paper you place between each print. It does two things: stops them from sticking together and prevents any ink transfer from the back of one photo to the front of the next.
- Archival Boxes: These are a world away from old shoeboxes. Built from acid-free, lignin-free board, they are specifically designed to block out damaging light and act as a buffer against humidity swings.
This image gives you a fantastic visual reminder of just how carefully you need to handle these precious items during the preservation process.
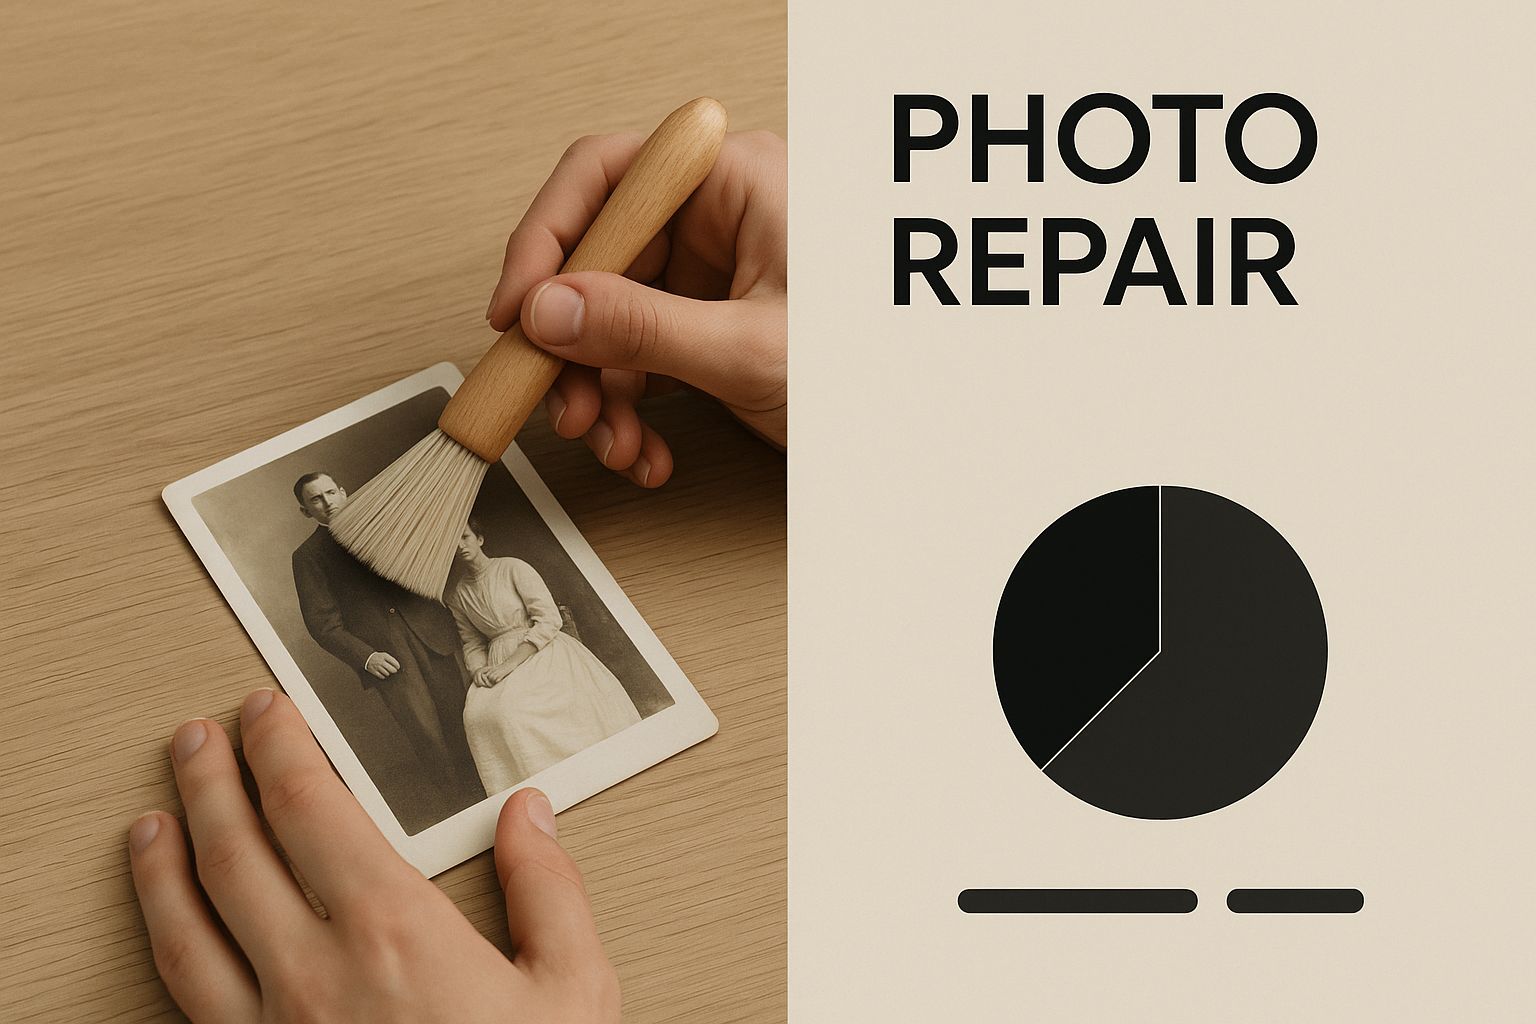
As the graphic shows, every single touch matters. The goal is to be gentle and deliberate, so you don't cause new damage while you're trying to prevent future decay.
Choosing the right archival materials is fundamental. Each one offers a different type of protection, and the best strategy often involves using them in combination. This table breaks down some of the most common options to help you decide.
Comparing Archival Storage Materials
| Material | Best For | Pros | Cons |
|---|---|---|---|
| Archival Polyester (Mylar) | Individual prints, negatives, slides | Crystal clear visibility, chemically inert, provides rigid support | More expensive, can trap moisture if not stored correctly |
| Acid-Free Paper/Cardstock | Interleaving between prints, photo envelopes, dividers | Breathable, affordable, absorbs some pollutants | Opaque (can't see photo), less physical protection than plastic |
| Polypropylene (PP) | Sleeves and album pages | Cheaper than polyester, flexible, acid-free | Not as clear or rigid as polyester, lower long-term stability |
| Archival Storage Boxes | Bulk storage of sleeved or enveloped photos | Blocks light, buffers against humidity/temperature changes, stackable | Bulky, requires a dedicated, climate-stable storage space |
Ultimately, the best choice depends on your specific collection's needs and your budget. For your most valuable photos, investing in polyester sleeves and a high-quality box is worth every penny.
A Practical Step-by-Step Archiving Tutorial
Let's walk through a real-world example. Say you've inherited a box of mixed family photos from the 1960s. Here’s a step-by-step guide to getting them into a safe, organized system.
- Sleeve Each Photo: Put on your cotton gloves. Carefully slide each individual print into an appropriately sized polyester sleeve.
- Add Support (Optional): For any photo that feels especially fragile or is particularly valuable, slip a sheet of acid-free interleaving paper behind it inside the sleeve for extra support and to note information without writing on the photo itself.
- Organize in the Box: Place the sleeved photos into your archival box. Stand them upright if possible, rather than laying them flat, to prevent pressure damage.
- Use Dividers: Use acid-free dividers to separate the photos by year, by family branch, or whatever system you decided on earlier. Label the dividers clearly with a soft graphite pencil.
- Label and Store: Close the box, label the outside so you know what's in it, and place it in your chosen storage location.
Key Takeaway: Your one job here is to isolate each photo from chemical and physical harm. Never, ever use standard plastic baggies, paper clips, or rubber bands. These materials will absolutely degrade and cause severe, often irreversible damage to your prints.
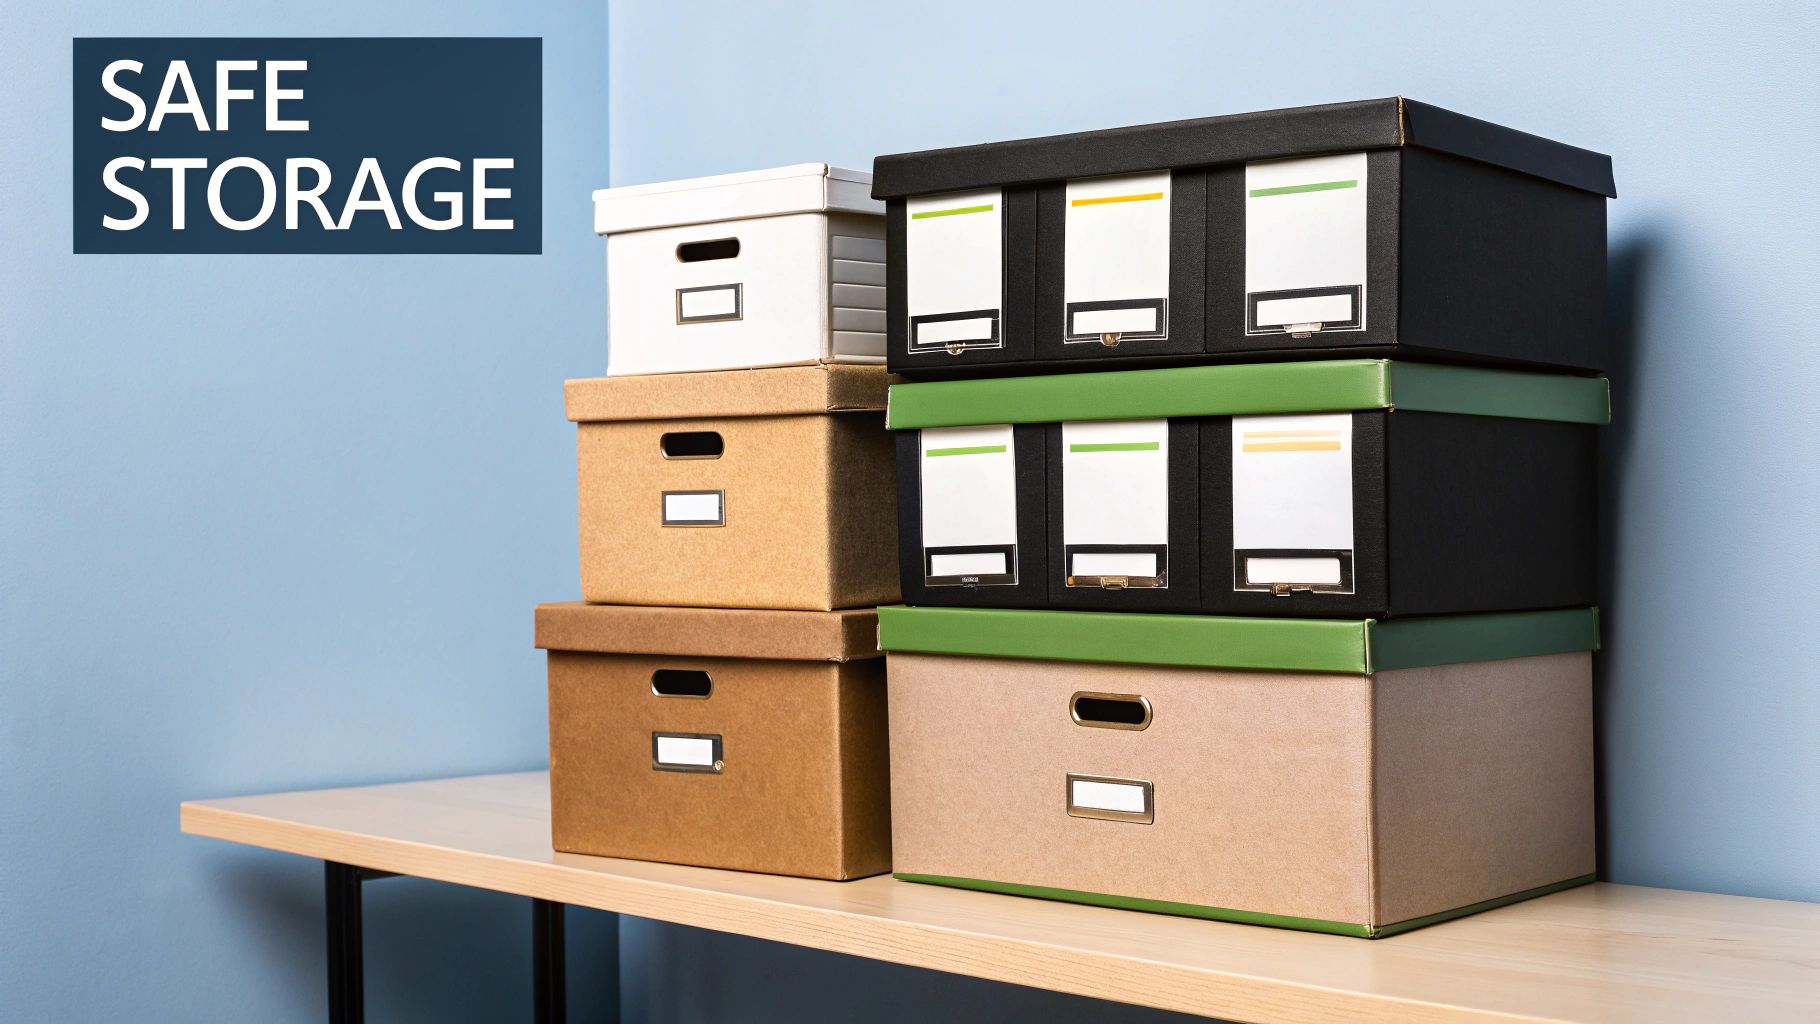
The Best and Worst Places for Storage
Where you put your archival boxes is just as critical as what’s inside them. Most people think of the attic or the basement, but these are basically photo graveyards. The temperature and humidity swings in these spots are wild, and those fluctuations are the number one cause of fading, mold, and brittleness.
So where should they go? An interior closet in your main living space—like in a bedroom or hallway—is your best bet. These areas tend to have the most stable climate in the entire house, making them a perfect little sanctuary for your memories.
Preserving the physical photo is still so important. It's a bit scary, but an estimated 80% of historical photo collections are kept in places with poor climate control, putting them at high risk of being lost forever. The best strategy is a two-pronged attack: secure your physical prints and create digital backups. That's how you truly protect these heirlooms for future generations. And for your most special pictures, you can even get creative by exploring unique ways to preserve wedding photos in jewelry.
A Practical Guide to Digitizing Photos
Think of creating a digital backup of your old photographs as the ultimate insurance policy. It's your best defense against fires, floods, or even just the slow, inevitable fading that happens over time. This process, often called digitizing, is how you transform those physical prints into high-quality digital files that will last forever.
It’s definitely a hands-on project, but you absolutely don't need to be a tech wizard to get fantastic results.
Choosing Your Scanning Method
When it comes to digitizing, you really have two main paths: using a dedicated flatbed scanner or a modern smartphone app.
For the absolute best quality, a flatbed scanner is the gold standard. It will always give you superior results, especially for any photos you plan on printing, enlarging, or doing serious restoration work on. On the other hand, smartphone apps offer incredible convenience for quick, on-the-fly scans when top-tier quality isn't the main goal.
This is a classic flatbed scanner, the kind of workhorse you'd use for a serious digitization project at home.
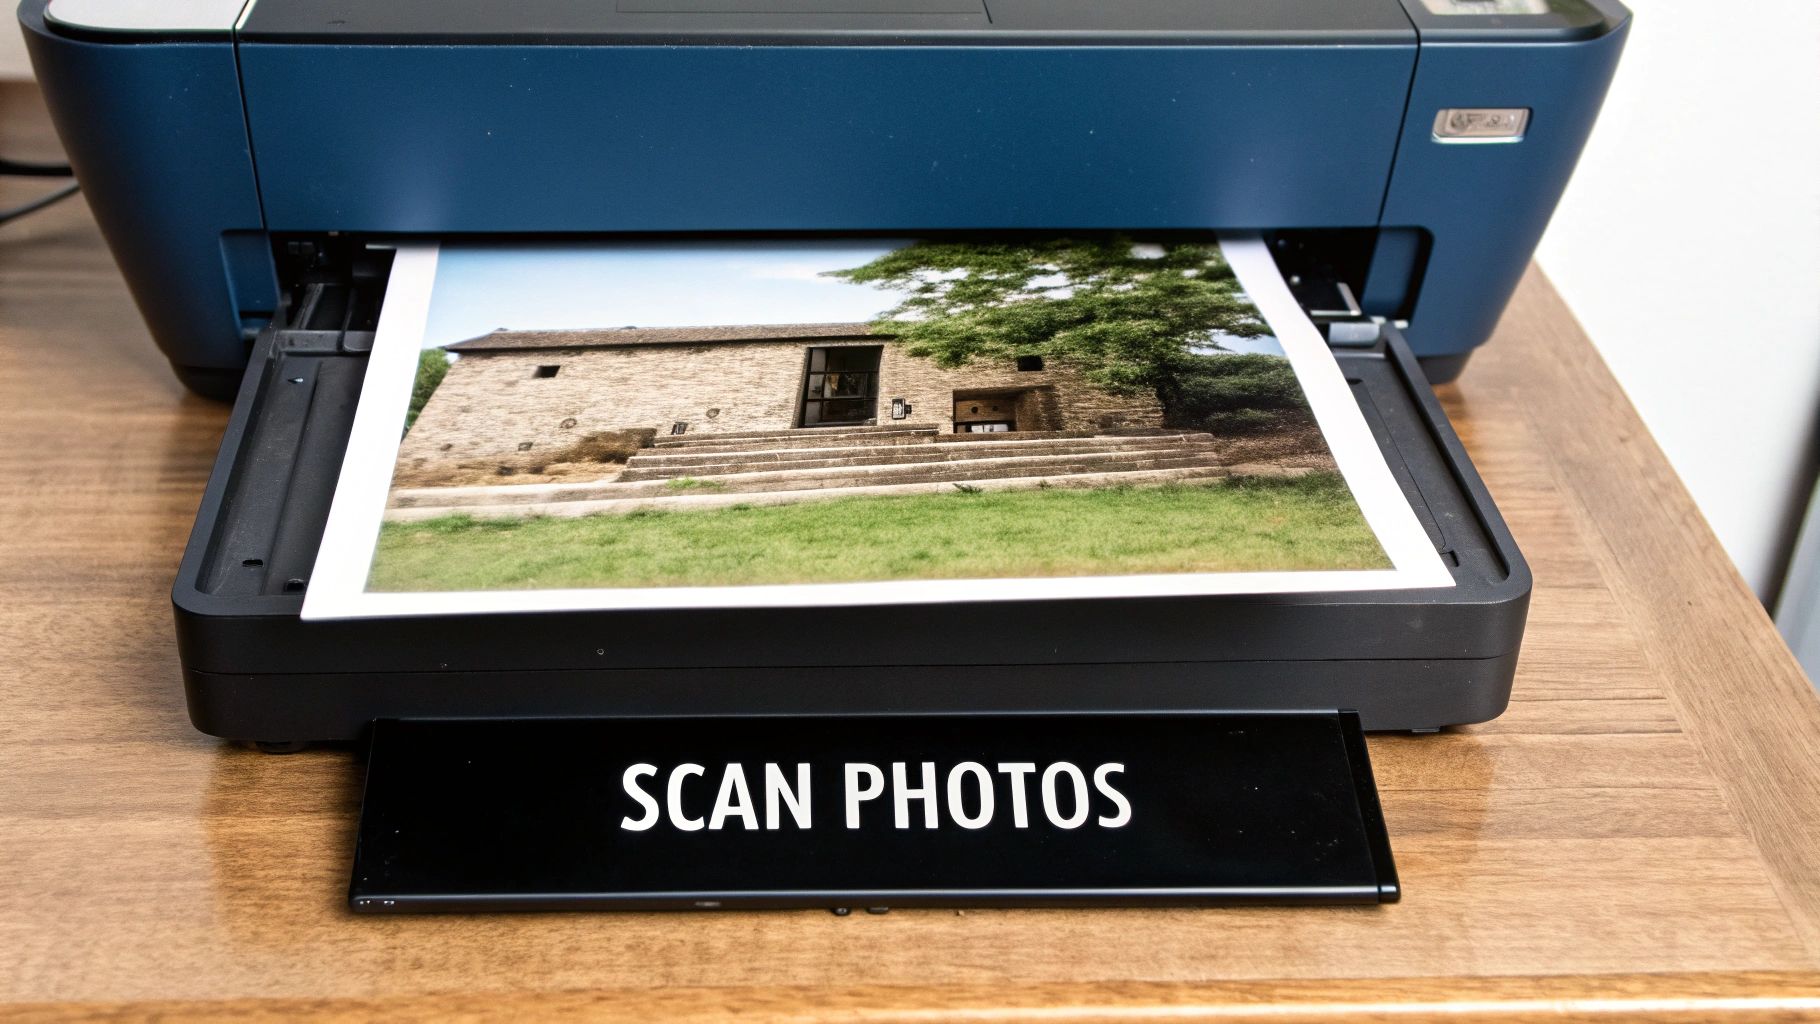
As you can see, that clean, flat glass surface is key. It ensures your photos are captured perfectly flat, without the weird distortion or glare you can get from just taking a picture of a picture. This is crucial for preserving every last detail.
Understanding Scanner Settings
Getting your settings right from the start is what separates a decent scan from a great one. The two most important choices you'll make are the resolution (DPI) and the file format.
DPI (Dots Per Inch): This is all about detail. A higher DPI captures more information, resulting in a larger, more detailed digital file. For most standard prints, like a typical 4x6 photo, a setting of 600 DPI is the sweet spot. It gives you plenty of detail for archival purposes and making beautiful reprints. If you're scanning something small and detailed, like negatives or slides, you’ll want to crank that up to 1200 DPI or even higher.
File Format (TIFF vs. JPEG): I like to think of this as choosing between a master key for a vault and a key for your front door.
- TIFF (Tagged Image File Format) is uncompressed and "lossless." It saves all of the original image data, making it the perfect choice for your archival master file. The files are big, but this is the pristine version you’ll turn to for future editing or printing.
- JPEG (Joint Photographic Experts Group) is compressed and "lossy." It makes the file smaller by cleverly getting rid of some data your eye won't likely miss. JPEGs are fantastic for sharing online, attaching to emails, or just for easy viewing.
My Pro Tip: Always, always scan your photos as TIFF files first. This creates your master digital archive. From that master file, you can easily save copies as JPEGs for everyday sharing without ever degrading your original, perfect scan.
How to Scan Photos with a Flatbed Scanner: A Step-by-Step Tutorial
Here’s the simple workflow I use to get a perfect scan every single time.
- Clean the Scanner Glass: Use a clean, lint-free microfiber cloth to gently wipe down the scanner's glass bed. Any tiny speck of dust will show up in your final scan, so this step is non-negotiable.
- Position the Photos: Carefully place one or more photos face-down on the glass. Leave a small gap (about a quarter-inch) between each one to prevent the software from merging them.
- Configure Scan Settings: Open your scanner's software. Before you do anything else, find the settings menu and make these key selections:
- Resolution/DPI: Set to 600 DPI.
- File Format: Select TIFF.
- Color Mode: Choose 48-bit Color if available, otherwise 24-bit is fine.
- Preview and Crop: Run a "Preview" scan. Your software will show a low-resolution image of the entire scanner bed. Use the selection tool to draw boxes around each individual photo. This is a critical step that tells the software to save each picture as its own separate file.
- Scan and Save: Once you've selected each photo, hit the final "Scan" button. The scanner will process each selected area and prompt you to save the files.
After scanning, you might find that some of your images have faded colors, dust, or minor scratches. It’s amazing what modern tools can do. You can explore a powerful photo restoration online service to see how AI can bring those tired old photos back to their former glory.
Using AI to Restore Faded Memories
This is where the real magic happens. Once you have a high-quality digital copy, you can start tackling the kind of damage that once felt permanent. Modern AI photo restoration tools can work wonders on faded colors, nasty tears, water spots, and scratches, breathing new life into forgotten memories.
It’s more than just a technical fix. Seeing a cherished moment restored with such clarity is a genuinely powerful emotional experience.
Let's imagine a real-world scenario. You've just scanned a treasured but beat-up wedding photo of your grandparents. The image is horribly faded, there's a big tear running right through the middle, and it's covered in tiny scratches from decades spent in a dusty shoebox. Not too long ago, fixing this would have meant sending it to a professional for hours of painstaking Photoshop work.
A Step-by-Step Tutorial for AI Restoration
Today, you can get incredible results yourself in just a few minutes. Here's a quick walkthrough using a typical AI restoration tool:
- Upload Your Scan: Go to an AI restoration platform and upload your high-resolution scan (that beautiful 600 DPI TIFF file we talked about).
- Fix Physical Damage First: Start with the most significant damage. Look for a Scratch & Tear Removal feature. With one click, the AI will analyze the photo, identify the damage, and intelligently reconstruct the missing pixels. It feels like magic when you watch a big crease or tear just disappear.
- Correct Color and Fading: If the original colors have faded into a dull, yellowish haze, use the Color Correction feature. This will bring back the original tones and contrast. For black-and-white photos, the Colorization tool is what you want. It adds realistic color by making surprisingly accurate guesses on everything from skin tones to the specific shades in clothing.
- Enhance Key Details: Finally, use a Facial Enhancement or Sharpen feature. This is especially amazing for portraits. It can sharpen blurry faces, bring out lost detail in eyes and hair, and clean up image noise—all without making your relatives look plastic or unnatural.
- Download Your Restored Photo: Once you're happy with the preview, download the finished, high-resolution image.
A Quick Tip From Experience: Apply one enhancement at a time and check the results before moving to the next. If you throw every automated feature at it at once, you can end up with something that looks over-processed. I find it’s best to fix the biggest issue first (like a tear), then move on to the finer details like color and facial sharpness.
Seeing the Full Transformation
The real power is in seeing the combined effect. The AI might first mend the tear, then correct the sepia-toned fading to restore crisp contrast. After that, applying facial enhancement can bring a softly focused face into stunning, sharp detail.
Suddenly, you have a photo that looks like it could have been taken yesterday, not 50 years ago. The emotional punch of seeing a familiar but damaged photo reborn in vibrant, complete detail is something you really have to experience for yourself. It connects you to that captured moment in a whole new way.
If you want to get into the nitty-gritty of how these tools work, our guide on AI image enhancement takes a much closer look at the technology behind the curtain. This whole process is a crucial part of preserving old photos so they're ready to be shared and enjoyed by a new generation.
Organizing Your Digital Photo Archive
So you've spent all this time carefully scanning and restoring your old photos. That's a huge win! But now you're left with a folder full of files named "IMG_1234.tiff," and that's not an archive—it's just a digital shoebox.
The final, crucial step in this whole process is getting those digital files organized. Without a good system, you risk losing track of what's what, and all that precious context vanishes. A smart, simple structure is what turns that digital shoebox into a legacy you can actually search, share, and enjoy for years to come.
Create a Simple Folder and File Structure
Here's a step-by-step guide to building your digital archive structure:
- Create a Main Folder: On your computer, create one main folder and name it something clear, like "Family Photo Archive."
- Organize by Decade: Inside that main folder, your first level of organization should be by decade. Create subfolders for "1960s," "1970s," "1980s," and so on. If you have a bunch of photos from a specific year, you can get even more granular with folders like "1975" or "1982."
- Implement a Naming System: A consistent naming convention is your best friend here. I’ve found the most effective format is YYYY-MM-Event-Descriptor. Let's say you have a picture from a Christmas party back in 1985. Instead of leaving it as a generic camera filename, you'd rename it to: 1985-12-Christmas-GrandmaJones.tiff.
- Batch Rename Your Files: Rename your scanned files as you save them, or use a batch renaming tool (many free options are available online) to apply your new naming system to a group of photos at once. This simple trick automatically sorts all your photos chronologically and makes searching a breeze.
Add Lasting Context with Metadata
While a great filename is a huge step up, metadata is the secret weapon for long-term preservation. Think of metadata as a digital "note on the back of the photo." Here's how to add it:
- On Windows: Right-click the photo file, go to
Properties, and click on theDetailstab. You can add a title, subject, tags (keywords like names), and comments. - On a Mac: Open the photo using the
Previewapp, head to theToolsmenu, and selectShow Inspector. Go to the "Keywords" tab to add names or event details.
This data travels with the image forever, no matter where you copy or move it. This is the stuff that gives a photo its soul, and it's what your family will thank you for decades from now.
Implement the 3-2-1 Backup Rule
I can't stress this enough: a single hard drive is not an archive. It's a single point of failure just waiting for a bad day. To truly safeguard your digital collection, you need a robust backup strategy, and the gold standard in the industry is the 3-2-1 Backup Rule.
The 3-2-1 Backup Rule is a simple but powerful concept: Keep at least 3 copies of your data, store them on 2 different types of media, and make sure 1 of those copies is stored off-site. This layered defense gives you near-bulletproof protection against almost any disaster, from a hard drive crash to a house fire.
This might sound like a lot, but it’s actually very practical.
The 3-2-1 Backup Strategy in Practice
Here's a simple table breaking down how you can apply this professional strategy to your own family archive.
| Component | Description | Practical Example |
|---|---|---|
| Copy 1 (Primary) | Your main, working copy. | Stored on your computer's internal hard drive for easy access. |
| Copy 2 (Local) | A backup on a different device in your home. | An external hard drive you connect weekly to sync your archive. |
| Copy 3 (Off-Site) | A backup stored in a different physical location. | A secure cloud storage service like Google Drive or Dropbox. |
This setup ensures that no single event can wipe out your entire collection. For your cloud backup, especially if you've improved low-resolution scans, you might need a high-quality online image upscaler to ensure they look fantastic at any size before you upload them.
Common Questions About Photo Preservation
As you dive into your own photo preservation project, it’s completely normal for questions to bubble up. The process involves a lot of small, but surprisingly important, details. Here are some straightforward, practical answers to the questions we hear most often, giving you the confidence to get it right.
Can I Write on the Back of Old Photos?
It’s so tempting to grab a pen and jot down names and dates right on the back of a print. I get it. But please, don't. Ink from most pens, especially ballpoint or felt-tip markers, can bleed through the paper over time, leaving a permanent stain right on the face of the photograph.
If you absolutely must write on the print itself, your safest option is a soft graphite pencil—a standard #2 pencil works perfectly. Write very gently on the back, ideally within a white border area. This minimizes any pressure marks or indentations that could damage the photo's fragile emulsion layer.
The best approach, however, is to avoid writing on the photo entirely. Instead, capture all that crucial information—names, dates, stories—on the acid-free archival sleeve or the enclosure you store it in. This keeps the history connected to the photo without putting the original print at risk.
What Should I Do if Photos Are Stuck Together?
Finding a clump of old photos fused together by time or moisture can be a heart-stopping moment. Your gut instinct might be to just pull them apart. Resist that urge! Forcing them apart will almost certainly tear the delicate image surface, causing damage that can't be undone.
This is truly one of those situations where calling in a professional is the best move. A photo conservator has the specialized equipment and knowledge to use controlled humidity and painstaking techniques to safely separate the prints. Trying this at home is a huge gamble with your precious memories.
Are Those Old 'Magnetic' Photo Albums Safe?
Those peel-and-stick "magnetic" albums that were everywhere in the 1970s and 80s are, unfortunately, one of the worst things for your photos. They are a preservation nightmare, loaded with acidic materials that cause incredible damage over the long run.
The sticky adhesive on the pages contains acids that will turn your photos yellow and make them brittle. To make matters worse, the clear plastic film covering the pages often off-gases harmful chemicals that speed up fading and decay. If you have photos in these albums, I strongly recommend carefully removing them as soon as you can and moving them into modern, archival-quality sleeves and boxes.
What Is the Most Important Thing for Physical Photos?
If you can only focus on one thing, make it environmental control. It is the single most impactful factor in preserving your physical photo collection.
Keeping your photos in a stable, cool, and dry place is everything. You're aiming for a spot with low humidity (ideally between 30-50%) and away from any direct sunlight or harsh artificial light. This is exactly why you should always avoid storing them in attics and basements—the extreme swings in temperature and moisture in those areas will rapidly destroy them. A closet in a climate-controlled part of your house is often the perfect spot.
Bringing your priceless memories back to life is an incredibly rewarding process. Once your photos are safely scanned and organized, you can take them to the next level with powerful, easy-to-use AI tools. At AI Photo HQ, we make professional-grade photo restoration accessible to everyone. Fix tears, correct fading, and even colorize black-and-white images in seconds. Explore our photo restoration tools and start your project today!

