Your camera roll is a treasure trove of moments, but how do you display them in a way that truly tells a story? A well-crafted photo collage is more than just a random assortment of pictures; it’s a personal work of art, a visual narrative that captures the essence of your memories. Moving beyond basic grids and automated app layouts allows you to create something truly meaningful and visually stunning. This guide is designed to provide you with fresh, actionable ideas for a collage of photos that transform your digital files into tangible masterpieces.
We will explore a curated selection of creative concepts, each accompanied by practical, step-by-step instructions. You will learn specific techniques for everything from creating a mosaic that forms a larger image to building a layered collage with real depth. For those looking to add an extra layer of fun and spontaneity to their source material, exploring unique photo booth ideas can provide a wealth of thematic and candid images perfect for any project. Whether you're a DIY enthusiast, a scrapbooker, or simply looking for a heartfelt gift, you'll find inspiration and clear directions to help you start creating today.
1. Mosaic Photo Collage
A mosaic photo collage is a compelling technique where one large, primary image is recreated using hundreds or even thousands of smaller, individual photos, often called "tiles." From a distance, the viewer sees the main image, but up close, the intricate details of the smaller pictures become visible. This powerful method is one of the most impactful ideas for a collage of photos, transforming a vast collection of memories into a single, cohesive piece of art.
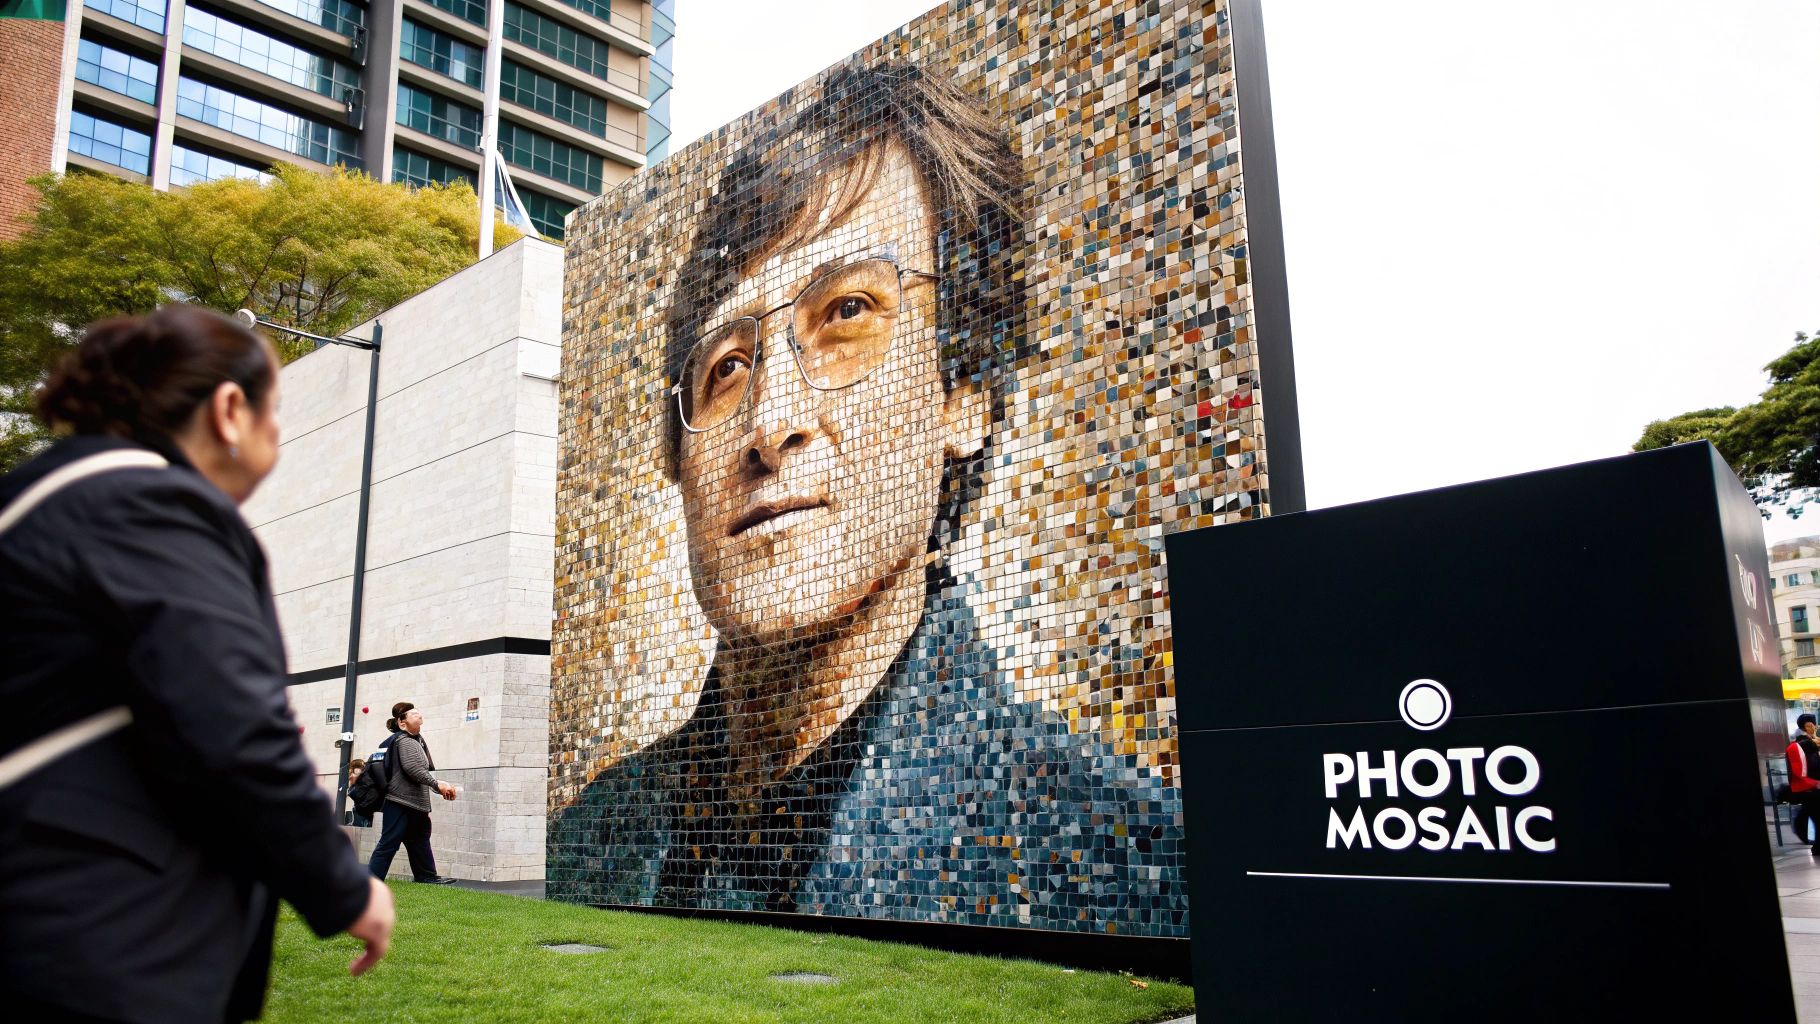
This approach is perfect for commemorating major life events or celebrating a collective identity. Imagine a wedding portrait of a couple composed of photos from their relationship, engagement, and the wedding day itself. A company could create its logo using headshots of every employee, fostering a sense of unity. Other powerful examples include using travel photos to form a world map silhouette or creating a family tree design from pictures of relatives gathered at a reunion.
How to Create a Photo Mosaic
Creating a striking mosaic is a digital process that relies on specialized software to analyze and arrange your photos. Here's a step-by-step tutorial:
- Select Your Images: First, choose a high-resolution primary image. A simple portrait or a bold shape with strong contrast works best. Next, gather at least 100-200 "tile" images. The more tile photos you have, the more detailed your final mosaic will be.
- Use Mosaic Software: Download a program like AndreaMosaic (freeware) or use an online generator. Within the software, you'll typically follow these steps:
- Load your single main image.
- Add your entire folder of tile images. The software will create a library from them.
- Set the parameters, such as the number of tiles across the mosaic (e.g., 30x40 tiles).
- Initiate the "Create Mosaic" process. The software will analyze the colors in your main image and place your tile photos to match those colors.
- Refine and Print: Once the software generates a draft, zoom in to review it. You may need to adjust settings (like allowing tile duplication or color correction) and regenerate it for a better result. When you're satisfied, export the final image in high resolution for printing.
Pro Tip: For the best results, ensure your library of tile photos has a wide variety of colors. The software needs a diverse color palette to accurately match the tones in your main image. Sort your tile photos into folders by dominant color (e.g., blues, reds, greens) to help the software work more efficiently.
2. Timeline Story Collage
A timeline story collage arranges photos in chronological order to narrate a journey or document a progression over time. This linear layout guides the viewer through a sequence of events, using dates, captions, and milestone markers to build a clear and compelling visual story. This method is one of the most heartfelt ideas for a collage of photos, turning a series of moments into a coherent and moving narrative.
This approach is exceptionally effective for capturing growth, change, and significant journeys. Consider a baby's first year documented month-by-month, a couple’s relationship from their first date to their wedding day, or a home renovation showing the before, during, and after stages. Other powerful examples include a student's academic path from kindergarten to graduation or a travel diary with daily highlights from an unforgettable adventure. The chronological structure makes the passage of time tangible and meaningful.
How to Create a Timeline Story Collage
Crafting an effective timeline collage requires careful curation and a focus on storytelling. This step-by-step guide helps create a visual flow that is both logical and emotionally resonant. For a deeper dive into narrative-driven visuals, you can learn more about visual storytelling techniques.
- Select Milestone Photos: First, identify 5-10 key moments that define your story. Don't include every photo; choose the ones that represent significant milestones (e.g., first date, engagement, wedding). Arrange them in chronological order.
- Design the Layout: On a poster board or in a digital tool like Canva, draw a faint horizontal line to act as your timeline. Space out your photos along this line. A left-to-right flow is most intuitive.
- Add Context and Embellishments: Below each photo, write a brief caption and the date. Use a clean, legible font. To connect the moments, you can use the drawn line, a piece of string, or printed arrows to guide the eye from one photo to the next. Secure the photos with acid-free glue or tape.
Pro Tip: Maintain visual harmony by using photos with consistent sizing and orientation. If your photos vary greatly, consider editing them to have a uniform aspect ratio or frame them with a consistent border. This creates a polished, cohesive look that keeps the focus on the story.
3. Shape-Based Collage
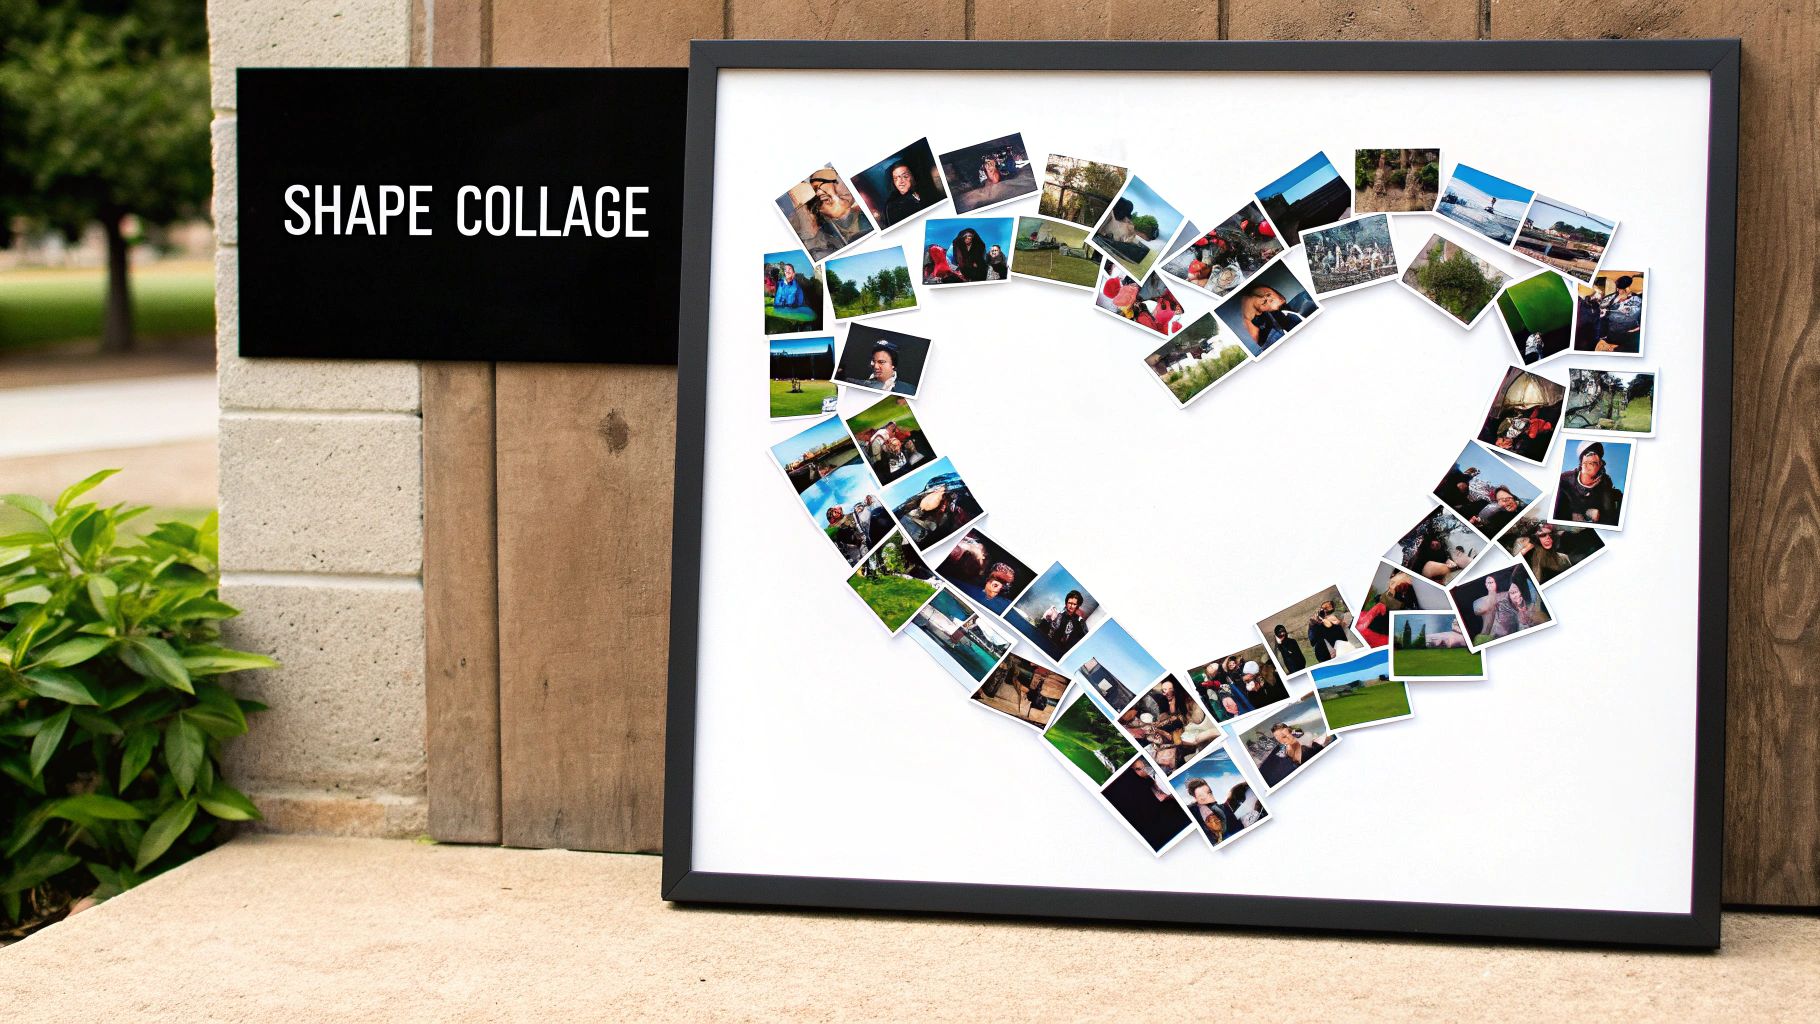
A shape-based collage is an imaginative technique where photos are carefully arranged and cropped to form a specific, recognizable shape. Instead of a standard grid, the overall silhouette becomes the organizing principle, with individual photos serving as colorful building blocks. This approach is one of the most personal and thematic ideas for a collage of photos, turning your memories into a symbolic and visually striking piece of art.
This method is exceptionally well-suited for celebrating milestones and relationships with a clear theme. For an anniversary, a heart shape filled with a couple's favorite moments tells a beautiful story. A collage in the shape of the number "50" makes a memorable centerpiece for a milestone birthday party. Other creative examples include a star shape showcasing photos of a graduate's achievements, a pet’s silhouette filled with their most adorable pictures, or initials spelling out a name for a personalized nursery decoration.
How to Create a Shape-Based Collage
Creating a well-defined shape collage requires careful planning and precision. This tutorial works for both physical and digital methods.
- Define Your Shape and Template: Choose a simple, bold shape (e.g., a heart, a letter, a number). For a physical collage, draw or print this shape onto a large piece of poster board to create your base. For a digital collage, use a shape tool in a program like Canva or Photoshop to create your template.
- Place Key Photos: Select 3-5 of your most important photos. Place these first at key points within the shape (e.g., the center of a heart or the top of a number) to anchor the design.
- Fill and Trim: Arrange your smaller photos around the key ones, overlapping them to fill the empty space. For a physical collage, lay them out without glue first. Once you're happy, glue them down, then flip the board over and use an X-Acto knife to trim the overhanging photo edges to match the shape outline. For a digital version, use clipping masks to fit each photo into its designated area.
Pro Tip: When choosing photos, pay attention to the background. Images with "busy" or distracting backgrounds can make the final shape look messy. Prioritize photos with simpler backgrounds or subjects that can be easily isolated, which will help the overall silhouette appear clean and defined.
4. Layered Depth Collage
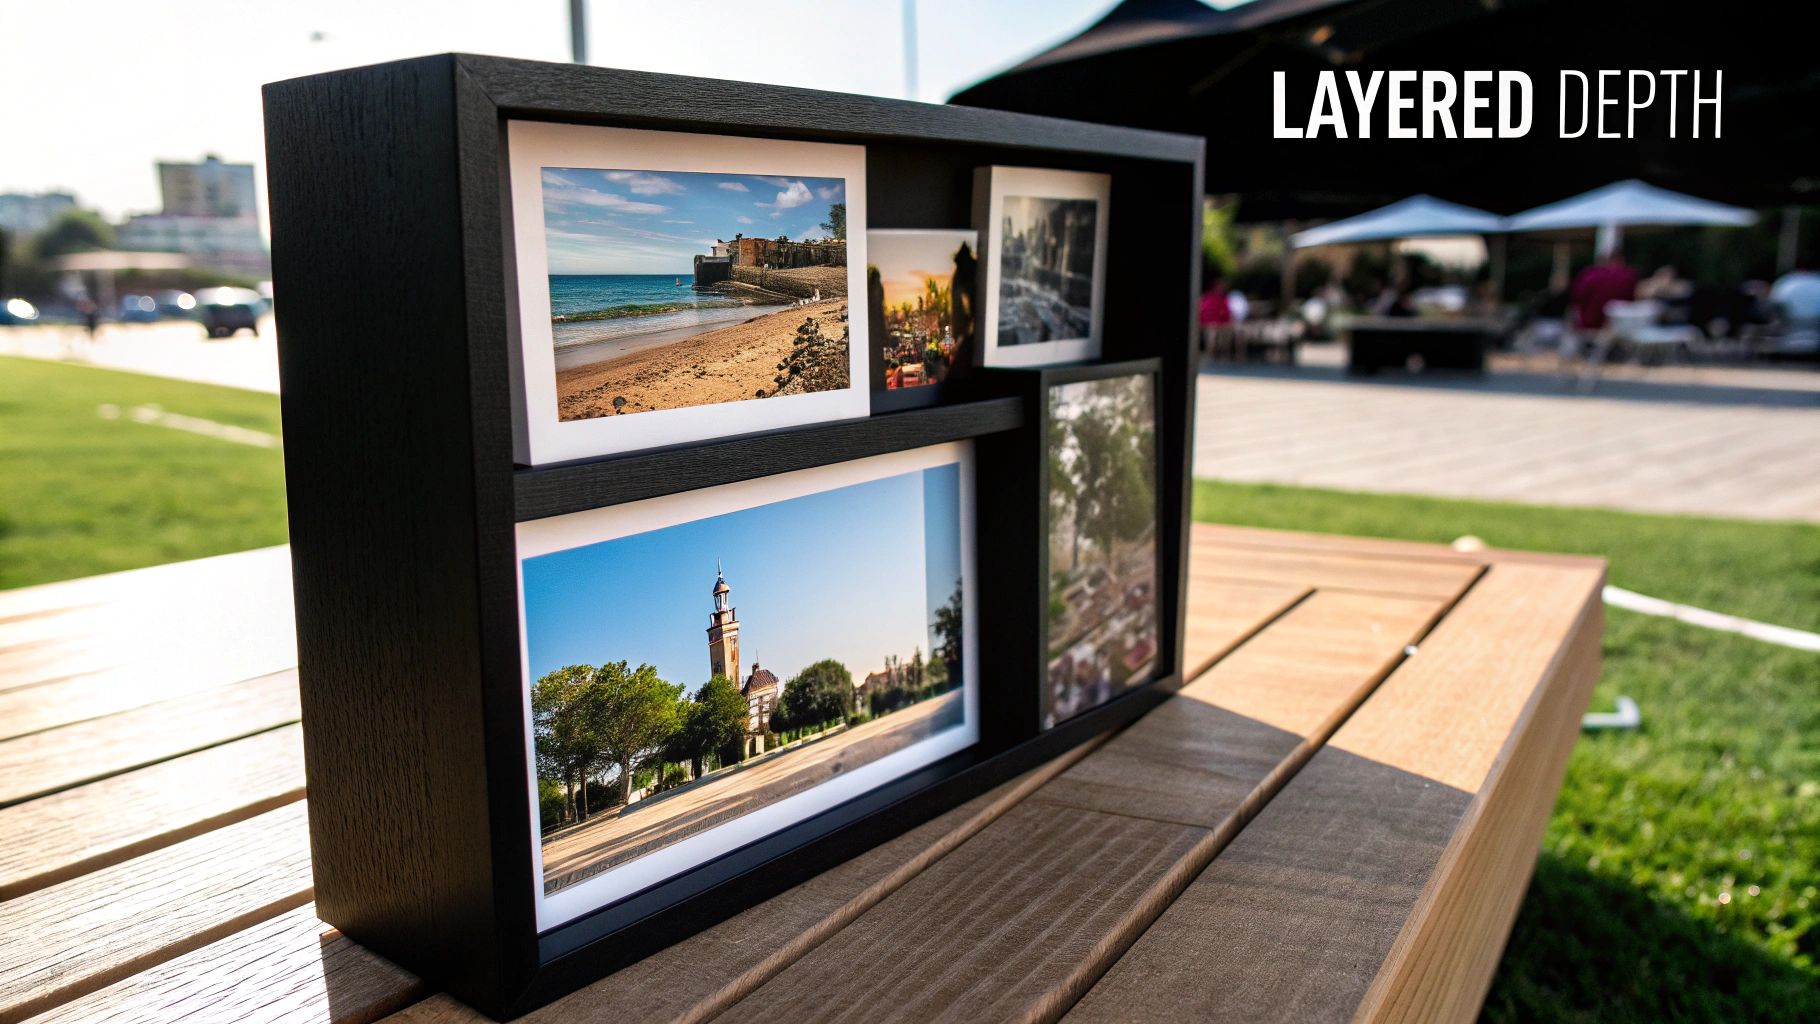
A layered depth collage transforms a flat collection of photos into a dynamic, three-dimensional piece of art. This technique involves layering photos at different heights and angles, often using materials like foam mounting tape or shadow boxes, to create physical depth. The result is a sculptural display where certain photos appear to float in front of others, adding dramatic visual interest and drawing the viewer’s eye to key moments. This is one of the more artistic ideas for a collage of photos, perfect for making a statement piece.
This method is ideal for telling a story with a clear hierarchy. For instance, a wedding collage could feature a prominent ceremony photo layered over smaller, supporting images of the reception and guests. Travel memories can be arranged with a main destination photo appearing closest, with smaller detail shots receding into the background. Another powerful use is an achievement showcase where a photo of a milestone moment is physically raised above pictures of the journey that led to it.
How to Create a Layered Depth Collage
Building a layered collage is a hands-on physical assembly process. Follow this tutorial for a stunning 3D effect in a shadow box.
- Plan Your Layers: Choose a deep shadow box frame. Lay out your photos and decide which will be in the background (Level 1), middle ground (Level 2), and foreground (Level 3). Your most important photo should be in the foreground.
- Prepare Your Materials: Cut your photos to size. For the raised elements, get double-sided foam mounting tape or foam board. For Level 2, use a single layer of foam tape. For Level 3, stack two layers of foam tape to create more height.
- Assemble from Back to Front:
- Level 1 (Background): Glue or tape your background photos directly onto the backing of the shadow box.
- Level 2 (Middle Ground): Apply a single layer of foam tape to the back of your mid-ground photos and press them firmly into place over the background images.
- Level 3 (Foreground): Apply a double layer of foam tape to the back of your main photo and place it on top. This creates the most prominent layer.
Pro Tip: Pay close attention to lighting and shadows. Before permanently fixing photos, hold them in place and observe how light hits them. Consistent lighting enhances the 3D effect, while inconsistent shadows can make the collage look messy. Consider where the final piece will hang and how the room's light source will interact with it.
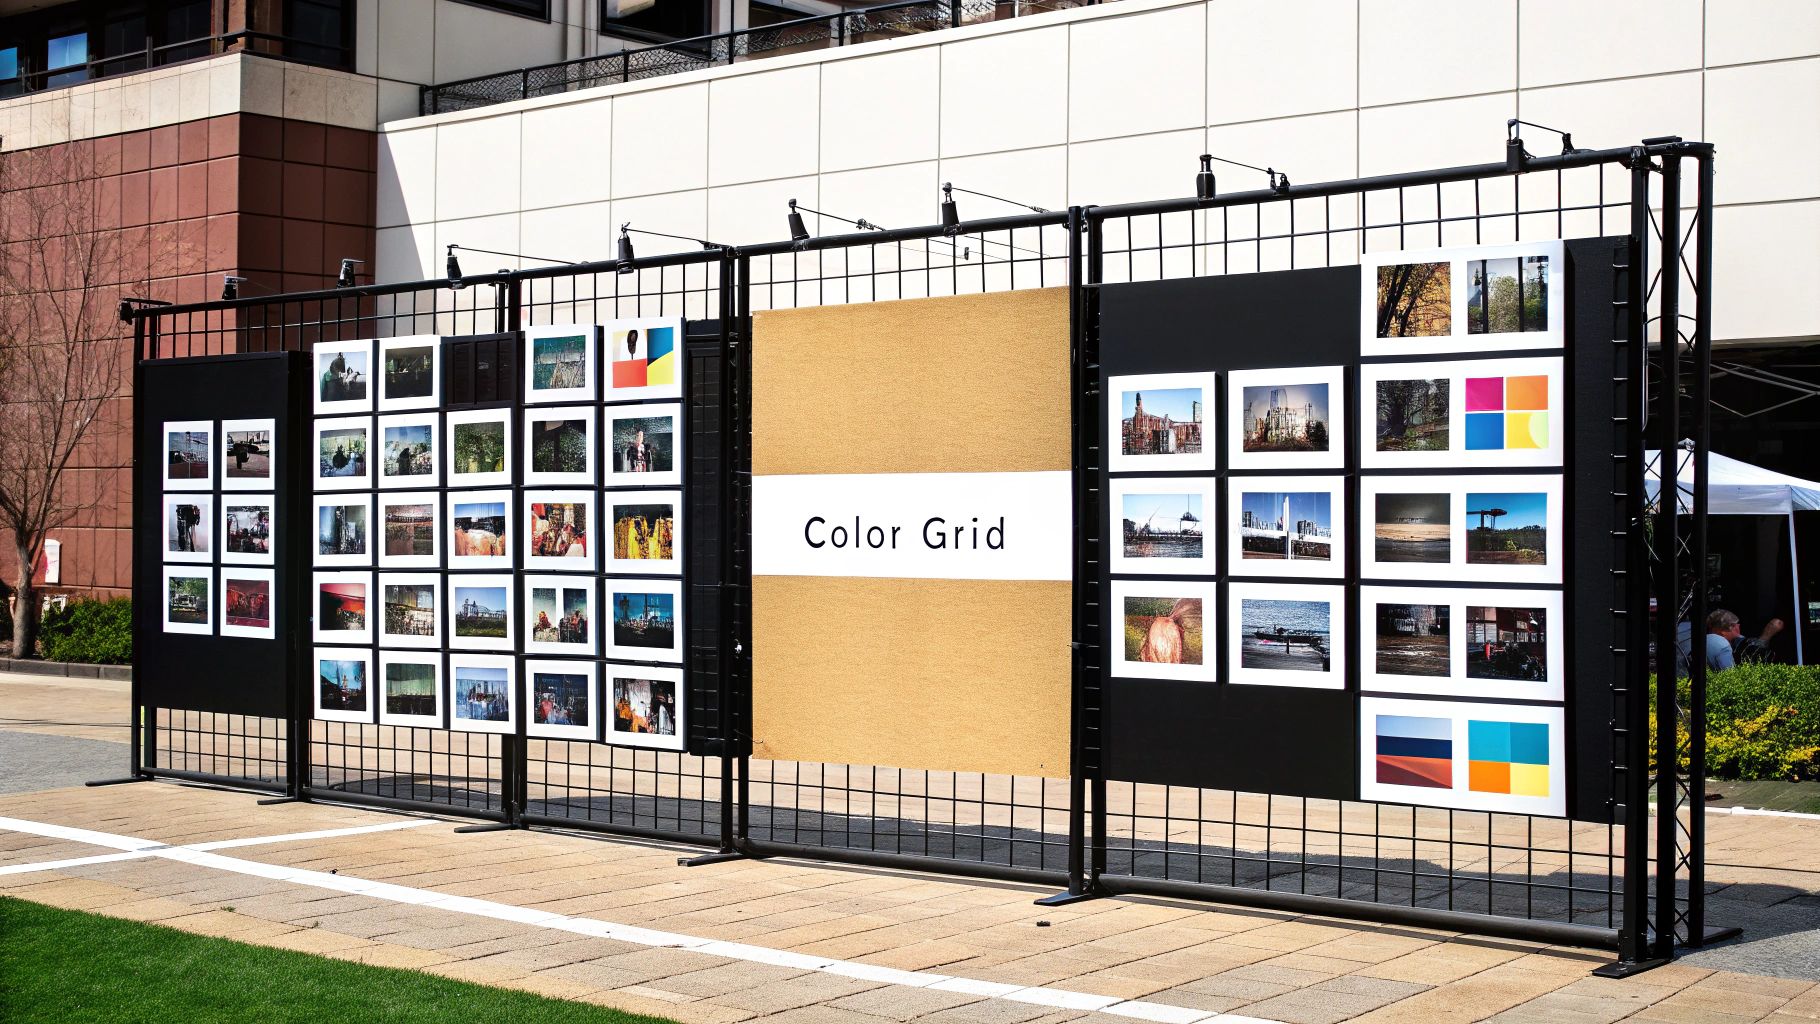
5. Color-Coordinated Grid Collage
A color-coordinated grid collage arranges photos in a structured grid pattern based on a shared color scheme or gradient. This sophisticated technique prioritizes visual harmony and aesthetic cohesion over chronological order or thematic links. The result is a gallery-worthy display that feels both deeply personal and artistically curated, making it one of the most stylish ideas for a collage of photos.
Popularized by Instagram influencers and modern interior designers, this method turns your photo collection into a piece of abstract art. Imagine a grid dedicated to warm tones, featuring snapshots of autumn leaves, cozy sweaters, and golden-hour portraits. Another compelling example is creating a blue-to-green gradient using a mix of ocean, forest, and travel photos. This approach is perfect for adding a chic, intentional design element to a room, such as a monochromatic black-and-white photo wall or a vibrant display of sunset pictures arranged from bright yellow to deep red.
How to Create a Color-Coordinated Grid
Achieving a harmonious color grid requires a thoughtful eye for color and a bit of planning. This step-by-step tutorial will guide you.
- Define Your Color Palette: Decide on your color story. Will it be monochromatic (shades of blue), analogous (blues and greens), or a gradient (from yellow to orange to red)? Use an online tool like Coolors to find a palette that works with your room's decor.
- Curate and Edit Photos: Go through your photo library and select images where your chosen color is dominant. Use a photo editing app (like VSCO or Lightroom Mobile) to apply the same filter or preset to all photos. This will unify the tones and create a cohesive aesthetic.
- Arrange and Mount: Use a ruler and pencil to lightly mark out a grid on your wall or a large poster board, ensuring equal spacing between each photo location. A 1-inch gap is standard. Use a level to place your first photo, then work outwards, using your grid lines to ensure perfect alignment. Use double-sided tape or wall-safe adhesive strips to mount the prints.
Pro Tip: Before committing to a full set of prints, print small test strips of your key photos. This allows you to check the color accuracy and see how the tones look on paper, as screen colors can often differ from printed results. This small step can save you time and money.
6. Mixed Media Integration Collage
A mixed media integration collage elevates a standard photo display by blending photographs with various other artistic and tangible elements. This technique moves beyond a simple arrangement of pictures, incorporating items like handwritten text, drawings, fabric swatches, pressed flowers, tickets, or maps. The result is a rich, textural piece that tells a multi-layered story, engaging the viewer not just visually but also on a tactile and emotional level, making it one of the most personal and creative ideas for a collage of photos.
This method is exceptionally suited for capturing the full essence of a memory. For instance, a travel collage could feature photos alongside airline tickets, a local map, and pressed flowers from the destination. A wedding memory board might combine professional photos with pieces of the invitation, a dried flower from the bouquet, and a swatch of lace from the dress. Other powerful examples include a baby's first-year board with photos, the hospital bracelet, and handwritten milestone notes, or a graduation display featuring pictures, a tassel, and achievement certificates.
How to Create a Mixed Media Collage
Building a harmonious mixed media piece is about balancing different textures and items. This tutorial walks you through creating a balanced composition.
- Gather Your Elements: Select your core photos. Then, collect physical memorabilia (tickets, letters, maps), textural items (fabric, lace, ribbon), and art supplies (paint, pens, stamps). Choose a sturdy base like a canvas panel or corkboard.
- Create the Background: Before adding photos, create a background layer. You can paint the canvas a solid color, create a watercolor wash, or glue down pages from an old book or map to add an initial layer of texture.
- Arrange and Assemble in Layers:
- Start by placing the flattest items, like your photos and paper memorabilia.
- Next, add your textural elements, like fabric or ribbon, weaving them around the photos.
- Finally, add the smallest, most three-dimensional items, like a dried flower, a key, or a button, on top. Use a strong craft glue or hot glue gun for heavier objects.
Pro Tip: For preservation, always use acid-free materials, especially for adhesives and papers that will touch your photos. This prevents yellowing and degradation over time. To add an artistic flourish, you can also use digital tools to apply painterly effects to your photos before printing them. Learn more about applying AI image style transfer to photos to give them a unique, artistic feel that complements your other media.
7. Polaroid-Style Instant Photo Collage
A Polaroid-style collage captures the nostalgic charm of instant film, creating a warm and personal display. This approach uses photos with the classic white border, whether you're using genuine instant film prints or editing digital photos to mimic the look. The result is a wonderfully casual and authentic-feeling collection of memories, making it one of the most heartwarming ideas for a collage of photos.
This style excels at showcasing spontaneous, candid moments. It's perfect for a college dorm room wall filled with pictures of friends, a cozy kitchen display of everyday family life, or even a wedding reception where guests can pin their own instant photos to a board. The aesthetic evokes a sense of immediacy and authenticity, transforming any collection of images into a tangible timeline of cherished experiences.
How to Create a Polaroid-Style Collage
Achieving the vintage instant-photo look is straightforward and perfect for a casual, DIY project. Here’s a simple how-to.
- Get Your Photos: Use a Fujifilm Instax or Polaroid camera for authentic prints. Alternatively, use an app like Polaroid Originals or a printing service (like Shutterfly) that offers "retro" prints from your digital photos.
- Add a Personal Touch: Using a fine-tip permanent marker (like a Sharpie), write a short caption, date, or inside joke on the wide bottom border of each photo. This step is key to achieving the classic, personal scrapbook feel.
- Arrange and Display Creatively: Ditch the perfect grid. Create a more organic look by:
- String & Clips: Hang a piece of twine on the wall and use small wooden clothespins to clip the photos along the line.
- Fairy Lights: Weave your photos into a string of fairy lights using transparent tape or clips for a warm, glowing display.
- Washi Tape: Use colorful washi tape on the corners of each photo to stick them directly to the wall in a freeform, slightly overlapping pattern. For more creative photo ideas, consider different ways to layer and display your prints.
Pro Tip: When editing digital photos to look like Polaroids, apply a filter that slightly desaturates the colors and adds a subtle warm or cool tint. This will better replicate the unique color chemistry of classic instant film, giving your collage a more cohesive and genuinely vintage vibe.
7 Photo Collage Style Comparison
| Collage Type | Implementation Complexity 🔄 | Resource Requirements ⚡ | Expected Outcomes 📊 | Ideal Use Cases 💡 | Key Advantages ⭐ |
|---|---|---|---|---|---|
| Mosaic Photo Collage | High – requires specialized software & many photos | High – 100 to 10,000+ photos needed | Strong visual impact, dual viewing levels | Commemorations, professional displays, large collections | Impressive scale and photo utilization |
| Timeline Story Collage | Medium – photo sorting and chronological layout | Medium – moderate photo collection | Clear narrative, easy to follow story | Documenting journeys, life milestones, gifts | Personal and meaningful storytelling |
| Shape-Based Collage | Medium to High – photo cropping and fitting to shapes | Medium – requires many photos and cropping | Strong symbolic visuals, recognizable shapes | Special occasions, gifts, branding | Customizable, personal, visually distinctive |
| Layered Depth Collage | High – meticulous layering and mounting | High – 3D materials and space required | Dramatic, tactile visual depth | Gallery-quality art, event highlights, home displays | Unique 3D effect, professional appeal |
| Color-Coordinated Grid Collage | Medium – color sorting & consistency | Medium – large collection with color variety | Sophisticated, modern aesthetic | Interior design, social media displays | Visual harmony, easy expansion |
| Mixed Media Integration Collage | High – combines various materials and art forms | High – diverse materials and prep needed | Rich texture, storytelling through mediums | Artistic projects, memory keepsakes, personalized gifts | Multi-medium richness, highly personal |
| Polaroid-Style Instant Photo Collage | Low to Medium – casual arrangement and photo editing | Low to Medium – fewer photos, some editing | Nostalgic, casual vintage look | Informal displays, memories, trendy aesthetics | Easy to create, nostalgic and authentic vibe |
Bring Your Vision to Life
From the intricate detail of a mosaic photo collage to the narrative power of a timeline story, we've explored a diverse landscape of creative possibilities. You now have a robust toolkit filled with actionable ideas for a collage of photos that moves beyond simple grids and embraces true artistry. The journey from a folder of digital files to a stunning, tangible masterpiece is a rewarding one, built on the foundations of theme, layout, and personal expression.
The key takeaway is that a collage is more than just a collection of pictures; it's a visual story. Whether you choose the nostalgic charm of a Polaroid-style arrangement, the bold statement of a shape-based design, or the sophisticated elegance of a color-coordinated grid, the most impactful results come from intentionality. By defining your narrative first, you can select the perfect technique to bring it to life, ensuring every photo contributes to a cohesive and compelling whole.
Your Actionable Next Steps
To transform these concepts into reality, start with a simple, focused project. Don't feel pressured to tackle a massive, wall-spanning piece on your first attempt.
- Select Your Core Theme: Revisit the ideas we've covered. Are you celebrating a relationship? Documenting a year of growth? Showcasing a specific color palette? Choose one central concept to guide your project. For example, if you pick a "Timeline Story Collage," gather photos from a specific vacation in chronological order.
- Curate Your Images: Go through your photo library and select a generous number of high-quality images that fit your theme. More is better at this stage; you can narrow them down later. Look for a mix of portraits, landscapes, and detail shots to add visual interest.
- Perform a Test Layout: Before you commit to printing or gluing, arrange your chosen photos digitally or physically. Use a program like Canva or even just a large piece of paper to play with spacing, overlap, and flow. This is the moment to experiment with the layered depth technique or perfect the alignment for a grid collage.
By mastering these foundational approaches, you unlock the ability to turn memories into art. You are no longer just archiving photos; you are curating experiences and creating powerful visual anchors for your most cherished moments. This skill is invaluable, allowing you to create personalized gifts, unique home decor, and compelling content that resonates deeply with an audience. Start small, embrace the process, and watch as your vision and your stories come together in a beautiful, unified display.
Ready to elevate your collage with perfectly styled, high-resolution images or restore cherished old photos to their former glory? The powerful AI tools at AI Photo HQ can generate unique visuals and bring vintage pictures back to life, providing you with the perfect, professional-quality assets for any collage project. Explore the creative possibilities and enhance your next masterpiece at AI Photo HQ.

