
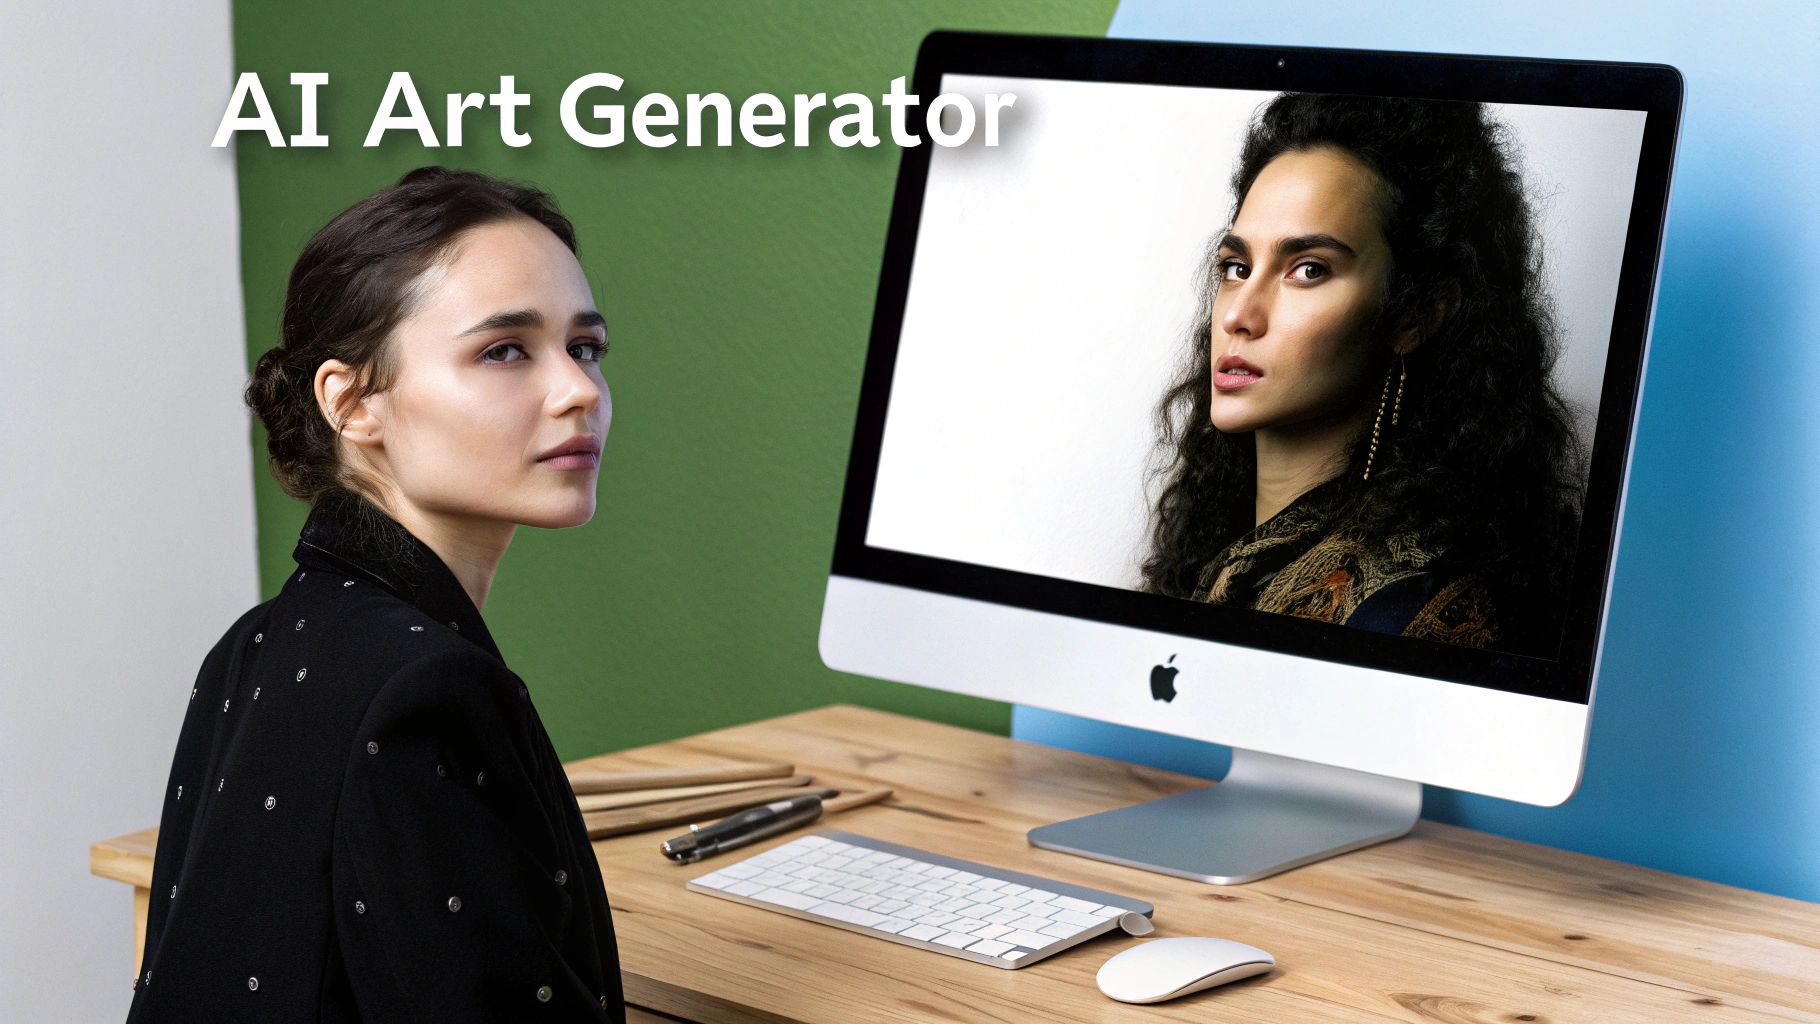
Ever look at a photo and think, "This would make an amazing painting" or "I wonder what this would look like as a sci-fi concept sketch?" That’s exactly where an AI art generator from photo comes in. These tools take a snapshot you already have and completely reimagine it, applying artistic styles to turn something familiar into something totally new.
From Photo to Masterpiece in Minutes
We're not just talking about slapping a generic filter on your picture. This guide will show you how to get hands-on with the creative process. You’ll learn how to pick the right photos to start with, write prompts that actually guide the AI, and tweak the final results until they match what’s in your head.
Think transforming a family portrait into a soft watercolor painting, or turning a vacation photo into a gritty, neon-drenched cyberpunk scene. This is your playbook for making it happen.
This isn't just a niche hobby anymore; it's a massive creative movement. Anyone can jump in and start experimenting with styles that once took years of practice to master. It's a true collaboration—your photographic eye paired with the AI's artistic muscle.
The scale of this is mind-boggling. Between 2022 and 2023, AI tools generated over 15 billion images. For perspective, it took traditional photography 150 years to reach that same volume. With platforms like Stable Diffusion and Midjourney churning out millions of new images every day, it's clear people are hooked. You can dive deeper into these trends with these incredible AI art statistics.
What to Expect From This Guide
My goal here is to give you practical skills you can use right away. Instead of just listing off features, we're going to walk through the creative journey from start to finish. You’ll get a real feel for how to steer the AI to get the results you actually want.
- Picking the Right Photo: We'll cover why some photos work way better than others as a starting point for an AI transformation.
- Crafting Killer Prompts: This is the secret sauce. Learn how to write descriptive prompts that blend your photo's content with a new artistic vision.
- Refining Your Style: Go beyond the defaults. I'll show you how to adjust key settings to control just how much of the original photo shines through in the final piece.
By the time we're done, you'll have the confidence to turn any of your photos into a unique piece of art that’s all you.
To give you a bird's-eye view, here's a quick breakdown of the process we'll be following.
Quick Guide to Transforming Photos into AI Art
This table outlines the core process, from selecting your photo to finalizing your unique AI-generated artwork.
| Phase | Action | Primary Goal |
|---|---|---|
| Preparation | Select a high-quality, clear source photo. | Provide the AI with strong visual data to work from. |
| Stylization | Choose a style or write a descriptive text prompt. | Define the artistic direction for the new image. |
| Generation | Run the AI model to generate the initial artwork. | Create the first version of your AI masterpiece. |
| Refinement | Adjust settings like style strength and seed. | Fine-tune the output to better match your creative vision. |
| Finalization | Export and save your favorite version. | Produce a high-resolution image ready for use or sharing. |
Think of this as your road map. Now, let's dive into the first step and get our hands dirty.
Choosing and Preparing Your Source Photo
Your journey from a simple snapshot to a jaw-dropping AI creation begins way before you even think about clicking “generate.” I’ve learned this the hard way: the quality of the art you get out is directly tied to the quality of the photo you put in.
Think of your source photo as the blueprint. A clear, detailed blueprint gives the AI strong instructions, which almost always leads to a more compelling final piece.
If you feed the AI a blurry, poorly lit group shot, it’s just going to get confused. You’ll likely end up with a muddy, indistinct mess. But give it a portrait with a sharp focus and strong lighting? Now you've provided clear data for it to interpret and transform. It’s the difference between giving an artist a vague idea versus a detailed sketch to work from.
Step 1: Selecting the Perfect Photo
So, what makes a photo the perfect candidate for an ai art generator from photo? Before you upload your next picture, take a second to see if it ticks these boxes. A few minutes of careful selection can save you a ton of frustration later on.
Here’s my personal checklist:
- A Clear Subject: Your main person, object, or pet needs to be in sharp focus and pop from the background. If the subject blends in too much, the AI will struggle to figure out what it's supposed to be stylizing.
- Good Lighting and Contrast: Photos with a nice range of light and shadow give the AI more to play with. Flat, even lighting usually results in flat, uninteresting AI art. No one wants that.
- High Resolution: This isn't always a deal-breaker, but higher-resolution images contain more detail. That extra data helps the AI produce a richer, more intricate result.
The goal here is to eliminate as much ambiguity as possible. The more clearly your photo communicates its subject and form, the more creative freedom the AI has to apply a cool style without losing the soul of your original image.
Step 2: Making Quick Edits for Better Results
You don't need to be a Photoshop pro to get your photo ready. In fact, the editing tools already built into your smartphone are more than powerful enough to make a real difference.
Here's a quick tutorial using your phone's built-in editor:
- Open the Photo: Find the image in your gallery and tap 'Edit'.
- Crop for Focus: Use the crop tool. If your subject is lost in a busy scene, just crop in tightly to make them the undeniable focus. This one move instantly tells the AI what’s important.
- Boost Contrast: Find the 'Contrast' slider and increase it slightly. This will make the darks darker and the lights lighter, helping your subject stand out.
- Adjust Brightness/Exposure: If the photo is too dark, slightly increase the brightness or exposure. If it's too washed out, bring it down a touch.
- Save a Copy: Save your edits as a new copy so you don't overwrite your original photo.
These small adjustments give the AI a much cleaner, more defined starting point to work from.
While we're focused on digital art here, it's interesting to note that the same principle applies to more traditional crafts. For instance, folks who want to learn how to turn a picture into a cross stitch pattern also know that every great project, whether digital or physical, starts with a strong source image.
Writing Prompts to Guide the AI
This is where you graduate from being an observer to the director of your own art. While preset styles like 'Impressionism' are a fantastic starting point, the real power of using an ai art generator from photo is unlocked when you start crafting your own text prompts. This is how you take an idea in your head and translate it into a specific, tangible image.
Let’s run through a practical example. Say you have a simple, nice-enough photo of your dog playing in the park. You like the photo, but you want to turn it into something truly epic—a piece of high-fantasy art. This is where your words become the paintbrush.
This is a simplified look at how your inputs—the photo, the prompts, the settings—all feed into the AI to create the final piece.
As you can see, every element you control directly influences the outcome.
Step-by-Step Tutorial: From Park to Enchanted Forest
Instead of just uploading the photo and crossing our fingers, we're going to actively guide the AI with a detailed prompt. I’ve found that the best prompts usually have three core components: the subject, the environment, and the style.
Our starting point from the photo is simple: "a dog in a park." Now, let's build on that foundation with our fantasy concept.
Here’s how to construct the prompt:
- Describe the New Subject: Start by reimagining your main subject. Instead of "a dog," try:
majestic wolf with glowing eyes. - Describe the New Environment: Swap the "park" for something more imaginative. Add:
in an enchanted, moonlit forest. - Define the Artistic Style: Tell the AI exactly how you want it to look. Append:
style of fantasy concept art, highly detailed.
Stitch that all together, and our full prompt becomes: “A majestic wolf with glowing eyes in an enchanted, moonlit forest, style of fantasy concept art, highly detailed.”
By pairing this specific prompt with your original photo, you’re telling the AI to use the photo's composition as a guide but to swap out the key elements with your new instructions.
By breaking your idea down into these three parts—subject, environment, and style—you create a clear roadmap for the AI to follow. This structured approach almost always produces more impressive and predictable results than just a vague, one-word command.
Iterating for the Perfect Result
Your first attempt might not be exactly what you envisioned. That’s completely normal; it's just part of the creative process. Maybe the wolf’s eyes aren’t glowing quite right, or the forest feels a bit too bright. This is where you start iterating. Think of it less like a command and more like a conversation with the AI.
To fine-tune the image, just add, remove, or adjust keywords. Every single word carries weight and can nudge the final image in a new direction.
For a deeper dive into crafting really effective commands, check out our complete Stable Diffusion prompt guide.
Comparing Prompt Techniques for Artistic Styles
To really drive home how much of an impact your words have, let's look at a few different prompt strategies for that same photo of our dog in the park.
| Desired Style | Example Prompt Structure | Expected Outcome |
|---|---|---|
| Cyberpunk | "Cyborg dog with neon implants, futuristic city alley at night, synthwave aesthetic" | A high-tech, moody image with glowing lights and metallic textures. |
| Watercolor | "Soft watercolor painting of a dog in a park, gentle brushstrokes, pastel colors" | A delicate, artistic piece that mimics traditional watercolor techniques. |
| Cartoon | "Friendly cartoon dog, bold outlines, vibrant colors, animated movie style" | A playful and stylized image perfect for a children's book or animation. |
As you can see, a few carefully chosen words can completely transform the mood, texture, and overall feel of the final artwork. This is the power you have as the creator. Don't be afraid to experiment with different combinations of subjects, settings, and styles. The more specific you are, the closer the AI will get to bringing the image in your mind to life.
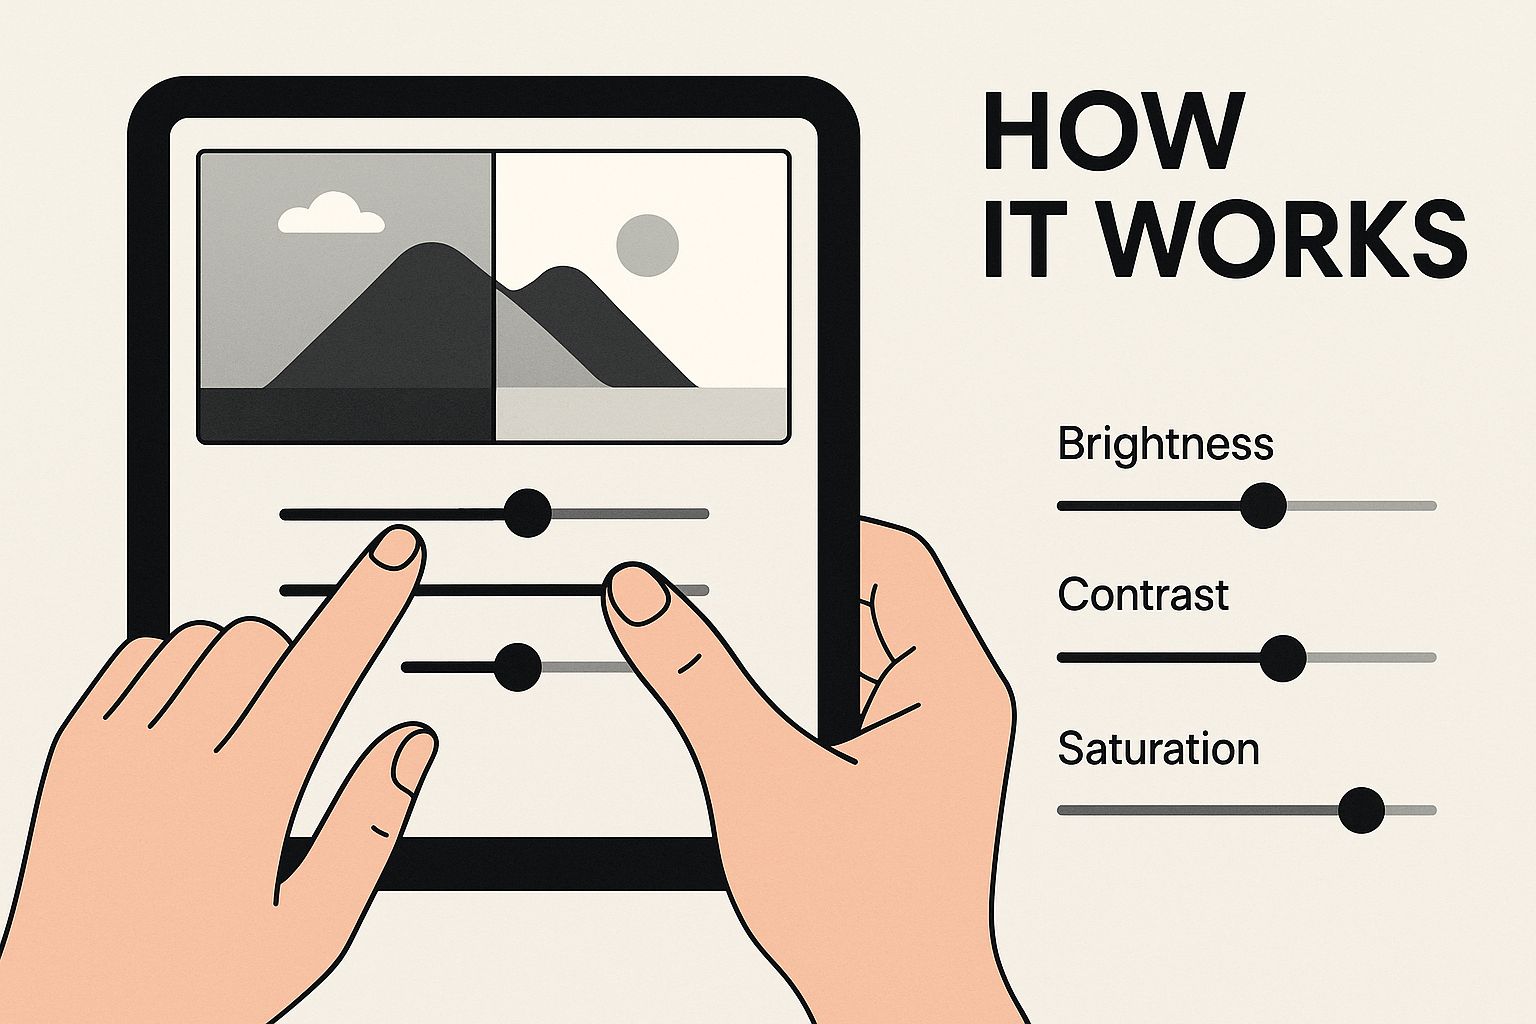
Refining Your AI-Generated Art
The first image the AI spits out is almost never the final masterpiece. Think of it as a first draft—a fantastic starting point, for sure, but it needs your creative eye to really become something special. This is where you shift from just generating to actually refining. It's a crucial step that, honestly, most people skip.
The whole refinement process boils down to getting comfortable with the advanced settings inside an ai art generator from photo. One of the most powerful (and most overlooked) tools is the ‘style strength’ or ‘image guidance’ slider. This little setting controls how much the AI sticks to your original photo versus how much artistic freedom it gets to play with.
Step-by-Step Tutorial: Mastering Style Strength
Let’s say you’ve just generated a portrait of a friend in a classic oil painting style. The result is gorgeous, but the AI has smoothed over their most distinctive features, making them look a little generic. This is the perfect time to play with the style strength.
- Generate Your First Image: Upload your photo and use the prompt "Classic oil painting portrait." Let's assume the default style strength is 75%.
- Analyze the Result: Notice that your friend's unique smile is lost. The painting is nice, but it doesn't look like them.
- Lower the Style Strength: Find the 'Style Strength' or 'Image Guidance' slider. Lower it to around 40-50%.
- Regenerate: Run the generation again with the exact same prompt and the new, lower strength setting.
- Compare: The new image should retain more of the original photo's facial structure while still applying the beautiful oil painting effect.
On the flip side, if you're aiming for something more abstract and expressive, you’d want to increase the style strength. This gives the AI a green light to heavily interpret the photo, often creating a piece that’s more about the new style than the original image.
The ‘style strength’ slider is your control knob for artistic interpretation. Low strength keeps the soul of your photo intact, while high strength lets the AI’s imagination run wild. Mastering this is the key to getting the results you actually want.
A Practical Example with Architecture
Let's see how this works with something other than a person. Imagine you've used an AI art generator from a photo of an old, historic building, prompting it for an "impressionistic oil painting." The first version is nice, but it blurred out all the cool architectural details like the window frames and intricate brickwork.
To fix it, just regenerate the image, but this time, dial the style strength back from, say, 70% down to 40%. This tells the AI to redraw the image while paying much closer attention to the building's original lines and textures. You’ll get an artwork that still has that beautiful, painterly feel but brings back the specific architectural character you wanted to capture. This trick is a lifesaver for keeping key details in any complex image.
For a deeper dive into controlling your outputs, our Stable Diffusion prompt guide has some seriously advanced strategies.
Generate Variations to Cherry-Pick the Best
Whatever you do, don't settle for the first image. One of the best ways to refine your work is to generate multiple variations from the same prompt. Every time you hit ‘generate,’ the AI uses a different "seed," which leads to a slightly different take on your instructions.
- Generate 4-6 versions: This gives you a solid handful of options to compare.
- Look for standout elements: One version might nail the color palette, while another gets the composition just right.
- Combine the best parts: You can often grab the seed from your favorite variation and plug it into a new prompt to replicate its best qualities while you fine-tune other details.
This back-and-forth of tweaking settings and generating new versions is what turns a simple AI creation into a polished piece that truly reflects your vision.
The explosion of tools that turn photos into art is part of a massive global trend. It’s expected that generative AI will produce up to 10% of all data worldwide by 2025—a huge jump from less than 1% just a few years ago. This boom was kicked into high gear by viral trends and the arrival of powerful models like DALL·E 3, which put this tech into the hands of millions. You can see more stats on the rise of AI in the art market on artsmart.ai.
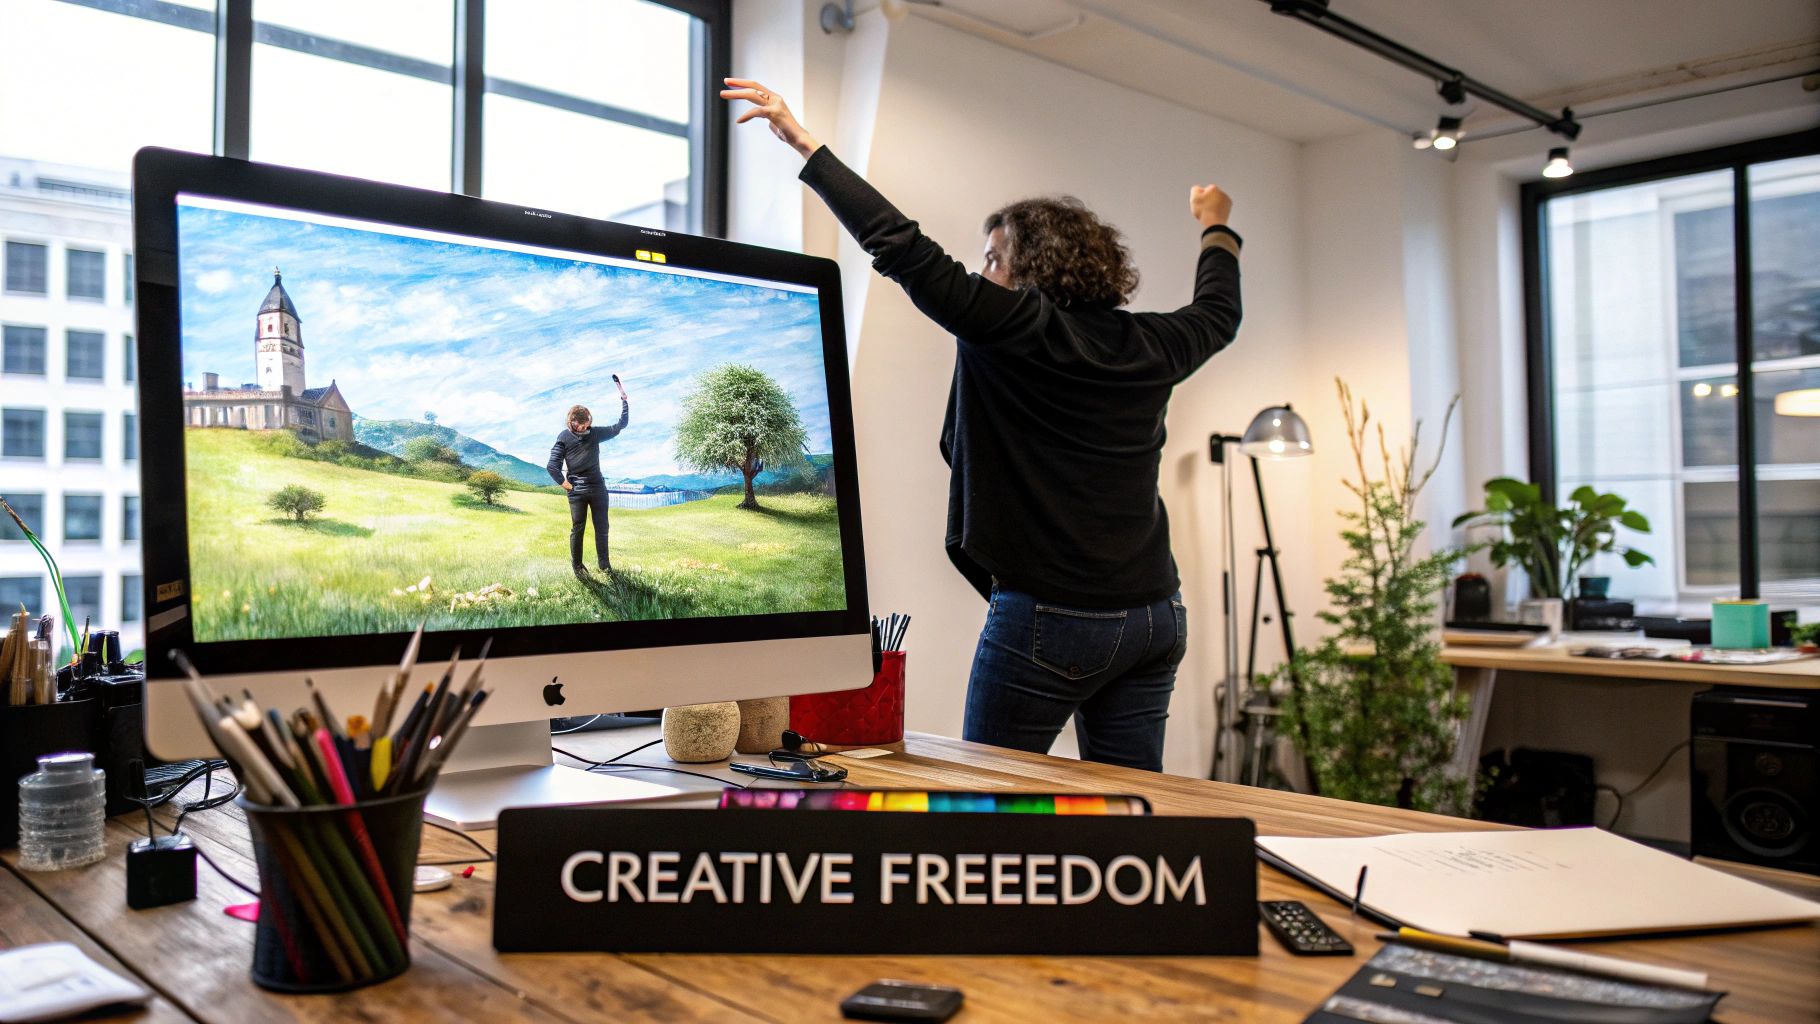
Bringing Your AI Art to Life
You've done the hard part—guiding the AI, tweaking the style, and generating a piece of digital art you're genuinely excited about. But the creative journey isn't over yet. Now comes the fun: deciding how to save, share, and use your new creation.
The first thing to tackle is the file format. For sharing on social media like Instagram or X, a JPG is almost always your best bet. It does a great job of compressing the file size for fast loading, so your followers aren't left waiting, and you won’t see a noticeable quality drop on their screens.
On the other hand, if your artwork has a transparent background—say, a character you want to place on a different image—you'll absolutely want to save it as a PNG. This format is your key to preserving that transparency, giving you a ton of flexibility for future design work.
Step-by-Step Tutorial: Prepping Your Art for Print
So, what if you want to hang your masterpiece on the wall? This is where things get a little more technical. Most AI generators create images at a resolution that looks fantastic on a monitor but can turn blurry and pixelated when printed large. This is where AI upscaling tools become your secret weapon.
Here’s a quick workflow for getting your image print-ready:
- Choose Your Favorite Generation: Select the final artwork you want to print.
- Find an AI Upscaler: Use an online AI upscaling tool (many are free for single use).
- Upload Your Image: Drag and drop your final JPG or PNG file into the upscaler.
- Select Upscale Factor: Choose to upscale by 2x or 4x. For most print projects, 4x is a safe bet to ensure high quality.
- Process and Download: Let the AI do its work. It will intelligently add pixels to increase the resolution. Download the new, high-resolution file.
This upscaled image is now ready for printing. You could turn it into some stunning, high-quality canvas prints to really make a statement in your home or office.
Think of your initial AI image as a digital negative. It holds all the creative potential, but it needs that final "darkroom" step—like upscaling—to be truly ready for its final form, whether that's a huge print or a high-res display.
Awesome Ways to Use Your AI Art
With your image saved and optimized, the possibilities are pretty much endless. Don't just let your creations gather digital dust in a folder! This technology is a powerful new tool in your creative belt, and the rapidly growing field of artificial intelligence in photography is just getting started.
Here are a few ideas I've tried that you might love:
- Personalize Your Tech: Create a phone wallpaper that's 100% unique to you. I've also used AI to generate some killer profile pictures that really stand out from the crowd.
- Create Unforgettable Gifts: Take a favorite family photo, turn it into a stylized watercolor or oil painting, and have it printed on a mug, t-shirt, or even a puzzle. It’s a personal touch that you just can't buy in a store.
- Level Up Your Content: If you're a blogger or creator, use your AI-generated art for blog headers, social media posts, or YouTube thumbnails. It's a fantastic way to build a consistent and eye-catching brand aesthetic without needing to be a graphic designer.
Ultimately, using an ai art generator from photo gives you the power to turn your personal memories and creative ideas into art that you can actually hold, use, and share.
Got Questions About AI Art? We've Got Answers
Jumping into an AI art generator is exciting, but it's totally normal to have a few questions. It’s a brand new creative space where art and tech collide, which can feel a little confusing at first. Let's clear up some of the most common things people ask when they start turning their photos into AI masterpieces.
What Kind of Photos Work Best?
Think of it this way: you need to give the AI a good, solid starting point. Not every photo is going to give you stellar results right out of the gate.
For the best outcomes, you'll want to start with images that have:
- A Clear Subject: The AI needs a strong focal point. Photos with a well-defined person, animal, or object almost always perform better.
- Good Contrast: Pictures with a nice separation between light and shadow give the AI more data to play with, which helps it interpret the style you want.
- High Resolution: While it's not a deal-breaker, a sharper, higher-res photo just contains more detail. More detail means the AI has more to work with, leading to richer, more interesting creations.
Portraits, distinct landscapes, and architectural shots are fantastic candidates. Their strong lines and obvious subjects create a solid foundation for the AI to build on, making it way easier to bring your vision to life.
Can I Sell the Art I Create?
This is a huge question, and the answer is a classic: it depends entirely on the tool you use.
The commercial rights are dictated by the terms of service of the specific platform you're on. Some AI art generators are generous, granting you full ownership and commercial rights to whatever you create. Others might have restrictions.
Before you even think about listing your AI art for sale, you absolutely have to read the terms of service for the tool. The legal side of AI-generated content is still being figured out, so confirming your usage rights is the most important step you can take to protect yourself.
How Do I Make the AI Art Look More Like My Original Photo?
Ever get a result that's so abstract you can't even recognize your original picture? It's a common problem, and the fix is usually right in the settings.
Look for a slider or a number value labeled something like 'style strength,' 'influence,' or 'image guidance.'
By lowering this value, you’re telling the AI, "Hey, stick closer to the original photo." This makes the artistic style more of a subtle layer instead of a total takeover, ensuring the final piece is still recognizable. Play around with a lower strength setting—it’s the key to finding that perfect sweet spot between your photo and the AI's flair.
Is Using an AI Photo Generator "Cheating" in Art?
This one really gets people talking. A lot of creatives see AI as just another powerful tool in the artist's toolkit, much like how cameras were once seen as a threat to painting. It's a different kind of skill. You're not holding a brush, but you are mastering prompt writing, curating the right images, and digitally refining the output to get something amazing. It's a collaboration between you and the machine.
On the other hand, some feel it sidesteps the technical skill that comes from years of practicing traditional art forms.
Ultimately, AI is just a new medium that's shaking up the creative process. It’s not here to replace traditional art; it just opens up a new road for expression. Its final role in the art world? That's still being written.
Ready to stop wondering and start creating? AI Photo HQ gives you the tools to transform your photos into stunning works of art in seconds. Explore hundreds of styles, refine your creations with powerful settings, and bring your unique vision to life today. Start your creative journey at https://aiphotohq.com.

