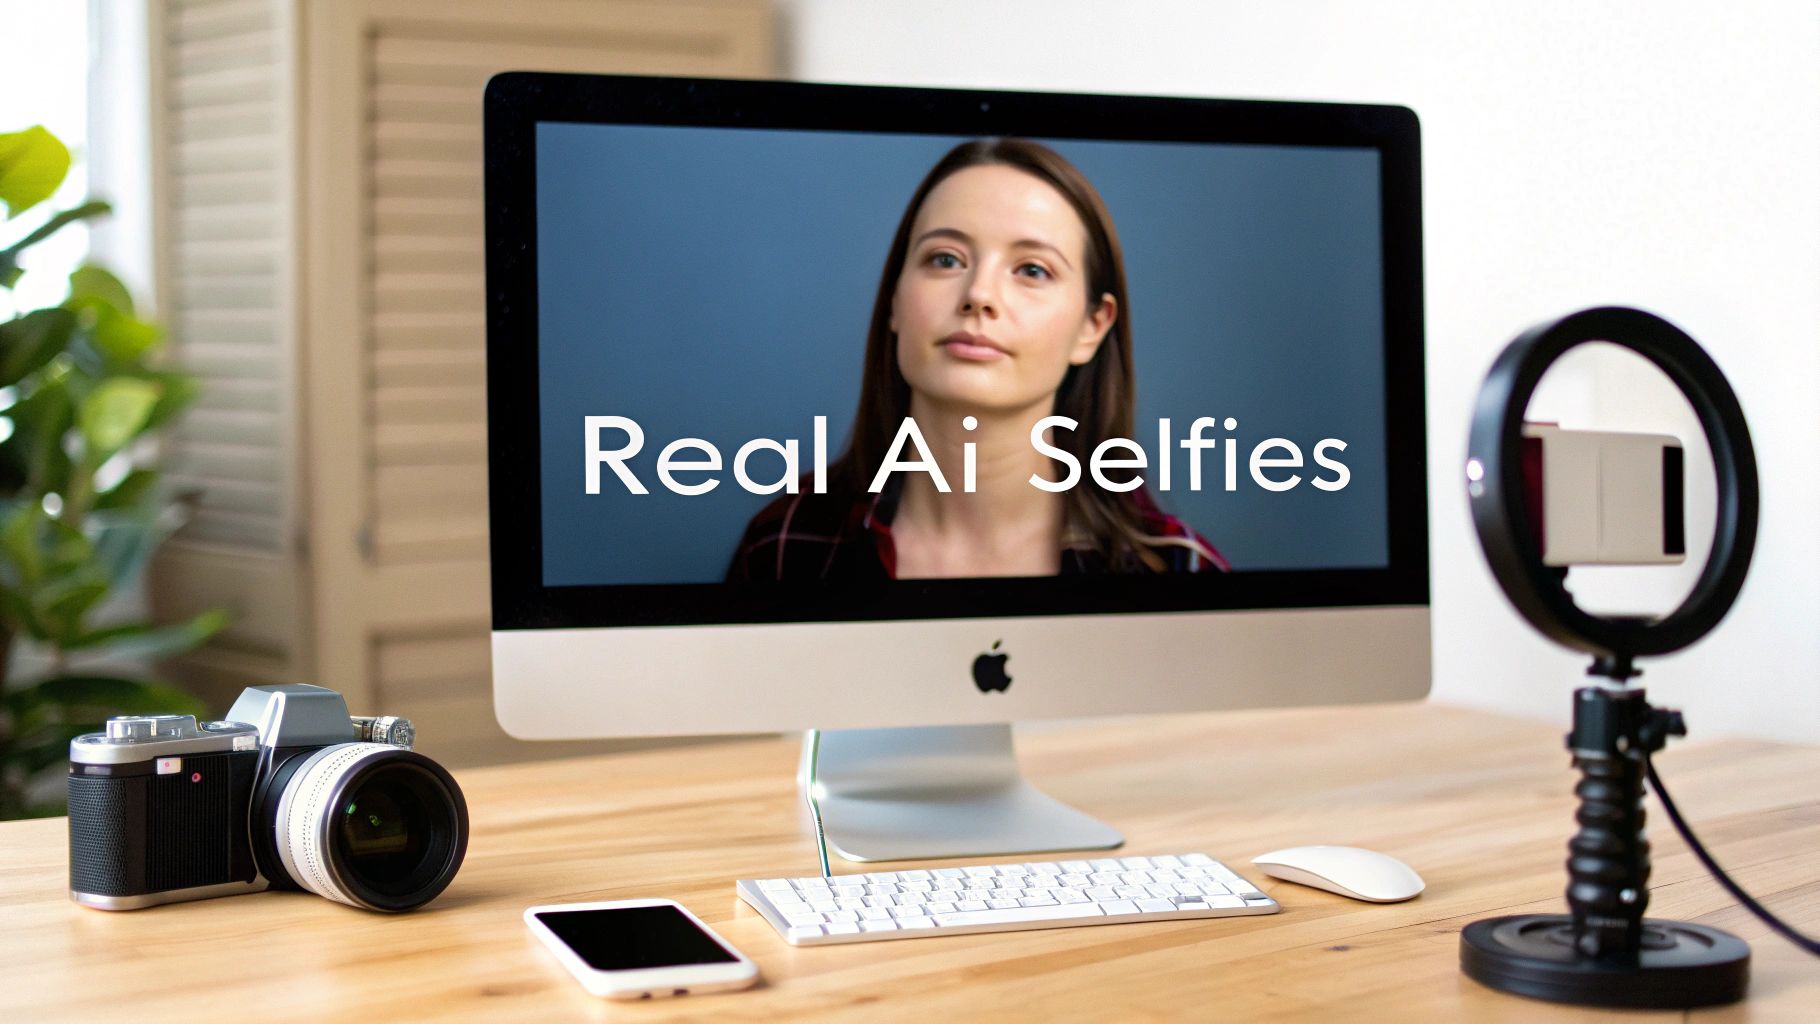
Ever wanted to turn a favorite selfie into a professional headshot, a wild fantasy avatar, or something that looks like it belongs in a high-end photo shoot? Welcome to the world of AI-generated self-portraits.
We're going to cut through the jargon and get straight to what these modern AI tools can actually do. This is your personal launchpad for creating AI photos that genuinely look like you, without any complex software or photography skills needed.
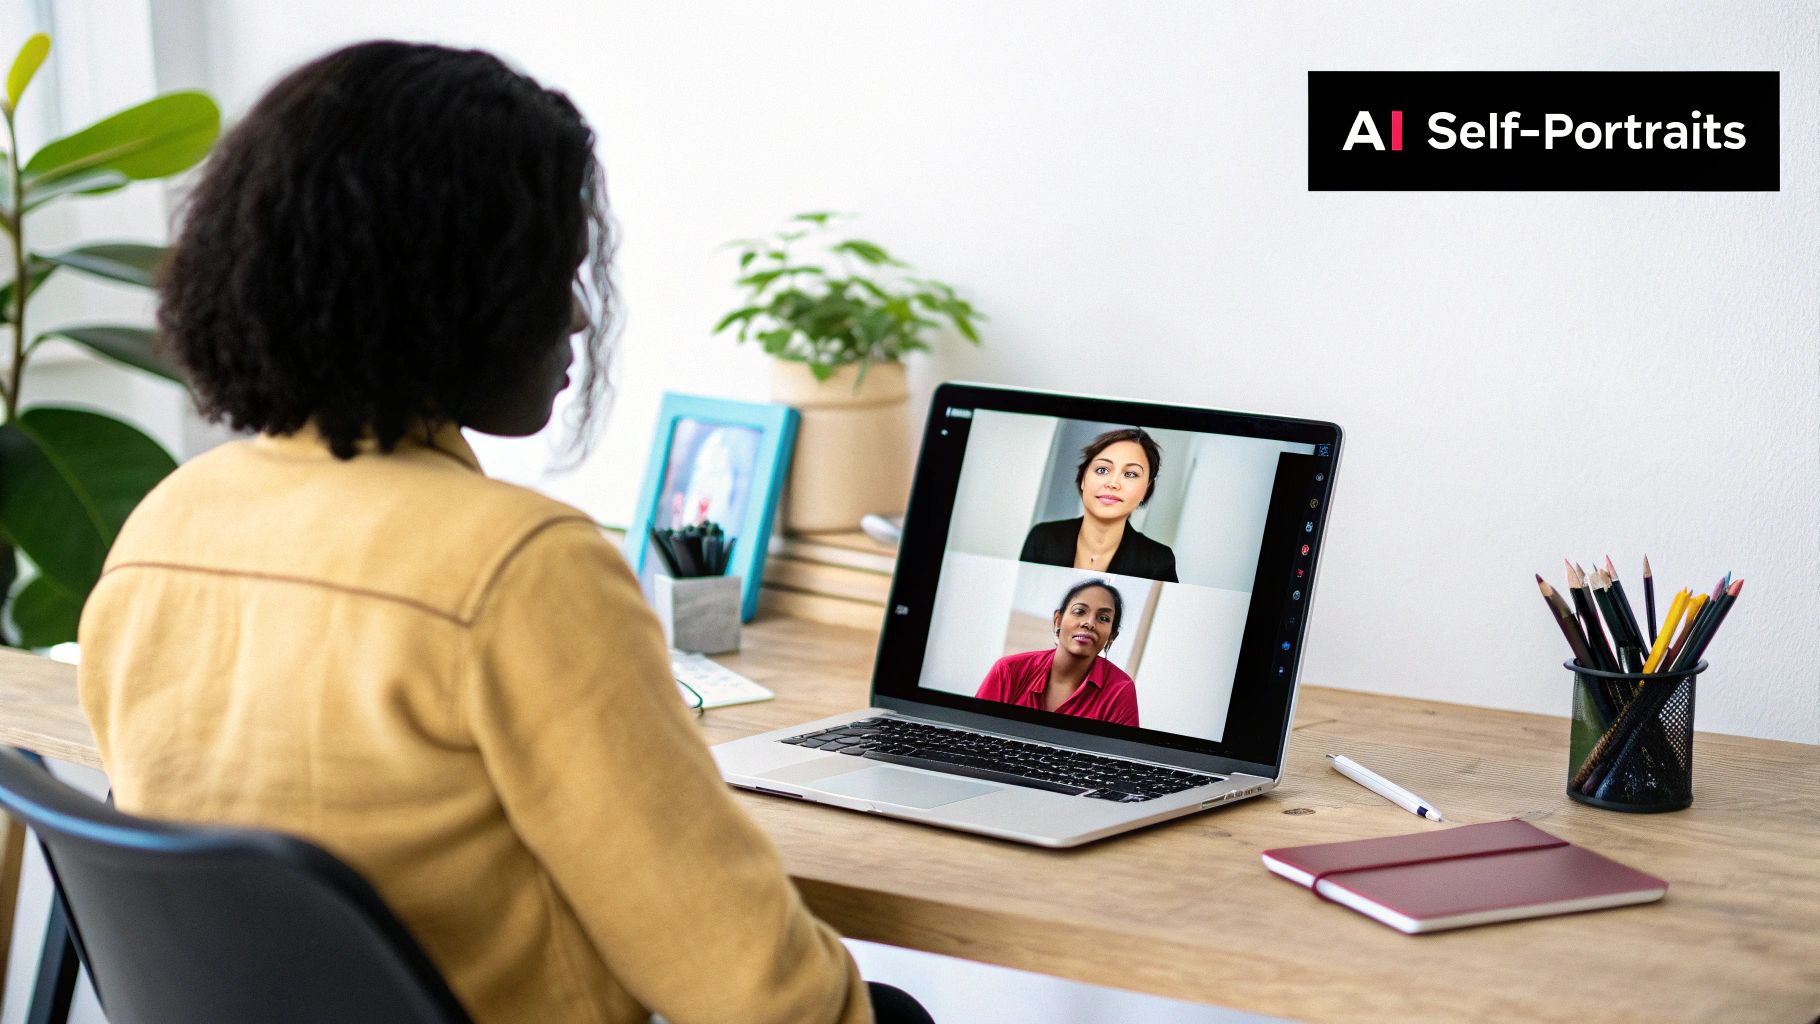
The Explosion of AI Self-Portraits
The idea of creating "ai generated photos of myself" has absolutely blown up. What was once a niche experiment for tech enthusiasts is now a mainstream creative outlet for millions. People are crafting custom portraits without ever touching a camera or hiring a photographer.
And this isn't just some passing trend. It signals a real shift in how we create and think about personal images. The scale is staggering—an estimated 34 million AI images are generated daily across different platforms. To put that in perspective, users have created over 15 billion AI images since 2022. It took traditional photography almost 150 years to reach that kind of volume. If you're curious, you can learn more about this visual revolution and what it means for the future.
So, What’s Actually Possible?
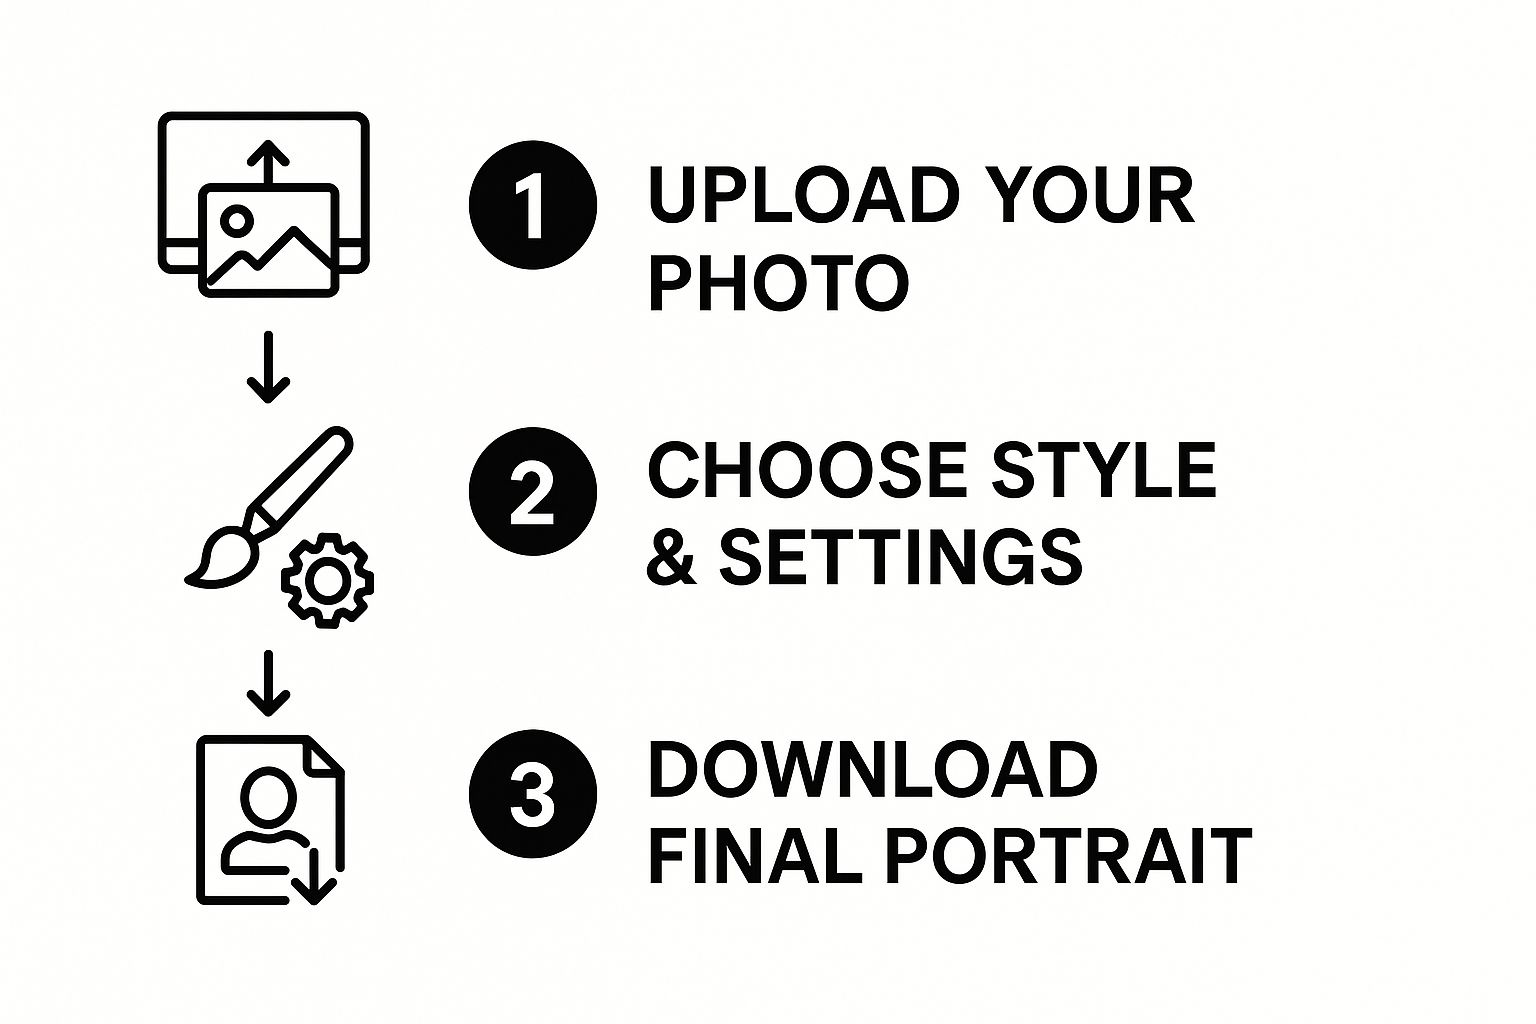
Modern AI tools give you an incredible amount of creative freedom. Here’s a quick step-by-step of what you can do:
- Train the AI: Upload 10-20 of your best photos to a platform like AI Photo HQ. This teaches the AI your facial features.
- Choose a Style: Select a pre-made style, like "Professional Headshot" or "Fantasy Avatar."
- Write a Prompt: Use simple text to describe the exact scene, clothing, and lighting you want.
- Generate: Click a button and watch the AI create dozens of unique images of you in that style.
This process lets you create everything from corporate headshots to creative art pieces in minutes.
As you can see, the first steps are just uploading your photos and picking from a bunch of styles. It really is that straightforward to begin.
The concept is pretty simple at its core: you feed the AI a handful of your own photos, and it learns your face. From there, you can use text prompts to place "you" into pretty much any scene or style you can dream up. This guide will walk you through the exact steps to do just that.
Choosing the Right Photos for Your AI Model
The final quality of your AI-generated self-portraits is only as good as the photos you feed the machine. This step is the most critical part of the whole process. Think of it like giving an artist a reference photo—blurry, poorly lit pictures won't produce a masterpiece.
Giving the AI a clear, detailed, and varied set of your photos is the secret to getting results that actually look like you. Here’s a practical tutorial for gathering your images.
A Step-by-Step Guide to Curating Your Photos
Follow these steps to build the perfect photo collection. You'll need 10 to 20 photos for the best results.
Step 1: Gather a Variety of Close-ups and Body Shots
Open your phone's photo gallery and create a new album called "AI Training." Start by adding:
- 5-7 Close-ups: Selfies or portraits where your face is clear and takes up most of the frame.
- 3-5 Half-body Shots: Photos from the waist up. This helps the AI understand your upper body shape.
- 2-3 Full-body Shots: These give the AI context for your overall build.
Step 2: Ensure Diverse Angles and Expressions
Now, review your album. You're trying to teach the model to recognize you in different scenarios, not just one perfect pose. Make sure you have:
- Varied Angles: Include shots from the front, three-quarter views, and at least one side profile.
- Different Expressions: Find photos with a neutral expression, a big smile, and maybe a more serious look.
- Lighting Conditions: Find photos taken in different types of light—some in bright, direct sunlight and others in softer, indoor lighting. This teaches the AI how light and shadow play across your unique features.
As you can see, getting that first step right makes all the difference for everything that comes after.
Optimal Photo Upload Checklist
Use this checklist to make your final selections. Following these guidelines will give the AI the clean, high-quality data it needs.
| Guideline | Why It Matters | Example |
|---|---|---|
| 10-20 High-Res Photos | Provides enough data for accuracy without causing confusion from too much repetition. | A mix of selfies, candids, and portraits. |
| You Are the Only Subject | The AI needs to focus exclusively on your face to learn its features accurately. | Solo shots only—no friends, family, or pets. |
| Variety of Angles | Helps the AI build a 3D understanding of your facial structure. | Front-on, side profile, and three-quarter views. |
| Different Expressions | Teaches the model how your face changes with your mood, leading to more dynamic results. | Smiling, neutral, laughing, serious. |
| Clear, Unobscured Face | The AI needs to see your full face, including your eyes and hairline, to work properly. | No sunglasses, hats, or hands covering your face. |
| Natural Lighting | Avoids harsh shadows that can hide your features and confuse the model. | Outdoor shots in daylight or well-lit indoor photos. |
| No Heavy Filters/Makeup | Filters and heavy makeup alter your natural features, which will be reflected in the output. | Simple, everyday look without dramatic alterations. |
Sticking to this list will dramatically improve the quality and realism of your final images. It's a few extra minutes of prep that pays off big time.
Common Pitfalls to Avoid (What to Delete From Your Album)
Knowing what not to upload is just as crucial. Certain photos are notorious for confusing the AI. Go through your album one last time and delete any photos with:
- Sunglasses or hats that hide your eyes or hairline.
- Other people or pets in the frame with you.
- Heavy makeup or Snapchat-style filters that change your natural appearance.
- Low-resolution or blurry images where your features aren't sharp and clear.
- Heavy shadows cast across your face, which can obscure key features.
Key Takeaway: The AI learns from exactly what you give it. If you provide photos where your face is partially covered, in a group, or heavily filtered, the generated images will likely inherit these confusing elements.
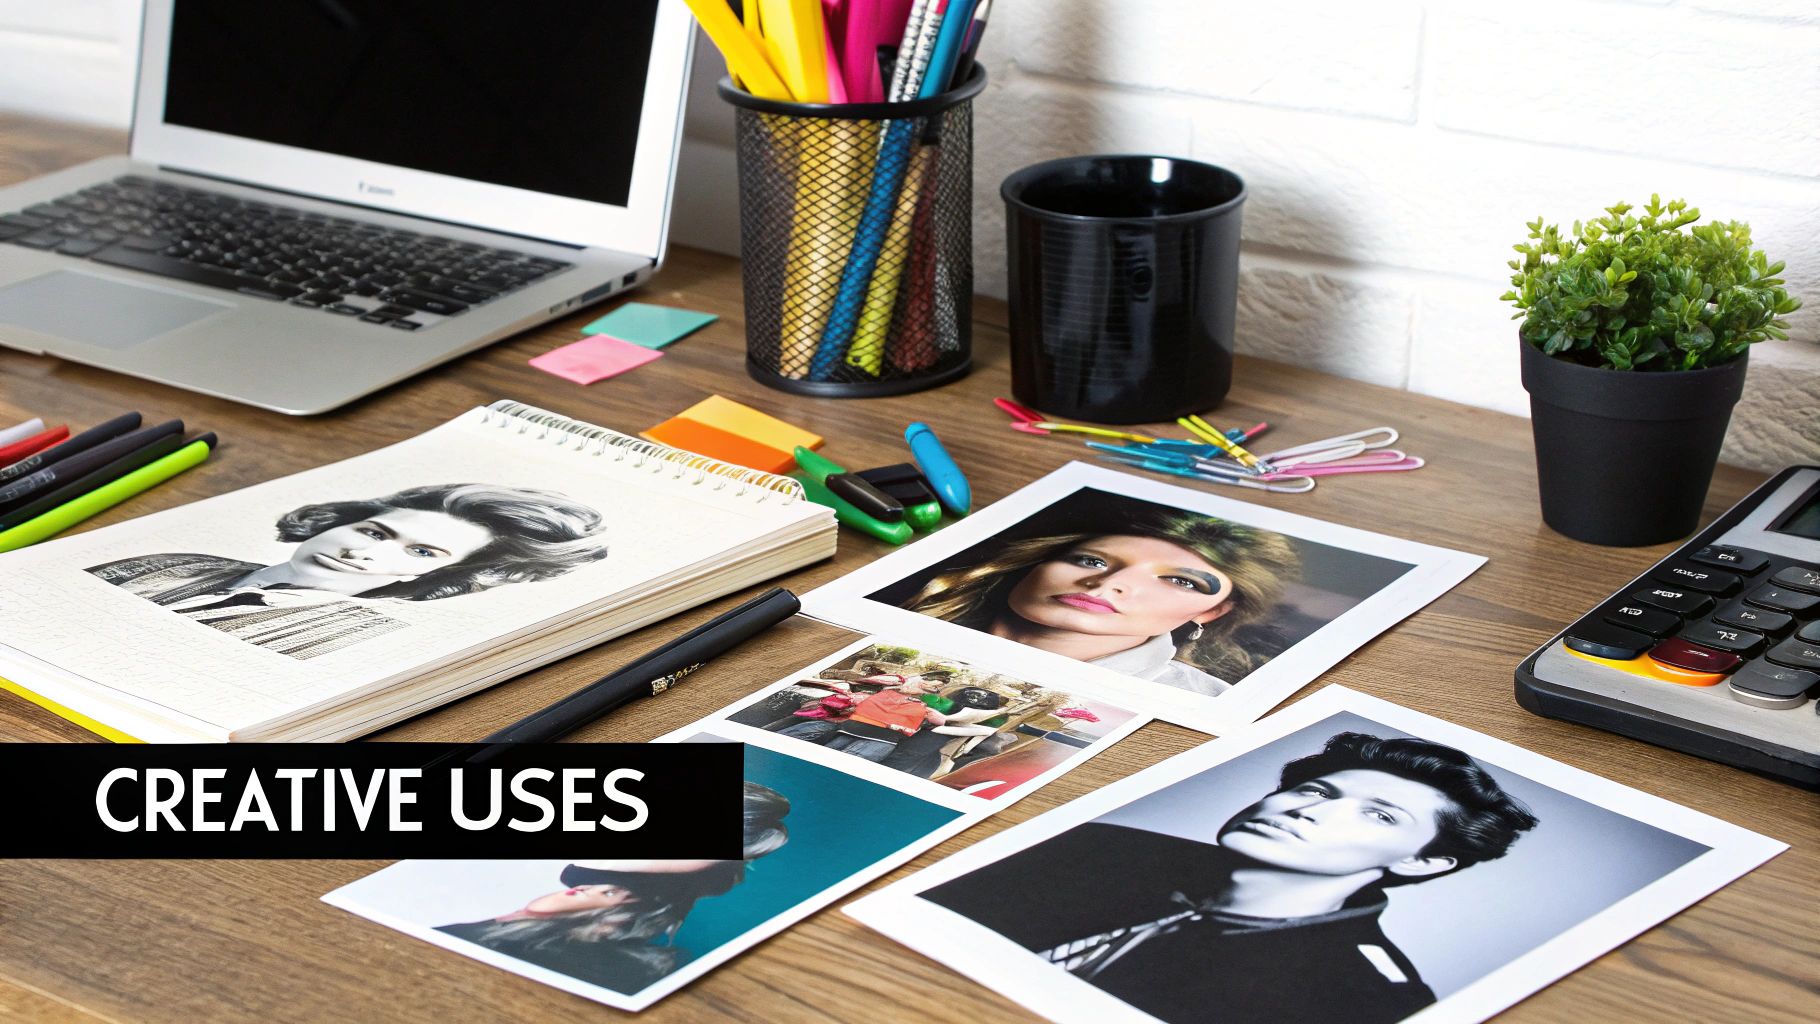
Writing Prompts for Different Photo Styles
A great prompt is your direct line to the AI's creative engine. This is where you translate your vision into instructions the AI can actually understand. Think of yourself as a director guiding an artist. The more precise your instructions, the closer the final piece will be to what you had in your head.
The difference between a lazy prompt like "a photo of me" and a well-crafted one is night and day. One gives you a generic image, while the other produces ai generated photos of myself that feel custom-made and professional.
The Anatomy of a Powerful Prompt
A solid prompt usually includes the subject, style, setting, lighting, and even camera details. Let’s walk through a practical tutorial for building one.
Step-by-Step Prompt Building:
- Start with the Subject and Action: Begin with who is in the photo and what they are doing.
- Example: "Professional corporate headshot of [your name/trigger word]..."
- Add Expression and Emotion: Describe the mood.
- Example: "...confident, friendly expression..."
- Define the Lighting: This has a huge impact on realism.
- Example: "...soft, even studio lighting..."
- Set the Scene: Describe the background.
- Example: "...blurred, modern office background..."
- Include Key Details: Mention clothing and pose.
- Example: "...wearing a dark blue blazer, looking directly at the camera."
This level of detail doesn't leave much to chance. It guides the AI toward creating a polished, specific outcome instead of just guessing.
I see a lot of people make one common mistake: being too vague. The AI doesn’t know what's in your head, so you have to paint the picture for it with descriptive words. The more detail you provide, the less the AI has to guess.
Prompt Formulas for Popular Photo Styles
To get you started, here are a few plug-and-play prompt formulas. Think of these as starting points. Feel free to customize them by swapping out keywords to better match your personal vision. For more ideas, check out our guide on how to write AI prompts that get results.
For a Polished LinkedIn Headshot
Your goal here is professionalism and clarity. The focus should be on creating a clean, high-quality image that looks like it was taken by a pro photographer.
Prompt Formula:Professional corporate headshot, [your name], wearing a business suit, soft studio lighting, plain light gray background, looking at camera with a slight smile, high resolution, photorealistic
Example: Professional corporate headshot, Jane Doe, wearing a business suit, soft studio lighting, plain light gray background, looking at camera with a slight smile, high resolution, photorealistic
For a Creative Social Media Profile Picture
For platforms like Instagram or TikTok, you can get a lot more creative and stylistic. This is where you can play with artistic flair, vibrant colors, and unique settings.
Prompt Formula:Cinematic portrait of [your name] in a bustling city at night, neon signs reflecting in their eyes, moody lighting, shot on 35mm film, shallow depth of field, cool color tone
Example: Cinematic portrait of John Smith in a bustling city at night, neon signs reflecting in his eyes, moody lighting, shot on 35mm film, shallow depth of field, cool color tone
For a Fantasy or Sci-Fi Avatar
This is where your imagination can truly run wild. Whether you see yourself as an elven warrior or a cyberpunk hacker, the key is using rich, descriptive language.
Prompt Formula:Digital painting of [your name] as a fantasy adventurer, wearing ornate leather armor, standing in an enchanted forest, dappled sunlight filtering through the trees, epic and heroic style, detailed face
Example: Digital painting of Alex Ray as a fantasy adventurer, wearing ornate leather armor, standing in an enchanted forest, dappled sunlight filtering through the trees, epic and heroic style, detailed face
Getting Photorealistic Results With Advanced Settings
Moving past the basics is where you really start to unlock the AI's full potential. The advanced settings are your secret weapon for turning a good AI portrait into something truly breathtaking. This is how you tackle that nagging "it just looks a bit fake" feeling. Here's a quick tutorial on using them.
Tutorial: How to Use Negative Prompts
One of the most powerful tools is the negative prompt. It tells the AI what you don't want to see. This is your number one fix for getting rid of weird AI artifacts and common stylistic mistakes.
Step 1: Locate the "Negative Prompt" field in your AI tool's interface. It's usually right below the main prompt box.
Step 2: Think about what you want to avoid. Common issues include a "cartoonish" look, blurry backgrounds, or disfigured hands.
Step 3: Enter a list of these unwanted terms. A great starting point for better realism is:
blurry, cartoon, anime, painting, illustration, extra fingers, disfigured, deformed, ugly
Adding this one line helps filter out unwanted traits and forces the AI toward a more photographic image.
Tutorial: How to Use the Guidance Scale (CFG)
The guidance scale (or CFG scale) is a slider that controls how strictly the AI follows your prompt. A lower number gives it more creative freedom, while a higher number makes it stick to your instructions precisely.
Step 1: Find the "Guidance" or "CFG Scale" slider.
Step 2: For photorealism, set the value between 7 and 12. This is the sweet spot that keeps your facial features accurate without looking stiff.
Step 3: Experiment. If the image doesn't look enough like you, try lowering the scale to 7 or 8. If it's ignoring your prompt, try increasing it to 11 or 12.
Think Like a Photographer: A Practical Guide
To get a photorealistic image, you need to speak the language of photography. The AI has been trained on millions of real photos, so it understands camera settings.
Here’s how to do it: Add camera and lighting keywords directly into your main prompt. Try these examples:
- For a soft, professional look: Add
shot on 85mm portrait lens, soft window light. - For a warm, outdoor feel: Add
golden hour lighting, shot on Kodak Portra 400. - For a dramatic, cinematic shot: Add
studio Rembrandt lighting, wide-angle shot.
A prompt like, "Portrait of me, shot on 50mm lens, golden hour lighting," will give you a much more believable result than a generic "photo of me." The AI image generation market is valued at around $8.7 billion and is expected to jump to $60.8 billion by 2030, according to a business report on AI trends from Accio, largely because of this increasing quality. To see how these principles apply to other styles, see our guide on using an AI art generator from your photo.
How to Review and Refine Your AI Photos
It's rare for an AI to spit out a flawless masterpiece on the first try. Getting that perfect ai generated photos of myself almost always takes a little tweaking. Think of your first batch of images as a rough draft. Your job now is to spot the weird bits and make smart adjustments.
Identifying Common AI Imperfections: A Checklist
Train your eye to see what the AI gets wrong. As powerful as these models are, they have some classic tells. When you get your results, check for these issues:
- Hands and Fingers: Are there six fingers? Do the knuckles bend the wrong way?
- Facial Features: Are the eyes symmetrical? Does the smile look natural or pasted on?
- The 'Uncanny Valley' Vibe: Does the image feel lifeless or "off" even if it's technically correct?
- Background Artifacts: Are there strange, illogical shapes or blurry objects in the background?
- Gibberish Text: If there is any writing in the image, is it readable or nonsensical?
Don't let these glitches get you down. Every single person using AI deals with them, from total beginners to seasoned pros. The secret isn't about avoiding them completely, but knowing how to fix them when they pop up.
A Step-by-Step Refining Process
Once you’ve figured out what’s wrong, follow this iterative process. Make small, deliberate adjustments rather than rewriting your entire prompt.
It's worth remembering that public perception of AI is still taking shape. While studies show 56% of people enjoy seeing AI-generated pictures, 76% don’t think AI creations should be classified as art. Keeping these perspectives in mind can help you create images that feel more authentic. You can read more in this in-depth analysis of AI art statistics.
Step 1: Regenerate with a New Seed.
The easiest first step. The "seed" is a random starting point for the image. Simply clicking "Generate" again on the same prompt will use a new seed and might fix the issue instantly.
Step 2: Make a Small Prompt Tweak.
If the issue persists, make a minor change to your prompt.
- Problem: The lighting looks flat. Fix: Change "daylight" to "soft morning light" or "dramatic side lighting."
- Problem: The hands look weird. Fix: Add "perfect hands" to your prompt and "disfigured hands, extra fingers" to your negative prompt.
Step 3: Post-Production Touch-ups.
For final polishing, use a free photo editor.
- Cropping: Use Canva or Photopea to crop out any weird background elements.
- Color Correction: Slightly adjust brightness, contrast, or saturation to make the image pop.
- Spot Healing: Use a healing or clone tool to remove tiny blemishes the AI missed.
Got Questions About AI Photo Generation? We've Got Answers
Even with the best tools, it's natural to have a few questions. Let's tackle some of the most common ones with straightforward, practical answers.
Is It Safe to Upload My Photos to an AI Generator?
This is a valid concern. Reputable AI photo generators take user privacy seriously. Typically, your photos are only used to train a temporary, personal AI model of your face. After your images are generated, these platforms usually delete your original photos from their servers within a set period—often between 24 hours and 30 days.
Actionable Tip: Before uploading, check the service's Privacy Policy. Look for a clear statement that they do not use your personal images to train their general AI models and that they have clear data deletion policies.
Why Do My AI Photos Sometimes Not Look Like Me?
This is a frequent hurdle, and the fix almost always comes down to your input photos. If the AI doesn’t get enough clear, varied examples of your face, it’s just guessing.
How to Fix It: A Quick Tutorial
- Revisit Your Photo Collection: Ensure you have 10-20 high-quality photos with different angles, expressions, and lighting. The most common mistake is using photos that are too similar.
- Check Your Guidance Scale: If the guidance (or CFG) setting is too high, the AI might prioritize the style over your likeness. Try lowering it to a value between 7 and 9.
- Use Your Trigger Word: Make sure your prompt clearly includes the trigger word associated with your trained model (e.g., "[your name]").
From my experience, the single biggest mistake people make is using photos that are too similar. The AI needs to see you smiling, neutral, from the side, and in different lighting to really build a complete picture of your face. Variety is way more important than sheer quantity.
Can I Actually Use These for Professional Stuff?
Absolutely! This is one of the most practical uses for this technology. By using specific prompts like 'professional corporate headshot, plain grey background, studio lighting,' you can generate incredibly high-quality, business-appropriate profile pictures.
Step-by-Step Guide for a Professional Headshot:
- Use the "Professional Headshot" prompt formula from the section above.
- Generate a batch of 10-20 images.
- Carefully inspect your top 2-3 choices for any AI artifacts (weird eyes, blurry ears, etc.).
- Upload the best one to your LinkedIn profile or company website. The quality is often indistinguishable from a real photoshoot.
How Many Photos Do I Really Need to Upload?
Most services recommend somewhere between 10 and 20 photos. But remember, it's not just about the number—it’s about the diversity within that set. A winning collection will include:
- Multiple Angles: Get shots from the front, side profiles, and three-quarter views.
- Different Expressions: Don't just upload smiling pictures. Mix in some neutral, serious, and even laughing expressions.
- Varied Lighting: Include a mix of photos taken in bright daylight and some in softer, indoor light.
This combination gives the AI a rich, comprehensive understanding of your unique facial structure, which directly leads to more accurate AI-generated photos.
Ready to see what you can create? With AI Photo HQ, you can go from a simple selfie to a stunning professional headshot in just a few minutes. Get started today and explore all the creative possibilities at https://aiphotohq.com.

