
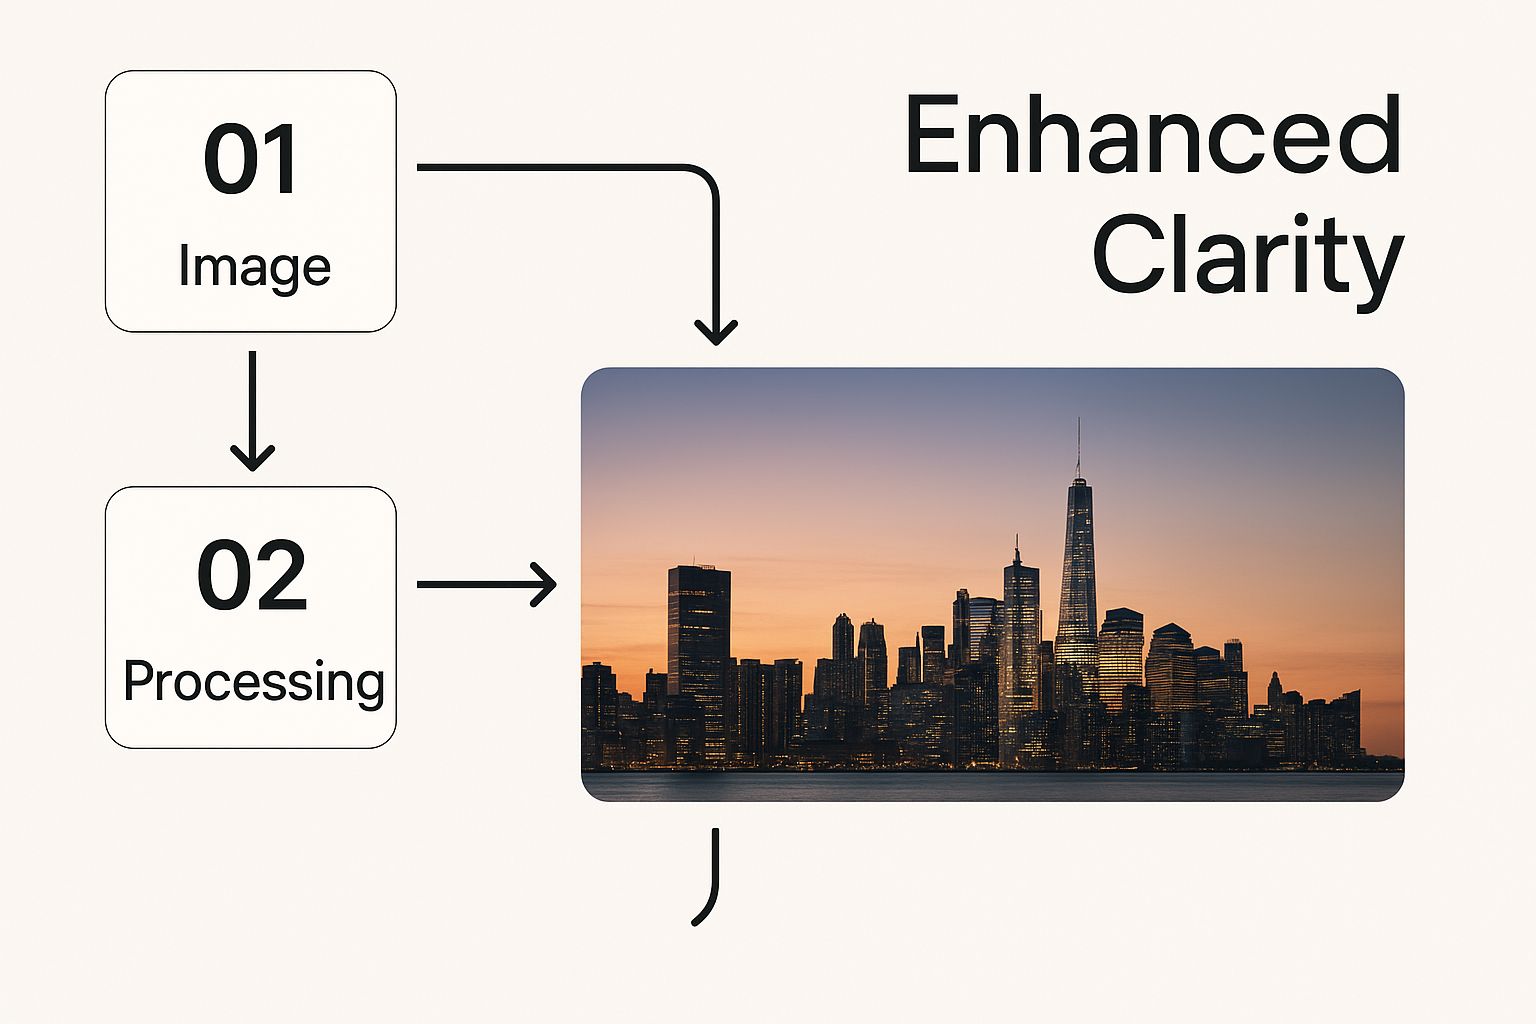
Ever found yourself with a photo that’s almost perfect? Maybe it’s a bit blurry, a little too dark, or the colors just don't pop. AI photo enhancement is the tech that swoops in to fix all that, using smart algorithms to automatically upgrade your images. Forget spending hours fiddling with manual controls—these tools analyze and correct everything in seconds.
What Is AI Photo Enhancement?
Think of an AI photo enhancer less like a simple filter and more like having a team of professional photo editors on standby, ready to jump in the moment you upload an image.
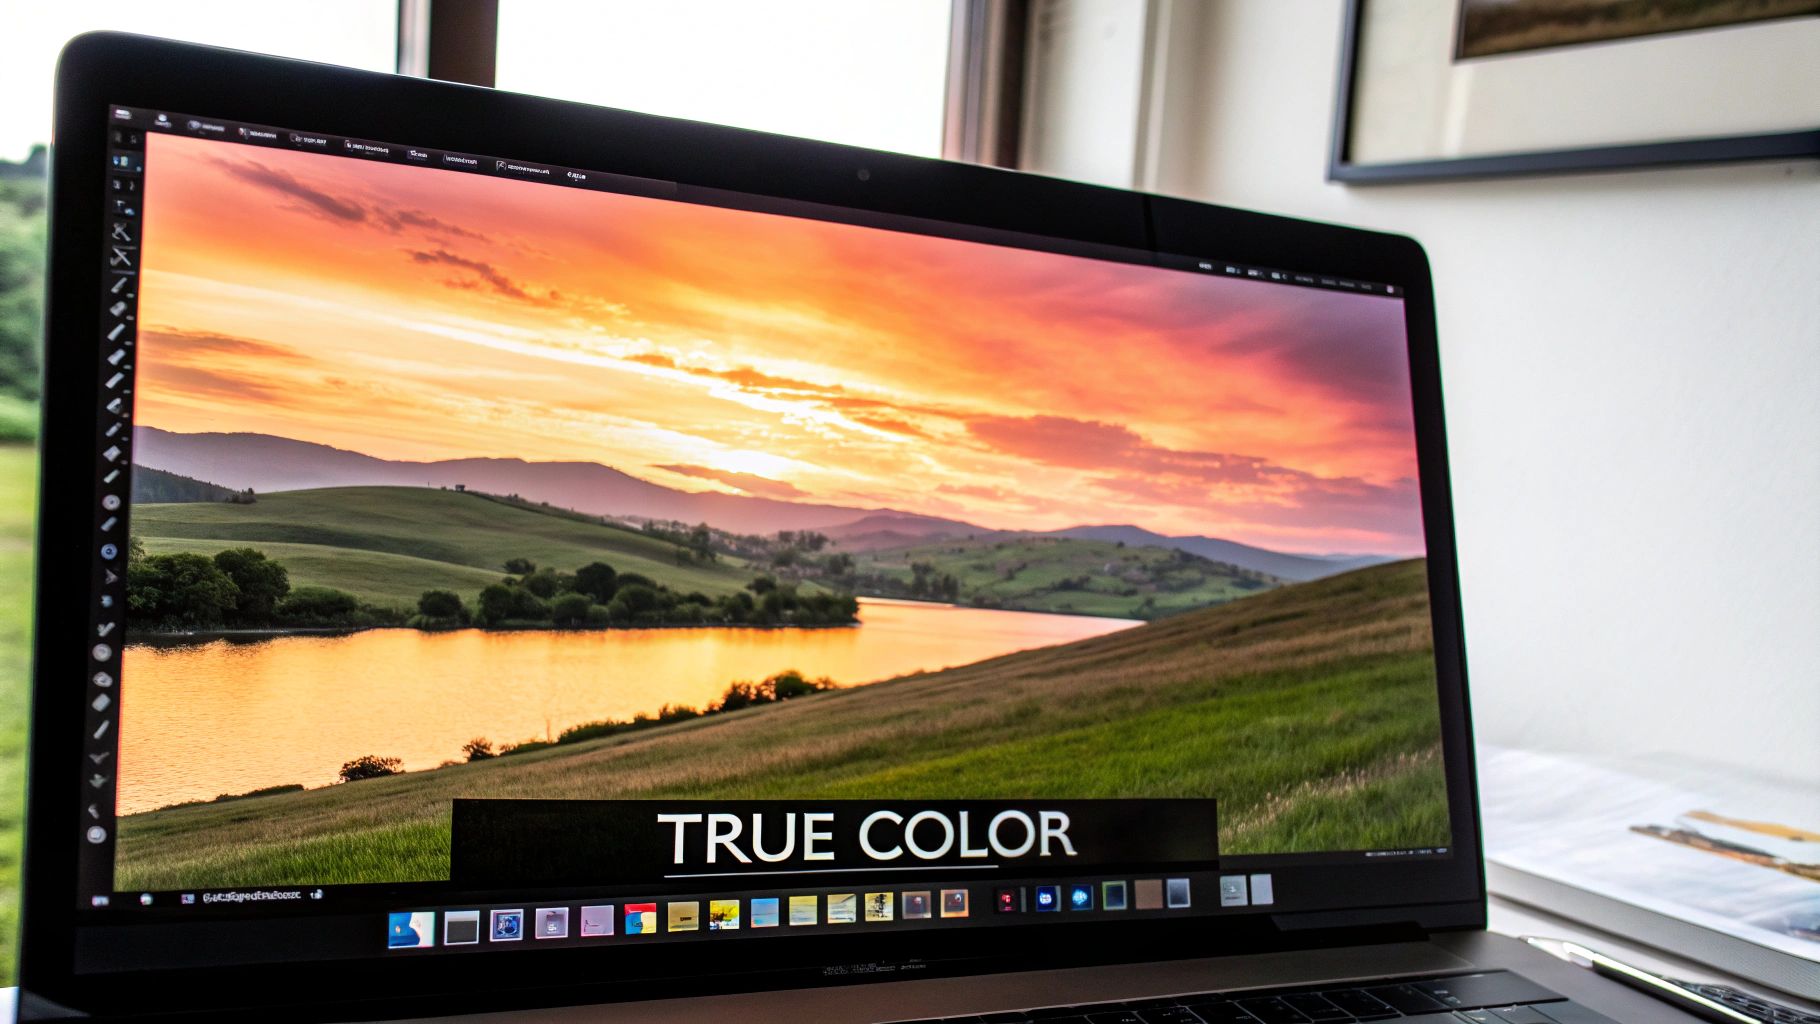
Traditional editing software hands you the tools—sliders for brightness, curves for contrast, brushes for spot-healing—and leaves you to figure it all out. AI photo enhancement completely flips that around. It does the heavy lifting for you.
The technology is smart enough to scan your photo and understand what it's looking at. It recognizes faces, trees, skies, and buildings. Then, instead of applying a one-size-fits-all adjustment, it makes targeted, intelligent improvements. It might sharpen the detail in someone’s eyes, smooth out the color gradient in a sunset, or bring back the vibrant colors in a faded old photograph, all automatically.
Why This Technology Is Growing So Fast
The secret to its explosive growth? Sheer efficiency. A task that could take a professional photo editor hours of painstaking work can often be done by an AI in less than a minute.
This has thrown the doors wide open. It’s not just for pro photographers anymore. Marketers, social media managers, and literally anyone who wants their pictures to look better can get stunning results without a steep learning curve.
The demand for high-quality visuals is through the roof, and the numbers show it. The AI image enhancer market was valued at around USD 2.11 billion and is on track to hit USD 2.45 billion by next year. That's a huge leap, proving just how quickly people and businesses are adopting this tech.
The real power of AI enhancement lies in its precision. It can upscale a low-resolution image by intelligently creating new pixels that look natural, or remove digital "noise" from a low-light photo without sacrificing important details.
This is what truly sets it apart—it's a problem-solver. The entire field of artificial intelligence in photography is blowing up, offering solutions for everything from quick touch-ups to complex digital restorations. It’s about making photos look better, yes, but more importantly, it's about fixing common visual problems with incredible speed and accuracy.
To get a sense of how big this is, just look at how drones with artificial intelligence are revolutionizing industries by capturing and analyzing images at a massive scale. It's the same core technology, just applied differently—from aerial surveys to your personal photo library.
Key AI Photo Enhancement Capabilities at a Glance
To give you a clearer picture of what these tools can actually do, let's break down their core functions. This table sums up the most common types of enhancements and where they shine.
| Enhancement Type | What It Does | Best For |
|---|---|---|
| Upscaling & Resolution Boost | Intelligently increases image size and pixel count without losing quality. | Making old, low-res photos printable or displayable on high-res screens. |
| Noise Reduction (Denoising) | Removes grainy textures ("noise") from photos taken in low light. | Nighttime photography, indoor shots without flash, or old scanned photos. |
| Color Correction & Enhancement | Automatically adjusts color balance, saturation, and vibrancy for a natural look. | Faded photos, images with weird color casts, or making landscapes pop. |
| Sharpening & Deblurring | Corrects slight motion blur and softens edges to make details stand out. | Rescuing slightly out-of-focus shots or enhancing intricate textures. |
| Face & Portrait Retouching | Smooths skin, brightens eyes, and removes blemishes automatically. | Professional headshots, selfies, and group photos. |
| Lighting & Exposure Fixes | Balances highlights and shadows in poorly lit or overexposed images. | Backlit subjects, photos taken in harsh sunlight, or underexposed scenes. |
As you can see, AI enhancers are built to tackle the most common headaches in photography. They're not just about slapping on a filter; they're about performing targeted, technical fixes that used to require a ton of skill and time.
How AI Actually Learns To Edit Photos
How can a single click turn a grainy, out-of-focus snapshot into a crisp, vibrant image? It feels like a sleight of hand, but the reality is more like coaching a dedicated apprentice. This journey relies on massive data and the AI’s talent for spotting patterns.
Picture teaching a child to recognize a cat. You wouldn’t hand them a textbook definition. Instead, you’d flip through thousands of photos—striped kittens, lounging lions, fluffy Persians—until they zero in on the pointed ears, the whiskers, the bright eyes.
AI photo enhancement works much the same way. Engineers feed the model millions of pairs: one photo in poor condition (blurry, noisy, washed-out) and its high-quality counterpart. The AI’s assignment is simple at first—figure out how to morph the “before” into the “after.”
That side-by-side training empowers the AI to spot and correct imperfections with incredible speed and accuracy. Every transformation you see is the result of its accumulated “experience.”
Building Skills Through Repetition
With each pass through its training set, the AI learns the hallmarks of common photo problems. It starts to recognize digital noise, understand how motion blur distorts edges, and gauge what a natural color balance looks like in a portrait.
These lessons become the foundation for the features you use daily. Let’s dive into two core skills.
Skill 1: Denoising (Removing Grain)
When you shoot in low light, random speckles—aka noise—creep into your photos. Here’s how AI tackles it:
- Analysis: The model scans for irregular pixel clusters that don’t match the scene’s texture.
- Contextual Understanding: It learns to tell a sweater’s knit pattern apart from unwanted grain.
- Correction: Noise is stripped away while preserving genuine detail, leaving a smooth but lifelike image.
“Is this pixel part of a meaningful texture or just interference?” The AI asks itself this millions of times per second, and that’s how it excels.
Skill 2: Upscaling (Intelligently Adding Detail)
Upscaling isn’t mere stretching—it’s creative reconstruction. The AI has studied what a high-res brick wall or a delicate eyelash should look like. When it sees a low-res version, it fills in missing information with believable detail.
This approach lies at the heart of computational photography, powering techniques like multi-frame HDR processing. In fact, the Multi-frame HDR and Exposure Fusion segment represents 22.4% of this market—proof of how vital these smart methods have become.
Every time you tap an artificial intelligence photo enhancement feature, you’re drawing on a vast library of visual know-how. It’s not a simple filter; it’s millions of tiny, informed decisions converging to deliver a sharper, more vibrant photo.
Let's Walk Through Upscaling and Sharpening Your Images
Theory is one thing, but seeing AI photo enhancement in action is where the magic really happens. Let's tackle a super common problem: rescuing an old digital photo that's too small and blurry for today's high-resolution screens. This step-by-step guide will show you how to use an AI tool to bring a low-resolution image back to life.
Step 1: Upload Your Source Image
First, you need to get your photo into the enhancement tool. Most web-based platforms have a large, clear upload area. You can typically either drag and drop your image file directly onto the webpage or click a button to browse your computer's folders to find it.
For this tutorial, we'll use a photo that's pixelated and lacks sharp detail. As soon as you upload it, the AI begins analyzing the image content—identifying faces, textures, and edges—to determine the best enhancement strategy.
Step 2: Choose the Right Upscaling Factor
Next, you'll tell the AI how much larger you want the image. You will usually see options like 2x, 4x, or even 8x. This number represents the multiplier for the image's dimensions.
- 2x Upscaling: This is a safe starting point for a moderate quality boost, perfect for social media posts. It doubles the width and height, effectively quadrupling the total pixel count.
- 4x Upscaling: This delivers a significant improvement, making a small photo suitable for printing or displaying on a large monitor. This is often the ideal balance between quality gain and processing time.
For our example, let's select 4x. The AI isn't just stretching the existing pixels; it's intelligently generating new ones based on its training, filling in the gaps with plausible, realistic detail. This entire process is incredibly fast, often completed in under 10 seconds.
Pro Tip: When enhancing portraits, especially close-ups, start with a lower upscale factor like 2x. Pushing it too far can sometimes create an unnatural, overly smooth "plastic" look on skin. Aim for subtle adjustments to maintain a natural appearance.
Step 3: Fine-Tune the Sharpness and Detail
With the initial upscaling complete, your image is bigger and clearer. Now, you can refine the result using additional controls. Most AI enhancers provide sliders for adjustments like sharpness and detail.
- Sharpness: This slider enhances the definition of edges and fine lines. Use it sparingly—pushing it too high can create harsh, unnatural outlines around objects.
- Detail/Clarity: This setting focuses on bringing back texture. It's excellent for revealing the weave in fabric, the individual leaves on a tree, or the texture of a brick wall.
Gently adjust these sliders to find a balance that looks crisp but not over-processed. The goal is to make the photo appear as if it were taken with a higher-quality camera, not heavily edited. For a deeper look at the various tools available, check out our guide on finding the right online image upscaler for your needs.
The difference can be astounding. The image on the left is the blurry original, while the right shows the incredible clarity added by the AI.
Notice how the AI didn't just sharpen the image; it reconstructed the texture in the bird's feathers and the wood grain. It transformed a blurry photo into something detailed and realistic.
Step 4: Compare and Export Your Final Image
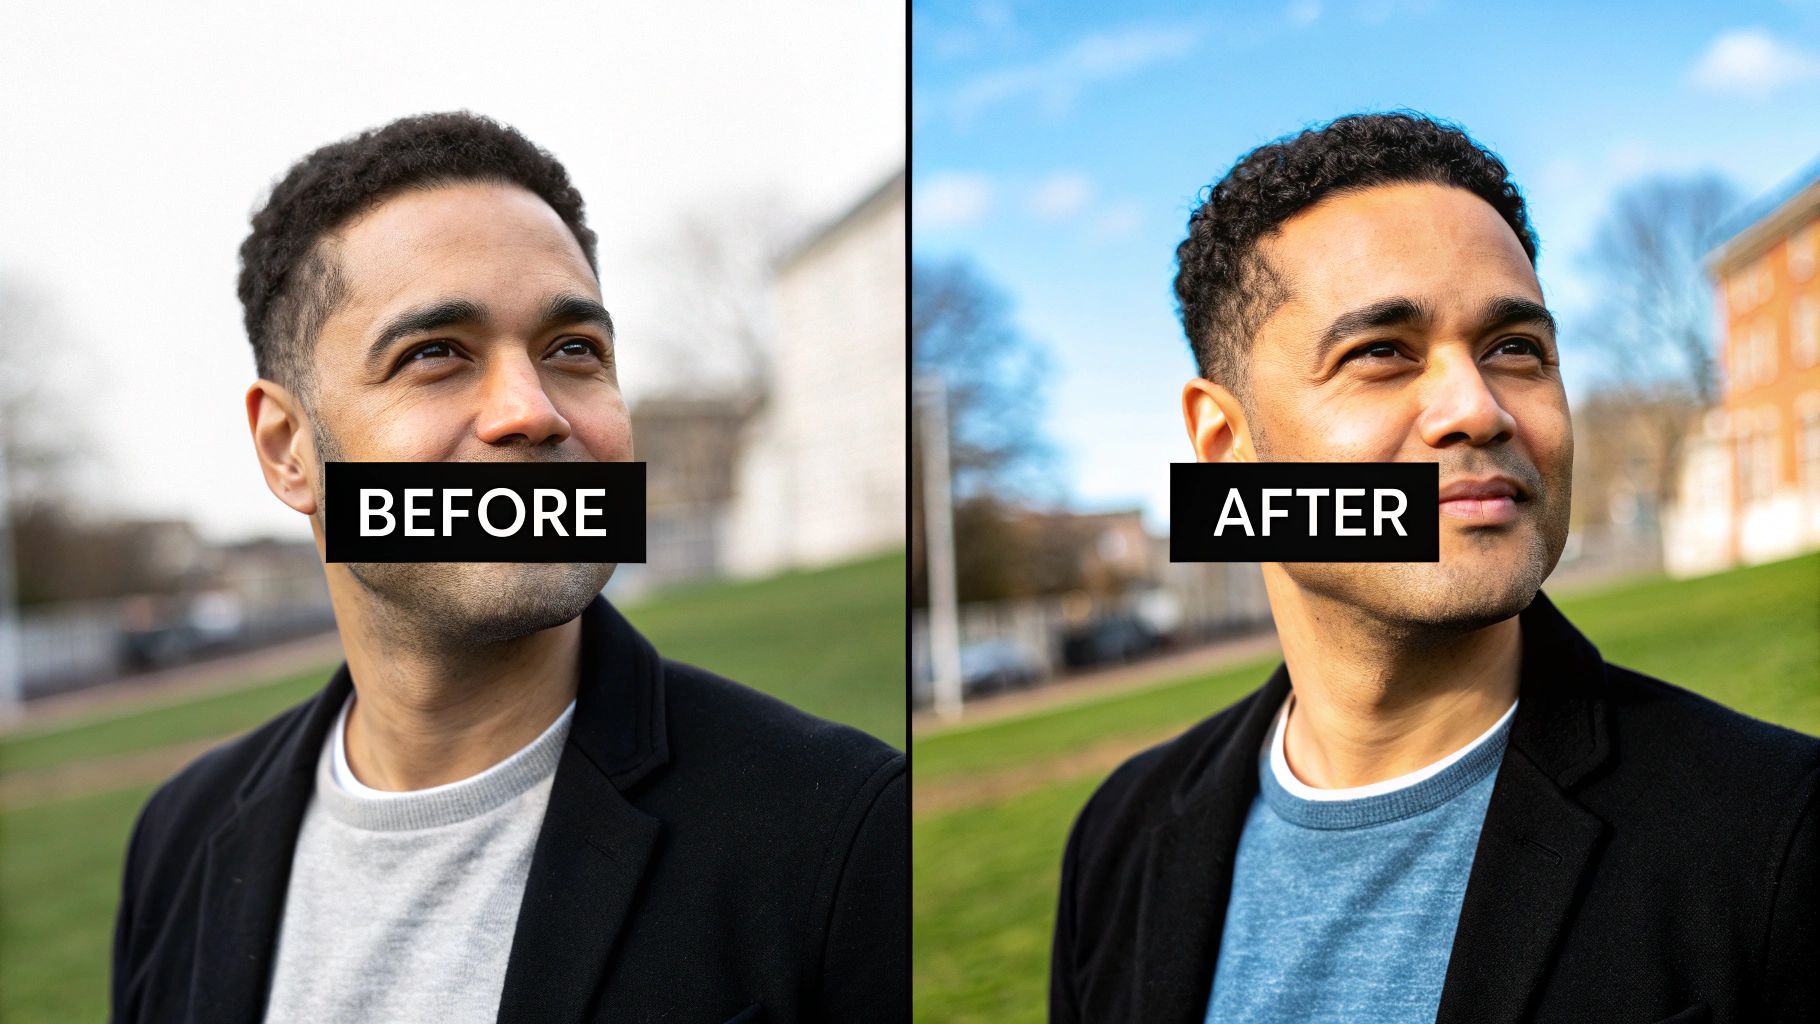
The final step is to review your work. Nearly every tool includes a side-by-side viewer or a slider that you can drag across the image to compare the "before" and "after" versions. It's a satisfying way to see the transformation instantly.
Once you are happy with the enhanced image, click the download or export button. That's it! You now have a high-resolution, sharp, and detailed version of your old photo, ready to be shared, printed, or archived. You have successfully used AI to restore a cherished memory.
A Guide to Restoring Old and Damaged Photographs
Beyond enhancing modern photos, artificial intelligence photo enhancement offers a powerful way to bring the past into the present. Faded, creased, and torn photographs hold priceless family stories. With AI, you can act as your family's digital archivist, restoring these moments for future generations. This tutorial will walk you through turning a damaged old photo into a clear, vibrant memory.
Step 1: Repairing Scratches and Tears
Old photographs often suffer from physical damage like scratches, creases, and dust. Manually fixing these issues in traditional software is tedious, but AI makes it simple.
- Scan Your Photo: Begin by creating a high-resolution digital scan of the original photograph. The more detail you provide the AI, the better your final result will be.
- Upload to an AI Restorer: Choose an AI tool with a dedicated "Scratch Removal" or "Damage Repair" feature. Upload your scanned image.
- Apply the Repair Function: Locate and activate the one-click restoration feature. The AI will immediately scan the image for imperfections like scratches, dust, and fold lines.
- Review the Result: The algorithm intelligently fills in the damaged areas by analyzing the surrounding pixels. It regenerates missing textures and details, making the repair look seamless and natural. This gives you a clean base for further enhancements.
Step 2: Colorizing Black and White Photos
Once the physical damage is repaired, you can bring the photo to life with color. AI models trained on millions of historical and modern images can accurately predict the colors of everything from skin tones and clothing to landscapes.
The AI makes intelligent color choices based on context. It knows a sky should be blue and grass should be green, but it also applies subtle, period-appropriate color palettes to maintain the photo's authentic feel.
Colorization is typically a one-click process:
- Find the "Colorize" Feature: Within your AI tool, look for a button labeled "Colorize" or "Add Color."
- Activate Colorization: Click the button to apply the effect. The AI will process the image and add realistic colors.
- Make Minor Adjustments (Optional): While the AI is usually accurate, some tools allow you to tweak the final saturation or hue if a particular color doesn't look quite right.
The transformation turns a historical record into a vivid, relatable moment. This image demonstrates the dramatic difference AI restoration can make.
The AI didn't just remove cracks; it added believable color and sharpened the man's face, restoring the emotion lost over time.
Step 3: Sharpening Faces and Revealing Details
The final step is often the most impactful: enhancing faces. Details in old photos often become soft and blurry. AI-powered face enhancement is specifically designed to target and rebuild these features with precision.
- Use a "Face Enhance" Tool: Look for a feature specifically designed for portraits. This function is often labeled "Face Enhance" or "Portrait Retouching."
- Apply the Enhancement: The AI model identifies facial structures—eyes, nose, and mouth—and sharpens them independently from the rest of the image.
- Check the Details: This targeted approach prevents the over-processed look of a generic sharpening filter. It brings stunning clarity to your ancestors' expressions, allowing you to connect with them in a new way. For more advanced techniques, see our guide on enhancing old photographs.
By following these three steps, you can use artificial intelligence photo enhancement to rescue a photo from the ravages of time, preserving your family's story in vivid color and detail.
How to Choose the Right AI Enhancement Tool
With what feels like a million AI photo enhancers out there, picking the right one can be a real headache. Are you just trying to clean up old family photos for a scrapbook, or are you a pro creating marketing assets? Figuring this out first is the key to finding the perfect tool for the job.
It's a simple truth: not all AI enhancers are built the same. Some are absolute masters at upscaling and sharpening, while others have a knack for realistic colorization or making portraits pop. You've got to match the tool’s specialty to what you do most often. If you’re just sprucing up a few pictures for Instagram, your needs are worlds apart from a professional photographer who needs to process batches of massive RAW files.
Web-Based Tools Versus Desktop Software
One of the first forks in the road is deciding between a web-based tool and traditional desktop software. They each have their own vibe and are suited for different kinds of projects and people.
Web-Based Tools: These are all about speed and accessibility. You pop open your browser, upload a photo, and boom—you get results in seconds. They’re fantastic for quick, one-off jobs, and the subscription models are usually easier on the wallet for occasional use. The catch? You need a solid internet connection, and you might run into limits on file sizes or how many photos you can process at once.
Desktop Software: This is where you get the real horsepower and control. Desktop apps can chew through huge files (including RAW formats), process hundreds of images in one go, and usually give you way more knobs and dials to fine-tune the results. It’s the go-to for pros and serious hobbyists, but expect a higher price tag upfront and a bit more of a learning curve.
The right choice really just comes down to your workflow. If you need speed and convenience for a photo here and there, a web tool is your best friend. But if you demand the absolute best quality, total control, and need to handle a ton of images, desktop software is the only way to fly.
Matching the AI to Your Photo Type
Think of it this way: different AI models go to different schools. Some are trained on landscapes, others on portraits, and they get really, really good at that one thing. An AI that’s a genius at restoring the tiny details in a mountain range might totally bomb when it comes to creating natural-looking skin textures.
For Portraits: Keep an eye out for tools that brag about "face enhancement" or "portrait retouching." These AIs are trained to recognize eyes, skin, and hair, letting them sharpen features and smooth imperfections without making someone look like a plastic doll.
For Landscapes: Tools focused on color correction, sky replacement, and detail enhancement are what you want for those epic scenic shots. They can make colors explode off the screen, pull out textures in leaves and rocks, and turn a good photo into a great one.
For Old Photos: This is a job for the specialists. You’ll want a dedicated restoration tool that bundles scratch removal, colorization, and face enhancement into one package. They're designed from the ground up to breathe new life into those priceless old pictures.
Comparison of Popular AI Photo Enhancement Tools
To make the decision a little easier, I've put together a quick comparison of some of the heavy hitters in the AI photo game. This should help you zero in on the best one for your specific needs, budget, and skill level.
| Tool Name | Primary Function | Pricing Model | Best For |
|---|---|---|---|
| Topaz Photo AI | Upscaling, Sharpening, Denoising | One-Time Purchase | Professionals needing top-tier detail and RAW file support. |
| Luminar Neo | Creative Editing & Sky Replacement | Subscription or Lifetime | Photographers wanting a full editing suite with creative AI features. |
| Fotor | All-in-One Web Editor | Freemium/Subscription | Casual users and social media managers needing quick, easy enhancements. |
| VanceAI | Specialized Web Tools | Subscription/Credits | Users with specific needs like upscaling anime or restoring old photos. |
Ultimately, picking a tool comes down to what you're trying to accomplish. The right software can feel like a superpower, letting you get incredible results with just a few clicks.
This technology is moving at lightning speed. We're seeing AI upscalers that can push images all the way to 16K resolution and models specifically trained to eliminate noise without losing detail. It’s a clear sign of just how important AI has become in the world of digital imaging. If you're curious about the business side of this growth, you can discover more insights about the AI image enhancement market on Market.us. Choosing the right tool is your ticket to tapping into all these powerful new capabilities.
Common Mistakes to Avoid With AI Enhancers
These AI photo tools are incredibly powerful, but getting a truly professional result means knowing what not to do. It’s easy to make a few common missteps that can quickly turn a great photo into an over-processed, digital-looking mess. Learning to spot these pitfalls is the real key to developing a sharp eye for quality.
The single biggest mistake? Over-processing. It’s so tempting to just crank all the enhancement sliders to the max, but that almost always leads to an unnatural, "plastic" look, especially with portraits. Skin loses its natural texture, and details start looking harsh and fake. The goal should be to make the photo look like it was shot with a better camera, not to make it look heavily edited.
Also, never forget the old "garbage in, garbage out" rule. AI is impressive, but it needs good information to work with. You'll always get better results when you start with the highest-quality source image possible. A blurry, low-resolution photo can only be improved so much before the AI just starts guessing what details are supposed to be there.
Developing a Keener Eye
To get consistently great results, you need to be mindful of a few key things. It's all about building good habits and knowing what to look for after the AI has done its part.
Here are some essential do's and don'ts to keep in mind:
- DON'T trust the AI blindly. Always flip between the before and after versions to make sure the changes are actual improvements.
- DO check for strange color shifts. Sometimes an AI can misread the lighting and introduce an ugly yellow or blue tint that wasn't there before.
- DON'T ignore digital artifacts. Zoom in and look for weird textures or blocky patterns, especially in the shadows or smooth areas like a clear sky.
- DO choose the right tool for the job. An AI model trained to enhance landscapes probably won't do a great job on a close-up portrait, and vice-versa.
The most effective approach is subtlety. Nudge the sliders gently and aim for an enhancement that feels almost invisible. The best AI-enhanced photo is one where you can’t immediately tell an AI ever touched it.
By avoiding these common errors, you'll go from simply using a tool to truly mastering it. That’s how you’ll start producing clean, natural, and genuinely impressive images every single time.
Frequently Asked Questions About AI Photo Enhancement
Got a few more questions rattling around about how artificial intelligence photo enhancement actually works? Let's clear up some of the most common ones we get.
How Is AI Enhancement Different from Regular Photo Editing?
Great question. Think of it like cooking a meal.
Traditional editing software, like Photoshop, is like a professional kitchen stocked with every raw ingredient and tool you could imagine. You have sliders, layers, brushes, and filters, but you are the chef. You have to know exactly how to combine everything with skill and a bit of artistry to get the result you want.
AI enhancement, on the other hand, is like having a high-tech smart oven with pre-programmed recipes. You put the photo in, and the AI analyzes it, figures out what it's looking at (a portrait, a landscape, an old family photo), and automatically applies a whole series of complex, targeted adjustments. It does in seconds what might take even an experienced editor hours of painstaking manual work.
Are My Photos Safe When Using an Online AI Tool?
This is a totally fair concern, and one you should definitely think about. The most important thing is to always check the privacy policy of any tool before you upload something personal. Good, reputable services will be upfront about how they handle your photos.
Generally, you'll find two types of tools out there:
- Cloud-Based Processing: Your image gets uploaded to a company's server, the AI does its magic, and then the image is usually deleted after a certain amount of time.
- On-Device Processing: The AI runs right in your web browser or on your computer. This is the most private option because your photo never actually leaves your device.
Can AI Invent Details That Weren't in My Original Photo?
Yes, it absolutely can, especially when you're working with a really damaged or low-resolution picture. In the AI world, this is sometimes called a "hallucination."
Think about it: when an AI has very little information to go on—like a super blurry face or a big scratch across a photo—it has to make an educated guess to fill in those missing pixels. For most moderate touch-ups, this isn't an issue. But the more the AI has to "invent" from scratch, the higher the chance it might create details that look plausible but weren't really there.
Ready to see what AI can do for your own images? AI Photo HQ gives you powerful, one-click tools to restore, sharpen, upscale, and completely transform your photos in seconds. Check out our features and start creating stunning visuals today.

