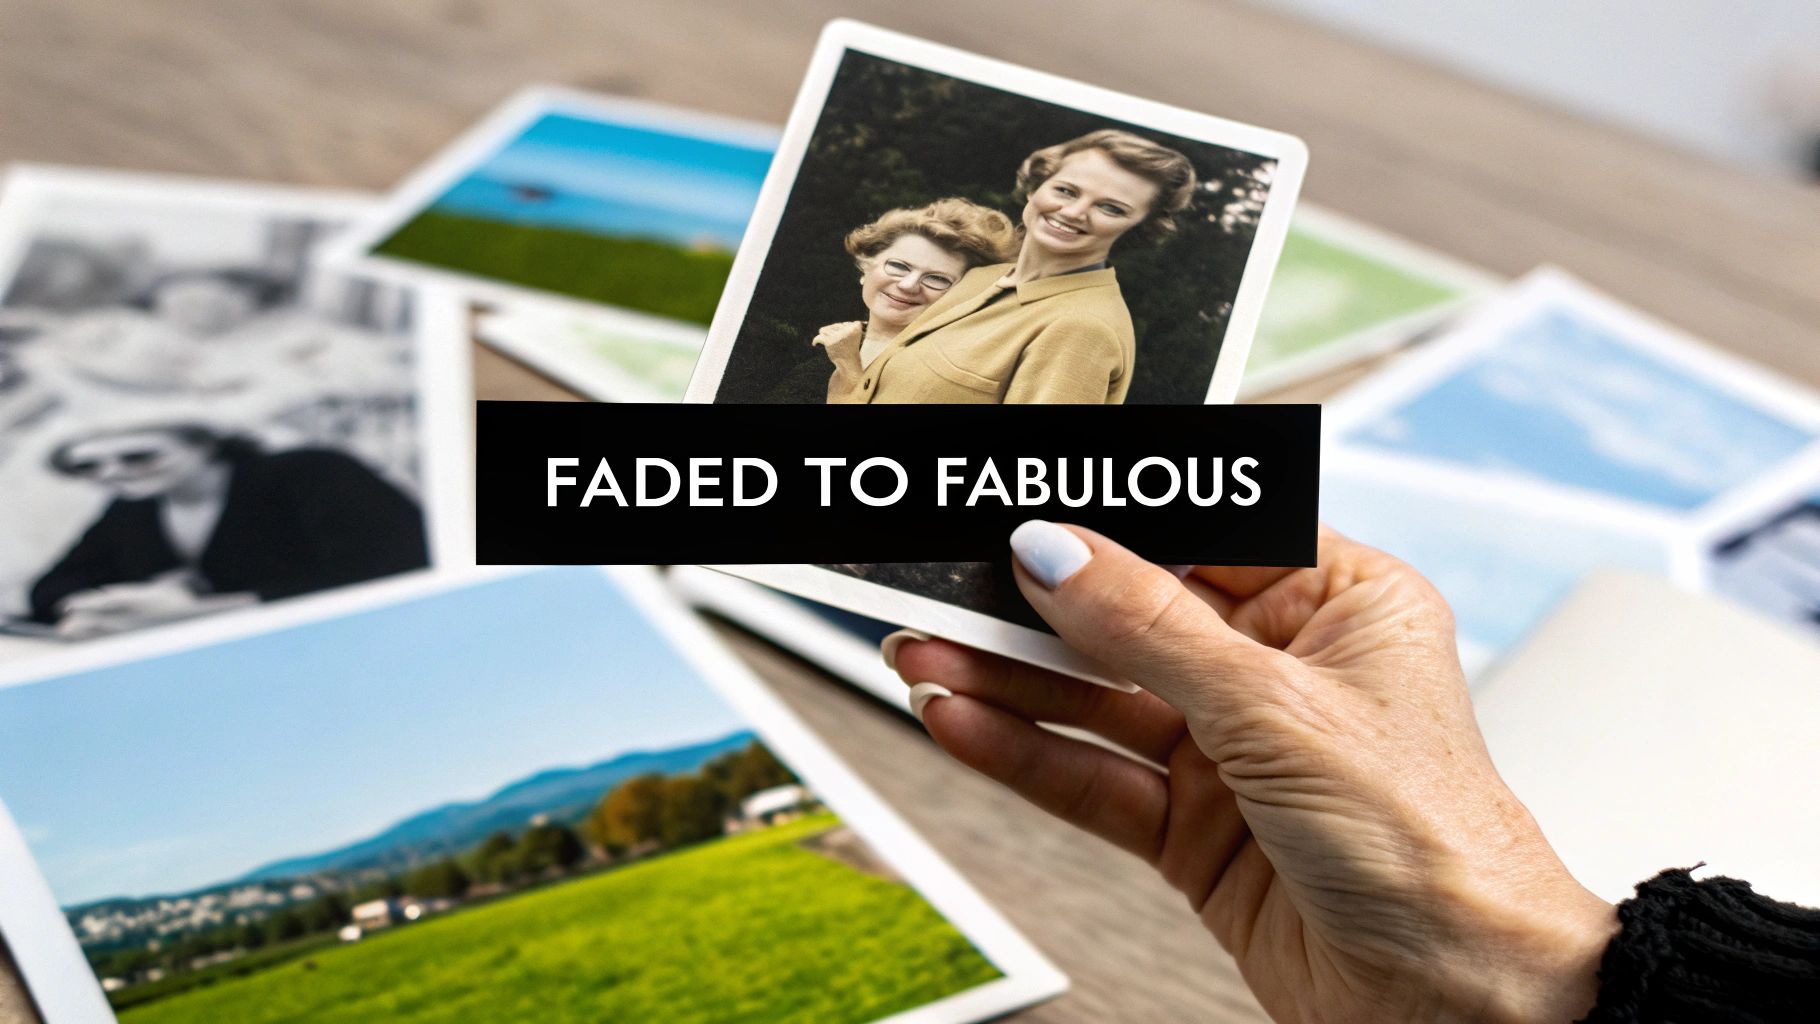
If you've ever pulled out a box of old family photos, you know the feeling. They're priceless links to our past, but time isn't always gentle. The main enemy? Light. Over the years, UV rays break down the inks, slowly fading both color and black-and-white prints.
The goal is to get that shoebox of memories into a beautiful, shareable digital archive. It's a two-part mission: first, you need a high-quality digital scan, and second, you need smart software to handle the rest. This guide will walk you through a practical workflow, showing you how to use AI to automatically fix scratches, bring back faded colors, and sharpen up blurry details.
You can turn those aged, damaged prints into crystal-clear digital memories in just a few minutes.
Bringing Your Cherished Memories Back to Life
That slow fade, mixed with everyday physical damage like creases, dust, and maybe even a little moisture, can leave your most treasured moments looking pretty worn out. Luckily, what we can do with modern tech is pretty incredible. We can actually reverse a lot of that decline.
Reclaiming Stories with Technology
This isn't just theory; we're going to get hands-on and focus on real-world results. I'll show you exactly how to:
- Digitize photos the right way: Getting a clean, high-quality digital version is the single most important part of the whole process. Garbage in, garbage out, as they say.
- Fix all the common damage: We'll tackle how to repair scratches, get rid of stains, and correct that yellowed, discolored look.
- Restore faded colors: This is where the magic happens—bringing back the punch and vibrancy to washed-out images.
- Preserve your hard work: Once they're restored, we need to make sure these digital heirlooms are safe for generations to come.
By following a structured process, you're not just fixing pixels; you're reclaiming the stories and emotions captured in every image. This is about making your family's history accessible and vivid once again.
This entire workflow is built for everyone. Whether you're a beginner just trying to save a few precious family photos or an enthusiast aiming for pro-level results, you'll find everything you need here.
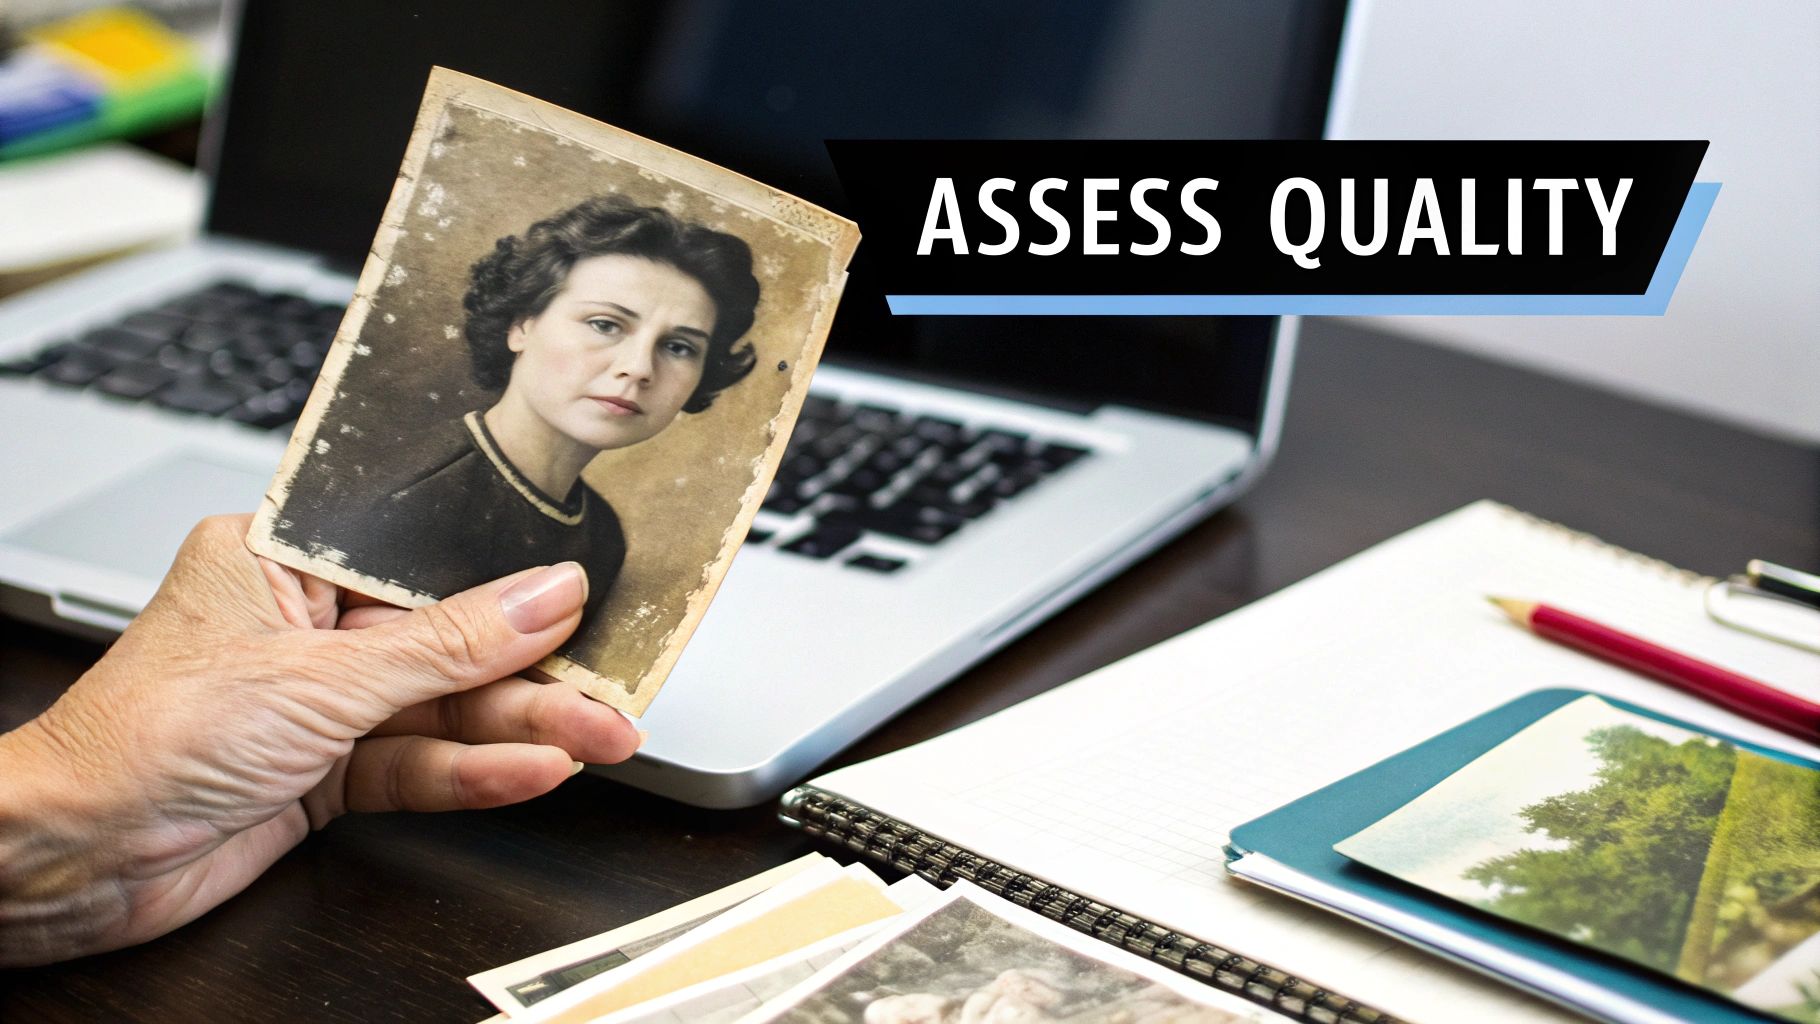
Before any AI magic can happen, you need to get a high-quality digital copy of your physical photograph. Honestly, this first scan is the single most important part of the entire process. The quality here directly impacts how good the final restoration can be.
Think of it this way: a blurry, low-detail scan gives the AI very little information to work with, forcing it to guess and fill in huge gaps. But a sharp, detailed scan provides a rich blueprint for it to rebuild from. Your goal is to capture every last bit of detail from the original print or negative.
The more information you can feed the software, the more accurately it can enhance old photos, meticulously removing damage and bringing back faded colors.
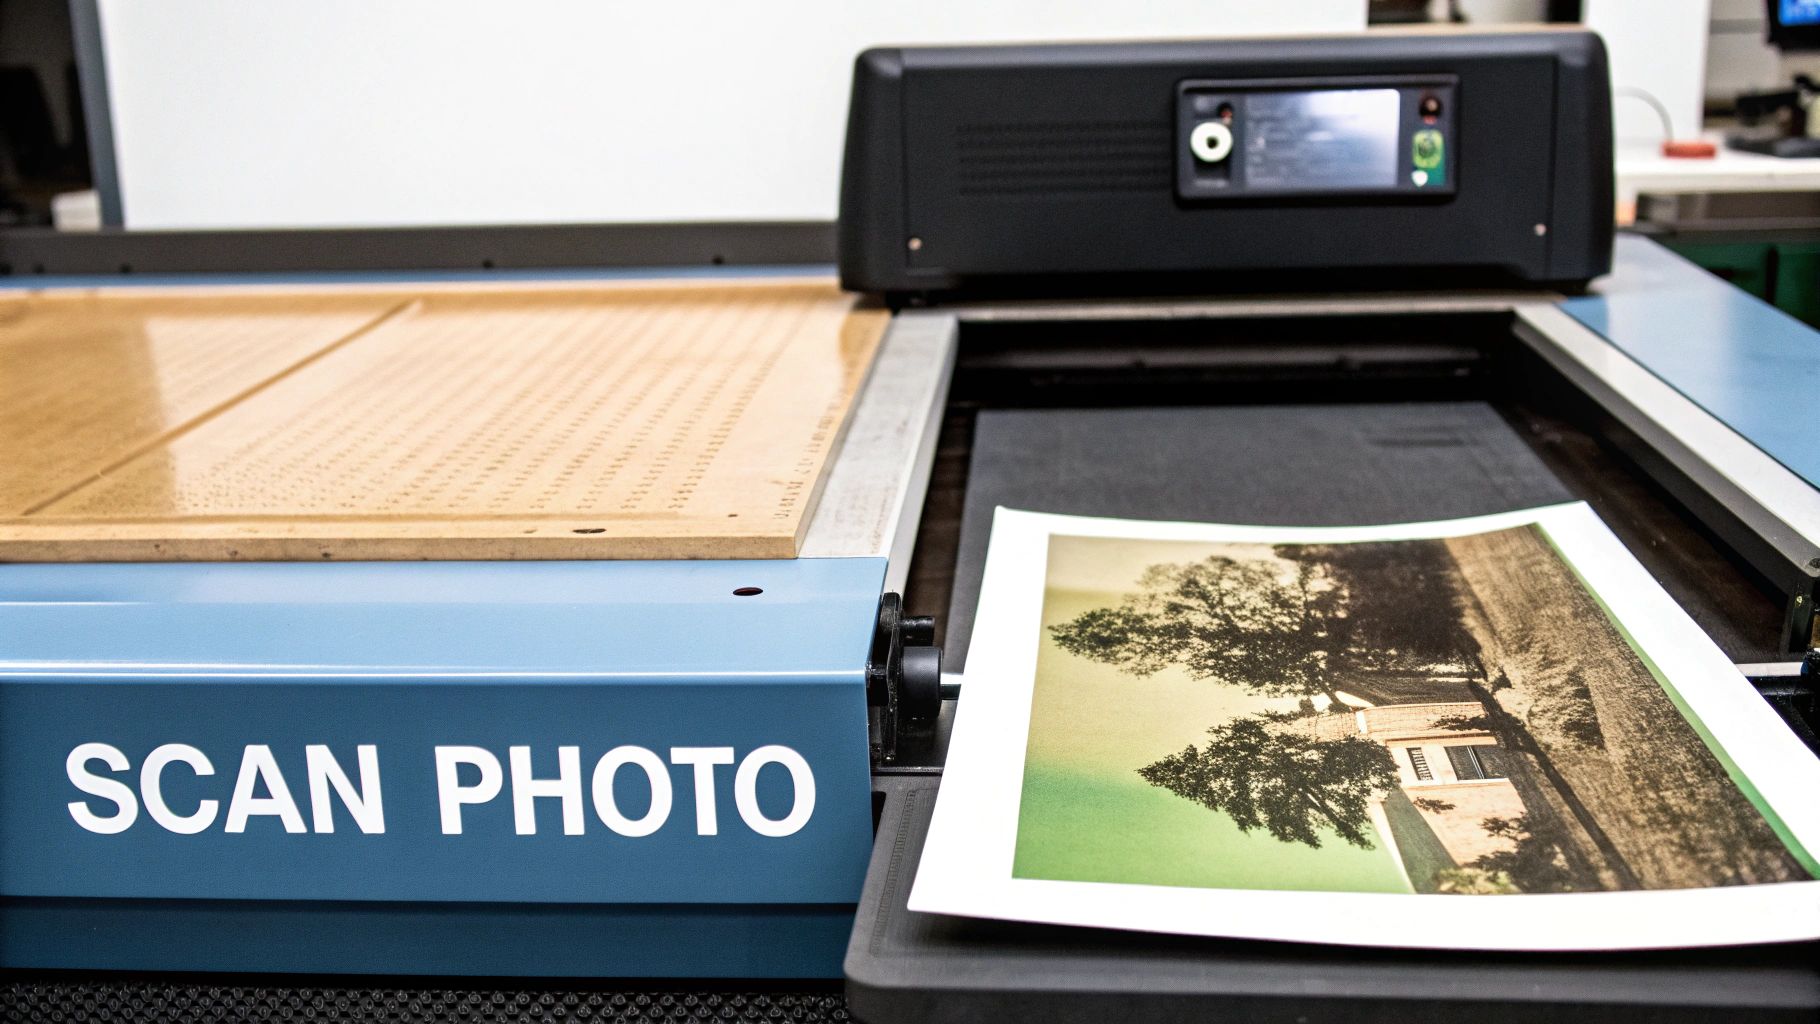
Step-by-Step Guide to a Perfect Scan
For most people, the best tool for the job is a simple flatbed scanner. It provides perfectly even light and, just as importantly, holds the photo completely flat. Here’s a quick tutorial to get it right:
- Clean Your Equipment: Before you start, wipe down the scanner glass with a lint-free cloth. Then, gently wipe the surface of your photo with a clean, dry cloth to remove any dust.
- Position the Photo: Place the photo face-down on the scanner glass, aligning it with the corners to ensure a straight scan.
- Open Your Scanning Software: Every scanner comes with software. Open it and look for the "Advanced" or "Professional" mode to access key settings.
- Set the Resolution (DPI): This is critical. For a standard 4x6 print, set the resolution to at least 600 DPI. If the photo is small (like a wallet photo), use 1200 DPI to capture more detail for potential enlargement.
- Choose the File Format: Always save your master scan as a TIFF (Tagged Image File Format). Unlike JPEG, TIFF is a lossless format, meaning it preserves every single pixel of data without compression.
- Preview and Scan: Use the preview function to ensure everything looks good, then hit the scan button.
By choosing a high resolution and a lossless format, you're essentially creating a "digital negative." This master file becomes your rock-solid foundation, containing the maximum amount of data for any restoration work you want to do now or in the future.
The importance of this step isn't just a niche tip; it's a booming industry. The digital photo scanning service market was valued at around USD 367.5 million in 2025 and is only expected to grow. This tells you that people are catching on to just how critical a quality scan is for preservation. You can see more about the market trends for digital photo scanning services on Data Insights Market.
Here's a quick cheat sheet I put together to help you pick the right settings every time.
Recommended Scanning Resolutions for Old Photos
This table is a quick reference guide to help you choose the right DPI (dots per inch) setting based on the original photo size and what you plan to do with the digital version.
| Original Photo Size | Goal After Scanning | Recommended DPI |
|---|---|---|
| 3x5 or 4x6 inch | Basic archiving, sharing online | 600 DPI |
| 3x5 or 4x6 inch | Making larger prints (e.g., 8x10) | 1200 DPI |
| Smaller than 3x5 | Archiving or reprinting at original size | 1200 DPI |
| Postage stamp size | Making larger prints | 2400 DPI+ |
| 35mm Slide/Negative | High-quality archiving, large prints | 2400 - 4800 DPI |
Using these guidelines ensures you capture enough detail for your needs without creating unnecessarily massive files.
For those of us tackling a huge box of family photos, having a consistent workflow is a lifesaver. If you want to dive deeper, we've put together a complete guide on how to restore images from start to finish that covers the entire process.
Your AI-Powered Restoration Workflow in Action
Once you have a high-quality scan in hand, the real fun begins. This is where we’ll put AI Photo HQ's tools to the test, tackling the most common problems you'll find in any shoebox of old photos. We’re going to walk through a simple, step-by-step process for three common scenarios.
Forget a boring list of features. Let's see what this tech actually does. The whole process is built to be intuitive, so you can get stunning results without a steep learning curve.
Tutorial: Fixing Creases and Scratches
First up, a classic problem: a cherished family photo that was folded or scratched. Not long ago, fixing this meant hours of tedious work in Photoshop. Now, it’s practically instant.
- Upload Your Image: Open AI Photo HQ and upload the high-quality TIFF scan you created.
- Select the 'Scratch Removal' Tool: Navigate to the repair tools and click on "Scratch Removal."
- Let the AI Work: The software immediately scans the picture for unnatural lines, creases, and blemishes. It intelligently reconstructs the damaged spots by analyzing the surrounding pixels.
- Review and Save: In seconds, you’ll see a "before and after" comparison. If you're happy with the result, save your newly repaired image. The creases will have vanished without leaving blurry patches.
This is a perfect example of how new technology makes photo restoration something anyone can do. It automates the tough stuff, making the whole process faster and way more affordable.
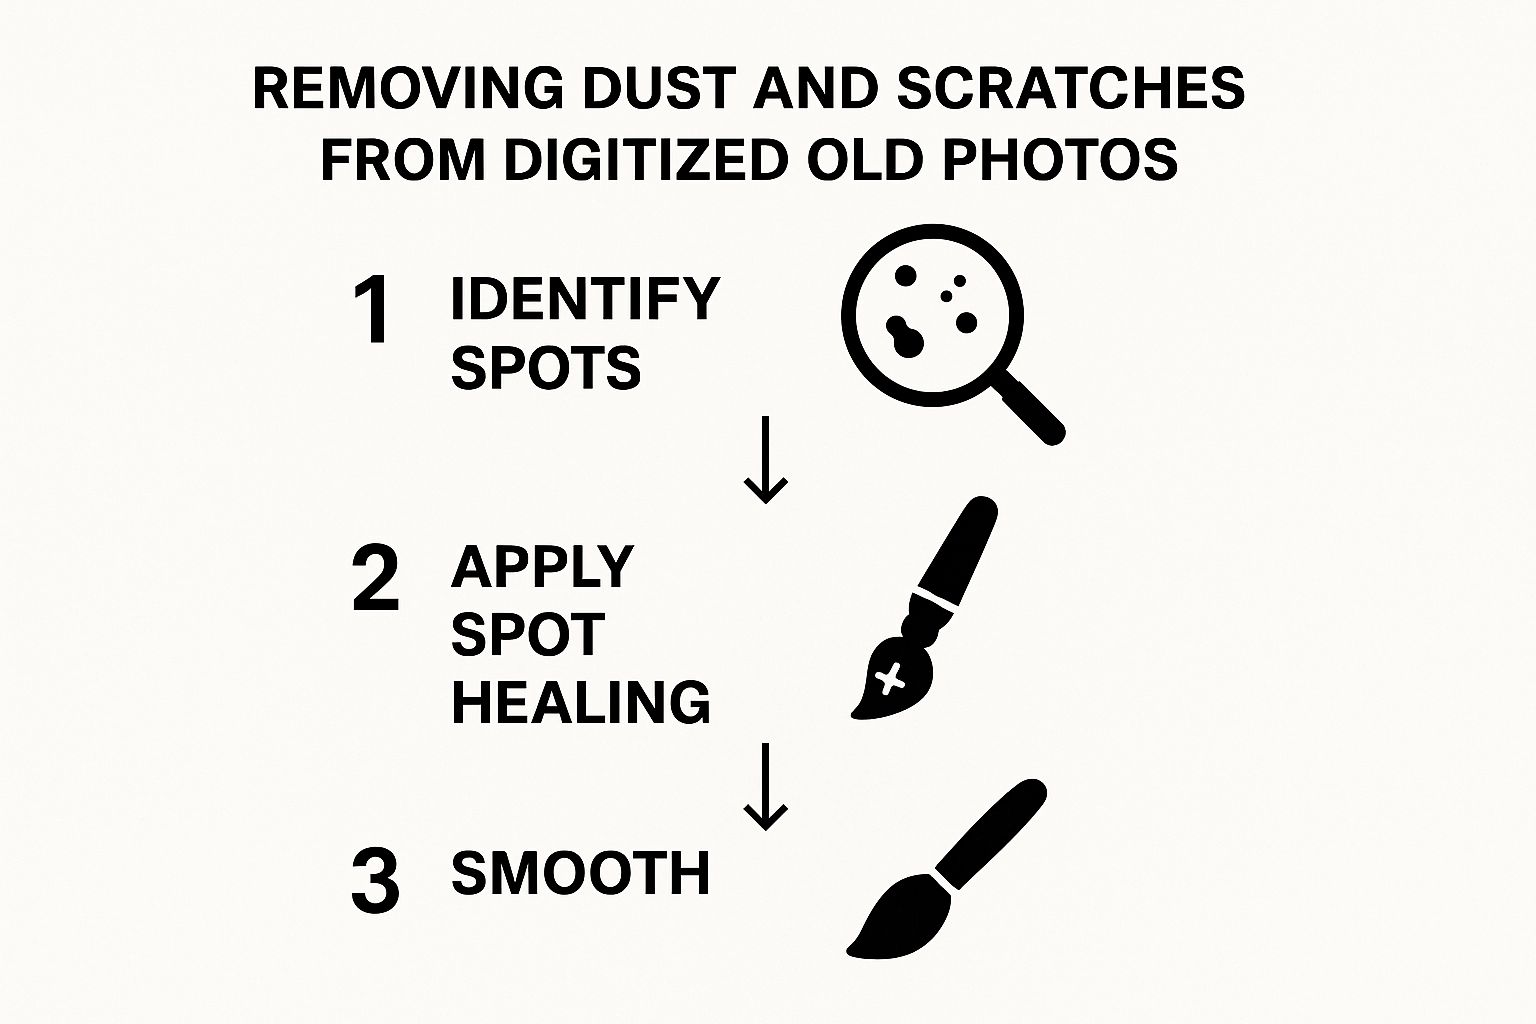
As you can see, the AI systematically finds, heals, and smooths out the imperfections to bring the image back to life.
Tutorial: Bringing Faded and Yellowed Colors Back
Next, let's look at a color photo from the 1970s that has faded into a dull, yellowish haze. For this, we'll use the ‘Color Restoration’ feature.
- Upload the Faded Photo: Start with your scanned image in the AI Photo HQ editor.
- Choose 'Color Restoration': Find and activate this feature. The AI, trained on millions of photos, understands what natural colors should look like.
- Analyze the Automatic Correction: The tool will instantly correct the yellow tint, deepen blacks, brighten whites, and restore realistic skin tones. A washed-out beach photo suddenly has its blue sky and golden sand again.
- Fine-Tune if Needed: Use the brightness and saturation sliders for minor adjustments to perfectly match your memory of the scene.
For a deeper look at different techniques, you should check out our guide on enhancing old photographs with AI.
Pro Tip: After the AI does its thing, always give the colors a once-over. It’s incredibly accurate, but sometimes a tiny manual tweak to the brightness or contrast can make it perfectly match your memory of that day.
Tutorial: Sharpening Blurry Faces in Portraits
Finally, we’ll tackle one of the most frustrating issues: a slightly out-of-focus group portrait. This is where the ‘Face Enhance’ function is a lifesaver.
- Upload the Portrait: Open your group photo within the AI Photo HQ platform.
- Activate 'Face Enhance': Select this specialized tool from the enhancement options.
- Targeted Sharpening: The AI automatically identifies every face in the photo and applies a targeted sharpening algorithm. It brings out fine details in eyes, sharpens hairlines, and adds definition without over-processing the background.
- Compare and Save: Review the enhanced faces. You'll notice they pop with new clarity, turning a soft snapshot into an engaging portrait. Save your final version.
As you build out your restoration process, looking into specialized tools and products like those in the Revive Photos category can really speed things up and improve your final results.
Refining and Upscaling for Professional Results
Once the AI has done the heavy lifting and repaired the major damage, you get to step in and play the part of the artist. This is where a good restoration becomes a great one. We're moving past the big fixes and into the subtle refinements that restore the photo's original soul and visual punch.
A fantastic tool in our arsenal for this stage is AI upscaling. Let's say you have a tiny, wallet-sized photo from decades ago that you’d love to see as a large print on your wall. If you just stretched it out, you’d get a blurry, pixelated mess. That’s where upscaling comes in. Instead of just making the pixels bigger, the AI intelligently adds new ones, creating a high-resolution image that stays sharp and clear.
Think of it like this: the AI analyzes the data it has and makes an educated guess about what the image should look like at a much larger size. It's the perfect way to get those small, vintage photos ready for modern high-res screens or to create frame-worthy family heirlooms.
Making Subtle Manual Adjustments
Even the most sophisticated AI can use a little guidance from the human eye. After you've upscaled the image, step back and just look at it for a moment. The goal isn't to make it look artificially perfect, but to bring back a natural, authentic feel.
Here are a couple of go-to adjustments I always consider:
- Brightness and Contrast: Restored photos can sometimes come out looking a bit "flat." A slight bump in contrast can bring back a sense of depth and make the people or objects in the photo really stand out. Just be careful not to push it too far, or you'll lose important details in the brightest and darkest areas.
- Selective Sharpening: It's tempting to apply a sharpening filter to the whole image, but that often creates a harsh, overly digital look. A better approach is to apply sharpening sparingly. I like to focus just on the important parts—the eyes in a portrait, the lace on a wedding dress, or the texture of an old brick building. This adds a wonderful crispness right where you need it, without making the photo look fake.
These are the final touches that enhance old photos, elevating them from a simple technical fix to something truly special. If you really want to level up your results, getting a feel for the basic principles of design examples can make a huge difference. Understanding a little about composition and balance will help you make more confident creative choices, ensuring the final image isn't just repaired, but beautiful.
You've done the hard work of bringing an old photo back to life with AI. So, what’s next? Don't let that effort go to waste by treating the digital file like an afterthought. Without a smart preservation plan, your beautifully restored images are just as fragile as the faded originals.
First things first, let's get organized. A simple, consistent file naming system will save you from a world of frustration later. Ditch the generic camera names like IMG_1234.tif and get descriptive.
For instance, a photo from that family vacation back in the 70s could be named 1975-08_Beach-Trip_001.tif. Just by looking at the filename, you know the year, month, event, and its order in the series. This makes your entire collection searchable and easy to sort through.
The 3-2-1 Backup Rule: Your Digital Safety Net
If you want to truly safeguard these digital heirlooms, you need to adopt the 3-2-1 backup rule. It’s the gold standard for a reason and is your best defense against everything from a crashed hard drive to a house fire.
Here’s the breakdown:
- Keep three total copies of your files.
- Store them on two different types of media (like an external hard drive and cloud storage).
- Make sure one copy is kept off-site.
Why off-site? Because if something happens to your home—like a flood or theft—your local backups could be wiped out along with your computer. An off-site copy ensures your irreplaceable memories are safe and sound somewhere else.
This isn't just a niche hobby; the desire to save our visual history is huge. The photograph restoration market is on track to hit USD 3.65 billion by 2032, a testament to the deep sentimental value we all place on these images. You can see more data on this trend over at Wise Guy Reports.
Cloud storage is a fantastic and easy way to handle your off-site copy, but be picky. Not all services are created equal. You need a provider that supports high-resolution files like TIFFs without squashing them with compression.
And when you share these gems with family, make sure you're using a service that lets them download the full-quality version, not just a low-res preview meant for social media. For a deeper dive into all this, check out our complete guide on how to preserve old photos.
Got Questions About Enhancing Old Photos?
When you first dip your toes into restoring old photos, a few questions always seem to surface. I've heard them all over the years, so let's get them answered right now so you can jump in with confidence.
Can AI Really Fix Photos That Are in Bad Shape?
This is the big one. And the answer is a definite yes, but with a small caveat. AI is an absolute wizard at handling common problems like scratches, annoying creases, and that faded look old photos get. It smartly analyzes the pixels around the damage and fills in the gaps.
But what about a photo with a huge chunk missing, especially right over someone's face? While the AI will still try to reconstruct it, you have to understand that its work is speculative. It’s making an educated guess. The final image might look complete, but it might not be 100% historically accurate. It's at its most reliable when fixing widespread, smaller-scale damage.
What’s the Best File Format for Saving My Enhanced Photos?
This is a non-negotiable for me. For your master file—the one you'll keep forever—always save it as a TIFF (Tagged Image File Format).
Why? TIFF is a lossless format. That means it doesn’t compress or throw away any of your image data just to make the file smaller. You get maximum, uncompromised quality. Once you have that saved, you can easily export smaller JPEG copies for sharing on social media or in an email.
Think of your TIFF file as your permanent "digital negative." It's the pristine, archival-quality master you can always return to for future projects.
How Accurate Is AI Colorization, Really?
Honestly, AI colorization is more of an art than a science. It’s an interpretive process. The software makes incredibly smart guesses about what the original colors might have been by comparing your photo to a massive database of existing color images.
It's brilliant at figuring out natural tones for things like skies, grass, and skin. It gets those right almost every time. Where it gets tricky is with specific, personal items. The AI has no way of knowing the exact shade of blue your grandmother's favorite dress was.
So, look at the colorized version as a beautiful, plausible re-imagining of the past—not a perfect historical document.
Ready to see what's possible with your own family photos? Give AI Photo HQ a try and watch your cherished memories come roaring back to life. You can explore all our tools right here.

