
Not so long ago, if you wanted to enhance an old photograph, you had to find a specialist for what was often a complex and time-consuming process. Now, AI-powered tools like AI Photo HQ have put that power into everyone's hands, letting you fix tears, restore faded colors, and sharpen blurry faces in just a few clicks. It's a fantastic way to rescue irreplaceable memories from the slow fade of time.
Bringing Your Family History into Focus
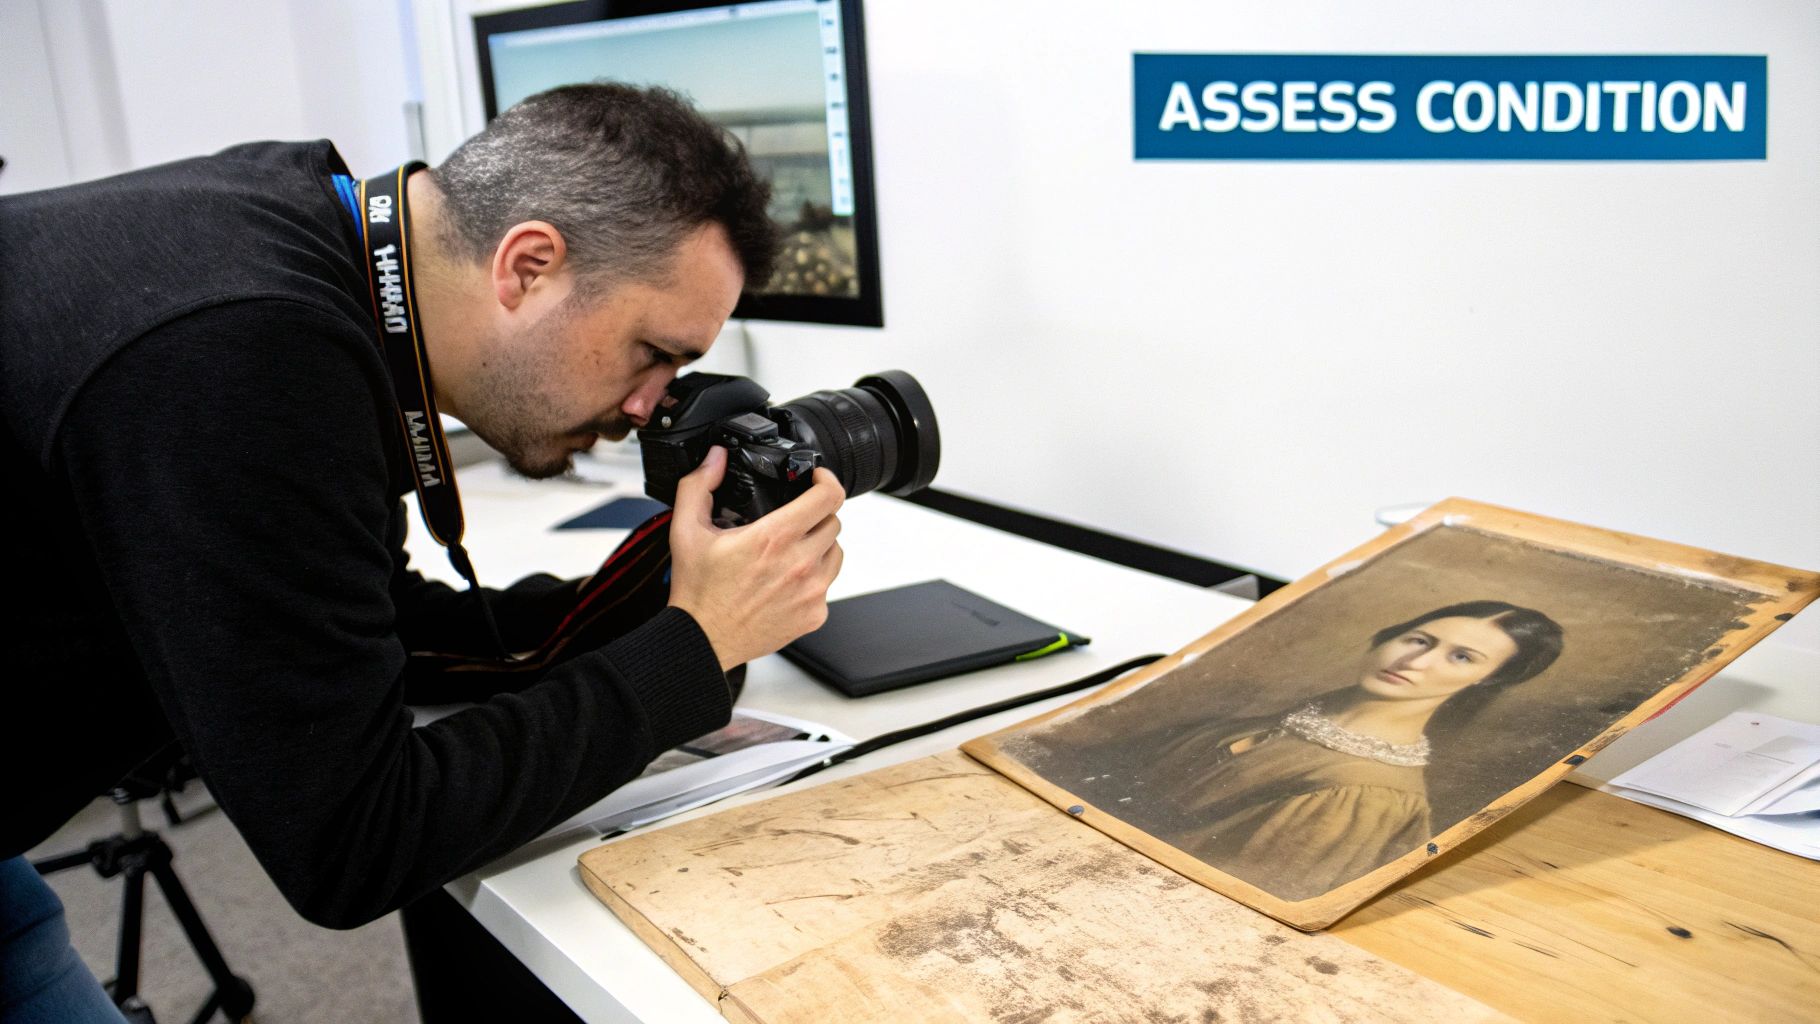
That shoebox of faded family photos tucked away in a closet holds more than just paper—it holds stories. Each crease, stain, and faded patch marks a moment in your family’s history, a real connection to the people who came before you. For generations, preserving these moments was a delicate, often expensive, art form.
But technology has completely changed the game. What once required weeks of painstaking manual work with physical paints and brushes can now be done digitally in minutes. This guide is your practical walkthrough to show you exactly how it’s done, step-by-step.
From Damaged Print to Vibrant Keepsake
Think about an old photograph of your great-grandparents. Maybe the corners are bent, a long scratch runs across the image, and the original colors have faded to a dull, brownish sepia. This is a super common scenario for photos that have been stored away for decades. With the right AI tool, you can transform this damaged print into something truly special.
In this guide, we'll get hands-on and show you how to:
- Repair physical damage like scratches, tears, and water spots.
- Restore faded colors or add surprisingly realistic color to black-and-white pictures.
- Enhance blurry faces to bring out the details and expressions of your ancestors.
- Improve overall clarity and sharpness for a clean, modern look.
For many people I've talked to, solving a family mystery or just seeing a clearer image of a loved one brings a profound sense of peace and connection. Enhancing old photos is about so much more than technology; it's about preserving your family's legacy for the next generation to enjoy.
Throughout this guide, we’re going to stick to real-world examples and simple, actionable steps. You can forget about complicated software with a steep learning curve. We’ll demonstrate how you can achieve professional-quality results, turning those worn-out pictures into vibrant keepsakes you'll be proud to share with everyone.
Digitizing Your Photos for Flawless Restoration
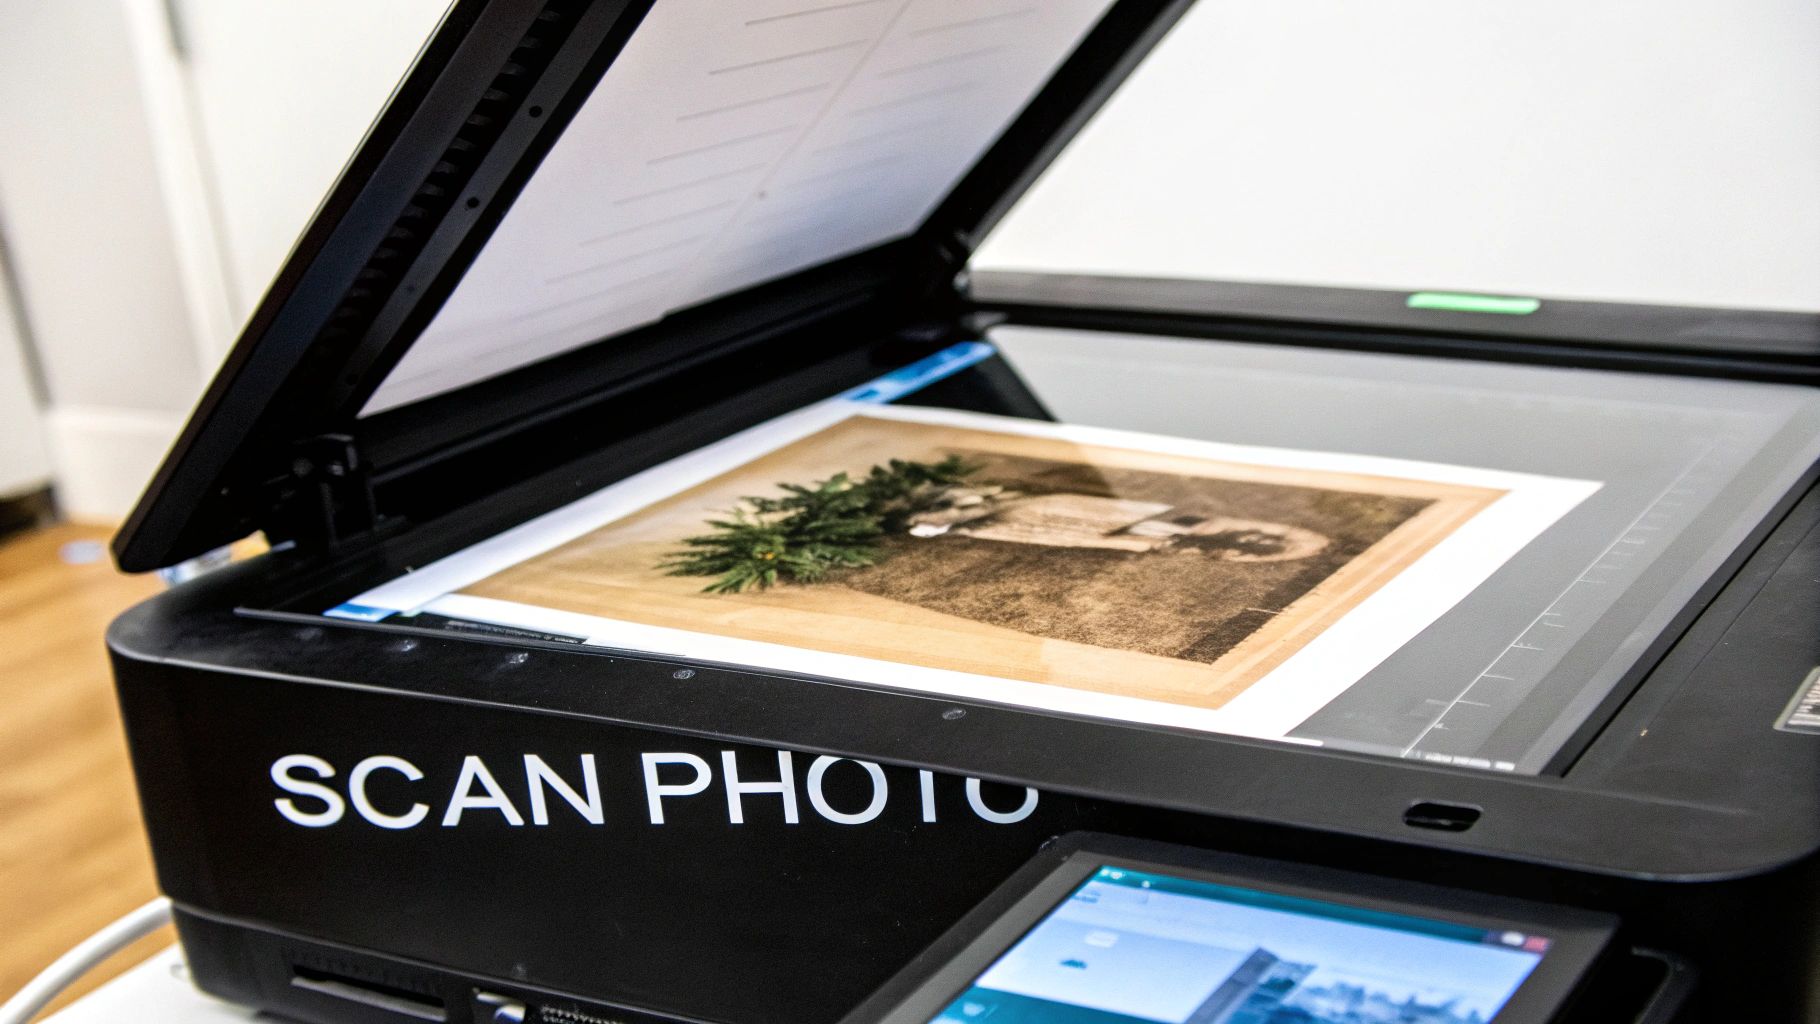
Before you can work any AI magic, you need a high-quality digital copy of your photo. The final restoration is only ever as good as the initial scan. It's a classic "garbage in, garbage out" scenario. Even the most powerful AI can't do much with a blurry, low-resolution file.
Think of this first step as preparing a clean canvas. A few extra minutes here will make a world of difference in your final image.
A Step-by-Step Guide to Scanning Your Photos
Step 1: Clean the Physical Photo. Before scanning, use a soft, lint-free microfiber cloth to gently wipe away any dust or fingerprints. For stubborn dust, a can of compressed air works wonders. This prevents you from having to digitally remove these specks later.
Step 2: Set Up Your Scanner or Camera. A flatbed scanner is ideal for even lighting and high resolution. If using a smartphone, place the photo on a flat, non-reflective surface under bright, indirect light. Avoid overhead lights that cause glare. It's worth looking into the best lighting for photography setups to get this right.
Step 3: Configure Your Settings. Whether using scanner software or a camera app, find the settings panel. This is the most crucial part.
Step 4: Digitize the Image.
- With a Scanner: Lay the photo flat on the glass, close the lid, and hit the "Scan" button in your software.
- With a Smartphone: Position your phone directly above the photo, ensuring it's perfectly parallel to avoid distortion. Use a scanning app like Google PhotoScan or the native notes app to capture the image.
Crucial Scanner and File Settings
Whether you're using a scanner or a camera app, the settings are what really count. Here are the most important ones to get right for restoring old photos:
- Resolution (DPI): Set your scanner to a minimum of 600 DPI (Dots Per Inch). If you plan to enlarge a small photo, use 1200 DPI. This high resolution captures the fine details the AI needs to work with.
- File Format: Always save your initial scans as TIFF files. Unlike JPEGs, TIFF is a "lossless" format. This means it preserves all the original image data, creating a perfect digital archive of your memory.
It’s easy to take today's tools for granted. Historically, photo restoration was an incredibly painstaking process. Before digital tools, an artist could spend 4 to 6 weeks meticulously fixing a single image with physical paints and brushes, relying entirely on their own interpretation.
Now that you've got your high-quality digital scan, it’s time to use an AI tool like AI Photo HQ to bring it back to life.
The Restoration Workflow: A Practical Example
Let's walk through restoring a typical old photo with a crease and faded colors.
Step 1: Upload Your High-Resolution Scan. Open your AI photo tool and upload the TIFF file you just created.
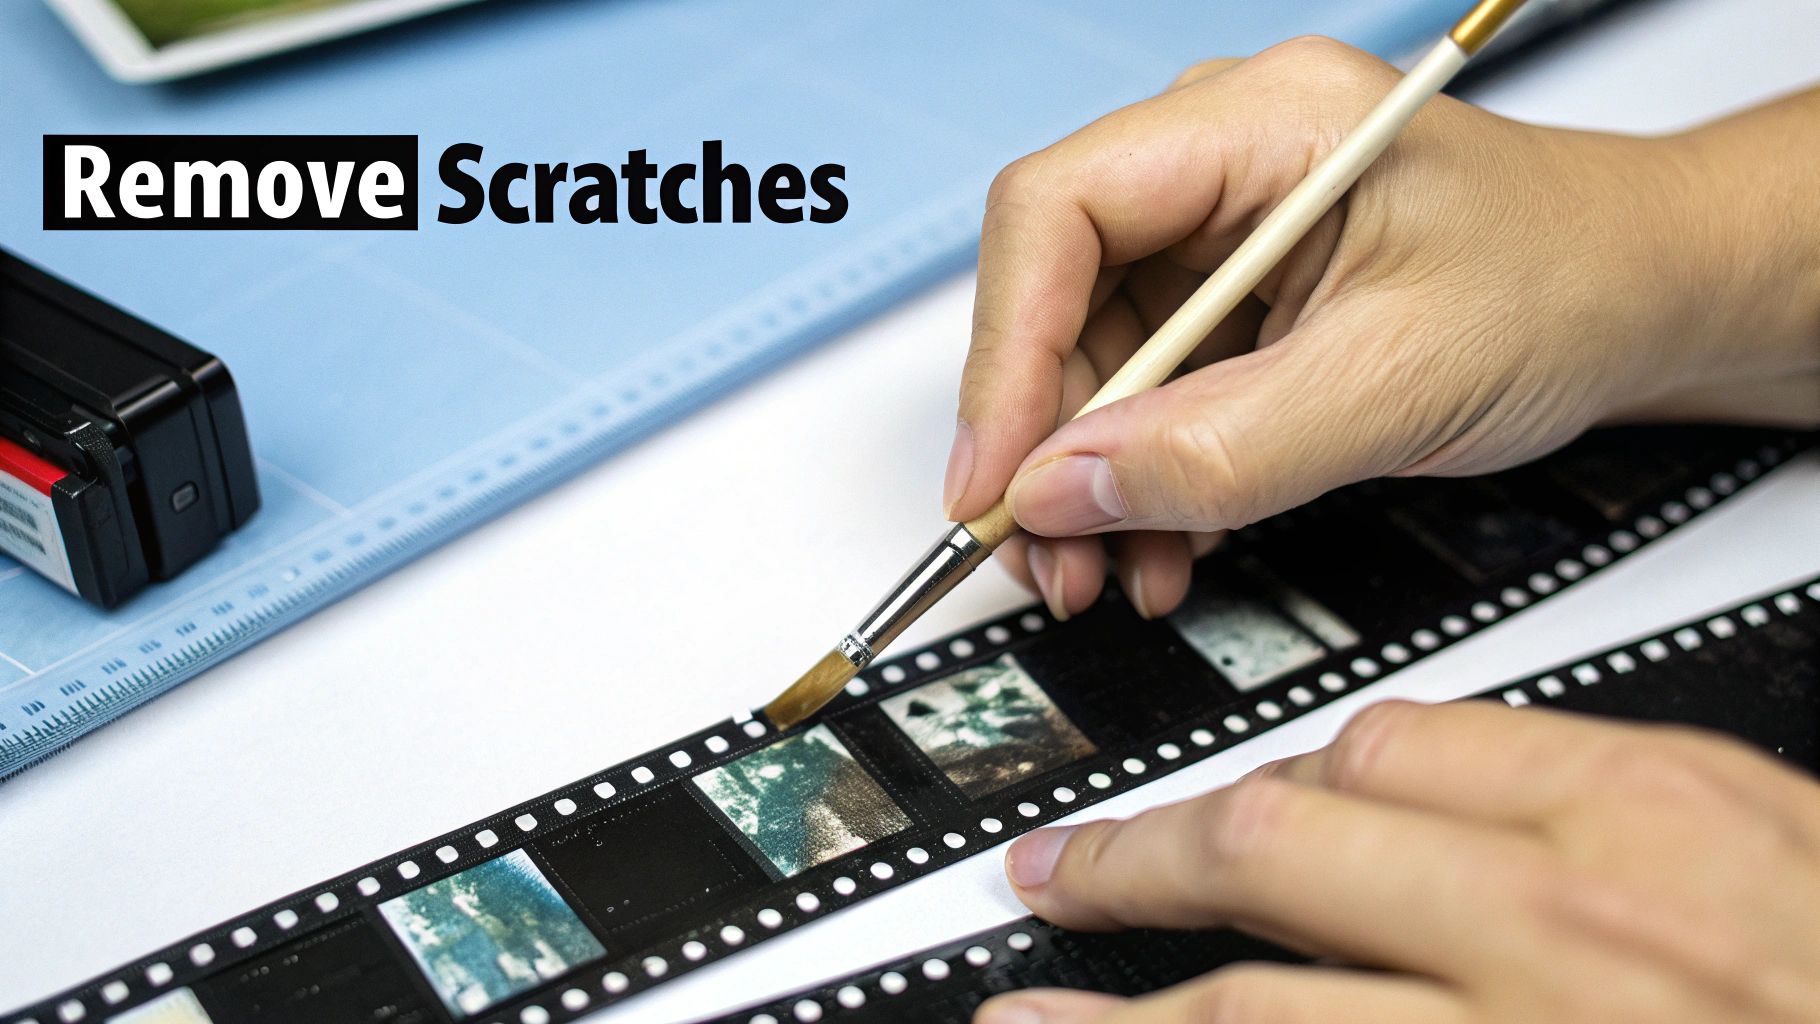
Step 2: Apply Scratch and Crease Removal. The first thing to tackle is physical damage. Look for a button or toggle labeled "Scratch Removal" or "Damage Repair." With one click, the AI will analyze the image, identify the long crease, and intelligently fill in the missing pixels. It does this by sampling the areas on either side of the damage to create a seamless fix.
Step 3: Enhance Facial Details. Next, find the "Face Enhancement" or "Face Sharpening" feature. Old photos often have soft focus. This tool will sharpen the eyes, mouth, and other features. Start with a low intensity setting and slowly increase it. Your goal is clarity, not an artificial, "plastic" look. Stop when the faces look clear but still natural.
Step 4: Colorize the Image. This is the most dramatic step. Select the "Colorize" option. The AI will analyze the black-and-white image and apply realistic colors based on context—it knows that skies are typically blue and skin tones fall within a certain range. For more on this, our guide on old photo restoration has some great tips. old photo restoration
Here’s a quick visual that shows the typical workflow I follow, from checking the initial scan to making those final color adjustments.
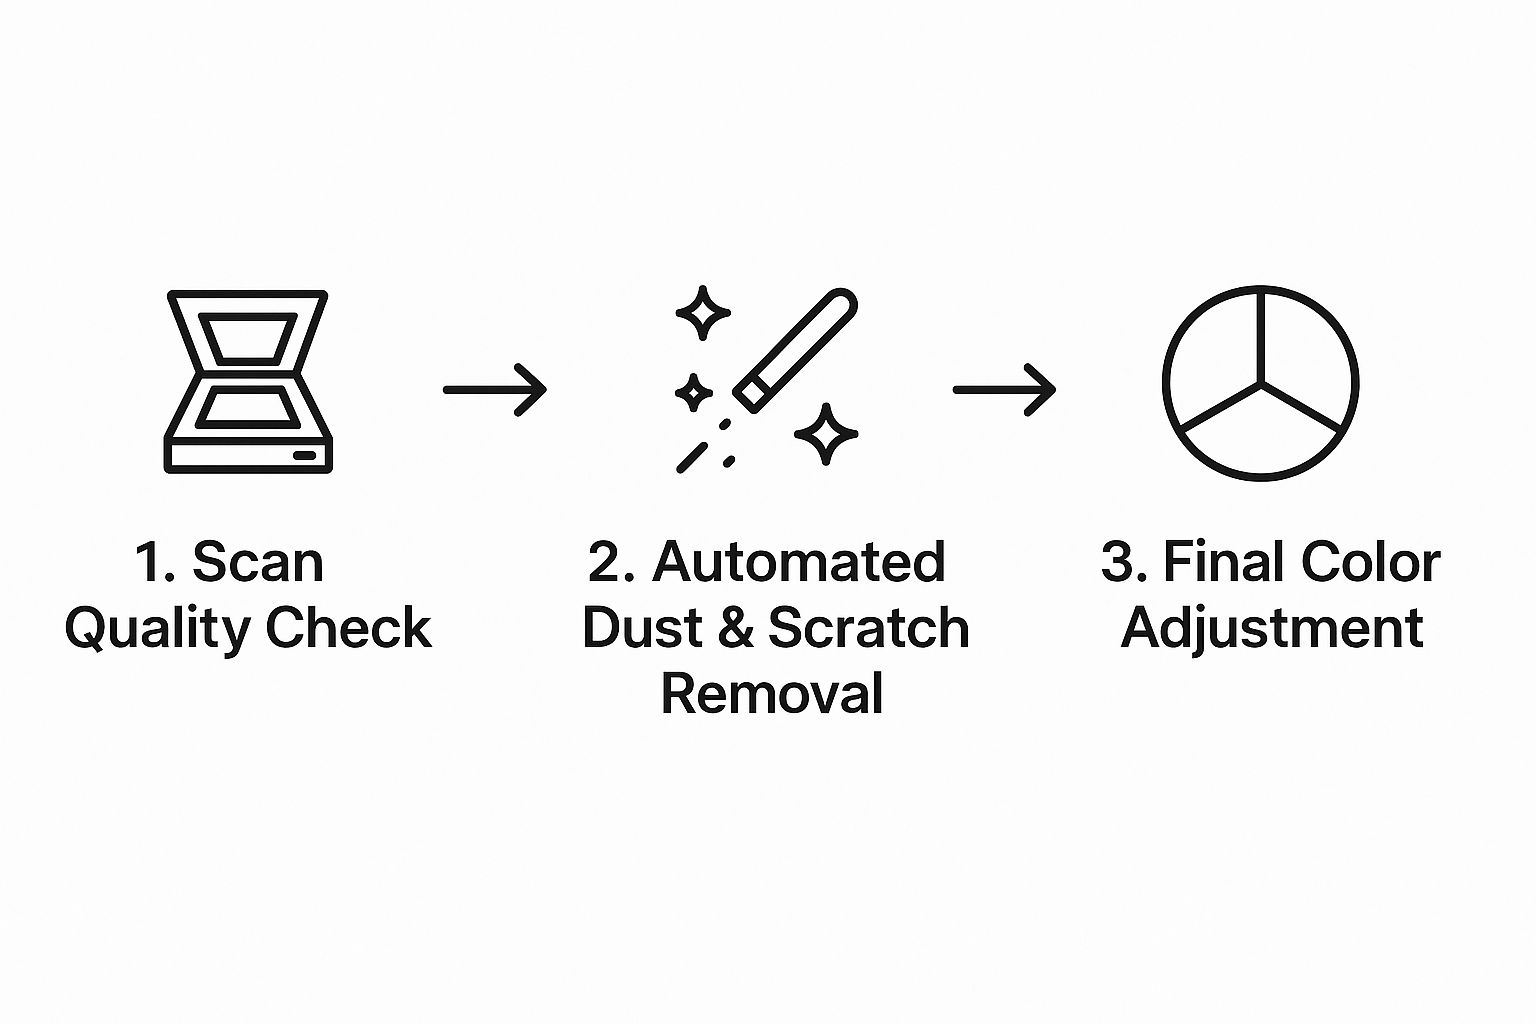
The big takeaway here is that each step really does build on the one before it. You need a clean foundation before you can get creative with enhancements like color.
Insider Tip: I always, always create two final versions. First, I perfect the black-and-white image by fixing every scratch and enhancing the clarity. Then, I use that pristine version as the base to create a colorized copy. This way, you have a perfect monochrome original and a vibrant alternative.
To get the most out of these tools, it helps to know what each feature is designed for. Here's a quick breakdown of the core functions you'll find in most restoration tools.
Key AI Restoration Features and When to Use Them
| AI Feature | Primary Function | Best For | Pro Tip |
|---|---|---|---|
| Scratch & Blemish Removal | Automatically detects and removes scratches, dust, and spots. | Photos with surface damage from age or poor storage. | Run this first. It provides a clean canvas for all other edits. |
| Crease & Tear Repair | Intelligently fills in missing information from folds or rips. | Folded photos or pictures that have been torn and scanned. | Works best on linear damage. Complex tears might need manual touch-ups. |
| Face Enhancement | Sharpens facial features, reduces blur, and improves clarity. | Blurry or out-of-focus portraits where faces are indistinct. | Use a light touch. Over-sharpening can look unnatural. |
| AI Colorization | Adds realistic color to black-and-white or sepia images. | Monochrome photos where you want to add a new dimension of life. | Generate multiple color versions; AI can interpret scenes differently. |
| Noise Reduction | Smooths out film grain and digital noise from low-light shots. | Grainy photos from old film or early digital cameras. | Balance noise removal with detail preservation to avoid a "waxy" look. |
Understanding these specific features helps you approach each photo with a clear plan, ensuring you get the best possible result every time.
It's also interesting to see how this technology extends beyond just fixing old pictures. If you're curious, exploring the broader applications of AI in content creation shows just how versatile these tools have become. The same fundamental tech that brings an ancestor's face back into focus is being used across all sorts of creative fields.
Fine-Tuning Your AI-Enhanced Images
AI gives you a fantastic head start when restoring old photos, but let's be honest—the real magic happens with that final human touch. The goal is to get past the simple one-click fix and take real creative control. You want the final image to feel both beautifully restored and completely authentic.
This is where you have to balance preserving precious details with reducing distracting noise.
Say you're working on a photo with a textured background, like some old, ornate wallpaper. If you crank up the noise reduction too high, you might smooth it out completely and lose that historical character. The trick is to dial back the intensity just enough so the grain is reduced, but that essential texture still comes through.
Correcting Common AI Artifacts: A Step-by-Step Fix
Sometimes, the AI can get a little too enthusiastic. You might notice strange textures in clothing or skin that looks unnaturally smooth. Here's a practical way to fix it using the adjustment sliders in a tool like AI Photo HQ.
Scenario: The AI has made a face look too "waxy" or plastic.
- Isolate the Problem: Identify which feature is causing the issue. In this case, it's likely the "Face Enhancement" or "Denoise" setting.
- Locate the Slider: Find the corresponding adjustment slider for that feature.
- Reduce Intensity: Slowly drag the slider down from 100%. Watch the face in the preview window.
- Find the Sweet Spot: Stop when the unnatural smoothness disappears, but the desired clarity remains. You want to bring back a hint of natural skin texture.
The best restored photo is one where you can't tell it was restored at all. It should simply look like a perfectly preserved original photograph, not a digital creation. Your eye is the best judge of what feels right.
Balancing Authenticity With Perfection
A perfect example is restoring a photo of a soldier in uniform. The AI might do an amazing job sharpening the face but also try to "fix" the fabric of the uniform, accidentally removing the coarse, authentic texture of the wool.
In this case, your job is to apply enhancements selectively. If your tool allows for masking (a more advanced feature), you would apply the face enhancement only to the face. If not, you might need to run two versions: one with face enhancement and one without, then combine them in another editor. This preserves the uniform's authenticity.
This kind of careful fine-tuning is becoming more valued. In fact, the photograph restoration service industry is projected to hit an estimated USD 1.2 billion by 2032. This shows just how much people care about bringing these memories back with precision. You can check out the full report on the photograph restoration service market growth if you want to dive deeper into the trends.
Keeping Your Restored Memories Safe for Generations
You’ve done the hard work of bringing your old photos back to life. Fantastic! But the job isn't quite finished. Now it's time to make sure those beautifully restored images will last. How you archive and share them is just as critical as the restoration itself.
The first, and most important, decision is choosing the right file formats. Here’s a simple process to follow:
- For Archiving: Always save your final, perfected images as TIFF files. This is your "lossless" digital negative—the absolute highest quality version you have for future prints or edits.
- For Sharing: Once your TIFF is saved, open it and use a "Save As" or "Export" function. Choose JPEG as the format and select a high-quality setting (around 80-90%). These files are much smaller, perfect for emailing, posting on social media, or uploading to a digital family tree.
After you've put in the time to restore these memories, learning how to preserve old photographs properly—both digital and physical—is the next logical step.
Getting Creative With Your Restored Photos
With your newly vibrant photos, you can do so much more than just let them sit on a hard drive. Here are a few step-by-step ideas:
- Create a Photo Book: Use a service like Shutterfly or Mixbook. Upload your high-quality JPEGs, arrange them chronologically, and add captions with names, dates, and stories. This makes an incredibly heartfelt gift.
- Build a Digital Family Archive: Create a shared folder on Google Photos or Dropbox. Invite family members via email. This allows everyone to view, download, and even contribute their own restored pictures to a central collection.
A Note on Backups: Digital loss is a real and devastating threat. Protect your work with a simple but effective strategy: use both a cloud service for offsite protection and a physical drive, like an external SSD, that you keep at home.
Don't let a hard drive crash or a single lost file erase your family's history. For a more detailed walkthrough on protecting your images, check out our complete guide on how to preserve old photos. This ensures your family's visual story is safe from any single point of failure.
Got Questions About AI Photo Restoration? We've Got Answers
As you dive into fixing up your old photos, you're bound to have some questions pop up. It's totally normal. Getting a feel for what AI can—and can't—do is the key to getting results you'll be proud of.
AI is fantastic at cleaning up moderate damage. I'm talking about things like scratches, general fading, and even small tears in the paper. The software is smart enough to look at the pixels around the damage and make a really good guess at what should be there.
But what about major damage, like a huge chunk of someone's face missing? That's where things get tricky. The AI has to invent data from scratch. While the results can sometimes be surprisingly good, it's more of a digital reconstruction than a true restoration. The quality really hinges on how much of the original photo is left to work with.
Will My Photos Look Fake?
This is probably the biggest concern I hear, and it's a valid one. The goal is to avoid that overly smooth, "plastic" look. The best tools, including AI Photo HQ, are designed to produce realistic results, but it's still possible to push the settings too far.
My advice? Take it slow. Apply enhancements in small steps and constantly use the before-and-after toggle. It keeps you grounded in what the original photo looked like.
Remember, the aim isn't to create a flawless, modern digital image. It's to make the photo look like a perfectly preserved print from the day it was taken. If skin starts looking artificial, you've gone too far—time to dial it back.
Here's a workflow I've found works really well:
- First, focus on creating a beautifully restored black-and-white version. Get it looking crisp and clean.
- Then, use that pristine B&W image as your starting point to create a separate, colorized version.
This approach gives you the best of both worlds: a classic, authentic-looking original and a vibrant, modern interpretation. For more hands-on techniques, you can find a lot of useful guides on old photo restoration that walk through different situations.
When it's time to save your work, think about two different file types. For your master archive, always save as a TIFF. It’s a lossless format, meaning it keeps every single bit of data—your perfect digital negative. For sharing with family on social media or in emails, save a separate high-quality JPEG. It’ll be a much smaller file that’s easier to send around.
Ready to bring your own family history into focus? With AI Photo HQ, you can fix scratches, restore color, and sharpen faces in seconds. Try AI Photo HQ today and see your cherished memories in a whole new light.

