Ever tried to upload a photo only to have it awkwardly cropped or stretched out? Or maybe you've seen those ugly black bars on the sides of an image? That's an aspect ratio problem.
Changing an image's aspect ratio is all about adjusting its width and height to fit a specific format. Think of it like taking a wide landscape photo and making it fit perfectly into a vertical Instagram Story. This guide provides step-by-step instructions to make your images look sharp and professional across different platforms.
Why Aspect Ratio Matters for Your Images
Before we get into the "how-to," let's quickly cover why this is so important. At its core, aspect ratio is just the relationship between an image's width and its height. It's the simple reason a movie on your widescreen TV looks fundamentally different from a square post on your Instagram feed.
Nailing the aspect ratio is what separates a polished, professional-looking design from something that just feels… off. A correct ratio ensures your photo fits seamlessly wherever it’s displayed, whether that's a sprawling website banner, a tiny profile picture, or a classic print.
When you ignore it, you end up with weird distortions. Faces get stretched, products look warped, and those distracting black bars show up to ruin the whole vibe.
Real-World Impact on Visual Content
You run into the need to adjust aspect ratios all the time, even if you don't realize it. Here are a few everyday scenarios where it’s a make-or-break setting:
- Website Design: That hero image at the top of a homepage? It usually needs a super wide ratio, like 16:9 or even 21:9, to span the screen without taking up too much vertical space.
- Social Media: Most cameras shoot in a 3:2 or 4:3 ratio. But for an Instagram feed, a vertical 4:5 ratio is king because it grabs way more of the screen as people scroll.
- eCommerce: Consistency is everything. When you’re taking photos for an eCommerce store, using the same aspect ratio for all your product shots creates a clean, uniform grid that looks professional and builds trust.
Your aspect ratio choice is a deliberate decision that dictates how viewers will see your image. It’s not just a technical setting; it's a fundamental part of visual storytelling and presentation.
To help you get started, here’s a quick rundown of the most common aspect ratios and where you’ll typically see them. Think of this as your cheat sheet for picking the right dimensions for your next project.
Common Aspect Ratios and Their Uses
| Aspect Ratio | Example Resolution | Common Use Case |
|---|---|---|
| 1:1 | 1080 x 1080 px | Instagram feed posts, Facebook profile pictures, product grids |
| 3:2 | 1080 x 720 px | Standard for 35mm film and many DSLR/mirrorless cameras |
| 4:3 | 1024 x 768 px | Common for smartphone cameras and older computer monitors |
| 4:5 | 1080 x 1350 px | Vertical Instagram feed posts (for maximum screen real estate) |
| 16:9 | 1920 x 1080 px | Widescreen video, YouTube thumbnails, website banners, desktop wallpapers |
| 9:16 | 1080 x 1920 px | Instagram Stories, Reels, TikTok videos, mobile wallpapers |
Knowing these basics will help you make smarter decisions before you even start editing, saving you a ton of headaches down the line. It's all about choosing the right frame for your visual story from the get-go.
Adjusting an Image’s Aspect Ratio by Cropping
Cropping is the quickest, most straightforward way to change an image's aspect ratio. The process involves trimming parts of the original photo to fit into a new frame. This is the perfect method when your subject is centered and you don’t mind losing some background details.
Step-by-Step Tutorial: Cropping for an Instagram Post
Let's walk through a common scenario: you have a beautiful wide photo (likely 16:9 or 3:2) and you want to post it to your Instagram feed using the optimal vertical 4:5 ratio. We'll use a free tool like Canva for this.
- Upload Your Image: Open Canva and upload the photo you want to edit.
- Select the "Edit Photo" Option: Click on your uploaded image to bring up the editing tools.
- Choose the "Crop" Tool: In the editing panel, find and select the "Crop" function.
- Select the Aspect Ratio: Look for the aspect ratio presets. Click on "4:5". A cropping frame with the correct proportions will appear over your image.
- Reframe Your Shot: Drag the 4:5 frame over your image to position it perfectly. Make sure the most important part of your photo is inside the frame.
- Apply and Save: Once you're happy with the composition, click "Done" to apply the crop. You can now download your perfectly formatted 4:5 image, ready for Instagram.
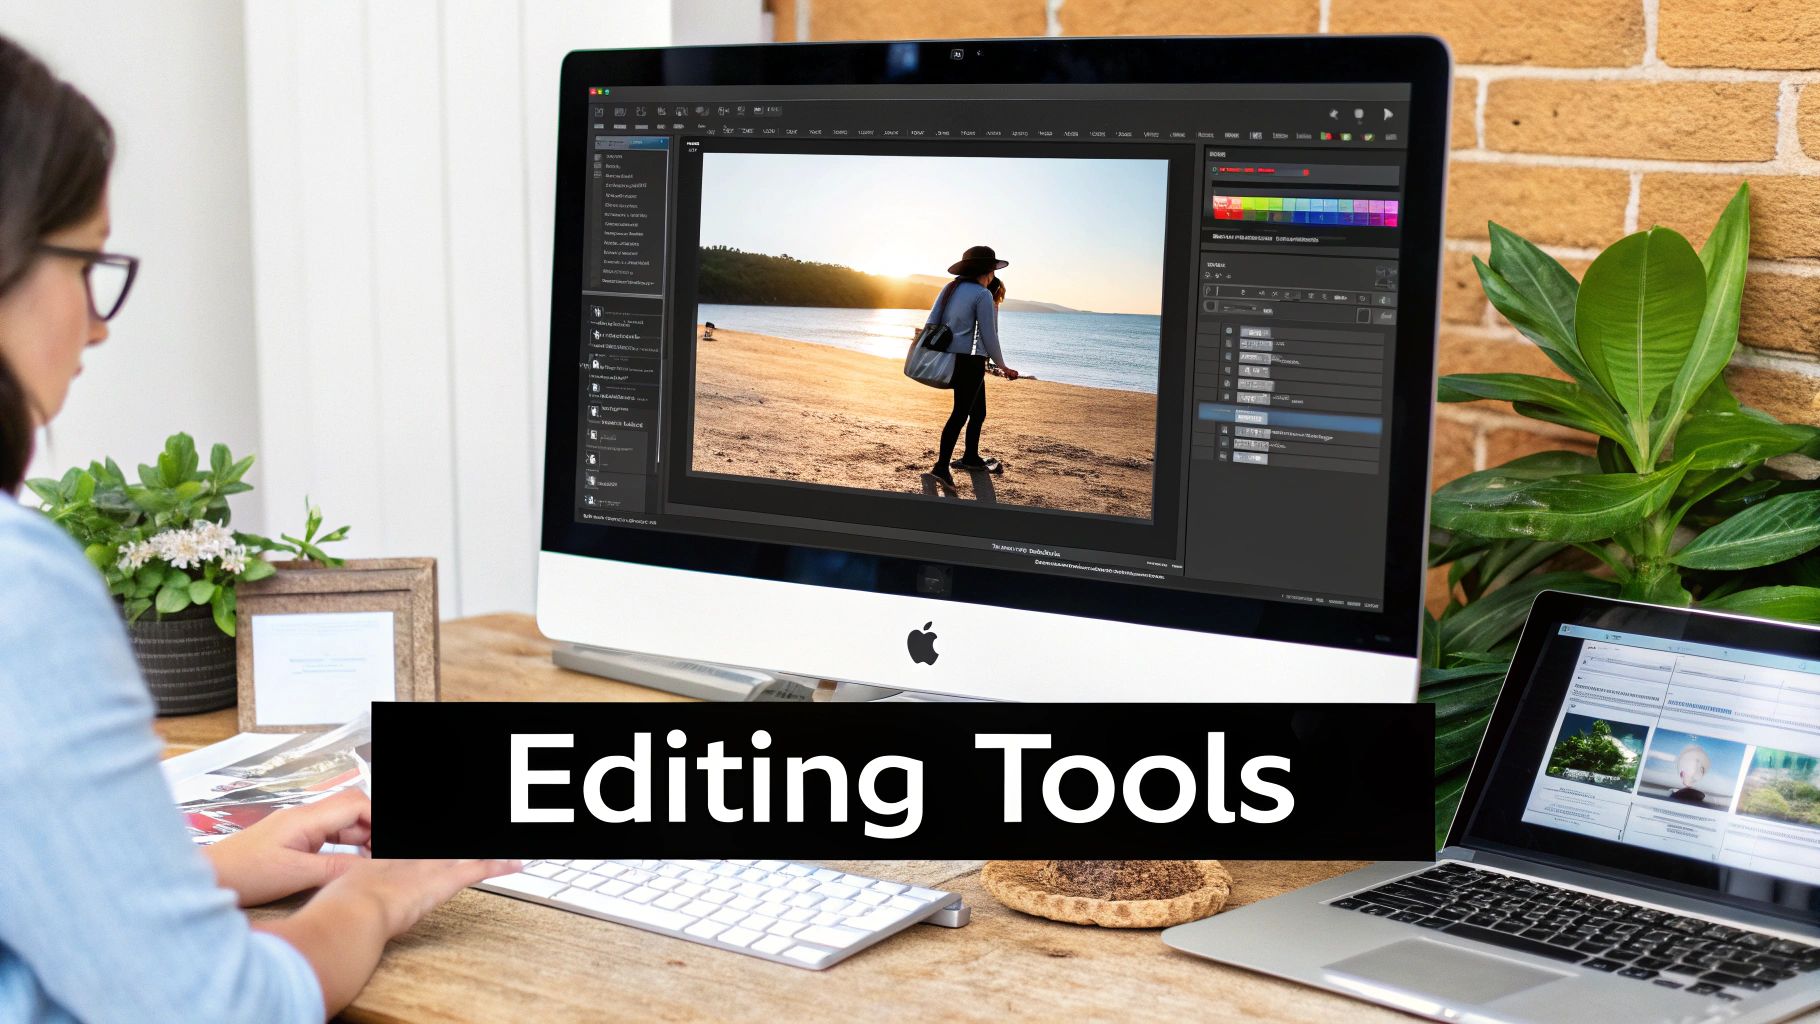
Here’s a peek at what Canva's photo editor interface looks like. It’s designed to be simple and intuitive.
The editing panel on the left gives you everything you need. You can pick a new aspect ratio and apply it in seconds. Not only does this change the dimensions, but it can also seriously upgrade your photo's composition by cutting out any distracting elements from the periphery.
A Quick Heads-Up: Cropping is a destructive edit. Once you save that cropped image, the pixels you trimmed are gone for good (unless you saved a backup). My advice? Always work on a copy of your original file.
The sheer variety of screen sizes out there is exactly why cropping is such a vital skill. As of mid-2025, a classic desktop resolution like 1920x1080 (a 16:9 ratio) still commands about 7.97% of the global market. But right behind it, mobile-first resolutions like 360x800 (a tall 9:20 ratio) are used by 6.58% of people.
This clash between wide and tall formats is a constant challenge for creators. You can dig into more data on screen resolution trends to see just how much this influences modern digital design.
Resizing the Canvas to Preserve Your Full Image
What if cropping would ruin your photo? When every part of your image is essential, you can resize the canvas instead. This method adds empty space around your image, placing it on a new background that matches the required dimensions. This is often called letterboxing (borders on top/bottom) or pillarboxing (borders on the sides).
Step-by-Step Tutorial: Using Canvas Resize for Instagram Stories
Let’s say you have a horizontal landscape photo that you must share in a vertical 9:16 Instagram Story without cropping it. Here's how to do it using a free tool like Adobe Express.
- Start a New Project: Open Adobe Express and create a new project. Choose the "Instagram Story" template, which is already set to the correct 9:16 aspect ratio (1080x1920 pixels).
- Import Your Image: Upload your horizontal landscape photo into the blank 9:16 canvas.
- Position the Image: Adobe Express will automatically place your image in the center. You will see empty space above and below it, creating the letterbox effect. You can resize or move your original image within this frame if needed, but it will not be stretched.
- Customize the Background: Click on the empty background space. You can now change its color. Choose a solid color that matches your brand, or one that complements the photo.
- Download Your Story: Once you're satisfied, export the image. You now have a 9:16 file with your complete horizontal photo perfectly framed and ready to post.
Resizing the canvas isn't just a technical fix; it's a design choice. The "empty" space you create is a new element you can control, turning a potential problem into a creative opportunity.
Making Those Borders Work for You
Those new borders don’t have to be a boring black or white afterthought. Get creative and make them feel like a deliberate part of the design. Here are a few ideas:
- Brand Cohesion: Use your brand’s primary or secondary colors for the border. This creates a consistent, professional look across all your social media posts.
- Seamless Integration: If the image is for your website, match the canvas color to the site’s background. The photo will blend in perfectly, almost like it’s floating on the page.
- Artistic Framing: Try a complementary color to create a stylish, matted look. This can actually draw more attention to the photograph itself, making it pop.
This approach gives you total control over changing an image's aspect ratio without sacrificing the composition you worked so hard to capture. To get the best results, you'll want to start with a sharp, high-quality picture. Check out our guide on how to make an image clear for some quick tips before you get started.
Using AI to Expand Your Image (The "Uncrop" Method)
Sometimes, cropping an image just won't work, and adding borders can feel like a compromise. Modern AI tools offer a third, more advanced way to change an image's aspect ratio by intelligently generating new content to fill in the empty space. This is a seamless, believable extension of your original photo.
Step-by-Step Tutorial: Generative Fill in Photoshop
Let’s tackle a challenging task: turning a vertical portrait into a wide 16:9 banner suitable for a website header using Adobe Photoshop's "Generative Fill".
- Open Your Image in Photoshop: Start by opening your vertical portrait.
- Select the Crop Tool (C): Choose the Crop Tool from the toolbar.
- Set the Aspect Ratio: In the top options bar, select "16:9" from the aspect ratio dropdown menu.
- Expand the Crop Box: Drag the handles of the crop box outwards horizontally until the composition looks good. This will create empty, transparent areas on both sides of your portrait.
- Generate the Background: Without typing anything in the prompt box, click the "Generate" button in the contextual taskbar. Photoshop's AI will analyze the existing image and automatically fill the empty spaces with new, context-aware content.
- Review and Refine: Photoshop provides three variations of the generated fill. You can cycle through them in the Properties panel to pick the one that looks best. If you're not satisfied, click "Generate" again for new options.
- Save Your Expanded Image: Once you find a result you love, flatten the image and export it.
Here’s a great example of Photoshop's Generative Fill turning a vertical shot into a much wider one.
See how it didn't just stretch the pixels? The AI added new, context-aware details, extending the road and the surrounding landscape. The results can be incredibly convincing, saving photos that would otherwise be useless for certain layouts.
My Two Cents: Generative AI is amazing, but it's not perfect. Always zoom in and give the new sections a close look. Sometimes, the AI can create slightly weird patterns or unnatural-looking objects. I've found it works best on images with organic textures like landscapes, skies, or abstract backgrounds where the human eye is more forgiving.
This technology is a direct answer to a modern creator's biggest headache. Different platforms demand different visual formats. An ultrawide 21:9 gaming monitor requires a totally different frame than a standard 16:9 YouTube thumbnail. AI expansion lets you adapt your content without sacrificing the original quality.
The creative potential here is just massive. It gives you a way to repurpose old photos you thought were locked into one format and gives you incredible control over your final composition. If you're looking to go even deeper on this topic, we've got a great guide on artificial intelligence photo enhancement that covers even more tools and cool techniques.
Choosing the Right Method for Your Task
There isn't a single "best" way to change an image's aspect ratio; it all comes down to what you're trying to accomplish. The right choice between cropping, resizing your canvas, or using AI depends on your specific goal and the content of your image.
If you just need a quick fix for social media, like turning a wide photo into a vertical one for an Instagram Story, cropping is almost always the fastest way to get it done. It lets you refocus the composition and cut out any distracting background elements in one simple move.
But what if you're a photographer who needs to display a full-frame shot without losing a single pixel of your hard work? In that case, resizing the canvas and adding borders is really the only non-destructive way to go.
Making the Right Call
Things get tricky when the stakes are higher. Imagine you need to transform a vertical portrait into a sprawling, cinematic banner for a website homepage. Simple cropping will cut off too much, and adding plain borders will just look amateurish. This is exactly where AI expansion is the clear winner. It can intelligently generate new background content that fits the new dimensions perfectly, making it look like the photo was shot that way from the start.
The image below gives you a quick visual breakdown of the practical differences between manual adjustments like cropping and letting an AI tool do the heavy lifting.
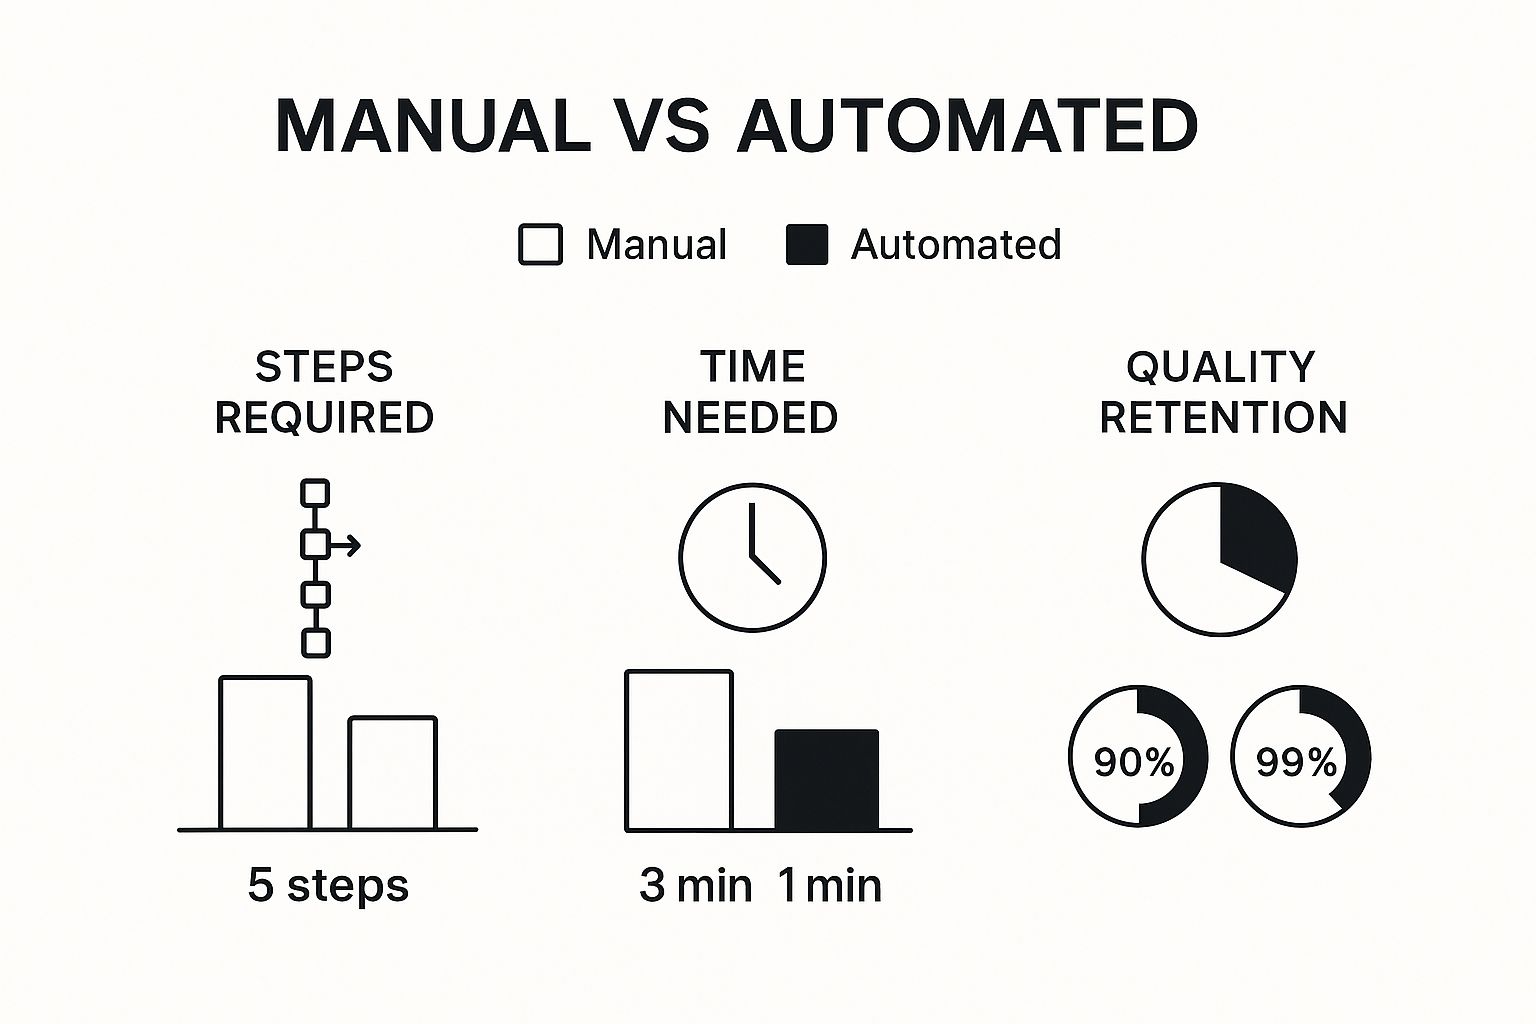
As you can see, AI-powered methods often require fewer steps and do a much better job of maintaining the original image's quality. This makes them the go-to choice for complex adjustments where keeping the original photo intact is a top priority.
Comparison of Aspect Ratio Adjustment Methods
To make it even clearer, here’s a side-by-side look at the different methods. This should help you choose the best approach based on your goals and the type of image you're working with.
| Method | Best For | Pros | Cons |
|---|---|---|---|
| Cropping | Quick social media posts, refocusing a subject, removing distractions. | Fast, easy, and intuitive. Available in every editor. | Destructive—you permanently lose parts of the original image. |
| Canvas Resizing | Displaying full-frame art or photos, creating prints with specific border sizes. | Non-destructive. Preserves 100% of the original image content. | The added borders can look unprofessional or out of place. |
| AI Expansion | Turning vertical images into wide banners, extending backgrounds, complex resizes. | Creates seamless, new content. Preserves the original subject. | Can be slower and may occasionally generate minor artifacts. |
Ultimately, knowing the pros and cons of each technique is key. Once you understand when to use each tool, you'll be able to tackle any aspect ratio challenge that comes your way.
Frequently Asked Questions
Even with the right tools in hand, a few questions always seem to pop up when you're getting the hang of changing an image’s aspect ratio. Let's clear up some of the most common ones I hear.
Can I Change Aspect Ratio Without Cropping?
You absolutely can. If you want to change an image’s aspect ratio without losing a single pixel of the picture, your best friend is the canvas resizing method. This technique simply adds borders around your image to hit the new dimensions, preserving your original shot completely.
There's also a more advanced, almost magical alternative: AI-powered "uncrop" or "generative expand" features. Instead of just adding plain borders, these tools intelligently create new pixels to extend the scene. It’s like the camera captured more than it actually did, seamlessly filling the new frame.
Will Adjusting the Ratio Reduce Image Quality?
This one really depends on how you do it. Cropping an image doesn't lower its pixel density, but you do end up with a smaller image overall. Adding borders by resizing the canvas has zero impact on the quality of your original photo.
The one method you should almost always avoid is stretching. Forcing an image to fit new dimensions distorts the pixels and will ruin a professional look.
If you notice your image looks a bit fuzzy after cropping, the problem likely isn't the crop itself but the initial quality. If you're running into that, our guide on how to remove blur from a photo has some great tips for sharpening things up.
What Is the Best Aspect Ratio for Social Media?
Each platform has its quirks, but a few key standards will serve you well across the board.
- Instagram Feed: The classic 1:1 square is always safe, but a vertical 4:5 ratio is often better. It simply takes up more real estate on the screen as people scroll.
- Instagram Stories & Reels: This one's easy. Stick to 9:16 every time for that full-screen, immersive feel.
- Facebook: For images in shared links, 1.91:1 is the standard. For regular feed posts, the mobile-friendly 4:5 ratio that works on Instagram is also a great choice here.
Ready to resize your images without compromise? With AI Photo HQ, you can intelligently expand and adjust your photos to fit any format perfectly. Explore our powerful AI tools today at https://aiphotohq.com.

