If you need to fix a blurry picture fast, your best bet is an AI-powered tool. These clever programs can automatically figure out what’s wrong with your photo and fix it in just a few seconds, sharpening up details and restoring focus with basically zero effort on your part.
Why Your Photos Get Blurry and How to Fix Them
Ever lined up the perfect shot, only to look at it later and see a fuzzy mess? It happens to everyone. A picture can go blurry for a bunch of different reasons, and figuring out the why is the first step to saving that memory.
Whether you were dealing with a fast-moving kid or a dimly lit room, modern tech has made it surprisingly easy to clean up these common photo problems.
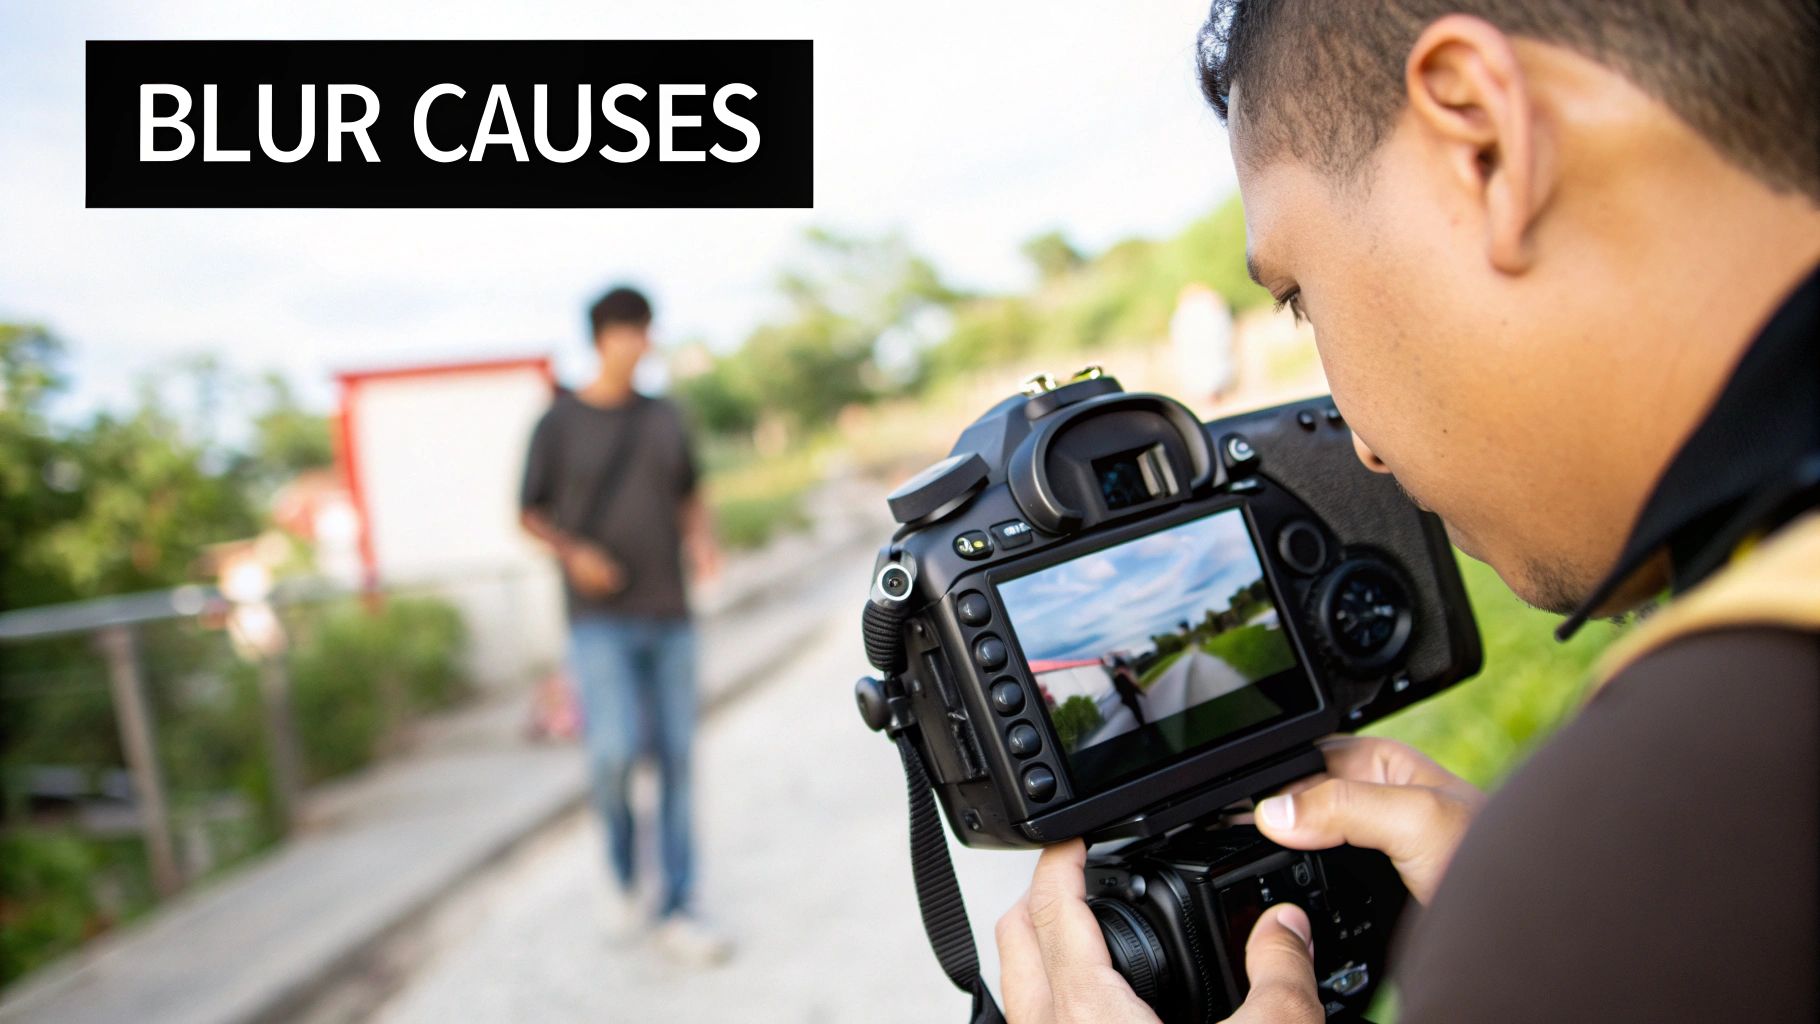
The Most Common Causes of Blurry Images
Blur isn't just blur. It usually falls into one of three buckets, and each one has a different real-world cause. Once you can spot which one you're dealing with, you can pick the right way to fix it.
- Motion Blur: This is what you get when your subject zips by while the camera's shutter is still open. Think of trying to snap a photo of a dog playing fetch or a passing car—you end up with streaks instead of sharp lines.
- Focus Blur: This one’s on the camera. It happens when the lens just doesn't lock onto your subject correctly. You'll often see this in portraits where the background is perfectly crisp but the person's face is frustratingly soft.
- Camera Shake: All it takes is a tiny tremble in your hands to create this kind of blur. It's a real pain in low-light situations, like taking a photo of a candlelit dinner, because the camera has to use a slower shutter speed to get enough light.
The good news? You don't need to be a photo editing pro to rescue these shots. Powerful AI software has made learning how to clear up a blurry picture a simple, one-click affair for just about anyone.
While it's always best to avoid blur in the first place, that’s not always an option. For those once-in-a-lifetime moments or precious old photos, today's tools can work wonders to bring back detail and clarity. If you want to get into the nitty-gritty, you can learn more about how to fix blurry pictures and the tech that makes it happen.
Next up, we’ll walk through the actual steps to get you those crystal-clear results.
Using AI Tools to Unblur Your Pictures
When you've got a blurry picture, the quickest and most powerful fix is almost always a modern AI photo enhancer. These tools aren't just applying a simple sharpening filter; they use complex algorithms to intelligently analyze and rebuild the missing details. It's like turning a fuzzy, unusable memory into a crisp, clear photograph.
Think about that perfect action shot from a sports game that’s ruined by motion blur. Or a cherished family photo that’s just a hair out of focus. This is exactly where AI tools come in. You just upload the image, and the software does the heavy lifting.
Step-by-Step: Your First AI Photo Enhancement
Let's walk through a typical workflow to clear up a blurry picture using a tool like AI Photo HQ.
- Select Your Photo: Open the AI photo enhancer and find the 'Upload Image' button. Choose the blurry picture from your computer or phone that you want to fix.
- Let the AI Analyze: Once uploaded, the tool automatically scans the image. It identifies the type of blur—motion, focus, or camera shake—and prepares to apply the right corrections. This usually takes just a few seconds.
- Apply the Fix: Most tools will apply a default enhancement immediately, showing you a "before and after" comparison. Often, this one click is all you need. Look for a primary "Enhance" or "Unblur" button to start the process.
- Review the Results: Look closely at the enhanced image. Has the focus been restored on your main subject? Are the details sharper without looking artificial? Use the slider to compare the original and the new version.
- Download Your Clear Photo: If you're happy with the result, find the 'Download' or 'Save' button. Your newly sharpened photo will be saved to your device, ready to be shared.
This screenshot shows just how dramatic the difference can be after an AI does its thing.
Look closely. The AI didn't just slap a generic sharpen effect on everything. It intelligently reconstructed the fine details in the subject’s face and hair, which is key to making the final result look natural and clear, not over-processed.
The technology behind this is pretty fascinating. Old-school software would just pump up the contrast along edges, creating harsh halos. But AI models have been trained on millions of pairs of blurry and sharp photos, so they actually learn what a sharp photo is supposed to look like. This allows them to effectively reverse-engineer the blur.
The Power of Smart Algorithms
This whole process is driven by some serious advancements in deep learning. In fact, the latest algorithms have shown up to a 45% improvement in key image quality metrics when compared to traditional methods. With an estimated 1.4 trillion photos taken every year, it's no surprise that these AI enhancements are now built into about 85% of new devices, automatically improving billions of our pictures. You can get into the nitty-gritty by checking out this research on modern deblurring techniques.
The best part? You don't need a degree in computer science to get these benefits. The tools are built to be intuitive, giving you professional-level results in just a few seconds.
To see more examples and really get a feel for what’s possible, take a look at our complete guide to AI image enhancement. Up next, we'll dig into how you can move beyond the one-click fixes and start fine-tuning the settings for an even more polished look.
Fine-Tuning Your Edits for a Professional Look
An automatic AI fix can work wonders on a blurry picture, but mastering the fine-tuning controls is where you truly get that professional, polished result. When you go beyond the one-click solution, you can apply precise adjustments that make your final image look sharp and natural, not like it’s been run through an obvious filter.
Think of it like this: you have a portrait where the subject’s eyes are just a little soft. A global sharpening tool might crank up the detail everywhere, making their skin look harsh and overly textured. By using the nuanced controls, you can selectively sharpen just the eyes, keeping the skin tone smooth and creating a much more compelling photograph.
This first step—applying a sharpening filter—is a core part of almost any editing workflow.
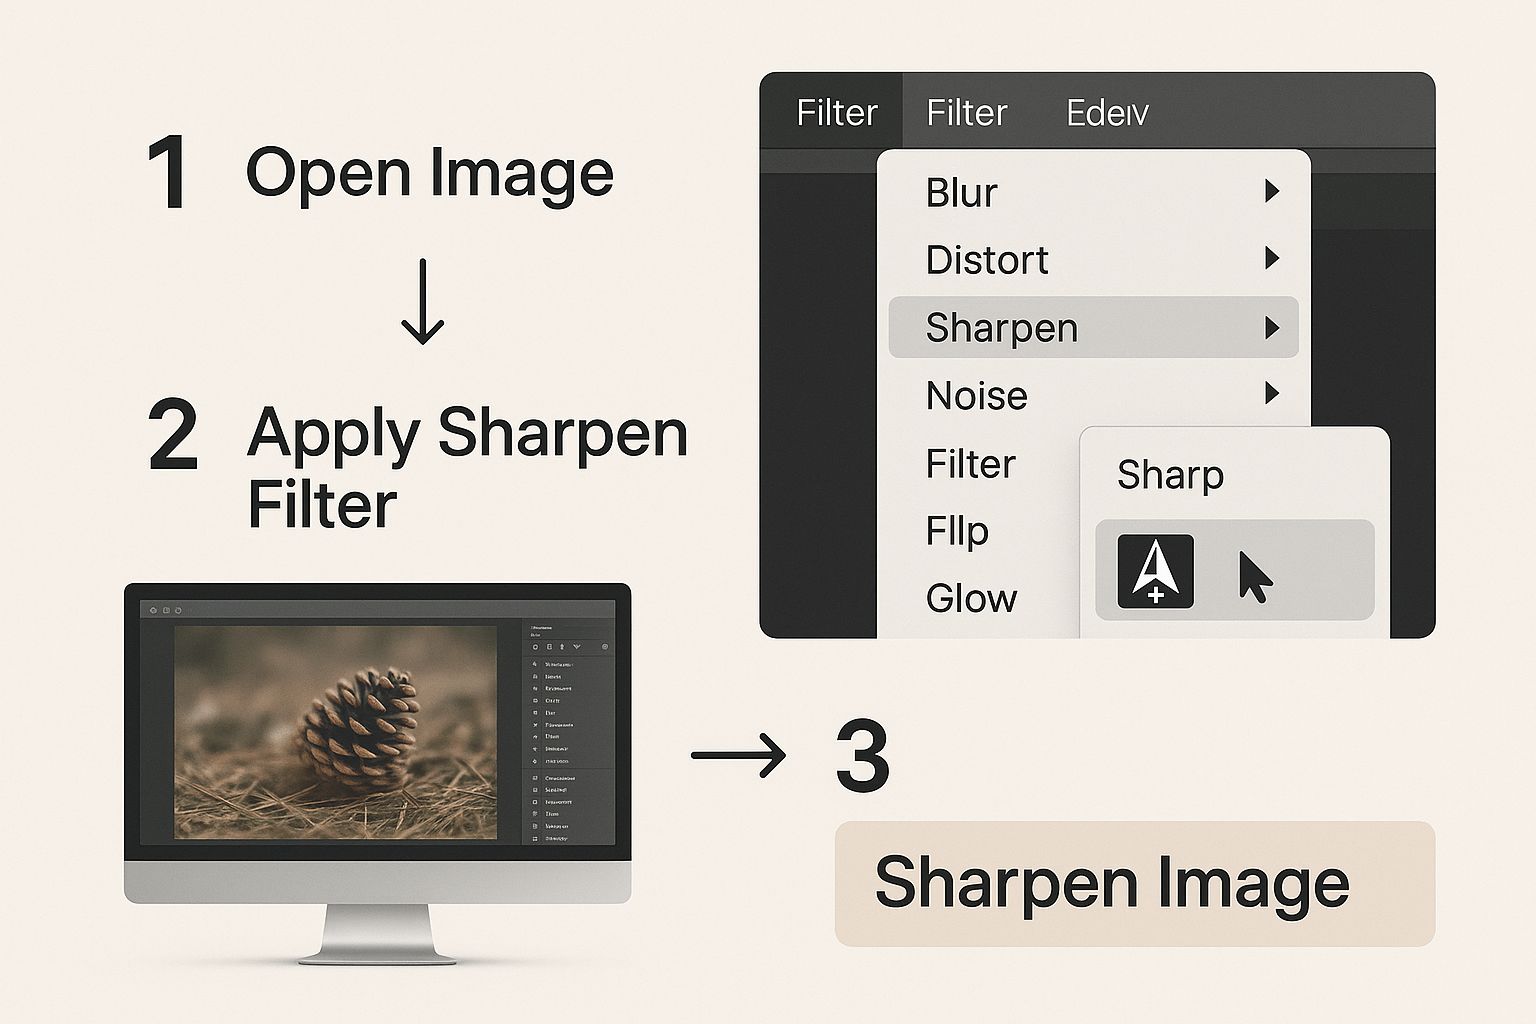
But as the image shows, it's just the starting point. How you apply that sharpening makes all the difference.
Demystifying Key Enhancement Settings
To get started, you need to understand the main tools at your disposal. Each setting solves a different problem, and learning how to use them together is the secret to figuring out how to clear up a blurry picture without wrecking its quality.
- Sharpness: This is your classic edge-enhancer. It increases the contrast along the edges of objects, making details appear more defined. It’s perfect for adding that final pop but go too far, and you’ll start seeing ugly white halos around everything.
- Noise Reduction: Photos taken in low light often have that grainy, fuzzy texture known as digital noise. This setting smooths out that grain, but be careful—too much can make your photo look soft and waxy, almost like a painting.
- Detail Enhancement: This one is a bit more sophisticated than sharpness. It intelligently brings out fine textures and micro-details, like the weave of a fabric or the leaves on a tree, without messing with the main edges.
The goal is always to find a balance. You want to enhance clarity just enough to make the image crisp without introducing those distracting digital artifacts. My go-to move is to always zoom in to 100% to check how my adjustments actually look up close.
Tutorial: Balancing Sharpness and Noise Reduction
Let's use a practical example: a photo taken indoors at a birthday party. It's a little blurry from camera shake and grainy because of the low light.
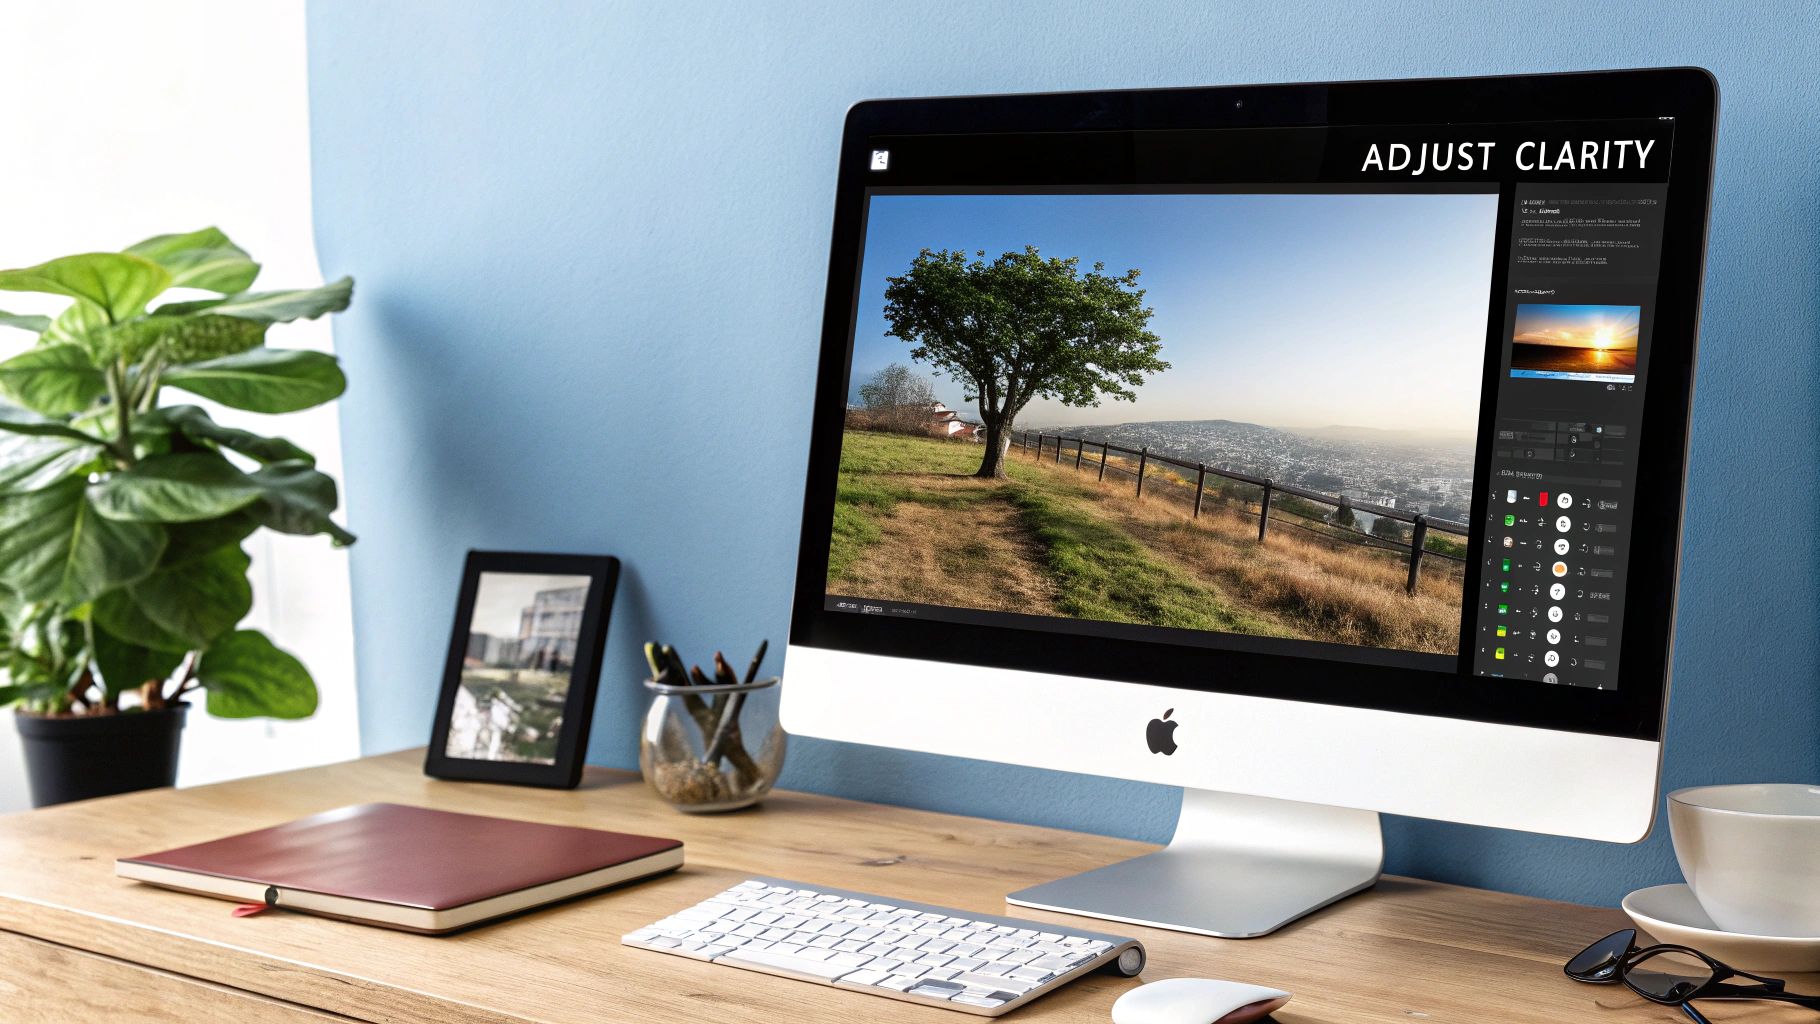
- Start with Noise Reduction: Before you sharpen, you must deal with the grain. Find the 'Noise Reduction' slider and slowly increase it. Watch the grainy areas in the background. Stop when they look smoother, but before your subject's face starts to look waxy or plastic-like.
- Move to Detail Enhancement: Now that the image is cleaner, use the 'Detail Enhancement' or 'Clarity' slider. Increase it gently. You'll see textures in clothing and hair start to pop. This tool is better than 'Sharpness' for adding initial clarity.
- Finish with a Touch of Sharpness: Finally, add a small amount of 'Sharpness' to define the most important edges, like the eyes and the outline of a face. Zoom in to 100% and increase the slider just until the edges look crisp, then stop.
- Compare and Save: Toggle the "before and after" view. The result should be a photo that's clear and detailed without the distracting grain or harsh, artificial edges.
Mastering these settings also feeds into your overall visual storytelling. After all, a sharp, clean image is the foundation of a great shot. If you want to dive deeper into that side of things, check out our guide to essential composition rules for photography.
By carefully adjusting each setting based on what the photo actually needs, you can rescue images that a simple one-click fix would either overdo or ignore. This thoughtful approach is what separates a good edit from a great one.
Going Old School with Manual Sharpening
While AI tools offer stunning speed and convenience, sometimes you just need to get your hands dirty. For those moments, manual editing in software like Adobe Photoshop or the fantastic free alternative, GIMP, gives you the ultimate control.
This approach is perfect when you have a specific artistic vision in mind. Instead of letting an algorithm call the shots, you’re in the driver's seat, fine-tuning every last detail. The classic, battle-tested tool for this job is the Unsharp Mask filter. Don't let the confusing name fool you; it's all about making your image sharper by punching up the contrast along edges.
A Step-by-Step Guide to the Unsharp Mask Filter
Here’s how to clear up a blurry picture in a program like Photoshop. The steps are very similar in GIMP.
- Open Your Image: Launch your software and open the photo you want to sharpen.
- Duplicate the Layer: Before you do anything, duplicate your main image layer. This is a non-destructive editing practice. If you mess up, you can just delete the new layer and start over. (Usually
Ctrl+Jon Windows orCmd+Jon Mac). - Find the Unsharp Mask: Go to the top menu and navigate to
Filter > Sharpen > Unsharp Mask.... A dialog box with three sliders will appear. - Set the Sliders:
- Amount: Start low, around 50-70%. This controls the intensity.
- Radius: For most photos, a small radius is best. Start with a value between 0.5 and 1.5 pixels. This controls how wide the sharpening effect spreads from an edge.
- Threshold: Leave this at 0 to start. If you see noise appearing in flat areas (like a sky), increase it to 2-4 to tell Photoshop to ignore those subtle areas.
- Preview and Adjust: Make sure the 'Preview' box is checked. Click and hold on the preview window to see the "before" image. Tweak the sliders until the details look crisp but not harsh.
- Apply the Filter: Once you're happy, click 'OK' to apply the filter to your duplicated layer. You can then adjust the layer's opacity to blend the sharpening effect for a more subtle result.
Think of it this way: for a portrait, you might use a tiny radius (around 1 pixel) to bring out the sharpness in eyelashes without making the skin look leathery. For a landscape, a bigger radius (2-3 pixels) can help define the edges of mountains and trees.
The Human Touch vs. The AI Brain
The biggest win for manual sharpening is selective application. You can use layer masks to paint the sharpening effect onto only the parts of an image you want, like a person's eyes, while leaving the background soft and dreamy. This is a level of precision that automated tools are still working to perfect.
Believe it or not, the concept of sharpening digital images has been around for a while. It actually has roots in the 1960s space race. Back in 1964, engineers used computers to deblur images sent back from the Ranger 7 spacecraft on its way to the moon—a true pioneering moment in image processing. You can dive deeper into the history of digital image processing if you're curious.
So, which should you choose? It all depends on your goal. For fast, impressive results, AI is king. But for total artistic control and surgical precision, mastering manual tools is a skill that will always be worth having.
How to Prevent Blurry Photos in the First Place
Of course, while AI can work wonders on a slightly soft photo, nothing beats getting it right in the camera. Honestly, prevention is always better than a cure. It saves you a ton of editing time and gives you a much better file to work with from the get-go.
A few basic photography principles are all you need to dramatically cut down on blurry shots. It really just boils down to managing light and motion.
Master Your Shutter Speed
Your camera's shutter speed is your number one weapon against motion blur. This setting simply controls how long the camera's sensor is exposed to light. A slow shutter speed might be necessary for dark scenes, but it's a recipe for disaster if you have shaky hands or your subject is moving.
To freeze action—like your dog catching a frisbee at the park—you need a fast shutter speed. A good rule of thumb is to start at 1/200s for general daytime photos. For anything moving quickly, you'll want to push that even higher, maybe to 1/500s or more.
Nail Your Focus and Stability
Missed focus is the other common reason for blurry images. Don't let your camera guess what's important; you need to take control. Switch to your camera’s single-point autofocus mode. This lets you tell it exactly where to focus, whether it's a person's eye in a portrait or one specific flower in a garden.
And for those low-light shots, like a beautiful sunset, stability is everything. Don't have a tripod? No worries. Just find something stable to rest your camera on—a wall, a railing, even your camera bag will do in a pinch. This simple trick minimizes camera shake, which means you can use a slower shutter speed without getting that dreaded blur. To really level up your skills, especially for professional work, check out these Real Estate Photography Tips For Capturing Floridas Stunning Property Images.
The core idea of analyzing image data to add clarity isn't new. Way back in 1957, Russell Kirsch created the very first digital image—a 176x176 pixel scan of his baby son. That groundbreaking moment proved that images could be digitally processed, paving the way for every modern technique we use today, including AI deblurring.
A Few Common Questions About Fixing Blurry Photos
Even after you get the hang of the basics, a few questions always seem to pop up when you're trying to fix a blurry picture. It's totally normal. Let's walk through some of the most common hurdles people face when they're trying to rescue their photos.
Knowing the limits—and the amazing possibilities—of photo sharpening helps you set the right expectations and, ultimately, get much better results.
Can You Actually Fix a Super Blurry Picture?
This is the big one. And the honest answer is: it depends. There are definitely limits, even for the most powerful AI tools out there. If a photo is so far gone that the subject is just an unrecognizable blob, a perfect restoration probably isn't in the cards.
These tools work their magic by intelligently finding and enhancing the details that are already there, just hidden. For photos that are just a bit soft or have some mild motion blur, the improvement can be absolutely incredible. But what they can't do is invent information that the camera never captured in the first place.
The key takeaway here is that AI is fantastic for sharpening up soft focus or fixing minor motion blur. For extremely blurry images, think of it as a rescue mission aimed at improvement, not perfection.
Does Sharpening a Photo Ruin the Quality?
It definitely can if you're not careful. Pushing the sharpness slider too far is a classic rookie mistake, and it can really mess up your image. Over-sharpening creates those ugly, bright outlines (halos) around edges and makes any digital noise in the photo way more noticeable.
The secret is to be subtle. Modern AI enhancers are pretty smart about applying sharpening only where it's needed, which helps avoid that over-processed look. If you’re using manual controls, always zoom in to 100% to check your work. This little step ensures the final photo looks crisp and natural, not artificial and crunchy.
What’s the Best File Format to Save In?
The right file format really comes down to one thing: what are you going to do with the photo next?
- Sharing online (social media, websites, email): A high-quality JPEG is your go-to. It strikes an excellent balance between image quality and a small file size, which is perfect for fast loading on the web.
- Professional printing or more editing: For this, you'll want a lossless format like PNG or TIFF. These formats keep all the original image data, which is crucial if you plan to edit it more or want a high-resolution print without any quality loss.
As a pro tip, try to avoid re-saving a JPEG over and over again. Every time you do, the image quality degrades just a little bit.
Ready to turn those blurry memories into sharp, stunning photos with just one click? See what AI Photo HQ can do. Visit https://aiphotohq.com to try it for yourself.

