So you have a photo that's just not quite right. Maybe it's blurry, a little grainy, or just too small to use. The good news is, fixing it is easier than ever. The quickest way to get a crystal-clear image is to use an AI-powered photo tool to sharpen details, reduce that annoying grain (noise), and boost the resolution.
These days, you can often fix a blurry photo with just a few clicks.
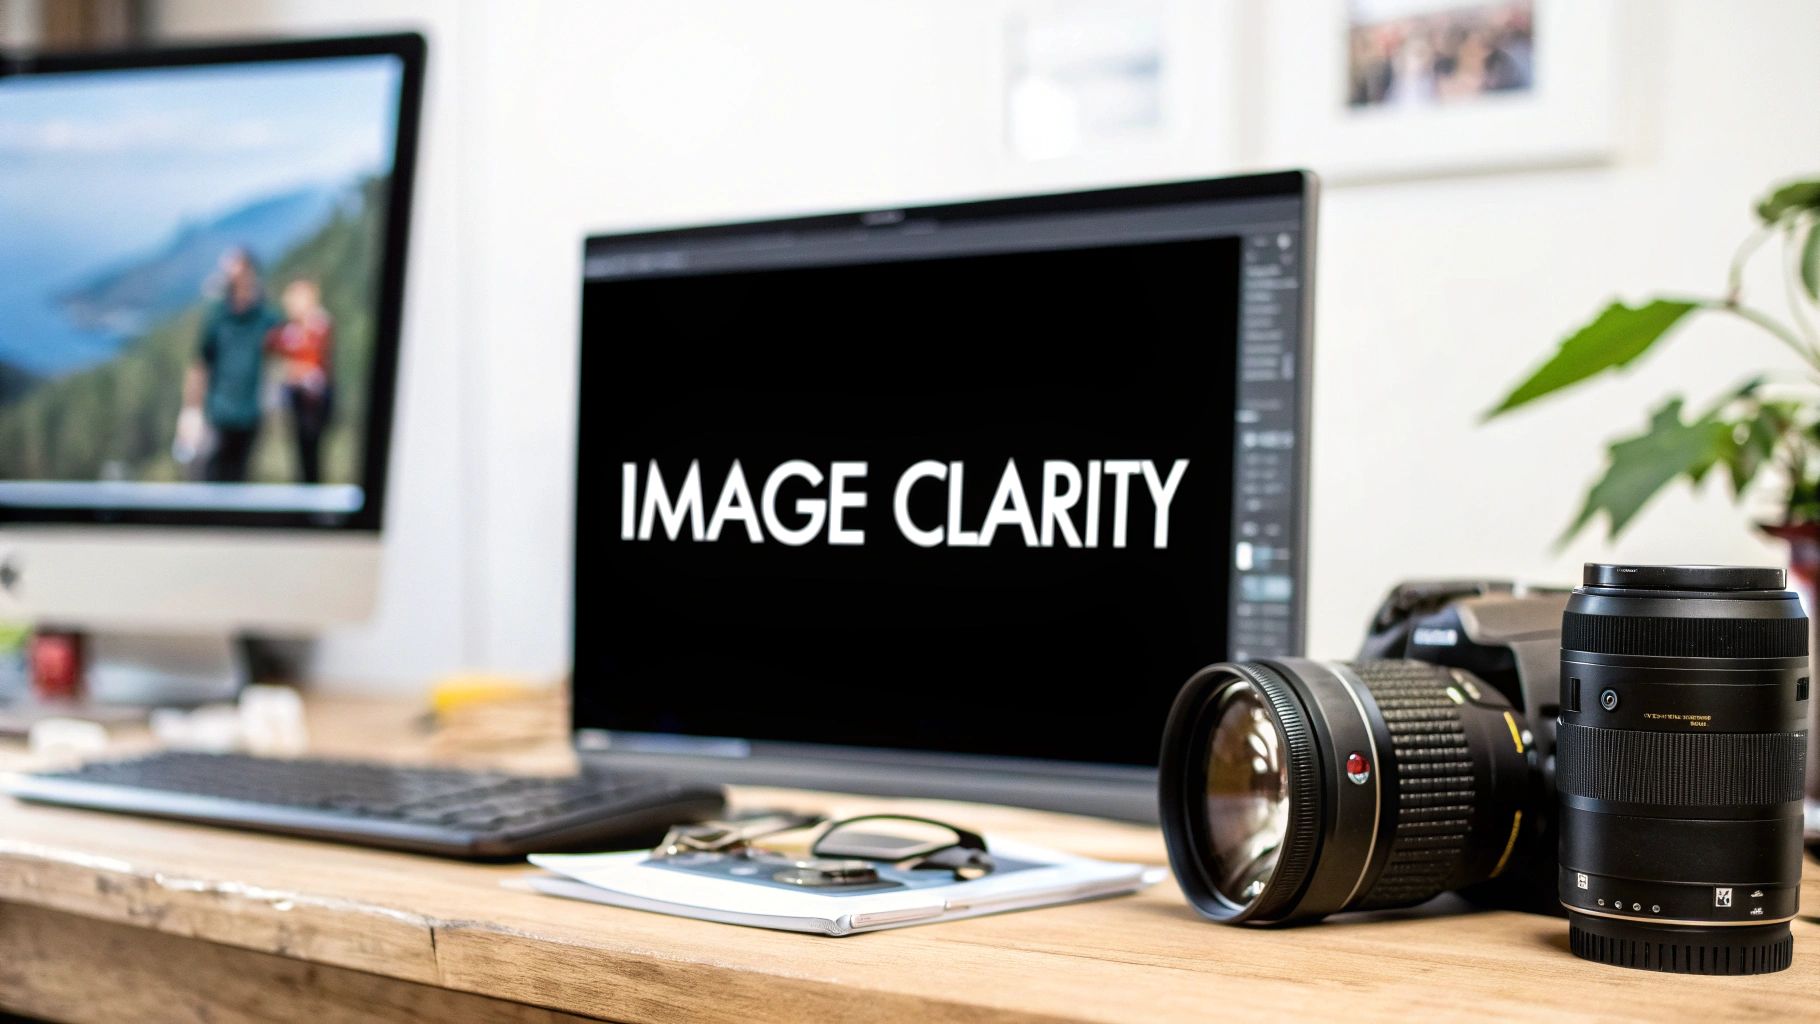
Your Guide to Instant Image Clarity
We're going to dive straight into the solutions. Forget basic contrast sliders and manual adjustments—this guide is all about how modern AI tools are completely changing the game for image enhancement. We’ll break down the three pillars of clarity: sharpening, denoising, and upscaling, and show you exactly how to use them for your specific problem.
The explosion in demand for high-quality visuals has pushed this technology forward at an incredible pace. To put it in perspective, the global digital image processing market was valued at $5.16 billion in 2022 and is projected to skyrocket to $21.73 billion by 2030. You can get a deeper look at this trend in recent market analysis reports. This massive growth is precisely why we now have such powerful and easy-to-use tools right at our fingertips.
For example, take a look at the dashboard for a tool like AI Photo HQ. It’s designed to be straightforward.
Notice how the functions are cleanly separated? You’ve got options for sharpening, upscaling, and restoration. This makes it incredibly simple to pick the exact fix you need without getting lost in complex menus.
The Big Idea: You no longer need to be a Photoshop wizard to fix a blurry image. AI tools do the heavy lifting by targeting specific clarity problems, letting you sharpen, denoise, or upscale a photo in seconds.
Think of this guide as your roadmap. We’ll skip the vague theory and give you a clear look at how to turn those disappointing shots into crisp, professional-looking images. Let's get started.
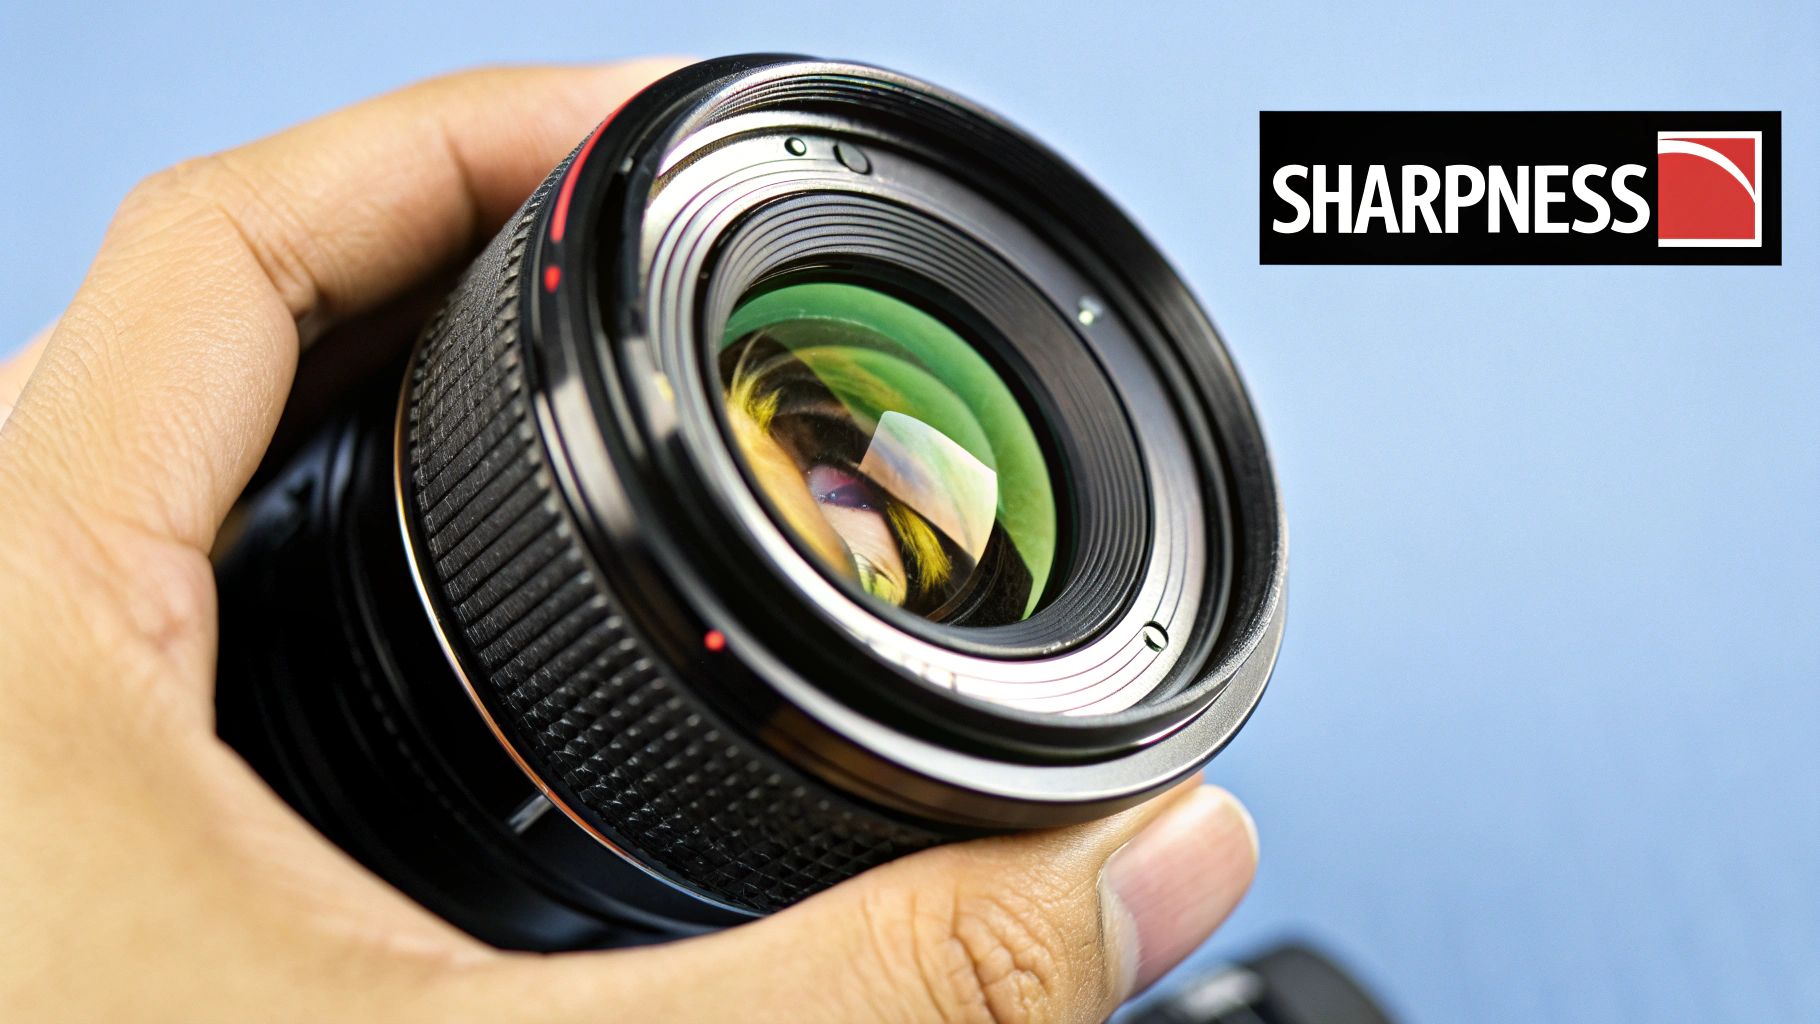
Common Clarity Problems and Their AI Solutions
It helps to know which tool to reach for. Different issues call for different AI techniques. This little table breaks it down, matching common problems with the right AI solution.
| Image Problem | Primary AI Solution | What It Does |
|---|---|---|
| Soft edges, lack of focus | Sharpening | Intelligently enhances edges and fine details to make them pop. |
| Grainy, speckled appearance | Denoising | Removes digital noise and grain without smudging important details. |
| Small, pixelated image | Upscaling | Increases the image's dimensions and resolution, creating new pixels. |
| Faded colors, scratches, old photo damage | Restoration | Corrects color, repairs damage, and often combines sharpening/denoising. |
Having this in your back pocket saves a ton of guesswork. Now, when you look at a subpar image, you'll know exactly how to tackle it.
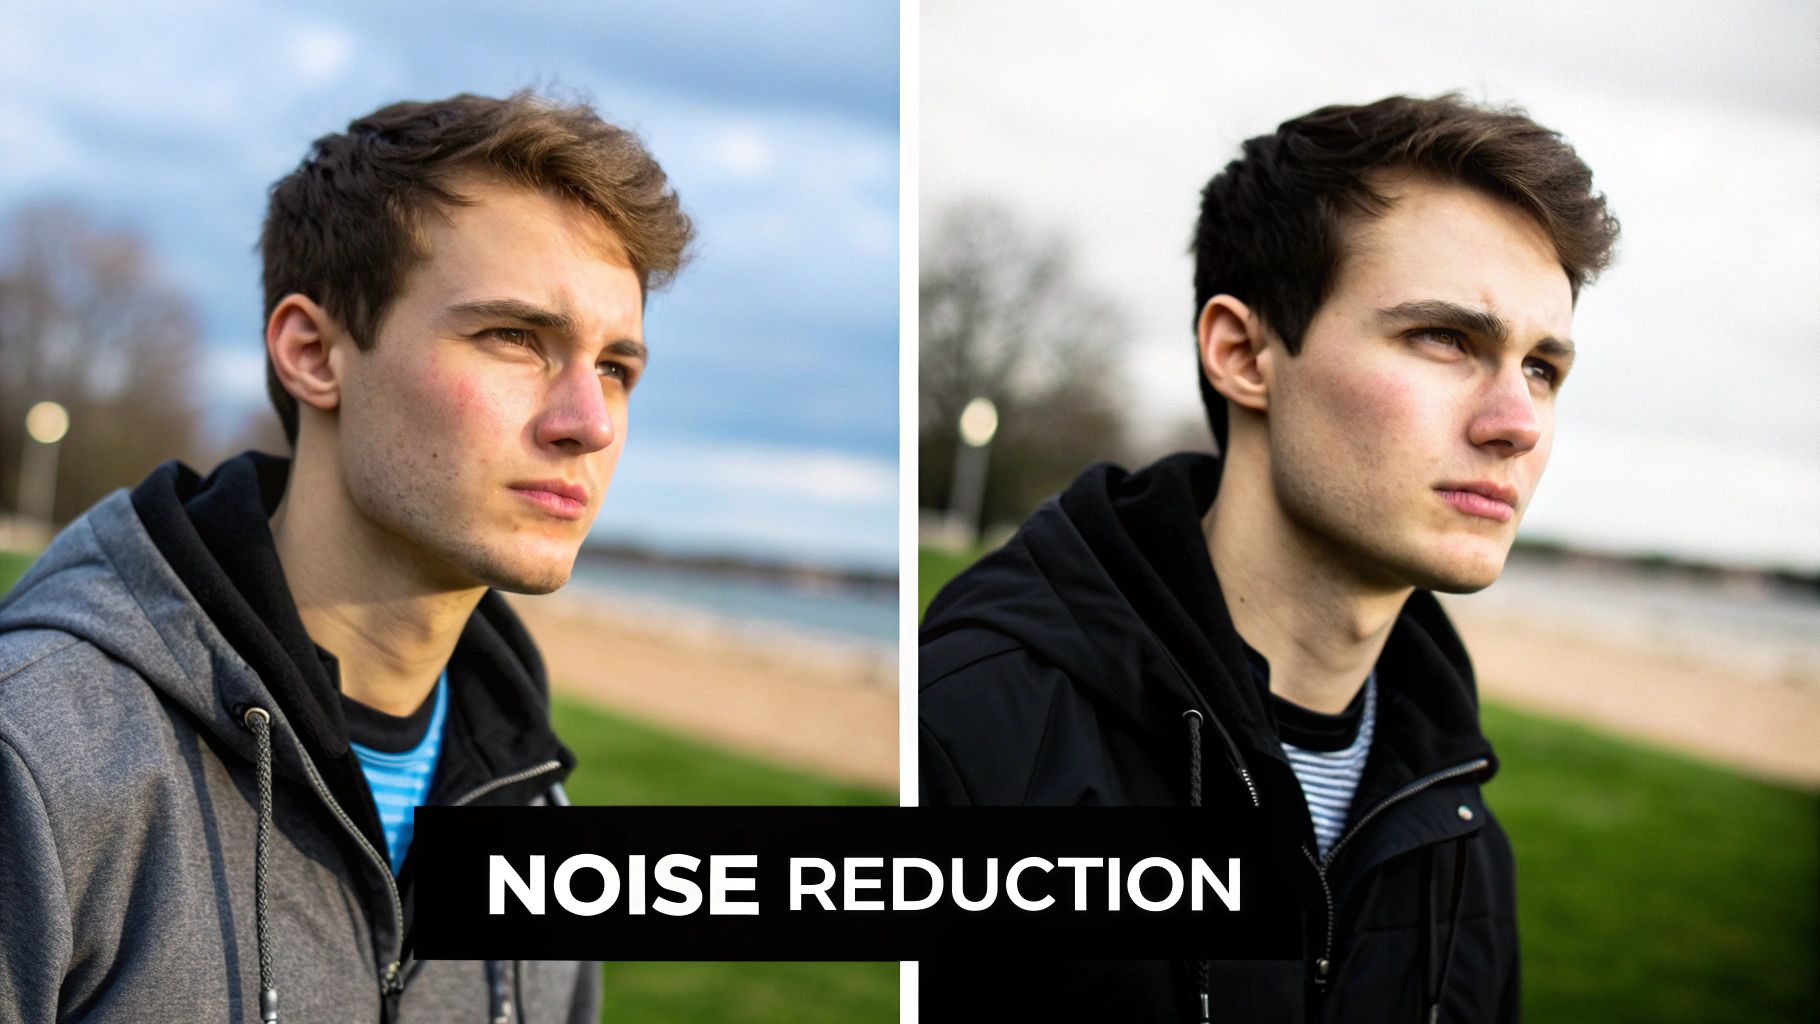
Let's get practical and tackle the two biggest culprits behind unclear images: soft focus and digital noise. We've all got a photo we love that’s just a little bit blurry, or a great shot taken in low light that’s covered in that distracting, sandy grain. These are the exact problems modern AI tools were built to solve.
Say you have a portrait where your camera just didn't quite nail the focus. The eyes are a bit soft, and all the fine detail in the hair is lost. When you open an AI tool like AI Photo HQ, your first move is to upload the image. From there, you'll want to look for two key features: Sharpening and Denoising.
A Step-by-Step Guide to Fixing Blur and Grain
Let’s walk through the exact process for a photo that's both a bit soft and slightly grainy.
- Upload Your Image: Drag and drop your photo into the AI tool. The first thing it will do is analyze the image.
- Locate the Denoise Tool: Before touching anything else, find the "Denoise" or "Noise Reduction" slider. Start by increasing it slowly. Watch the background and shadow areas of your photo—you'll see the speckles smooth out. Stop when the grain is gone but before the image looks overly soft or "plastic-y."
- Apply Sharpening: Now, find the "Sharpen" slider. Gently increase it. Pay close attention to the important details, like the eyes in a portrait or the texture of a building. You'll see the edges become more defined.
- Find the Sweet Spot: The goal is to make the details pop without looking artificial. If you see harsh lines or halos appearing around objects, you've gone too far. Dial the sharpening back until it looks crisp but natural.
- Compare and Download: Use the before/after preview to see your work. Once you're happy with the clarity, download your enhanced image.
A little goes a long way with these tools. For a deeper dive, you can check out our complete guide on how to fix blurry pictures.
Pro Tip: Always denoise before you apply heavy sharpening. Sharpening can actually amplify existing grain, making it even worse. By removing the noise first, you give the sharpening algorithm a clean canvas to work with.
It's incredible how quickly this technology is moving. The global AI image enhancer market was valued at around $1.7 billion in 2023 and is projected to skyrocket to $5.37 billion by 2033. This explosion in growth is fueled by the very tech that powers these sharpening and noise reduction tools. You can explore more about the market's trajectory in this detailed industry report.
By carefully balancing these two simple adjustments, you can often rescue photos you might have thought were unusable. The key is always subtlety—you're aiming for natural-looking clarity, not an obviously over-edited effect.
Upscaling Low-Resolution Images with AI
Ever been stuck with a tiny, pixelated image? Maybe it's from an old phone, or a thumbnail you saved from a website. When you try to make it bigger using a traditional photo editor, you just end up stretching the existing pixels—and the result is a blurry, blocky mess.
AI upscaling is a completely different ballgame. It intelligently generates brand-new pixels, increasing not just the size but the actual detail in your image.
This isn't just simple resizing. It's about genuinely recreating lost information to make old photos usable again. If you've ever wondered how to make an image clear enough for a high-resolution screen or even a physical print, this is how it's done now.
Tutorial: Turning a Thumbnail into a Printable Photo
Let's imagine a real-world scenario. You find a great photo of a family event online, but it’s a tiny 300x300 pixel thumbnail. At that size, trying to print it would be a disaster. Here's how to fix it step-by-step with an AI upscaler.
- Upload the Thumbnail: Open your chosen AI upscaling tool and upload the small 300x300 pixel image.
- Choose Your Upscale Factor: You will typically see options like 2x, 4x, or 8x.
- 2x Upscale: This doubles the dimensions to 600x600. Good for a quick quality boost for web use.
- 4x Upscale: This quadruples the dimensions to 1200x1200. This is the perfect choice for our example, making the image suitable for a small print or high-quality social media post.
- 8x Upscale: This would make it 2400x2400, ideal for creating a larger print.
- Select 4x and Process: Click the "4x" option and let the AI work its magic. It will analyze the existing pixels and intelligently generate new ones to fill in the details. You'll see faces become sharper and textures more defined.
- Review the Result: The tool will show you a comparison. The "after" image will be significantly larger and clearer, looking as if it was taken with a much better camera.
- Download the High-Resolution Version: Save your new, upscaled image. It's now ready to be printed or shared.
The key takeaway is that AI doesn't just guess. It predicts what the missing detail should be, based on its training from looking at millions of other images. It adds real, coherent information, which is something conventional software simply can't do.
A photo that was once too small to be useful becomes a clear, sharp memory ready for a frame. While there are lots of tools out there, we've put together a list of the 12 best online image upscaler tools in 2025 reviewed on our blog to help you find the right fit. It's a simple process that can breathe new life into images you thought were lost for good.
Breathing New Life into Old Photos
Some of our most cherished photos are suffering from more than just a bit of blur. We're talking about the real enemies of old pictures: fading, scratches, and discoloration that can completely hide the memories inside. Thankfully, modern AI is incredible at digital restoration, going way beyond simple edits to actually repair physical damage and bring old images roaring back to life.
Let's dive into a tough but common scenario—a scanned family portrait from decades ago. You know the kind. It's a beautiful black-and-white image, but it's covered in tiny cracks and has faded into that familiar dull sepia tone. This is exactly where AI’s restorative magic really comes into its own.
Tutorial: Restoring and Colorizing a Damaged Photo
Here's the practical, two-step process to bring a vintage photo back to life.
Step 1: Repair the Damage.
- Upload the Scanned Image: Start by uploading your faded or scratched photo into a tool like AI Photo HQ.
- Select "Photo Restoration": Look for a feature named "Restoration," "Scratch Removal," or "Old Photo Repair."
- Apply the Fix: Click the button. The AI will automatically detect and remove cracks, tears, and spots, while also sharpening the details that have softened over time. Wait for the process to complete. This is a non-negotiable first step.
Step 2: Add Realistic Color.
- Use the Repaired Image: With the damage gone, you now have a clean black-and-white photo.
- Find the "AI Colorize" Tool: Locate and click the colorization option.
- Let the AI Work: The algorithm analyzes the shades of gray to intelligently predict what the original colors were—skin tones, clothing, backgrounds, and more.
- Download the Final Result: In just a couple of clicks, you've transformed a damaged, monochrome relic into a vibrant memory.
This two-step process—repairing first, then colorizing—is the secret sauce. It ensures the AI isn’t trying to add color to scratches or faded spots, which gives you a much cleaner and more believable final result. It’s an amazing way to rediscover the vibrant details in your most precious memories.
This is a seriously powerful technique for preserving family history. For more practical examples and in-depth walkthroughs, check out our complete guide on enhancing old photos, where we cover even more advanced tips.
Pro Tips for Professional-Level Clarity
Getting the hang of basic sharpening and denoising is a fantastic first step, but if you want those truly professional-looking results every time, you need to think more like a seasoned photo editor. It all comes down to developing an intuition for the right workflow.
One of the most common questions I get is whether to sharpen or denoise first. The answer is simple: Always denoise before you sharpen. Think about it this way: sharpening algorithms work by boosting the contrast along edges. If you run that process on a grainy photo, you're just telling the software to make all that digital noise sharper and more obvious. Not a good look. By cleaning up the noise first, you're giving the sharpener a clean canvas to work with.
Another dead giveaway of an amateur edit is over-processing. If you start seeing weird, glowing halos around objects or if textures look unnaturally "crunchy," you've pushed the sharpening way too far. The goal is natural clarity, not some bizarre, hyper-real effect. When in doubt, dial it back until the details look crisp but still believable.
Choosing Your Enhancement Strategy
Here's the thing: not every image needs the same cocktail of fixes. Your starting point—the original condition of the photo—should dictate your entire strategy. Sometimes a single tool is all you need, but more often than not, a thoughtful combination is where the magic happens.
Let's say you have a digital photo that's just a little soft but otherwise clean. A quick touch of sharpening might be all it takes. But what if you're trying to save a faded, low-resolution scan of an old family photo? That's a completely different ballgame. You'll need a multi-step process: start with a restoration tool to fix cracks and fading, then use an AI upscaler to intelligently add pixels and boost the resolution, and finish with a gentle sharpening pass to bring out the details.
When you're ready to move beyond one-click fixes and get serious about image quality, you might want to explore advanced graphics studio tools that give you more granular control.
To make this easier, here's a quick guide to help you decide which tools to use and when.
Choosing Your Enhancement Strategy
| Image Scenario | Recommended First Step | Secondary Step (If Needed) | Key Consideration |
|---|---|---|---|
| Slightly blurry but clean digital photo | Sharpening | None | Less is more. A subtle sharpening is all you need. |
| Grainy photo from a low-light shot | Denoise | Sharpening | Clean up the noise first for the best sharpening results. |
| Old, scanned photo (low resolution) | AI Upscaling | Restoration/Sharpening | Increase the pixel count first to give other tools more data to work with. |
| Faded or damaged vintage print | Restoration | AI Upscaling | Fix physical damage like cracks and spots before enhancing resolution. |
This table should give you a solid framework. The key is to look at your image, identify its primary weakness, and tackle that first.
The infographic below really drives home the point about when AI upscaling becomes essential, especially for making an image clear when you need a significant size increase.
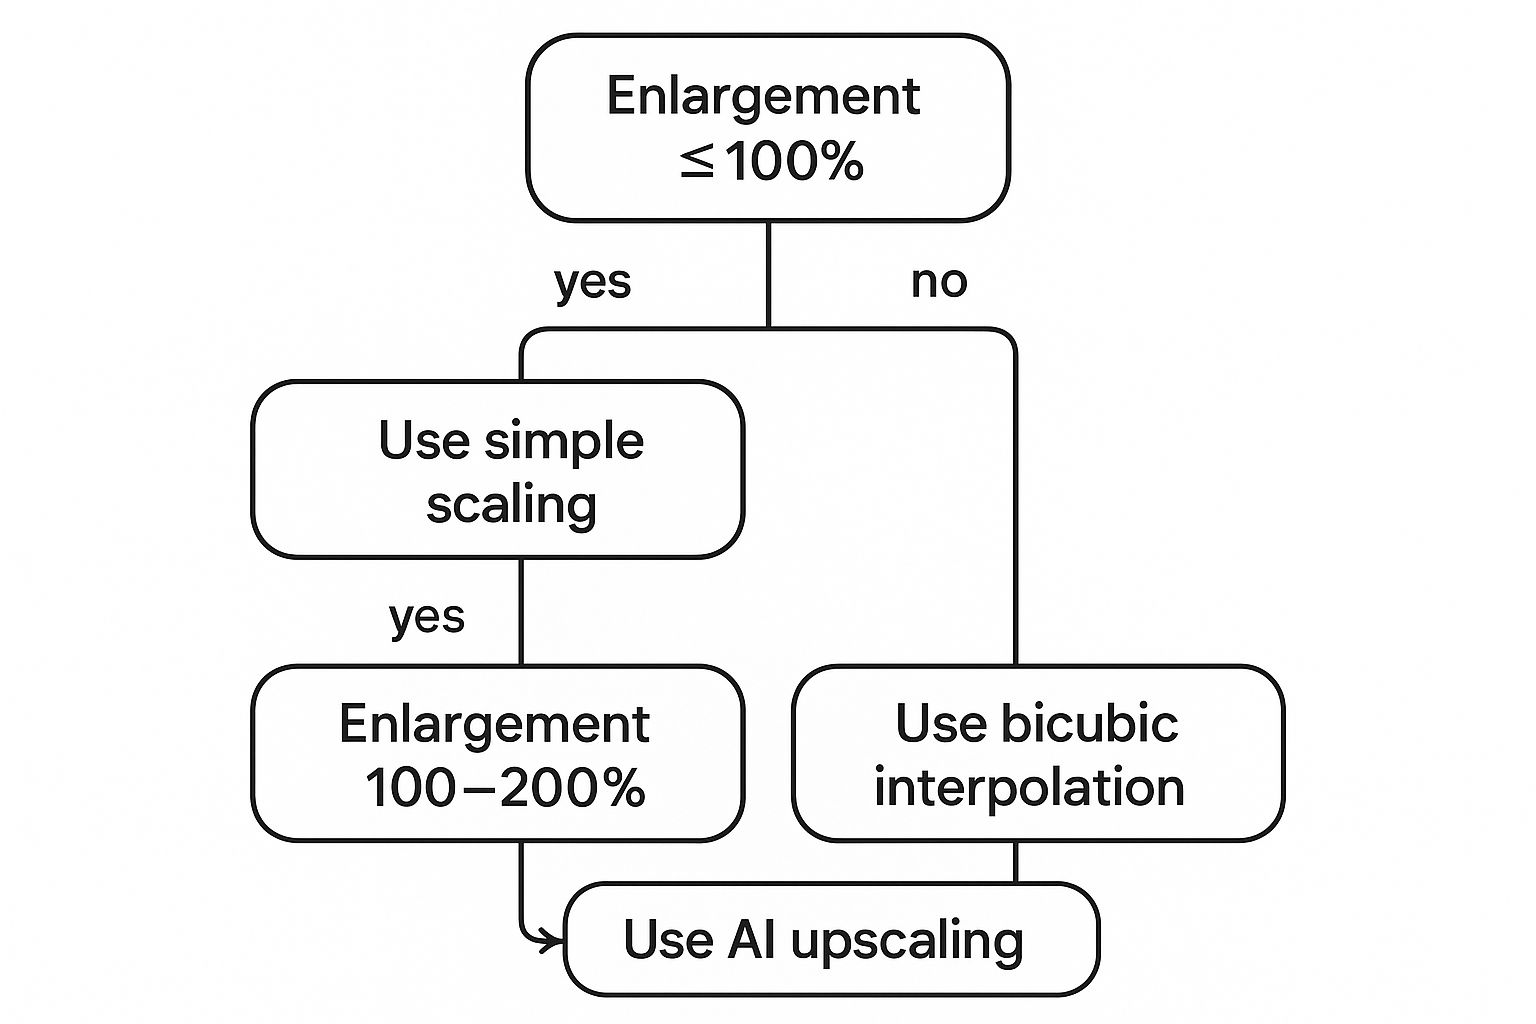
As you can see, basic scaling is fine for minor tweaks. But once you start pushing past a 200% enlargement, AI is no longer a luxury—it's a necessity for maintaining quality and avoiding that blocky, pixelated mess.
A Few Common Questions About Image Clarity
Jumping into the world of image enhancement can definitely spark a lot of questions. As you get the hang of making an image clear, you’ll probably run into a few common roadblocks or just wonder what the tech is actually capable of. Let's dig into some of the questions I hear most often.
Can AI Really Fix Any Blurry Photo?
AI is incredibly powerful, but it’s not a magic wand. If you have a photo that's just a little bit soft or slightly out of focus, an AI enhancer can do some amazing things, often bringing it back to a level of sharpness that's genuinely surprising.
But what if a photo is a total blurry mess? Well, that's where we hit a wall. AI can only do so much because it can't create critical details that were never captured in the first place. Think of it like this: the AI needs some visual information to work with. The better your starting photo, the more stunning the final result will be.
Does Making an Image Bigger Make It Clearer?
If you're using traditional software like Photoshop, the answer is a hard no. When you just enlarge a photo the old-fashioned way, you're just stretching the pixels you already have. This makes the image look blocky, pixelated, and a whole lot worse.
AI upscaling, however, plays by a completely different set of rules. An AI doesn't just stretch pixels—it intelligently analyzes the image and generates brand new pixels to fill in the gaps. This process increases both the physical size (the resolution) and the perceived sharpness of the photo, which is why it’s such an essential tool for creating clarity.
My rule of thumb for getting the best results is to always reduce noise first. Sharpening tools work by boosting the contrast around the edges in your photo. If you try to sharpen a noisy image, you'll end up sharpening all that random grain too, making the noise far more obvious and distracting.
By cleaning up the noise first, you're giving the sharpening algorithm a clean canvas to work on. This is the secret to getting crisp, well-defined details without accidentally making any of the original imperfections worse.
Ready to take your own photos from blurry to brilliant? With AI Photo HQ, you can sharpen, denoise, upscale, and restore your images with just a few clicks. Start creating your own crystal-clear images today at aiphotohq.com.

