
Let's be honest, organizing your digital photos is one of those tasks that feels completely overwhelming. It's the digital equivalent of a shoebox overflowing with faded prints, except this "shoebox" is scattered across old phones, random desktop folders, and forgotten cloud accounts. The goal is to bring all those scattered memories into one central, easy-to-use hub with a smart folder structure and a consistent naming system.
This isn't just about being tidy; it's about turning that digital mess into a browsable, meaningful collection you can actually enjoy.
Conquering Your Digital Photo Chaos
Staring down a folder with thousands of images named IMG_5829.JPG is enough to make anyone want to close their laptop and walk away. I get it. It's a paralyzing feeling, but it's a problem with a solution. This guide is all about breaking down that anxiety into simple, actionable steps.
We're going to transform that digital mess into a photo library you're proud of—one that’s not only organized but also easily accessible. The secret isn't some complex software or advanced technical skill. It's consistency and simplicity.
The Growing Need for a System
Think about it: with a high-quality camera in every pocket, we're taking more photos than ever before. This constant stream of new images means having a solid organizational system isn't just a "nice-to-have" anymore; it's essential.
By 2025, the world is expected to have taken over 2.1 trillion digital photos, with smartphones accounting for a staggering 94% of all pictures taken. This explosion in visual data makes having an efficient management strategy absolutely critical.
These numbers aren't just trivia; they highlight why a simple, repeatable process is your best friend. Without one, finding that one specific photo from your vacation two years ago becomes a frustrating hunt through a digital haystack.
Core Principles of Photo Organization
Before we jump into the "how-to," let's ground ourselves in a few key ideas. These are the foundational concepts that will make sure the system you build actually works and, more importantly, that you'll stick with it.
I've put together a quick table to summarize these core principles. Think of this as your cheat sheet for everything we're about to cover.
| Principle | Why It Matters | Quick Tip |
|---|---|---|
| Centralize Everything | Eliminates the chaos of searching multiple devices and folders. | Pick one primary location (an external hard drive or a dedicated cloud service) and stick to it. |
| Keep It Simple | A complex system is a system you'll abandon. | Your folder structure should be so intuitive you don't have to think about it. |
| Make It Searchable | Turns your library from a passive storage bin into an active database. | Use consistent file names, folders, and tags to find anything in seconds. |
| Preserve Your Work | Organization is pointless if the files aren't safe. | Regular backups are non-negotiable. For physical prints, learn how to preserve old photos to protect them for the future. |
Getting these four principles right is the secret to a photo library that works for you, not against you. They provide the framework for every step we'll take from here.
Establishing Your Central Photo Hub
Before you can even think about organizing your photos, you need to give them a home. Right now, they're probably scattered across old laptops, your current phone, and a handful of cloud accounts you forgot you had. The first real step is to build a central library for all of them—a single source of truth that puts an end to the frantic searching.
Where you decide to build this hub really depends on your lifestyle and how you take pictures. There's no single "best" answer, but once you understand the options, the right choice for you will become obvious.
Choosing Your Storage Foundation
This central hub is the absolute backbone of your new organized system. You've basically got three main options: an external hard drive, a Network-Attached Storage (NAS) device, or a cloud storage service. Each has its own clear pros and cons.
External Hard Drives (HDDs & SSDs): This is the simplest and most direct route. A travel photographer I know swears by his rugged, portable Solid-State Drive (SSD) because it's fast and can take a beating on the road. He can dump his memory cards onto it right after a shoot. For home use, a big traditional Hard-Disk Drive (HDD) gives you a massive amount of storage for your money.
Network-Attached Storage (NAS): Think of a NAS as your own personal cloud, right in your house. It’s a box with hard drives that connects to your home network, making your entire photo library available to every device your family uses. This is a fantastic solution for a growing family wanting to consolidate everyone's photos without stacking up monthly cloud fees.
Cloud Storage Services: Services like Dropbox, Google Drive, or pCloud offer unmatched convenience. Your photos are always there, accessible from any device with an internet connection, and they're automatically backed up offsite. This is perfect for someone who travels a lot or loves sharing albums with friends and family around the world.
The goal here isn't just about having storage space; it's about centralized access. Whether it's a physical drive sitting on your desk or a dedicated folder in the cloud, this one spot becomes the final destination for every photo you keep.
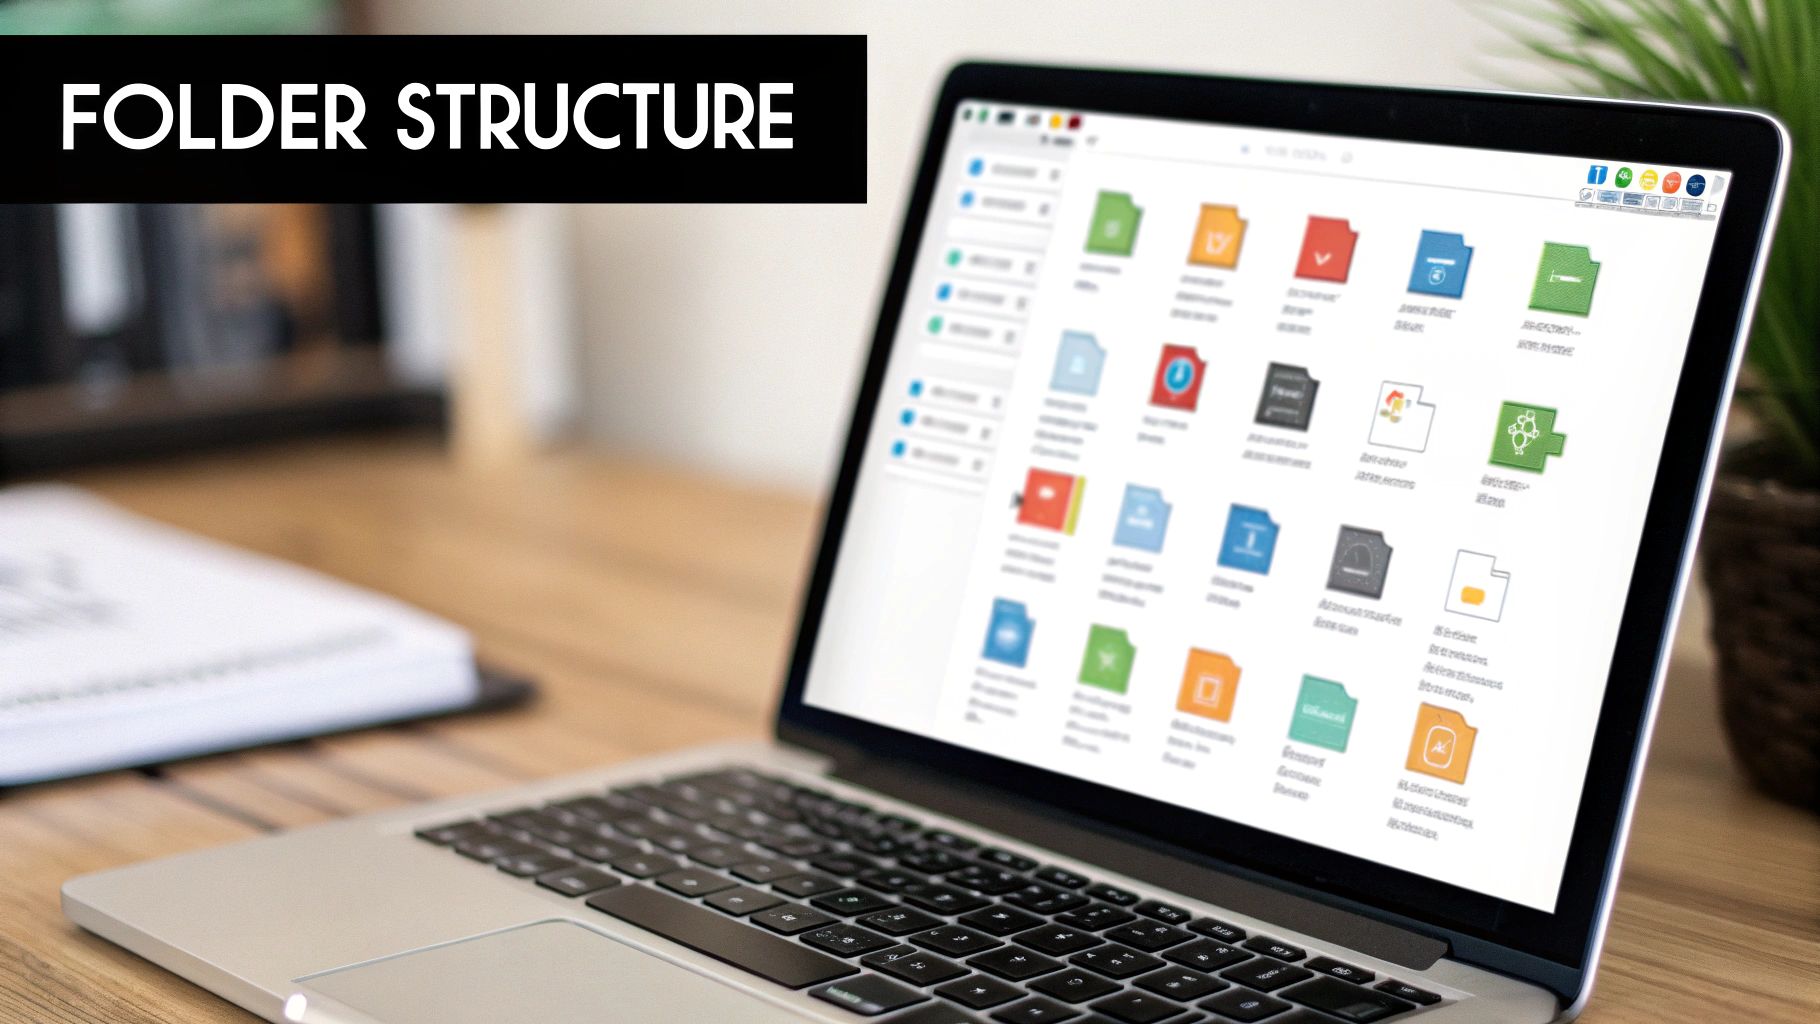
Creating a Future-Proof Folder Structure
Okay, you've picked your hub. Now what? It's time to build the folder system that will hold everything together. So many people make the mistake of creating folders with vague names like "Summer Fun" or "Holiday Pics." A few years from now, those names will be completely meaningless. The most bulletproof method is purely chronological.
Step-by-step guide to creating your folder structure:
Open your chosen photo hub (your external hard drive, Google Drive, etc.).
Create your main folders by year. Right-click, select "New Folder," and name it
2024. Repeat this for every year you have photos for, like2023,2022, and so on.Inside each year folder, create folders for specific events. The best format is
YYYY-MM-DD Event Name. This forces your folders to sort chronologically.
Let's walk through a real-world example:
Say you took a bunch of photos at your son's birthday party back in March 2024. Here’s the exact process:
- Navigate into your
2024folder. - Right-click and create a new folder.
- Name it exactly like this:
2024-03-10 Davids 5th Birthday
This YYYY-MM-DD Event Name format is incredibly powerful for a few reasons:
- It sorts automatically. Your computer will always list your folders in perfect chronological order, from January through December. No more hunting.
- It's instantly scannable. You can see the exact date and what happened just by reading the folder name.
- It's universally searchable. Need to find all photos from March 2024? A quick search for "2024-03" will pull them all up.
What about a multi-day trip? Easy. For a family vacation to Italy that ran from June 15th to June 25th in 2023, the folder would look like this:2023 / 2023-06-15 to 06-25 Italy Vacation
This simple but consistent folder structure becomes the blueprint for how you'll manage your photos from now on. It takes a digital junk drawer and transforms it into an organized timeline of your life, making any memory findable in just a few seconds.
Putting a Practical Culling Workflow into Action
Before you can organize, you need to gather all your files and decide what's worth keeping. This is the most crucial step for creating a library you'll love to browse.
Step-by-step guide to gathering and culling:
- Create a temporary "inbox" folder. On your computer's main hard drive, create a single new folder named
_Photos_To_Sort. The underscore at the beginning is a simple trick to keep it pinned to the top of your file list for easy access. - Gather every photo. Systematically go through your phone, old computers, SD cards, and USB drives. Copy (don't move) every single photo you find into your
_Photos_To_Sortfolder. Now everything is in one place.
The Fine Art of Culling Your Collection
With everything gathered, the real work begins: culling. This is just a fancy word for deleting the pictures you don't actually need. The best technique is what I call the "Favorites First" pass. Instead of looking for photos to delete, you're actively looking for the best ones to keep.
Step-by-step "Favorites First" culling:
- Create a "Keepers" subfolder. Inside your
_Photos_To_Sortfolder, create a new folder called_Keepers. - Do a quick first pass. Go through the photos in
_Photos_To_Sort. As soon as you see an obvious winner—a great portrait, a beautiful landscape, a perfect candid moment—drag it immediately into the_Keepersfolder. Don't overthink it; just pull out the clear gems.
The goal of culling isn't just about saving hard drive space. It's about curating a collection that genuinely means something to you and tells your story. Every photo you delete makes the ones you keep that much more valuable.
Making the Tough Deletion Decisions
Once your first pass is done, you’ll have a folder of "maybes" left in your original inbox. This is where you can get a bit more ruthless. Here’s my practical checklist for what to delete without a shred of guilt:
- The Obvious Duds: Anything blurry, hopelessly out of focus, or terribly exposed. These are the low-hanging fruit—get 'em gone.
- Duplicate Shots: Did you take 10 photos of the same sunset, hoping one would be perfect? Pick the single best one and ditch the rest. Be honest with yourself; you don't need five nearly identical pictures.
- Accidental Screenshots: We all have them. That screenshot of your phone's lock screen or a random app notification? Trash it.
- Closed Eyes & Awkward Faces: Unless it's a genuinely hilarious and memorable outtake, get rid of the group shots where the main person is blinking or making a weird face.
Sometimes, a technically imperfect photo—maybe it's a little blurry or has faded colors—holds immense sentimental value. For these special cases, it might be worth exploring how an online service can bring it back to life by sharpening details or fixing colors. You can learn more about photo restoration online to see if it’s a good option for rescuing some of those older, cherished memories.
After you've gone through this process, you can confidently delete everything left behind in the _Photos_To_Sort folder. Now, the curated images in your _Keepers folder are ready for the final steps: renaming and organizing them into your permanent library.
Developing a Smart Renaming and Tagging System
A logical folder structure is a great start, but the real magic happens when you make individual photos searchable. Let's be honest, default filenames like IMG_4821.JPG or DSC_0599.NEF are completely useless. They tell you nothing about what's in the picture, forcing you to rely on folders or your own memory.
By adopting a consistent naming convention, you turn every photo into a tiny, self-contained piece of data. This means that even if a photo gets accidentally dragged out of its folder, the filename alone tells you what it is and when it was taken. It's a simple step that future-proofs your entire collection.
Crafting a Powerful Naming Convention
The best naming convention is one that's both descriptive and automatically sortable. The goal is to let your computer do the heavy lifting for you. The pattern that works flawlessly is: YYYY-MM-DD_Event-Description_###.jpg
Let's break down why this is so effective:
- YYYY-MM-DD: Starting with the date in this specific format (year, month, day) forces every file to sort chronologically by default.
- Event-Description: This is where you add the story. Use short, descriptive keywords separated by hyphens. Think
Davids-5th-BirthdayorItaly-Vacation-Rome. - ###: A sequential number (like 001, 002, 003) prevents filename conflicts and keeps them in the original shooting order.
A real-world example would turn a generic IMG_4821.JPG into 2024-07-26_Zion-National-Park-Hike_047.jpg. You instantly know the date, the place, and its spot in the sequence.
Tutorial: Batch Renaming in Windows/macOS
You don't need special software for simple renaming.
- Select all the photos from a single event.
- On Windows: Right-click the first file, choose "Rename," and type your new name (e.g.,
2024-03-10_Davids-Birthday_). Windows will automatically add a number like (1), (2) to each.- On macOS: Right-click the selected files, choose "Rename," select "Format" from the dropdown, and enter your
YYYY-MM-DD_Event-Description_as the Custom Format.
For more advanced control, free tools like Adobe Bridge or digiKam are excellent.
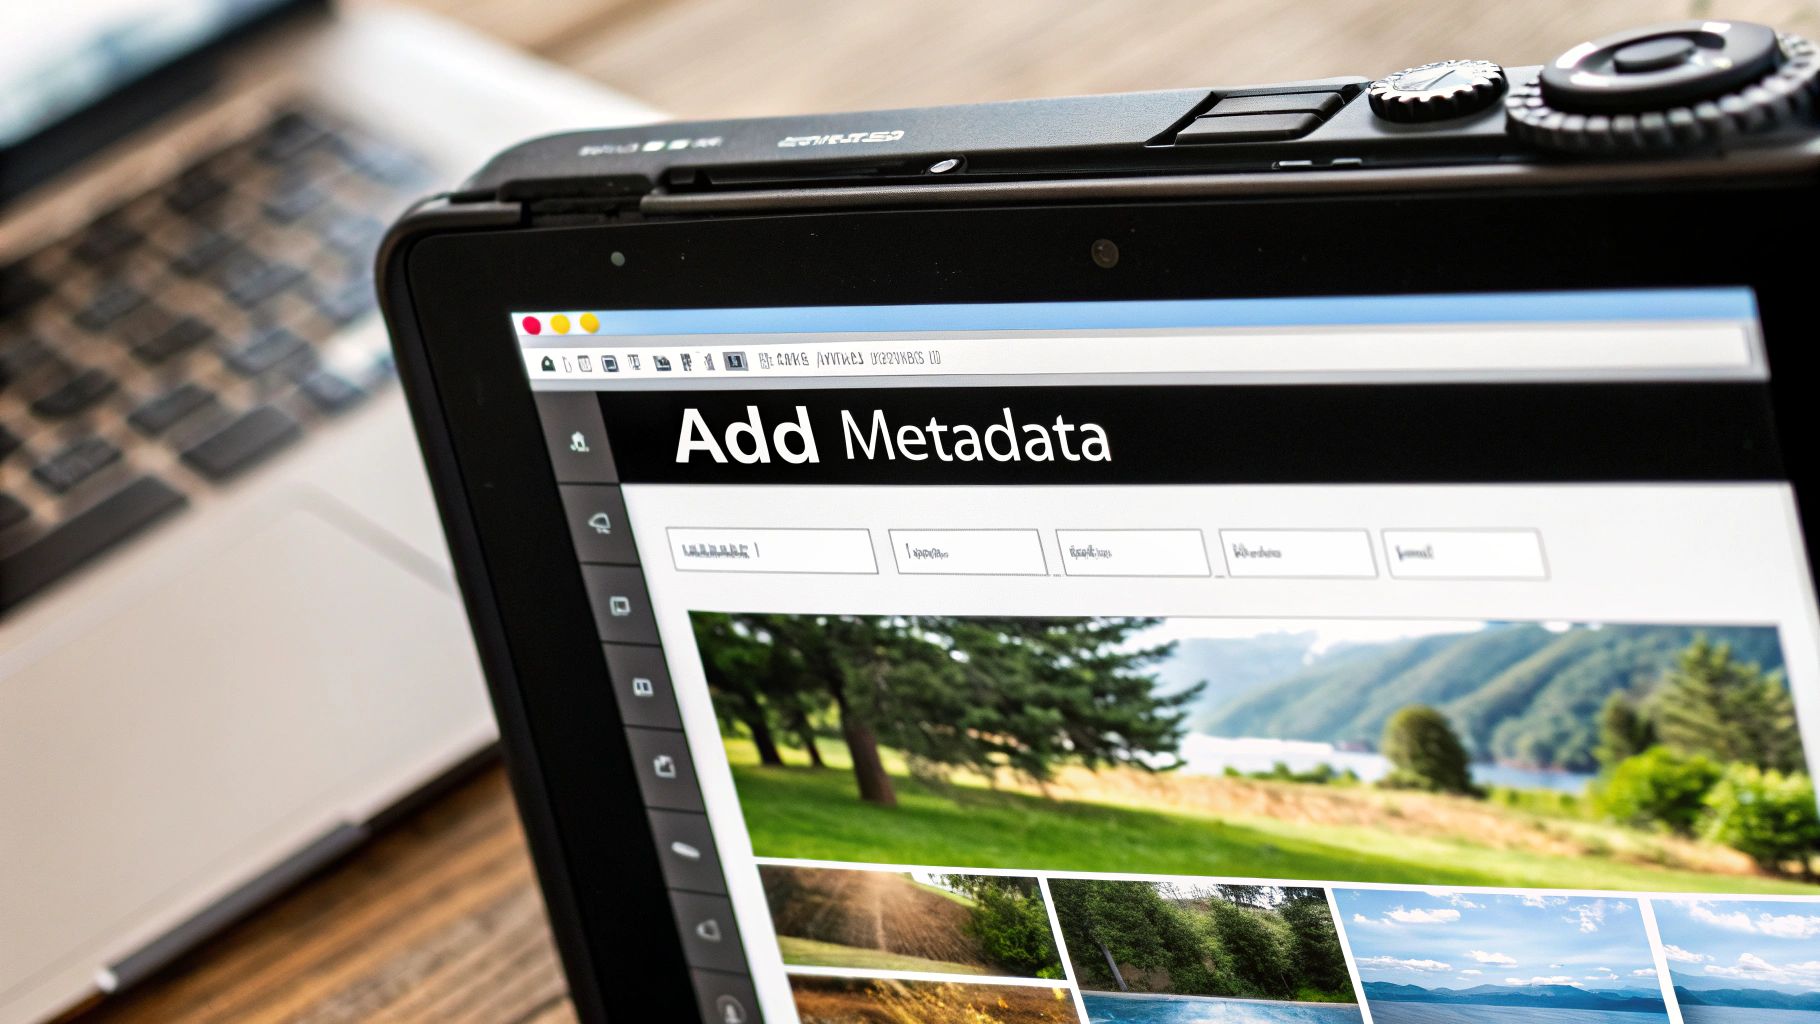
Going Deeper with Metadata and Keyword Tagging
While a great filename is a huge step forward, metadata is where you can add layers of rich, searchable detail. Think of metadata as invisible labels embedded directly into the photo file itself. This info travels with the photo wherever it goes, making your organization system permanent and portable.
You'll mainly deal with two types of metadata: EXIF (technical data your camera records) and IPTC (information you add, like keywords and captions).
This process flow shows how backups, a critical part of preservation, fit into a larger management strategy.
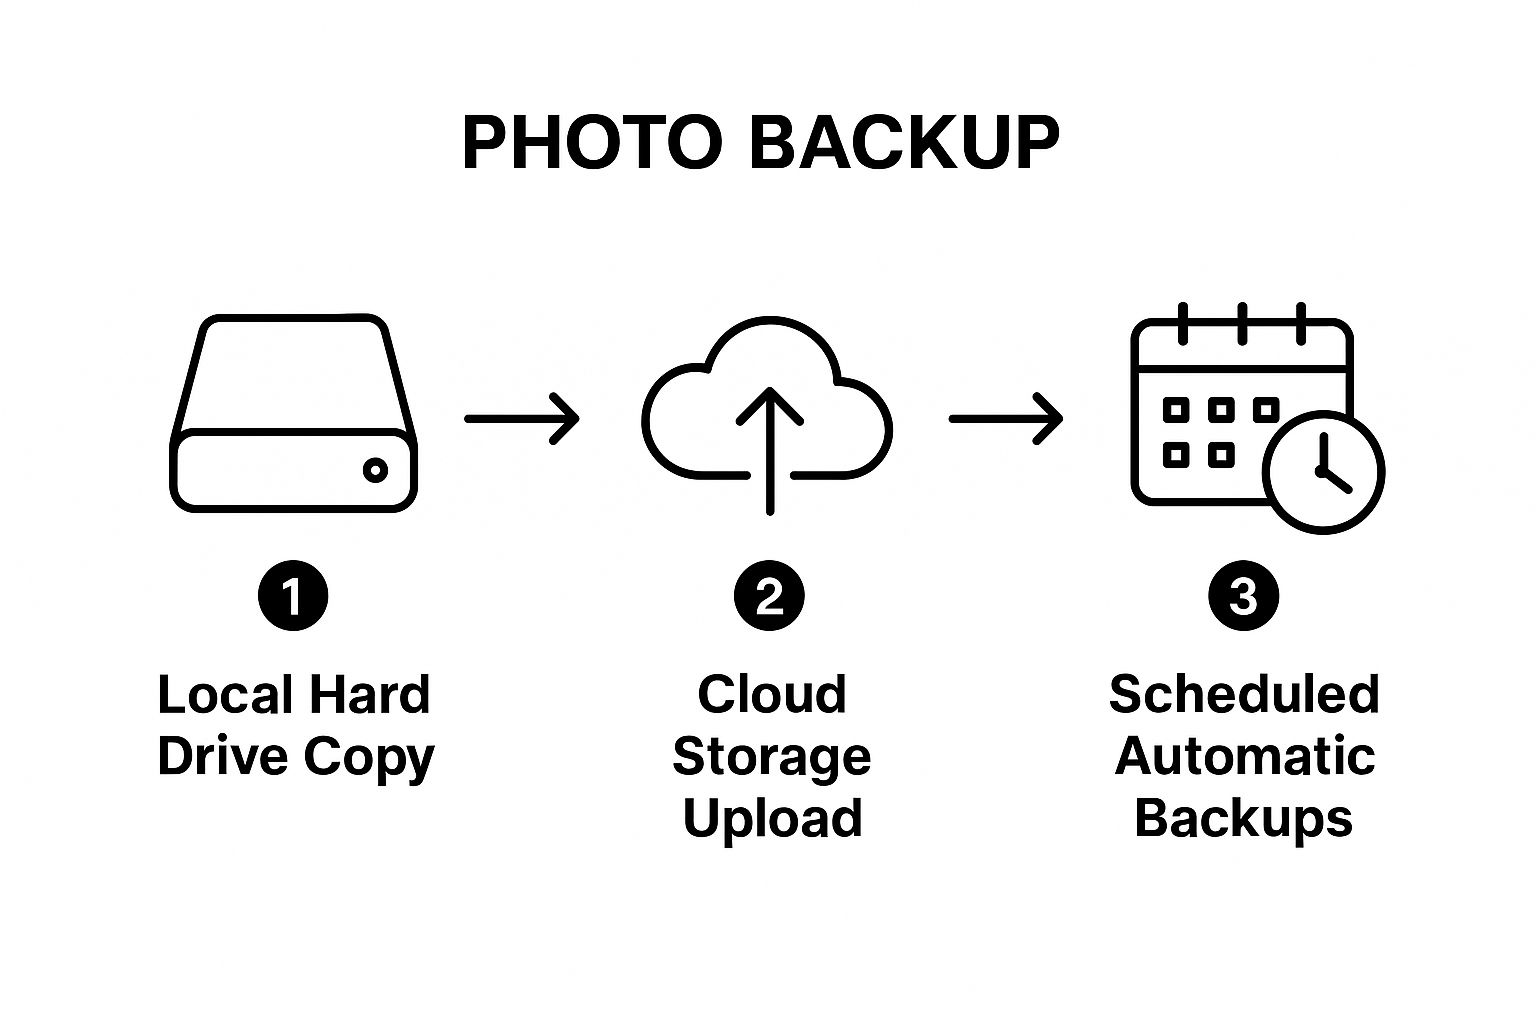
This visual drives home the point: your meticulously tagged photos are only truly safe when they're protected by a multi-layered backup process.
Step-by-step keyword tagging (Example in Windows File Explorer):
- Select a group of photos from the same event (e.g., your Hawaii trip).
- Right-click and select "Properties."
- Go to the "Details" tab.
- Find the "Tags" field and click to edit.
- Add your keywords, separated by semicolons:
Vacation; Hawaii; Family Trip 2024; Waikiki Beach; John Doe; Jane Doe - Click "Apply." Now, all those photos are tagged.
Months or even years from now, you could search your entire photo library for "Waikiki Beach," and every single one of those photos would pop up. This is how you make finding specific memories effortless. These same tagging principles are invaluable when you're working with old scanned photos, and enhancing old photographs can breathe new life into those preserved memories.
Implementing a Bulletproof Backup Strategy

An organized photo library is a beautiful thing, but it's also terrifyingly fragile. A single hard drive failure, a stolen laptop, or a house disaster could instantly wipe out your entire curated collection. This is why a solid backup strategy isn't just a good idea—it's an absolute necessity.
The gold standard in data protection is the 3-2-1 backup rule. It might sound a bit technical, but the concept is brilliantly simple and incredibly effective for keeping your photos safe.
Decoding the 3-2-1 Backup Rule
The rule gives you a clear, actionable framework to ensure your digital life can survive almost any catastrophe. Here’s how it breaks down for your photos:
- Three Copies: You need your primary photo library plus two complete backups.
- Two Different Media Types: Store these copies on at least two different devices (e.g., your computer's internal drive and an external hard drive).
- One Offsite Copy: At least one backup copy must be stored in a different physical location (e.g., a cloud service or a drive at a relative's house). This protects you from fire, flood, or theft.
A Practical Backup Plan in Action
So, how does this look in the real world? It's actually pretty straightforward.
Step-by-step 3-2-1 backup implementation:
- Copy 1 (Primary): This is the main photo library on your computer or primary external drive that you actively organize.
- Copy 2 (Local Backup): Purchase a second external hard drive. Use your computer's built-in software (Time Machine on Mac, File History on Windows) to automatically back up your primary photo library to this drive. Keep it connected at your desk for easy, frequent backups.
- Copy 3 (Offsite Backup): Sign up for a cloud backup service like Backblaze. Install their software and point it to your primary photo library folder. It will run in the background, automatically uploading your photos to the cloud. This is your "set it and forget it" disaster recovery plan.
Your local backup on an external drive is for convenience and quick restores. Your offsite cloud backup is for true peace of mind, protecting you from the absolute worst-case scenarios.
This hybrid approach, mixing a local drive with cloud storage, gives you the best of both worlds: speed and security. And as we all take more and more high-resolution photos and videos, this becomes even more critical. It’s projected that by 2025, the world will be storing a staggering 175 zettabytes of data.
Many of our most precious photos, especially old family pictures, are one-of-a-kind. When you scan and add these to your digital library, remember to learn how to preserve old photos to protect both the physical prints and their new digital versions. By following the 3-2-1 rule, you ensure that these priceless memories, once digitized, are truly safe for generations to come.
A Few Common Questions Answered
Even with the best game plan, a big photo organization project will throw a few curveballs your way. It's totally normal. Here are some quick answers to the questions I hear most often, designed to help you push through those moments when you feel stuck.
What’s the Best Software to Organize My Digital Photos?
Honestly, there's no single "best" tool for everyone. The right choice comes down to what you personally need to accomplish.
For most folks who just want easy, cloud-based access with some seriously smart searching features, Google Photos is a fantastic place to start. If you're more of a serious hobbyist or pro who needs top-tier editing power alongside deep tagging and metadata controls, then Adobe Lightroom Classic is still the industry gold standard. And if you want a powerful, totally free option that gives you complete control over your files on your own hard drives, check out digiKam—it’s a surprisingly robust open-source tool.
The real question is: what's your main goal? If it's all about easily sharing photos with family, a cloud service is your friend. If professional-grade editing is the priority, a desktop application is almost certainly the way to go.
How Should I Handle Photos on My Phone vs. My Computer?
The trick here is to create one unified system with a single source of truth. The first step is to designate one place—either your computer's main drive or a dedicated external hard drive—as the official "home" for your entire photo library.
Next, use an automatic syncing service like iCloud Photos, Google Photos, or Dropbox Camera Uploads. This gets photos off your phone and safely into the cloud without you having to think about it. Then, just set a simple reminder for yourself—maybe once a month—to move all those newly synced photos from their cloud folder over to your main library. This is when you'll do the real work of culling, renaming, and filing them properly.
This two-step workflow accomplishes a couple of crucial things:
- It stops your phone's camera roll from turning into a chaotic, overflowing junk drawer.
- It keeps your primary, curated photo library clean and consistently organized according to your own rules.
Is It Really Worth It to Go Back and Organize Old Photos?
Yes, absolutely! But the secret is to not even think about doing it all at once. Trying to tackle a decade of digital memories in a single weekend is the fastest way to burn out and give up.
Instead, break the massive project into tiny, achievable pieces. A great way to start is with your most recent photos and just work your way backward year by year. Or, you could pick a single, important event—like a specific wedding, a big family vacation, or your kid's first year—and just focus on organizing that one folder.
That feeling of accomplishment you get from wrangling even one meaningful set of photos will give you the momentum to keep going.
Progress, not perfection, is the goal here. Every single folder you organize is a win that makes your entire collection more accessible and enjoyable for years to come.
Speaking of accessibility, it’s impossible to ignore the role of the cloud in modern photo management. With user numbers projected to hit 2.3 billion by 2025, cloud storage is no longer just for backing up files; it’s a central part of how we organize our lives. In fact, Google Drive is already used by an incredible 94% of consumers, showing just how much we rely on these integrated solutions. You can dive deeper into personal cloud storage trends to see how they're actively shaping the future of photo organization.
Ready to breathe new life into your old photos or create something completely new? AI Photo HQ offers professional-grade photo restoration and a full suite of powerful AI image generation tools. Restore faded family treasures or design stunning, unique visuals in just seconds. Check out AI Photo HQ and start your creative journey today.

