Your LinkedIn profile picture is your digital handshake. It’s the very first impression you’ll make on recruiters, potential clients, and future colleagues. Using AI to create a sharp, professional headshot is a game-changer—it lets you project confidence and build a powerful personal brand without the hassle and cost of a traditional photoshoot.
Why Your LinkedIn Profile Needs a Modern Headshot
In a sea of professionals, a high-quality photo makes you stand out instantly. It’s so much more than just a picture; it's a strategic move that communicates competence and approachability before anyone even reads your job title. A blurry selfie or an old, pixelated photo? That can accidentally signal a lack of attention to detail.
On the flip side, a crisp, modern headshot reinforces your professional identity. With linkedin ai headshots, you get to be the art director of your own first impression. You can dial in the specific styles, outfits, and backgrounds that perfectly match your industry and where you want to go in your career.
Project Confidence and Credibility
A great headshot doesn't just show what you look like—it tells a story about your professional persona. Are you a creative director? Maybe an approachable, warm photo is the right call. Work in finance? A sharp, corporate style can project authority and trust. AI gives you the tools to craft that narrative with incredible precision.
A professional photo isn't just an accessory; it’s a core component of your digital reputation. It’s the visual handshake that can open doors to new opportunities.
The data backs this up. Profiles with professional photos get way more engagement. In fact, posts that include images get double the interaction of text-only content. Considering that a massive 85% of B2B leads from social media come from LinkedIn, your headshot becomes a non-negotiable business asset.
Understanding the true value of LinkedIn really drives home why a polished profile—starting with that all-important headshot—is so critical for career growth.
Step 1: Prep Your Photos for Flawless AI Results
Here's a little industry secret: the magic of a great AI headshot isn't just in the algorithm. It all starts with the photos you provide. Think of it like this—you're giving a world-class portrait artist their reference material. The better the references, the more the final piece will actually look like you.
Your main goal is to upload a varied collection of clear, well-lit images that give the AI a complete picture of your features. The best linkedin ai headshots come from a diverse set. You’ll want to aim for somewhere between 10 to 20 photos.
A Quick Tutorial for Gathering Your Source Photos
Follow these steps to build a strong collection of images for the AI to learn from:
- Find Your Best Light: Stand facing a window to get soft, natural light on your face. This avoids harsh shadows that can alter your features.
- Use a Simple Background: Take photos against a plain wall. This helps the AI focus only on you, without any distracting elements in the background.
- Vary Your Angles: Take a few photos from straight on, a few with your head turned slightly to the left, and a few turned slightly to the right. Include some chest-up shots and some closer-up selfies.
- Mix Your Expressions: Don't use 10 photos of the same smile. Capture a range: a natural smile, a closed-mouth smile, a more serious or thoughtful expression, and a neutral look.
- Check for Clarity: As you select photos from your camera roll, zoom in on your face. If it looks blurry or pixelated, don't use it. Only high-resolution photos will produce sharp AI headshots.
Source Photo Do's and Don'ts Checklist
Use this table as a final check before you upload your images.
| Guideline | Do This (Example) | Don't Do This (Example) |
|---|---|---|
| Variety | Use photos with different expressions, angles, and backgrounds. | Upload 10 photos that are all nearly identical selfies. |
| Lighting | Face a window for soft, even, natural light on your face. | Take photos in a dark room or with harsh overhead lighting. |
| Clarity | Select crisp, in-focus images where your features are sharp. | Use blurry, low-resolution, or pixelated photos. |
| Obstructions | Ensure your full face is visible, with no sunglasses or hats. | Use a photo where your hand, a shadow, or hair covers your face. |
| Background | Choose photos with simple, neutral backgrounds like a plain wall. | Use busy backgrounds that distract from your face. |
| Angle | Take photos straight on at eye-level for a natural look. | Use photos taken from extreme high or low angles. |
Getting these basics right will make a massive difference in the quality of your final headshots.
Key Takeaway: The most successful AI headshots are born from high-quality, varied source photos. A little prep work here makes a massive difference in how authentic and polished your final images will look.
And while you're prepping, thinking about your overall look can also help. A few simple makeup tips for your photos can enhance your features for the camera. It’s a similar principle to other AI tools, where good input is crucial; for example, knowing how to write a good prompt for AI text-to-image generation makes all the difference. Follow these guidelines, and you'll give the AI everything it needs to create a headshot that looks genuinely, professionally, you.
Step 2: Generating Your Headshots - A How-To Guide
Alright, let's get into the fun part—actually creating your new professional headshot. This isn't about being a tech whiz; it’s more about making a few smart choices that align with your professional brand.
Here is a typical step-by-step process for using an AI headshot generator:
- Upload Your Photos: Start by uploading the 10-20 source images you prepared in the previous step.
- Select Your Style: This is the most important decision. The platform will present you with style categories. Choose one that aligns with your profession. For example, select 'Corporate' for a formal look or 'Creative' for something more artistic.
- Customize the Details: Fine-tune your selection. This is where you can specify background color, lighting, and general outfit choices.
- Generate the Images: Click the 'Generate' button and let the AI work its magic. This may take a few minutes as it processes your photos and creates the new images.
Choosing Your Professional Style: Practical Examples
Take a moment to think about your industry and the vibe you want to give off.
- For the Finance Professional: Select a 'Corporate' or 'Executive' style. Customize it by choosing a 'Blurred Office' or 'Solid Grey' background. This will generate clean, sharp images of you in business attire, projecting authority and trust.
- For the Marketing or Tech Professional: A 'Business Casual' style is a perfect fit. You might select a 'Modern Office' or 'Outdoor Urban' background to convey an approachable yet professional persona.
- For the Creative Professional (e.g., Designer, Artist): Opt for a 'Creative' or 'Candid' style. Experiment with 'Studio Lighting' against a 'Black' or 'Textured' background to create a more dynamic and artistic portrait.
The goal is to create an image that feels authentic to both you and your career path. The right style choice ensures your headshot communicates professionalism without feeling generic or out of place.
The AI headshot generator market has exploded, becoming worth over $200 million by late 2024 and is on track to hit over $350 million by the end of 2025. This incredible growth is all thanks to powerful deep learning that makes these customizations look so realistic. The evolution of artificial intelligence in photography has truly made these tools more powerful and accessible than ever before.
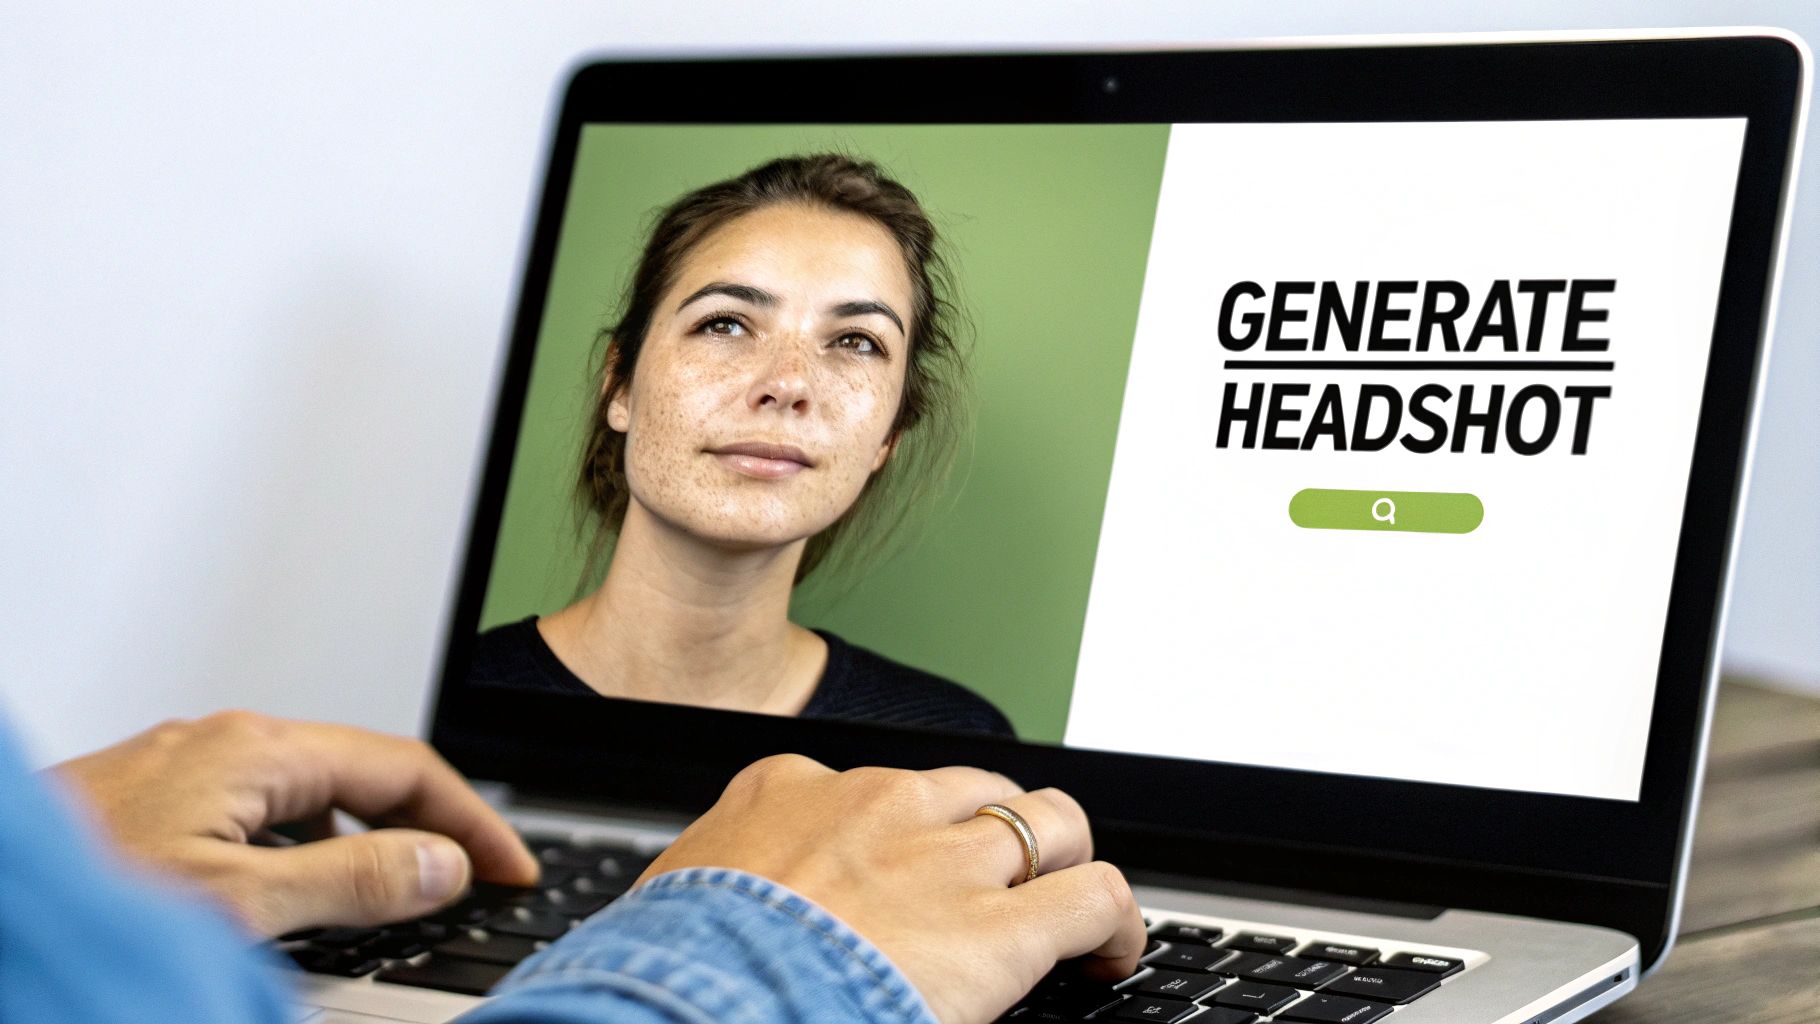
This image gives you a quick visual of the workflow to get the best results.
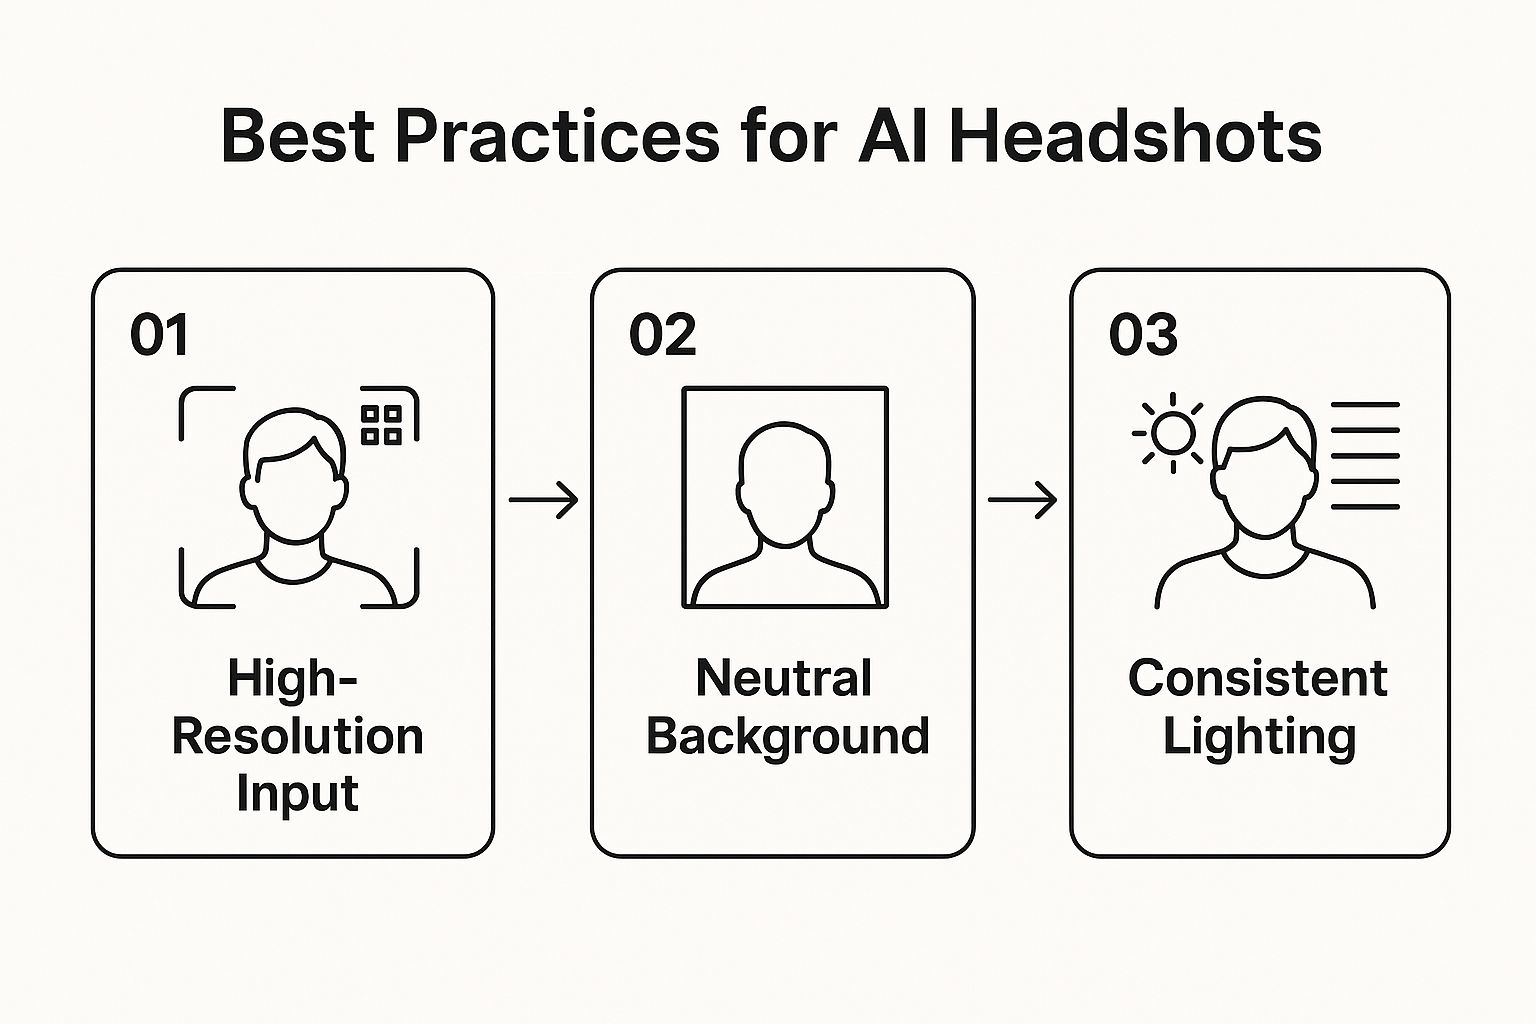
As you can see, a great result really comes down to the quality of what you put in. If you start with clear source photos and are thoughtful about your style choices, you're essentially steering the AI toward creating a headshot that genuinely represents you.
Step 3: Picking and Polishing Your Best AI Headshot
Alright, the AI has worked its magic, and now you're staring at a screen full of LinkedIn AI headshots. It's easy to feel a bit lost in a sea of options, but finding the perfect one just takes a methodical eye.
The absolute first thing you need to ask is: "Does this actually look like me?" Seriously. Before you get wowed by the sharp suit or perfect lighting, zoom in on your core facial features—your eyes, nose, smile. AI can sometimes take tiny liberties, so if you don't instantly recognize yourself, that one's out.
Your Essential Quality Checklist: A Step-by-Step Review
Once you've shortlisted the images that look like you, it's time to play detective. Follow this process to find the most flawless option:
- Check the Eyes and Teeth: Open each image and zoom in. Do the eyes look symmetrical and natural? Are the teeth realistic, or do they look unnaturally white and perfect? Discard any that look strange.
- Inspect Hands and Fingers: If any hands are visible, count the fingers. This is a classic AI error. Look for distorted or missing digits.
- Scan the Background: Look closely at the background behind you. Are there any warped lines, blurry patches where there shouldn't be, or strange objects? A clean background is your safest choice.
- Examine Clothing and Accessories: Check the details on your clothing. Is the collar of your shirt symmetrical? Does a necklace or tie look correct? Minor artifacts can sometimes appear here.
The goal isn’t just finding a photo where you look great. It's finding the one that looks both authentic and technically flawless. That's the sweet spot.
After this final inspection, you should be left with a handful of solid contenders. From here, don't be afraid to make minor tweaks. A simple crop to get the framing just right or a small adjustment to brightness or contrast can make all the difference. Just keep it simple—the goal is a light touch-up, not a full-blown photo-editing session.
Step 4: How to Upload Your Headshot to LinkedIn
Alright, you’ve got the perfect headshot from the AI generator. Now for the final, crucial step: getting it on your LinkedIn profile without losing any of that professional polish.
Follow this tutorial to upload your photo correctly:
- Go to Your Profile: Navigate to your LinkedIn profile page and click on your current profile picture.
- Select 'Add Photo' or 'Change Photo': A pop-up window will appear. Choose to upload a new photo.
- Choose Your File: Select the headshot you finalized. Ensure it is a JPG or PNG file under 8MB and at least 400x400 pixels to avoid blurriness.
- Position and Crop: Use the built-in editor to adjust your photo. Drag the image to center your face. Use the zoom slider to frame yourself from the shoulders up, leaving a little space above your head.
- Apply Filters (Optional): LinkedIn offers basic filters. It's usually best to skip these if your AI headshot is already polished, but a subtle brightness adjustment can sometimes help.
- Click 'Save Photo': Once you are happy with the framing, save the image. Your network will be notified that you've updated your picture.
- Create a Post: Leverage the update by creating a quick post. Something simple like, "Excited to share a new, professional look! #AI #ProfessionalBranding" can boost your visibility.
It's no surprise that tools like these are getting so good. The generative AI market that fuels them is absolutely exploding. In fact, spending is projected to hit an incredible $644 billion in 2025. It just shows how essential AI is becoming for personal and professional branding. You can dive deeper into these key generative AI statistics on Sequencr.ai.
And if you want to give your photo one last bit of sparkle before uploading, check out our guide on AI image enhancement in our detailed guide.
Got Questions About AI Headshots? We've Got Answers
Stepping into the world of LinkedIn AI headshots for the first time usually brings up a few questions. I hear the same ones all the time from professionals, so let's get them answered right now.
How Many Photos Should I Upload?
This is probably the number one question I get. The sweet spot is somewhere between 10 to 20 high-quality photos. But honestly, it's less about hitting a magic number and more about giving the AI a good mix to learn from.
Think variety. You'll want to include photos from different angles, with a few different genuine expressions, and in various lighting conditions. This variety is what gives the AI a complete picture of your facial structure, which is absolutely crucial for getting a realistic result that actually looks like you.
Will My Headshot Look Fake?
The "will it look fake?" concern is a big one, and it's totally valid. Nobody wants a headshot that screams "AI-generated." The good news is that today's technology can produce results that are virtually indistinguishable from a professional studio photo.
The secret weapon here? It's all in the quality of the source photos you provide.
The goal of an AI headshot isn't to create a different person—it's to capture you on your best professional day. Clear source images are the foundation for a result that is both flattering and authentic.
If you feed the generator clear, well-lit pictures without heavy shadows, sunglasses, or blurry spots, you're setting it up for success. My advice is to resist the urge to use old or heavily filtered photos, as that just muddies the waters for the AI.
Are the Paid Tools Really Worth It?
Finally, let's talk about cost. You'll see free tools out there, but for a professional headshot, a paid generator is almost always the right move. I've seen too many people disappointed by the limitations of free options.
Free tools often saddle you with things like:
- Big, distracting watermarks right on your image.
- Low-resolution downloads that look fuzzy on a LinkedIn profile.
- A tiny handful of generic, uninspired styles.
- Almost no control over backgrounds or what you're "wearing."
When you think about it, a traditional photographer can easily set you back hundreds of dollars. A paid AI service is an incredibly affordable alternative that delivers a whole portfolio of high-res, versatile images you can use everywhere. You get a powerful tool that elevates your brand instantly, and the value you get blows the small price tag out of the water.
Ready to create a professional headshot that makes an impact? AI Photo HQ gives you the tools to generate stunning, high-quality images in seconds. Start creating your perfect LinkedIn headshot today.

