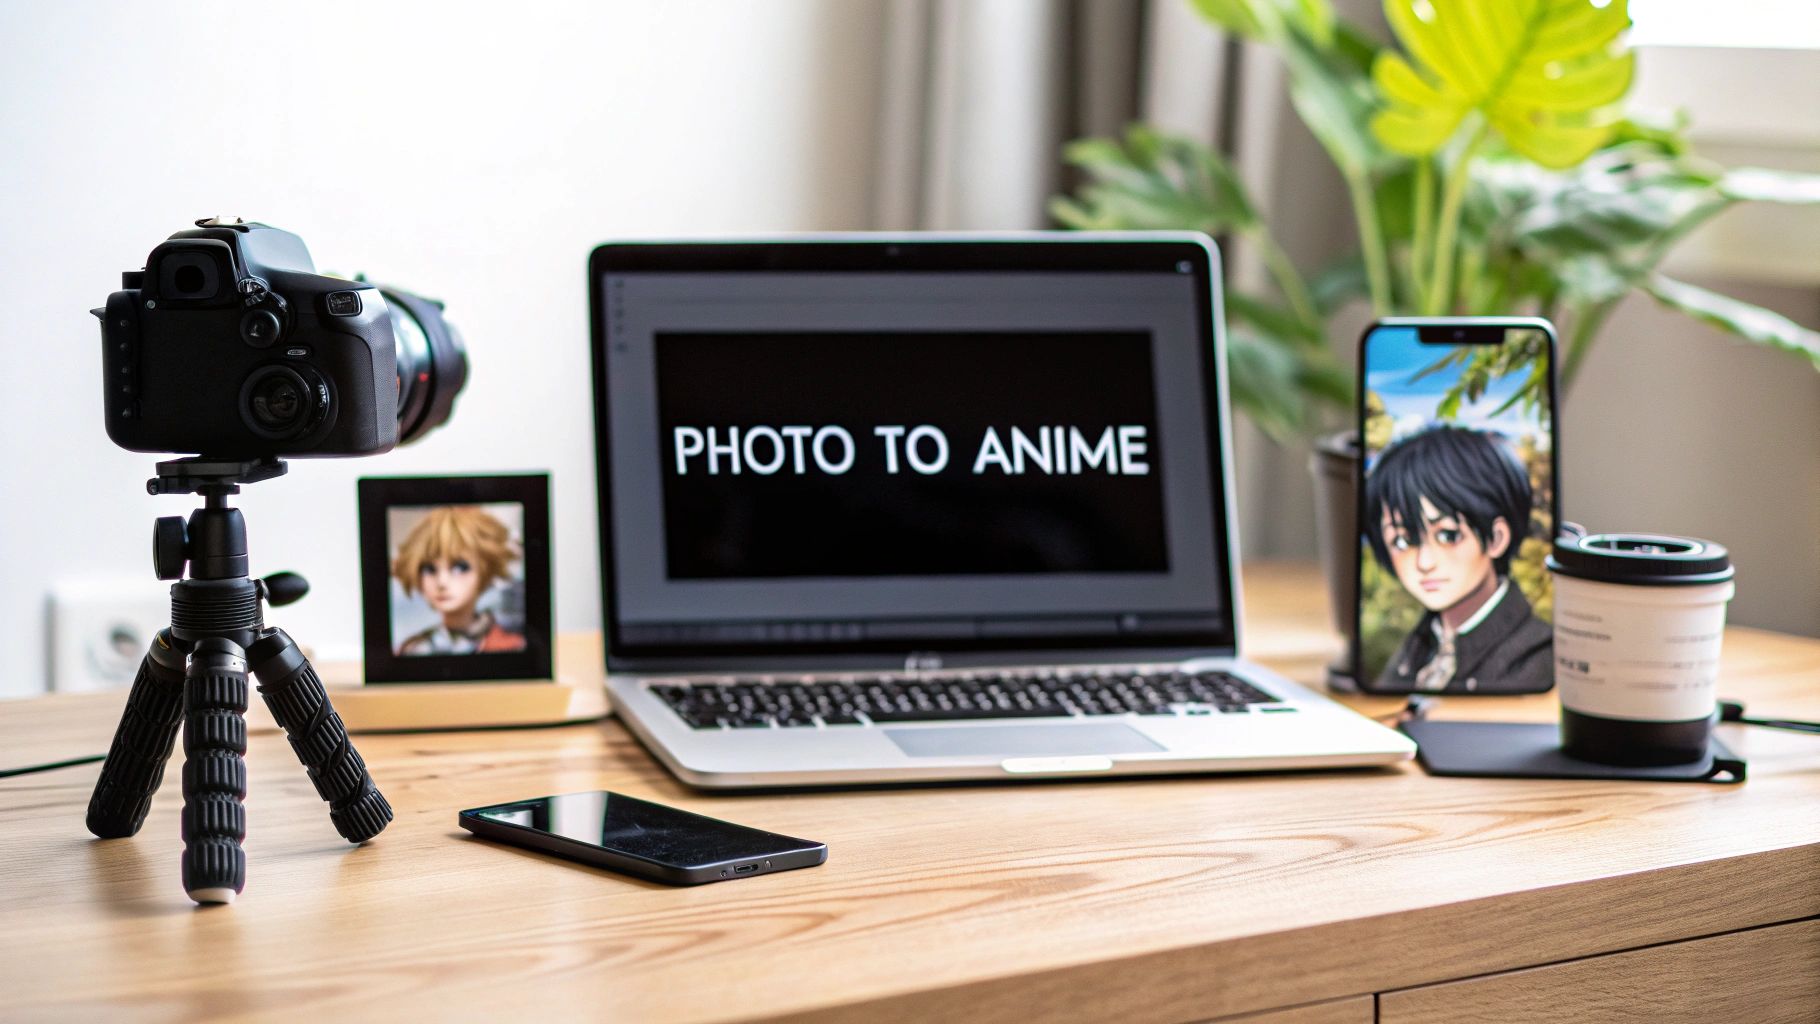
Ever wondered how to get that cool anime look for your photos? It's actually way easier than you'd imagine, all thanks to some clever AI. You can take a regular picture, pick an iconic anime style you love, and have a brand-new portrait ready to go in minutes. This guide will walk you through the exact steps to make your photo into anime, from choosing the right image to mastering advanced creative controls.
Your Guide To Anime Photo Transformation
Turning a photo of yourself into a piece of anime art is something anyone can do now. At its core, the process uses AI to look at the key parts of your picture—your face shape, hair, and even the stuff in the background—and then redraws it all in a specific art style. This isn't just slapping a filter on; the AI genuinely re-imagines your photo from the ground up.
The number of free online AI tools for this exploded between 2023 and 2025, mostly because the AI got smarter and the websites got much easier to use. Many of these web-based converters let you jump right in and turn a photo into anime without even signing up. You can find everything from the soft, painted feel of Studio Ghibli to the sharp, bold lines of modern manga. This simplicity has inspired millions of people to get creative, turning their selfies, pet pics, and even landscape shots into anime art.
Choosing Your Starting Style
Your first real decision is picking the anime aesthetic you're going for. This is a big one, because different styles will give you completely different outcomes. Choosing the right one is the key to getting a result you'll love.
You'll usually see a menu of options, kind of like this:

This just shows how much variety is out there, from bright and punchy styles to more classic, muted looks. Think of each option as a set of instructions that tells the AI how to handle your photo's colors, lines, and overall vibe.
Choosing Your Anime Art Style
To give you a better idea of what to pick, I've put together a quick comparison of some popular styles you'll find in most AI converters. This should help you match your photo to the perfect anime look.
| Anime Style | Key Characteristics | Best For |
|---|---|---|
| Shōnen (90s) | Dynamic poses, sharp lines, and vibrant colors. | Action shots or creating a heroic-looking character. |
| Studio Ghibli | Soft, painted backgrounds and expressive faces. | Dreamy, whimsical portraits and beautiful landscapes. |
| Webtoon | Clean digital lines, bright palettes, and simple shading. | Modern, shareable social media avatars and profile pictures. |
| Monochrome Manga | Black and white with detailed line work and screen tones. | Dramatic, high-contrast images with a classic comic book feel. |
Once you've got your new anime creation, you'll want to share it! To make sure your art gets the attention it deserves online, it helps to follow some general content creation best practices. This will help you get more eyes on your cool new profile picture or post.
Step-by-Step: Choosing The Right Photo For AI Conversion
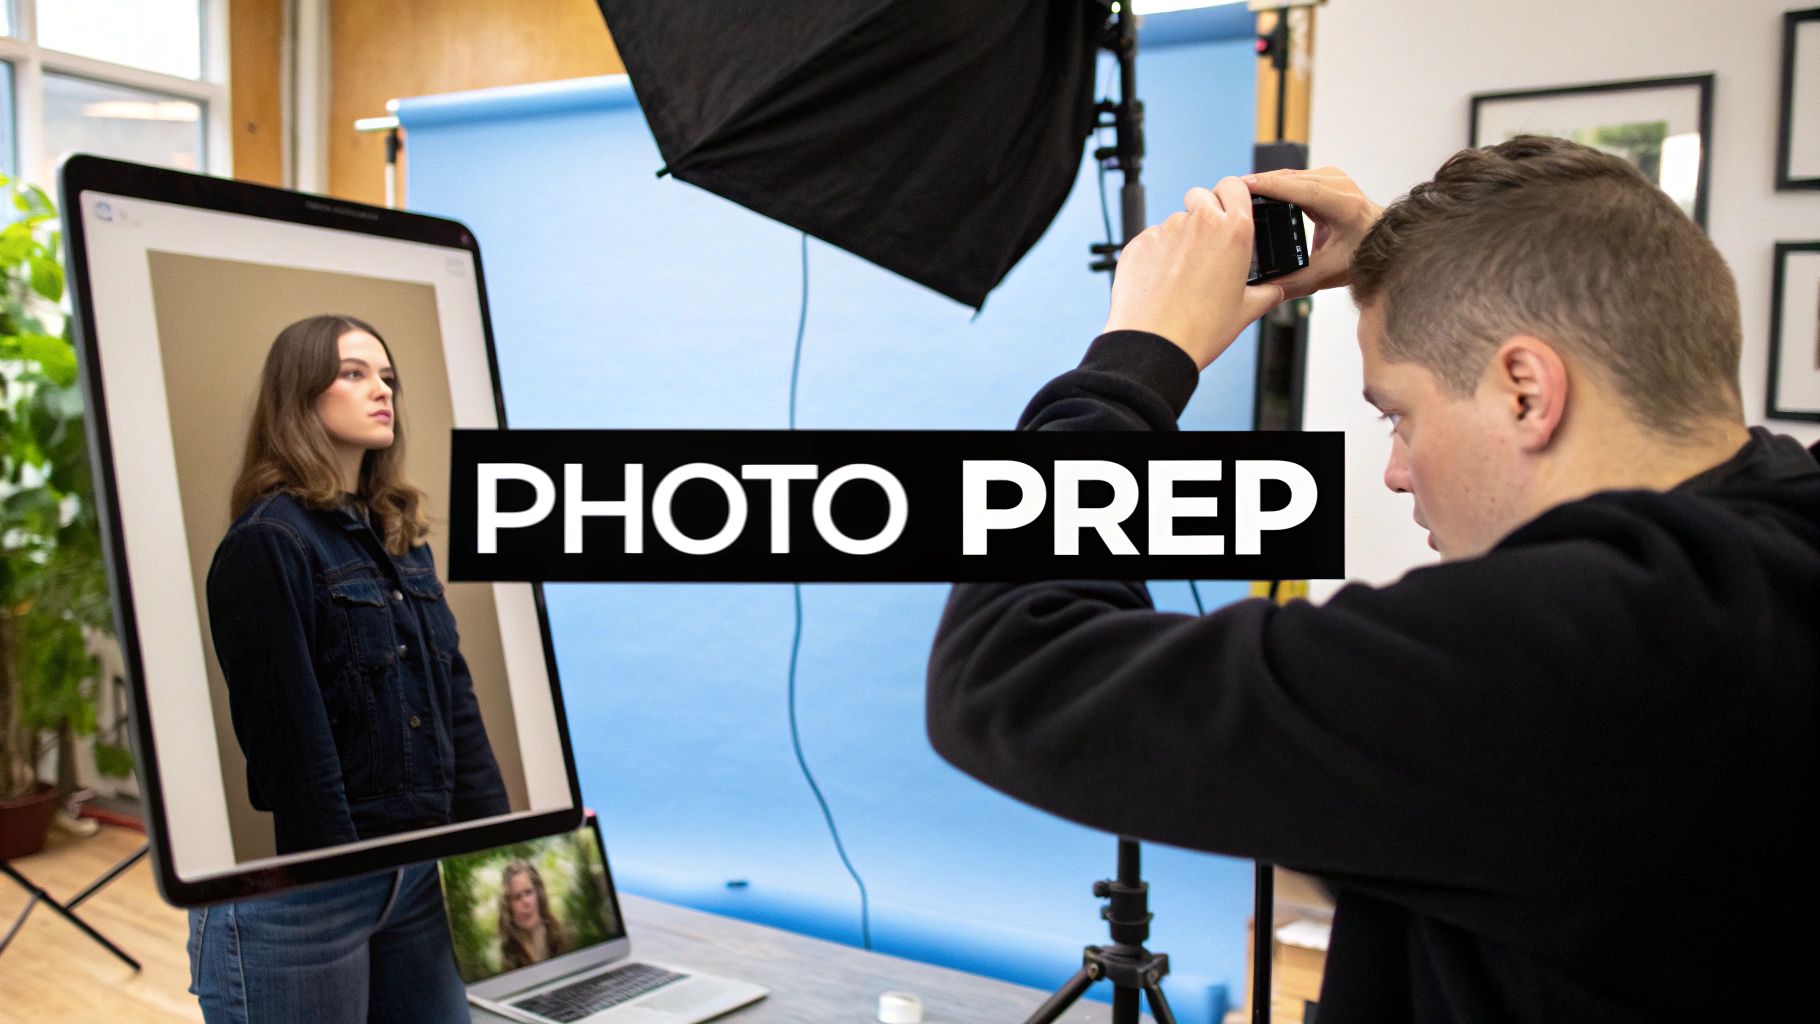
The secret to a jaw-dropping anime conversion isn't just about the AI—it starts with the photo you give it. To successfully make your photo into anime, you need to start with a strong, clear image. Let's walk through the steps to pick the perfect one.
Step 1: Prioritize Focus and Lighting
Select a photo where your face is well-lit and in sharp focus. AI models need to clearly see features like your eyes, nose, and mouth to reinterpret them properly in an anime style. A blurry or low-resolution picture will just confuse the AI, often leading to a muddy, distorted mess.
Step 2: Check the Background
Here's something a lot of people overlook: the background. A busy, cluttered background can distract the AI, causing it to pull random elements into your final character. To avoid this, use photos with simple or neutral backdrops—a plain wall or a clear sky works wonders. This simple trick forces the AI to concentrate on what's most important: transforming you.
The best source images are high-contrast portraits with unobstructed facial features. This gives the AI a clean canvas to work with, preserving your core likeness while applying the new artistic style.
Step 3: Make Small Pre-Upload Edits
Even a great photo can get a little boost. Before uploading, perform these quick tweaks:
- Crop: Frame your face better to guide the AI's focus.
- Adjust Brightness/Contrast: Make your features pop slightly to give the AI more defined lines to follow.
Comparing Good vs. Bad Source Photos
Let's break this down with a real-world comparison.
- A Good Photo: A close-up selfie taken in natural light, with a simple, uncluttered background. Your features are sharp, and the details are clear. This is the perfect recipe for a crisp, recognizable anime version of yourself.
- A Poor Photo: A picture of you in a dimly lit room, standing far from the camera with a bunch of other people. The AI will struggle to isolate your face and identify your features, likely spitting out a generic, low-quality result.
Getting this initial selection right is a huge part of what's known as AI style transfer. If you're curious about the tech behind it all, you can dive deeper in our complete guide to AI image style transfer. By taking a moment to pick the right photo, you’re giving the AI the best possible chance to create something genuinely amazing.
How to Turn Your Photo Into Anime: A Walkthrough
Alright, enough theory. Let's jump in and actually turn a photo into an anime masterpiece. The best way to learn is by doing. Here is a practical, step-by-step tutorial.
Most AI tools follow a similar 3-step process: you upload your picture, pick a style you like, and let the AI work its magic.
Here’s a quick visual breakdown of that journey from your original photo to your new anime portrait.
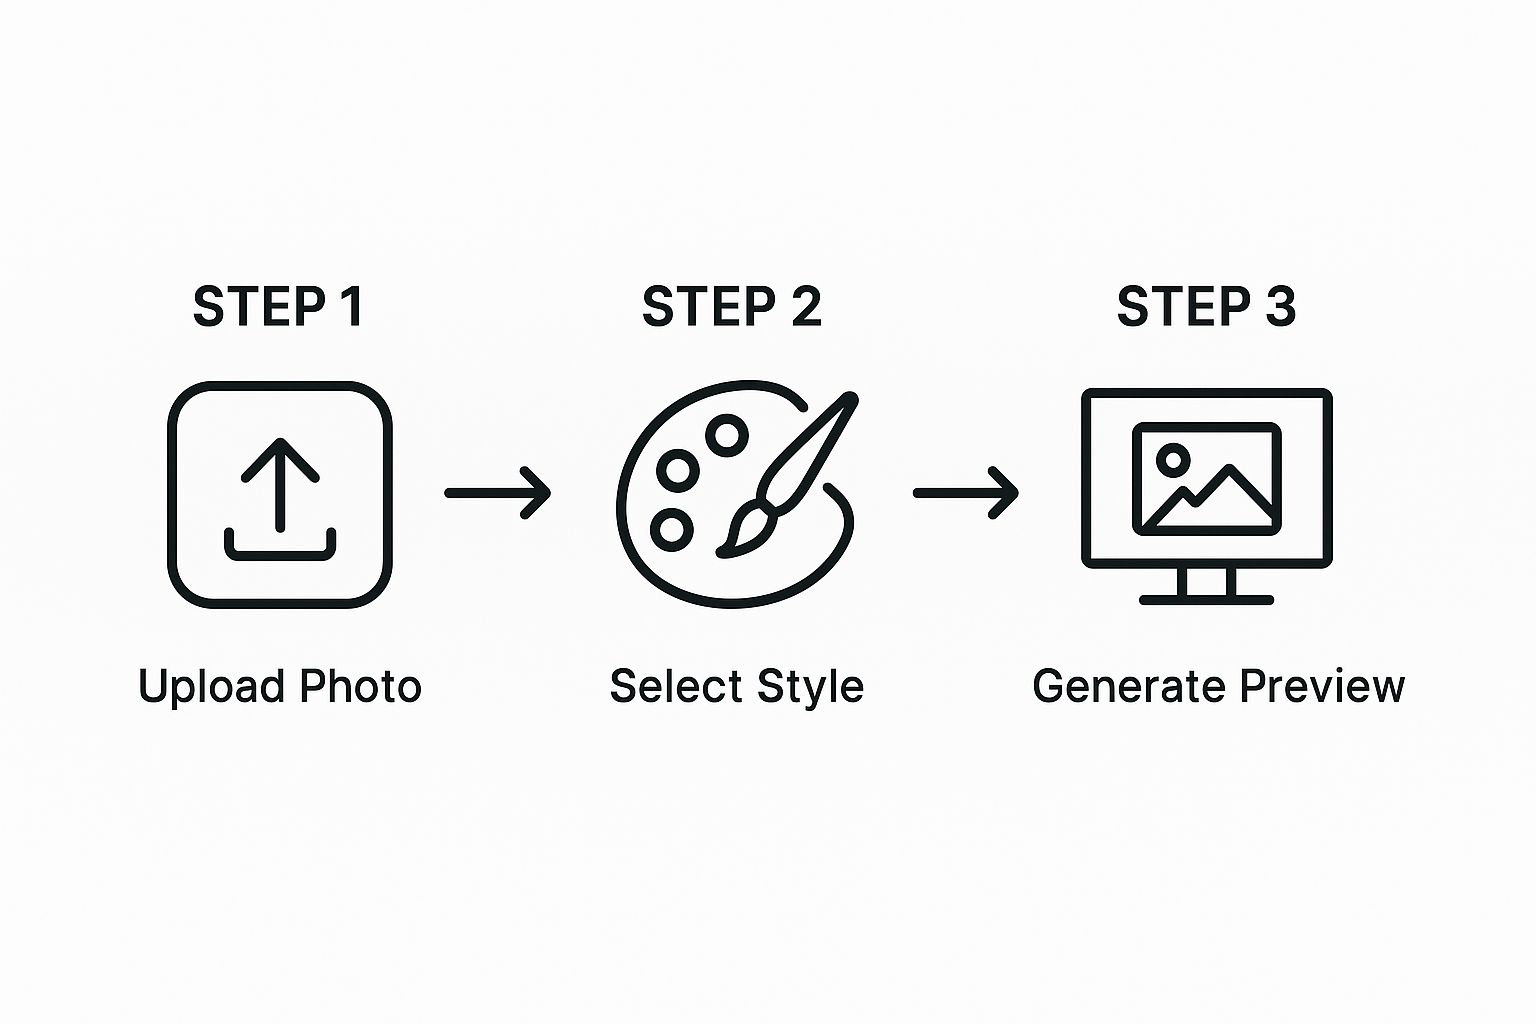
As you can see, it really is just three parts: getting your image in, choosing an art style, and then generating the final piece. This simplicity is what makes these tools so fun to use.
Your Creative Dashboard
Once your photo is uploaded, you'll land on the main editor screen. This is your personal art studio. It’s where you’ll guide the AI to create the look you're going for.
Step 1: Upload Your Photo
Select the high-quality portrait you picked out earlier. The tool will drop it right into the editor for you.
Step 2: Experiment with Styles
You will typically see your original photo next to a gallery of different anime styles. The fun starts when you click through them. Are you feeling a classic '90s vibe or something more like a modern, crisp Webtoon? Click on a few and watch your picture transform in real time.
Don't just think of these styles as simple filters. Each one is like a different artist interpreting your photo. They all have a unique take on line work, color, and overall mood.
Dialing in the Details
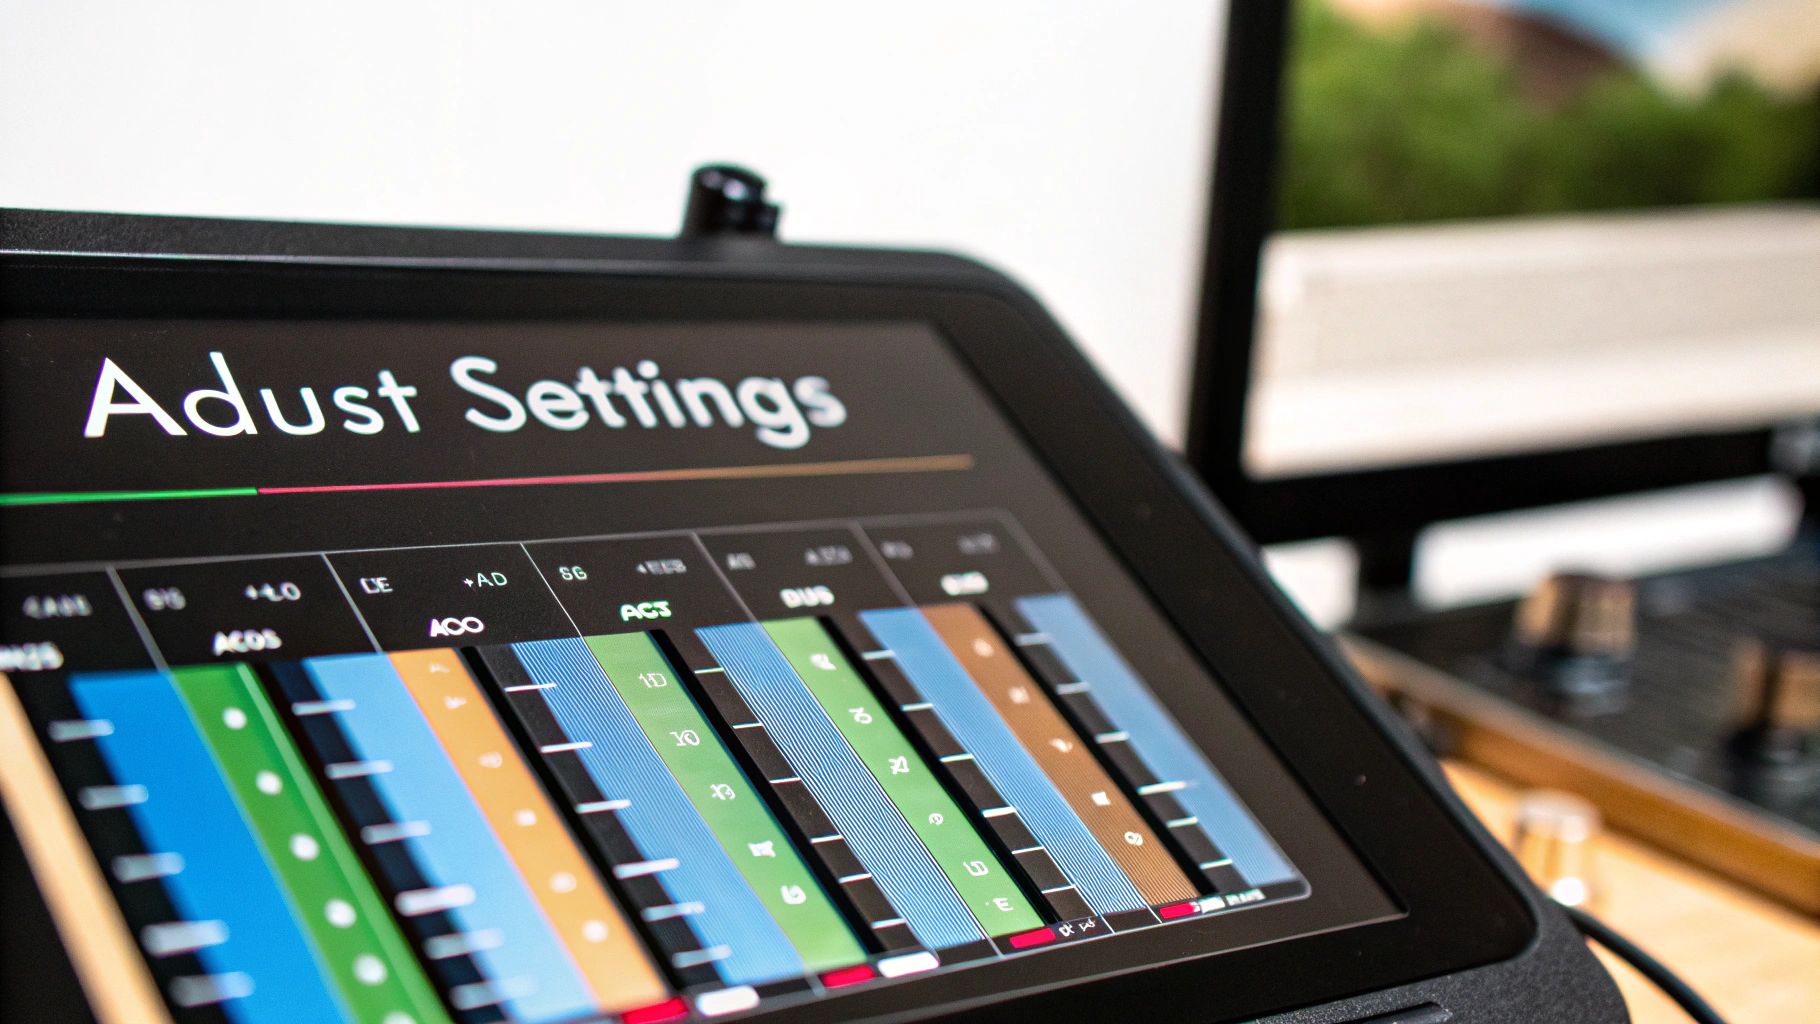
Step 3: Fine-Tune the Transformation
After picking a base style, many tools give you more control. Look for a "style intensity" or "strength" slider. This is where you can really perfect the result.
- For a subtle effect: Set the intensity low. This keeps your original photo’s features front and center, adding just a touch of anime flair.
- For a dramatic effect: Crank the intensity high. The AI will take major creative liberties, leaning heavily into the chosen anime style for a much more artistic result.
Seriously, don't be afraid to just play around. Generate a bunch of different versions. Tweak the intensity, try out styles you wouldn't normally pick. Sometimes the most surprising combination creates the best image.
If you want an even deeper dive, we've got more tips in our guide on how to transform a picture into anime. By getting comfortable with these simple controls, you stop just following steps and start directing the AI like a pro.
Using Advanced Prompts For Creative Control
While pre-set styles are a fantastic start, the real creativity begins when you use text prompts. Taking control with prompts lets you make your photo into anime with the exact details you've imagined. This is how you create something genuinely one-of-a-kind.
A Practical Example: Adding Creative Elements
Let's say you have a basic portrait and want to give it a fantasy twist. Instead of just clicking a "fantasy" style button, you can give the AI direct instructions.
Here’s how to do it step-by-step:
- Upload Your Photo: Start with your standard close-up selfie.
- Select a Base Style: Choose a general style you like (e.g., "Manga" or "Fantasy Art").
- Write Your Prompt: In the text prompt box, describe the new elements you want. For instance, type:
wearing steampunk goggles, brass and leather details. - Generate: The AI will now redraw your portrait in the chosen style, skillfully adding the custom steampunk accessory right onto your anime character.
Here’s another example:
- Original Photo: A snapshot of your dog in the backyard.
- Prompt:
as a magical beast, glowing blue eyes, small horns - Result: Suddenly, your furry friend is reimagined as a mystical creature, ready for an adventure.
The trick is to be descriptive. The more detail you feed the AI, the closer it gets to your vision. If you really want to get good at this, we've put together a full guide on how to write effective AI prompts.
How to Use Negative Prompts To Refine Your Image
Just as you tell the AI what you want, you also need to tell it what you don't want. That’s where negative prompts come in. This is simply a list of things you want the AI to avoid.
Example Tutorial: Cleaning Up an Image
- Generate an image and notice it has weird, six-fingered hands.
- Locate the "Negative Prompt" box.
- Type in keywords to exclude, such as:
mutated hands, extra fingers, blurry background, poorly drawn face. - Regenerate the image. The AI will now try to create the image again while actively avoiding those unwanted elements.
Negative prompts are your quality control tool. Use them to remove undesirable artifacts for a more polished and professional-looking result.
This level of control is only possible because of incredibly accurate AI models. The best tools out there can hit a style transfer accuracy of around 94%, which means the final image feels authentic. They also manage to preserve 98% of your original photo's composition, so the person in the anime version is still recognizably you. You can see some of these impressive AI capabilities on komiko.app for yourself.
Final Touches: How to Prepare Your Anime Photo for Social Media
Alright, you've turned your photo into a killer anime-style image. So, what's next? Getting it ready for the world to see. Here’s a quick tutorial on prepping it for the spotlight.
Step 1: Resize for the Right Platform
Before you post, think about where your new anime portrait is headed. Taking a moment to resize your image correctly prevents awkward cropping.
- For an Instagram post: Resize to a 1080x1080 pixel square.
- For an Instagram Story or TikTok: Resize to a vertical 1080x1920 pixels.
- For a profile picture: A 400x400 pixel square is usually a safe bet.
Step 2: Add That Extra "Wow" Factor
Once you've got the dimensions sorted, you can add a few simple edits to really make your image pop. You don't need fancy software; even free tools like Canva have everything you need.
Here are a couple of practical ideas:
- Create a Before-and-After: My favorite trick is a simple side-by-side collage. Put your original photo next to the anime version. People love seeing the transformation, and it really highlights the magic of the AI.
- Add Your Watermark or Text: Throw on your username or a funny caption. It gives the image context and can turn a cool picture into a shareable meme.
- Boost the Colors: Sometimes, a slight boost in saturation or a subtle filter is all it takes. This little tweak can make the colors jump off the screen and grab attention.
It’s these final, thoughtful touches that elevate a great result into something truly memorable.
This trend of personalized anime avatars is exploding. By 2025, it's clear that social media has seen a huge jump in people using AI-generated anime profiles to express themselves.
Tools like these are giving millions of people the ability to create unique, high-quality anime art in an instant. It's no wonder this is taking off, especially with Gen Z and Millennials. You can dive deeper into how AI is shaping online identity on github.com if you're curious.
FAQ: Your Questions on Making Photos into Anime Answered
Got questions about turning your photos into anime? You're not alone. Let's tackle some of the most common ones.
Are AI Anime Generators Free To Use?
Great news here: many of the best tools on the market offer surprisingly robust free versions. You can absolutely generate some amazing anime-style images without ever pulling out your wallet.
For most people who just want a cool new profile picture or something fun to share, the free options are plenty powerful. You might find that premium features like unlimited high-res downloads or the very latest styles are kept behind a paywall, but the free tier is the perfect playground to start experimenting.
Honestly, you don't need a budget to get started. That accessibility is a huge reason why this has blown up in popularity.
What Photos Produce The Best Anime Results?
The quality of your final image almost always comes down to the quality of your starting photo. It's the most important piece of the puzzle.
Always aim for a clear, well-lit picture where your face is front and center. Simple headshots or portraits without a lot of clutter in the background work best. A busy background can sometimes confuse the AI, pulling its focus away from what really matters—transforming you into an awesome anime character.
Will The Anime Version Actually Look Like Me?
This is the big one, right? And the answer is a resounding yes! A good AI generator is trained to hang on to your key features. It's smart enough to recognize things like your hair color, the shape of your face, and your overall look, making sure the final result is still recognizably you.
Of course, how much it looks like you can depend on the style you pick. A more realistic anime filter will keep a stronger likeness than, say, a super-stylized, chibi-style one. Part of the fun is just playing around and seeing how different artistic styles interpret your features.
Can I Use My Anime Photo On Social Media?
Absolutely! Go for it. That's what most people are doing with them. These custom creations are tailor-made for spicing up your profile picture on Instagram, TikTok, X, or wherever else you hang out online.
Just as a good habit, it's smart to take a quick peek at the terms of service for whatever tool you used. The vast majority are totally fine with you using the images for personal stuff, but they might have different rules if you're thinking about using them for a commercial project.
Ready to see yourself in a whole new style? AI Photo HQ gives you everything you need to transform your photos with just a few clicks. Start creating for free today at aiphotohq.com.

