
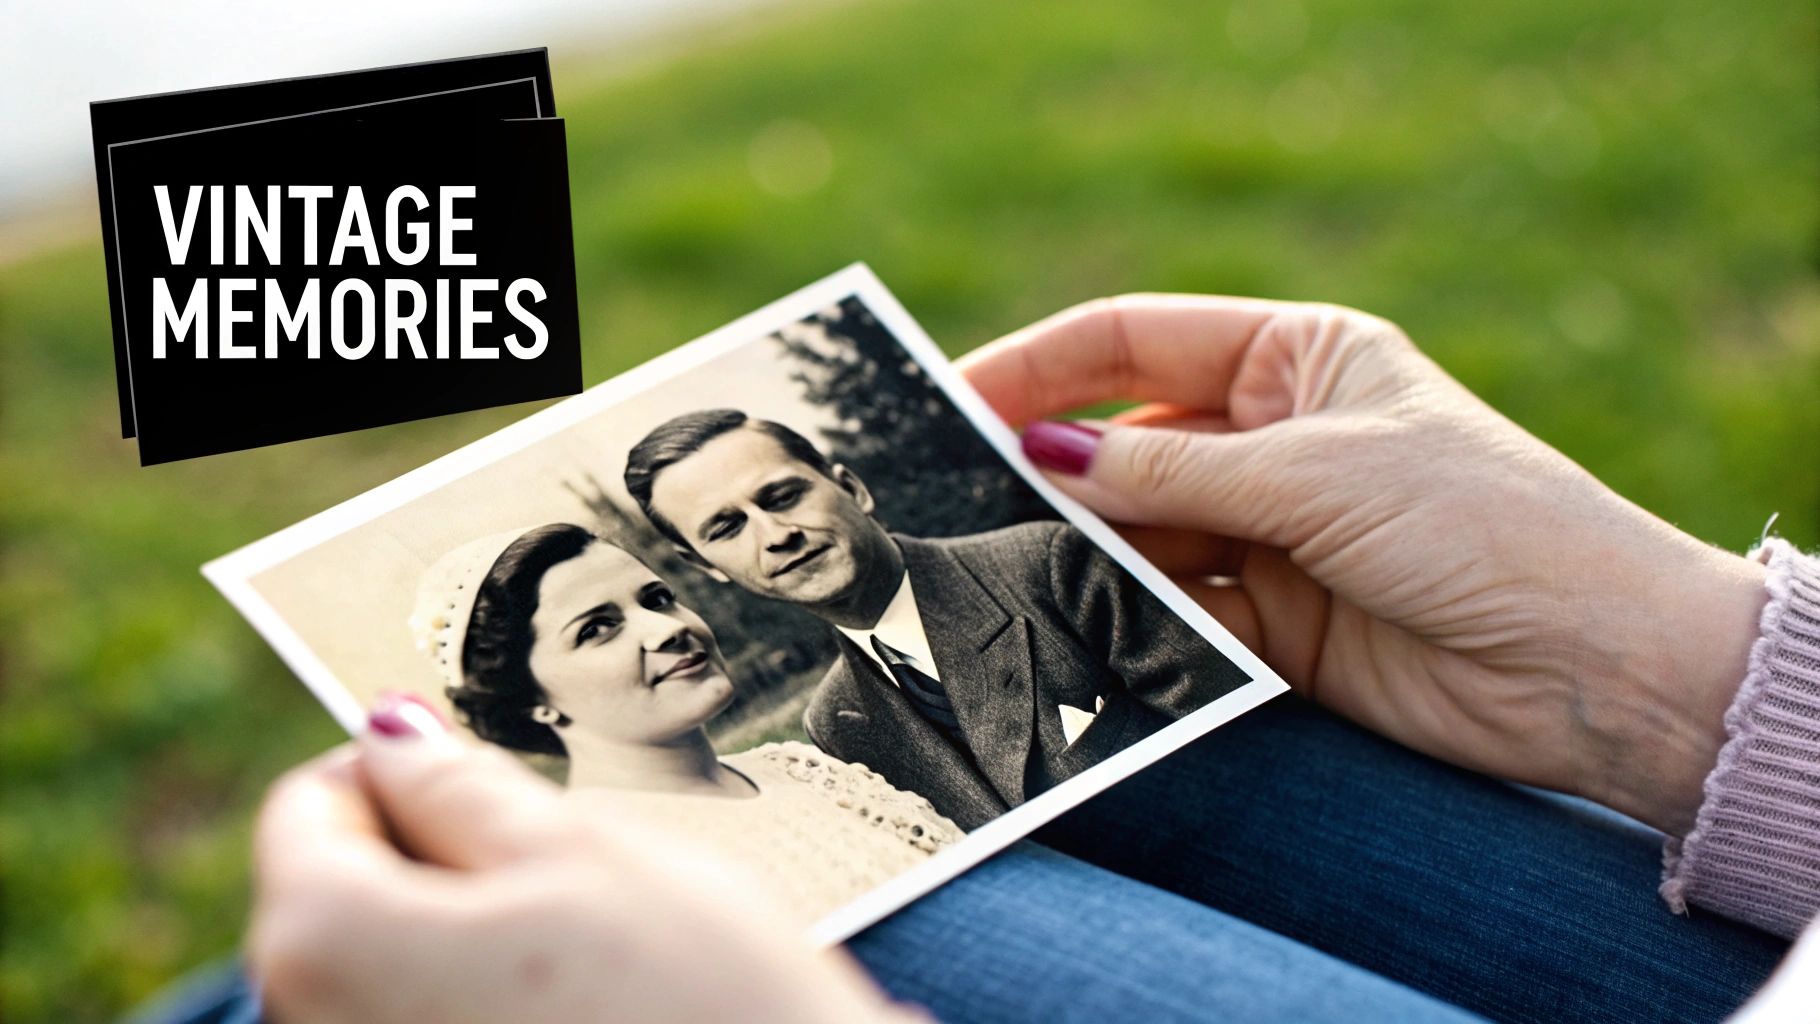
Every old photograph tells a story. But over time, that story can get obscured by cracks, fading, and discoloration. When we talk about old photo restoration today, it’s not just a technical fix. It’s about breathing life back into irreplaceable memories and reconnecting with our own family history.
Why Restoring Old Photos Matters Now
Those shoeboxes full of aging pictures are little time machines, but they're incredibly fragile. Physical photos are always at risk, whether it's from sun damage, moisture, or just an accidental tear. What used to be a complex and expensive professional service is now something anyone can tackle, all thanks to powerful AI tools that can literally reverse the effects of time.
This isn’t just a niche hobby; it’s a full-blown movement. The global demand for photograph restoration services was valued at USD 1.61 billion back in 2023. That number is expected to climb to USD 3.65 billion by 2032. It's all driven by a shared, very human desire to keep our histories from fading away.
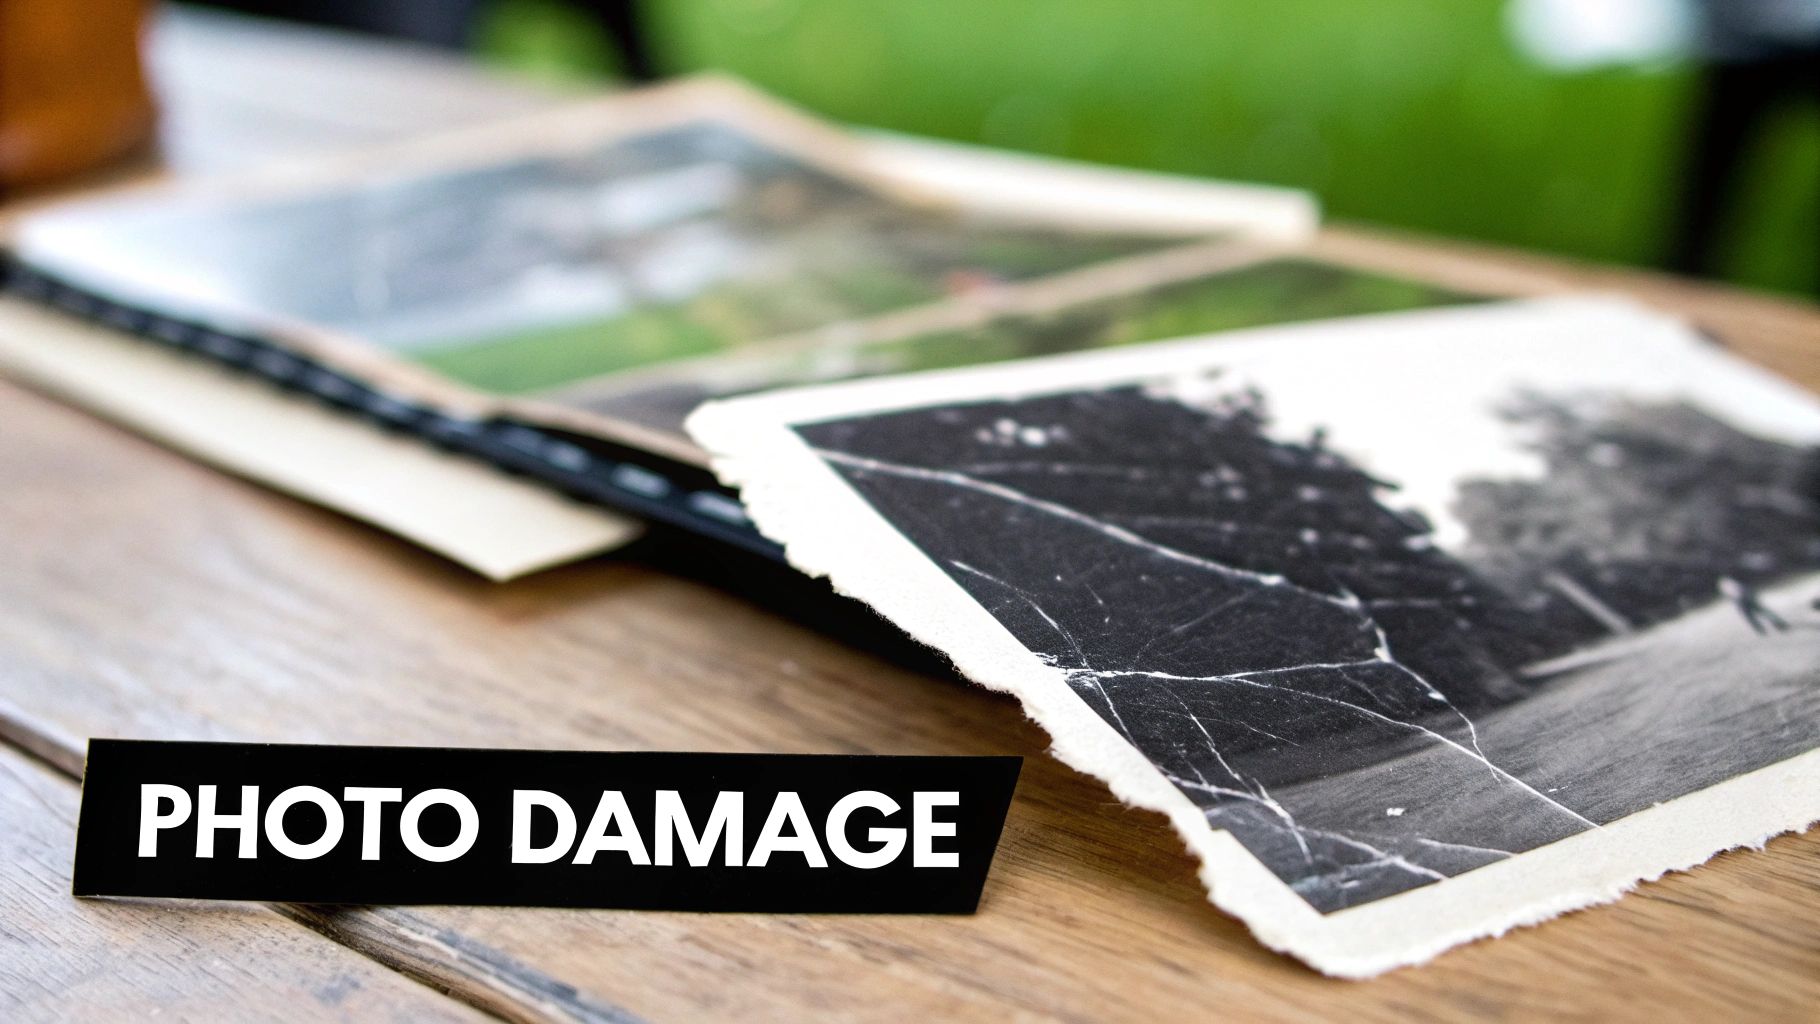
Common Photo Damage And Modern AI Solutions
Old photos can suffer from all sorts of damage over the years. Figuring out what you're dealing with is the first step to fixing it. Here’s a look at the most common culprits and how today's AI tools are designed to handle them.
| Type of Damage | Visual Characteristic | How AI Fixes It |
|---|---|---|
| Fading & Discoloration | Photos turn yellow or sepia, losing their original vibrancy. | The AI analyzes hidden data in the image to intelligently restore the original color balance and contrast. |
| Scratches & Tears | Minor scuffs or major rips that break up the image. | Algorithms are trained to identify these breaks and seamlessly fill in the missing information, blending it perfectly. |
| Water Spots & Stains | Ugly blotches and marks from spills or humidity. | Restoration tools can precisely target and remove these blemishes without smudging or damaging the underlying photo. |
| Creases & Folds | Deep lines from being folded or stored improperly. | The AI essentially smooths these lines out, rebuilding the texture of the original photograph so they become virtually invisible. |
As you can see, AI isn't just guessing; it's performing a highly sophisticated analysis to bring the image back to its former glory.
At its heart, this is all about preserving family memories for future generations. It connects us to our roots and makes sure the people and moments that shaped our lives aren't forgotten. You're not just fixing a picture; you're turning a fading artifact back into a living piece of history.
The Power Of Digital Preservation
Restoring a photo is a huge first step, but what you do next is just as important. Once you have a pristine digital copy, you need to make sure it's safe for the long haul. A digital file is immune to the physical decay that ruins prints, but only if it's stored correctly.
For a deeper dive, check out our complete guide on https://aiphotohq.com/blog/2025/07/how-to-preserve-old-photos.
Bringing these images back to life does more than just salvage a picture. It strengthens family bonds, giving younger generations a chance to see their ancestors with stunning new clarity. A restored photo of your great-grandparent isn't just an image; it's a story waiting to be told all over again.
Creating The Perfect Digital Copy Of Your Print
A sharp, high-resolution scan is where every restoration journey begins. It's the foundation for a great result. Capturing every scratch and grain gives your editing tools the best possible starting point. Let’s walk through how to do it.
You have two main options: a flatbed scanner or a high-quality smartphone camera. A dedicated scanner is the superior choice for locking in even lighting, eliminating glare, and keeping the image perfectly flat—all of which are crucial for professional results.
Optimizing Your Scanner Settings: A Step-by-Step Guide
Before you press “Scan,” take a moment to adjust the settings. The most important setting is DPI (dots per inch), which controls the level of detail.
- Set Your Resolution (DPI): For most 4x6 or 5x7 prints, a setting of 600 DPI is the sweet spot between clarity and manageable file size. For very small photos (like wallet-sized prints), increase this to 1200 DPI to capture fine details.
- Choose Your File Format: Select TIFF (Tagged Image File Format) as your output. Unlike JPEG, TIFF is a lossless format, meaning it preserves every single pixel of image data without compression. This is critical for the restoration process.
- Disable Auto-Enhancements: Turn off any "auto-correct," "dust removal," or "color restoration" features in your scanner software. You want a raw, untouched scan. AI restoration tools work best with the original, unaltered data.
- Perform the Scan: Place the photo flat on the scanner bed, close the lid, and start the scan.
Practical Tips For Smartphone Scanning
If a scanner isn't available, your phone can work well with the right technique.
- Find Soft, Indirect Light: Avoid direct sunlight or harsh overhead lights. The best light is near a window on an overcast day. This prevents glare and harsh shadows.
- Keep it Flat and Parallel: Lay the photo on a perfectly flat surface. Position your phone directly above it, ensuring the camera is parallel to the photo to prevent distortion. Use an app like Microsoft Lens or Adobe Scan, which can help correct perspective.
- Tap to Focus: Tap on the most important part of the photo (like a face) to lock the focus and exposure.
- Never Use the Flash: Your phone’s flash will create a bright, glossy hotspot on the print, ruining the scan.
Whether using a scanner or a phone, your goal is a crisp, clean digital copy. Spending a few extra minutes here will save you headaches during the restoration phase.
A Step-by-Step Guide to Your First AI Restoration
You’ve got your high-quality scan. Now for the exciting part: repairing the damage. We'll use a real-world example of a family portrait with a prominent crease and several dust spots to walk you through the process in AI Photo HQ.
Photo restoration has come a long way from the days of painstaking manual work in Photoshop. Today's AI makes the process faster and more accessible. If you're curious about the journey from manual touch-ups to today's tech, we've got a great piece on the history of photo restoration online.
Your First One-Click Repair: A Tutorial
Let's fix that creased family portrait.
- Upload Your Image: Drag and drop your high-quality scan (preferably your TIFF file) into the AI Photo HQ editor.
- Locate the "Restore" Tool: Once the photo is loaded, find the primary "Restore" button. This is your main tool for fixing common issues like scratches, dust, and minor creases.
- Apply the AI Fix: Click "Restore". The AI will analyze the pixels around the crease and intelligently fill in the missing information with matching texture and color. It will simultaneously identify and remove the dust spots without leaving smudges.
- Inspect the Result: Zoom in to 100% to check the AI's work. Look closely at detailed areas like fabric patterns, hair, and backgrounds to ensure the restoration looks natural and seamless.
Pro Tip: My advice is to always let the AI do the first pass. Resist the temptation to manually fix small spots first. The AI often provides a cleaner base to work from, saving you significant time and effort.
From Scan To Restored Image
The entire workflow, from a dusty physical print to a vibrant digital image, can be broken down into a few key stages. This diagram lays it out perfectly.
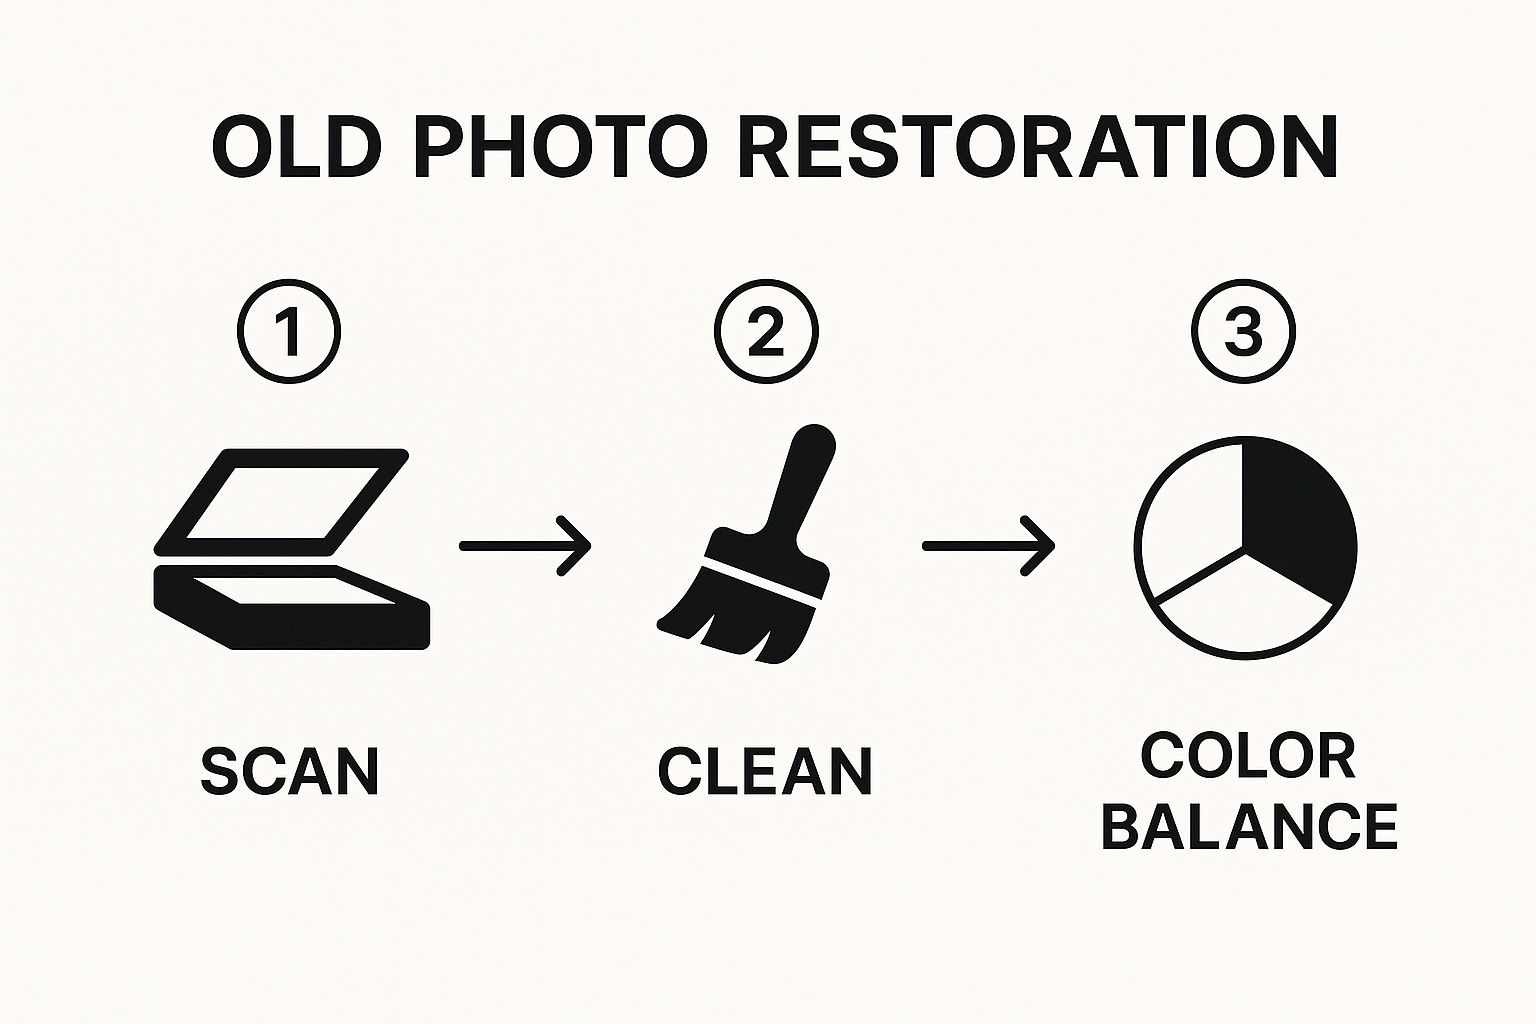
As you can see, everything starts with a good scan. From there, it's about targeted cleaning and color correction. Each step builds on the last, leading to that polished final photo you're after.
With just a few clicks, you can get a remarkably clean result, which is a huge confidence booster when you're just starting out. It's proof that you don't need to be a pro to bring these old memories back to life.
How to Add Realistic Color to Black and White Photos
Once you’ve repaired the physical damage—the tears, scratches, and fading—you can move on to the most transformative step: colorization. This turns a historical artifact into an immediate, relatable moment.

Using AI Photo HQ, this process is incredibly simple. Here’s a step-by-step tutorial:
- Start with Your Repaired Image: Ensure your black and white photo has already been fixed using the "Restore" feature.
- Find and Click "Colorize": In the editor, locate the "Colorize" button. One click is all it takes.
- Let the AI Work: The AI will analyze the image, identifying elements like sky, grass, skin, and clothing, and apply historically plausible colors based on its training data. This process usually takes just a few seconds.
- Evaluate the First Draft: The AI provides an excellent starting point, doing about 90% of the work automatically.
Achieving Authentic and Natural Tones
The success of colorization often comes down to skin tones. Modern AI tools are much better at this than older versions, but a critical eye is still valuable.
- Check for Consistency: Do the skin tones look natural and consistent across all individuals in the photo?
- Look for Nuance: Real skin has subtle variations in color. Does the AI-generated version reflect this, or does it look flat?
- Consider the Light: The lighting in the original photo should influence the color. A photo taken on a sunny day should have warmer tones than one taken on an overcast day.
Here's a pro tip I swear by: find a color reference photo from a similar time period. It helps you calibrate your eye and judge whether the colors for clothing, cars, and even wallpaper are historically believable. This adds a powerful layer of authenticity to your final image.
Evaluating and Tweaking the AI's Work
Think of the AI's output as a brilliant first draft. Now, it’s time for your edits. For example, if you know a dress was a specific shade of blue but the AI rendered it gray, you can make manual adjustments.
- Adjust Hue and Saturation: Use the color editing sliders to gently nudge specific colors. For that blue dress, you might select the area and shift the hue and increase the saturation.
- Control Overall Vibrance: Often, AI colorization can look a little too vibrant. A simple fix is to slightly decrease the overall saturation slider. This small adjustment helps retain a vintage feel, preventing the image from looking like a modern digital photo. The goal is an emotionally resonant image, not just a colorful one.
Adding the Final Touches for a Professional Finish
The AI handles the heavy lifting, getting you 95% of the way to a perfect restoration. That final 5% is where your human touch transforms a good repair into a professional-grade image. These small tweaks make the photo feel real, not just repaired.
A simple but crucial first step: place your original scan next to the restored version. This side-by-side comparison is a gut check, ensuring you've preserved the photo's original character and haven't gone too far with the enhancements.
Fine-Tuning Facial Clarity: A Mini-Tutorial
The faces are the heart of the photo. AI can sometimes make them look a bit too smooth or "waxy." Here’s how to add life back.
- Zoom In: Focus on one face at a time.
- Subtly Adjust Contrast: Use a brush tool, if available, to slightly increase the contrast just on the eyes and mouth. This makes them pop without affecting the rest of the face.
- Apply Sharpening Carefully: Over-sharpening is a common mistake. Instead of a global sharpen, apply a very gentle sharpening effect only to key features like the irises of the eyes. This adds definition where it counts.
Mastering Brightness and Contrast for Impact
AI-restored images can sometimes look a bit flat. The classic "S-curve" in a tone curve or levels tool is the professional's go-to solution.
- Gently lift the highlights: This brings a touch of brightness and airiness to the image.
- Slightly deepen the shadows: This adds richness and depth, giving the photo a more three-dimensional feel.
The key is subtlety. You are nudging the tones, not making dramatic changes. For images that are extremely washed out, our guide on how to restore faded photos offers more advanced techniques.
This kind of skilled work is becoming more and more valuable. The photo restoration market is growing fast, projected to jump from about USD 420 million in 2023 to nearly USD 1.2 billion by 2032. You can discover more about the photograph restoration market and see just how quickly it's expanding.
Key Takeaway: The final photo should still look like it belongs in its time period. The goal is restoration, not reinvention. Try to keep the original film grain and texture when you can—it's part of the photo's soul.
Exporting for Preservation and Sharing
Your restoration is complete. Now, export it correctly to preserve all your hard work. You should create two versions:
- For Archiving: Save your master file as a TIFF. This lossless, uncompressed format is the digital equivalent of a film negative. It’s a large file but is perfect for long-term storage and future high-quality printing.
- For Sharing: Save a separate copy as a high-quality JPEG. This compressed format is much smaller, ideal for email, social media, and viewing on digital devices.
Following this process ensures your beautifully restored memories are safe and ready to be shared with family around the world.
Frequently Asked Questions (FAQ)
Got questions about bringing your old photos back to life? You're not alone. When you're first diving into photo restoration, it's totally normal to wonder what this AI magic can—and can't—do. Getting a feel for the tech's strengths and weaknesses is the key to getting results you’ll be proud of.
Let's walk through some of the most common questions we get from people just like you.
Can AI Really Fix a Photo That’s Seriously Damaged?
Honestly, the results can be pretty incredible. Modern AI has been trained on literally millions of images, so it's learned to intelligently guess what’s missing. It can piece together information from the surrounding pixels to convincingly rebuild areas lost to tears, deep creases, and even nasty stains.
Now, it's not a miracle worker every single time. The final outcome really hinges on how bad the initial damage is and, just as importantly, the quality of your scan. But tools today can often save photos that, just a few years ago, would have been considered a lost cause. Always, always start with the highest resolution scan you can get your hands on. It makes a world of difference.
Will AI Colorization Actually Look Realistic?
This is where things have gotten really good. AI colorization isn't just splashing random colors on a black-and-white image anymore. The algorithms are smart enough to analyze the context—they can tell the difference between a sky, a tree, skin, and a 1950s dress—and apply colors that look natural and historically plausible.
You'll find it's particularly impressive with landscapes and everyday objects. Skin tones can sometimes be a bit tricky and might need a little tweak here and there, but the initial pass from a good AI tool gives you a fantastic starting point. More often than not, it delivers a believable glimpse into the past that doesn't feel fake or oversaturated.
A Pro’s Takeaway: I know many professional restorers who now use AI as their first step. They let the algorithm do the heavy lifting—the big tear repairs, the base colorization—and then they jump in to add their expert finishing touches. It saves them countless hours and often leads to a better final product.
What's the Best Way to Save and Store My Restored Photos?
Once you’ve put in the work, you want to make sure those restored memories are safe forever. The trick is having a solid backup plan. Don't just save it to your desktop and call it a day.
Here’s how I recommend handling your files:
- For Your Archive: Export a high-resolution, uncompressed TIFF file. Think of this as your digital negative—it's the master copy you'll use for future prints or edits.
- For Sharing Online: Save a separate, high-quality JPEG file. JPEGs are much smaller, making them perfect for emailing to family, posting on social media, or just viewing on your phone.
The gold standard for storage is the 3-2-1 backup strategy. That means three copies of your files, on two different types of media (like your computer and an external hard drive), with at least one copy stored off-site (like a cloud service). I use Google Drive and an external hard drive. This way, if one fails, your precious work isn't lost.
How Much Does This AI Restoration Stuff Cost, Anyway?
The cost can vary quite a bit, but it's far more accessible than you might think. Many AI tools, including AI Photo HQ, run on a freemium model. This is great because you can usually restore a handful of photos for free to see if you like the results before committing.
Paid plans typically unlock higher-resolution downloads, batch processing for tackling a whole album at once, and more advanced editing features. When you compare a monthly subscription to what a traditional manual restorationist charges—which can easily run into hundreds of dollars for a single, complex photo—these AI solutions are a game-changer for making photo restoration affordable for everyone.
Ready to see what's possible with your own family photos? With AI Photo HQ, you have everything you need to repair, colorize, and sharpen your old pictures in just a few clicks. Give it a try and see how simple it is to preserve your most important memories.

