So, you want to turn your photos into anime. It's a fun and creative process, and with today's AI, it's easier than you might think. We'll walk you through the entire process, from picking the perfect photo to fine-tuning your final masterpiece with step-by-step instructions.
The secret to a jaw-dropping result starts with the very first step: choosing the right photo.
Step 1: Prepare Your Photo for Transformation
Welcome to the world of AI-powered anime art! The key to a stunning result lies in the very first thing you do—choosing the right photograph. Think of the AI as a talented artist; the better the reference you give it, the better the final portrait will be.
This initial selection is the most critical part of the entire process. Before you even open the tool, let's walk through how to find or take a photo that guarantees an awesome transformation.
How to Select the Perfect Source Image
To make sure the AI can work its magic, you need to give it a solid starting point. Follow this simple tutorial to get your photo ready:
- Find Good, Clear Lighting: Open your photo gallery and look for a picture where your face is evenly lit. This helps the AI accurately see your features. Actionable Tip: Avoid photos with harsh shadows across your face or intense backlighting that washes you out. Natural daylight from a window often works best.
- Check the Background: Look for photos with a simple or uncluttered background. A busy background can confuse the AI. Actionable Tip: If you're taking a new photo, stand in front of a plain wall. If using an existing photo, use a photo editing app to slightly blur the background first.
- Choose a Clear Expression: The AI is surprisingly good at translating your expression into an anime style. A big smile, a thoughtful look, or a playful smirk will come through much more effectively if it's clear. Actionable Tip: Select a photo where your expression is intentional and your face is not obscured by hair or hands.
Getting the source photo right is so important. We've seen modern platforms maintain up to 98% of the original photo's composition while applying authentic anime aesthetics, which just shows how far this tech has come. If you want to play around with this, Komiko has a great tool for it.
The foundation of any great AI-generated anime portrait is a high-quality source photo. Giving the AI a clear, well-composed image to work with is the single best way to ensure you get a result you love.
To help you nail this part, here's a quick checklist. Use these factors to vet any photo before you upload it.
Quick Checklist for a Successful Photo-to-Anime Conversion
| Factor | Why It Matters | Quick Tip |
|---|---|---|
| High Resolution | A sharp, clear photo gives the AI more data to work with, resulting in a more detailed anime portrait. | Use the original file from your camera or phone, not a compressed version from social media. |
| Subject is in Focus | If the subject's face is blurry, the AI will struggle to accurately capture and stylize features like eyes and hair. | Tap to focus on the face before you take the picture. Avoid photos where the background is sharp but you aren't. |
| Unobstructed Face | The AI needs to see the whole face. Hands, hair, or shadows covering key features can lead to weird results. | Pull your hair back and make sure your hands aren't covering your mouth or eyes in the shot. |
| Neutral Background | A simple background prevents the AI from getting confused and trying to "animize" a plant or a bookshelf. | Stand in front of a plain wall or use your phone’s portrait mode to blur the background. |
Paying attention to these details might seem small, but trust me, they make a massive difference in the final quality of your anime character.
As you start creating, you'll get a better feel for how these AI models "think." If you're curious about the mechanics behind it all, you can explore some excellent guides on generative AI technologies to see what's happening under the hood.
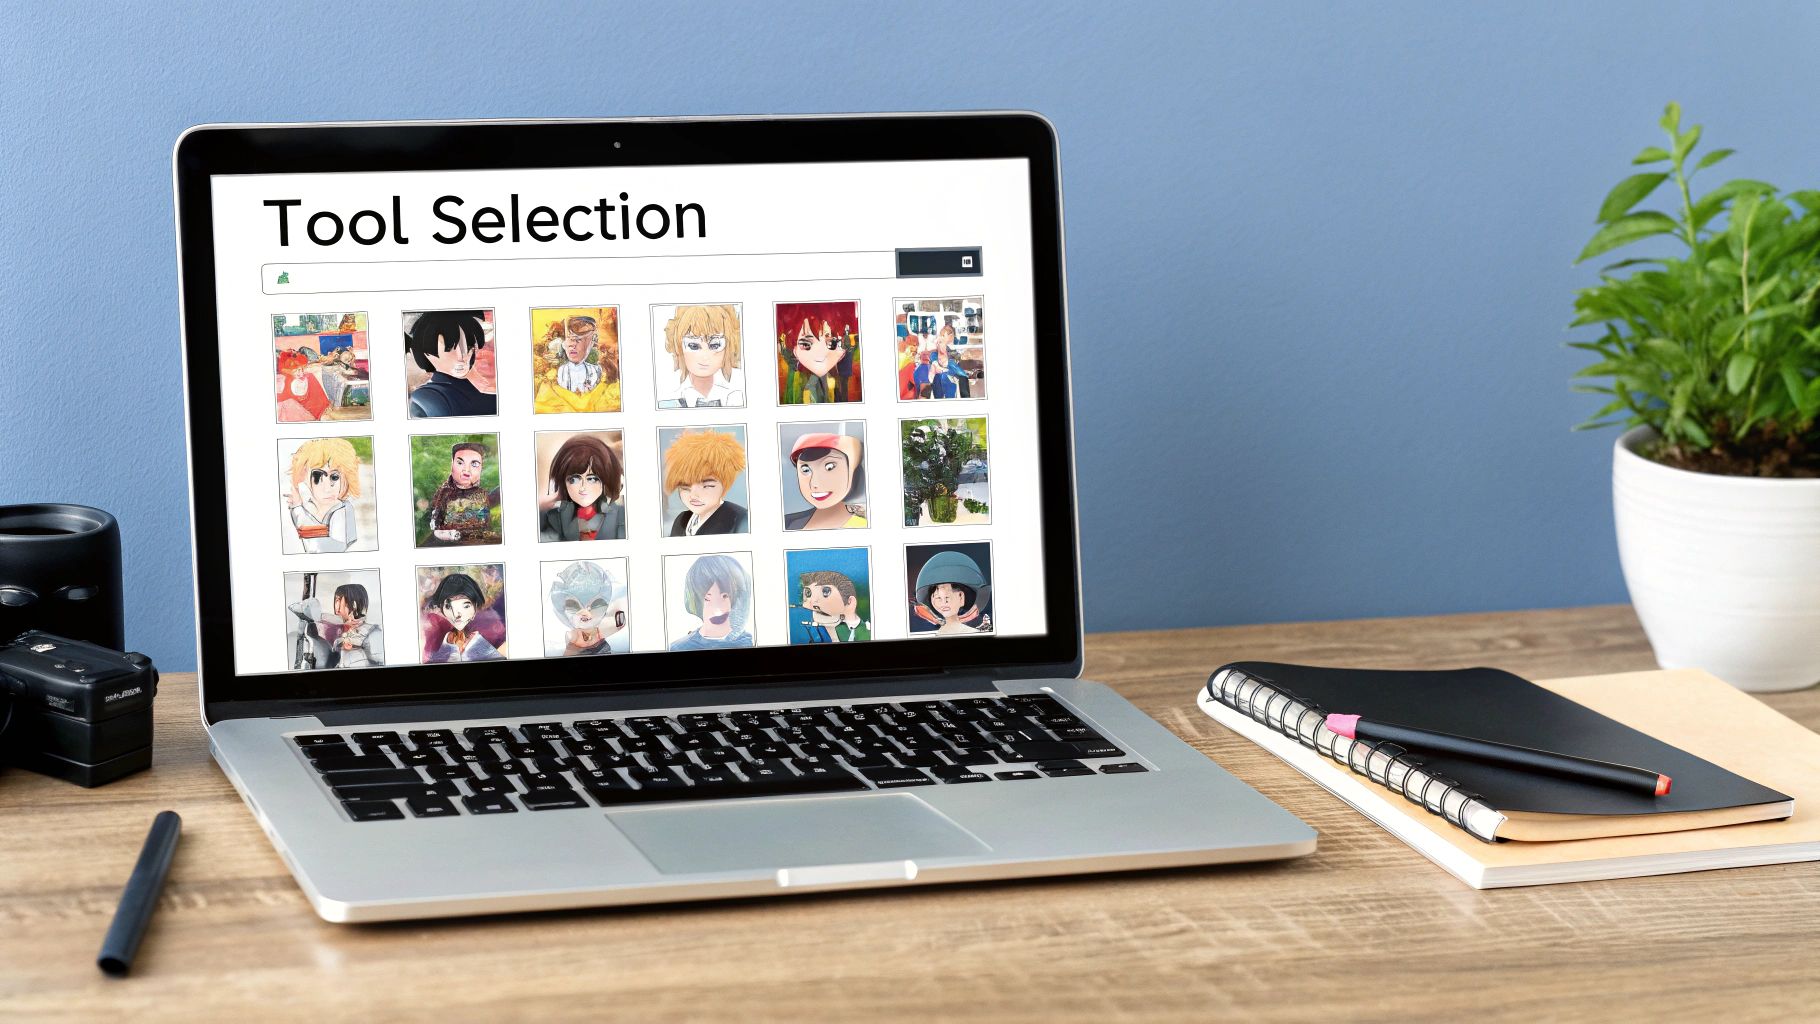
Step 2: Choose the Right AI Anime Generator
Now that you have your photo, it's time to pick your tool. A quick search will throw a ton of options at you, and the one you pick makes a huge difference. Your choice needs to line up with your goal—are you just making a fun new profile pic, or are you creating a detailed piece for a bigger project?
For example, some generators are amazing at that high-energy, action-packed Shonen look. Others are much better at capturing that soft, dreamy Ghibli vibe. We’re focusing on AI Photo HQ for this walkthrough because it hits a sweet spot, offering a great mix of quality styles and user control.
Free vs. Paid Platforms: A Quick Tutorial
Jumping in with a free tool is tempting. They’re perfect for getting your feet wet. Here’s a quick breakdown of what to expect from each.
- How to Use Free Generators: Find a free online tool, upload your photo, and select one of the few available styles. Click generate. Expect lower-resolution images, potential watermarks, and limited options. They're great for a quick test.
- How to Use Paid Platforms: For services like AI Photo HQ, you'll sign up, upload your image, and gain access to high-resolution downloads, no watermarks, and a massive library of styles. If you need a professional-looking result for social media, merchandise, or your art portfolio, this is the way to go.
Picking a tool isn't just a technical choice; it's about finding the right partner for your creative vision. A basic app can be fun for a minute, but a more powerful platform lets you create something that’s genuinely yours and looks fantastic.
Key Features to Compare
Looking past the price tag, there are a couple of things that can totally change your experience. You really want to pay attention to the output quality and how much you can actually tweak the results.
A generator that provides high-resolution exports is a non-negotiable if you ever plan on printing your art or using it for anything larger than a tiny avatar.
Just as important is the level of control you get. The magic happens when you can fine-tune the little details—like adjusting how much the AI sticks to your original photo versus leaning into the anime style. That’s what separates a simple photo filter from a real creative instrument. It's how you make sure the final image actually matches the idea in your head.
Step 3: Generate Your Anime Portrait (A Practical Walkthrough)
Alright, let's bring your photo into the anime world. With your chosen photo ready, we'll walk through the exact steps to turn it into art that looks like it's straight out of your favorite series.
First, you need to get your image into the tool. Most platforms, like AI Photo HQ, make this simple with either a drag-and-drop area or a classic upload button. Once it’s loaded, you’ll see a library of anime styles. This is your first big creative choice.
A Step-by-Step Guide to the AI Interface
Don't worry if you've never used an AI art tool before. Here's how to navigate the interface and get your first result.
- Upload Your Photo: Click the "Upload" button or drag your prepared photo into the designated area.
- Select a Primary Style: Browse the library of styles. Are you aiming for a modern, high-action Shonen vibe or something more classic and painterly? Click on the style that best matches your vision. This sets the foundation for the final look.
- Review the Preview: The tool will show a preview of your image next to the creative options. This is your workspace.
The infographic below breaks down the key prep work for your photo. Getting these basics right is crucial for a clean, professional-looking result.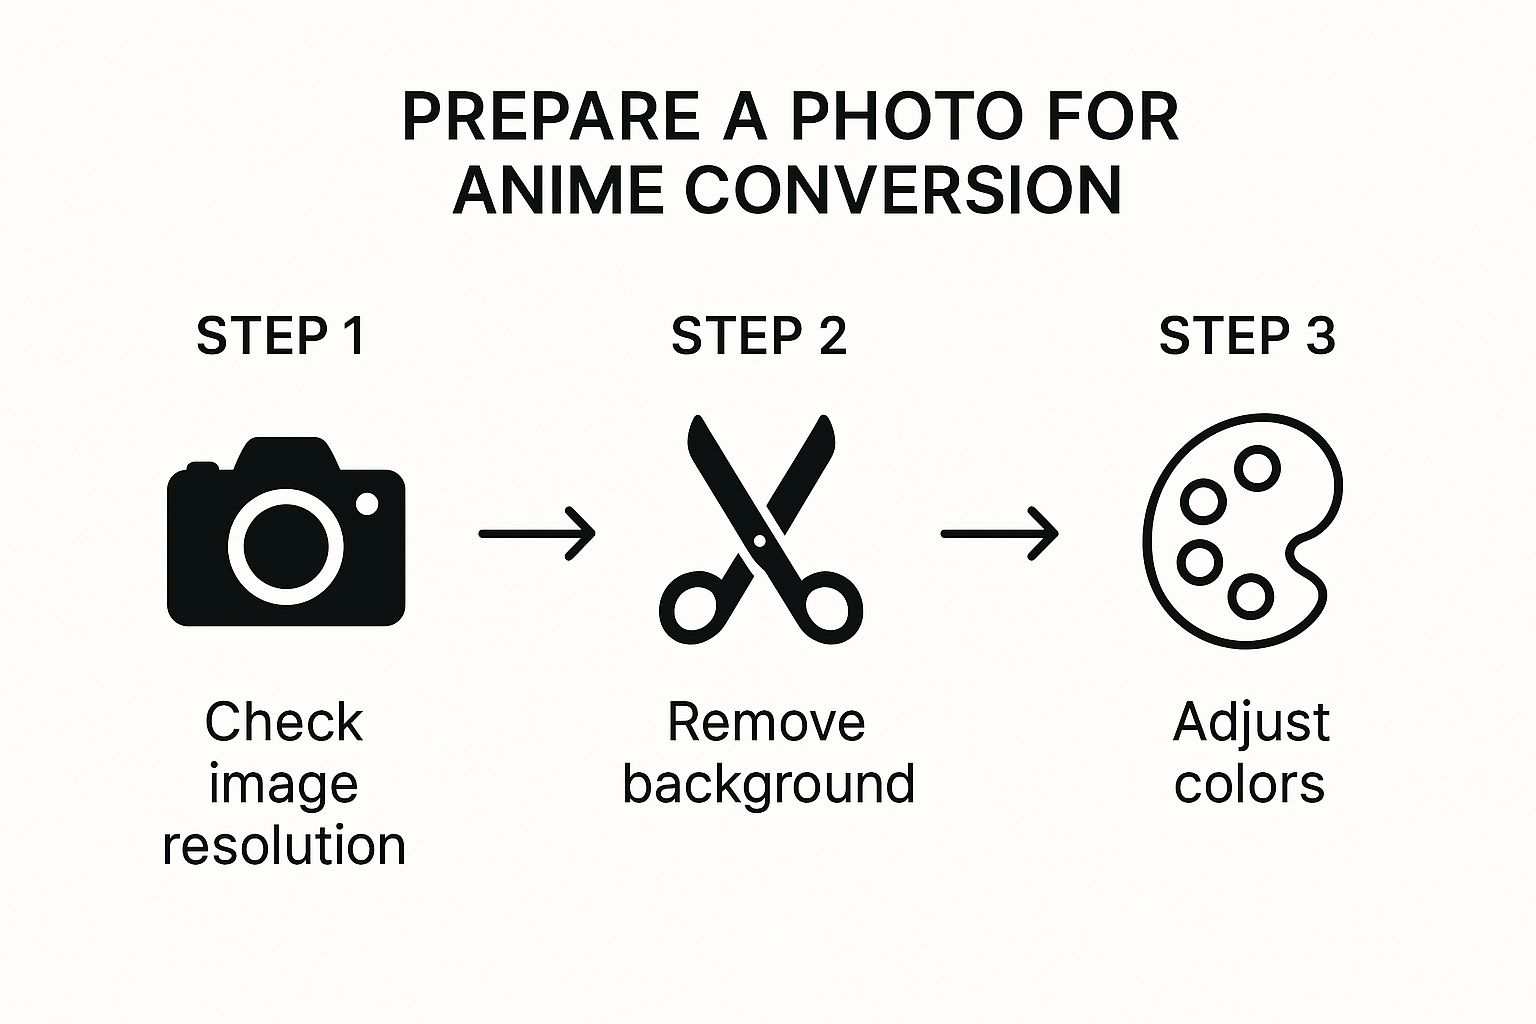
As it shows, simple things like checking the resolution and cleaning up distracting background elements can make a massive difference in how well the AI interprets your photo.
Using Text Prompts: A Mini-Tutorial
Once you've locked in a base style, you can use text prompts to add specific details. This is your direct line to the AI. Here’s a tutorial on how to use them effectively.
Example 1: Change the Scenery
- Goal: Place your character in a dramatic setting.
- Action: In the text prompt box, type: "dramatic sunset lighting, casting long shadows" or "glowing neon city background, rainy night".
Example 2: Tweak Character Details
- Goal: Alter your character's appearance.
- Action: In the text prompt box, type: "wearing a red scarf" or "with silver hair and pointed elf ears".
From my experience, the best results come from a one-two punch: a solid base style combined with a sharp, descriptive text prompt. This combo gives you incredible control over the final output.
For a closer look at how you can use prompts and other techniques, we have a whole guide dedicated to how to make your photo into anime.
When you've tweaked and prompted your way to a preview you love, it's time to generate. Click the "Generate" button and select your desired resolution—whether it's for a new profile picture or a high-quality print.
Step 4: Advanced Prompting and Fine-Tuning
Once you've got the basics handled, this is where the real fun starts. Crafting the perfect prompt and tweaking settings is what separates a generic conversion from a piece of art that’s truly yours. Here's how to become the creator, steering the AI to perfectly match your vision.
Think of it this way: a simple prompt gives the AI a vague direction, but a detailed one hands it a precise map. Instead of just saying "anime style," let's get more specific.
A Practical Tutorial on Crafting Better Prompts
Vague instructions give generic results. To turn your photo into anime in a way that feels unique, you need to layer your prompts. This means combining style, lighting, and character details.
Example 1: 80s Retro Style
- Instead of: "80s anime style"
- Try This: "80s retro anime style, nostalgic film grain, soft pastel colors, hand-drawn look"
- Why it works: It provides specific aesthetic cues (film grain, pastels) that the AI can execute.
Example 2: Fantasy Character
- Instead of: "Fantasy character"
- Try this: "Fantasy elf character, glowing magical runes on cheeks, deep enchanted forest background, cinematic lighting"
- Why it works: It builds a complete scene with character, detail, setting, and lighting instructions.
See the difference? The second prompt gives the AI more material to work with, leading to a richer image. For a deeper dive, our guide on how to write AI prompts has more strategies.
A great prompt doesn't just describe a scene; it sets a mood. By adding emotional or atmospheric keywords like "serene," "dramatic," or "whimsical," you can influence the entire feeling of the final artwork.
How to Use Style Strength and Other Settings
Beyond the text prompt, most tools offer sliders to dial things in. The most important one is usually labeled "Style Strength" or "Influence." Here’s a quick tutorial on how to use it.
- Locate the Slider: Find the "Style Strength" setting, usually near your prompt box. It will be a percentage or a 0-100 scale.
- For a Realistic Look (Low Strength): Set the slider between 30-50%. This keeps the final image very faithful to your original photo. Your features will stay recognizable, with just a light anime filter.
- For a Stylized Look (High Strength): Push the slider to 75% or higher. This gives the AI more creative freedom to lean into the chosen anime aesthetic, which might alter your features more dramatically.
- Find the Sweet Spot: I usually start around 60-70% strength and then generate a few versions, nudging it up or down. Experiment to find the balance that preserves your likeness while still achieving that unmistakable anime vibe.
Step 5: What to Do With Your New Anime Art
Alright, you've gone through the steps, tweaked the settings, and now you have an awesome anime version of your photo. The big question is... what now? That cool new image can be used in all sorts of creative ways.

Many creators use unique visuals like these to build a brand on platforms like Instagram and TikTok. Having a consistent anime avatar helps you stand out in a crowded feed.
From Digital Avatars to Physical Products: A How-To Guide
Taking your creation from your screen and putting it on something you can hold is where the real fun begins. Here are some practical ideas:
- Create Custom Apparel:
- Export your anime portrait in the highest resolution possible as a PNG file.
- Upload the design to a print-on-demand service like Printful or Redbubble.
- Place your design on a T-shirt, hoodie, or tote bag and order a sample or list it for sale.
- Make Stickers and Prints:
- Export your final image as a high-resolution file (300 DPI is standard for print).
- Use a service like Sticker Mule to order custom die-cut stickers.
- For prints, you can print it at home on quality photo paper or use a professional printing service.
- Build Your Digital Brand:
- Resize your anime art for different social media platforms (e.g., square for Instagram, a banner for YouTube).
- Use it as your profile picture, in YouTube thumbnails, on Twitch emotes, or even on digital business cards for a cohesive look.
This trend of using anime-style art is taking off. Some content creators have seen their engagement jump by an average of 25-30% by working these visuals into their posts.
Pro Tip: Before you send anything to print, always export your image in the highest resolution you can. A PNG file is usually your best bet because it supports transparent backgrounds—a must-have for clean merchandise designs.
If you're looking for even more ideas, we've got a whole guide on what's possible when you use an AI art generator from a photo.
Answering Your Questions About AI Anime Converters
When you first start playing around with turning photos into anime, a few questions always pop up. It's totally normal. You might be wondering about the technical side of things or just how to get a character that actually looks like you. Let's tackle some of the most common ones.
Getting these details right can be the difference between a "meh" result and something you're genuinely excited to share.
What Kind of Photo Works Best?
For the best possible outcome, you'll want to start with a high-resolution photo. Make sure your face is clear, well-lit, and the main focus. Think of it this way: the AI is your artist, and giving it a blurry, dark, or distant photo is like handing it a smudged reference picture. It can only do so much with what it's given.
I've also found that overly complex backgrounds or photos with heavy, dramatic shadows can sometimes throw the AI for a loop. It might get confused and produce a less accurate or weirdly detailed conversion. A clean, simple shot is almost always a better starting point.
How Can I Make It Actually Look Like Me?
This is the big one, right? You want an anime version of you, not just a generic character. The secret is finding that sweet spot between your original photo and the AI's artistic interpretation.
Start with a photo that really shows off your distinct facial features—your eyes, nose, and mouth shape. Once you've uploaded it, play around with the "style strength" setting. A lower strength will stick closer to your original photo, keeping more of your likeness while still adding that signature anime flair.
Are My Uploaded Photos Kept Private?
It's smart to be concerned about data privacy. Reputable AI anime generators, and that definitely includes AI Photo HQ, have very clear privacy policies spelling out exactly how your data is handled. In almost all cases, your image is processed on secure servers, and the platform doesn't claim any ownership over your photos.
It’s always a good habit to quickly scan the terms of service for any new tool you try. This just gives you that extra peace of mind and confirms your creative work stays yours, and yours alone.
Ready to see yourself as an anime character? With AI Photo HQ, you can turn any photo into a masterpiece in just a few seconds. Dive into a massive library of styles and take full creative control over the final look. Start creating with AI Photo HQ today!

