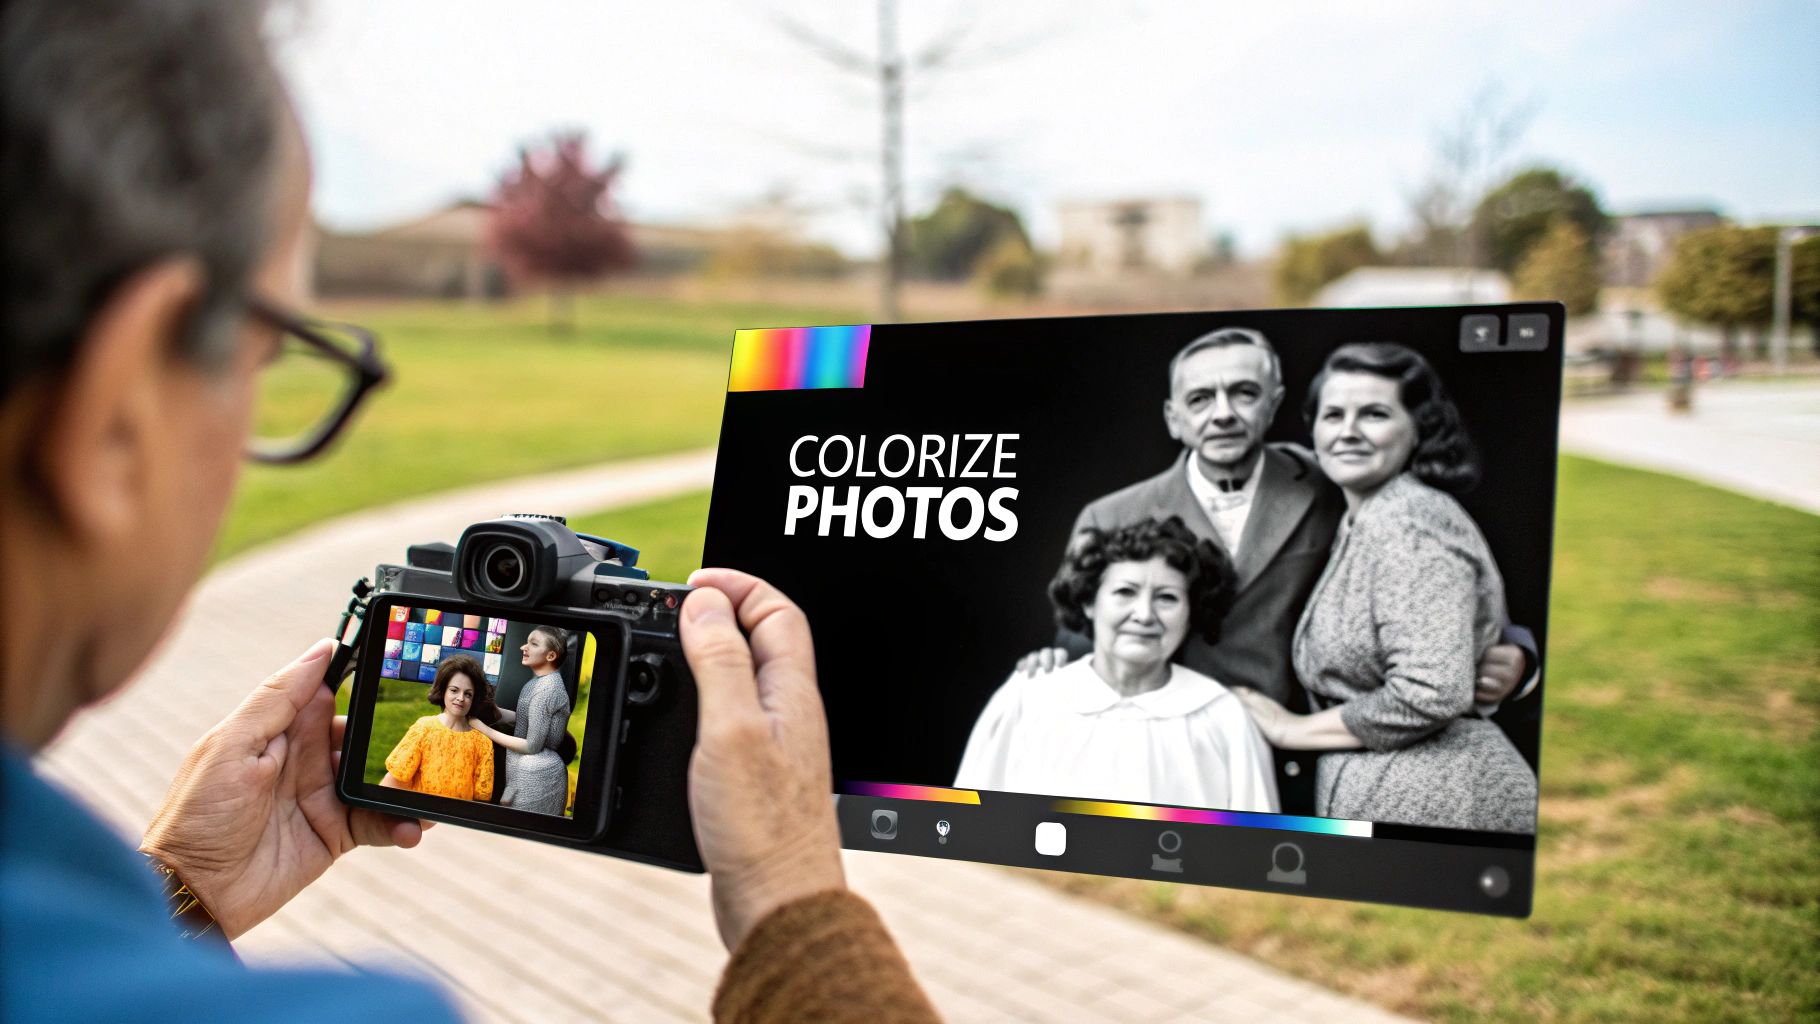
Breathing new life into old photos used to be the exclusive domain of highly skilled artists, a painstaking process that could take hours, if not days, for a single image. Today, that's all changed. Thanks to AI, anyone can transform a faded black and white photograph into a vibrant, full-color memory in just a few seconds.
See Your Old Photos in a Whole New Light
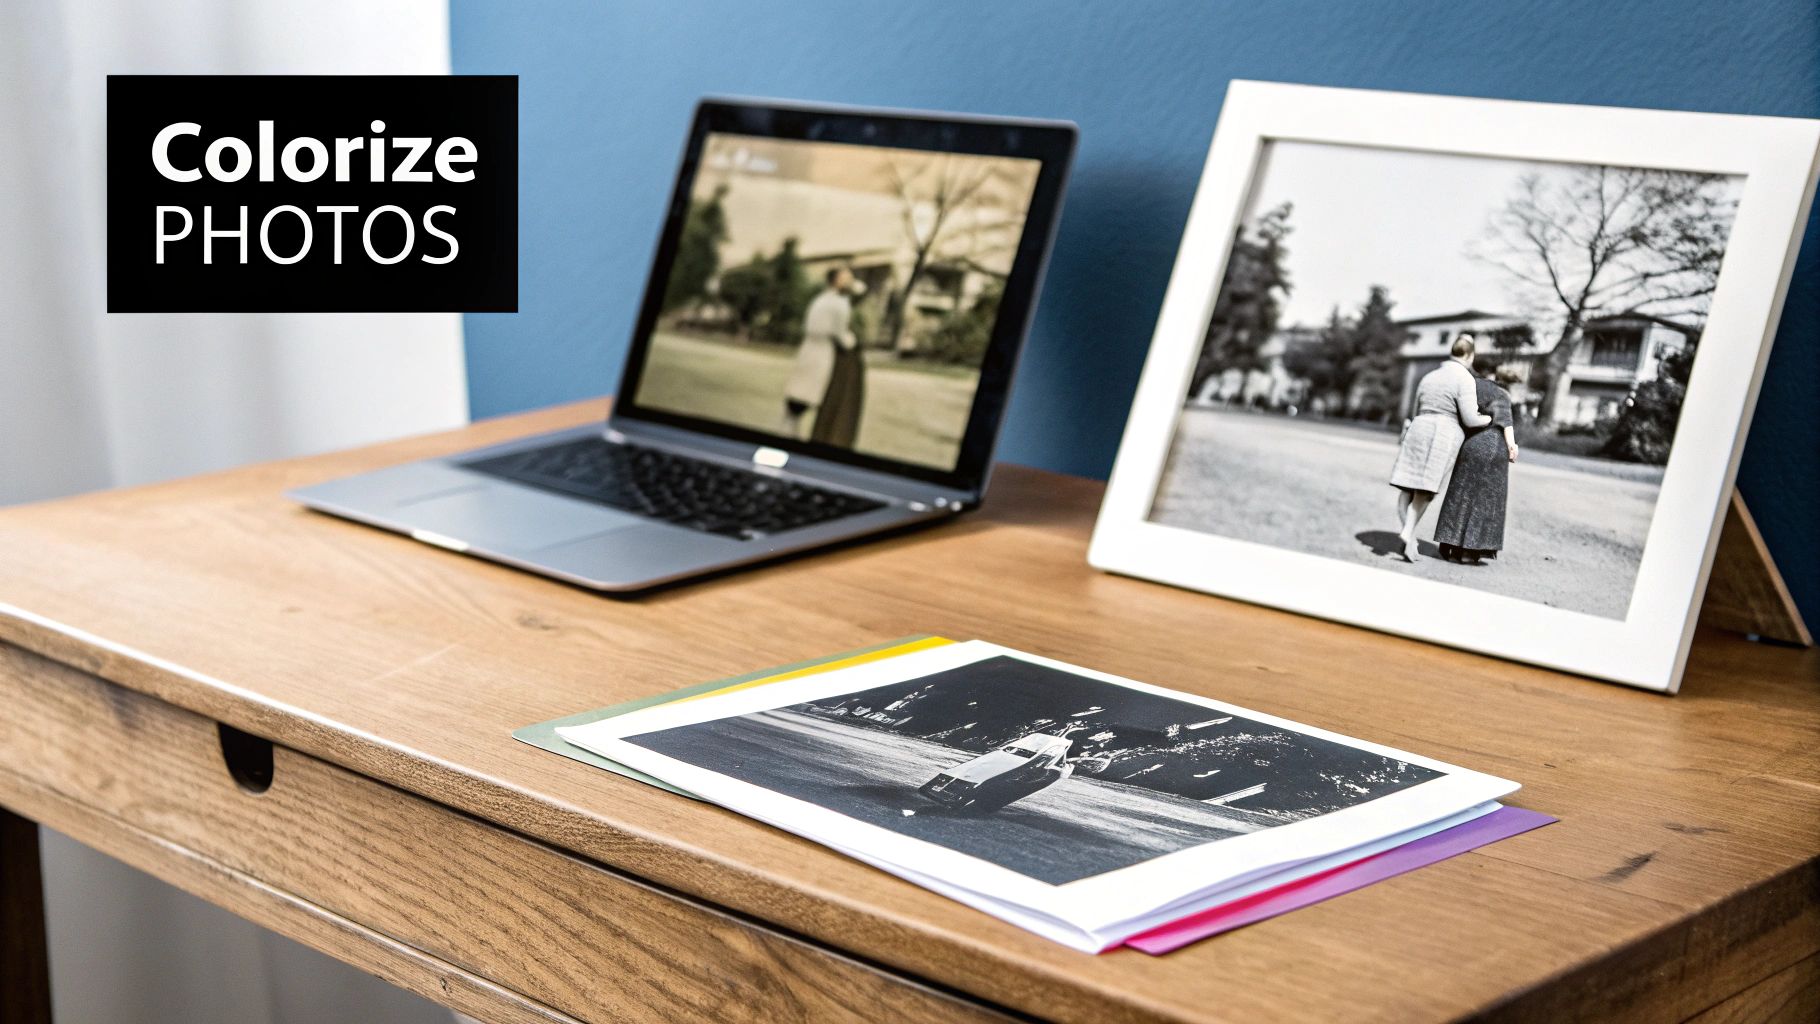
Think about that old shoebox tucked away in a closet, filled with monochrome snapshots of your family's history. A grandparent's wedding day, the first family home, a candid street scene from a bygone era. What if you could see those moments just as they happened, in full, living color?
This guide will show you exactly how to do that. We'll provide a practical, step-by-step tutorial on how AI can work its magic on your old photos, turning a once-complex task into something you can do with a few simple clicks. No need for complicated software or a degree in photo editing—just accessible tools that get incredible results.
From Manual Artistry to AI Magic
The jump from manual colorization to AI-powered results is huge. It all comes down to deep learning.
Originally, artists had to meticulously add color, brushstroke by brushstroke, making educated guesses about the right hues for skin tones, clothing, and backgrounds. Now, AI algorithms do the heavy lifting. They analyze the contents of a black-and-white photo—identifying people, buildings, trees, and skies—and compare it to a massive database of colored images.
This allows the AI to make intelligent, context-aware decisions about what colors to apply, turning what used to be a full day's work into a task that takes mere seconds. If you're curious about the nitty-gritty of this process, rememorie.com has a great breakdown of how the technology evolved.
When we use AI to add color, we're doing more than just a technical edit. We're closing an emotional gap. A colorized photo feels more present and real, making historical figures and long-lost relatives feel less like distant memories and more like people you could know.
To give you a clearer picture of just how different the two methods are, here's a quick comparison.
AI Photo Colorization at a Glance
| Aspect | AI Approach | Manual Approach |
|---|---|---|
| Speed | Seconds to minutes per image. | Hours to days per image. |
| Skill Required | Minimal. Usually a one-click process. | High. Requires artistic skill and historical research. |
| Cost | Often free or low-cost for online tools. | Can be very expensive, costing hundreds per photo. |
| Accuracy | Generally high, but can make educated guesses. | Highly accurate if done by an expert researcher. |
| Consistency | Perfectly consistent across multiple photos. | Varies depending on the artist's style and effort. |
| Accessibility | Anyone with a computer or phone can do it. | Limited to those who can afford a professional. |
As you can see, AI has made photo colorization incredibly accessible without a massive trade-off in quality for most use cases.
Why Bother Colorizing Black and White Photos?
Adding a splash of color does more than just make an old picture look new; it fundamentally changes our connection to the past. It's about reviving cherished family memories and historical moments with a realism that monochrome simply can't match.
With this technology, you can:
- Experience History Vividly: Suddenly, historical events don't feel so distant. Seeing figures and places in color makes them feel like part of our living, breathing world.
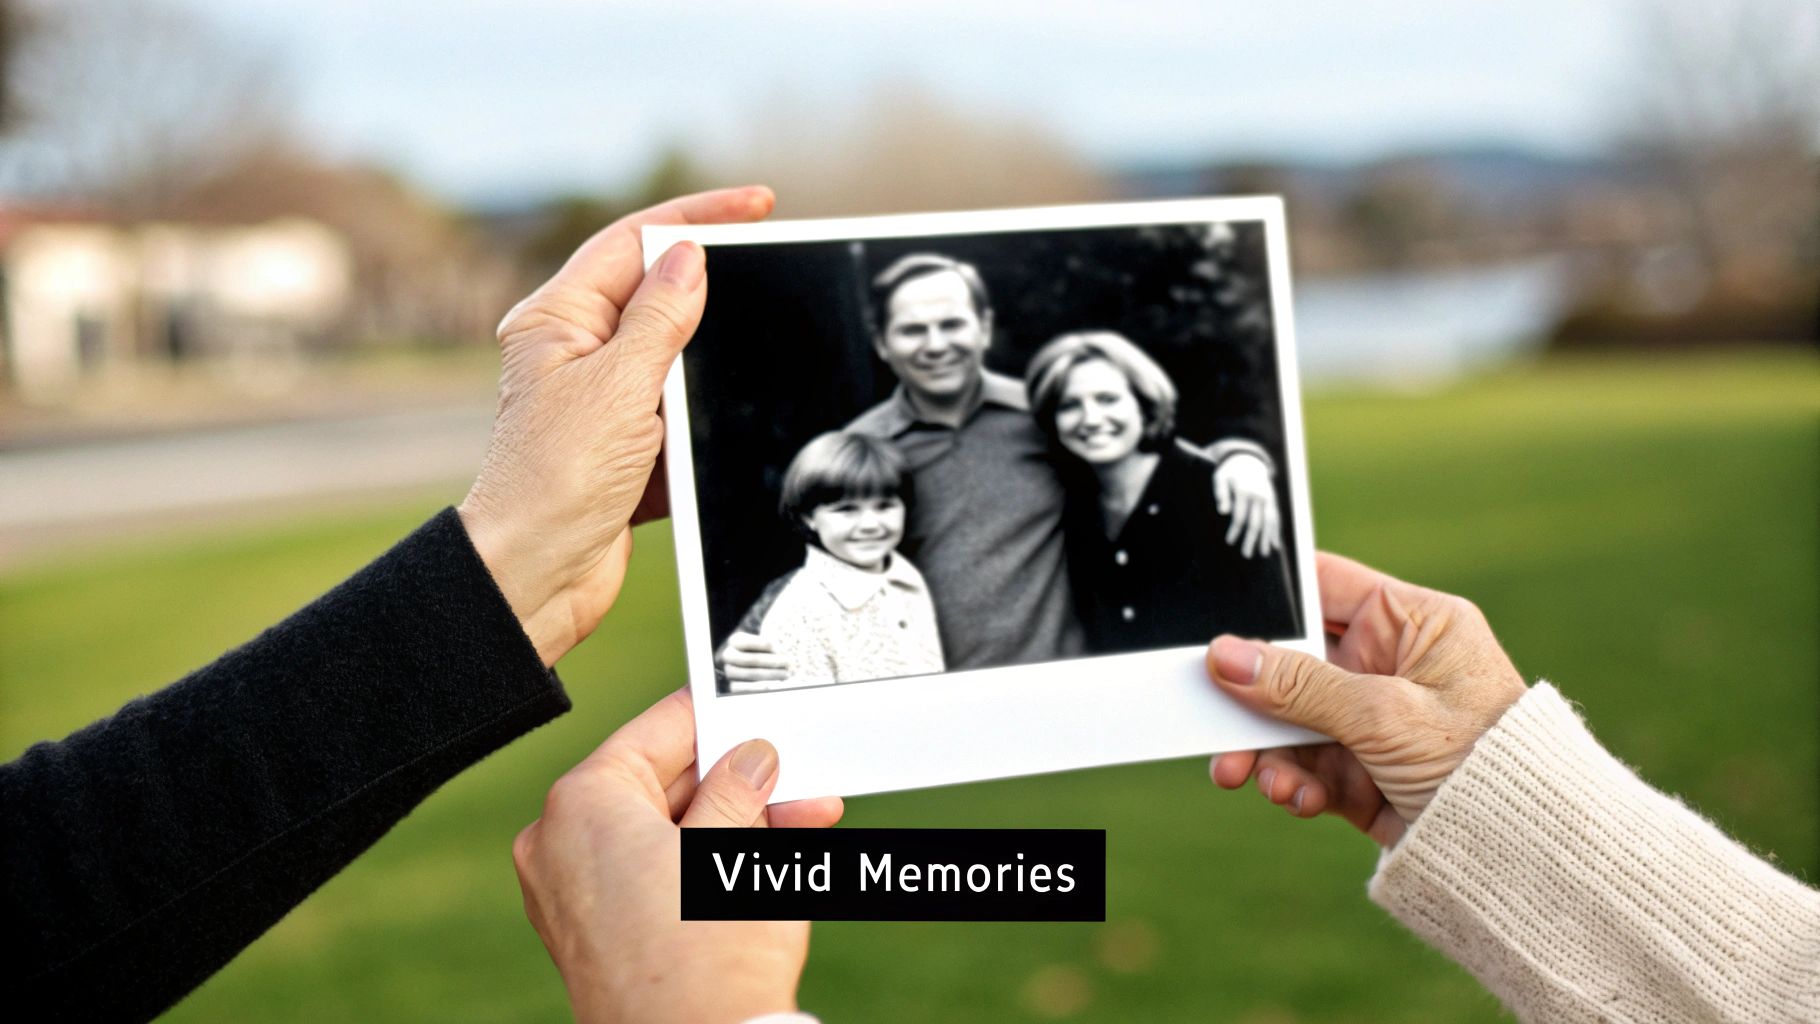
- Reconnect with Family: Color brings out the subtle details in old family portraits, from the twinkle in an eye to the pattern on a dress, making ancestors feel more familiar.
- Tell Better Stories: Whether for a blog, a social media post, or a family history project, colorized images are far more engaging and help your story land with more impact.
This guide will show you just what's possible, giving you the tools and knowledge to start restoring your own treasured snapshots today.
Step 1: Prepping Your Photos for a Flawless Result
Before you even think about hitting that "colorize" button, a little prep work can make a world of difference. Think of it like a painter priming a canvas—these first few steps give the AI the best possible information to work with, leading to a much more vibrant and believable final image. The old saying "garbage in, garbage out" is especially true when it comes to AI.
Your first move is to pick the right photograph. I've found that images with strong contrast—really clear distinctions between the light and dark areas—and sharp details tend to produce the most stunning results. A slightly blurry or washed-out photo can still be colorized, but you might find the AI struggles to define the edges and apply colors accurately.
How to Digitize Your Physical Photos
If you're starting with a physical print, the quality of your scan is everything. A low-quality scan will lose the critical details the AI needs to properly interpret the scene. Here is a quick tutorial:
- Clean the Scanner and Photo: Gently wipe the scanner glass and your physical photo with a soft, lint-free cloth to remove any dust or smudges.
- Set the Right Resolution: In your scanner's software, look for the resolution setting. Aim for at least 300 DPI (dots per inch) for small prints. If you plan on enlarging the photo or are scanning negatives/slides, use 600 DPI or higher. This ensures you capture all the fine details.
- Choose the Best File Format: When you save the scan, select TIFF or PNG. These are "lossless" formats, meaning they preserve all the original image data without compression. Avoid JPEG for the initial scan if possible.
- Scan the Image: Place the photo flat on the scanner bed, preview the scan to ensure it's straight, and start the scan.
This shows how a digital photograph is made up of individual pixels, each one a tiny piece of data for the software to analyze.
Every single pixel in an image like this holds brightness information that the AI uses to predict the right colors. A high-resolution scan provides a ton more of these data points, which almost always results in a richer, more detailed colorization.
Quick Edits for a Clean Canvas
Once your photo is digitized, a few quick touch-ups can dramatically improve the final product. You don't need to be a Photoshop wizard; most basic photo editors have the tools you'll need for these simple tweaks.
- Crop Out Distractions: Use the crop tool to remove old, yellowed borders or any part of the scanner bed visible in the image. A clean crop forces the AI to focus only on the photograph itself.
- Remove Damage: Look for a "spot healing," "clone stamp," or "retouch" tool. Zoom in on any visible dust, scratches, or small tears and click or paint over them. The tool will intelligently blend the surrounding pixels to hide the imperfection. For more advanced tips, see our guide on professional techniques for old photo restoration.
- Adjust Brightness and Contrast: If a photo looks too dark or washed out, find the brightness/contrast sliders. Subtly increase the contrast to help define the shapes and textures in the image. This gives the AI clearer lines to follow when it adds color.
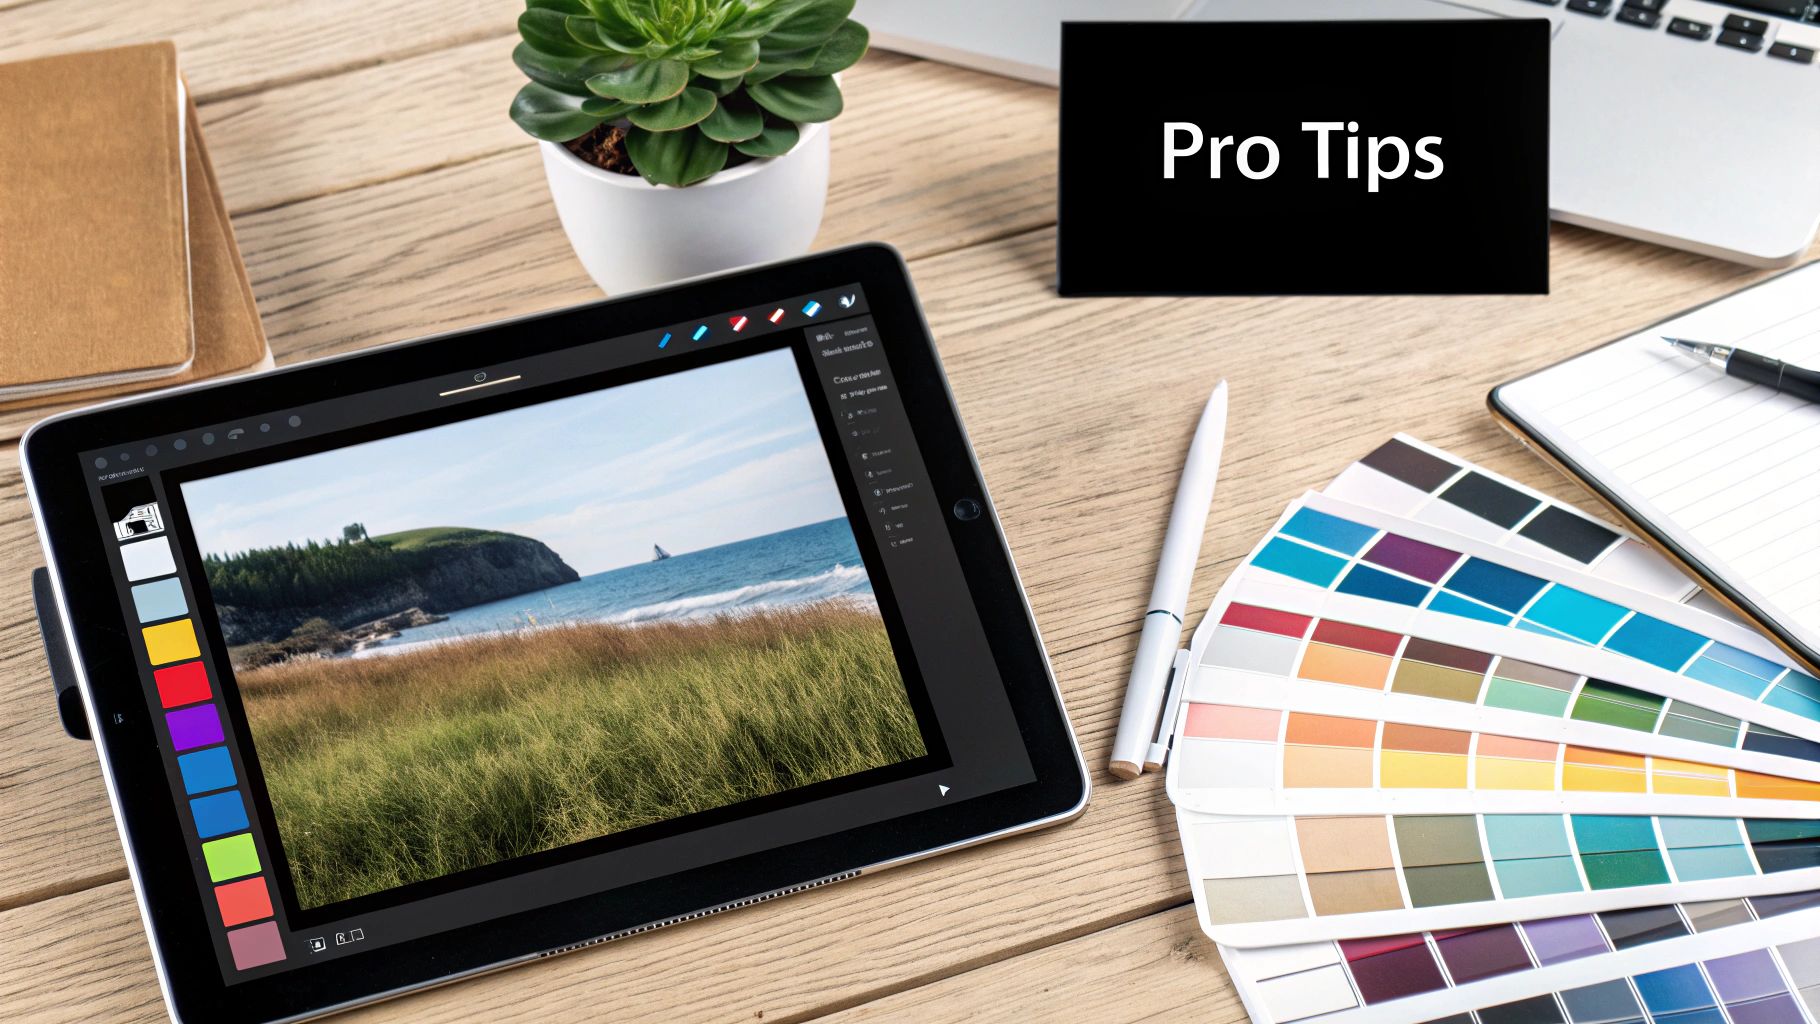
Pro Tip: Save this cleaned-up black-and-white version as a new file. This way, you always have the original scan to go back to if needed.
Step 2: A Practical Colorization Walkthrough
Alright, this is where the fun really begins. We’re about to take that old black and white photo you've prepared and breathe new life into it with a splash of color. This practical tutorial will show you exactly how easy it is to colorize black white photos with the right tools. My goal here is to show you that you don't need to be a photo editing wizard to get incredible results.
Uploading Your Photo for Colorization
Let's walk through the process using a tool like AI Photo HQ.
- Navigate to the Tool: Open the colorization tool in your web browser.
- Upload Your Image: Locate and click the "Upload Image" button. This will open a file dialog on your computer.
- Select Your Prepped Photo: Find the high-resolution, cleaned-up photo you prepared in Step 1 and select it.
- Wait for Analysis: Once uploaded, the AI will perform an initial analysis, identifying faces, objects, and background elements. This usually takes just a few seconds.
It’s a simple, elegant process that takes your image from your computer to a finished, colorful product.
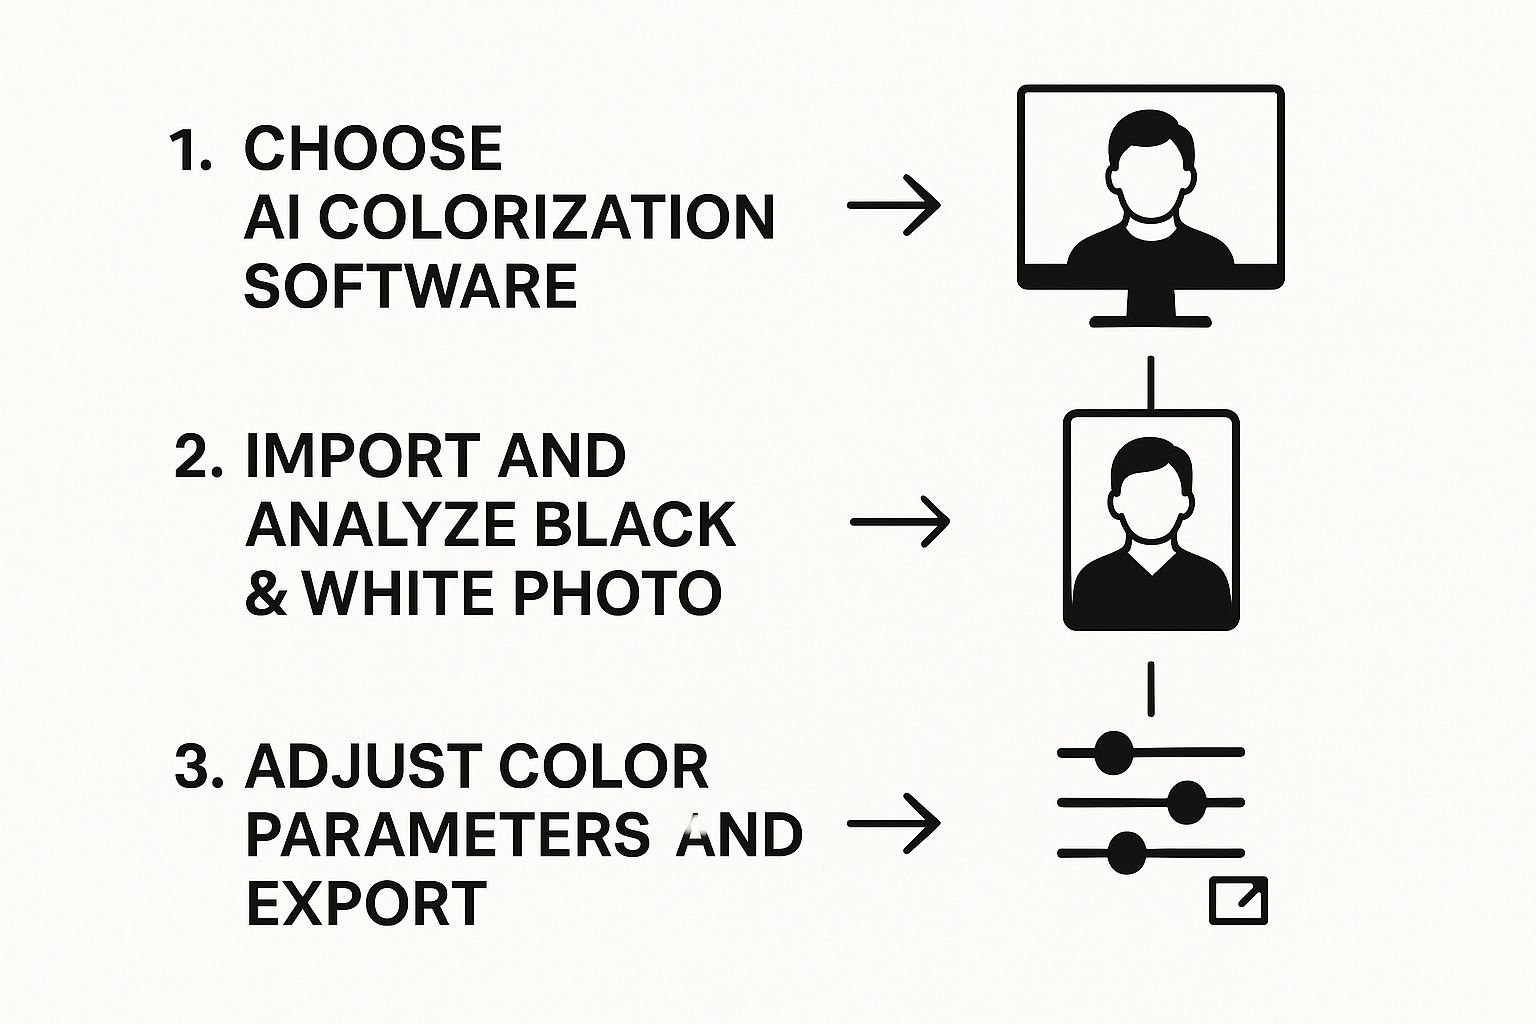
As you can see, the core workflow is just three main stages: getting the image in, letting the AI work its magic, and then fine-tuning the results.
How to Interpret and Refine the AI's Result
With your photo uploaded, it's time to let the AI do its work.
- Start the Process: Click the "Colorize" button. The AI will draw on its training from millions of images to predict and apply the most likely colors to your photo. The first result will appear in seconds.
- Evaluate the Initial Output: Don't just accept the first result as final! Look closely at skin tones, clothing, and background elements. The AI's first attempt is a fantastic starting point, but small tweaks can make it much more believable.
- Adjust the Sliders: Use the provided editing sliders to refine the image. Here's a quick tutorial on what to do:
- Saturation: If the colors look a bit pale, gently increase the saturation. If they look too cartoonish, dial it back for a more natural feel.
- Color Balance/Temperature: If skin tones look too blue or "cool," nudge the temperature slider towards yellow/warm. If an outdoor scene looks too orange, slide it slightly towards blue.
- Contrast: A small boost in contrast can make the colors pop and add depth, making the image feel more alive.
- Download Your Masterpiece: Once you're happy with your adjustments, click the "Download" button to save the final, beautifully colorized photo.
A common mistake I see is people treating the first AI-generated version as the finished product. The most believable and moving results almost always come from making small, manual tweaks to guide the AI.
Step 3 (Pro Tips): Achieving More Realistic Colors
Once you've mastered the basics, it's time to think more like an artist. The secret to truly stunning results when you colorize black white photos is about guiding the AI with a human touch. This means considering historical context and making smart, targeted edits.
For example, a photo from the 1940s would have more muted, earthy tones due to the film stocks of the era. A photo from the 1970s would have much more vibrant, saturated colors. If your AI result doesn't match the era, you can manually pull back the saturation to give it a more authentic feel.
Tutorial: Correcting Specific Colors with Masking
Sometimes, the AI gets a specific color wrong—like making a dress blue when it was green. You can fix this with a free tool like GIMP or the browser-based Photopea.
- Open Your Colorized Photo: Load your AI-colorized image into the editor.
- Select the Problem Area: Use the "Lasso Select" or "Magic Wand" tool to draw a careful outline around the object with the incorrect color (e.g., the dress).
- Open Hue/Saturation: Find the color adjustment tools, usually under
Image > Adjustments > Hue/Saturation. - Change the Color: With only the dress selected, gently move the "Hue" slider. You'll see the color of the dress shift in real-time. Stop when you reach the correct shade (e.g., from blue to green).
- Fine-Tune and Deselect: You can also adjust the saturation and brightness of just that object to make it look natural. Once done, deselect the area (
Select > Deselect).
This method gives you pinpoint control to fix errors without disturbing the parts the AI got right. For more advanced tips, our guide on enhancing old photographs has other useful techniques.
The Power of Layering: A Creative Technique
Here's a pro move: layering multiple AI versions. Different tools might colorize the same photo differently. One might create perfect skin tones but an odd background, while another nails the background but messes up the faces. You can combine the best parts of both.
How to Layer: Run your photo through two different colorization tools. Open both versions as layers in an editor like GIMP or Photopea. Place the version with the better faces on top. Add a layer mask and use a soft black brush to "paint" over the background on the top layer, revealing the better background from the layer beneath it.
This technique is a lifesaver for complex scenes. It’s a creative way to team up with the AI, combining its strengths to produce one final image that’s far more realistic than either version was on its own.
How Color Changes Our Connection to the Past
When you colorize black and white photos, you’re doing a lot more than just a simple technical edit. It's about bridging an emotional and psychological gap that often separates us from history. A monochrome photo of a distant relative or a historical event can feel abstract and far away, almost like a scene from an old storybook.
Adding color completely shatters that feeling.
All of a sudden, you see the warmth in someone's skin or the familiar glint in their eyes. The world they lived in becomes tangible, immediate. This shift makes history feel less like something you just read about and more like a moment you could have actually been a part of.
Making History Relatable
This powerful effect isn’t just for dusting off old family albums. Museums, archives, and documentary filmmakers have caught on, using colorization to pull modern audiences into historical narratives. When they present historical events in color, the scenes feel more urgent, and the people in them feel more... well, real.
The results are pretty striking. Some studies have found that colorized historical photos can boost viewer engagement by up to 40% when compared to the original black-and-white versions. This happens because people find the color images more vivid and relatable, which shrinks the emotional distance between yesterday and today. You can see more on this trend and how AI is influencing photography on lummi.ai.
Seeing a famous historical photo in color for the first time can be a genuinely profound experience. It completely reframes your understanding, offering a new perspective on moments you thought you knew inside and out. It makes them feel more human and less monumental.
A New Lens on Familiar Moments
Think about a classic portrait of Abraham Lincoln or a candid street photo from the Great Depression. In black and white, they’re historical artifacts. But in color, they become windows. You start to notice the subtle texture of a coat, the different shades of green in a landscape, or the quiet weariness in a person's face in a way monochrome just can’t capture.
This whole process helps us connect on a much deeper, more empathetic level. It’s a key part of a bigger movement where technology is making our visual history more accessible and alive. You can see how this fits into the larger picture by checking out our guide on the world of AI image enhancement.
Ultimately, adding color reshapes our perception of the past. It proves that sometimes, seeing history in a new light is the best way to truly understand it.
Your Questions About AI Colorization, Answered
As you start to colorize black and white photos, you’re bound to have some questions. It’s powerful technology, for sure, but knowing its limits is just as important as knowing its strengths. Let's walk through some of the most common things people ask when they're just getting started.
Getting these answers upfront helps set the right expectations. You'll know when a single click is all you need and when a photo might need a little extra love to get it just right.
Will the Colors Be Historically Accurate?
This is probably the biggest question on everyone's mind. The honest answer? Probably not perfectly accurate, but they will be plausible. Think of AI colorization tools as artists, not historians. They've been trained on millions of modern color photos, and they use that vast library of knowledge to make very smart guesses.
The AI looks at the shades of gray to figure out what it's seeing—sky, grass, a brick wall, a cotton dress—and then applies the color it expects to see. It knows that sky is usually blue and grass is typically green.
The AI's color choices are all about probability, not historical certainty. It’s fantastic at creating a believable scene, but it won't know that your great-aunt’s favorite dress was emerald green instead of sapphire blue.
It can get a little tricky with very specific, man-made objects. Things like old military uniforms or the exact paint color of a vintage car are often outside its training data. For those, you might need to jump in and do some manual color correction to really nail the historical details.
Can I Colorize Very Old or Damaged Photos?
Absolutely, but the quality of your original image is a huge factor. An AI can definitely work its magic on a photo that's a bit faded or has minor scratches, but the final result will carry those imperfections over.
Here’s an easy way to think about it: if a detail is totally blown out or hidden behind a big tear in the original photo, the AI has nothing to work with. It can’t colorize information that simply isn’t there.
- For the best results: Run your photo through a restoration tool first. Repairing cracks, cleaning up dust, and boosting the contrast will make a world of difference.
- Then, colorize: Once you have a clean black and white image, the AI has a much better canvas to work on. The final colors will look cleaner, richer, and far more vibrant.
How Does Image Resolution Affect the Final Result?
Resolution is critical. It's one of the most important ingredients for a great result. A high-resolution scan gives the AI more pixels—more data points—to analyze, which almost always leads to a sharper, more detailed colorization. A low-res image has less information, so the AI is forced to make bigger, less precise guesses.
You'll really see the difference in the finer details, like:
- The texture in a piece of fabric
- Individual strands of hair
- Small elements in the distant background
Higher resolution allows the colors to have more nuance and avoids that "blocky" look. While you can certainly colorize black and white photos from a small digital file, you'll get the absolute best results by starting with the highest-resolution scan you can get your hands on.
Ready to see your own history in a new light? Stop imagining and start creating. AI Photo HQ gives you the tools to instantly restore and colorize your cherished memories with stunning results.

