Before you even think about designing your Facebook cover photo collage, you need to get one thing straight: this isn't just a pretty banner. Your cover photo is the very first thing people see when they land on your page. It's your digital handshake, and it sets the tone for everything else.
Why a Collage Is Your Best Bet for Facebook
Your cover photo is prime digital real estate. Sure, a single stunning image can work, but a well-designed collage? That tells a much richer, more complete story. It lets you hit your audience with multiple key messages at once, without ever feeling cluttered or overwhelming.
Think about it from a small business owner's perspective. You could use a collage to show off a whole range of your best-selling products, give a sneak peek behind the scenes, and even drop in a few glowing customer photos. All in one go. This transforms that static banner into a dynamic introduction to who you are and what you do, building trust from the moment someone arrives.
Tell a Bigger Story, Faster
A collage gives you the canvas to communicate things a single photo just can't. It's like having a mini-billboard with different panels, each one adding another layer to your brand's narrative. This approach is perfect for things like:
- Launching a new product line: Show off multiple items and their best features.
- Introducing your team: Put a face to the name and make your brand feel more human.
- Highlighting company values: Use images that show what you stand for, like community involvement or sustainability efforts.
This kind of visual storytelling is incredibly powerful. People form an impression of your brand in just 0.05 seconds, which means your cover photo is doing some seriously heavy lifting. We've seen that pages with polished, cohesive visuals—like a great collage—are up to 40% more likely to turn casual visitors into loyal followers. If you want to dive deeper, check out these insights about social media image strategy to see just how much visuals can drive engagement.
A great Facebook cover photo collage doesn't just fill space—it guides the visitor's eye, tells a story, and sets the tone for your entire page. It's your most immediate and impactful branding tool.
Getting the Technical Details Right Before You Start
Before you jump into the fun part—actually designing your collage—let's cover the technical groundwork. Trust me, getting this right from the start saves a ton of headaches later. A beautiful collage can quickly turn into a blurry, awkwardly cropped disaster if you ignore Facebook's specific rules.
The absolute most important thing to get right is the dimensions. For a standard Facebook page cover, you’re aiming for 851 pixels wide by 315 pixels tall. This locks you into a wide 2.7:1 aspect ratio.
But here’s the catch: Facebook displays that same image completely differently on mobile, cropping the sides and showing it at around 640 by 360 pixels. This means your design has to work in two very different shapes. If you want to get a better handle on how these ratios work, our guide on how to change the aspect ratio of an image is a great resource.
Respecting the Mobile Safe Zone
This is where so many great designs fall apart. Since mobile phones chop off the sides of your cover photo, you have to keep all your critical elements—like text, logos, or the main faces in your photos—tucked into a central "safe zone."
A good rule of thumb is to imagine invisible borders about 90-100 pixels in from both the left and right edges of your desktop design. Anything you place outside that central area is almost guaranteed to get cut off on a smartphone.
Think of the mobile safe zone as your main stage. Place your most important content here to ensure it's visible to the vast majority of users who browse Facebook on their phones.
Navigating these different sizes can be tricky, so here's a quick cheat sheet to keep handy.
Facebook Cover Photo Dimensions Cheat Sheet
This quick reference guide breaks down the correct image sizes to ensure your cover photo looks great everywhere it's seen.
| Placement | Desktop Dimensions (pixels) | Mobile Safe Zone (approx.) | Recommended Aspect Ratio |
|---|---|---|---|
| Personal Profile | 851 x 315 | Center 640px wide | 2.7:1 |
| Business Page | 820 x 312 | Center 640px wide | 2.63:1 |
| Group Cover | 1640 x 856 | Center 922px wide | 1.91:1 |
| Event Cover | 1920 x 1005 | Center 1120px wide | 1.91:1 |
Having these numbers on hand ensures you're starting your design on the right foot, no matter what kind of page you're creating for.
File Type and Size Matter
Finally, let's talk about file format. For a collage packed with photos, colors, and gradients, a JPG is almost always your best bet. It delivers great quality without a massive file size, helping your page load faster.
However, if your design includes crisp text, a logo with a transparent background, or sharp graphic lines, a PNG will keep those elements looking sharp. Just be aware that PNG files are typically larger.
Whatever you choose, try to keep the final image file under 100KB. A smaller file is less likely to be mangled by Facebook's aggressive compression algorithm, which means your hard work will look just as professional on your page as it did in the editor. When you create a FB cover photo collage, paying attention to these details is just as crucial as the creative design itself.
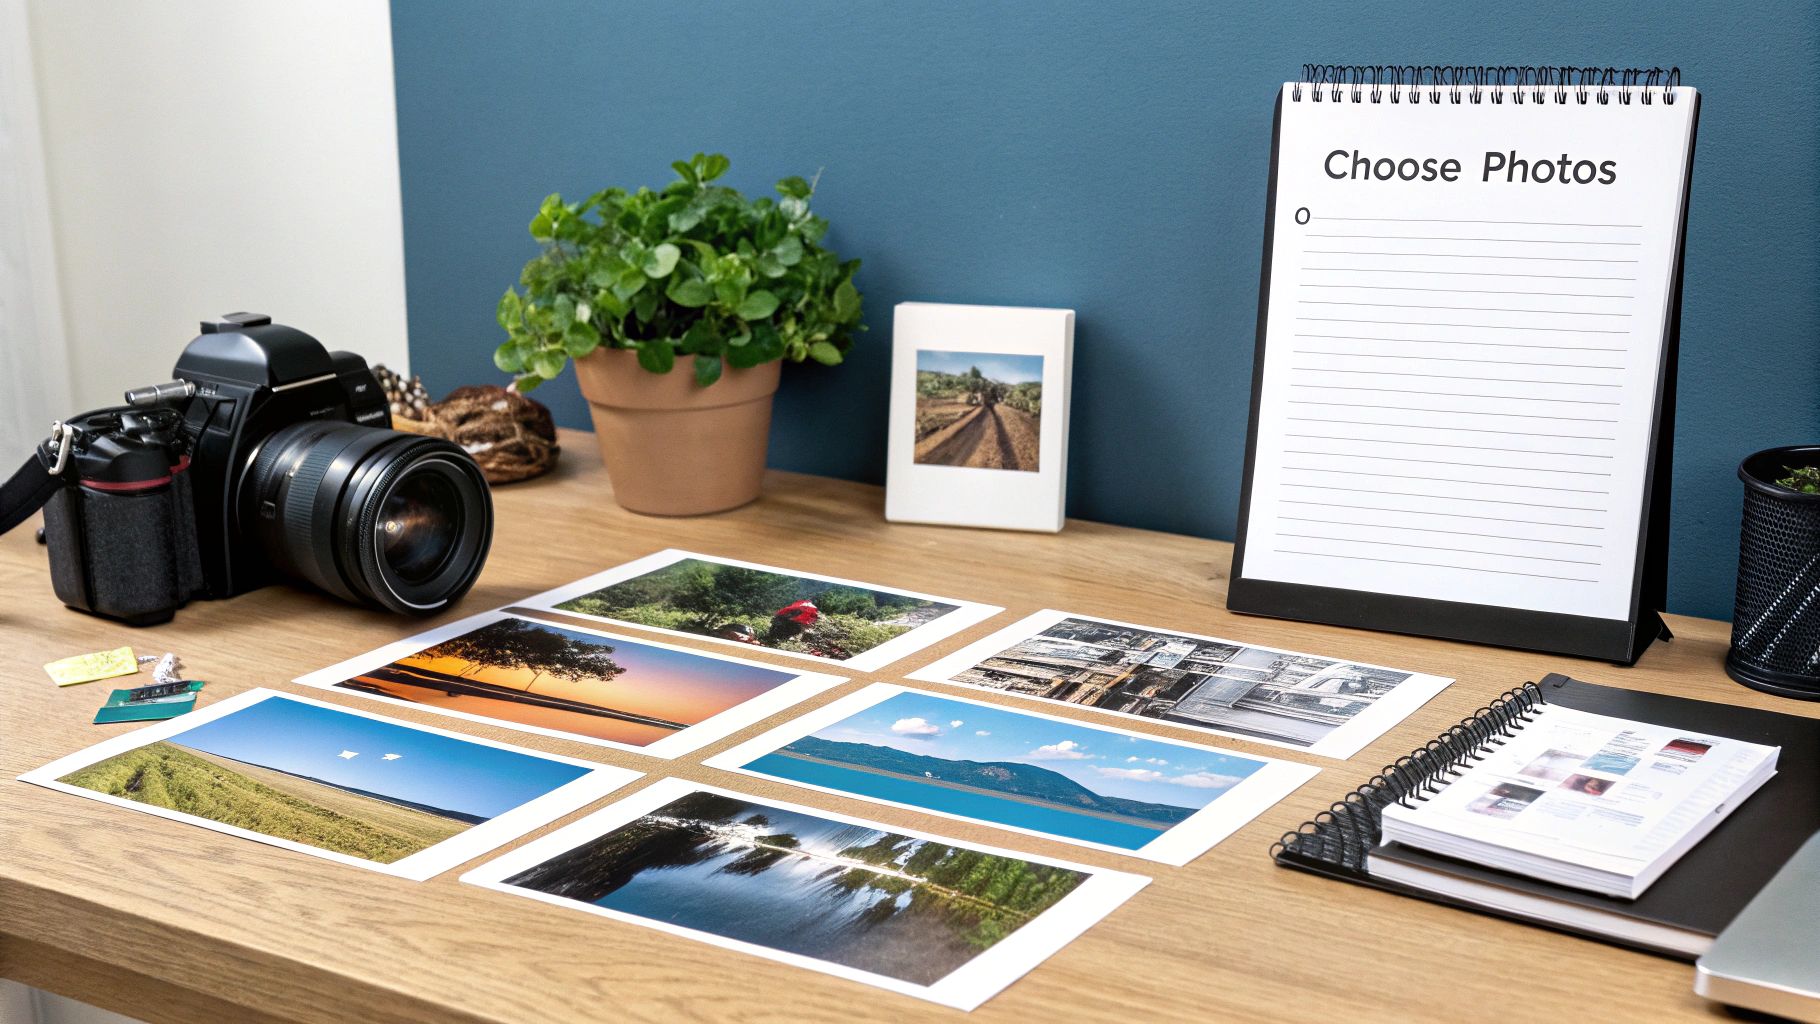
Step-by-Step: How to Create a FB Cover Photo Collage
Forget spending hours wrestling with complicated design software. Let's walk through a practical, step-by-step tutorial on how to create a stunning FB cover photo collage using a modern tool like AI Photo HQ. The process is designed to be quick and intuitive.
Let’s imagine you run a small online boutique and want to create a cover photo for a summer sale featuring three dresses and a key accessory.
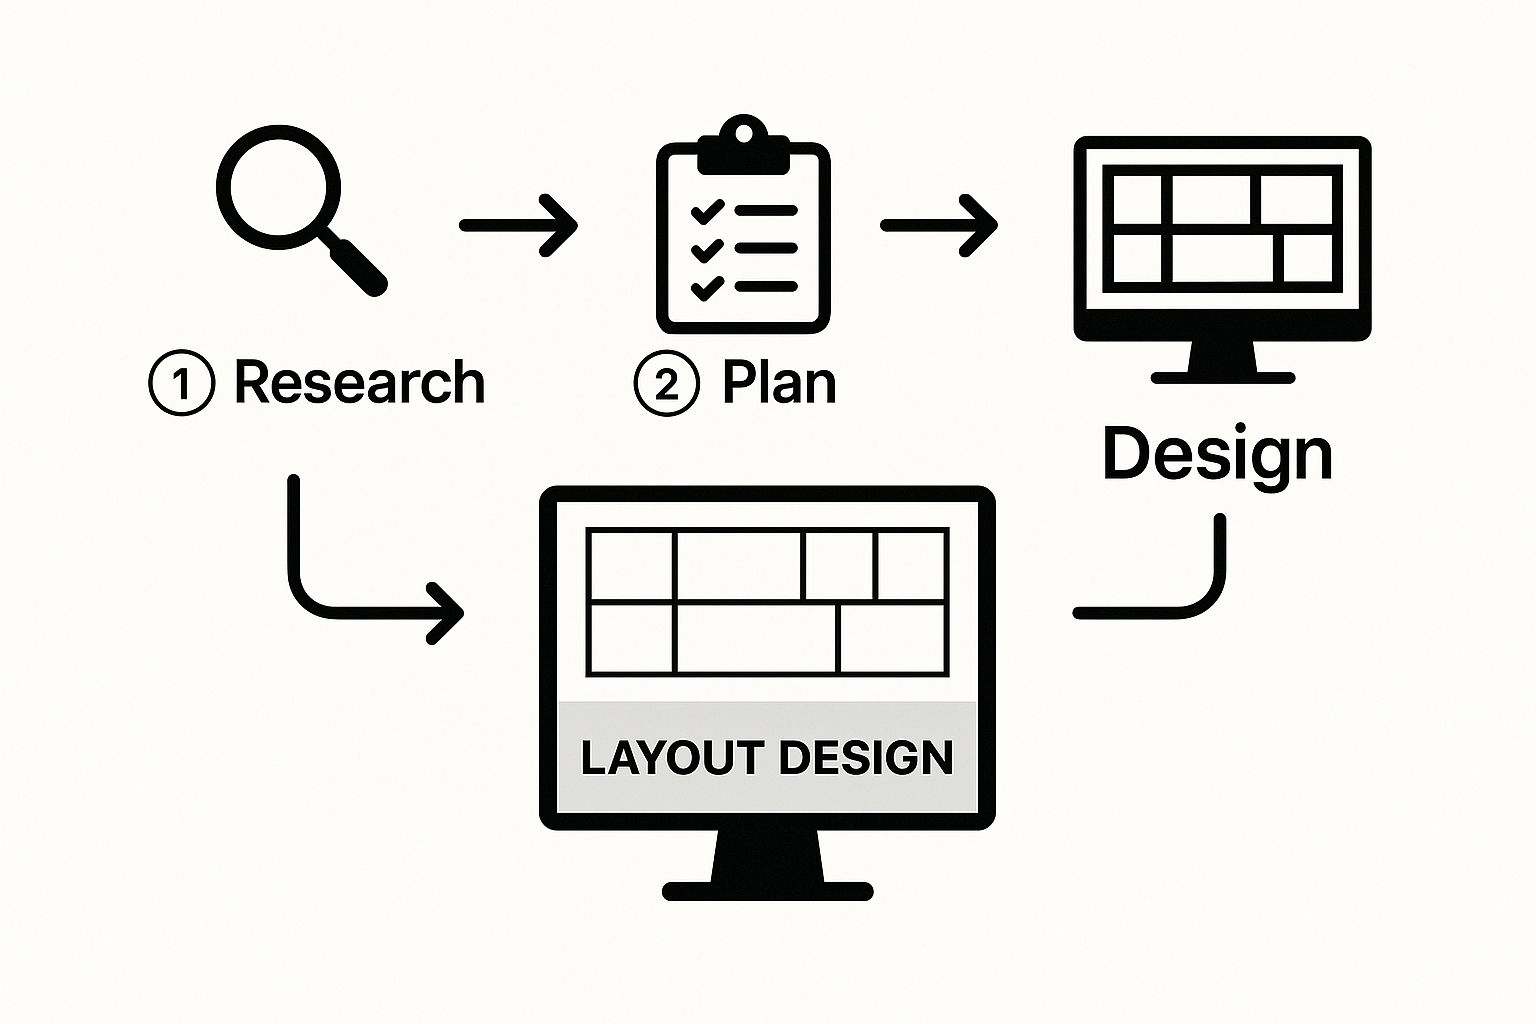
Step 1: Choose a Purpose-Driven Template
Instead of starting with a blank canvas, begin with a layout designed specifically for a Facebook cover.
- Open the tool and search for "Facebook Cover" templates. This ensures your canvas is already the correct size (e.g., 820 x 312 pixels).
- Browse collage layouts. Look for a grid that matches your content. For our boutique example, a four-cell grid is perfect—three larger cells for the dresses and one smaller, distinct cell for the accessory.
- Select the template. This pre-sized layout becomes the foundation of your design.
Step 2: Add and Arrange Your Photos
Now it's time to bring your images into the template.
- Upload your photos. Select your high-quality product shots and upload them to the design tool's media library.
- Drag and drop. Simply drag each photo from your library and drop it into one of the cells in your collage template. The images will automatically snap into place.
- Adjust positioning. Click on any image within its cell to reposition it. For instance, you can drag an image of a dress slightly to the left to better showcase a specific detail.
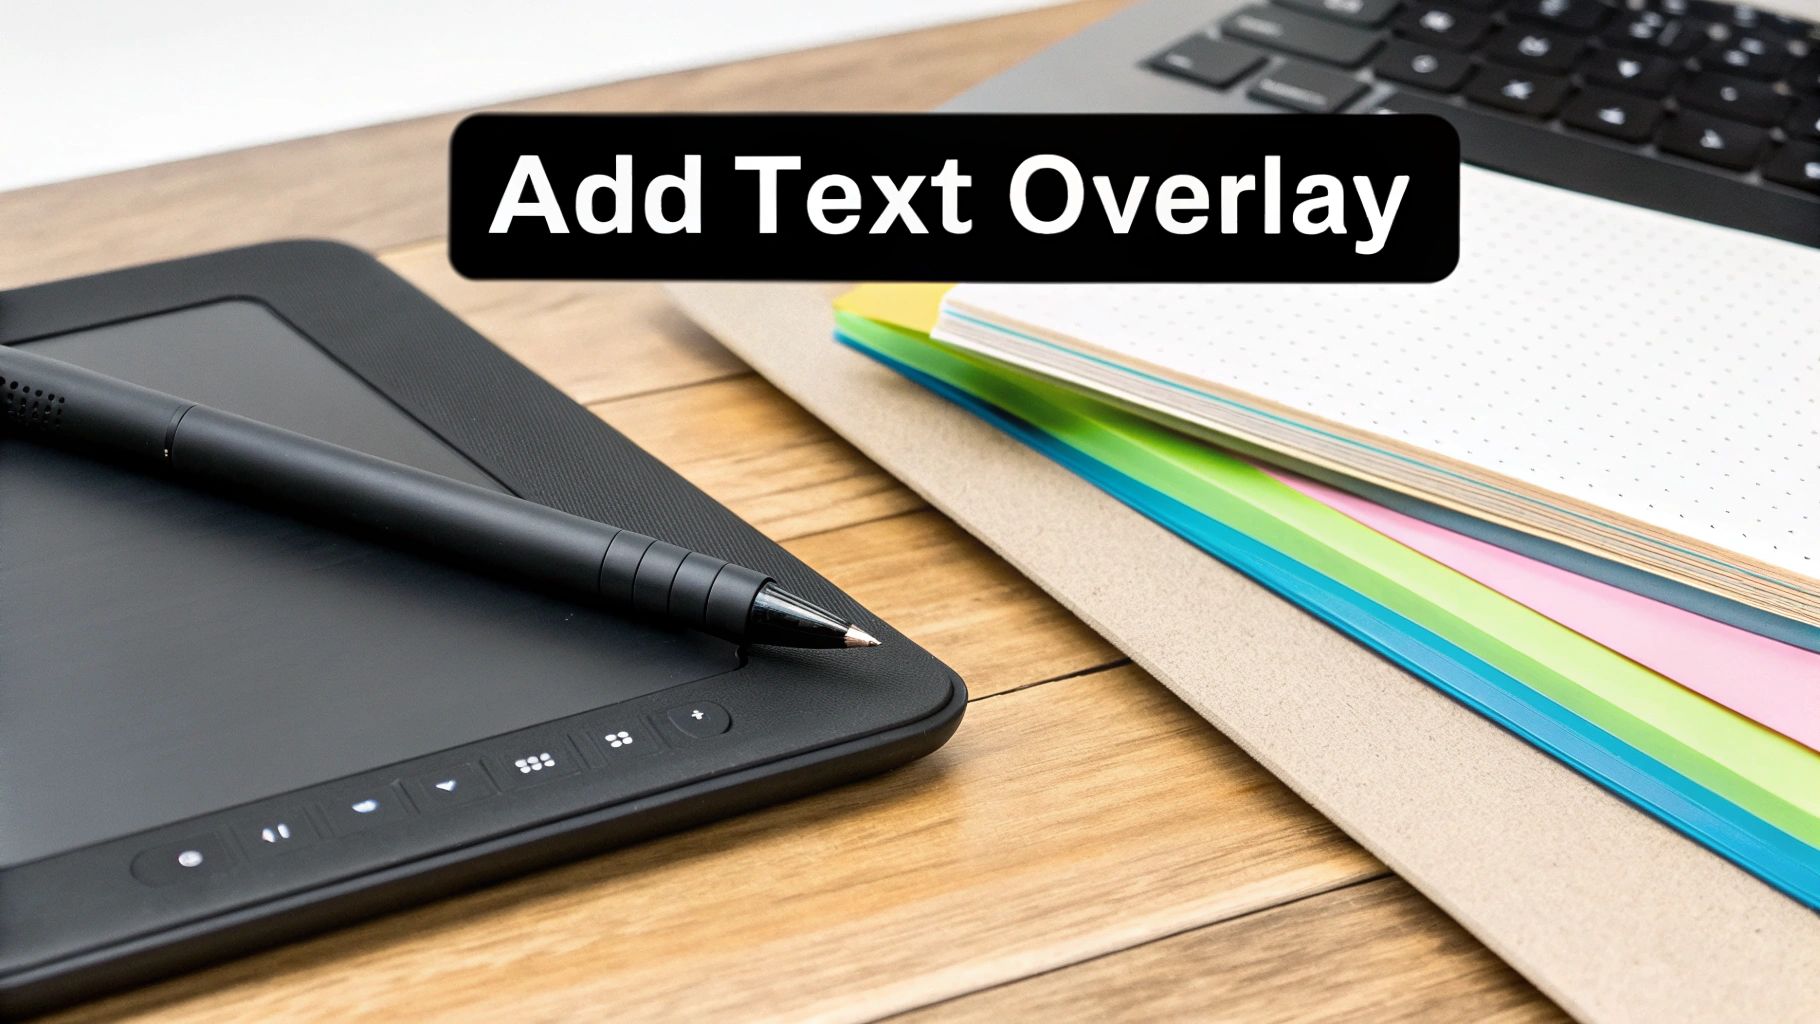
Step 3: Customize with Brand Elements and Text
With your photos in place, infuse your brand's personality into the design.
- Apply brand colors. Select the grid lines or background and change the color to match your brand's palette. For our boutique, a soft pastel color in the spacing between photos creates a cohesive look.
- Add your logo. Upload your logo (preferably a PNG with a transparent background) and place it in a corner, like the bottom right. Keep it within the mobile-safe zone.
- Insert a call-to-action (CTA). Add a text box and type a clear, punchy message. For example: "Summer Sale On Now - 25% Off".
- Format your text. Choose your brand font (or a clean, readable alternative) and set the color and size. Position the text box across the bottom third of the collage, ensuring it's centered for mobile visibility.
A great collage isn’t just a collection of nice photos; it's a branded asset. Using your specific brand colors and fonts turns a simple image grid into a powerful marketing tool.
Modern platforms pack in a massive library of design tools, which makes getting professional results accessible to pretty much anyone. To really see how this has changed the game, it’s interesting to look at how Canva dominates graphic design by making complex tasks incredibly simple. Before you finish, give the whole design one last look. And if you're looking to dive even deeper, be sure to check out our guide on other powerful AI tools for photo editing.
Design Pro-Tips for an Effective Collage
So you’ve got the steps down, but what really separates a decent collage from a professionally designed one? It's all about applying a few key design principles. This is how you transform a simple photo arrangement into a genuine marketing asset.
Establish a Strong Visual Hierarchy
A professional-looking collage isn't just a random jumble of pictures; it’s a curated story that guides the viewer's eye. Here's how to do it:
- Pick a "hero" image: Choose the single most important photo in your collage. This could be your best-selling product, a team photo, or an image that captures your brand's essence.
- Make it dominant: In your collage layout, assign the largest cell to this hero image. The surrounding photos should be smaller, acting as support.
- Example in action: A bakery launching a new cake could use a large, mouth-watering shot of the cake as the hero, surrounded by smaller images of happy customers enjoying a slice. The hierarchy makes the message—"Try our new cake!"—crystal clear.
A well-designed collage isn't democratic. It has a clear leader. Your dominant image is the anchor, and the other photos are the supporting cast that completes the narrative.
Weave in Your Brand Identity
Brand consistency is key. Here’s a quick tutorial on how to integrate it seamlessly:
- Subtle Logo Placement: Instead of placing a large logo in the center, upload your logo and shrink it down. Place it in the bottom-right or top-right corner, ensuring it's visible but not distracting.
- Use Brand Colors for Borders: Click on the grid or frame of your collage. Find the color settings and input the hex code for your primary brand color. Applying this to the borders or spacing between photos creates a subtle but powerful visual link.
- Consistent Typography: When adding text, use your official brand font. If you don't have one, choose one font and use it consistently across your cover photo and other brand materials. This builds recognition.
For a little inspiration on how different brands nail this, take a look at these awesome photo collage examples that have mastered the art of branding. Finally, give your audience a clear next step by adding a simple call-to-action (CTA) like "Shop Our New Collection" or "Learn More," keeping it inside that all-important mobile safe zone.
Nailing the Landing: Exporting and Uploading Your Collage
You’ve put in the work and your collage looks fantastic. This final step ensures all that creative effort translates perfectly when it goes live. Here's your pre-flight checklist.
Step 1: Export with the Right Settings
- Find the "Export" or "Download" button in your design tool.
- Choose the file type: Select JPG for the best balance of quality and file size.
- Check the file size: Aim to keep the final file under 100 KB. If it's larger, look for a "Quality" slider and adjust it slightly until you're under the 100 KB threshold. This prevents Facebook's compression from blurring your image.
- Save the file to your computer.
Step 2: Upload and Final Adjustments on Facebook
- Navigate to your Facebook page.
- Hover over your current cover photo and click "Edit Cover Photo," then select "Upload Photo."
- Choose the collage file you just saved.
- Reposition if needed: Once uploaded, Facebook allows you to drag the image. Do not skip this step. Nudge your collage up or down until the most critical elements (like your hero image and CTA) are perfectly centered.
- Click "Save Changes."
Here's the most important tip I can give you: check it on multiple devices. The moment you hit "Save," pull out your phone and look at your new cover photo. Then, check it again on a desktop computer. This quick two-second check ensures nothing critical is getting cropped off and that your design looks incredible for absolutely everyone who visits your page.
For more technical details, Buffer has a great guide on social media image specs.
Got Questions About Your FB Cover Collage?
Once you start designing your Facebook cover photo collage, you'll probably run into a few common questions. No worries—I've got some quick answers to help you sidestep any issues and make sure your design is a winner.
How Often Should I Actually Update My Collage?
This is a great question, and the answer really depends on your goals. If you're running a specific campaign, a seasonal sale, or launching a new product, you absolutely need to swap it out to match. It keeps your marketing message consistent.
For general branding, a good rule of thumb is to refresh your collage every 3-4 months. This keeps your page from looking stale. Of course, if you have a timeless, brand-heavy design that's still getting great engagement, there's no harm in letting it ride a bit longer.
Can I Use a Video Instead?
Sort of. You can't make a collage of multiple videos, but Facebook does let you use a single video as your cover. It can be a pretty cool effect.
This guide sticks to static image collages for a couple of key reasons: they load much faster for visitors, and they're often way better for showing off multiple products or conveying different brand messages all at once. A single glance is all you get, and a collage makes the most of it.
What are the biggest mistakes people make? Easy. Forgetting about the mobile safe zones, using grainy, low-res photos, cramming way too many images into the design, and—the big one—not having a clear call to action to tell people what to do next.
Ready to pull your whole brand story together in one powerful image? With AI Photo HQ, you can knock out a professional FB cover photo collage using smart templates and tools that do the heavy lifting for you. Start designing your perfect cover photo today!

