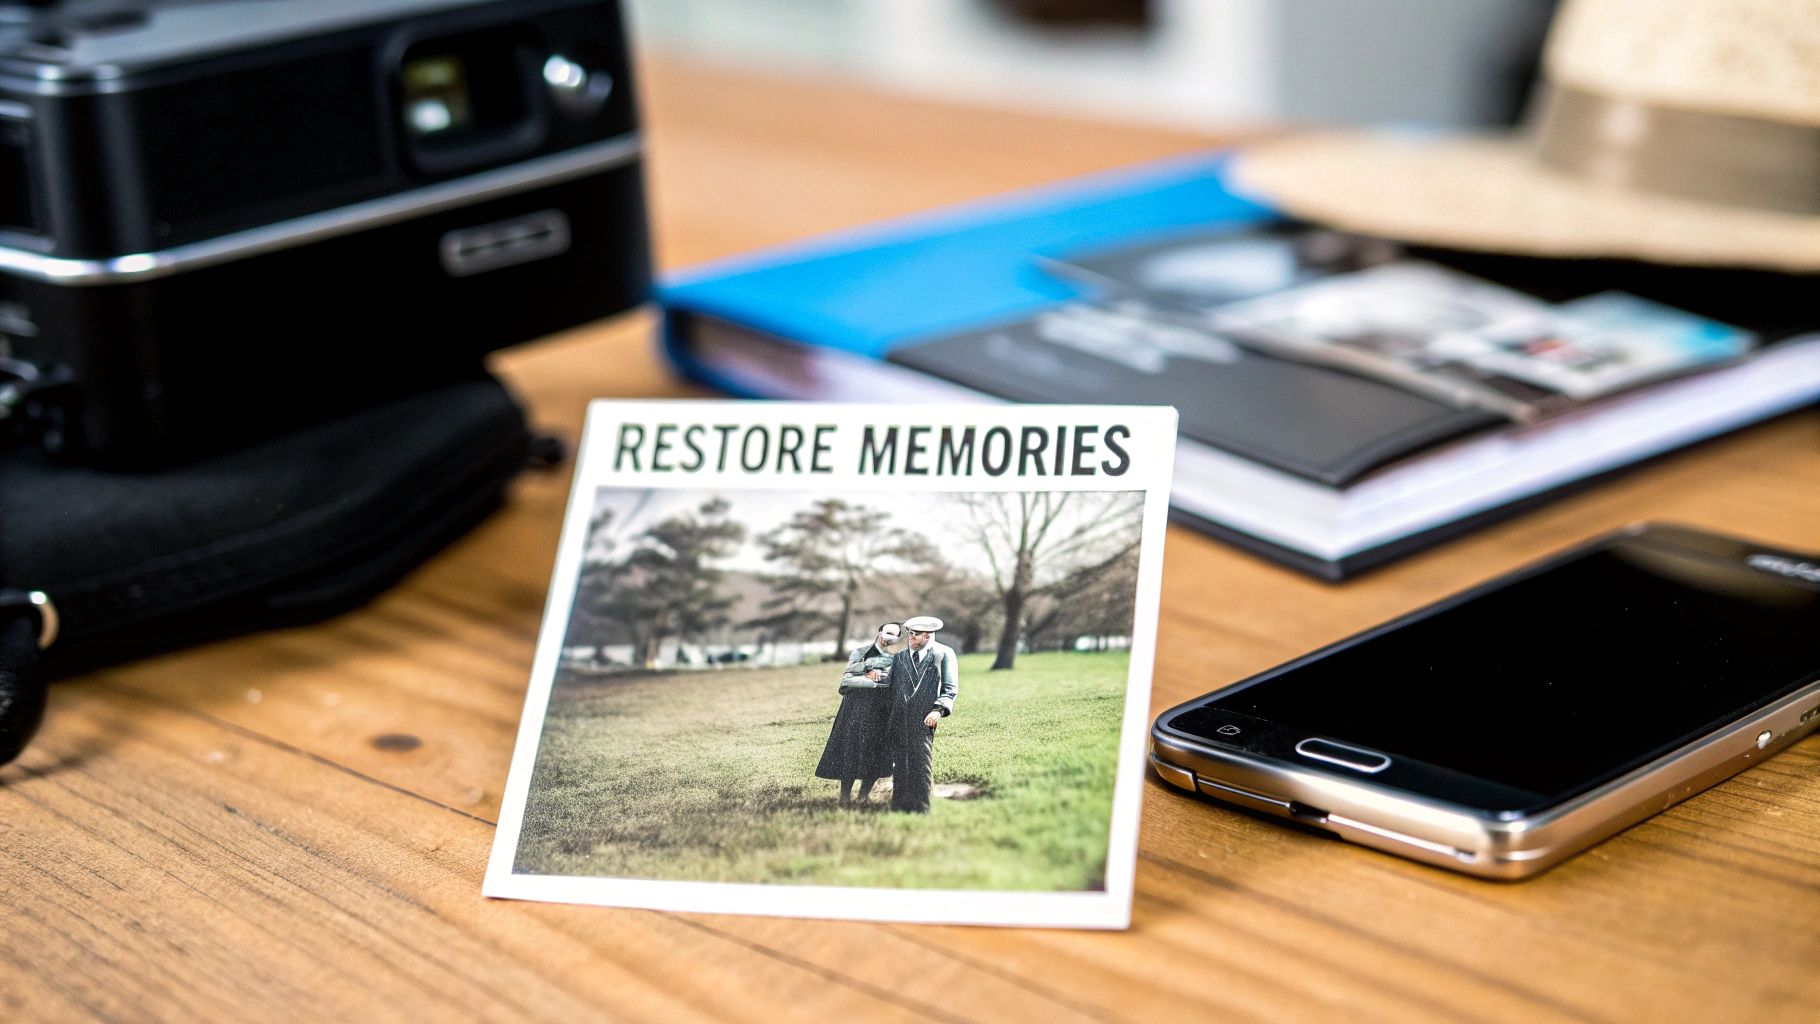
You don't need a wallet full of cash or a degree in graphic design to breathe new life into your old photos. Thanks to a new wave of free, AI-powered tools, you can fix scratches, sharpen blurry faces, and restore faded colors with just a few clicks. The results can be pretty dramatic, all without paying for a subscription.
How Free Tools Bring Photos Back to Life
Old photos have a tough life. They fade, get dusty, and the colors start to look a little funky over time. Digital restoration tools let you tackle each of these problems one by one, almost like a digital art conservator.
- No hidden costs: The tools we're talking about have genuinely free tiers, so you won't get hit with surprise charges.
- Surprisingly powerful features: You get access to advanced tools like color correction and sophisticated retouching that used to be exclusive to expensive software.
- Work from anywhere: Many of these are web-based or available as mobile apps, so you can restore photos on your laptop or even your phone.
This shift is part of a larger trend. So-called "prosumer" software—tools that pack professional-grade features into user-friendly packages—is expected to make up 44.6% of the photo editing market by 2025. It’s all about putting high-end capabilities into free plans for everyone to use. (Learn more about prosumer trends).
Top Free Photo Restoration Tools at a Glance
To help you pick the right tool for the job, I’ve put together a quick comparison of my favorite free options. Each one has its own strengths, so the best choice really depends on what your photo needs.
| Tool Name | Best For | Key Feature | Ease of Use |
|---|---|---|---|
| MyHeritage Photo Enhancer | Quick one-click fixes | AI-powered scratch removal | Very Easy |
| Photopea | Complex edits | Layer masks and filters | Moderate |
| GIMP | Detailed manual restoration | Clone Stamp and Healing Brush | Moderate |
| Remini | Mobile colorization | AI colorization models | Very Easy |
As you can see, the right tool really hinges on the level of damage and how hands-on you want to be. If you're just starting out, a one-click solution is perfect. For those who enjoy the process, a tool with more manual controls might be a better fit.
For instance, I had a scratched-up graduation photo that looked hopeless. A couple of clicks in MyHeritage, and the facial details were crisp and the tones were vibrant again. Another time, a yellowed family reunion picture needed more finesse, so I used the manual tools in Photopea to get it just right.
Key takeaway: You don't have to choose between saving your memories and saving your money. Free restoration tools give you the best of both worlds.
This blend of instant AI magic and detailed manual control means anyone can bring their family heirlooms back from the brink. Think about that wedding portrait from the 1950s or a holiday photo that suffered a bit of water damage—free tools can help you honor those moments.
Ready to get started? In the next sections, we'll dive into the nitty-gritty of scanning your prints properly and then walk through the actual restoration steps.
Digitizing Your Photos for the Best Results
The entire success of your photo restoration hinges on one thing: the quality of your digital file. It’s a simple truth of the process—a blurry, low-quality scan will only ever produce a blurry, low-quality restoration. Think of this first step as laying the foundation for everything that comes after.
If you’ve got a flatbed scanner, you're already ahead of the game. Before you even place a photo on the glass, give it a good wipe with a lint-free cloth. You'd be surprised how easily a tiny speck of dust or a fingerprint can turn into a major annoyance on your digital image.
Scanner Settings for Maximum Detail
Your goal here is to capture every last bit of detail locked away in that old print. To do that, you'll need to dive into your scanner's settings, which you can usually find under "Advanced Settings" or "Professional Mode" in your scanning software.
Here’s a step-by-step guide to dialing in your scanner:
- Set the Resolution: Find the setting for DPI (dots per inch). The higher the DPI, the more data you capture.
- For standard prints (like a 4x6): Set it to 600 DPI.
- For small photos (think wallet-sized): Crank it up to 1200 DPI. This lets you enlarge the image later without it turning into a pixelated mess.
- Choose the File Format: This is a big one. Always save your scans as either TIFF or PNG. These are "lossless" formats, meaning they keep all the original image information. JPEGs, on the other hand, compress files by throwing data away, which is the last thing you want.
- Turn Off Auto-Corrections: Many scanners try to "help" by automatically adjusting color or sharpening the image. For restoration work, disable all these features. You want the raw, untouched scan so you have full control later.
- Preview and Scan: Do a quick preview scan to make sure the photo is straight. Once you're happy, perform the full scan.
Capturing a high-resolution, lossless scan is non-negotiable. It's the difference between a restoration that looks "okay" and one that truly brings an old memory back to life.
No Scanner? No Problem
Don't worry if you don't have a dedicated scanner. Your smartphone is a surprisingly capable tool for this job, as long as you set things up right.
Here's how to get the best possible scan with your phone:
- Find the Right Light: Go to a spot with plenty of bright, indirect natural light, like near a window. Lay your photo on a flat surface.
- Avoid the Flash: Whatever you do, never use your phone's built-in flash—it will create harsh hot spots and ruin the color.
- Get Parallel: Hold your phone directly over the photo, making sure the camera is perfectly parallel to the surface to avoid warping the image.
- Use a Scanning App: For an even better result, an app like Google PhotoScan is fantastic. It walks you through taking a few shots from different angles and then stitches them together into a single, flat, glare-free digital copy.
Once you’ve digitized a handful of photos, your next challenge will be keeping them all straight. We've put together a handy guide on how to organize digital photos to help you build a system that works.
Using AI for One-Click Photo Restoration
So, you’ve digitized your old photos. Now for the fun part. Thanks to modern AI, restoring those precious memories is surprisingly easy—often taking just a single click. You don't need to be a Photoshop wizard to get incredible results almost instantly.
Let's walk through a real-world example using a tool like MyHeritage's Photo Enhancer. The process is designed to be intuitive and fast.
Your First AI-Powered Restoration: A Step-by-Step Guide
Here's a typical workflow for restoring a photo with minor scratches and fading:
- Upload Your Photo: Go to the website and find the "Upload" button. Select the high-resolution scan you created earlier.
- Let the AI Work: The tool will immediately analyze the image for flaws like scratches, fading, and blur. This usually takes just a few seconds.
- Review the Results: Most tools will show you a "before and after" slider. Drag it back and forth to see the improvements. The AI will have sharpened faces, balanced colors, and smoothed out minor damage.
- Try Additional Features (Optional): Look for other options like "Colorize" or "Repair." If your photo is black and white, the colorization feature can add realistic hues with another click.
- Download Your Restored Image: Once you're happy, download the final photo.
This graphic really breaks down the simple three-stage process that most free restoration projects follow.
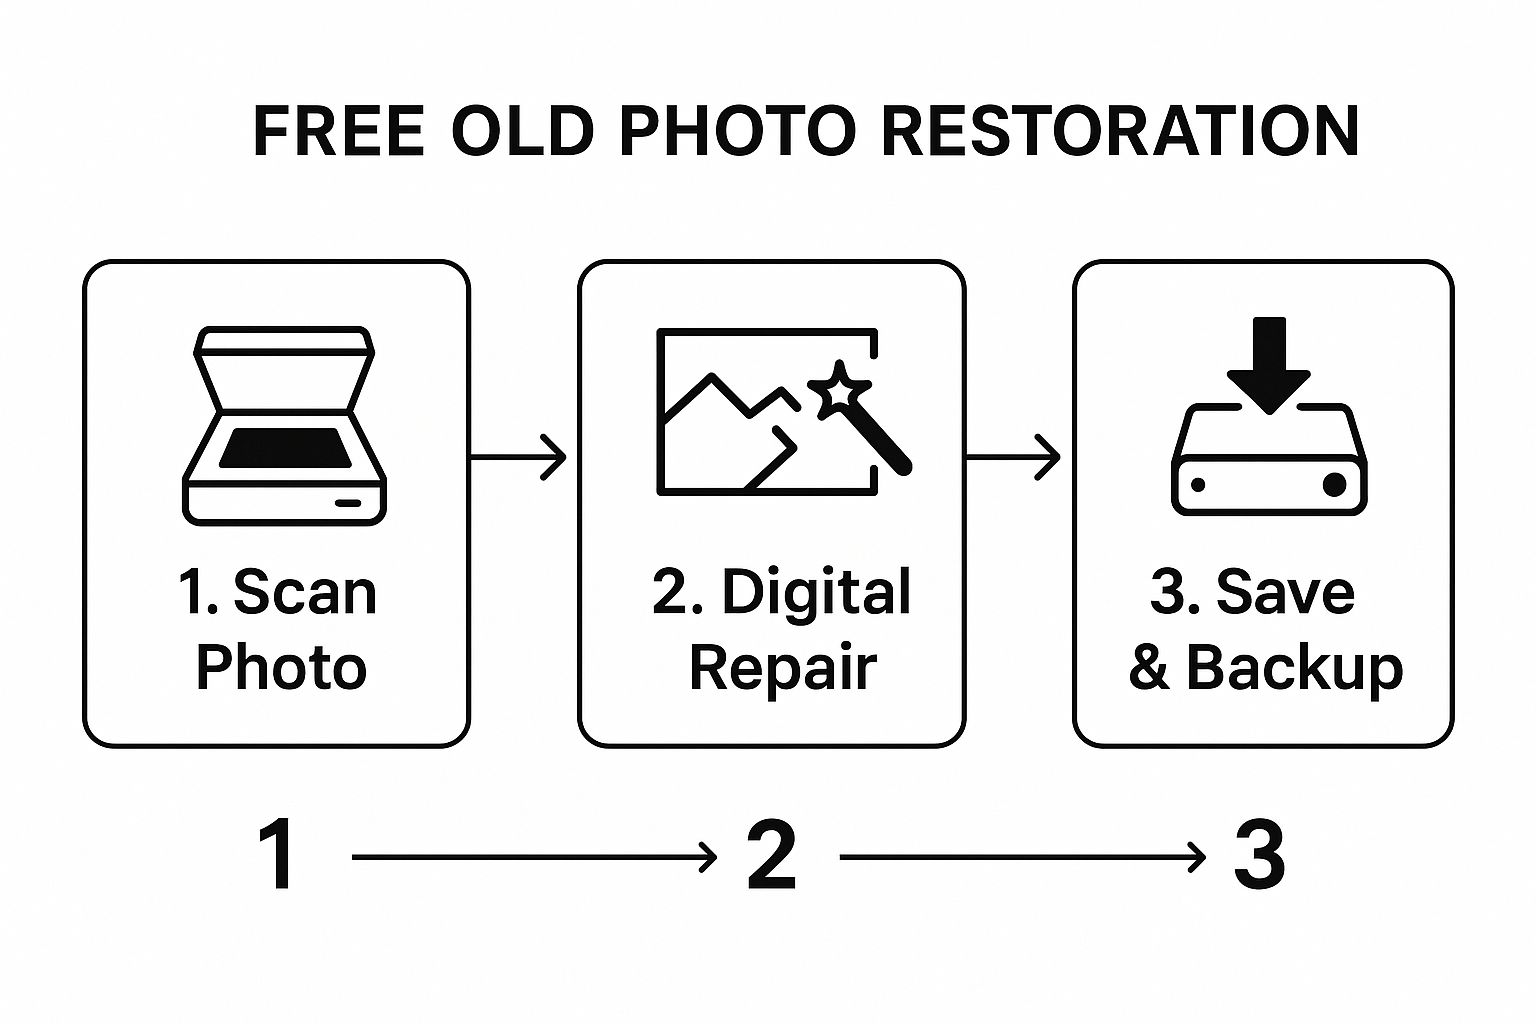
As you can see, getting a good quality digital scan is the foundation for everything that comes after. Garbage in, garbage out, as they say.
The explosion in this kind of tech is no surprise when you look at the numbers. The global photo editing software market was valued at around USD 2.37 billion in 2025 and is expected to climb to USD 3.29 billion by 2032. This growth is being pushed by the same AI and cloud-based tools that make one-click restoration a reality for all of us. You can read more about the photo editing market trends on GlobeNewswire.
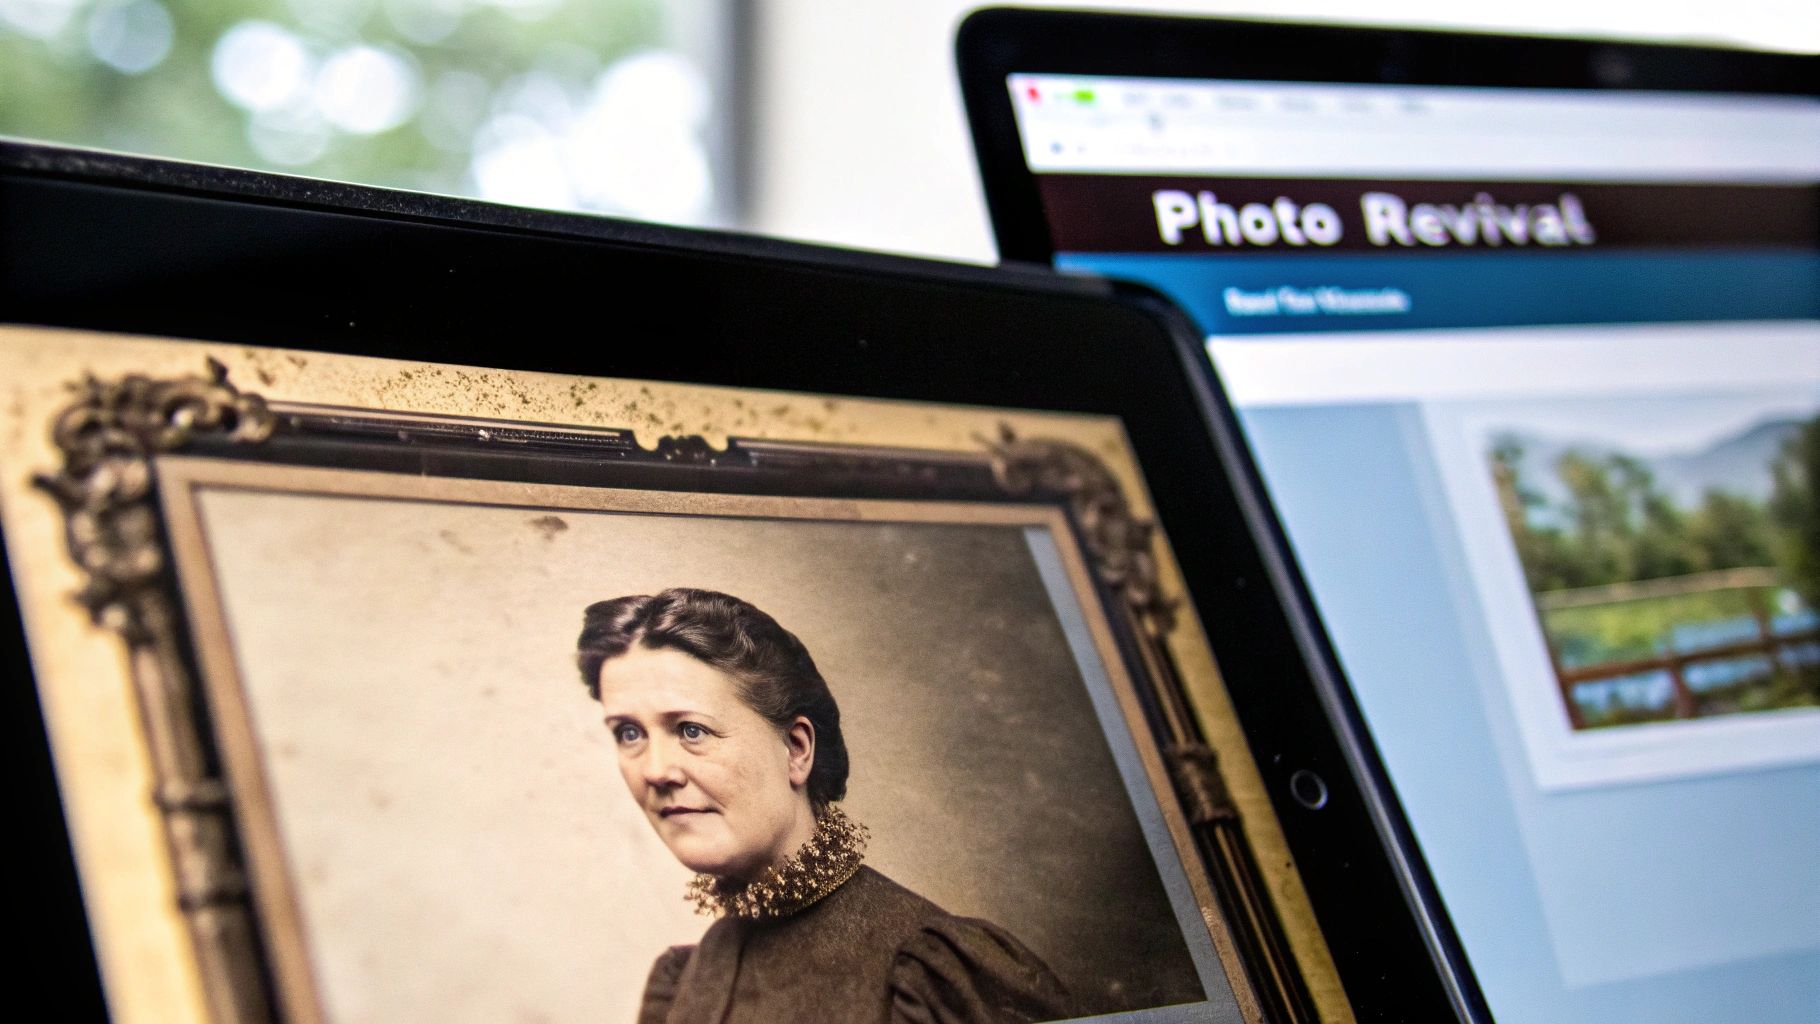
From Black and White to Full Color
One of the most jaw-dropping features is the AI-powered colorization. If you have an old black-and-white or sepia-toned picture, many free tools can breathe realistic color into it with a click. The AI is smart enough to analyze the different shades of gray to make educated guesses about the original colors of clothes, backgrounds, and skin tones.
A quick heads-up from my own experience: while AI colorization is amazing, it's not perfect. Sometimes the results can look a little unnatural. Always give the final image a once-over and don't be afraid to try another tool if the colors just feel "off."
Here’s a peek at what a typical user interface looks like. It’s built for simplicity.
The "drag and drop" feature shown here is a big reason why these tools are so great for beginners. No complicated menus to navigate.
After you upload your photo, the tool often gives you a cool side-by-side comparison of the before and after. The difference can be stunning—faces suddenly become sharp, and distracting scratches just vanish.
If you want to dive deeper and see what else is out there, we put together a guide covering various types of AI photo restoration software. It’s a fast, effective way to see your old memories in a whole new light.
Getting Your Hands Dirty: Manual Restoration with Free Software
While one-click AI tools are a godsend for quick fixes, some photos are just too far gone for an algorithm to handle alone. We're talking about the really tough stuff—deep scratches, massive water spots, or complex tears that rip through important details.
This is where you have to roll up your sleeves and get personal. Using free but powerful software like GIMP or the browser-based Photopea gives you the fine-tuned control needed for a proper, detailed free old photo restoration. You become the artist, not just the operator, meticulously repairing each flaw by hand. It takes more patience, sure, but the results you can get with irreplaceable family photos are absolutely worth it.
Tutorial: Fixing a Crease with the Healing Brush
Let's walk through a common problem: a crease running through someone's face. We'll use the Healing Brush tool.
- Open Your Image in GIMP or Photopea.
- Create a New Layer: Before doing anything else, create a new, transparent layer on top of your photo. This is your safety net. All your edits will go on this layer.
- Select the Healing Brush Tool: It usually looks like a band-aid.
- Choose a Source Point: Find a clean, undamaged area of skin near the crease. Hold down the Ctrl (or Cmd on Mac) key and click on this clean area. This "samples" the texture and color.
- Paint Over the Damage: Release the Ctrl/Cmd key. Now, carefully paint over the crease. The tool will copy the good texture from your source point and blend it seamlessly with the area you're fixing.
- Repeat as Needed: Continue sampling from nearby clean areas and painting over the damaged parts until the crease is gone.
The Clone Stamp tool works similarly but offers a direct copy-paste of pixels, which is perfect for rebuilding sharp edges or detailed patterns where blending isn't desired.
I once had to fix an old photo of my grandfather where a big crease ran right through his face. The Healing Brush saved the day. I sampled a clean patch of skin from his forehead and gently painted over the crease on his cheek. The tool blended everything so perfectly that the damage just vanished.
Rule Number One: Always Work in Layers
If you take away one pro tip from this, let it be this: work with layers. Never, ever make your edits directly on the original scanned image. By creating a new, transparent layer for your repairs, you create a safety net. If you mess up a section or decide a fix doesn't look quite right, you can just erase that part of the layer or delete it entirely without harming the original image. It's non-destructive editing, and it gives you the freedom to experiment until you get it perfect.
If you're curious about what other programs are out there, our guide on the best photo restoration software dives deep into all the options, both free and paid. Once you get a little practice with these manual techniques, you’ll be ready to tackle almost any damaged photo that comes your way.
Finishing Touches for a Professional Look

You've done all the heavy lifting—the tears are patched, the stains are gone. Now comes the part that really separates a good restoration from a great one: the final polish.
This is where you need a light touch. A classic mistake is cranking the sharpness way up. It might seem like a good idea, but it often creates a harsh, overly digital look that strips the photo of its vintage charm.
Here's a better approach for sharpening:
- Duplicate Your Layer: In your editing software, create a copy of your fully repaired image layer.
- Apply Sharpening: On the new layer, use a sharpening filter (like "Unsharp Mask" in GIMP). Be subtle.
- Use a Layer Mask: Add a layer mask to this sharpened layer and fill it with black. This will hide the sharpening effect completely.
- Paint in the Details: Select a soft, white brush and paint over the areas you want to sharpen, like the subject's eyes or details in their clothing. This applies the effect selectively, keeping the rest of the image natural.
Balancing Color and Authenticity
If you're colorizing a black-and-white photo, it's easy to get carried away with bright, modern hues. But authenticity is everything. Take a minute to search for popular car or fashion colors from that specific decade—it's a small step that makes a world of difference in believability. Use color balance and saturation tools to gently tone down overly vibrant colors until they feel period-appropriate.
The goal isn't to make an old photo look like it was taken yesterday. It's to present the best possible version of the original memory, preserving its historical character while removing the damage of time.
This dedication to preserving memories is part of a much larger trend. In fact, North America's photo editing software market was valued at USD 1.03 billion in 2024, a number largely fueled by people just like us wanting to restore family photos. You can dive deeper into the stats on the North American photo editing market here.
One last thing before you call it done: your file format. Don't let all your hard work go to waste with a poor export. Saving your final image as a TIFF or a high-quality PNG is absolutely critical, especially if you plan on printing it. These "lossless" formats protect every single pixel you've perfected, ensuring the final print is a true tribute to the original moment.
Common Photo Restoration Questions Answered
Curious about breathing new life into old prints without spending a dime? You’re not alone. Here are three questions we hear most when people start a free, at-home photo restoration.
Can I Fix a Heavily Torn Photo For Free?
Absolutely—but be ready to roll up your sleeves. Automated filters can handle scratches and color fades, but they often stumble over large gaps or deep rips. Instead, open up a free editor like GIMP and:
- Use the Clone Stamp to rebuild missing background sections by sampling from a nearby, intact area.
- Apply the Healing Tool to blend seams and soften edges where the cloned sections meet the original photo.
- Zoom in to at least 200% and take your time matching the original film grain and texture.
This hands-on method turns a messy tear into a neat repair.
Are My Photos Safe On Free Websites?
Protecting family memories is crucial. Before you upload, glance through:
- The site’s Privacy Policy to see how your data is used.
- The Terms of Service to check who owns the rights to uploaded and processed images.
- Any bullet points on data ownership—good services will state they don't claim your images.
If they explicitly state they won’t claim your images or share them without permission, you’re in good hands. If those details are buried or vague, look for a service that spells things out clearly.
What Is The Best Way To Print My Restored Photos?
Nothing beats holding a freshly restored print in your hands. To keep that clarity:
- Export your final image at 300 DPI at the size you want to print (e.g., for a 4x6 print, the image should be 1200x1800 pixels).
- Save the file as a TIFF or PNG (these formats avoid the quality loss of JPEGs).
- Double-check the printer's preview to avoid unexpected cropping.
Pro Tip: Print a small test shot before committing to a full batch. It’s an easy step that saves time and money.
Ready to create stunning, professional-quality images in seconds? Try AI Photo HQ and explore a world of creative possibilities with our powerful AI tools. Get started with AI Photo HQ today!

