A glitch photo effect is what happens when you intentionally corrupt a digital image. By adding pixelation, chaotic color shifts, and distorted lines, you can transform a normal photo into a unique piece of digital art. This guide will walk you through the practical steps to create this aesthetic, which mimics corrupted data or an old-school tech meltdown for a distinct, edgy, and retro vibe.
The Art of Digital Decay: Why Glitch Effects Resonate
Have you ever looked at a chaotic, distorted image and wondered why it’s so captivating? The glitch photo effect isn't just a random computer error anymore; it's a full-blown artistic style that people actively seek out. It manages to capture this perfect storm of retro tech nostalgia and modern digital chaos, creating visuals that are impossible to ignore.
It’s way more than just a filter. It's almost a statement on our relationship with technology. By intentionally creating these "errors," we're acknowledging the unpredictable and imperfect nature of our digital lives. In a world saturated with polished, perfect photos, embracing these flaws makes the visuals feel more authentic and human.
From Error to Art Form
The glitch effect we see today has its roots in a broader movement called glitch art, where artists purposefully use digital or analog errors for aesthetic reasons. Originally, a 'glitch' was just an unexpected bug in software, video games, or audio files. But back in the mid-1990s, artists started to see the potential in these hiccups, turning system crashes and data corruption into a brand-new visual language.
This pivot from accidental mistake to deliberate style has had a huge impact. You can spot it everywhere:
- Music Artwork: Album covers often lean on glitch effects to signal a rebellious or futuristic sound.
- Social Media: Influencers and brands use glitchy visuals to make their posts pop in a crowded feed.
- Marketing Campaigns: Companies adopt the aesthetic to look modern and connect with a younger audience.
The real magic of the glitch effect is its power to disrupt our expectations. It takes a familiar image and makes it feel unstable and new, forcing you to take a closer look and rethink what you're seeing.
The Modern Appeal of Digital Decay
Today, the glitch effect is thriving because it perfectly reflects our current fascination—and anxieties—with technology. It feels like a throwback to the dial-up days and a glimpse into a cyberpunk future all at once. This dual personality makes it an incredibly flexible tool for creative expression.
To help you get a better handle on the different aesthetics you can create, here's a quick look at some popular styles.
Popular Glitch Styles and Their Visuals
This table breaks down a few common glitch styles to help you decide which one best fits your project.
| Glitch Style | Key Visuals | Common Use Cases |
|---|---|---|
| Datamoshing | Pixel bleeding, blocky artifacts, smeared motion | Music videos, trippy animations, abstract art |
| VHS/Analog | Scan lines, color bleeding, tracking noise, static | Retro-themed content, nostalgic branding, film titles |
| Pixel Sorting | Streaks of sorted pixels, often in one direction | Abstract portraits, futuristic landscapes, graphic design |
| Chromatic Aberration | Color fringing, RGB splitting around edges | Sci-fi visuals, modern logos, high-energy marketing |
Choosing the right style is all about matching the vibe of your original image with the feeling you want to evoke.
The aesthetic of "digital decay" has found a strong foothold in modern art and even fashion, with the rise of things like Glitchcore T-shirts. Once you understand why it's so popular, you’re in a much better position to create glitch art that really lands, whether it’s for a personal project or a professional brand.
Step 1: Choose and Prepare the Right Photo
Ever notice how some glitch effects look incredible while others are just a chaotic mess? The secret isn't in the tool—it's in the photo you start with. Getting a professional result means picking an image with the right ingredients, so the effect enhances your subject, not swallows it whole.
Think of it this way: the chaos of the glitch needs a solid structure to play against. If you start with a photo that’s too busy or has low contrast, the effect just gets lost in the noise. The details blur together, and you lose all the impact.
How to Select the Ideal Image
So, what makes a photo perfect for a glitch effect? The best ones almost always share a few key traits. You're looking for images with strong subjects, defined lines, and a good amount of contrast between light and dark areas.
Look for these types of photos for the best canvas:
- Portraits: A clear focus on a person’s face or silhouette is fantastic. The glitch can warp and play with their features in really interesting ways without making them unrecognizable.
- Architectural Shots: Buildings are a personal favorite. The clean, geometric lines create a beautiful contrast with the random, chaotic nature of the glitch.
- Neon Cityscapes: These scenes were practically born for this style. The vibrant, glowing colors and deep shadows naturally amplify that retro-futuristic, cyberpunk vibe.
The goal is to find an image where the subject is easily recognizable. This allows the glitch effect to add a layer of complexity without completely obscuring the original content.
How to Prepare Your Photo for Glitching
Once you've got your photo, don't jump straight into the effects. A few simple tweaks beforehand can make a massive difference in how well the distortion and color shifts come through.
Follow these two simple preparation steps:
- Boost the Brightness and Contrast: Open your image in an editor and increase the contrast slightly. This makes the color channels pop, which is essential for a strong RGB split effect. It helps each color layer stand out.
- Crop for Composition: Use the crop tool to remove distracting background elements. By focusing the frame on your main subject, you give the glitch effect a clear focal point to work around.
Nailing this foundation is what separates a polished, professional-looking glitch photo from a muddy, confusing one. For more inspiration on what to shoot, check out our guide on creative photo ideas—you'll find tons of subjects that pair perfectly with this aesthetic.
Step 2: Create the Classic RGB Split Effect
Alright, let's get hands-on. The cornerstone of the glitch art toolkit is the RGB split, or chromatic aberration. This technique creates that classic, trippy look where the red, green, and blue color channels pull apart. It produces a distorted, almost 3D feel and is the foundational skill for any glitch photo effect.
The core idea is simple: you will duplicate your image onto separate layers and then nudge the color channels around. This tiny misalignment is what produces the entire effect.
This visual breaks down the basic workflow for pretty much any glitch project you'll tackle.
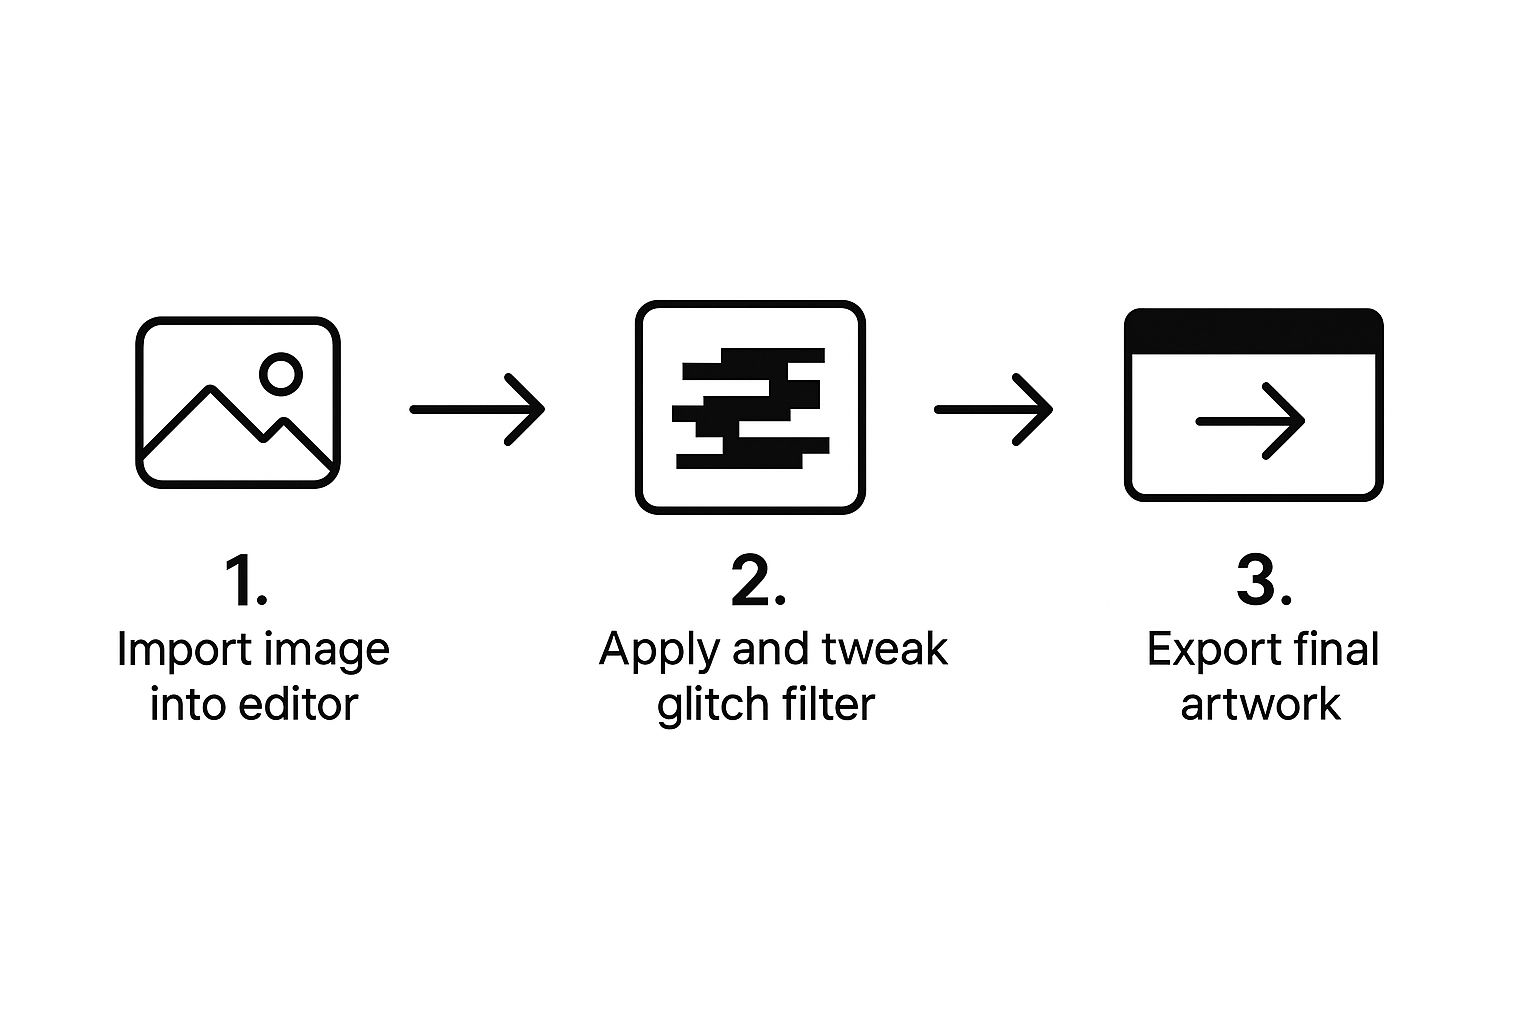
As you can see, the process itself is pretty straightforward. The real magic happens in that "tweak" phase, where you get to dial in the effect until it matches your vision.
Step-by-Step: Setting Up Layers and Channels
Let’s walk through this process using an editor like Photoshop or a free alternative with layer and channel controls.
- Open Your Image: Load your prepared photo into the editor.
- Duplicate the Layer Twice: In your layers panel, right-click your background layer and select "Duplicate Layer." Repeat this so you have three identical copies stacked on top of each other.
- Name Your Layers: To stay organized, rename the layers "Red," "Green," and "Blue."
- Isolate the Red Channel: Double-click the "Red" layer to open its Blending Options or Layer Styles. In the Advanced Blending section, uncheck the "G" (Green) and "B" (Blue) channels. Only "R" should be checked. Click OK.
- Isolate the Green Channel: Repeat for the "Green" layer, this time unchecking "R" and "B" so only "G" is active.
- Isolate the Blue Channel: Finally, do the same for the "Blue" layer, leaving only the "B" channel checked.
Pro Tip: At this point, your image should look completely normal again. That's a good sign! It means all three color channels are perfectly aligned. The fun begins when we start moving them.
Step-by-Step: Shifting Channels for the Glitch Effect
With your layers prepped, you can now create the glitch:
- Select the "Red" Layer: Click on the "Red" layer in your layers panel.
- Nudge the Layer: Using your keyboard's arrow keys, gently nudge the layer a few pixels to the left. You’ll immediately see red fringing appear around the edges of your subject.
- Select the "Blue" Layer: Now, click on the "Blue" layer.
- Nudge in the Opposite Direction: Using the arrow keys, move this layer a few pixels to the right. This push-and-pull between colors builds a dynamic glitch. I usually leave the "Green" layer centered to act as an anchor.
- Subtle Shifts: For a clean, modern chromatic aberration, try moving each layer by just 2-5 pixels.
- Intense Glitches: If you want a more chaotic and disruptive look, push them by 10-20 pixels or even more.
The key is to make small, deliberate adjustments. How far you push each channel defines the intensity of your effect. This technique is a staple for a reason and serves as a building block for more advanced glitch art.
Step 3: Layer Distortion for an Authentic Look
Once you've mastered the RGB split, it's time to build a more convincing glitch photo effect by stacking different kinds of distortion and texture. This is how you develop a signature style and make your images feel genuinely corrupted and dynamic, rather than just filtered.
Tutorial: Adding Subtle Wave Distortions
A great next step is to add a gentle wave distortion. This adds a more fluid, organic sense of chaos, like the image data is melting.
- Create a Merged Layer: Select your top layer and press
Ctrl+Alt+Shift+E(Windows) orCmd+Option+Shift+E(Mac) to create a new layer containing a merged copy of all visible layers. - Apply the Wave Filter: With the new merged layer selected, go to
Filter > Distort > Wave. - Adjust the Settings: In the Wave dialog box, keep the settings subtle. Set
Number of Generatorsto 1, use a longWavelength(e.g., Min 120, Max 350), and a lowAmplitude(e.g., Min 5, Max 20). SelectSinefor theType. Click OK. - Use a Layer Mask: The effect is now applied everywhere. To regain focus, add a layer mask to this wave layer. Select a soft black brush and paint over areas you want to remain sharp, like your subject's face. This keeps the subject clear while the background warps.
This technique adds a fantastic sense of movement and instability without totally wrecking your photo.
Tutorial: Adding Scan Lines and Digital Noise
To sell that "old-school tech" vibe, you need to add texture. Scan lines and digital noise mimic the flaws of old CRT monitors and corrupted video signals.
- Create a Scan Line Pattern: Create a new document (e.g., 4x4 pixels). Zoom in, and use the Pencil Tool (1px size) to draw a black horizontal line across the top 2 pixels. Go to
Edit > Define Pattern. - Apply the Pattern: Go back to your glitch photo. Create a new layer and go to
Edit > Fill. Choose your new pattern from the list. - Blend and Reduce Opacity: Set this pattern layer's blend mode to "Overlay" or "Soft Light." Lower the
Opacityto 5-15% until the effect is subtle. - Add Noise: Create another merged layer. Go to
Filter > Noise > Add Noise. Use a small amount (e.g., 2-5%), selectMonochromatic, and chooseGaussiandistribution. Click OK. This roughens up the image and makes the other distortions feel more natural.
Layering isn't just about piling on effects. It's a balancing act. You want each element to work with the others, building up a cohesive, believable picture of digital breakdown.
The Beauty of Accidental Glitches
Interestingly, some of the most powerful glitch art comes from real hardware failures. It’s this blend of creative intent and pure chance that makes the medium so exciting. The artist Polina Efremova stumbled upon this back in 2013 when her old PC started creating wild, unpredictable datamosh glitches when she played videos.
She started capturing these moments as still images, ending up with a series of one-of-a-kind photos that look more like abstract paintings. Her work is a perfect reminder that this art form has deep roots in actual digital history. You can check out some incredible examples of her accidental glitch art.
Here's one of the images that came from that happy accident.
As you can see, the original source is almost completely gone, replaced by vibrant blocks of color and distorted shapes. It's a perfect example of the artistic potential hiding inside genuine digital errors.
Step 4: Add Pro Touches With Color Grading and Sharpening
The raw glitch effect is cool, but final adjustments are what make an image pop. This is where you polish your creation with professional color and sharpening, turning the chaotic image into an intentional piece of art.
It’s a bit like mastering a recipe. The glitch effects are your core ingredients, but the color grade is the final seasoning that pulls the whole dish together. This is how you guide the visual narrative and lock in a specific aesthetic—whether you're aiming for cyberpunk, retro-futurism, or something else entirely.
How to Color Grade for a Cyberpunk Vibe
Color grading is all about setting the mood. For a classic cyberpunk look, you’ll want to lean into cool blues, electric pinks, and deep purples. A Color Balance adjustment layer is perfect for this.
Here’s a quick step-by-step recipe:
- Add a Color Balance Layer: Go to
Layer > New Adjustment Layer > Color Balance. - Adjust the Shadows: In the properties panel, select
Shadowsfrom the dropdown. Nudge the sliders towardCyanandBlueto give darker areas a cool, electronic feel. - Adjust the Midtones: Select
Midtones. Push the sliders a bit towardMagentato give your subject an iconic neon glow. - Adjust the Highlights: Select
Highlights. Add a touch ofYelloworRedhere to create a stark, futuristic contrast.
This selective color work makes the final image feel cohesive. If you want to go deeper, our complete guide to professional photo colour grading is packed with techniques you can use on your glitch art.
The most effective color grading doesn't just add color; it adds emotion. By carefully shifting hues, you can make an image feel nostalgic, aggressive, dreamlike, or dystopian.
How to Selectively Sharpen to Bring Back Focus
With all that digital distortion, it’s easy to lose your photo’s focal point. Selective sharpening brings back clarity where it matters most. You don't want to sharpen the whole image, as that would make the digital noise look harsh.
Follow this effective high-pass filter technique:
- Create a Final Merged Layer: Press
Ctrl+Alt+Shift+E(Windows) orCmd+Option+Shift+E(Mac) to create one final merged layer at the top of your stack. - Apply the High Pass Filter: Go to
Filter > Other > High Pass. Set a small radius, typically between 1-3 pixels, and click OK. Your image will turn grey. - Change the Blend Mode: In the layers panel, change this layer's blend mode to "Overlay" or "Soft Light." Your image's sharpness will return.
- Mask the Effect: Add a layer mask to the high-pass layer and invert it to black (
Ctrl+IorCmd+I). Select a soft white brush and paint over the areas you want to sharpen, like the subject's eyes or key features. This creates a crisp center of attention against a glitched-out background.
A Few Common Questions About Glitch Effects
Once you start playing around with the glitch photo effect, a few questions always seem to come up. Let's tackle some of the most common ones I hear, so you have clear answers to help you sharpen your skills and troubleshoot any issues.
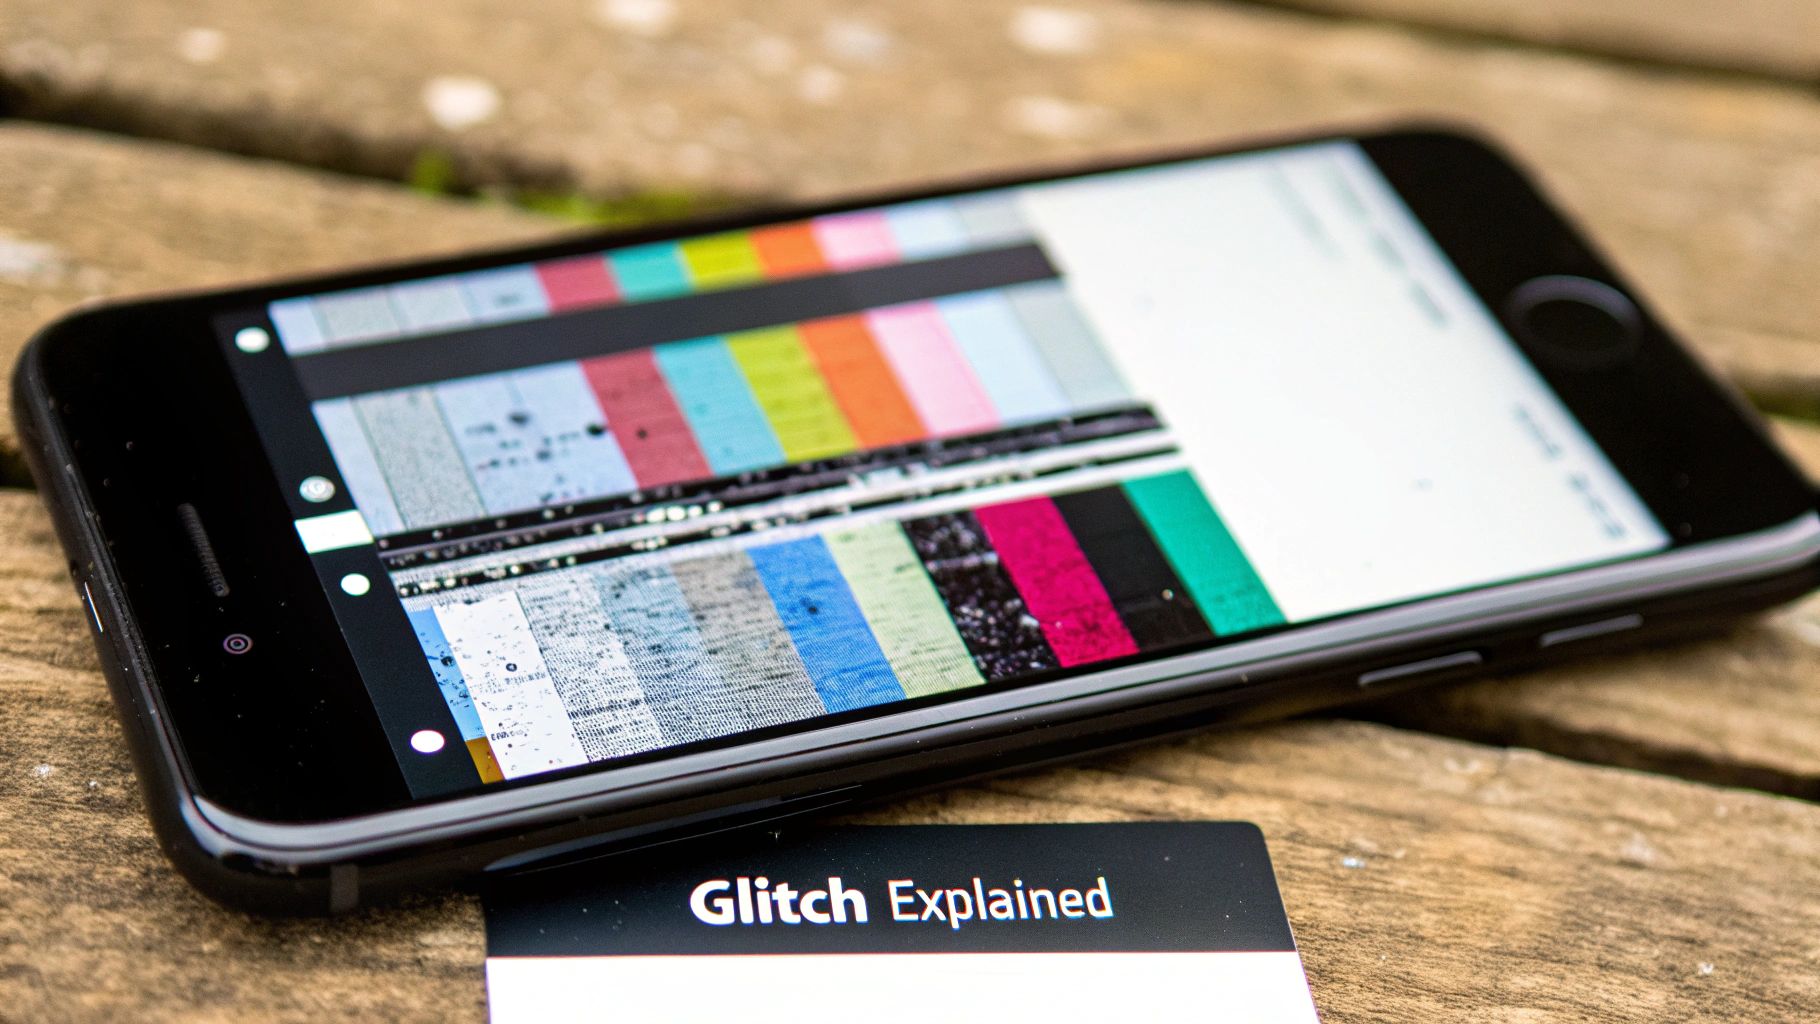
Can I Make a Glitch Effect on My Phone?
You absolutely can. Forget needing expensive desktop software to get a killer look. The mobile app stores are actually filled with powerful tools designed specifically for creating glitch photo effects right on your phone.
Most of these apps are built for speed and social media, offering one-tap filters and easy-to-use sliders. They're a fantastic way to jump in and experiment with different glitch styles without getting bogged down by a complicated interface.
How Do I Keep My Photo from Looking Like a Mess?
This is the big one. The secret to a professional-looking glitch effect is all about control and subtlety. It’s so tempting to crank all the sliders to the max, but the most compelling results usually come from a lighter touch. Remember, the goal is to enhance the original photo, not bury it completely under digital noise.
To keep things clean, try these two things:
- Work with layers: This is pretty much non-negotiable. Layers give you the freedom to dial in the intensity of each effect separately. You can drop the opacity of a distortion layer or mess with its blend mode to see how it plays with the image underneath.
- Use masks to be selective: Don't want the effect everywhere? Mask it. You can apply a really heavy glitch to the background but use a layer mask to keep your main subject clean. This contrast is what makes the effect pop and keeps the viewer's eye where you want it.
A good rule of thumb I always follow is to focus the most intense glitches on certain parts of the image. A deliberate, controlled application looks intentional. A global, all-over effect can just look like a mistake.
Is the Glitch Effect Just a Fad?
While its popularity on social media definitely comes in waves, the glitch aesthetic has real roots in a legit art movement that's been around for decades. Glitch art isn't just a filter—it’s a commentary on our messy, often fragile relationship with technology. It's all about exploring digital decay, embracing imperfection, and finding beauty in the errors.
Because it has this deeper cultural meaning, the glitch photo effect is more likely to keep evolving than to just fade away. It’s a visual language that perfectly captures parts of our digital lives, giving it a staying power that outlasts short-lived trends. The tools and specific styles might change, but the core idea of finding art in the machine's mistakes is a powerful one. For more on taking your images to the next level, check out our guide on using AI for image enhancement.
Ready to create your own stunning visuals without the manual effort? With AI Photo HQ, you can generate thousands of unique, high-quality images in seconds. Explore endless creative styles and bring your vision to life today at https://aiphotohq.com.

