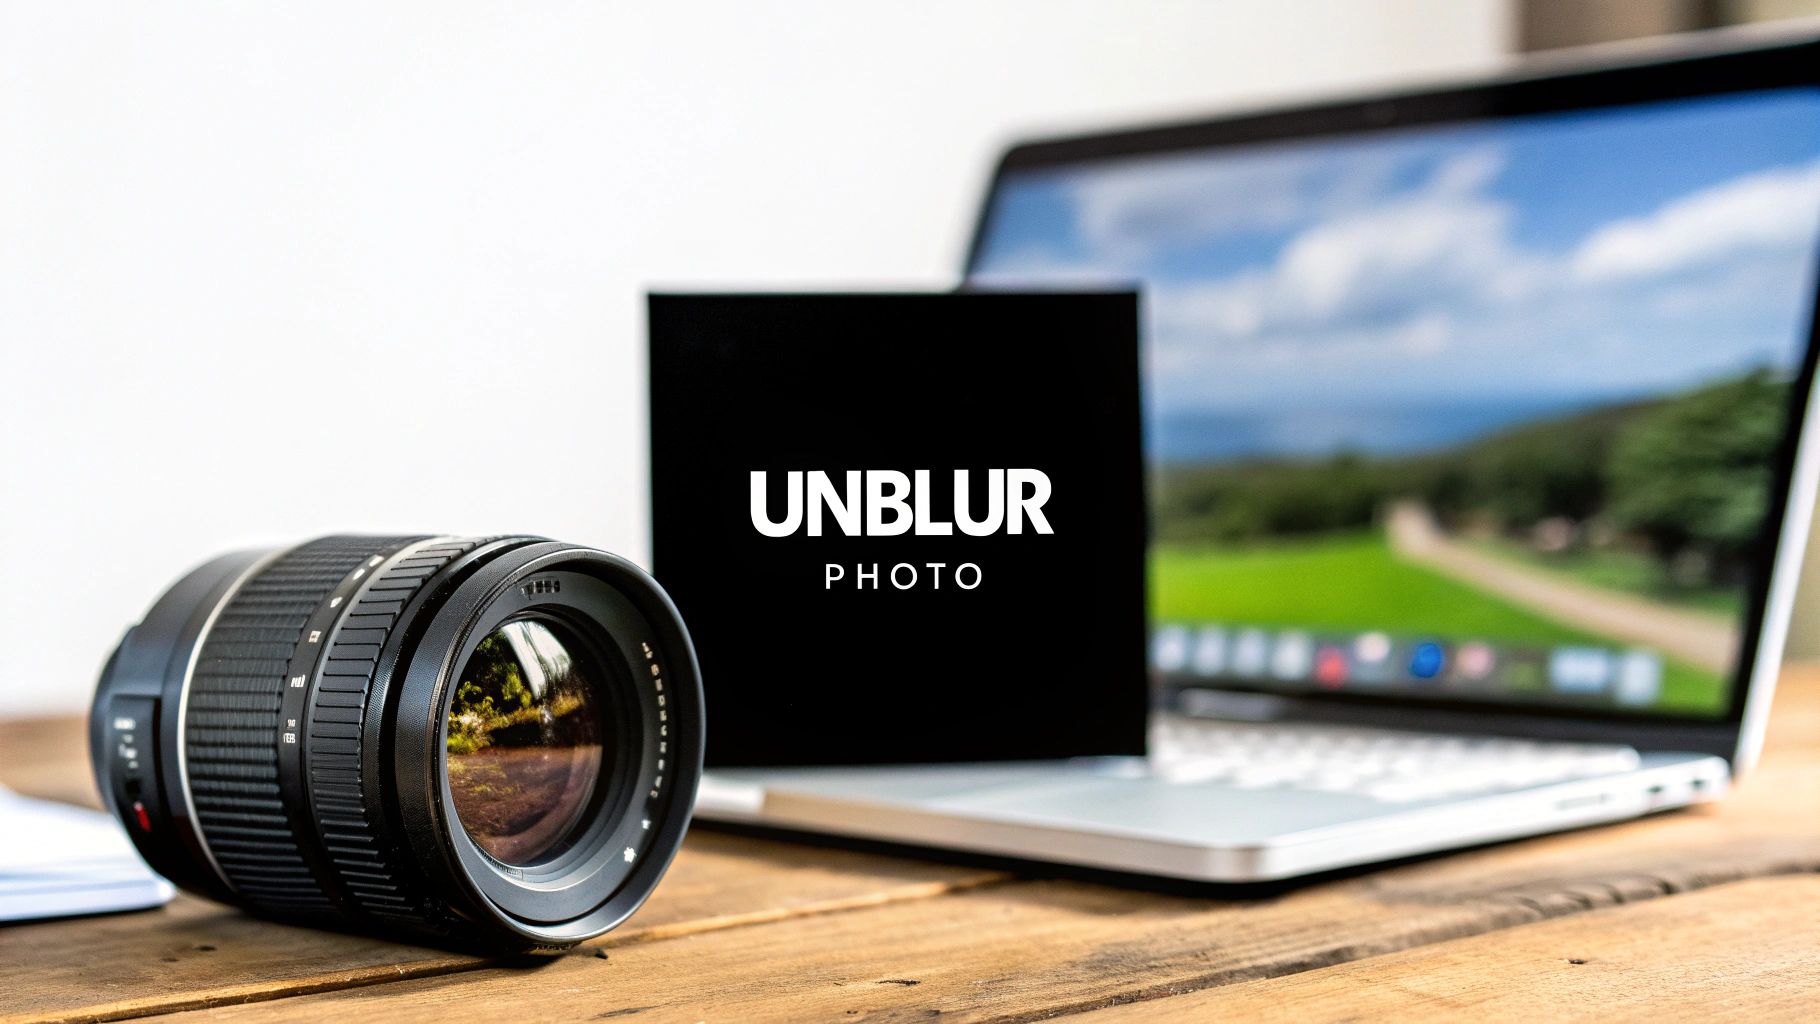
Want to fix a blurry picture? The first step isn't opening an app—it's figuring out why it's blurry in the first place.
Think of it like being a photo detective. You have to identify the culprit behind the blur before you can choose the right tool to fix it. Just slapping a generic sharpening filter on every soft photo is a recipe for disaster. It might make a slightly soft photo look better, but it'll turn a motion-blurred one into a crunchy, over-processed mess.
First, Understand Why Your Photos Are Blurry
Most of the time, blur comes down to one of three usual suspects. Once you learn to spot their tell-tale signs, you'll be able to pick the perfect fix and dramatically increase your chances of saving that shot.
The Main Causes of Blurry Photos
Each type of blur leaves its own distinct fingerprint on an image. Here’s what to look for:
- Camera Shake: This is the classic "unsteady hands" problem. It makes the entire image look just a little soft, almost like there’s a subtle ghosting effect across everything. It’s a uniform, all-over blur.
- Motion Blur: This happens when your subject (or you) moves during the shot. Instead of a soft focus, you'll see directional streaks or smears, especially on the parts of the image that were in motion.
- Focus Blur: This one's simple—the camera just missed. Your intended subject is soft and out of focus, while something else, often in the background or foreground, is perfectly sharp.
A common mistake is treating all types of blur the same. Applying a generic sharpening filter to a photo with severe motion blur will only create a sharp-looking mess. Diagnosing the issue first is key.
This handy decision tree can help you figure out what you're dealing with in seconds.
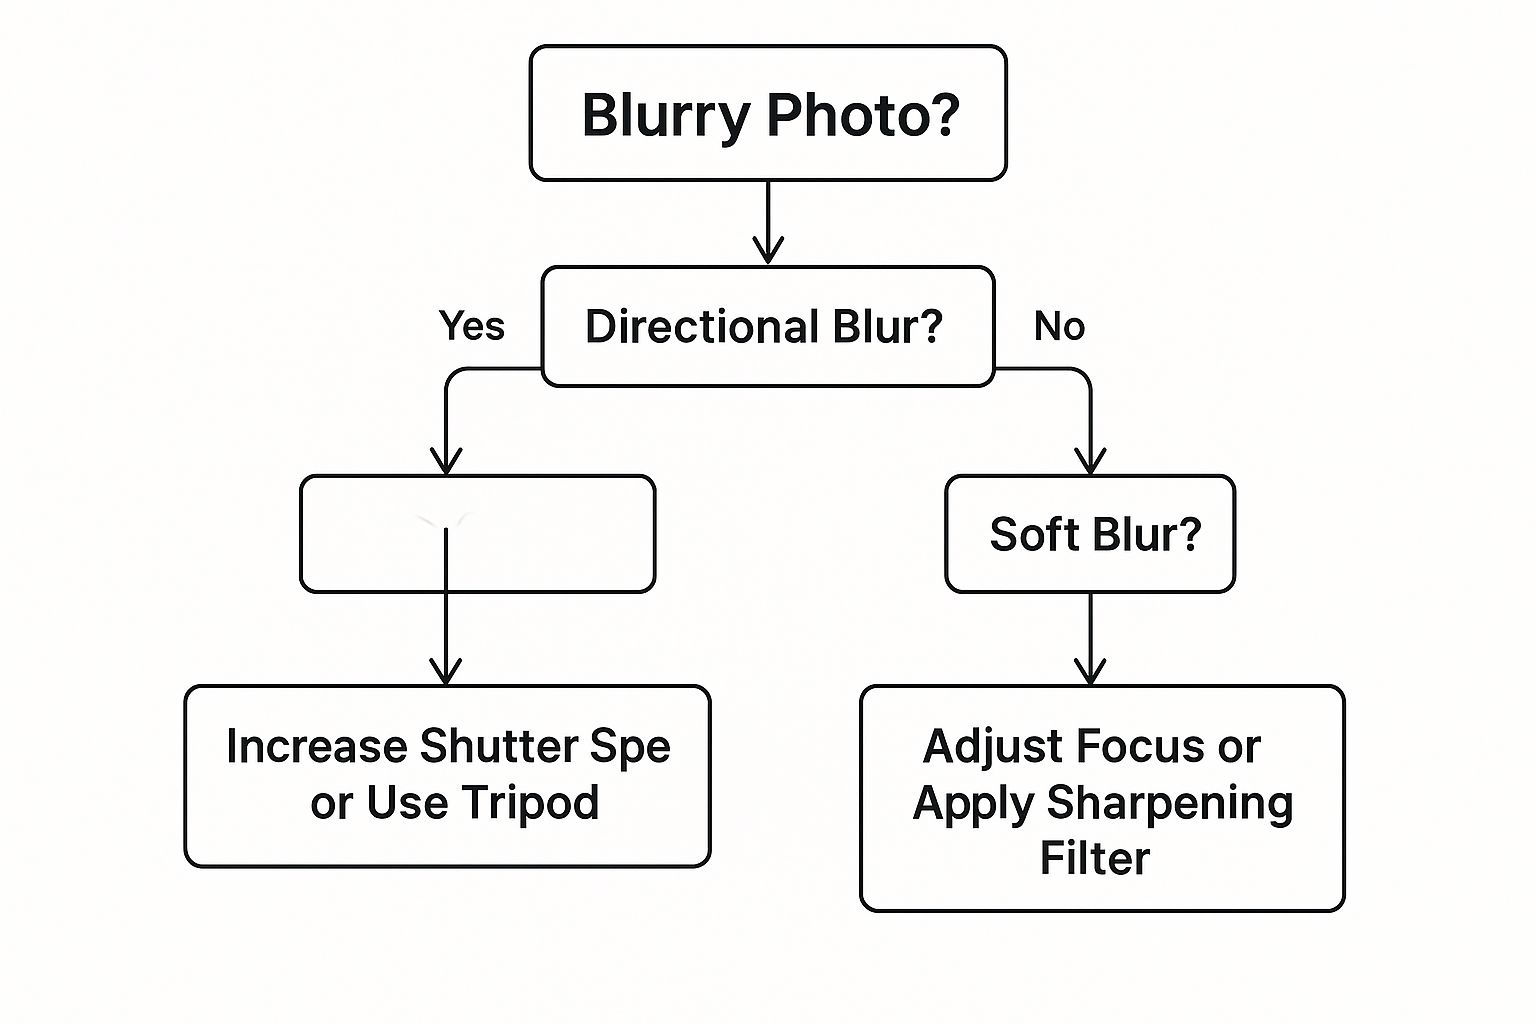
By following these simple diagnostic steps, you can match the problem to the most effective solution.
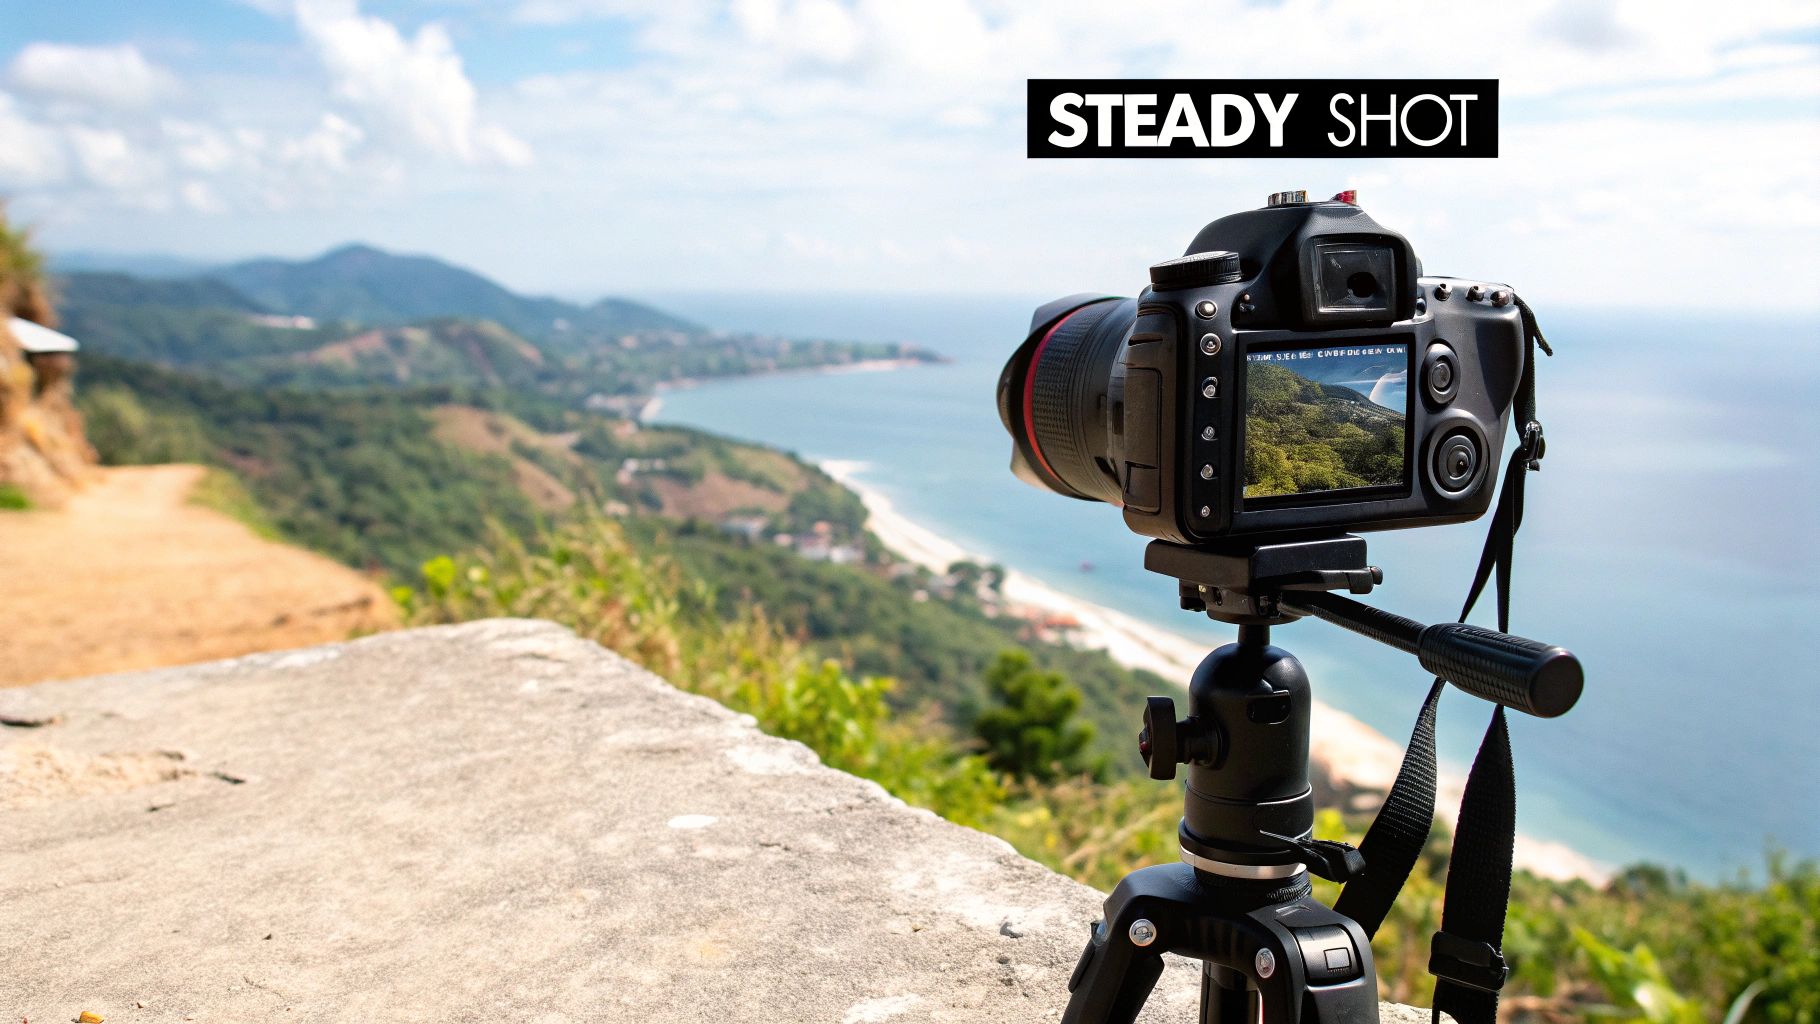
Of course, camera technology has been trying to solve this problem for years. Optical image stabilization (OIS), for example, physically moves parts of the lens or sensor to counteract your hand movements and reduce camera shake. It's a huge deal in the industry—the market for OIS technology was valued at a massive USD 12.3 billion in 2023, which just goes to show how much everyone wants crisp, clear photos.
Even with all the tech in the world, a little knowledge goes a long way. Understanding basic composition rules for photography can help you frame shots that are less likely to end up blurry from the get-go.
Quick Guide to Identifying and Fixing Image Blur
To make things even easier, here’s a quick-reference table. Use it to diagnose the blur in your photo and jump straight to the best solution.
| Type of Blur | Common Cause | Best Solution |
|---|---|---|
| Camera Shake | Unsteady hands, slow shutter speed | AI-powered deblurring tools, general sharpening (for mild cases) |
| Motion Blur | Subject or camera moved during the shot | Specialized motion deblur tools, AI enhancers |
| Focus Blur | Lens focused on the wrong part of the scene | AI focus correction tools, selective sharpening in editing software |
This table provides a great starting point, but the rest of this guide will walk you through the specific techniques and tools for each scenario.
Fixing Blurriness with Desktop Photo Editors
When you need the absolute highest level of control to sharpen a blurry picture, nothing really beats dedicated desktop software. Tools like Adobe Photoshop or the fantastic free alternative, GIMP, offer incredibly powerful filters built for precision.
These programs let you go way beyond a simple "sharpen" button. They give you the power to target specific parts of your photo and sidestep all the common editing mistakes that can ruin an otherwise great shot.
For this walkthrough, we'll use Photoshop's Smart Sharpen filter to fix a portrait that's slightly soft. It’s an intelligent tool that provides fine-tuned control over how sharpness is applied, helping you bring out details without making your photo look brittle or overly digital.
Step-by-Step Guide to Smart Sharpen
Let's imagine you have a portrait that's just a little soft. The focus is okay, but the eyes and hair could really use more pop and definition. A generic, one-click sharpening effect would likely make the person's skin look rough and unnatural. This is precisely where Smart Sharpen shines.
Step 1: Open Your Image and Duplicate the Layer
First, open your image in Photoshop. In the Layers panel, right-click on the "Background" layer and select "Duplicate Layer." This non-destructive workflow keeps your original image safe and allows you to easily adjust the effect's intensity later.
Step 2: Apply the Smart Sharpen Filter
With the new layer selected, navigate to Filter > Sharpen > Smart Sharpen. A dialog box will pop up with a few key sliders.
Step 3: Adjust the Sliders
Here's how to set up the sliders for a great result on a portrait:
- Amount: This controls the overall strength. Start with a value between 100% and 200%.
- Radius: This determines the size of the area around an edge that gets sharpened. For portraits, a small radius of 1 to 2 pixels is perfect to avoid harsh halos.
- Reduce Noise: Sharpening can amplify grain. A value around 10% to 25% is usually enough to keep the image clean.
Start with subtle settings and slowly nudge them up. The goal is to enhance detail, not to create new, artificial-looking edges. It's always easier to add a little more sharpening than it is to fix a photo that's been over-sharpened.
Using Layer Masks for Selective Sharpening
Now for the pro trick that separates good results from truly great ones: a layer mask. You almost never want to sharpen an entire image with the same intensity. In our portrait, we want crisp eyes and hair, but soft, smooth skin.
Step 1: Add a Layer Mask
After applying the Smart Sharpen filter, select your sharpened layer. At the bottom of the Layers panel, click the "Add layer mask" icon (it looks like a rectangle with a circle inside). A white mask thumbnail will appear next to your layer thumbnail.
Step 2: Select the Brush Tool
Choose the Brush Tool (B) from the toolbar. Set the foreground color to black. In the brush options at the top, select a soft-edged brush and lower the opacity to around 50% for more control.
Step 3: Paint to Hide the Effect
With the layer mask selected, paint over the areas you want to keep soft, like the cheeks and forehead. The black paint "hides" the sharpening effect on the skin while leaving it visible on the eyes, eyelashes, and hair. The result is a portrait that looks naturally sharp exactly where it matters most.
While this manual approach offers fantastic control, it’s also worth exploring the different options available in the best AI photo editing software, as many now automate this selective process. Mastering both manual and automated methods gives you a powerful and flexible toolkit for fixing any blurry photo that comes your way.
Using AI Tools to Magically Unblur Photos
While traditional desktop editors give you incredible precision, they often come with a seriously steep learning curve. If you just need to figure out how to make a picture less blurry, modern AI tools are a complete game-changer. They can often do in one click what used to take an expert hours of manual work.
These tools are especially clutch for photos that seem beyond saving—I'm talking about the ones with gnarly motion blur or where the focus is just completely off. Instead of simply sharpening the pixels you already have, AI enhancers use machine learning to intelligently analyze the blurry image and actually reconstruct the missing details from scratch.
It's a fundamentally different approach than a simple sharpen filter. Think of it more like a digital restoration artist, rebuilding faces, textures, and fine lines with an accuracy that can be pretty surprising.

This screenshot shows how generative AI is now built right into mainstream tools, letting you not just fix but also create and expand images with simple text prompts. The tech that powers features like these AI image generators for visuals is based on the same principles as the algorithms used to deblur photos, since both have to create brand-new visual data.
How to Use a One-Click AI Photo Enhancer
A huge part of the appeal of most AI photo enhancers is how dead simple they are to use. The whole process is incredibly straightforward and usually just takes these four steps.
- Upload Your Blurry Photo: Find the upload button on the tool's website or app. Drag and drop your image file or select it from your computer or phone.
- Let the AI Analyze: As soon as the image is uploaded, the tool’s algorithm immediately gets to work, figuring out the type and severity of the blur. This usually takes just a few seconds.
- One-Click Enhancement: Click the "Enhance," "Unblur," or "Sharpen" button. The AI applies its corrections, sharpening details and often cleaning up noise at the same time.
- Review and Download: The tool will typically show you a before-and-after slider so you can see the difference. If you like the result, click the download button to save the newly clarified image.
For anyone who has wrestled with complex software before, this simplicity is a breath of fresh air. Of course, the technology making it happen is anything but simple. If you're curious about the models behind this process, you can learn more in our guide to AI image enhancement.
The rapid progress in this space is driving some wild market growth. The AI image enhancer market is projected to skyrocket from USD 2.6 billion in 2024 to an incredible USD 50.7 billion by 2034. This explosive growth is a pretty clear sign of just how valuable and effective these tools have become for both regular people and professionals.
The Pros and Cons of Using AI
AI tools offer a fantastic solution, but it’s a good idea to understand their strengths and weaknesses before you jump in.
Advantages of AI Enhancers:
- Ease of Use: Most are designed for total beginners. No technical knowledge is required.
- Speed: You get your results in seconds, not hours.
- Effectiveness on Severe Blur: They can often rescue photos that are impossible to fix with old-school sharpening methods.
However, there are a few trade-offs to keep in mind.
Potential Downsides:
- Cost: While some offer free trials, the best features are usually locked behind a subscription or a credit-based paywall.
- Privacy: You are uploading your personal photos to someone else's server, so it's always smart to check the platform's privacy policy.
- Artifacts: Sometimes, the AI might "hallucinate" details, creating weird or unnatural-looking textures if the original blur is just too extreme.
AI photo enhancers are at their best when used on photos where the subject is clear but the details are lost to motion or focus blur. For minor softness, a traditional sharpening filter might still offer more subtle control.
Ultimately, it all comes down to what you need. If you have a cherished but hopelessly blurry photo and you want a fast, powerful fix, an AI enhancer is almost certainly your best bet.
Quickly Sharpening Pictures on Your Phone
Need to fix a blurry photo right now? Forget waiting until you get back to your computer. Your phone is more than capable of handling the job. The days of needing a powerful desktop for quality photo editing are long gone.
You might be surprised to learn that your phone's own built-in Photos app likely has some pretty solid editing features tucked away. If you want a bit more power, fantastic free apps like Snapseed or the mobile version of Adobe Lightroom give you professional-grade tools right in your pocket.
Let's walk through how easy it is to de-blur a photo on the fly.

A Simple Tutorial for Mobile Sharpening
So, you took a great shot of a friend, but it came out just a little soft. No problem. We'll use the built-in iOS Photos app for this example, but the steps are nearly identical in most apps like Snapseed or the Android Gallery.
Step 1: Open Edit Tools
Open the blurry photo in your Photos app and tap "Edit." You'll see several icons for different adjustment tools.
Step 2: Find Sharpen and Definition
Scroll through the adjustment icons until you find "Sharpness." You might also see a tool called "Definition" (or "Clarity"/"Structure" in other apps). These are the two tools we'll use.
Step 3: Adjust the Sharpen Slider
Tap on the "Sharpness" tool and slowly drag the slider to the right. A little goes a very long way. Push it just enough to see fine details, like eyelashes or fabric texture, start to pop. Don't overdo it, or the image will look grainy.
Step 4: Adjust the Definition Slider
Next, find and select the "Definition" slider. As you increase it, you'll see objects gain more punch and a sense of three-dimensional depth. This adds impact that sharpening alone can't achieve.
Step 5: Find the Right Balance
Toggle between the Sharpen and Definition sliders to find the sweet spot. The goal is a photo that looks crisp and detailed without looking artificial. When you're happy with the result, tap "Done" to save your changes.
Pro Tip: Always zoom in! Pinch to zoom in on a crucial part of your photo, like a person’s eyes or the text on a sign in the background. This is the only way to really see what your adjustments are doing and to make sure you're not creating weird digital artifacts.
By blending these two tools, you get the best of both worlds. Sharpening handles the fine details, and clarity adds that impactful definition. This simple, two-step workflow is one of the fastest and most effective ways to fix a blurry picture when you're on the go.
Going Pro: Advanced Sharpening Techniques
Sometimes, the standard sharpening slider just doesn't cut it, especially when you need a photo ready for a high-resolution print or your professional portfolio. When you need that extra level of control and a cleaner result, it's time to turn to a favorite technique among photographers: the High Pass sharpening method.
This process is a go-to because it only targets the edges in your photo. Instead of just cranking up the contrast across the entire image—which can introduce ugly noise and weird color shifts—the High Pass filter surgically isolates the details that actually need to be sharper.
The High Pass Sharpening Workflow in Photoshop
Let's walk through how to use this powerful technique step-by-step. The real magic here is in how the filter isolates the edges and then cleverly blends them back into the original photo.
Step 1: Duplicate Your Layer
Open your image in Photoshop. In the Layers panel, duplicate your image layer by right-clicking it and selecting "Duplicate Layer." This non-destructive step protects your original photo.
Step 2: Apply the High Pass Filter
With the new layer selected, go to the menu and choose Filter > Other > High Pass. A small dialog box will pop up with a "Radius" slider.
Step 3: Set the Radius
This slider tells the filter how many pixels out from an edge it should look for.
- For a high-resolution portrait, a radius between 1.0 and 3.0 pixels is usually the sweet spot.
- For a detailed landscape, you might push it to 5.0 pixels, but rarely higher.
Move the slider just until you can see the faint outlines of the most important edges against the neutral gray background.
The key here is subtlety. If your image starts to look like a detailed pencil sketch or you see strong halos forming, you've gone too far. All you want is the faintest ghost of the edges.
Step 4: Change the Blend Mode
After clicking OK, your layer will look like a gray drawing. This is correct. Now, go to the Layers panel and change that layer's blend mode from "Normal" to Overlay. The gray will vanish, and the sharpening effect will appear on your image.
Step 5: Fine-Tune with Opacity
If the sharpening is too strong, simply lower the opacity of the High Pass layer until it looks perfect. For a gentler effect, you can also try the Soft Light blend mode instead of Overlay.
Of course, getting a professionally sharp photo often starts long before you even open an editing program. For instance, a huge part of real estate photography is simply getting the space ready. You can learn a lot about preparing your home for professional photography to see how much of the work happens before the shutter clicks. The demand for these high-quality visuals is booming; the digital image processing market was valued at USD 5.16 billion in 2022 and is projected to hit USD 21.73 billion by 2030. That's a massive jump, showing just how critical these skills are becoming. You can find more insights on this expanding market on grandviewresearch.com.
Got Questions About Fixing Blurry Photos?
Even with the best tools on hand, you’re bound to hit a few snags when you're trying to deblur a picture. Here are some quick answers to the questions I hear most often from people trying to rescue their images.
Can I Actually Fix a Really Blurry Photo?
Yes, but you have to be realistic. If a photo is completely out of focus or has some serious motion blur, traditional sharpening tools in Photoshop are just going to make it look worse—crunchy and artificial.
In this case, your best bet is an AI-powered photo enhancer. These tools don't just sharpen what's already there; they work to reconstruct details the camera missed. They can't perform miracles, but I've seen them pull back some surprisingly good results from photos that would have otherwise been headed straight for the trash bin.
Why Do My Photos Look Blurry After I Upload Them?
This one's a classic. You have a perfectly crisp image on your computer, but the moment you upload it to your website or social media, it gets soft.
The culprit is almost always image compression. Platforms automatically shrink your images to make their pages load faster, and that process can strip out fine details. To fight this, always export your photos at the highest possible quality. Even better, resize them to the platform's recommended dimensions before you upload them. This gives you more control over the final result.
I've also run into a sneaky issue on websites where a theme or plugin adds a subtle overlay. Some WordPress gallery blocks, for instance, put a gradient over images with captions, making the bottom look blurry. That’s usually a quick fix with a little CSS, not something you need to re-edit the photo for.
Should I Use an AI Tool or a Manual Editor?
It really boils down to the photo you're working with and what you're trying to achieve. There's a time and a place for both.
- Reach for AI when: You’re dealing with a severely blurry photo that needs heavy lifting, or you just want a fast, one-click fix without fiddling with sliders and masks.
- Open a manual editor like Photoshop when: The image is just a little soft and you need to be precise. Sharpening just the eyes in a portrait, for example, is a classic pro-level move that keeps things looking natural.
The best editors know when to use each tool. A smart workflow often means knowing which one will get you the best result for the job at hand.
Ready to rescue your photos with the power of AI? AI Photo HQ offers advanced tools to restore blurry images, generate stunning new visuals, and bring your creative ideas to life in seconds. Try AI Photo HQ today!

