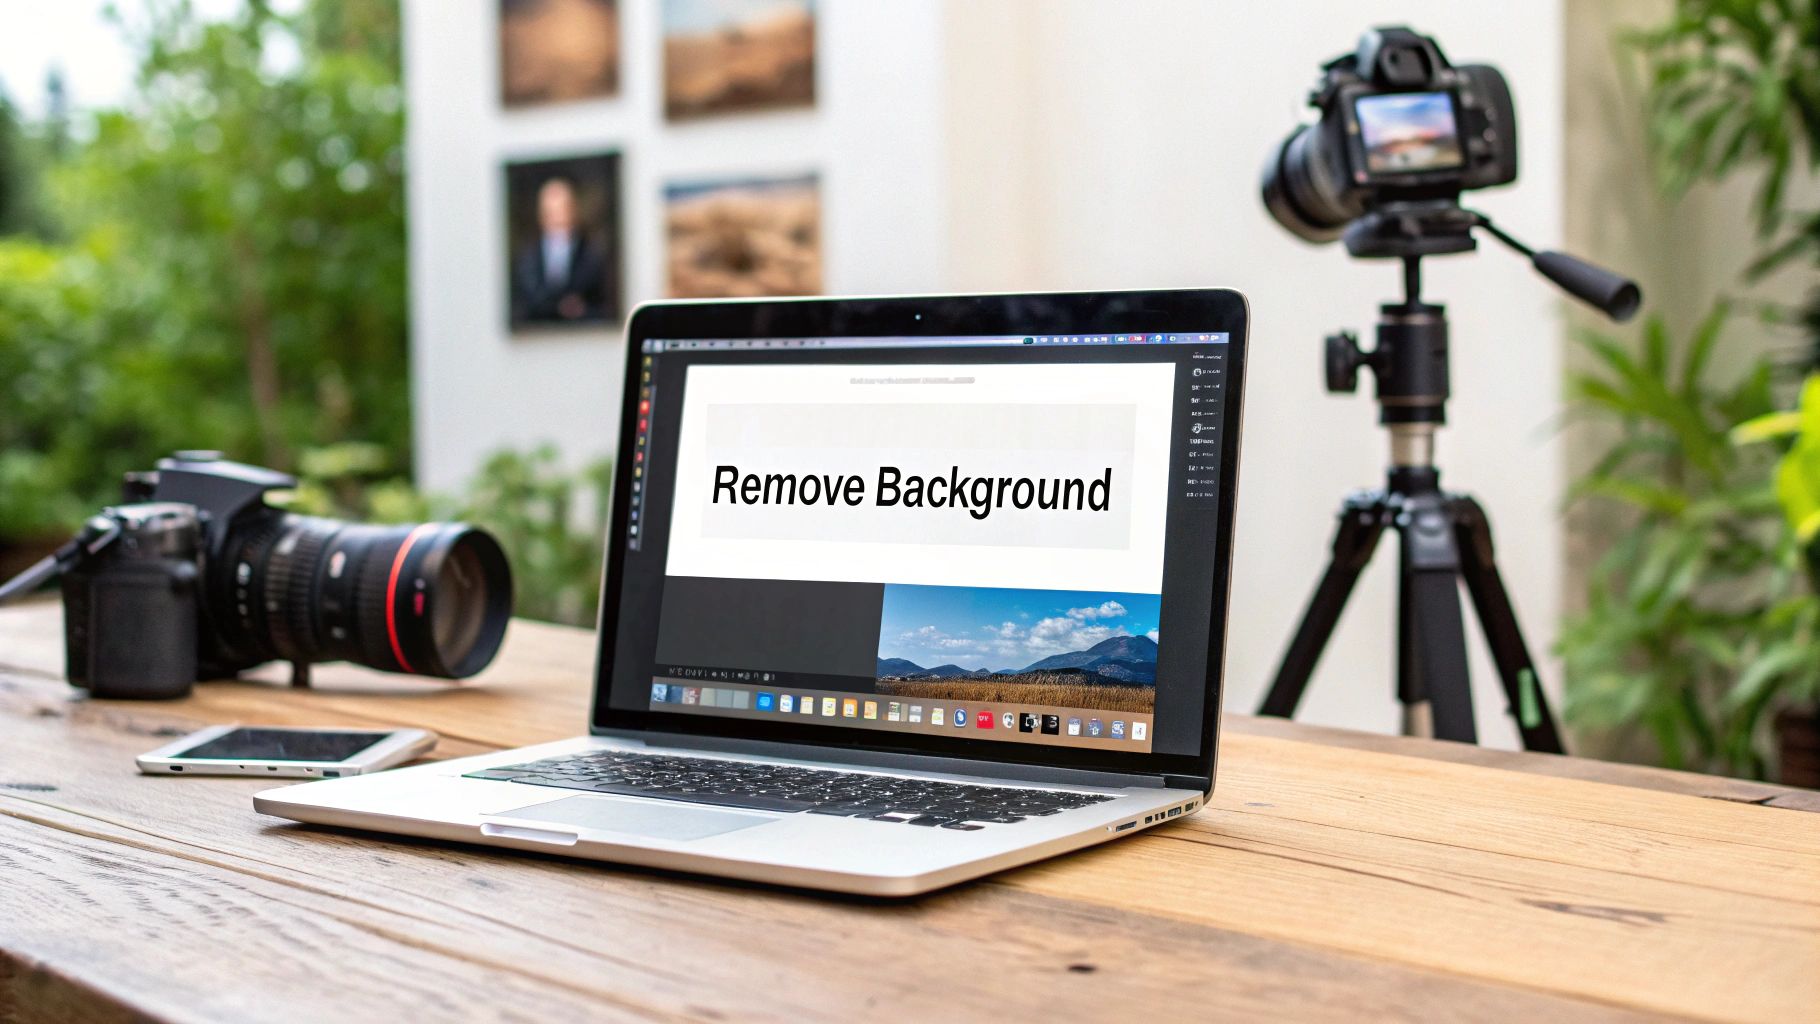
Removing the background from a picture used to be a tedious chore. Not anymore. Now, it’s often as simple as a single click.
The secret? Modern online AI tools that can automatically spot your subject and slice it out from its surroundings in just a few seconds. This approach is a game-changer for anyone who needs a professional-looking result without firing up complicated software.
The Instant Answer to Background Removal
Let's imagine you're an e-commerce store owner with a brand new product to get online. The photos you snapped are great, but that cluttered office background isn't doing you any favors. You need a clean, crisp background to make your product shine, but you don't have hours to mess around in an editor.
This is exactly where one-click AI tools become your new best friend. The process is incredibly straightforward.
- Go to an AI photo editing website.
- Upload your photo. You can usually drag and drop the file directly into the browser.
- Click the "Remove Background" button. The AI analyzes the image, identifies the main subject, and removes everything else.
- Download the result. In seconds, you'll have an image with a transparent background. Save it as a PNG file to preserve the transparency, and you're ready to place it on any new background you choose.
The Power of AI in Editing
What feels like magic is really just a huge leap forward in artificial intelligence. The big breakthrough for background removal happened around 2015 when AI and machine learning really started hitting their stride in image editing.
By using deep learning, today’s software can pinpoint and separate an object from its background with stunning accuracy, even when dealing with tricky details like hair or fur. These AI tools frequently hit accuracy rates over 90%, which dramatically cuts down on any need for manual touch-ups. You can discover more insights about the background removal software market and its rapid growth.
This automation has put professional-level editing tools into everyone's hands. You no longer need to be a graphic designer or spend years mastering complex software to get a polished, clean look.
For small business owners, social media managers, and content creators, the ability to remove a background from a picture quickly is not just a convenience—it's a critical part of an efficient workflow that saves both time and money.
Whether you’re sprucing up a profile picture, designing a promotional graphic, or prepping images for a marketing campaign, the goal is the same: isolate your subject cleanly and get it done fast. This immediate, practical solution is fantastic, and it sets us up perfectly to explore other methods for when you need a bit more control.
Comparing Popular Background Removal Methods
There's more than one way to remove a background, and the best choice really depends on what you're working on. From fully automated AI tools to the detailed manual work in Photoshop, each method has its own strengths.
Here’s a quick breakdown to help you decide which approach is right for your project.
| Method | Best For | Speed | Skill Level |
|---|---|---|---|
| AI One-Click Tools | Quick results for e-commerce, social media, and simple cutouts. | Seconds | Beginner |
| Mobile Editing Apps | On-the-go edits for social media content and quick fixes. | Minutes | Beginner |
| Desktop Software (e.g., Photoshop) | Complex images with fine details like hair, fur, or semi-transparent objects. | 5-30+ minutes | Intermediate to Advanced |
| Online Manual Editors | Users who need more control than AI but don't have desktop software. | 5-15 minutes | Beginner to Intermediate |
Ultimately, knowing which tool to grab from your toolkit is half the battle. For speed and convenience, AI is unbeatable. But for those times when perfection is non-negotiable, having some manual editing skills pays off.
Nailing the Perfect Cutout with an AI Photo Editor
Theory is one thing, but seeing an AI photo editor in action is where you get that real "aha!" moment. Let’s walk through a step-by-step tutorial on how to remove a background from a picture, especially a tricky one.
I'm using a tough example: a portrait with fine, wispy hair against a busy background. This kind of image used to be a nightmare to edit by hand, but it’s the perfect test for a smart AI tool.
Step 1: Upload Your Image and Get an Instant Result
First, open an editor like AI Photo HQ and get your image loaded. You can drag and drop the file right into the browser or use the upload button. The moment you do, the tool starts analyzing the photo.
Next, find and click the "Remove Background" button. In just a few seconds, the AI processes the image, and the background will disappear, replaced by a transparent checkerboard pattern. For many simple product shots, this initial result is often 95% perfect. But for our complex hair example, we'll need to do a little clean-up.
Step 2: Refine the Edges for a Flawless Finish
This is where you gain precise control. No AI is perfect every time, and the first cutout might have missed a few strands of hair or left a subtle halo around the subject. To fix this, look for the refinement tools, usually labeled ‘Restore’ and ‘Erase’ brushes.
- To use the Erase Brush: Select this tool to clean up any leftover bits of the old background. Adjust the brush size to get into tight spots without accidentally removing parts of your subject.
- To use the Restore Brush: Select this tool to bring back parts of the original image the AI might have accidentally removed. This is essential for recovering delicate, wispy hairs. Gently paint along the hairline with the Restore brush to see those lost strands reappear.
This mix of automated speed and precise manual control is how you achieve professional-looking results. It’s a similar idea to sharpening up a blurry photo; if you're interested, we have a whole guide on how to remove blur from a photo.
The key to a realistic cutout isn't just removing what you don't want, but carefully restoring the fine details that make the subject look like it belongs. A soft, natural edge is always better than a harsh, overly sharp one.
Step 3: Export Your Image for Any Project
Once you’re happy with the refined cutout, the final step is to save your work. This is the most critical part: to keep the background transparent, you must save the image as a PNG file. Saving as a JPEG will add a solid white background, undoing your work.
In the export menu, simply choose PNG from the list of formats and click download. That's it. Your perfectly isolated image is ready to be placed onto a new background, used in a design, or uploaded to your e-commerce store.
Why Cloud-Based Editing Tools Are a Game Changer
Remember the days of being chained to a clunky, powerful desktop just to remove a background from a picture? Thankfully, those days are over. The shift to cloud-based editing has completely changed the game, putting professional-grade tools into the hands of anyone, anywhere.
Imagine finalizing product images from a laptop at a coffee shop or making a quick cutout on your tablet minutes before a meeting. This isn't some futuristic dream; it's the new reality. That kind of flexibility is a massive win for entrepreneurs, marketers, and creators who need top-notch results without the sky-high cost of hardware or software licenses.
Accessibility and Ease of Use
One of the biggest roadblocks with old-school editing software was the brutal learning curve and the need for a beast of a machine. Cloud-based platforms toss both of those problems out the window. You no longer have to worry about installations, constant updates, or whether your computer has enough RAM to open a large image file.
It's no surprise that cloud-based background removal software has seen a massive surge in adoption. Cloud computing gives you access to serious image processing power remotely, so you don't need a high-end computer sitting on your desk. Big names like Adobe, Canva, and Pixlr all offer cloud solutions that make real-time collaboration a breeze. If you're curious about the market trends, you can read the full research on background removal software to see just how much it's growing.
Just take a look at Canva's interface. It’s a perfect example of how simple, accessible design can make editing feel effortless.
This clean layout puts powerful features just a click away, making a task like background removal feel intuitive instead of technical.
This accessibility has truly democratized professional photo editing. You don't need a degree in graphic design anymore to create polished, high-quality images for your business or personal brand.
The Power of the Cloud
Platforms like Canva and Pixlr pack an impressive punch right inside your web browser. Their systems are built to do all the heavy lifting on their own servers, which means your device doesn't have to break a sweat.
This server-side processing allows them to offer sophisticated features that were once exclusive to desktop giants like Photoshop. It’s a fantastic example of how technology is making photo editing more approachable for everyone. If you want to dive deeper into the tech behind it, our article on artificial intelligence in photography is a great place to start.
Ultimately, cloud-based editing just makes sense.
- No Installation Needed: Just log in to a website, and you have a full suite of tools ready to go.
- Automatic Updates: You’re always using the latest and greatest version of the software without having to lift a finger.
- Device Independence: Start a project on your desktop and finish it on your laptop without skipping a beat.
This whole model doesn't just save you time; it dramatically lowers the barrier to entry for creating incredible visuals.
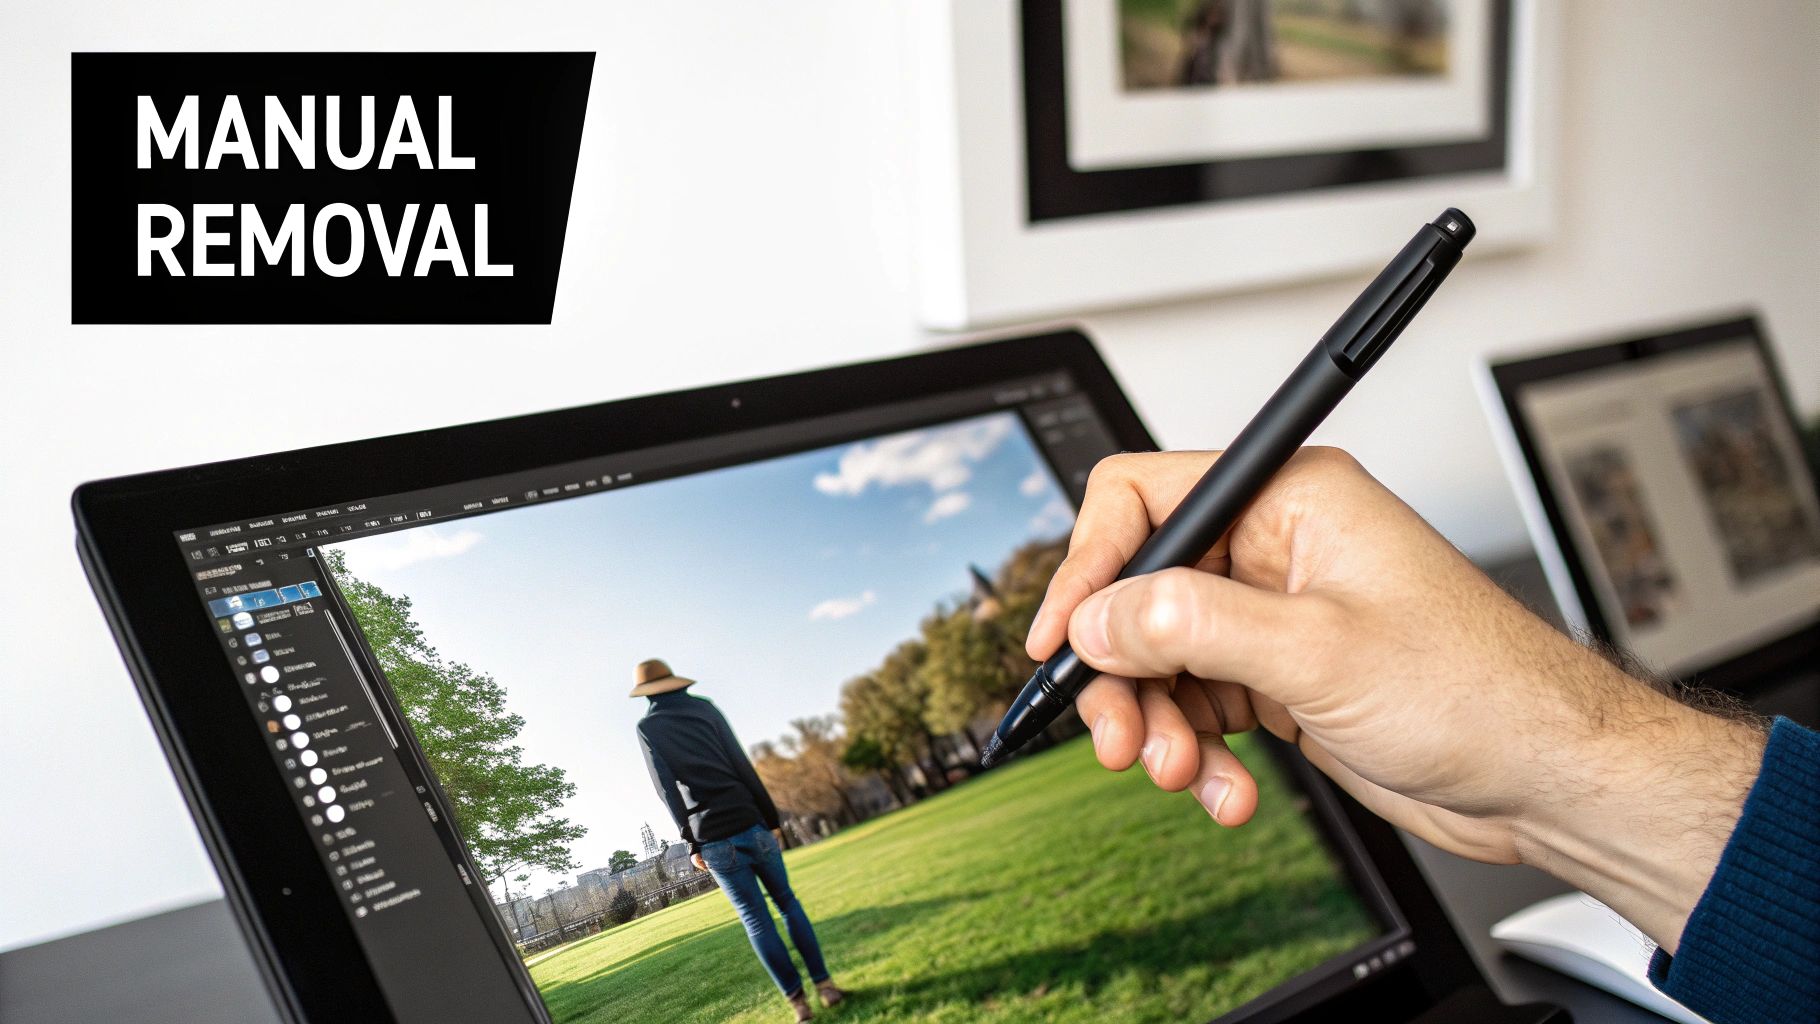
Going Manual with Adobe Photoshop
While AI tools are incredibly fast, sometimes a project just demands the kind of control you can only get by doing it yourself. For high-stakes work like print ads, professional headshots, or complex product shots, Adobe Photoshop is still the king. This tutorial will walk you through the modern workflow for a perfect manual cutout.
Step 1: Make an Initial AI-Powered Selection
Forget the old days of painstakingly tracing every single edge with the Pen Tool. Your first move should be to let Photoshop's AI do the heavy lifting.
- Open your image in Photoshop.
- From the toolbar, select the Object Selection Tool.
- Draw a rough box or lasso around your subject. Photoshop's Sensei AI will analyze the image and create a selection around the clearest edges.
- This gets you about 80% of the way there in seconds, creating a solid starting point to refine.
Step 2: Enter the Select and Mask Workspace for Precision Control
With your initial selection active, it’s time to refine it. Go to the top menu and click Select > Select and Mask. This opens a dedicated workspace for creating perfect cutouts.
Inside this workspace, change the View Mode to something with high contrast, like "Overlay" (which shows the unselected area in red) or "On Black." This helps you see exactly where your selection needs work.
The real power of Photoshop lies in its non-destructive workflow. By using Layer Masks instead of the eraser tool, you never actually delete any part of your original image. This means you can always go back and fine-tune an edge later on, which gives you total creative freedom.
Step 3: Perfect the Edges with the Refine Edge Brush
This is where the real magic happens, especially for tricky subjects like hair, fur, or fuzzy fabric. The Refine Edge Brush Tool is designed specifically for these complex, semi-transparent areas.
- Select the Refine Edge Brush from the toolbar on the left.
- Gently paint with this brush along the edges of the hair or fur. Photoshop will intelligently analyze the pixels and separate the fine strands from the background.
- Pro Tip: Use a smaller brush for tight, detailed areas and a larger one for softer, fluffier edges. Adjust the Edge Detection Radius for fuzzy or out-of-focus edges to help Photoshop better identify transitional pixels.
- Before you finish, check the Decontaminate Colors box in the Output Settings panel. This removes any color fringe or "halo" that the background leaves on your subject's edges.
- Finally, under Output To, choose "Layer Mask" and click OK. This applies your selection non-destructively, giving you a perfectly isolated subject on a transparent background.
Choosing the Right Background Removal Tool for Your Needs
Picking the right tool to remove a background really boils down to what you’re trying to accomplish. There are a ton of options out there, and what works for a quick social media post might be a disaster for a high-stakes client project.
The market for these tools has absolutely exploded. It was valued at around USD 1.5 billion and is projected to hit USD 5.2 billion by 2033. This massive growth, tracked by firms like Verified Market Reports, is all thanks to the non-stop demand for clean product shots and marketing visuals.
Scenarios to Guide Your Decision
Let's get practical. The "best" tool always depends on the job at hand.
Are you an e-commerce seller juggling hundreds of new product photos every day? Speed and consistency are your lifelines. An AI tool with batch processing is a no-brainer here. It chews through huge volumes of images automatically, giving you a uniform look across your entire store with almost no manual effort.
Now, imagine you’re a graphic designer building a complex composite for a major ad campaign. Your priorities are completely different. You need the surgical precision you only get with manual tools like Adobe Photoshop. The control to tweak every last pixel and manage layers is essential for a flawless, professional finish.
Or maybe you’re a social media manager who’s always on the go. You need something fast, simple, and accessible. A user-friendly online tool like Canva is perfect. You can upload a photo, zap the background, and have a new post ready in minutes, right from your browser or phone.
Getting the edges right is often the hardest part, and this image shows the kind of detailed control that makes a high-quality cutout.
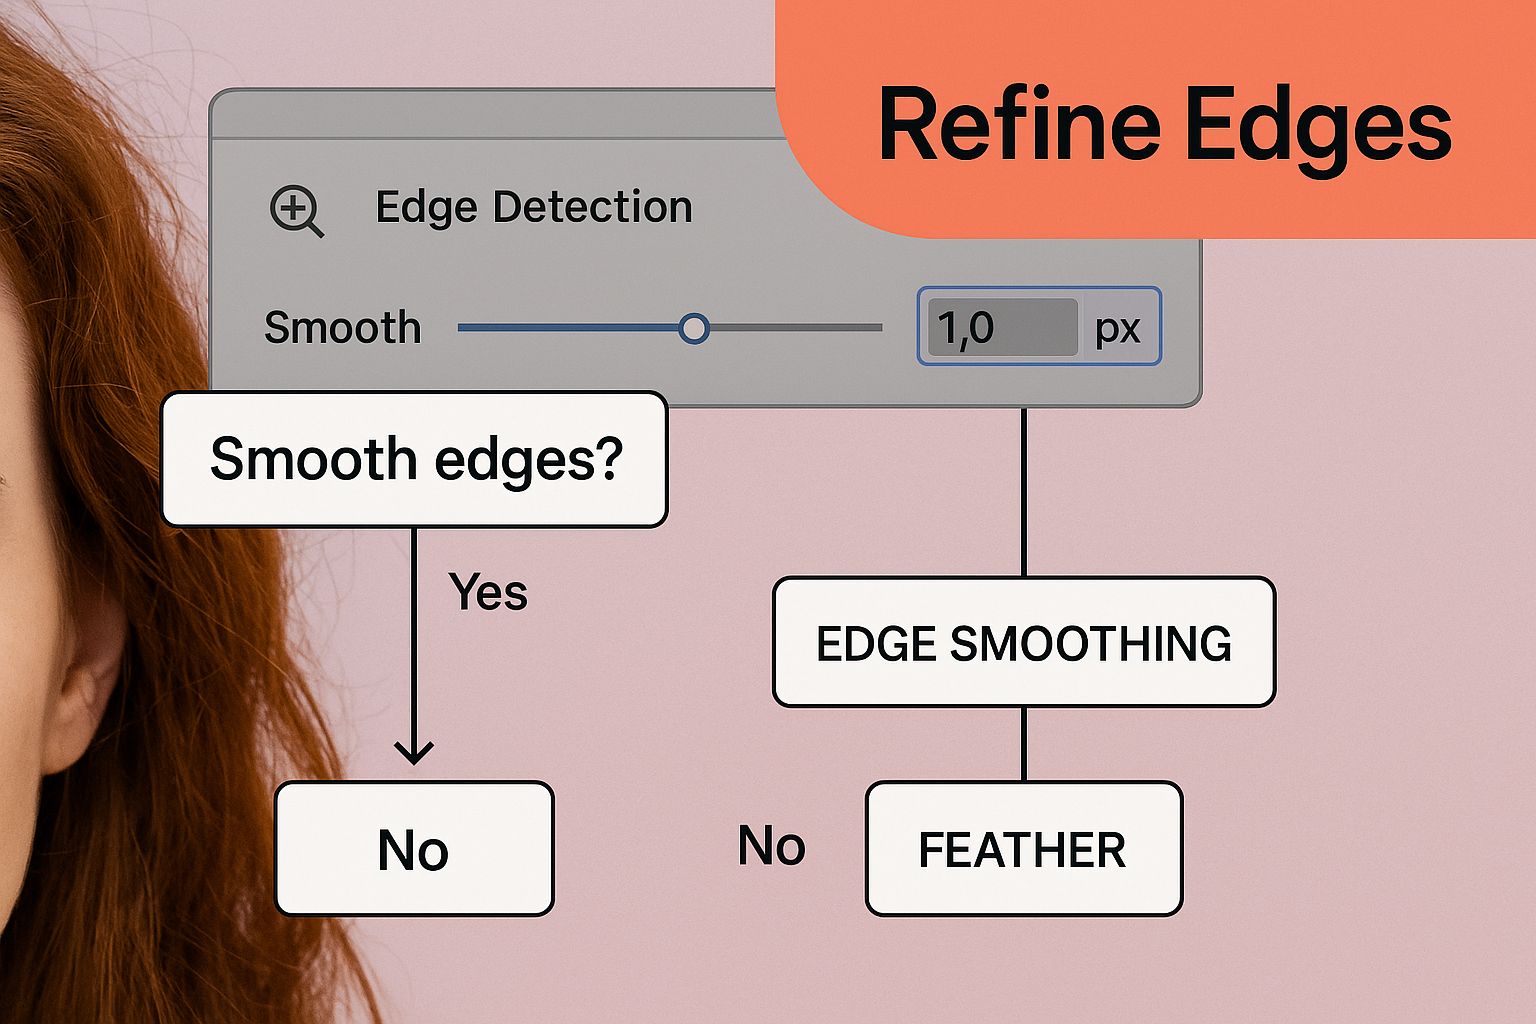
Features like edge smoothing and feathering are what help you seamlessly blend a subject into a new background, making it look natural instead of like a cheap sticker.
The single most important thing is matching the tool to the task. Don't try to force a simple online editor to do a job meant for Photoshop, and don't waste hours in Photoshop on a quick edit an AI could knock out in seconds.
To help you decide, here's a quick rundown of how AI and manual tools stack up.
Feature Showdown AI vs Manual Removal
| Feature | AI Tools | Manual Software (Photoshop) |
|---|---|---|
| Speed | Extremely fast, often instant | Time-consuming and requires skill |
| Volume | Excellent for batch processing hundreds of images | Impractical for large volumes; one image at a time |
| Ease of Use | Very user-friendly, minimal learning curve | Steep learning curve, requires expertise |
| Precision | Good, but can struggle with complex edges (hair, fur) | Pixel-perfect control over every detail |
| Cost | Often subscription-based or pay-per-image, with free options | Typically a monthly subscription for professional software |
| Best For | E-commerce, social media, quick edits, high volume | High-end advertising, composites, artistic projects |
Ultimately, the right choice is the one that fits your specific project's needs for quality, speed, and budget.
Making the Final Choice
Getting this right from the start will save you a world of time and frustration. Before diving into a project, just ask yourself a few quick questions:
- How tight is my deadline? If you're in a hurry, AI is your friend.
- What level of quality do I actually need? For that flawless, pixel-perfect look, you have to go manual.
- How many images am I dealing with? For anything in bulk, automation is the only sane path.
Thinking through these points helps you land on the most effective method every single time. It's the same logic that applies to other photo editing tasks, like bringing old pictures back to life. You can learn more about that in our guide on how to restore images. When you align the tool’s strengths with your needs, you set yourself up for a smooth, efficient workflow.
Common Background Removal Questions Answered
Even with the best tools, you're bound to hit a few snags when you're learning how to remove a background from a picture. This is your quick-start guide for tackling the most common issues, designed to help you smooth out your workflow and get killer results, faster.
What's the Fastest Free Way to Remove a Background?
For a quick, zero-cost cutout, an online AI background remover is your best bet. Tools like Adobe Express or the free version of Canva are perfect. Here's the simple process:
- Navigate to the website.
- Upload your image.
- The AI will automatically remove the background in a few seconds.
- Download the resulting PNG file.
This method is ideal for quick social media posts or simple mockups where speed is the top priority.
How Do I Handle Complex Edges Like Hair or Fur?
For those notoriously tricky edges, a hybrid approach works best.
- Start with AI: Let an AI tool do the initial removal. It will get you about 90% of the way there instantly.
- Refine Manually: Import that image into a more powerful editor like Photoshop or GIMP.
- Use Refinement Tools: In Photoshop, use the 'Select and Mask' workspace and its 'Refine Edge' brush. Gently paint over the hair or fur with this tool to preserve fine, wispy details and create a natural-looking edge.
A common mistake I see is people trying to get an ultra-sharp edge around hair. Trust me, a slightly softer, more natural transition will always look more professional when you drop the subject onto a new background.
Can I Remove a Background on My Phone?
You absolutely can. Many powerful photo editing apps put this feature right in your pocket.
- Download a dedicated app: Try apps like Photoroom or Pixelcut, which are designed for this exact purpose.
- Open your photo within the app.
- Tap the "Remove Background" button. The app's AI will handle the rest.
- Save the new image to your phone's camera roll.
The Canva mobile app also offers a one-tap background remover for its Pro users, which is perfect for editing on the go.
Why Does My Image Look Blurry After Removal?
Blurry or pixelated edges usually happen for two reasons: starting with a low-resolution image or overusing "feathering" tools to soften the edges.
- Solution 1: Start with High Resolution. Always use the highest-quality photo you have. You can't create detail that isn't there.
- Solution 2: Be Precise. If you're removing a background manually, make your initial selection as accurate as possible. Avoid over-softening the edges.
- Solution 3: Manual Touch-up. If an AI tool creates a fuzzy result (often due to low contrast between the subject and background), import the image into an editor with manual refinement brushes. You can use these to sharpen the edges for a crisp, clean finish.
Ready to create stunning, professional-quality images in seconds? With AI Photo HQ, you can remove backgrounds, generate new visuals, and restore old photos with the power of advanced AI.

