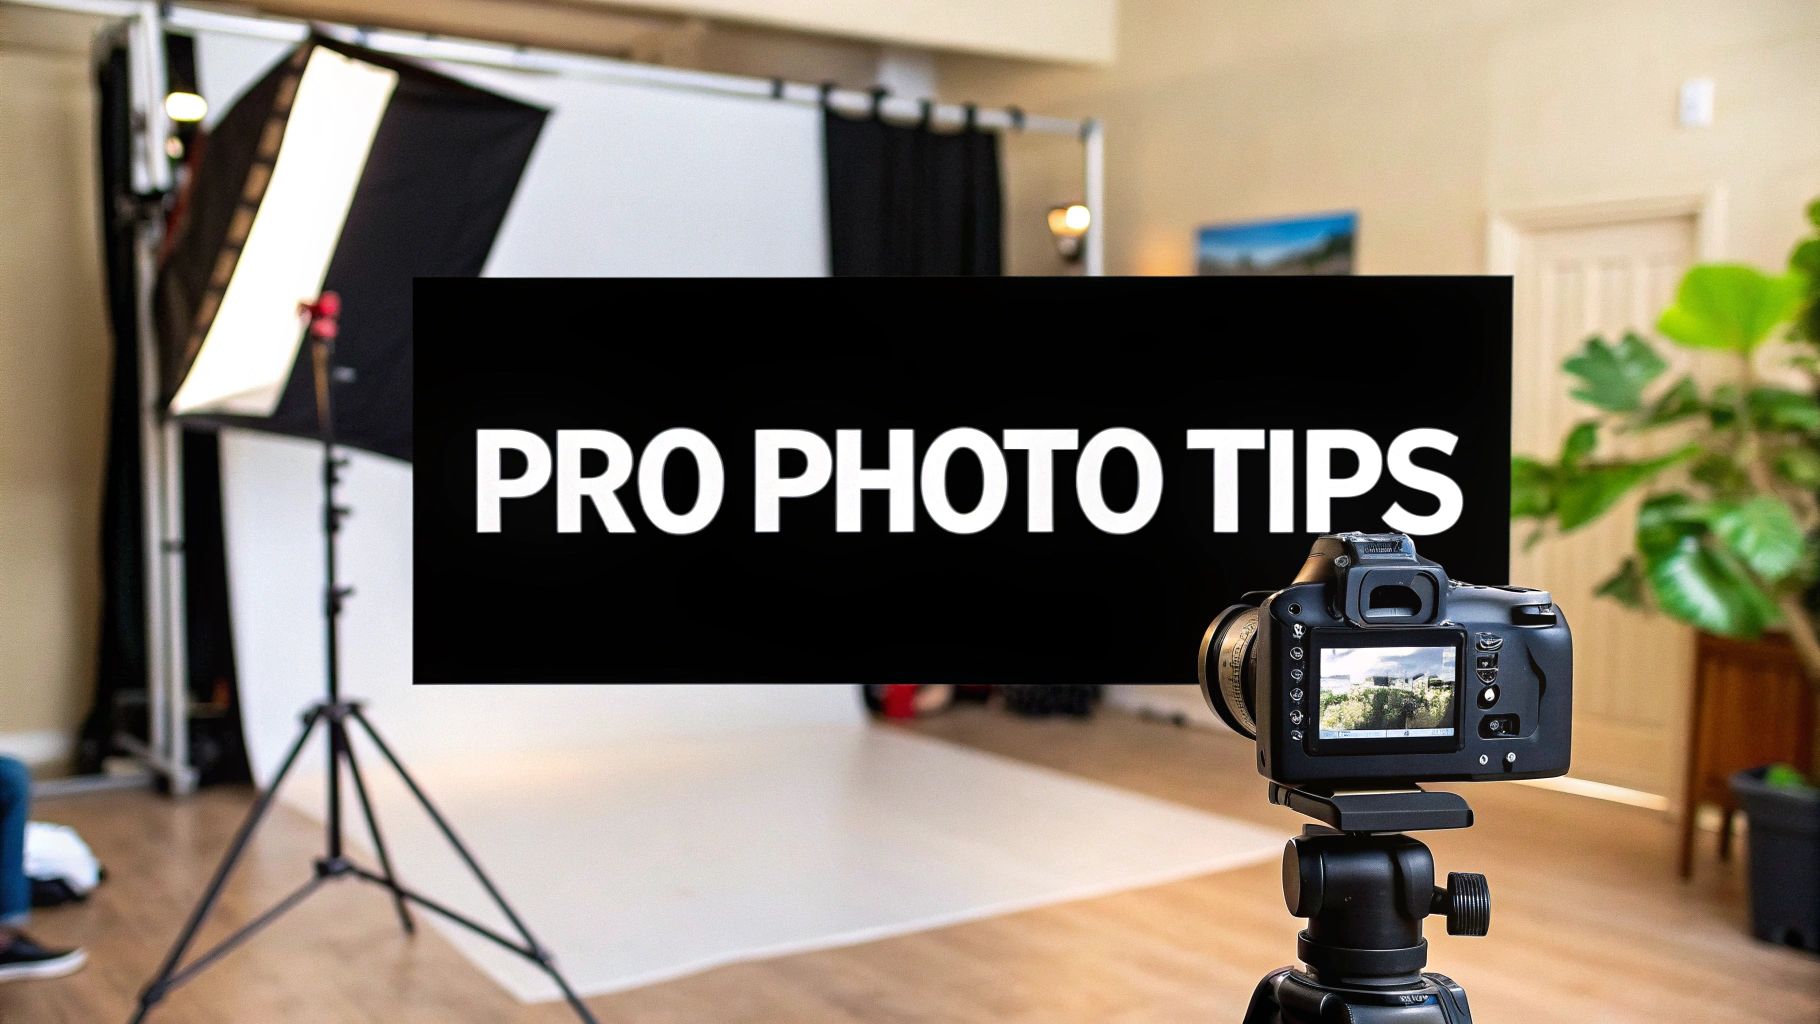
Taking a truly professional picture goes far beyond just pointing and shooting. It’s all about getting out of "auto" mode and deliberately controlling your camera's settings to craft the exact image you have in your head. This means mastering light, nailing your composition, and making every technical choice with intention.
Build Your Technical Foundation
The jump from taking simple snapshots to creating professional-grade photographs starts with a solid technical base. And no, this isn't about having the priciest gear. It's about knowing how to get the most out of whatever camera you're holding. Learning to shoot in manual mode is the real game-changer; it's what gives you complete creative freedom over the final look and feel of your images.
Before you even think about settings, though, you need the right tools for the job. A reliable DSLR or mirrorless camera is a fantastic starting point, but sometimes the shot you envision requires something more specialized. For instance, if you want to capture those jaw-dropping aerial views, looking into the best drone for professional photography can add a completely fresh and dynamic angle to your work.
This whole process—from choosing your gear to dialing in the settings—is the fundamental workflow that underpins every professional shoot.

This guide shows the essential sequence every pro follows: gear prep, setting adjustments, and then the crucial step of reviewing and refining the shot. It’s a cycle of shoot, review, adjust, repeat.
The Exposure Triangle in Practice
At the heart of manual photography lies the "exposure triangle"—the delicate dance between aperture, shutter speed, and ISO. These three settings are intertwined, and adjusting one almost always means you'll need to tweak another to get the perfect exposure.
Here's a step-by-step tutorial for a classic portrait with a blurry background:
- Set Your Camera to Manual Mode (M).
- Choose Your Aperture: To get that blurry background (bokeh), you need a wide aperture. Set your f-stop to the lowest number your lens allows, like f/1.8 or f/2.8. This is your creative decision.
- Set Your ISO: Start with the lowest possible ISO for the cleanest image. If you're outdoors on a sunny day, set it to 100.
- Adjust Shutter Speed for Exposure: Look through your viewfinder at your camera's light meter. Now, adjust your shutter speed until the meter's indicator is at '0'. If it's too bright, use a faster shutter speed (e.g., 1/1000s). If it's too dark, use a slower one (e.g., 1/200s).
- Take the Shot and Review: Check your photo. Is it sharp? Is the background nicely blurred? You've just manually controlled your camera to achieve a specific professional look.
And here's a tutorial for capturing a silky waterfall:
- Use a Tripod. This is non-negotiable for slow shutter speeds.
- Set Camera to Shutter Priority (S or Tv) or Manual (M).
- Set Your ISO: Lock it at 100 for the best quality and to help keep the image from getting too bright.
- Choose Your Shutter Speed: To create that smooth, blurry water effect, you need a slow shutter speed. Start with 1/2 second (often displayed as 0"5).
- Set Your Aperture: If in Manual mode, now close your aperture down (a higher f-stop number like f/16 or f/22) until your light meter reads '0'. A smaller aperture also keeps more of the landscape in focus.
- Take the Shot: Use a remote or the camera's self-timer to avoid camera shake when you press the button.
The Exposure Triangle Explained
| Setting | What It Controls | Primary Effect | When to Adjust It |
|---|---|---|---|
| Aperture | The size of the lens opening (f-stop) | Depth of field (background blur) | Wide (e.g., f/1.8): For portraits to isolate the subject. Narrow (e.g., f/11): For landscapes where you want everything in focus. |
| Shutter Speed | How long the sensor is exposed to light | Motion (freezing or blurring) | Fast (e.g., 1/1000s): For freezing fast action like sports. Slow (e.g., 1/15s): For creating motion blur with water or light trails. |
| ISO | The sensor's sensitivity to light | Image brightness & noise (grain) | Low (e.g., 100): For bright, sunny days to get the cleanest image. High (e.g., 3200): For dark environments like concerts or night scenes. |
Mastering the interplay between these three is what separates the pros from the amateurs. It takes practice, but once it clicks, you'll feel completely in control of your camera.
Why Professionals Shoot in RAW
Here’s a non-negotiable tip for anyone serious about quality: always shoot in RAW format.
When you take a photo as a JPEG, your camera makes a bunch of decisions for you. It applies sharpening, color, and contrast, and then it compresses the file, throwing away a huge amount of image data forever.
RAW files, in contrast, are the unprocessed, uncompressed data straight from your camera's sensor. This gives you an incredible amount of flexibility in post-processing. You can rescue details from shadows that look completely black, pull back highlights that seem blown out, and fine-tune the white balance perfectly. It's like having the digital equivalent of a film negative, giving you maximum creative control.
Master Composition and Framing
You can have a perfectly lit, tack-sharp photo that still feels… boring. Why? The answer is almost always composition. It’s the secret sauce that separates a quick snapshot from a compelling, professional-quality image.
Composition is really just the art of arranging everything in your frame to guide the viewer’s eye and tell a story. It’s how you turn a simple scene into something that makes people stop and look. This isn’t about memorizing rigid rules, but about understanding the building blocks of a great photo—lines, shapes, and balance—so you can make intentional choices that give your work real impact.
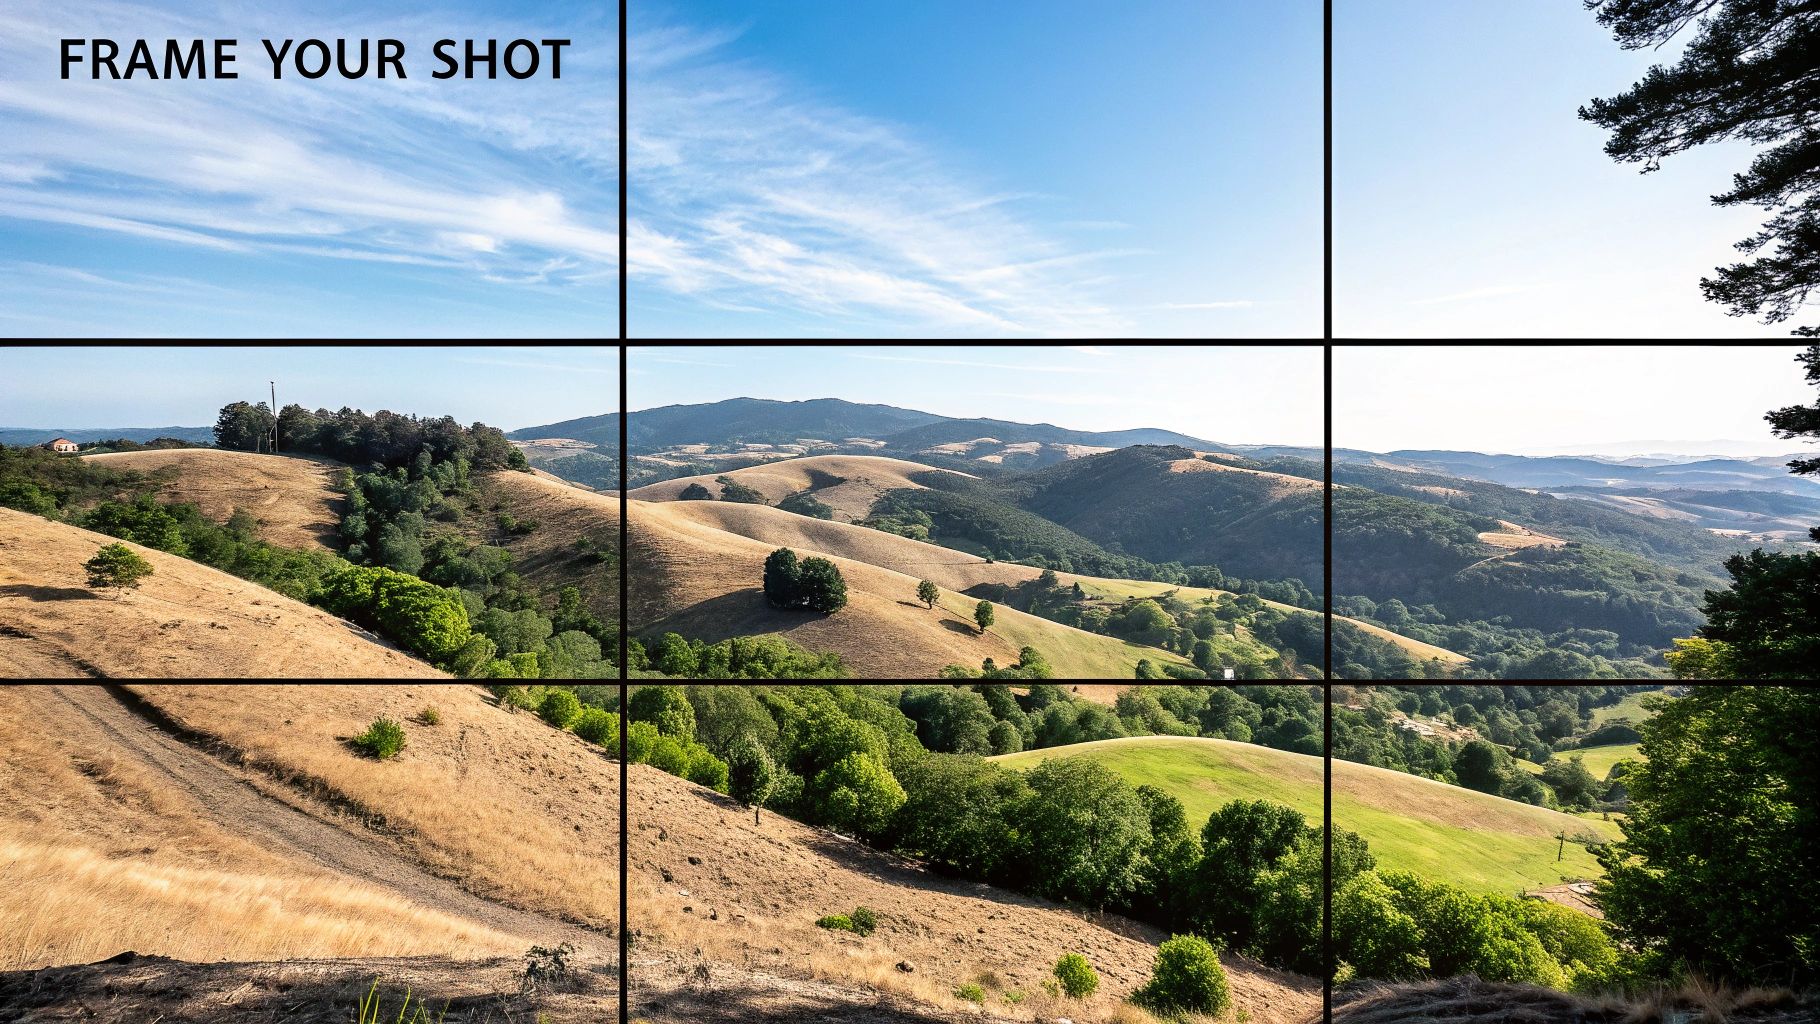
Going Beyond the Rule of Thirds
Ah, the Rule of Thirds. It's the first thing most of us learn. Picture a 3x3 grid over your image and place key elements on the lines or at the intersections. Simple enough, but the real skill is in knowing why you’re doing it.
Here's a step-by-step way to apply it to a landscape photo:
- Turn on the Grid: Go into your camera's menu and enable the 3x3 grid overlay in your viewfinder or on your screen.
- Position the Horizon: Instead of placing the horizon line in the middle of the frame, place it along either the top or bottom gridline. If the sky is dramatic and interesting, place the horizon on the bottom line to give the sky two-thirds of the photo. If the foreground is more compelling, place the horizon on the top line.
- Place Your Focal Point: Find the most important element in your scene—a single tree, a building, a mountain peak. Position that element on one of the four intersection points of the grid. This creates a more balanced and dynamic image than centering it.
The Rule of Thirds is a guideline, not a law. Sometimes, placing your subject dead center is the most powerful choice you can make, especially with symmetrical scenes. It can create a feeling of stability, confrontation, and directness that off-center composition just can't match.
Using Leading Lines to Guide the Eye
Our brains are hardwired to follow lines. In photography, we can use this to our advantage with leading lines. These are simply elements in the scene—a road, a fence, a shoreline, even shadows—that draw the viewer’s eye through the image, often directly to your main subject.
Here’s a quick tutorial for using a path as a leading line:
- Find Your Line: Identify a strong line in your scene, like a winding path or a straight road.
- Position Your Subject: Place your person or main point of interest at the end of the line, or along a key point of it.
- Change Your Perspective: Get low to the ground. This exaggerates the perspective and makes the line look much more dramatic and powerful as it leads from the bottom corner of the frame toward your subject.
- Compose and Shoot: Frame the shot so the line starts near a corner and pulls the viewer's eye diagonally across the image.
Start actively looking for these lines everywhere. Training your eye to see them is one of the biggest leaps you can make in your photography.
Adding Depth with Framing
Another fantastic trick is to use elements in the foreground to create a "frame" around your main subject. This adds an incredible sense of depth and context, making it feel like the viewer is peeking into the scene. It works by clearly separating the foreground from the middle ground and background, so the image doesn't feel so flat.
Here's how to create a natural frame:
- Find a Foreground Element: Look for something you can shoot through or past, like hanging tree branches, a doorway, or an archway.
- Position Yourself: Move your body so that the framing element surrounds your main subject in the background. You might have to step back, get low, or move side-to-side.
- Focus on the Subject: Make sure your camera's focus point is locked onto your main subject, not the foreground frame.
- Use a Wide Aperture (Optional): Setting a wide aperture (like f/2.8) will blur the foreground frame, making it a soft, unobtrusive element that directs attention to your sharp, in-focus subject.
These are just a few of the core techniques that can elevate your work. If you want to dive deeper, we break down even more in our detailed guide to the fundamental composition rules for photography. Getting a handle on these principles is what will truly transform your photos from simple snaps into thoughtfully crafted images.
How to Use Light to Create Mood and Drama
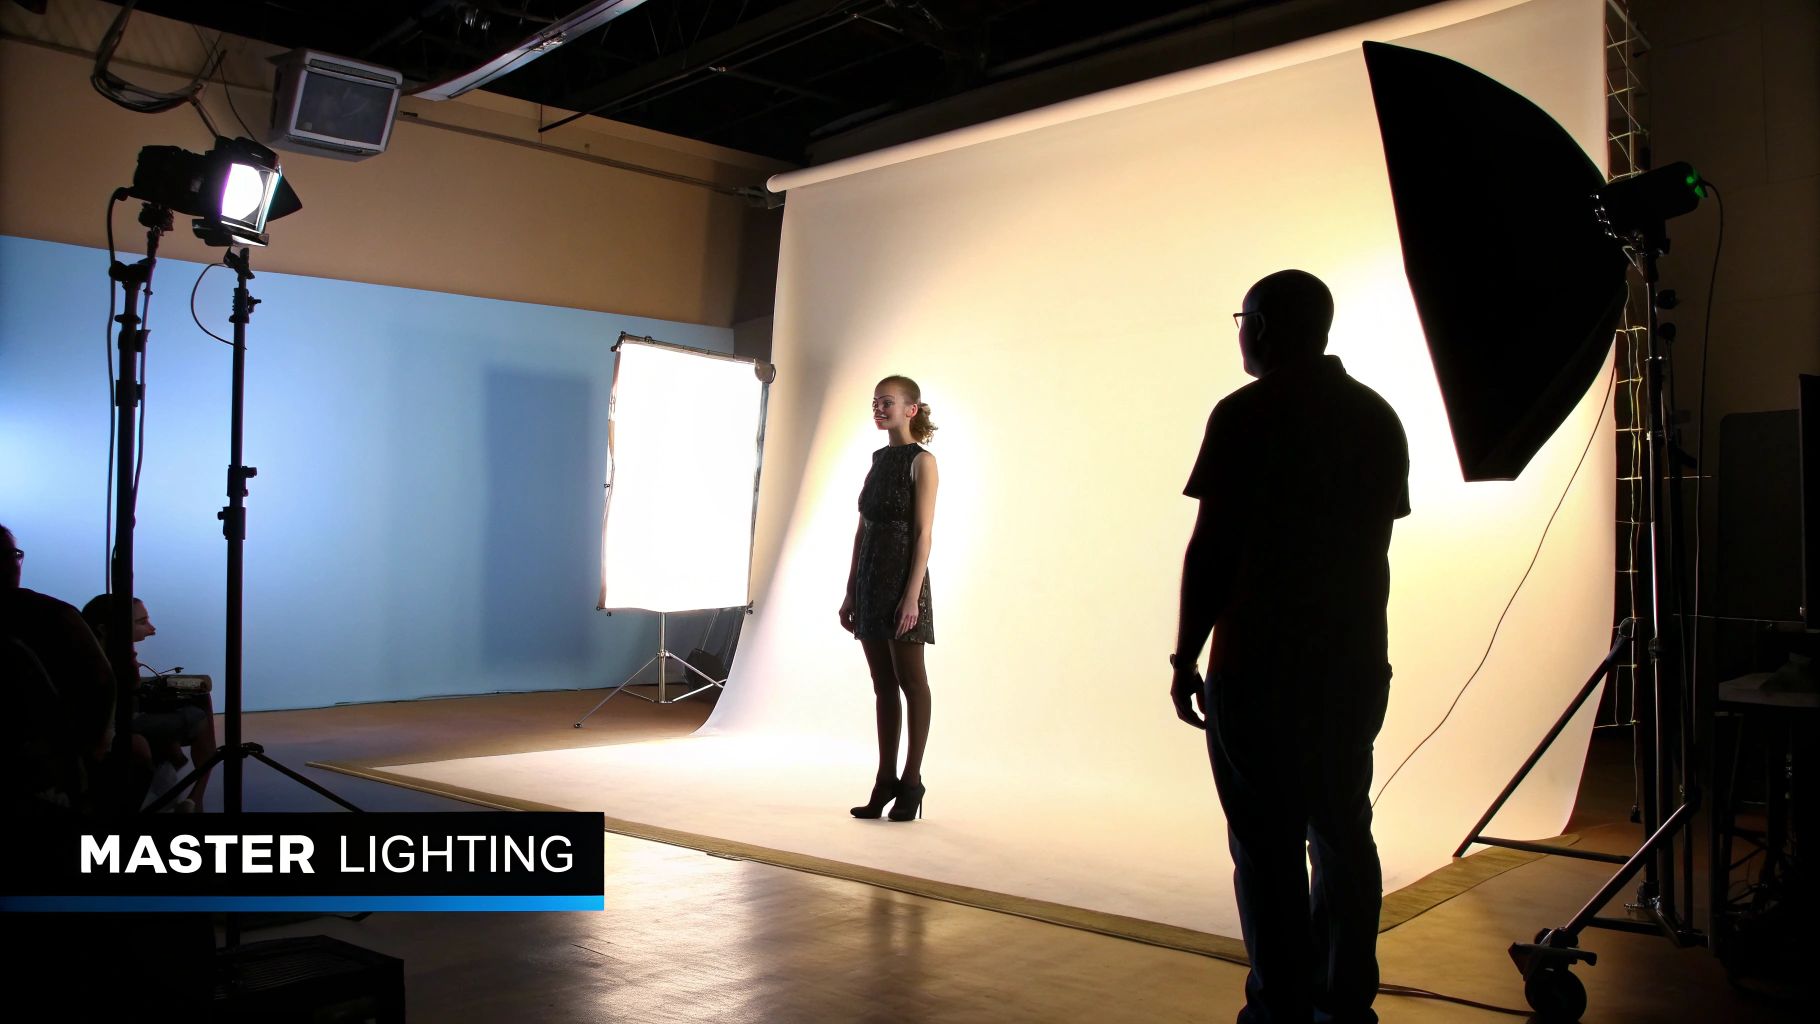
If composition gives a photo its structure, light gives it a soul. Seriously. Learning how to see, shape, and use light is probably the single biggest leap you can make from taking simple snapshots to creating professional-quality photographs.
Light is so much more than just brightness. It’s the tool you use to create mood, build depth, and tell the viewer exactly where to look. The same location can feel bright and joyful or dark and mysterious, all depending on how you light it.
Get to Know Your Light Source
Not all light is the same, and the time of day completely changes the game for natural light. Understanding this is your first step to planning better shots.
Think about shooting a portrait. The light at noon is completely different from the light at sunset.
- Midday Sun (Harsh Light): That high-noon sun is directly overhead, creating sharp, dark shadows under a person's eyes and nose. It’s unflattering, often called "raccoon eyes," and can make skin texture look harsh. It’s a very high-contrast, aggressive look that I almost always avoid for portraits.
- Golden Hour (Soft Light): This is that magical window right after sunrise and just before sunset. The sun is low, so the light is warm, soft, and wraps beautifully around your subject. It creates long, gentle shadows that are incredibly flattering and give everything a dreamy, gorgeous glow.
The real skill is learning to see the quality of light before you even pick up your camera. Ask yourself: Is this light hard or soft? Where is it coming from? How does it make this scene feel? Just answering those questions will guide every other decision you make.
A Quick Fix for Bad Light: The Reflector
You don't need a truckload of expensive gear to control light. In fact, one of the most powerful and affordable tools you can own is a simple 5-in-1 reflector. Here’s a step-by-step tutorial to save a portrait from harsh midday sun.
- Position Your Subject: Place your subject with their back to the sun. This puts their face in an even shadow, so they stop squinting. The sun now creates a beautiful highlight on their hair, often called a "rim light."
- Dial in Your Camera Settings: Expose for your subject's face, not the bright background. The background might look a little blown out, but that's okay for now.
- Position the Reflector: Stand in front of your subject, holding the reflector. Use the silver or white side for a start.
- Find the Angle: Tilt and angle the reflector until you catch the sunlight and bounce it back onto your subject's face. You will physically see the shadows under their eyes and chin soften and fill in.
- Take the Shot: You've just overpowered harsh sun and created a beautifully soft, flattering light with one cheap tool. The silver side gives a brighter, neutral light, while the gold side adds a beautiful warm glow.
Creating Your Own Light with Off-Camera Flash
To get that crisp, dramatic, commercial look, you eventually have to start creating your own light. This is where off-camera flash comes in. Here's a simple one-light tutorial for a dramatic portrait:
- Get the Gear: You'll need a camera, a speedlight (flash), a wireless trigger/receiver, and a light stand.
- Set Up the Light: Place the speedlight on the stand about 45 degrees to one side of your subject and slightly higher than their eye level, pointing down at them. This classic position is called Rembrandt lighting.
- Set Camera to Manual (M): First, ignore the flash. Dial in your settings (e.g., f/2.8, ISO 100, 1/200s) to make the ambient light in the room completely black or very dark in your test shot. This ensures the only significant light will be from your flash.
- Set Flash to Manual: Set your flash power manually, starting low at 1/16 power.
- Shoot, Review, Adjust: Take a test shot. Is your subject too dark? Increase the flash power (e.g., to 1/8). Too bright? Decrease the flash power (e.g., to 1/32). Keep adjusting only the flash power until the subject is perfectly exposed.
This simple technique carves your subject out from the background with light and shadow, giving you an incredibly professional result. There's a whole world to explore here, and you can find tons of detailed lighting techniques in photography to master any scenario. Once you learn to add and shape light, you have complete creative control.
Capture Authentic Emotion and Story
Let's be honest. A technically perfect shot can still be completely forgettable. If there's no human connection, no story, it just doesn't land. This is where you graduate from being a camera operator to a director of moments. The real magic happens when people forget you're even there.
The quickest way to kill a photo's soul? The classic, stiff "say cheese!" It's our job to crush that impulse and create a space where real expressions can surface. That all starts with building a genuine rapport and helping your subjects feel relaxed in front of the lens.
Getting Real Expressions with Prompts
Instead of forcing a pose, give people something to do. Action-based prompts are my secret weapon for breaking the ice and getting reactions that are 100% real. You want to get them moving, interacting, and out of their own heads.
Here are a few prompts I pull out of my bag all the time:
- For Couples: I might ask them to whisper a secret to each other that they’ve never shared. Or maybe, "Tell me about your favorite memory of them." You'll see authentic smiles, quiet tears, and full-on laughter—stuff you could never stage.
- For Families: Games are everything. I'll ask the kids to tell me a secret about their parents. Another great one is having everyone try to make the most serious face they can. It always ends in a fit of giggles. Embrace the chaos.
- For Solo Portraits: Ask them about something they're truly passionate about. Just watch their face light up as they start talking. Or, I'll have them do something simple, like walk toward me while thinking about a big accomplishment. The confidence just radiates.
A great portrait isn’t just about light; it’s about life. Your camera captures the light, but your direction captures their personality. The best prompts are simple, fun, and make the whole experience feel less like a photoshoot and more like just hanging out.
Weaving a Story with Small Details
A truly compelling photograph tells a story that goes way beyond the main subject. You can build that narrative by zeroing in on the little details that most people overlook. These are the elements that add depth, context, and a touch of personality.
Think about what a simple gesture can say. The way a hand rests on a partner's shoulder tells you everything about their connection. A well-worn book on a shelf in the background hints at a love for reading.
Keep an eye out for these storytelling goldmines:
- Gestures and Body Language: A subtle glance, a hand brushing through hair, the way someone leans in—these moments convey more honest emotion than a forced smile ever could.
- Environmental Clues: Including elements from their world—a messy art studio, a favorite coffee shop, a cozy living room—adds a rich, personal layer to the story.
- Meaningful Objects: An old photograph, a piece of jewelry, or even their dog can be brought into the frame to say more about who they are.
By focusing on these details, you create an image that makes people want to look closer and connect with the story. This is the heart of impactful portrait photography, a market that continues to thrive because of its personal touch. In North America alone, portrait photography is a $20.6 billion industry annually, which proves that clients crave photos with emotional depth, not just simple snapshots.
This is part of a bigger picture where authentic storytelling sets professionals apart. If you want to dive deeper into market dynamics, you can find a ton of photography industry statistics and see how trends are shaping the field. Discover more insights about current photography trends on behindmud.com.
Develop a Professional Editing Workflow
Pressing the shutter is just the beginning. The real magic, where your artistic vision truly takes shape, happens in post-processing. A solid, repeatable editing workflow is what elevates a good RAW file into a brilliant final image—one that carries your signature touch.
This isn’t about just throwing a filter on and calling it a day. It’s a deliberate, thoughtful process of polishing your photo, fixing tiny imperfections, and subtly guiding the viewer’s eye right where you want it to go.
The Foundational Edits Every Photo Needs
Before diving into the creative side of things, every single image gets a technical pass. Here's a step-by-step tutorial for your basic edits in software like Lightroom:
- Apply Lens Corrections First: Find the "Lens Corrections" panel and check the "Enable Profile Corrections" box. This automatically fixes distortion and vignetting based on the lens you used.
- Crop and Straighten: Use the crop tool to straighten any tilted horizons and improve your composition.
- Set the White Balance: Use the White Balance eyedropper tool and click on something in your photo that should be a neutral gray or white. This will instantly correct any color cast.
- Adjust Exposure and Contrast: Go to the "Basic" panel. Use the Exposure slider to set the overall brightness. Then, use the Contrast slider to add punch. A good starting point is to adjust the "Whites" slider while holding the Alt/Option key until you see small specks of pure white, and do the same with the "Blacks" slider until you see specks of pure black. This sets your dynamic range.
Once these foundational edits are in place, you have a perfect canvas to start making more targeted, creative adjustments.
Mastering Local Adjustments for Impact
With the basics handled, it's time to add some artistry and direct the viewer's focus. This is where local adjustments come in, letting you edit specific parts of a photo without messing with the rest.
Here’s a quick tutorial for making eyes pop in a portrait using a Radial Filter:
- Select the Radial Filter Tool: In Lightroom, select this tool (it looks like a circle).
- Draw a Filter: Click and drag an oval shape over one of the subject's eyes.
- Invert the Mask: Check the "Invert" box so your adjustments only affect the area inside the circle.
- Apply Subtle Adjustments: Slightly increase the "Exposure" or "Shadows" slider to brighten the iris. Add a tiny amount of "Clarity" or "Texture" to make it sharper.
- Duplicate for the Other Eye: Right-click the filter's pin and select "Duplicate." Drag the new filter over the other eye.
Boom. Your subject's eyes are now the clear focal point without making the edit look fake or overdone.
The secret to great local adjustments is subtlety. A viewer should never be able to tell what you did, only that the photo looks incredible. The best edits are invisible.
Creating a Consistent, Signature Style
A huge part of becoming a recognizable photographer is developing a consistent style, and that consistency is born in your editing. Are you known for bright, airy images? Or dark, moody ones?
Here’s a fast-track to creating your own editing preset:
- Edit a Photo You Love: Take an image and edit it completely until you achieve a look that represents your style. Pay close attention to the color grading, tone curve, and contrast.
- Save as a New Preset: In Lightroom's "Develop" module, go to the "Presets" panel on the left and click the '+' icon. Select "Create Preset."
- Choose Your Settings: A dialog box will appear. Check all the boxes for the adjustments you made that you want to save (exposure, color, etc.), but be sure to uncheck things like White Balance, Exposure, and Crop, as these will be unique to each photo.
- Name and Save: Give your preset a descriptive name and save it.
- Apply and Tweak: Now, on your next photo, you can apply this preset with one click and then make minor exposure and white balance tweaks to perfect it for that specific image.
For a deeper dive into building an efficient process, our guide on a professional photo editing workflow is packed with time-saving strategies.
Finally, remember that the job isn't done until the photo is delivered. Knowing how to properly prepare your digital files for physical products is the last piece of the puzzle. Understanding the nuances of creating high-quality canvas prints, for example, ensures that the image you meticulously edited looks just as stunning on a client's wall as it does on your screen.
Common Questions About Professional Photography
Getting into professional photography often feels like a steep learning curve. You can spend months mastering your camera settings and composition, but a whole new set of practical questions pop up the moment you decide to go pro. Let's tackle some of the most common hurdles I see photographers face.
Do I Really Need All the Expensive Gear?
This is probably the biggest question on every aspiring photographer's mind. Do you need the latest and greatest camera body and a bag full of pricey lenses to make it? Honestly, no.
Pro-level gear is fantastic for its durability and advanced features, but your skill and creative eye are what truly matter. I've seen photographers with entry-level cameras create breathtaking images because they know how to work with light and tell a story. On the flip side, someone with a top-of-the-line camera but no vision will consistently produce flat, uninspired shots.
Focus on mastering the gear you have. Your client is paying for your eye and your vision, not your equipment list. The best camera is the one that allows you to execute your creative ideas without getting in the way.
How Much Should I Charge for My Photos?
Pricing your work can feel like the most daunting part of turning your passion into a business. There's no magic number, as your rates will depend on your location, experience, and the type of work you do—wedding photography is a different beast than corporate headshots, for example.
A solid place to start is by figuring out your Cost of Doing Business (CODB). This isn't just about your camera; it's everything that keeps your business running:
- Gear and software subscriptions (think Adobe, Capture One, etc.)
- Insurance and marketing costs
- Website hosting and travel expenses
- Taxes and, most importantly, your desired salary
Once you know your CODB, you'll know the absolute minimum you have to charge just to break even. From there, you can build in a profit margin that reflects your skill and what the local market can support. The worst thing you can do is just copy someone else's prices; you need a structure that actually sustains your business.
Is a Photography Degree Necessary?
Absolutely not. Many of the world’s most celebrated photographers never set foot in a formal photography program. In this industry, your portfolio is your resume.
Clients care about the quality and consistency of your work, not where you went to school. That said, education is still incredibly important. You can build all the skills you need through other avenues:
- Online courses and hands-on workshops
- Finding a mentor who is already established in the field
- Constant practice and, crucially, learning to critique your own work
The key is to never stop learning. The tech and creative trends in photography are always shifting, and staying on top of them is what builds a long-term career. A killer portfolio that shows you know how to take pictures professionally will always open more doors than a diploma.
At the end of the day, success is about more than just taking a good picture. The 2025 State of the Photography Industry report highlighted that photographers who offer personalized services can boost their revenue by up to 20%. It also found that around 10% of photographers are now using multiple business models to create a more stable income. This just proves that solid business sense is every bit as important as artistic talent. You can check out the full report on the state of the photography industry on shootproof.com.
Ready to push your creative boundaries and produce stunning visuals in seconds? AI Photo HQ gives you the power to generate professional-quality AI photos, custom avatars, and unique art styles with ease. Whether you're a marketer needing fresh content or an artist exploring new mediums, our platform has the tools you need. Explore what you can create with AI Photo HQ and start your visual journey today.

