Thanks to modern digital tools, improving old photographs is easier than you might think. We can now automatically fix common issues like fading, scratches, and discoloration. With just a few clicks, you can breathe new life into cherished memories that have been damaged over time, restoring their original clarity and vibrancy.
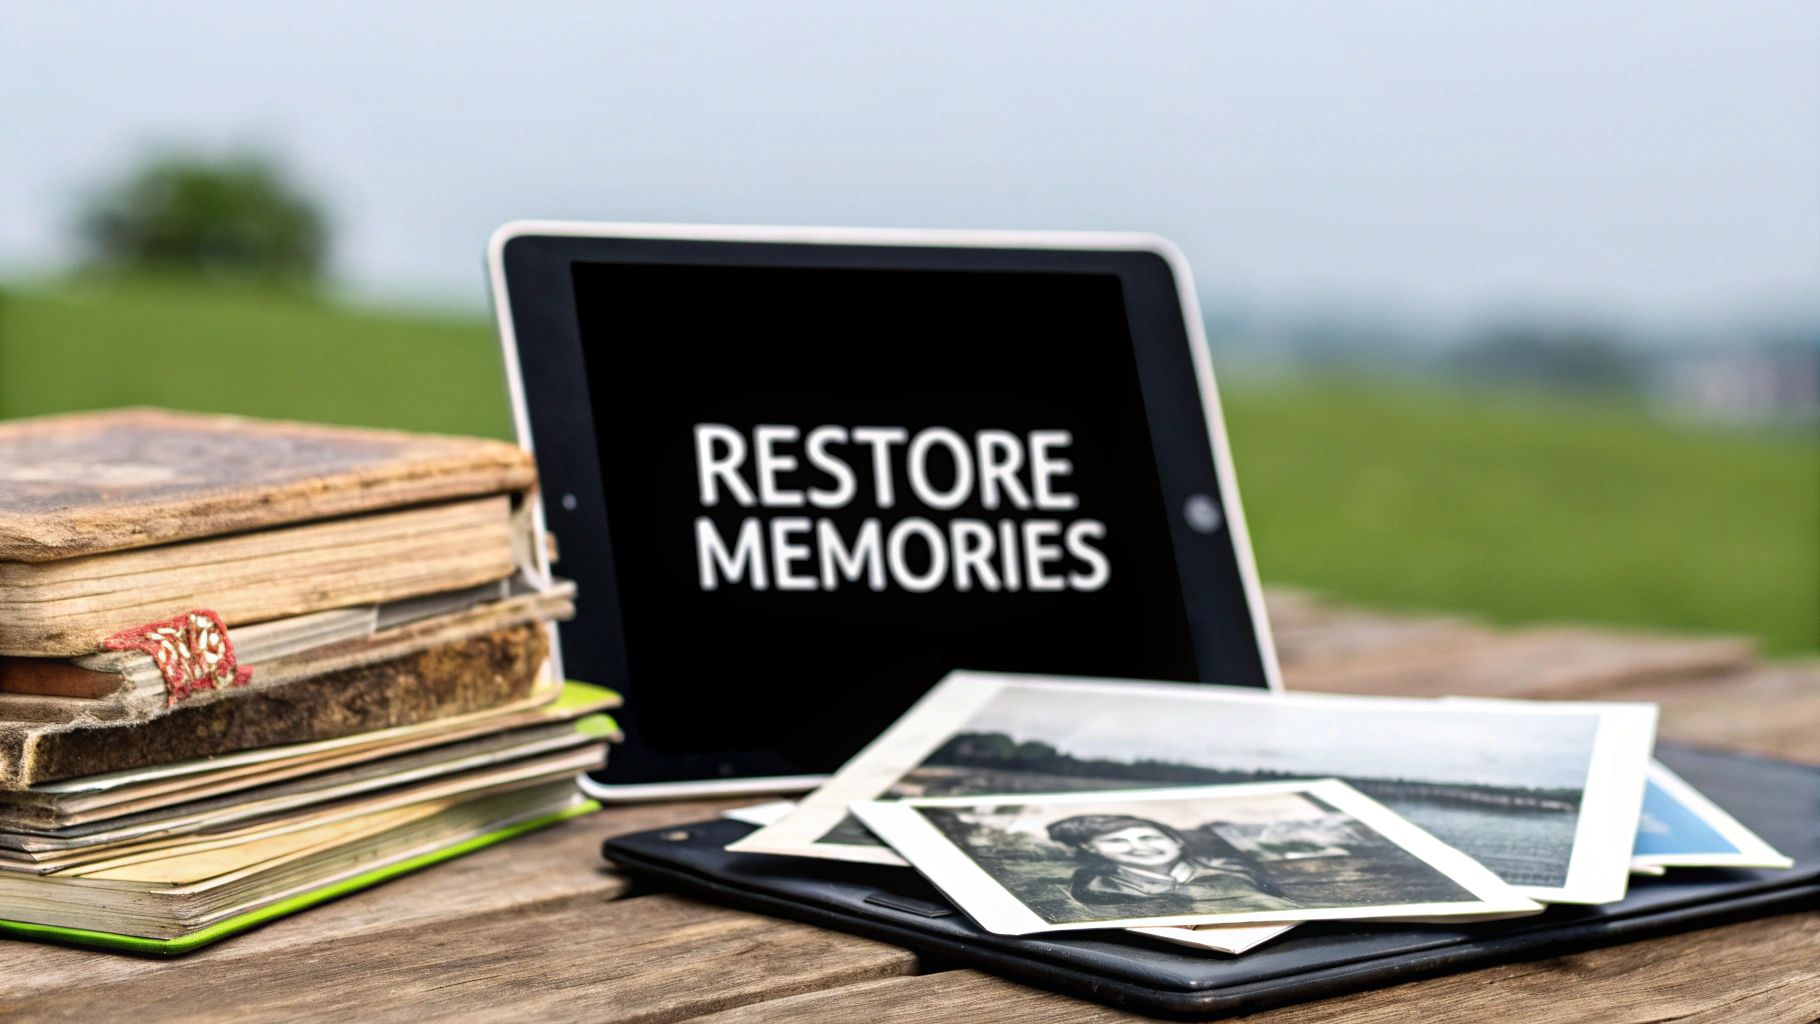
Giving Your Cherished Memories New Life
Old photographs are delicate windows into our past, but time isn't always kind. Yellowing, creases, and water spots can easily obscure the faces and moments we want to hold onto. This guide will show you how today's technology makes photo restoration something anyone can do.
Why Restoration Matters
Every old photo tells a story, connecting us to our family history and personal milestones. When we restore them, we're not just fixing damage—we're preserving a legacy for the next generation. It’s a way to ensure these irreplaceable memories don't fade away for good.
Digitizing and restoring your photos also acts as a safeguard against further physical decay. Once you have a high-quality digital copy, you can share it, print it, and store it without ever risking the original. For more detailed tips on this, check out our guide on https://aiphotohq.com/blog/2025/07/how-to-preserve-old-photos.
Restoring an old photograph is more than a technical fix—it’s an act of bringing a piece of your history back to life. It reconnects you with the people and places that shaped your story.
Restored images can also become the foundation for new creative projects. Think beyond just a digital file. For instance, you could learn how to make tapestries from photos and create a beautiful, tangible heirloom from a memory you’ve saved.
The Shift To AI-Powered Solutions
It wasn't long ago that photo restoration was a painstaking, manual process reserved for skilled artists. They would spend hours, sometimes even weeks, meticulously repairing every tiny flaw by hand.
Now, AI-powered tools have completely changed the game, making the process fast and straightforward. These intelligent systems analyze an image, instantly identify problems like tears or fading, and apply corrections in seconds. This has put professional-quality restoration within everyone's reach, empowering you to renew your own precious memories.
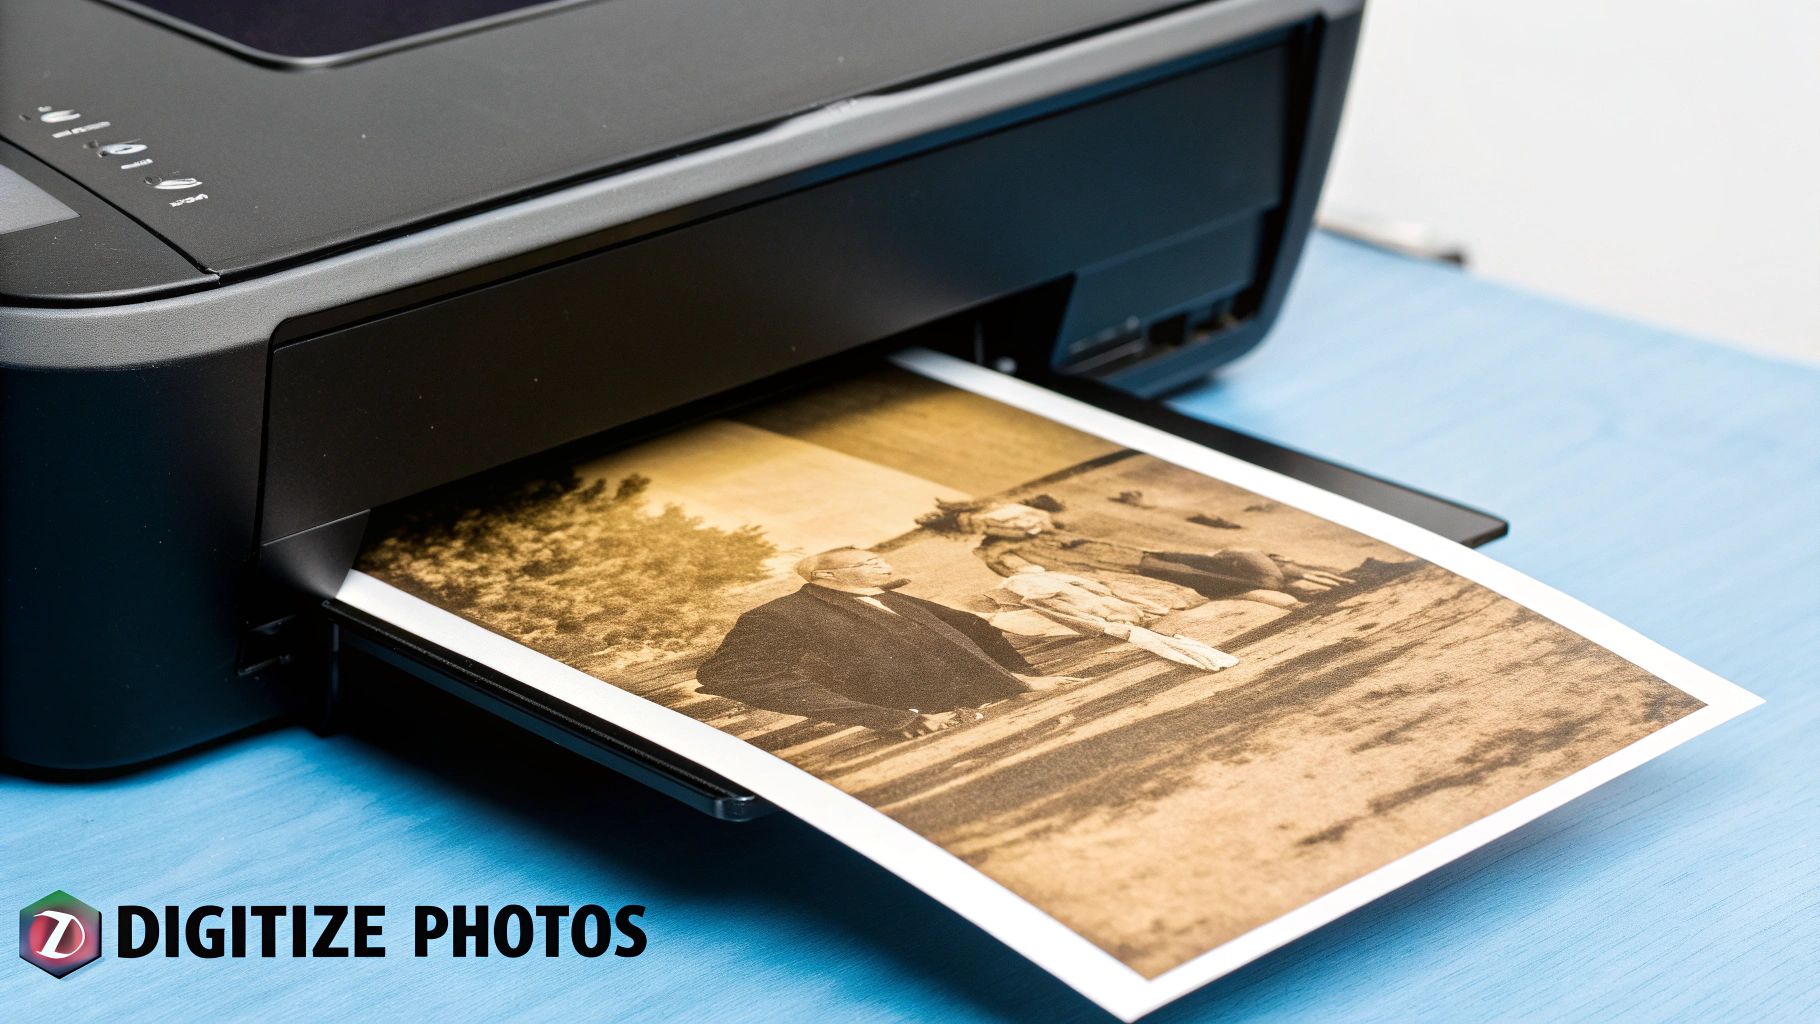
Getting Your Photos Ready for AI Restoration
Before we can work any AI magic, we need a solid digital starting point. The quality of your initial scan is the foundation for the entire restoration. A blurry, low-detail scan gives the AI very little information to work with, which will always limit how good the final result can be.
The first, and easiest, step is to make sure everything is spotless. Grab a soft, lint-free microfiber cloth and gently wipe down your scanner's glass and the surface of the photograph itself. You'd be surprised how often a stray piece of dust or a fingerprint can sneak into a scan, creating extra cleanup work later.
Nailing the Perfect Scanner Settings
Your scanner settings are what determine just how much detail you capture from the original print. When it comes to restoration, more data is always better. You can't magically add detail that wasn't captured during the scan, so getting this right is non-negotiable.
Here’s a quick step-by-step to get the perfect scan:
- Open your scanner software and look for an "Advanced" or "Professional" mode.
- Set the Resolution to at least 600 DPI. If your photo is small (like a wallet photo), use 1200 DPI.
- Choose the File Format: Select TIFF instead of JPEG. This creates a larger file but preserves 100% of the image quality.
- Select the Color Depth: Pick the highest available setting, such as 24-bit or 48-bit color.
- Scan and save the image to your computer.
Recommended Scanner Settings for Quality Scans
Use this quick reference to select the best scanner settings for capturing maximum detail from your old photographs before restoration.
| Setting | Recommended Value | Why It Matters |
|---|---|---|
| Resolution | 600 DPI (minimum), 1200 DPI for small photos | Higher DPI (Dots Per Inch) captures more pixels, resulting in a sharper image with finer detail. |
| File Format | TIFF (Tagged Image File Format) | TIFF is a lossless format, meaning no data is compressed or discarded. This preserves the maximum image quality for editing. |
| Color Depth | 24-bit or 48-bit color (highest available) | A higher bit depth captures more subtle shades and tones, which is crucial for accurately correcting color fading. |
Getting these settings right from the start saves a massive amount of time and ensures the AI has the best possible file to work with.
As you get into the rhythm of digitizing your collection, it's also a great time to think about protecting the originals. It’s worth learning the best ways to store old photos so they don't degrade further after you've created their digital copies.
What If You Don't Have a Scanner?
No flatbed scanner? No problem. Your smartphone can actually do a decent job, as long as you’re careful. The whole game here is to get an image that's flat, evenly lit, and in sharp focus.
Follow these simple steps for a great scan with your phone:
- Find good light: Place the photo on a flat surface near a window, but out of direct sunlight to avoid glare.
- Position your phone: Hold your phone perfectly parallel to the photo. Do not shoot at an angle.
- Use an app: An app like Google PhotoScan guides you to take multiple shots and then stitches them into a high-quality, glare-free digital image.
- Save the image: Export the final scan at the highest possible quality.
Once you have a growing folder of digital images, keeping them organized is key. Check out our detailed guide on how to organize digital photos for some practical systems that work.
From Manual Artistry to AI Precision
To really appreciate how simple restoring old photos has become, you have to look at how it used to be done. Before any digital tools existed, photo restoration was a painstaking craft, done entirely by hand. This was a world of physical artistry, demanding a rock-steady hand and an artist's eye for detail.
Skilled technicians would use airbrushes, scalpels, and special dyes to meticulously fix every crack and fade. Just imagine trying to fill in a missing part of someone’s face by physically grafting a tiny fragment from a different photograph. It was an incredibly slow, demanding, and delicate process.
The Painstaking Art of Hand Restoration
For nearly a century—from the late 1800s until digital editing showed up—restoring a single photograph was a massive commitment. Using traditional art supplies, this manual process could take anywhere from four to six weeks for just one image.
Even then, the results were often a mixed bag. The final photo might look quite different from the original, colored by the restorer's creative interpretation and the technical limits of the era. You can learn more about this fascinating history at Rememorie.
This old-school method wasn't just slow; it was also expensive, putting it far out of reach for most people. The combination of high costs and unpredictable outcomes made professional restoration a niche service, not something the average family could ever consider.
Common Manual Restoration Techniques
Before the one-click fixes we enjoy today, specialists had a very specific set of physical tools and techniques they relied on.
- Airbrushing: Artists used fine-mist airbrushes to blend colors and hide faded spots or discoloration. It took incredible control to get a seamless finish.
- Physical Retouching: This involved using tiny scalpels and fine-tipped brushes to literally scrape away blemishes or paint new pigments directly onto the photograph's surface.
- Image Splicing: When a chunk of a photo was gone for good, a restorer might carefully cut and paste a matching piece from a donor photograph. This was as much art as it was science.
Understanding this history really puts into perspective the limitations that defined photo restoration for generations. Each repaired photo was a unique, handcrafted piece of art, but the whole process was simply inaccessible for most families just wanting to preserve their history.
The old way of improving old photographs was a testament to human skill and patience, but it was also a barrier. The time, cost, and specialized knowledge required meant that countless precious memories were left to fade.
Thankfully, technology has completely closed that gap. The jump from this delicate manual artistry to the AI-powered precision we're about to explore has made it possible for anyone to save their cherished memories—effectively and affordably.
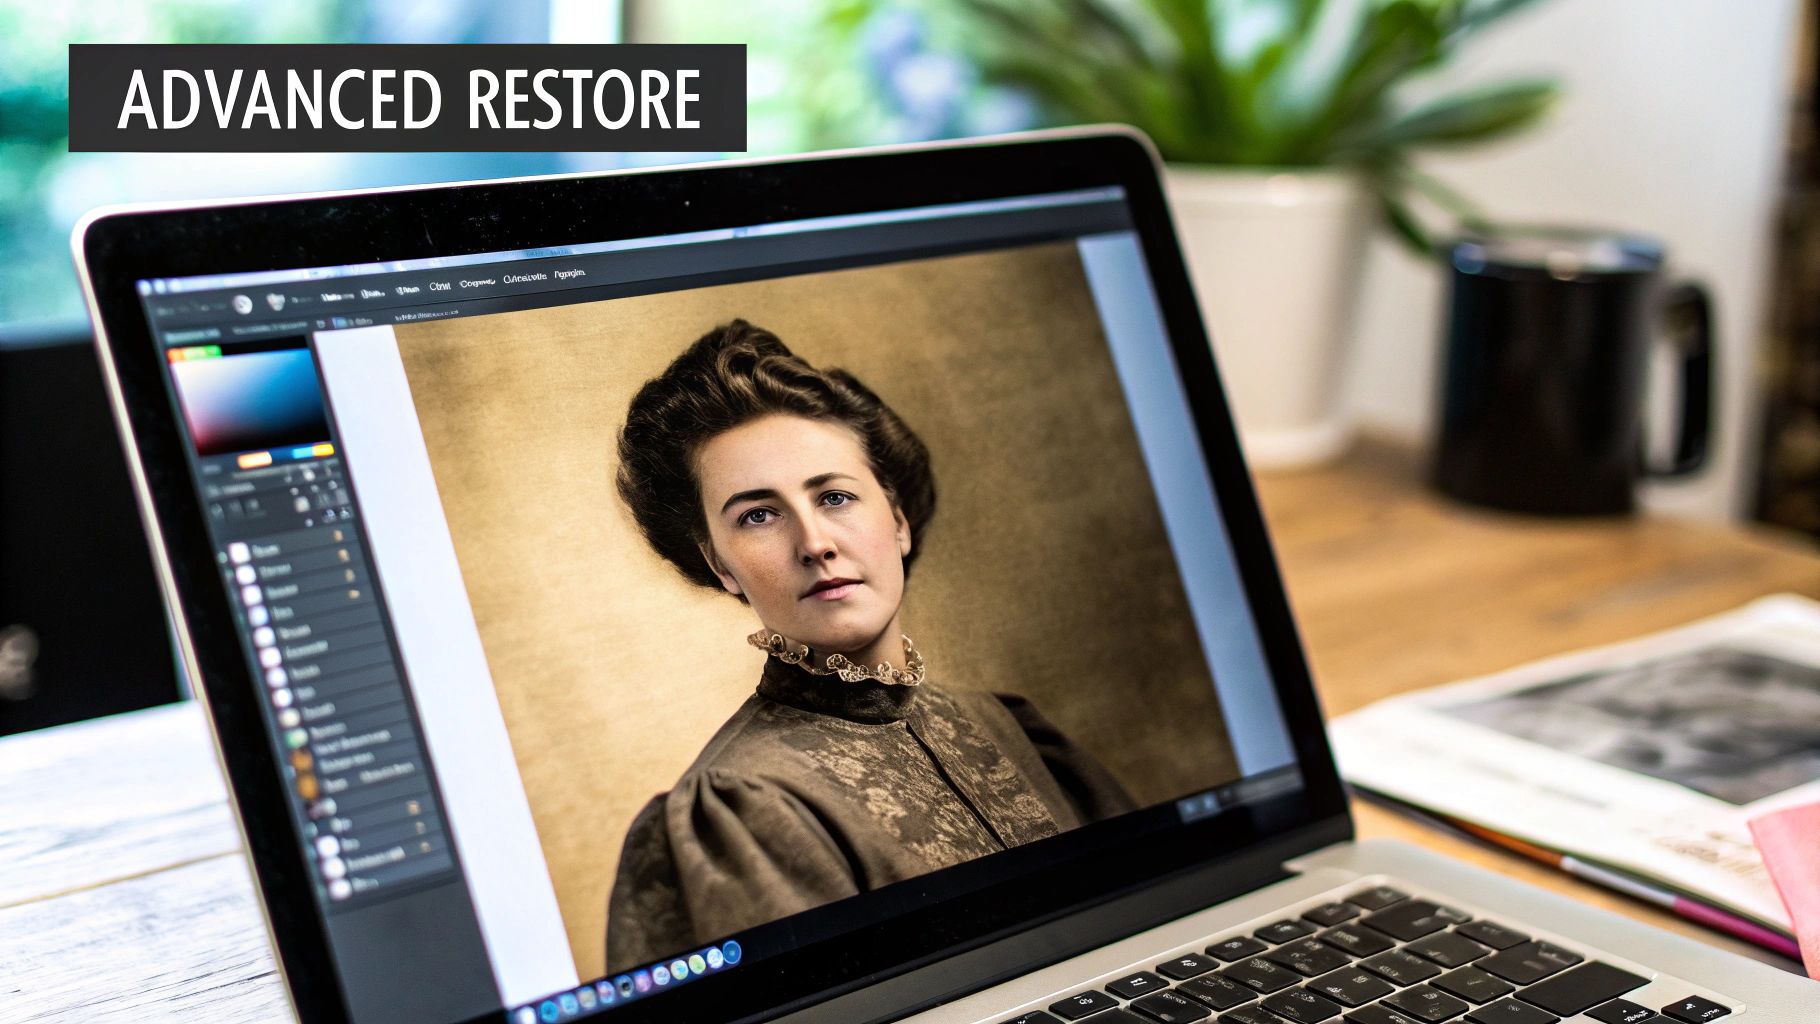
Using AI Enhancement Tools to Restore Your Photos
Alright, let's roll up our sleeves and get to the fun part. You'll be amazed at how straightforward it is to breathe new life into old photographs with today's AI tools. You can forget about spending hours in complicated software; platforms like AI Photo HQ are built to give you incredible results in just a few minutes.
Here's a simple step-by-step tutorial using a tool like AI Photo HQ:
- Upload Your Photo: Go to the website and drag and drop your scanned TIFF or high-quality JPEG file into the upload area.
- Select an Action: You'll see options like "Fix Scratches," "Colorize," and "Enhance Face." Start with "Fix Scratches."
- Let the AI Work: Simply click the button. The AI will analyze the image and automatically repair tears, creases, and dust spots in a matter of seconds.
- Review the Result: You will typically be shown a "before and after" slider. Drag it back and forth to see the dramatic improvement.
This first pass often handles about 80% of the visible damage automatically, giving you a huge head start. For a deeper dive into more advanced techniques, our guide to photo restoration online has you covered.
Bring Black and White Photos to Life with AI Colorization
This is where the real magic happens. If you have a black and white photo, you can now add realistic color. The AI has been trained on millions of historical images, so it makes highly educated guesses about the original colors.
Tutorial: How to Colorize a Photo
- Upload your black and white scan to the AI tool.
- Find and click the "Colorize" button.
- Wait a few moments. The AI analyzes the scene—identifying the sky, clothing, skin, and hair—and applies historically appropriate colors.
- Download the colorized version. A monochrome wedding photo from decades ago suddenly feels vibrant and present, with a realistically colored bouquet and scenery that adds an entirely new emotional layer.
Bringing an old photo back to its former glory really comes down to a few key steps.
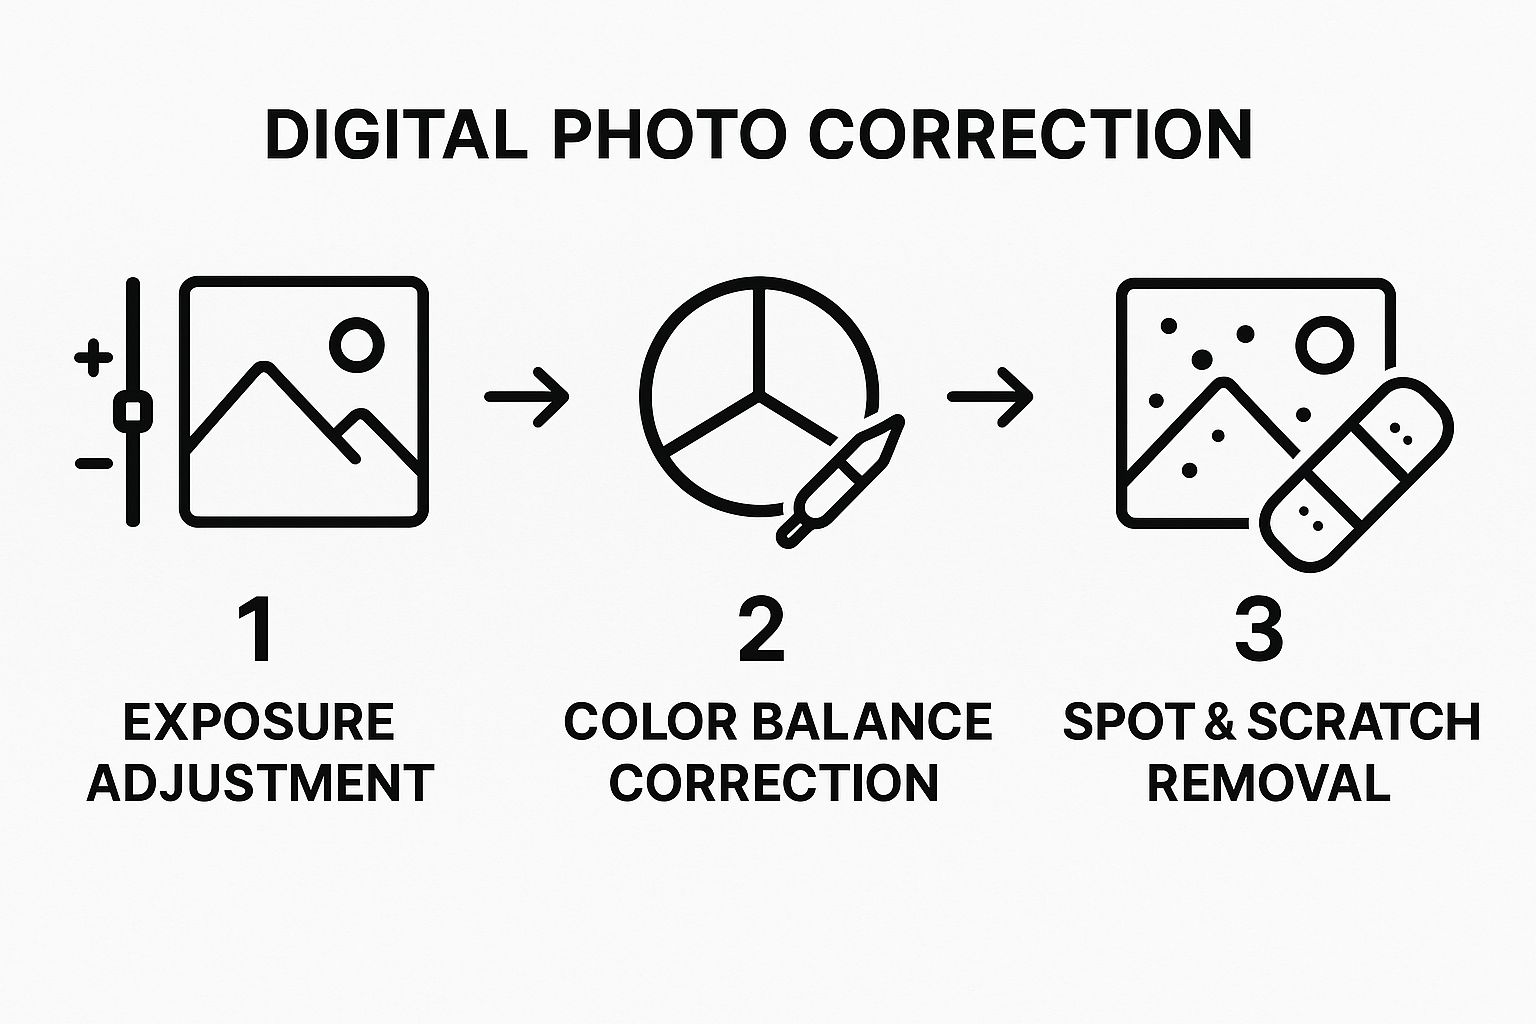
As you can see, by tackling light, color, and then imperfections in a logical order, you create a solid foundation for a beautifully restored final image.
And people are catching on. The demand for these kinds of tools is exploding; the global photograph restoration market is projected to rocket from USD 420 million to around USD 1.2 billion between 2023 and 2032. This growth is all thanks to accessible AI software that lets anyone become a family historian.
Sharpen Faces and Bring Out the Details
So often, the faces are what matter most in an old photo. But vintage cameras weren't always the sharpest, leaving people looking a bit soft or out of focus. This is another area where AI is a game-changer.
Tutorial: How to Enhance Faces
- Upload the restored photo (after fixing scratches and color).
- Select the "Enhance Face" or "Sharpen Face" feature.
- The AI automatically detects faces in the image and applies a specific sharpening algorithm to bring out details in the eyes, hair, and facial structure without affecting the background.
- Compare the before and after. It can truly be the difference between a blurry, anonymous ancestor and a clear portrait of a relative you can finally see.
AI isn't just improving pixels; it's strengthening our connection to the past. By sharpening a loved one's face, we close the gap of time and make a piece of history feel personal and immediate.
Taking Your Photo Enhancement to the Next Level
Once you’ve tackled the big stuff—the scratches, tears, and major fading—it’s time to move on to the finer details. This is where a good photo restoration truly becomes a great one. We're shifting from automated repair to manual aesthetic enhancement to make the image really come alive.
These next few adjustments can fundamentally change the mood and clarity of your photo, making the final image feel vibrant and present, as if it were taken yesterday.
Balancing Light and Shadow
So many old photographs I see look flat or washed out. Over the years, the dynamic range—that's the gap between the darkest blacks and the brightest whites—just compresses and fades. Fixing this is probably one of the most impactful things you can do.
Step-by-Step Contrast Adjustment:
- Locate the "Contrast" slider in your editing tool.
- Increase the contrast in small increments (+5 at a time). Watch how the dark areas get darker and the light areas get lighter.
- Stop before you lose detail. If the shadows become solid black or the bright spots turn pure white, you've gone too far. Pull the slider back a bit.
- The goal is to add depth and "pop" without making the photo look harsh or artificial.
A well-balanced photo naturally guides your eye. When you adjust the brightness and contrast, you're doing more than just making it clearer; you're directing the viewer's focus and restoring the original emotional weight of the scene.
Correcting Decades of Color Cast
You know that classic yellow or sepia-toned tint on old pictures? That’s the result of the original photographic chemicals slowly breaking down. Removing that color cast often reveals the photo's true, original colors.
Tutorial: Removing a Yellow Tint:
- Find the "Color Balance" or "Temperature" controls. Most software, including AI Photo HQ, will have these.
- If the photo is too yellow, gently move the Temperature slider towards the blue side. Watch the image in real-time.
- If you see a green or magenta tint, adjust the Tint slider towards the opposite color to neutralize it.
- Aim for neutral whites. Look for something in the photo that should be white (a shirt, a wall) and adjust until it looks clean and neutral, not blue or yellow.
As always, small, incremental changes are the way to go. You’re looking for that sweet spot where skin tones look natural.
Bringing Out Fine Textures with Sharpening
Sharpening is the final polish. Lenses from the past often produced softer images than modern cameras. A little sharpening can work wonders, bringing out textures in clothing, buildings, or faces.
How to Sharpen Correctly:
- Find the "Sharpen" or "Clarity" tool.
- Zoom in to 100% on an area with detail, like a person's eyes or the pattern on a dress.
- Slowly increase the sharpening amount. Watch for the moment the details become crisp and clear.
- Stop immediately if you see "halos" (bright lines) appear around edges or if the image looks gritty. Over-sharpening looks unnatural. The aim is to add clarity, not an artificial edge.
Frequently Asked Questions About Fixing Old Photos
When you first dive into restoring old photos, you're bound to have questions. It's totally normal. Getting a handle on a few common issues from the get-go will make the entire process smoother and help you get those incredible results you're after. Let's tackle some of the most common queries I hear.
Can a Really Damaged Photo Actually Be Saved?
Absolutely. You'd be amazed at what's possible now. Even photos with what looks like catastrophic damage—think major tears, chunks missing, or severe water stains—can often be brought back to life. Modern AI is brilliant at this. It looks at the pixels around the damaged area and makes an incredibly educated guess to fill in the blanks.
I've seen it work wonders. A photo literally torn in two can be stitched back together so seamlessly you'd never know. Of course, there are limits. A photo where someone's entire face is gone is still the ultimate challenge. But for smaller missing pieces of a person or background, the AI can often rebuild it and make the image feel complete again.
What’s the Best File Format for Saving Scans?
For archiving your precious memories, there's one clear winner: TIFF (Tagged Image File Format). Hands down, this is the format you want for your master copies.
Why? Because TIFF is a “lossless” format. It holds onto every single pixel of data from your original scan without compressing it and throwing information away. This is critical for archival because you're preserving all the original detail, which gives you the most to work with for future edits.
On the other hand, JPEG is a “lossy” format. Every time you save a JPEG, it sheds a little data to keep the file size manageable. That loss in quality is permanent and gets worse each time you edit and re-save the file. It’s great for sharing online, but not for your one-and-only digital original.
How Do I Pick the Right Software for This?
Choosing the right tool really comes down to your specific needs and how comfortable you are with technology. It's not a one-size-fits-all situation.
Here’s what I tell people to think about:
- How intuitive is it? You want a tool with a clean interface and simple, one-click fixes for common problems like scratches or fading. A platform like AI Photo HQ is built specifically for people who aren't pro photo editors.
- What can it actually do? Do you have a shoebox full of black-and-white photos you want to colorize? Or are you dealing with blurry faces that need sharpening? Make a mental checklist and ensure the software has the specific features you need.
- What’s the trade-off between cost and quality? Free tools are fine for a quick touch-up, but for seriously damaged photos, you’ll find that paid, professional-grade software delivers far better, more believable results.
The interest in bringing old photos back to life is exploding. The global market for photograph restoration is projected to grow from USD 1.6 billion in 2025 to USD 3.5 billion by 2035. This huge jump is happening because powerful digital tools are now accessible to everyone. With an estimated 80% of all photos still existing as physical prints, the need for good restoration tools is only going to grow. You can read more about these market insights to see where the technology is headed.
Ultimately, the best software is the one that gets the job done for you without requiring a degree in photo editing.
Ready to see what's possible with your own family photos? With AI Photo HQ, you can fix faded colors, erase scratches, and bring blurry faces into focus in just a few clicks. Give your cherished memories a second chance and try it for yourself today.

