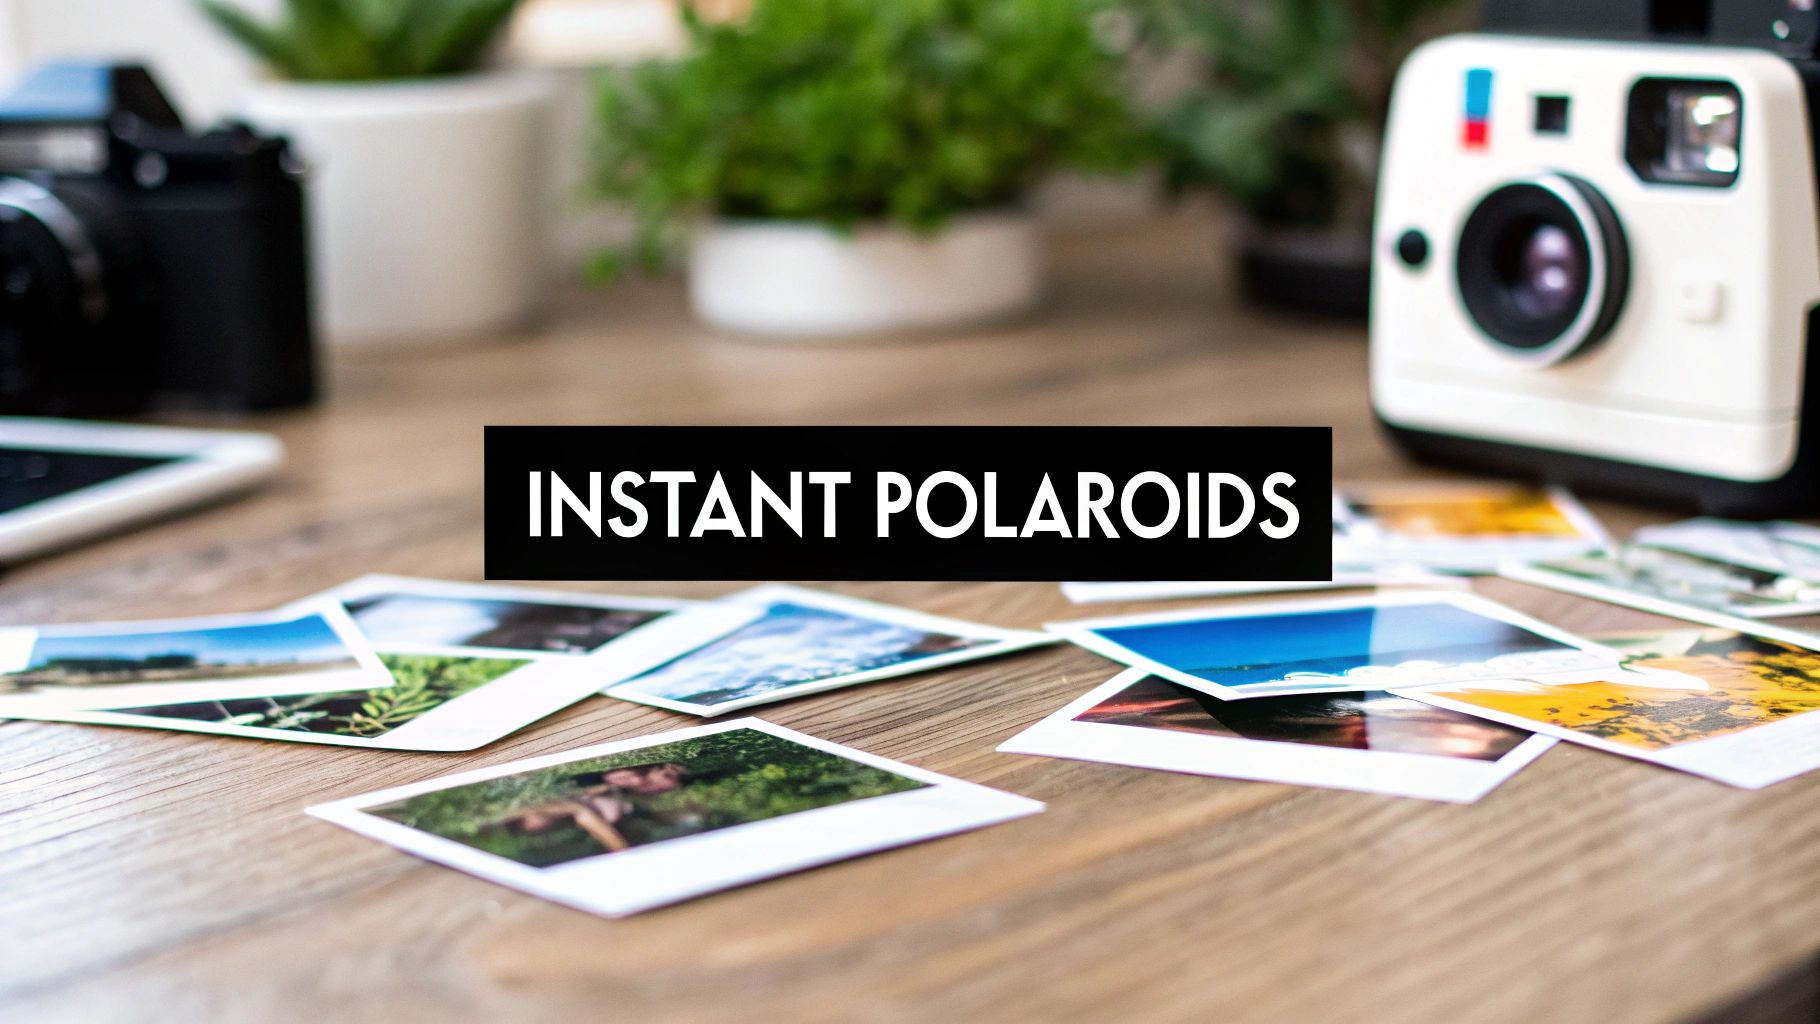
Want to give your photos that classic Polaroid vibe? You can easily recreate the signature soft focus, muted color palette, and iconic white border with the right tools. This guide will walk you through the practical steps to transform your digital pictures, blending old-school nostalgia with modern convenience.
Why We're Still Obsessed With the Polaroid Look
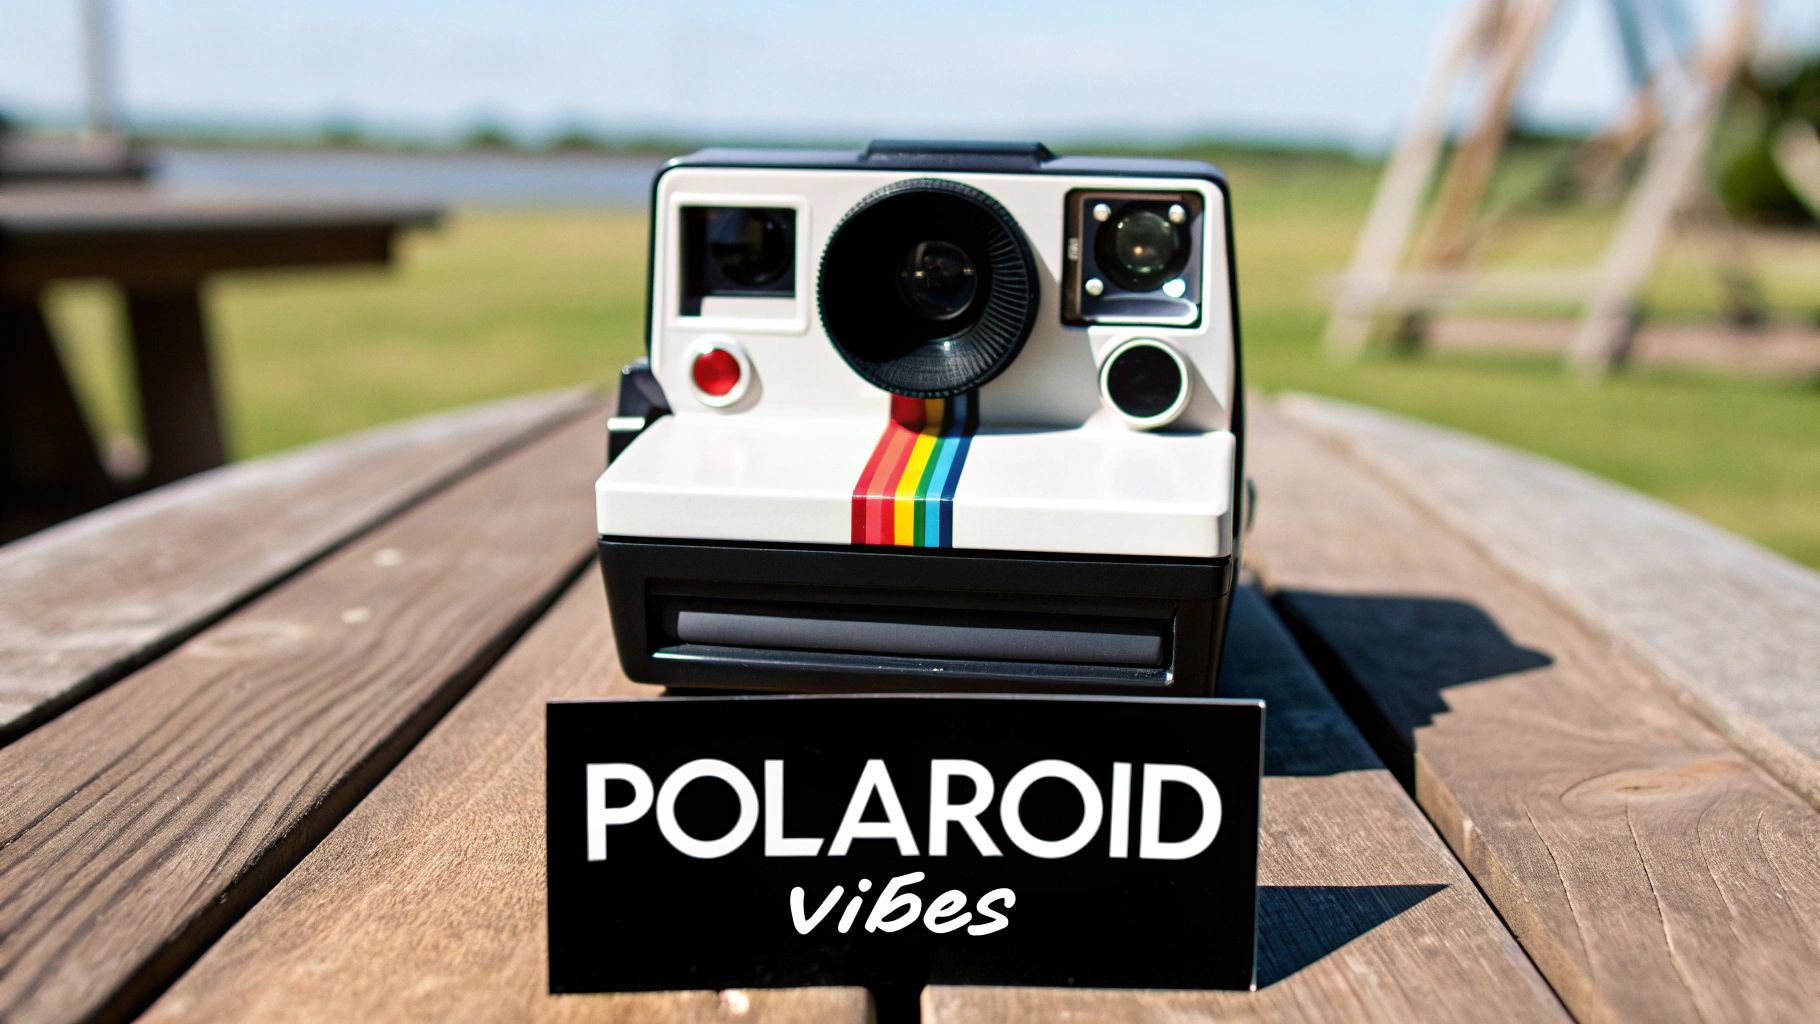
Before we jump into the "how," let's talk about the "why." Why does this retro style still have such a hold on us? The Polaroid look is so much more than just a filter; it's a whole mood. It evokes a feeling of nostalgia, a charm in its imperfection, and a sense of a tangible memory that crisp, perfect digital photos sometimes lack.
This whole aesthetic, born from the magic of instant film, is all over platforms like Instagram and Pinterest. The appeal really boils down to a few key visual cues that scream authenticity and a laid-back, candid feel.
The Charm of Imperfection
So what is it, exactly, that makes the Polaroid effect so irresistible? It really comes down to a few core elements that give it its unique character:
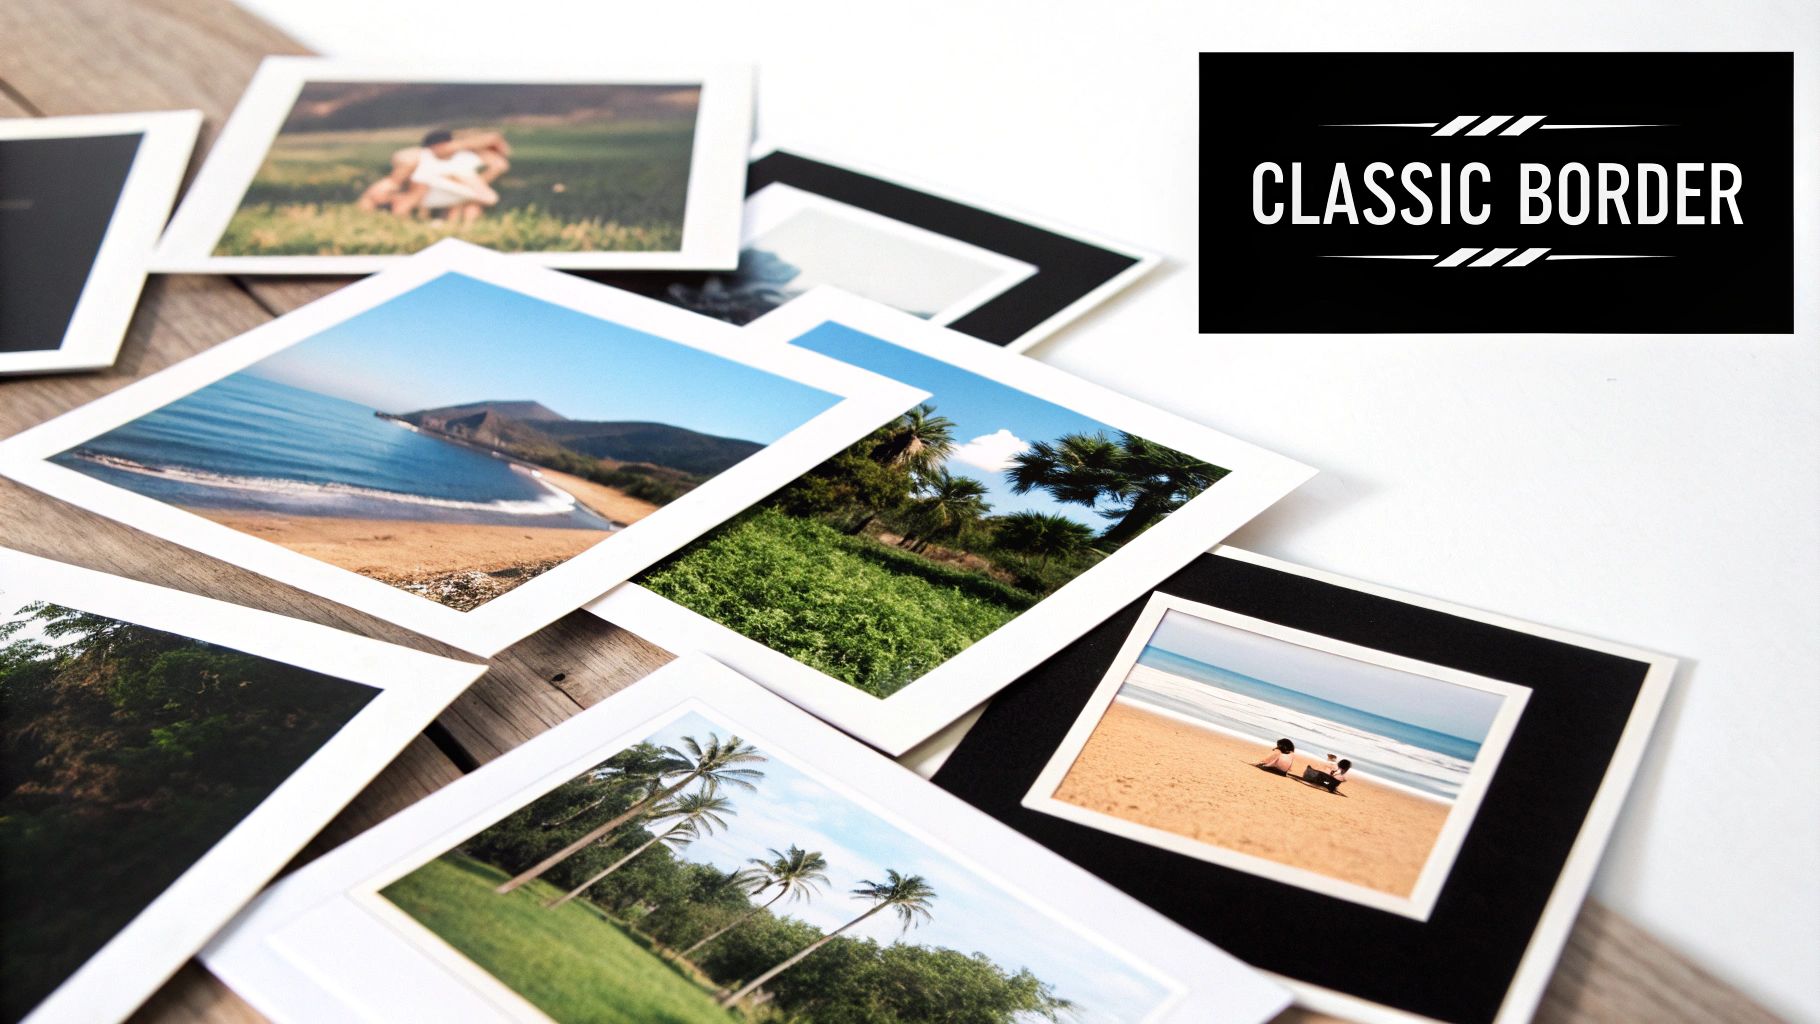
- The Iconic White Border: You see it, and you instantly know. This frame does more than just contain the image; it makes it feel like a distinct, physical object you can hold.
- Soft, Faded Colors: Forget the super-saturated, high-contrast look of modern photos. Polaroids are all about muted tones, with a warm, slightly washed-out quality that feels gentle and timeless.
- Subtle Grain and Soft Focus: The original chemical process wasn't perfect, and that's the point. It created a unique film grain and a subtle softness, giving images a dreamy, not-quite-sharp finish.
The beauty of the Polaroid is its tangible imperfection. Each photo feels like a unique, unrepeatable moment captured in time, which is a powerful contrast to the endless editability of digital images.
This whole style got its start with the Polaroid Corporation, which was founded way back in 1937. They launched the first-ever instant camera in 1948, letting people see their photos develop in minutes, right in that famous white-bordered frame. The trend absolutely blew up. By 1978, the company was selling a staggering 14.3 million instant cameras a year. If you're curious, you can dive deeper into the history of instant photography.
Once you really get what makes this style so special, you'll have a much better handle on how to recreate it authentically yourself.
Breaking Down the Classic Polaroid Aesthetic
If you really want to nail that classic Polaroid look, you have to get what makes them so special in the first place. It’s way more than just slapping a white frame on a picture; it’s about capturing the beautiful, nostalgic flaws of old-school instant film.
Of course, the first thing everyone thinks of is that iconic border. That signature frame, with its thicker bottom edge, is a direct result of the self-developing film technology that spit out a finished print in just 60 to 90 seconds. It quickly became a cultural symbol for a moment captured instantly. You can actually read more about the history of Polaroid's self-developing film technology here if you're curious.
But the real magic isn't in the frame—it's in the imperfections. The original chemical process was never perfect, and that’s what gives these photos their soul.
The Nuances of Instant Film
The colors in a true Polaroid are never hyper-saturated like a modern phone picture. They have this distinct, slightly muted, and warm feel that gives everything a soft, almost dreamy quality. This is usually paired with a gentle focus that steers clear of the razor-sharp precision we’re used to today.
Another huge piece of the puzzle is the film grain. It’s not like the uniform digital noise you can add with a simple filter. Real Polaroid grain is more organic and textured, adding a sense of depth and a tangible feel to the image.
The goal is to embrace the charming imperfections. Recreating the muted colors, soft focus, and characteristic light leaks is what separates a generic filter from a truly believable Polaroid edit.
Then you have things like light leaks or uneven development. These "flaws"—which show up as streaks or discolored patches—were super common on original prints. While you don't want to go overboard, a hint of these can make your digital version look like a genuine artifact from decades ago. By focusing on these little details, your images will capture that authentic, retro spirit of instant photography.
To make this even clearer, I’ve put together a quick reference table. This breaks down the core visual elements you’ll want to replicate for an authentic Polaroid effect.
Key Elements of the Polaroid Aesthetic
| Visual Element | Description | How to Replicate in AI Photo HQ |
|---|---|---|
| The Iconic Frame | White border with a thicker bottom edge, a hallmark of the physical print. | Select a "Polaroid" or "Instant Film" style option, which automatically adds the frame. |
| Muted, Warm Colors | Lower saturation and a shift towards warmer tones (yellows, reds). | Use prompts like "muted colors," "warm tones," or "vintage color palette." |
| Soft Focus | A slight lack of sharpness, avoiding the crispness of modern digital photos. | Include "soft focus" or "dreamy" in your prompt. Lowering the "Clarity" setting can help. |
| Organic Film Grain | A textured, non-uniform grain that adds a physical feel to the image. | Add "film grain," "textured," or "80s photo" to your prompt to introduce this effect. |
| Light Leaks & Flaws | Streaks of light or discoloration caused by the imperfect chemical process. | Use terms like "light leaks," "lens flare," or "damaged photo" sparingly for authenticity. |
Focusing on these five elements will get you 90% of the way there. It’s all about layering these subtle effects to create something that feels genuinely nostalgic and real.
Making Your Photos Look Like Polaroids with AI Photo HQ
Alright, let's walk through the exact steps to turn your pictures into classic Polaroids using AI Photo HQ. The beauty of this method is its speed and simplicity—no complex manual editing required.
Step-by-Step Tutorial
Here’s a practical, step-by-step guide to achieving the look. For this example, I'm using a modern, sunny travel photo.
Step 1: Upload Your Image
- Navigate to the AI Photo HQ editor and upload the photo you want to transform. Choose a photo with good natural light for the best results.
Step 2: Select a Base Style
- In the style selection area, look for a preset that gives you a head start. Choose "Polaroid" or "Vintage Instant Film."
- This single click applies the iconic white border and a foundational vintage color treatment, doing most of the heavy lifting instantly.
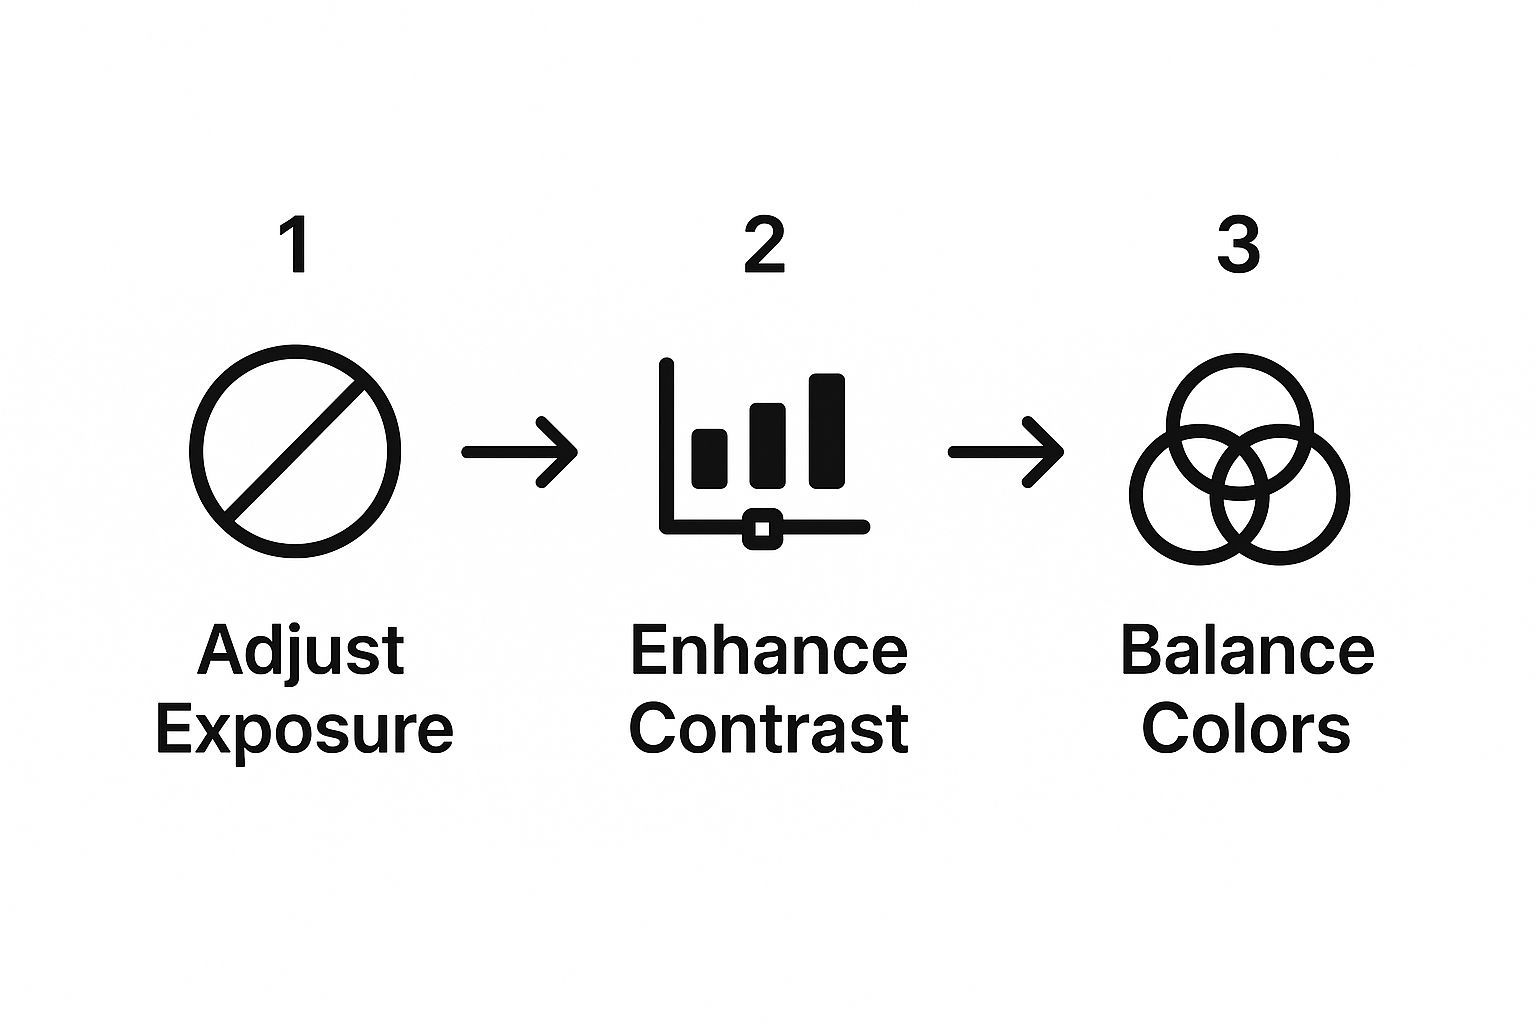
Step 3: Refine the Look with Prompts and Sliders
- This is where you dial in the authentic feel. The base style is good, but fine-tuning is what makes it great.
- Adjust Filter Intensity: Start by setting the intensity slider to around 70%. This ensures the effect is strong but doesn't completely overwhelm the original photo's details.
- Add Fading and Grain: In the text prompt box, add phrases like "faded colors" and "subtle film grain." This combination mimics the natural aging process of real instant film.
- Introduce Warmth: If your photo still feels too modern, add "warm color tone" or "golden hour light" to the prompt. This will give it that soft, yellowish tint common in old photos.
Here’s a quick visual guide showing the core adjustments I make to get that signature Polaroid aesthetic.
By following these three steps, my modern beach photo is completely transformed. The vibrant blues are now softer, the sand has a warm glow, and a light film grain adds a tangible texture. The result is a convincing retro print that looks like a treasured memory.
The real secret is to stop thinking like a digital photographer. Don’t chase perfection. Instead, lean into the little imperfections—the faded tones, the soft focus—that give Polaroids their timeless charm.
The tech that makes this possible is pretty amazing. If you're curious about how our platform can so effectively reinterpret visual styles, you should check out our guide on AI image style transfer. It’s a great read that breaks down how the AI learns and applies the essence of one image to another.
Pro Techniques for an Authentic Vintage Feel
Once you've mastered the basics, you can add subtle imperfections that truly sell the vintage effect. The goal is to make your digital photo feel like a physical object that’s been handled and aged over time. Here are two practical techniques to try.
Technique 1: Adding Flaws and Textures
To add a layer of realism, introduce flaws that were common in original prints.
- Introduce Light Leaks: In the text prompt box, add the phrase "subtle light leak in the corner." This simulates an imperfection from the camera itself, adding a flare of reddish or yellowish light. Use sparingly for the best effect.
- Add Dust and Scratches: For a more aged look, use prompts like "dust and scratches overlay" or "weathered photo." This will add tiny specks and lines, making the image feel like a genuine artifact.
Technique 2: Personalizing with Handwritten Text
The wide bottom border of a Polaroid was often used for captions. You can recreate this digitally.
- Add Text to Your Image: Use an editing tool to add a text box over the bottom border of your generated Polaroid.
- Choose a Handwritten Font: Select a font that looks like natural handwriting or a vintage typewriter.
- Use a Faded Color: Instead of pure black, use a dark gray (
#333333) or a faded brown for the text color. This looks more authentic than a sharp, modern black. - Slightly Tilt the Text: For an extra touch, rotate the text by 1-2 degrees to mimic the slight unevenness of real handwriting.
The most convincing Polaroid edits come from photos that already have a candid, spontaneous feel. Action shots, genuine smiles, and everyday moments in natural light transform far more authentically than perfectly staged studio portraits.
If you’re working on a series of photos, save your combination of prompts and settings as a custom style. This allows you to apply the exact same look across a batch of images for a cohesive, nostalgic album. For more on this, our guide on enhancing old photographs has more advanced tips.
By layering these pro touches, you can make images look like Polaroids that are practically indistinguishable from the real deal.
Creative Ways to Use Your Polaroid Images
So, you’ve nailed the technique for turning your photos into awesome Polaroids. What now? While these retro-style edits look fantastic on your social media feed, their real magic comes alive when you take them off the screen.
Instead of letting these gems get buried in a digital folder, think about printing them out. They make incredible additions to a physical scrapbook, a memory journal, or even a cool gallery wall in your home. That classic white border is perfect for creating a clean, cohesive look when you group a bunch of photos together, turning a collection of memories into a single piece of art.
Bring Your Digital Creations to Life
Events are another great place to show off your work. Imagine designing unique party or wedding invitations with a Polaroid-style photo—it adds such a personal and nostalgic touch. You could also create some truly unforgettable Polaroid guest book ideas for a wedding or milestone birthday.
The real joy of the Polaroid aesthetic is its ability to make digital memories feel physical again. Use them to create something you can hold, share, and display in the real world.
It's clear people are craving that tangible connection again. The global Polaroid market was valued at USD 1.12 billion in 2024 and is only expected to keep growing. This isn't just a fleeting trend; it shows a real desire to bring photos back into the physical world.
If you’re looking for even more inspiration on what to do with your new edits, we’ve put together a guide packed with creative photo ideas to get you started.
A Few Common Questions About the Polaroid Effect
Even with a great tool, you'll probably run into a few questions as you start turning your digital photos into vintage Polaroids. Let's walk through some of the common things people ask so you can nail the look every time.
One of the first things that comes up is what kind of photos work best. My answer is almost always candid, natural shots. Think sunny landscapes, casual pictures of friends hanging out, or those high-energy, in-the-moment snaps. These photos already have a spontaneous vibe that just clicks with the nostalgic Polaroid feel. On the other hand, heavily staged studio photos can sometimes feel a bit off or artificial once you apply the effect.
Getting the Details Right
"Can't I just do this myself in Photoshop?" That's another popular question. And yes, you absolutely can! You can manually crop the image, add a border, and mess with the color grading to get there. The only problem is that it's a real time-sink. A dedicated tool like AI Photo HQ is built to handle all of that heavy lifting in seconds, which saves you a ton of effort.
What about adding text to the frame? This is a fantastic way to add a personal, authentic touch.
- Pick the right font: Go for something that looks like it was actually handwritten or typed on an old-school typewriter.
- Placement is key: Stick your text to the wider bottom border. That's where people used to scribble captions back in the day.
- Get the color right: A dark gray often looks more realistic than a pure, harsh black. Tilting the text just a tiny bit can also add to the handwritten feel.
Here's a pro tip: a subtle greenish-blue tint in a real Polaroid often meant the film developed in a cold environment. An orange or pinkish hue? It was probably too warm. Playing with these slight color shifts can add a whole other layer of realism to your edits.
By keeping these points in mind, you can really refine your technique and start creating Polaroid-style images that are genuinely convincing.
Ready to create your own vintage masterpieces? Give AI Photo HQ a try today and see how easy it is to transform your photos. You can get started in just a few clicks.

