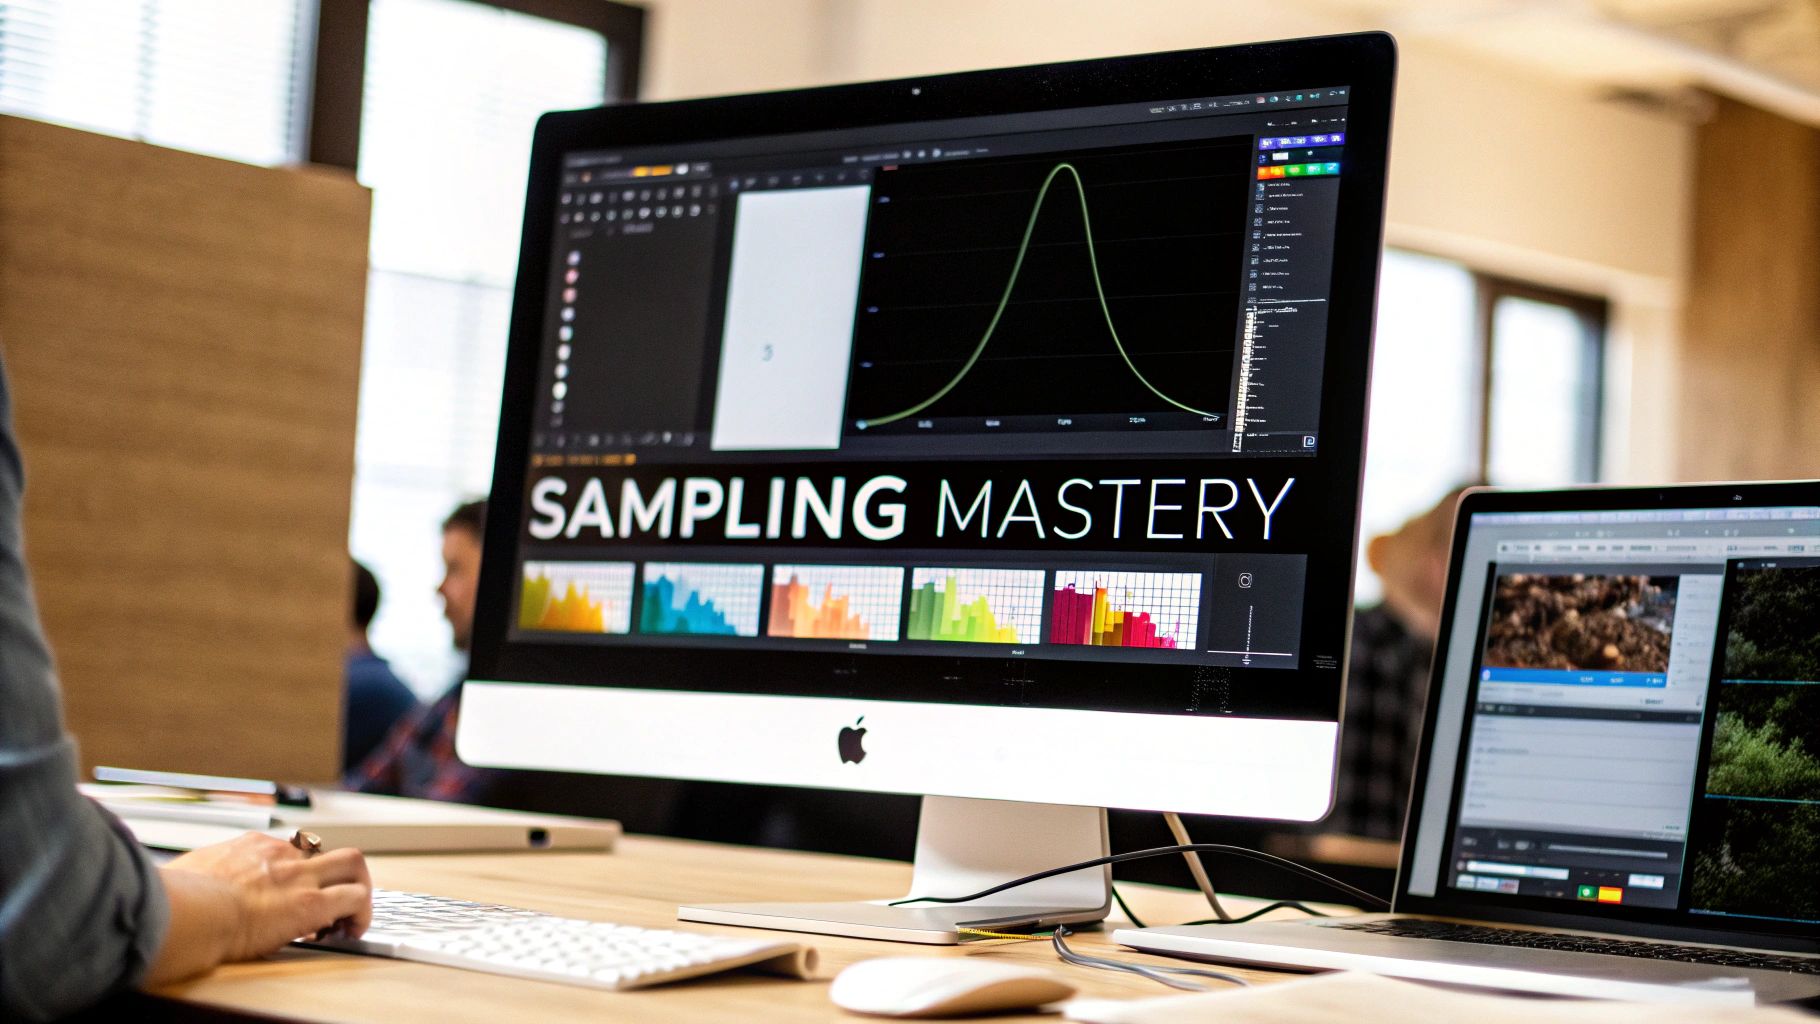
The Stable Diffusion sampling methods are the specific algorithms that turn a jumble of digital noise into the coherent picture you asked for in your prompt.
Think of them as different "sculpting techniques" the AI can use. Some are fast and rough, perfect for getting a quick idea. Others are much slower and more meticulous, producing a different, often more detailed, result.
What Are Sampling Methods and Why Do They Matter?
Imagine you start with a block of digital marble—a canvas filled with nothing but chaotic, random noise. Your mission is to carve a masterpiece out of it. The sampling methods are your chisels, hammers, and fine-grit sandpaper for this job. Each tool works a little differently, and your choice will absolutely influence the final look of your creation.
This whole process is called denoising, and it's the absolute core of how Stable Diffusion works. The AI begins with total randomness and, step-by-step, refines those pixels until they match your prompt. The sampler is what dictates how that refinement happens at each step.
The Sculptor's Toolkit Analogy
Let's really lean into this analogy. Picking a sampler is like deciding on your sculpting style before you even touch the marble.
- Fast, broad strokes: Some samplers, like Euler a, are like using a big, heavy chisel. They're great for quickly blocking out the basic shape of your idea. You get results fast, but you might sacrifice some of the finer details.
- Precise, detailed work: Others, like the DPM++ family, are your fine-tipped tools for intricate carving. They take more time, but the payoff is often a much sharper, higher-quality, and more detailed image.
So, the sampler you pick directly impacts generation speed, the final level of detail, and even the artistic "feel" of the image. It's a choice that's just as crucial as the words in your text prompt.
From Early Innovations to Modern Efficiency
Back when Stable Diffusion first hit the scene in 2022, we were working with early sampling methods like DDIM and PLMS. They were a huge deal at the time because they were among the first to let us generate images in a reasonable number of steps. This was a critical innovation that made it possible to run these models on consumer GPUs with as little as 2.4 GB of VRAM.
This efficiency is what truly helped open the floodgates, giving more people access to powerful generative models. You can learn more about how these models have impacted AI for content creation.
At its core, the sampling method is the engine driving the creative process. It determines the path from random noise to a finished piece of art, balancing speed, creativity, and precision along the way.
Today, those early samplers have mostly been replaced by more advanced options that deliver even better quality in fewer steps. This constant evolution is all about finding that sweet spot between speed and detail—a central theme we'll be exploring throughout this guide. Understanding this foundation is the first step to truly mastering your image generations.
Now that you have a feel for what sampling methods actually do, let's dive into the most popular ones you'll encounter. Each sampler has its own distinct personality. Some are sprinters, built for pure speed, while others are more like marathon runners, focusing on capturing every last detail.
Think of Euler a (short for Euler Ancestral) as your go-to digital sketchbook. It's incredibly fast, often giving you a pretty good-looking image in just a handful of steps. This speed is a lifesaver for rapid prototyping when you're just trying to see if a prompt idea has any legs.
Its creative secret lies in its "ancestral" nature. This just means it injects a tiny bit of randomness at each step of the process. The result? You'll get slightly different images every time, even if you use the exact same seed. This is a feature, not a bug, especially when you're exploring concepts and want to see a bit of variety. On the flip side, that same randomness makes it a poor choice for a final, polished image where you need consistency.
The DPM++ Family: Your Tools for Precision and Quality
On the complete other end of the spectrum, you'll find the DPM++ (Diffusion Probabilistic Model Solver) family. These are your high-precision instruments, the ones you break out when you're ready to create a final masterpiece. They are almost always slower than Euler a, but the trade-off is images with far better detail, fewer weird artifacts, and much better overall coherence.
Within the DPM++ family, you'll run into a few common variations:
- DPM++ 2M Karras: Many artists consider this the best all-rounder. It hits a fantastic sweet spot between speed and quality, making it a solid default choice for high-quality final renders.
- DPM++ SDE Karras: This one is a stochastic (random) sampler, so it shares some creative DNA with Euler a but produces much higher-quality results. It can generate some incredibly detailed and imaginative images, but you might need to bump up the step count to get there.
- DPM++ 2M SDE Karras: A newer hybrid that tries to give you the best of both worlds, offering the great detail of the DPM++ family with a dash of creative randomness.
You'll often see "Karras" tacked onto the end of these names. This just refers to a specific way of handling the noise reduction, which focuses on refining the image more carefully in the final steps. This little tweak often leads to better detail and gets rid of that "fuzzy" look you can sometimes see in AI images.
When you're picking a tool, it's always good to see how it stacks up against the competition. We've put together a deep dive on how Stable Diffusion compares to another major player in our Stable Diffusion vs Midjourney guide.
At its core, the trade-off is pretty simple: ancestral samplers like Euler a give you speed and creative variety. Deterministic samplers like DPM++ 2M Karras deliver consistency and fine detail, but you'll have to wait a bit longer for your image.
A Quick Guide to Popular Samplers
Feeling a bit lost in the options? Don't worry. This table breaks down the key differences to help you pick the right tool for the job.
Quick Sampler Comparison Guide
| Sampler Name | Typical Steps | Generation Speed | Best For | Key Characteristic |
|---|---|---|---|---|
| Euler a | 15-30 | Very Fast | Rapidly testing prompts, brainstorming, creative exploration. | Ancestral (random), produces varied results with the same seed. |
| DPM++ 2M Karras | 20-40 | Medium | High-quality final images, when detail and consistency matter. | Deterministic (consistent), great balance of speed and quality. |
| DPM++ SDE Karras | 25-50 | Slow | Highly detailed and creative final images, unique textures. | Stochastic (random), high quality but needs more steps. |
| DPM++ 2M SDE Karras | 20-40 | Medium-Slow | Combining high detail with some creative randomness. | A hybrid approach for detailed yet unique results. |
Ultimately, the best way to learn is by trying them out. Start with Euler a for your initial ideas and then switch over to DPM++ 2M Karras when you're ready to create a final, polished piece.
Visualizing the Speed Difference
To really see the practical impact of these choices, check out this comparison of generation times for some of the foundational samplers.
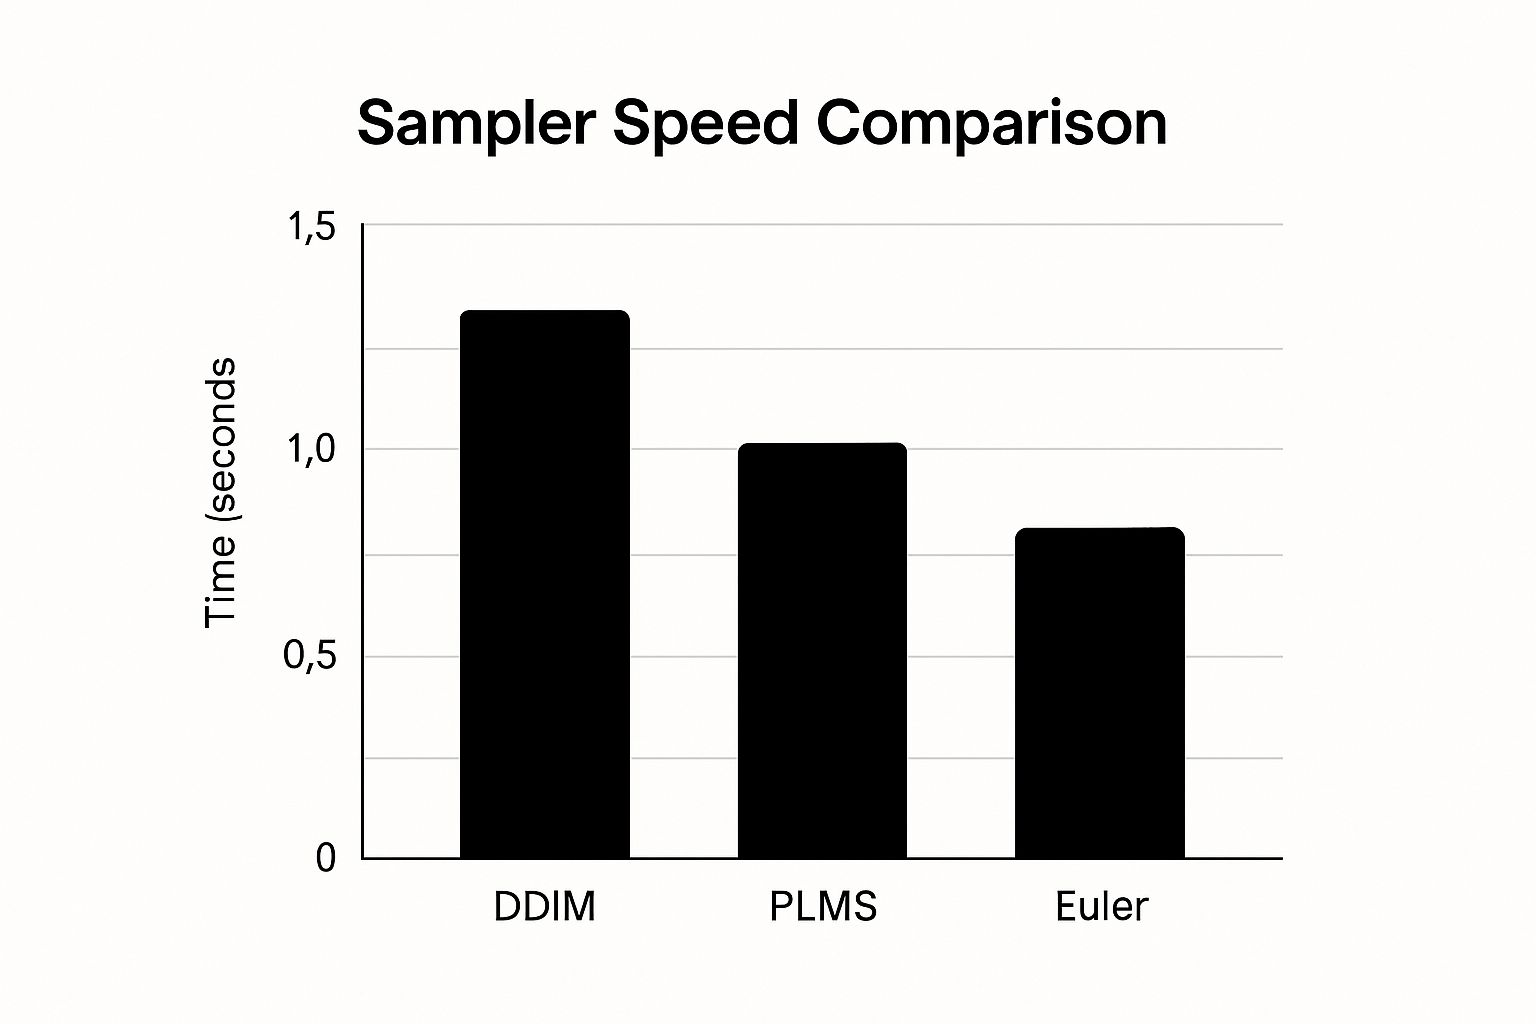
As you can see, the data makes it crystal clear: Euler is significantly faster than older methods like DDIM, which really shows how far the algorithms have come.
How Modern Samplers Are Changing the Game
This constant evolution in stable diffusion sampling methods has a massive impact on both how fast we can create and how good the final images look.
Modern samplers like the DPM++ family can generate stunning images in as few as 10-20 steps. Just a short while ago, older methods needed 50-100 steps to get anywhere close to that quality. That's a 2-5x increase in sampling speed without sacrificing the final result.
This efficiency is a huge deal for artists, designers, and businesses all over the world, where getting content out the door quickly is absolutely essential.
How to Choose the Right Sampler for Your Goal
Knowing the theory behind different samplers is great, but putting that knowledge into practice is what really elevates your AI art. The secret is matching the right tool to the right job. Your workflow should look very different when you're just kicking around ideas versus when you're zeroing in on a final masterpiece.
Let's break down a practical, goal-oriented approach. We’ll walk through two common scenarios and give you a repeatable process for picking the best of the many stable diffusion sampling methods for what you're trying to accomplish, complete with our go-to settings.
Scenario 1: Rapid Prototyping and Exploring Ideas
When you're in the early stages, your main goal is speed. You need to churn through prompt ideas, see if a concept has legs, and generate a bunch of options without waiting forever for each one. This is the experimental phase, where quantity is often more valuable than perfect quality.
For this kind of work, Euler a is your best friend. Because it's an ancestral sampler, it introduces tiny variations even when you use the same seed. This is a huge advantage for creative discovery, often leading you down paths you didn't expect.
Here’s a simple, step-by-step tutorial for fast exploration:
- Select Your Sampler: In your generation settings, locate the "Sampling method" dropdown and select
Euler a. - Set Sampling Steps: Find the "Sampling steps" slider or input box and set it to a low value, like
20. - Set Batch Size: Change the "Batch size" to
4. This will create four different images at once, giving you more creative options. - Write Your Prompt: Enter a test prompt, for example:
cinematic photo of an astronaut discovering an alien jungle, high detail. - Generate and Review: Click "Generate." Quickly scan the four resulting images. If you see one with a composition you like, save its unique seed number for the next stage. Repeat this process with different prompts until you find a strong starting point.
Scenario 2: Creating a Polished Final Image
Once you’ve locked onto a concept, your priorities flip. Now, you’re chasing consistency, razor-sharp detail, and an image free of any weird artifacts. Speed takes a backseat to getting that perfect final render.
This is where the precision of the DPM++ family really comes into its own. DPM++ 2M Karras is a fantastic all-rounder for a clean, predictable result. If you want to dial up the detail and add a touch of sophisticated texture, give DPM++ SDE Karras a try. Of course, the model you use is just as important, and you can get our take on choosing the best Stable Diffusion model in our detailed guide.
Follow this step-by-step tutorial for a polished render:
- Select Your Sampler: Change the "Sampling method" to
DPM++ 2M Karrasfor a crisp, reliable result. - Set Sampling Steps: Increase the "Sampling steps" to
30. This gives the sampler enough time to refine the details. - Use a Fixed Seed: Find the "Seed" input field and paste in the seed number you saved from your favorite prototype image. This locks in the composition.
- Final Touches: Generate your single, high-quality image. From here, you might consider upscaling or other finishing techniques to complete your vision.
By matching your sampler to your creative stage—fast samplers for exploring, precise samplers for finishing—you build a much smarter and more efficient workflow. This strategic thinking saves you a ton of time and ultimately leads to better results, turning your technical knowledge into a real creative advantage.
A Practical Guide to Steps and CFG Scale
Alright, you’ve picked your sampler. That’s a huge leap forward, but samplers don’t work in a vacuum. To really get a grip on your image generations, you need to master the two most important dials you'll be tweaking right alongside them: Sampling Steps and CFG Scale. Think of these as the fine-tuning controls that work together with your sampler to bring your vision to life.
These two settings basically control the "how much" and "how hard" of the image generation process. Getting them right is the key to moving from creating good images to creating the exact image you want.
Finding the Sweet Spot for Sampling Steps
Sampling Steps dictates how many times the AI refines the image, starting from pure noise and working its way toward a finished picture. Each step is another chance for the model to add detail and make sense of the chaos. A classic beginner mistake is to think more steps always equals a better image. That's just not how it works.
Sure, too few steps (like under 10) will probably give you a muddy, undefined mess. But there’s a serious point of diminishing returns. With modern stable diffusion sampling methods like DPM++, an image often looks its best somewhere between 20 and 40 steps. Pushing it to 80 or 100 rarely adds any meaningful detail. In fact, it can sometimes introduce weird artifacts, all while making you wait longer for no good reason.
Practical Step-by-Step Test:
- Set your base parameters: Choose the
DPM++ 2M Karrassampler and a CFG of7. - Generate at 15 steps: Note the overall composition. It will likely feel a bit soft or unfinished.
- Generate at 25 steps: This is often the sweet spot. The image should be sharp and coherent. Compare it to the 15-step version; the difference will be significant.
- Generate at 40 steps: Compare this image closely with the 25-step version. The improvements in detail will likely be very minor, if noticeable at all. This demonstrates the point of diminishing returns.
Mastering CFG Scale: Your Prompt Obedience Slider
If Steps control the refinement process, then the CFG (Classifier-Free Guidance) Scale controls how strictly the AI has to follow your prompt. The best way to think of it is as a creative leash or an "obedience" slider.
A low CFG value gives the AI more creative freedom. It’ll treat your prompt like a gentle suggestion, maybe adding interesting elements you didn't ask for. A high CFG value, on the other hand, forces the AI to stick rigidly to your instructions, sometimes to a fault.
CFG Scale is the balance between your instructions and the AI's creativity. A low value (3-6) is great for artistic exploration, while a moderate value (7-11) provides a reliable balance for most prompts.
Practical CFG Test:
- Use the prompt:
A majestic lion wearing a golden crown. - Generate at CFG 3: You might get a lion near a crown, or a lion with a less-defined, more artistic crown. The AI is being creative.
- Generate at CFG 7: You will reliably get a lion with a golden crown on its head. This is the balanced, expected result.
- Generate at CFG 12: You will get a lion with a very prominent, intensely golden crown. However, the colors might look overly saturated, and the image could appear "fried" or artifacted because the AI is trying too hard to follow the prompt.
Mastering the interplay between your sampler, the step count, and the CFG scale gives you incredibly precise artistic control. Tweaking these settings is just as important as writing a great prompt. For more tips on crafting effective prompts, check out our complete Stable Diffusion prompt guide.
The Evolution from DDIM to Modern DPM Solvers
To really get a feel for how good the stable diffusion sampling methods we have today are, it helps to peek back at their surprisingly rapid evolution. The path from the early, clunky methods to the lightning-fast solvers we use now shows just how quickly AI is moving, and it gives some much-needed context to the tools you're using.
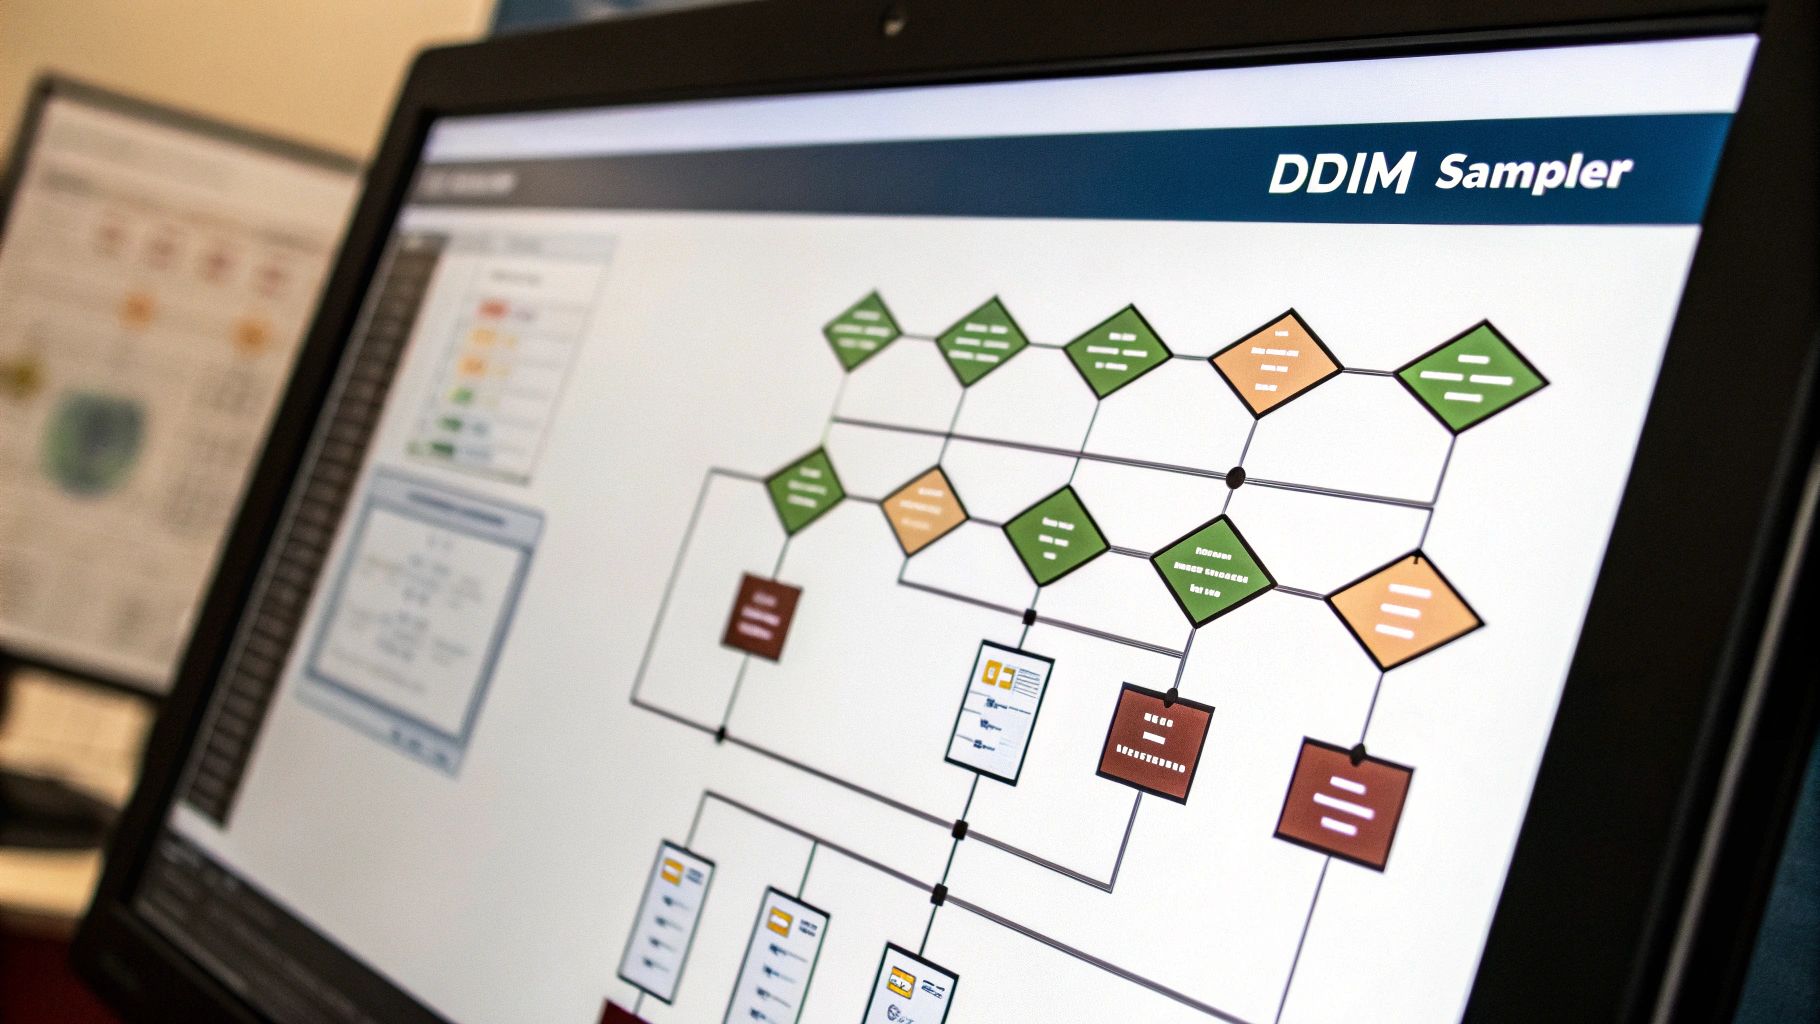
Where It All Started: DDIM
The story really kicks off with a pioneer called DDIM (Denoising Diffusion Implicit Models). Before DDIM showed up in 2021, getting an image meant the AI had to follow a very rigid, step-by-step denoising path. It worked, but it was slow and took a ton of computing power.
DDIM changed the game. It introduced a much more flexible way of doing things, essentially letting the AI skip a few steps without completely losing its way.
This was a huge deal. It meant you could get a solid image in way fewer steps, which drastically cut down generation times. It was the foundational leap that started making high-quality AI art a practical reality for more people.
The Rise of the Solvers
DDIM laid the groundwork, but the real magic started when more advanced mathematical tools called solvers came into the picture. You can think of a solver as a super-smart GPS for that whole denoising journey.
Instead of just chipping away at the noise one step at a time, modern solvers like the DPM (Diffusion Probabilistic Model) family mathematically predict the most efficient route from pure static to a finished image. They're not just faster; they're smarter.
This is precisely why a sampler like DPM++ can conjure up a beautifully detailed image in just 20 steps, while an older method might have needed 100 steps to get something even close.
This whole progression from one algorithm to the next paved the way for clever engineering solutions like DPM-Solver and DPM++. These methods deliver better, more accurate results by essentially modeling the flow of probability. It's these kinds of breakthroughs that took image generation times from minutes down to just a few seconds on regular home computers. For a deeper dive into how these methods stack up, there are some great technical overviews of sampling methods available.
The key takeaway is simple: today's DPM++ family of samplers are the direct descendants of earlier innovations. They stand on the shoulders of giants like DDIM, using more advanced math to achieve superior quality in a fraction of the time.
This rapid sprint from one generation of samplers to the next is why your workflow in AI Photo HQ is so quick and powerful. Knowing this journey from basic denoising to sophisticated solvers helps you appreciate the incredible power you have at your fingertips—and helps you make a better choice when picking a sampler for your next creation.
Common Questions About Sampling Methods
Getting into Stable Diffusion samplers always brings up a few key questions. Let's tackle some of the most common ones with straight, practical answers to get you creating better images, faster.
What Is the Best All-Around Sampler for Beginners?
If you're just starting out and want one reliable sampler that gives you great results without a lot of fuss, your best bet is DPM++ 2M Karras. It really hits the sweet spot between top-notch quality and decent generation speed.
Think of it as the trusty workhorse in your toolkit. Because it's a deterministic sampler, it gives you the exact same image for the same seed every time. This is perfect for when you've found a look you love and just want to tweak the details. For high-quality final renders, it's a go-to for beginners and pros alike.
Can the Sampler Change the Artistic Style of an Image?
It absolutely can. Your prompt decides what the image is about, but the sampler has a huge say in the texture, detail, and overall vibe.
For instance:
- Euler a: This one often creates softer, sometimes more "painterly" or imaginative results because of its ancestral nature.
- DPM++ 2M Karras: You'll get sharp, clean, and very detailed images that lean towards photorealism or crisp illustration.
- DPM++ SDE Karras: This sampler is great for introducing fine, complex textures. It can give images a sophisticated, almost film-grain quality that's perfect for certain artistic styles.
Just swapping your sampler is a powerful trick to get a completely different artistic take on the exact same prompt.
How Many Steps Should I Actually Use?
This is the classic question, and the answer is almost always "fewer than you think." Pushing the sampling steps up to 100 or more is usually a waste of time and GPU cycles with today's samplers.
For most modern, high-quality samplers like the DPM++ family, the magic number is somewhere between 20 and 30 steps. Going past 40 steps rarely adds any detail you can actually see, and it just makes you wait longer.
Why is that? The latest samplers are just incredibly efficient. They're built to figure out a high-quality image very quickly. After about 30 steps, the image is pretty much baked, and any extra steps are just making tiny, microscopic changes you'll never notice. Sticking to that 20-30 range gives you the best of both worlds—quality and speed—so you can spend more time creating.
Ready to put this all into practice? AI Photo HQ gives you access to a powerful suite of tools built on the latest Stable Diffusion engine. Generate stunning images, avatars, and professional-grade art in seconds. Start creating today at AI Photo HQ.

