Is your LinkedIn profile picture doing you any favors? If it's a bit dated, a poorly cropped vacation photo, or just doesn't scream "professional," it might be time for an upgrade. An AI professional headshot is a seriously good alternative to a traditional photoshoot—it's fast, affordable, and gives you a ton of high-quality options.
You can literally generate a whole gallery of studio-quality headshots in minutes. This guide provides a step-by-step walkthrough to give you total control over how you present yourself professionally online.
Why AI Headshots Are Your New Secret Weapon
Let’s be honest, your headshot is often the very first impression you make. It's a cornerstone of your personal brand on LinkedIn, your company's website, and even in speaker bios. A polished, confident photo tells people you're professional and care about the details before they've even read a word about you.
But we all know what a pain a traditional photoshoot can be. Finding the right photographer, lining up schedules, picking an outfit, and shelling out a good chunk of cash—it's a lot of work. This is exactly where AI headshot generators completely change the game.
The Modern Advantage
Using a tool like AI Photo HQ basically puts a photo studio on your computer. Instead of one expensive session that gives you a handful of shots, you can create a massive variety of looks, styles, and backdrops right from your own home. It’s not just about making things easier; it’s about having a real choice.
This isn't some fringe idea, either. It’s quickly becoming the go-to for professionals who want to manage their personal brand effectively. A recent survey even found that 44% of U.S. adults would be open to using an AI headshot. That shows a huge shift in how people are thinking about these tools.
Think of a professional AI headshot as a key piece of your online reputation management. It’s a simple way to make sure your digital first impression is your best one.
To put it in perspective, let's break down the old way versus the new way.
Traditional vs AI Headshots at a Glance
Here’s a quick look at how the two methods stack up against each other. It really highlights the flexibility and control you get with AI.
| Feature | Traditional Photography | AI Headshot Generator |
|---|---|---|
| Cost | $200 - $1,500+ per session | $20 - $50 for dozens or hundreds of images |
| Time | Days or weeks (scheduling, shooting, editing) | Minutes or hours (upload, generate, download) |
| Variety | Limited to 1-2 outfits and one location per session | Virtually unlimited styles, outfits, and backgrounds |
| Convenience | Requires travel and coordinating with a photographer | Done from anywhere, anytime, with just a few selfies |
| Revisions | Often involves extra costs and time for re-shoots | Generate new batches instantly if you're not satisfied |
The choice becomes pretty clear when you see it laid out like that. The modern approach simply offers more for less.
Key Benefits of AI-Powered Headshots
This new way of getting headshots brings some major advantages to the table, giving you a level of control that just wasn't possible before.
- Cost-Effectiveness: You're looking at a tiny fraction of what a professional photographer charges. Instead of one pricey session, you get a huge library of high-resolution images to choose from.
- Speed and Efficiency: Get your new headshots in a matter of minutes or hours, not days or weeks. There's no back-and-forth trying to find a time that works for you and a photographer.
- Unmatched Variety: This is the real game-changer. You can try out different outfits, hairstyles, and backgrounds without changing a thing in real life. Need a serious corporate look and a more creative, approachable one? You can generate both.
Step 1: Choosing the Right Photos to Train the AI
The quality of your AI professional headshot comes down to one thing: the quality of the photos you feed it. Your goal is to give the AI a complete picture of you, almost like teaching a sketch artist what you look like from every possible angle. The secret is variety.
Here's a practical, step-by-step tutorial for curating your photo set for the best results.
Action Plan: Curating Your Photo Selection
- Gather 10-20 Photos: Open your phone's camera roll and create a new album. Your goal is to find 10 to 20 high-quality photos of yourself.
- Filter Out Bad Photos: Immediately discard any professional photos you already have, group photos, or any picture where your face is covered by sunglasses, a hat, or deep shadows. The AI needs a crystal-clear, unobstructed view.
- Include a Mix of Sources: Add a combination of close-up selfies and shots taken by someone else from farther away. This helps the AI understand your facial proportions and body type.
- Vary Your Expressions: Don't just upload smiling pictures! Find photos with a neutral expression (mouth closed, not smiling), a slight, confident smirk, and a full, genuine smile. This variety gives your final headshots emotional depth.
- Show Different Angles: This is critical. Ensure your album includes photos looking straight at the camera, a slight three-quarter turn to the left, and a three-quarter turn to the right. This helps the AI build a proper 3D model of your face.
A common mistake I see people make is uploading group photos from weddings or parties. The lighting is usually all over the place, other people clutter the frame, and the angles are rarely ideal. This just confuses the AI and almost always leads to disappointing results.
Here’s a great example of the kind of clear, varied photos that produce amazing AI headshots.
See how the photos show the person from multiple angles and with different expressions? That's exactly the kind of input you want to aim for.
Checklist for Lighting and Backgrounds
Before you upload, do a final quality check on each photo.
- Is it high-resolution? Zoom in on your photo. If it looks pixelated or blurry, don't use it.
- Is the lighting even? Avoid photos with harsh, direct sunlight that creates dark shadows across your face. Look for photos taken in soft, natural light (like near a window on a cloudy day).
- Is the background simple? A plain wall or an uncluttered background is best. Busy backgrounds can confuse the AI.
- Are there any filters? Don't use photos with heavy Instagram-style filters. The AI needs to see your natural features.
For a deeper dive, our guide on the ideal lighting setup for headshots has some great tips.
Step 2: Generating Your Headshots
Alright, you’ve gathered the perfect set of photos. Now for the fun part: letting the AI work its magic. The settings you choose will make or break your final ai professional headshot. Let's run through the typical steps you'd take inside a tool like AI Photo HQ.
Tutorial: Choosing Your Style and Wardrobe
- Upload Your Curated Photos: Start by uploading the 10-20 photos you carefully selected in the previous step.
- Select Your Primary Style Pack: You’ll see a gallery of options like "Corporate," "Tech Startup," "Author," or "Outdoor Casual." Your industry is your best guide. If you're a lawyer, start with "Corporate" or "Business Formal." This ensures the AI generates images with appropriate attire and backgrounds.
- Customize the Details: Most generators let you fine-tune. Here are some practical choices:
- Background: Select "Neutral" or "Gray" for a versatile, professional look perfect for LinkedIn.
- Wardrobe: Stick to classic colors like navy blue, black, or white for a timeless feel. You can often input color preferences directly.
- Lighting: If available, choose "Studio Lighting" for a clean, polished result.
- Click "Generate": With your choices locked in, hit the generate button. The AI will now create a gallery of headshots based on your photos and style preferences.
Pro Tip: Always start with the most conservative or straightforward style that fits your profession. You can always have fun with more creative options later, but your first goal should be to get a solid baseline of high-quality, realistic images.
The infographic below really nails the core ideas for picking your source photos, which is the foundation for this whole process.
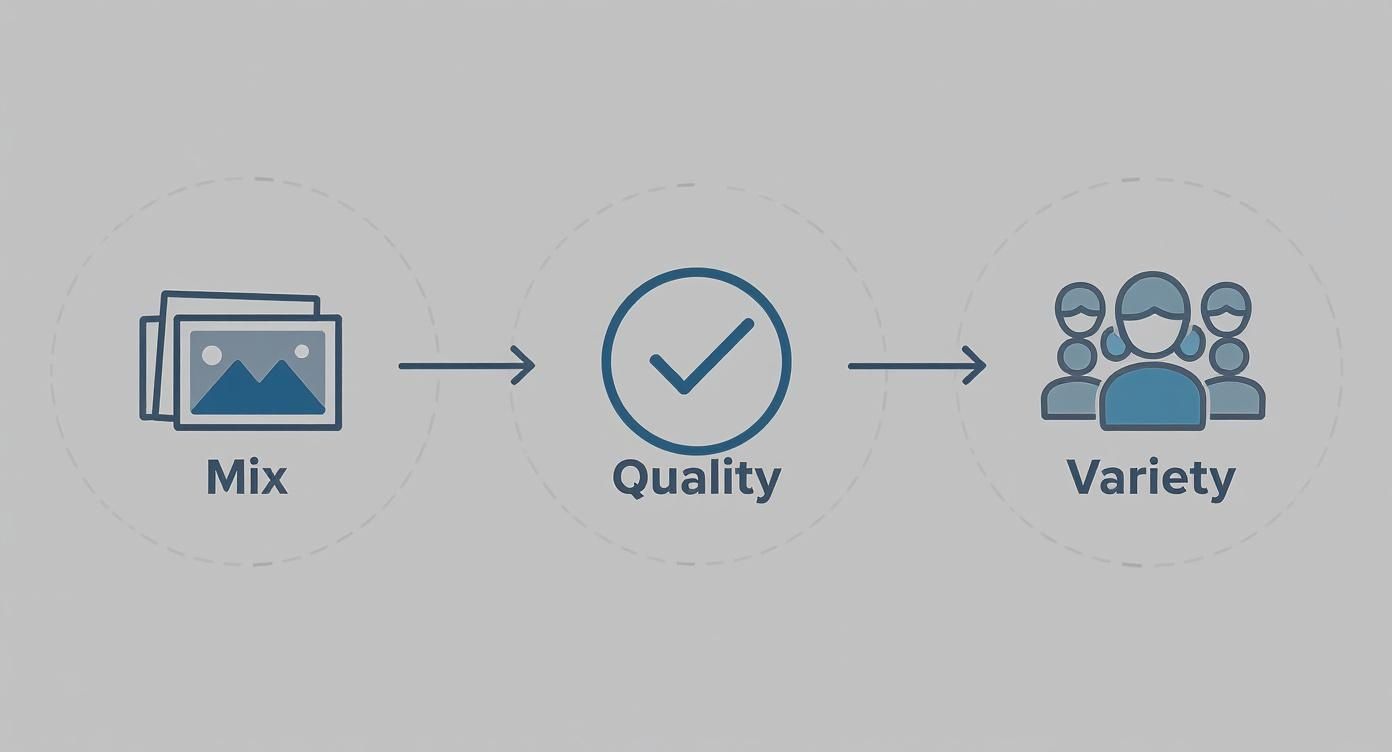
Think of it this way: a diverse and high-quality mix of your own photos gives the AI the best possible blueprint to build from. If you want to get a feel for what’s possible, check out some examples of AI generated photos of myself to get some inspiration before you begin.
Step 3: How to Review and Select Your Best Headshot
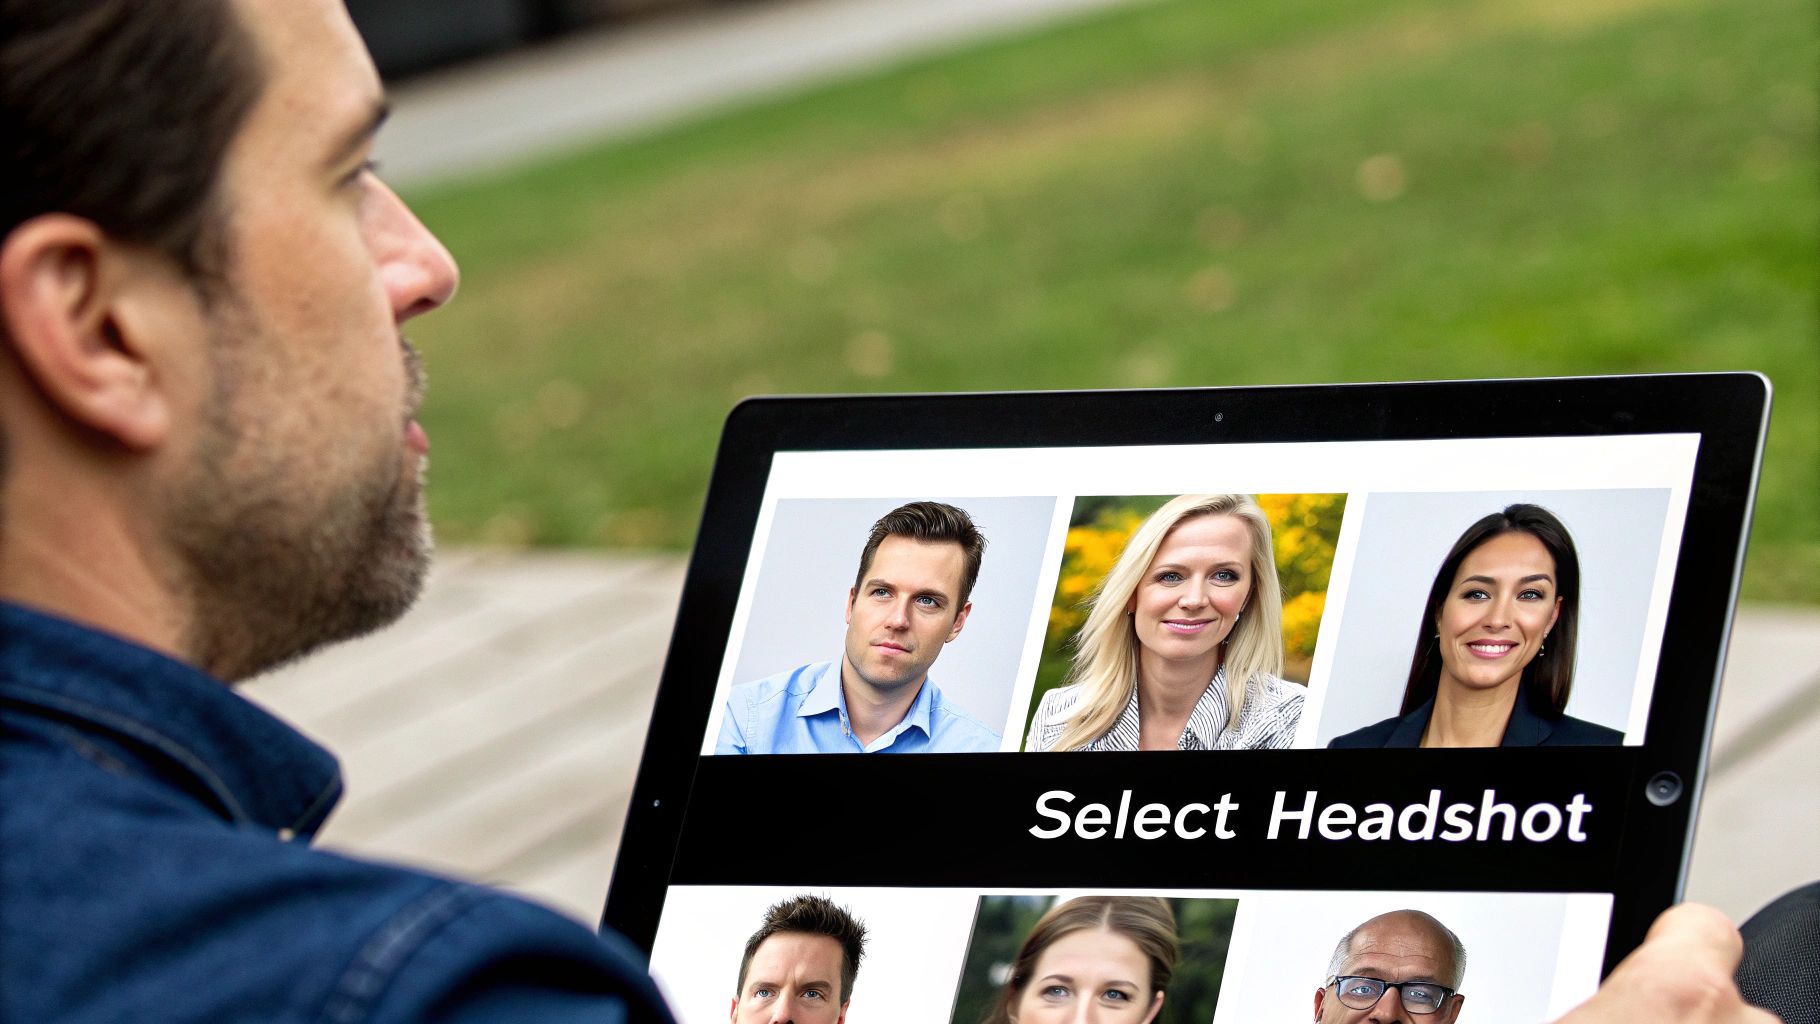
The AI has done its thing, and now you have a gallery of new headshots. It can be tempting to just pick one that looks good at a glance, but a methodical approach ensures you find the perfect shot.
The 3-Step Selection Process
- Create a Shortlist: Quickly scan through all the generated images. Create a "favorites" folder or take screenshots of the top 10-15 that immediately catch your eye. Don't overthink it at this stage.
- Run the Authenticity Check: Now, look closely at each shortlisted photo. Ask yourself: "Does this look like me on a good day?" Zoom in to inspect for common AI quirks:
- Are the eyes symmetrical and natural-looking?
- Is the hair texture realistic, not "painted on"?
- If hands are visible, do they have the correct number of fingers?
- Does the skin look polished but still retain natural texture?
- Evaluate Technical Quality: Put your final few choices under a microscope.
- Lighting: Is the light flattering? Reject any with strange, harsh shadows.
- Composition: Is it framed well? A head-and-shoulders crop with your eyes one-third from the top is a safe, professional choice.
- Background: Is the background clean and non-distracting? Ensure it complements you rather than competes for attention.
The line between "professionally retouched" and "overly airbrushed" is crucial. A great headshot should look polished but retain your natural skin texture and features. If you look plastic or unrecognizable, it's a pass.
Once you’ve made your final choice, you’re ready to put it to work. A killer headshot is a massive asset when it comes to optimizing your LinkedIn profile and making that all-important first impression.
For a deeper dive into that platform, check out our guide on using LinkedIn AI headshots for more specific tips. This simple review process ensures the image you choose is absolutely flawless.
Common Mistakes and How to Avoid Them
Getting that perfect AI headshot isn't just about clicking a button. I've seen countless people make a few common mistakes that tank their results. Let's walk through them so you can skip the trial and error.
The number one issue? Low-quality source photos. Many first-time users upload blurry, poorly-lit selfies and then wonder why their final headshot looks muddy and dull. Garbage in, garbage out, as they say.
Think about it: a dimly lit evening selfie is missing tons of fine detail. This forces the AI to essentially guess, filling in the gaps with weird textures and funky lighting that just doesn't look right.
- What to do: Go for crisp, high-resolution photos. Your best bet is soft, natural daylight—think standing near a window on an overcast day.
- What to avoid: Ditch the heavily filtered Instagram shots or anything taken in low light. These hide the very facial lines the AI needs to create a realistic portrait.
Clear inputs produce clear outputs. Simple as that.
Keep Your Face Unobstructed
This one seems obvious, but it happens all the time. Things covering your face in the source photos will cause some seriously strange artifacts in the final images. Sunglasses, hats, and even face masks are the usual suspects that completely throw off the AI model.
- For best results: Make sure your photos have a clear, uncovered view of your eyes and forehead.
- Heads up: You'll need to remove all headwear and tinted lenses from the photos you upload.
Mix Up Your Expressions
If you feed the AI nothing but photos of you with a huge grin, guess what you'll get back? An entire gallery of identical, slightly-too-cheery headshots. You need to give it some variety to teach it the full range of your professional look.
- Try this: Include a mix of expressions. Think neutral, a slight, confident smile, and maybe a broader, friendly smile.
- Don't do this: Resist the temptation to use group shots or photos where you're looking away from the camera. The focus needs to be entirely on you.
By the way, this space is booming. The global AI professional headshot industry is projected to hit a staggering $500 million by the end of 2025, which is a 150% increase from just the year before. You can dive deeper into the industry growth stats over on Headsnap.io.
Watch Your Backgrounds
Inconsistent and busy backgrounds are another classic mistake. They introduce distracting elements that can confuse the AI, making it focus more on the background "noise" than on your face.
- The right way: Use photos with solid-colored or softly blurred backdrops. A plain wall works perfectly.
- The wrong way: Avoid pictures taken in cluttered rooms or with busy outdoor landscapes behind you.
Steering clear of these common pitfalls will put you on the fast track to a polished, authentic AI headshot that makes your profile pop.
A final pro tip: always test a small batch first. It saves a ton of time and helps you catch any weird artifacts early on before you generate your full set. And always, always preview your favorites on different devices to make sure the quality holds up everywhere.
Got Questions About AI Headshots? We’ve Got Answers.
When you’re diving into the world of AI headshots, a few questions always pop up. Let's tackle some of the most common ones I hear.
One of the biggest is about the source photos. How many do you actually need to upload? This is probably the most critical part of the process, since these images are what the AI learns from to create your new headshots.
You'll want to aim for a sweet spot of 10 to 20 high-quality photos. Think quality over quantity here. A good mix of different angles, lighting conditions, and expressions gives the AI a much richer, more accurate understanding of your features.
A Quick Guide to Your Input Photos
- Mix Up Your Expressions: Don't just give it the same smile in every shot. Include some neutral looks, maybe a more thoughtful one, and of course, a few genuine smiles. This helps the AI capture your personality.
- Show Different Angles: Make sure you have photos looking straight on, some three-quarter profiles, and even a few side profiles. This helps the AI build a more complete, 3D-like model of your face.
- Good, Clean Lighting is Key: Avoid photos with harsh, dramatic shadows or washed-out bright spots. Soft, even lighting is your best friend because it ensures all the little details of your face are clear.
Naturally, the next big question is: "Will the final headshot actually look like me?" It’s a valid concern. For the most part, yes. When the AI is well-trained with good source photos, the result is a polished, professional version of you that’s still completely recognizable. It should feel authentic.
Another thing people ask is whether these AI-generated images can be used for things like passport photos. The answer here is a firm no. Official documents have incredibly strict guidelines, and any kind of digital manipulation is prohibited.
So, where should you use them? Think of your AI headshots for platforms like LinkedIn, your company website bio, or speaker materials for a conference.
My Takeaway: Treat your AI headshots as a powerful branding tool for your professional presence, not as a replacement for official ID photos. The goal is an authentic, studio-quality look that puts your best foot forward online.
Ready to see the difference for yourself? Give AI Photo HQ a try and create your own flawless AI professional headshots. Get started today

