An AI video generator from image is a tool that breathes life into your static pictures, turning them into short, dynamic video clips. It’s all powered by artificial intelligence that looks at your photo, understands what’s in it—whether it's a person, a product, or a scenic landscape—and then adds digital motion to create something truly engaging. The best part? You don't need to touch any complex editing software.
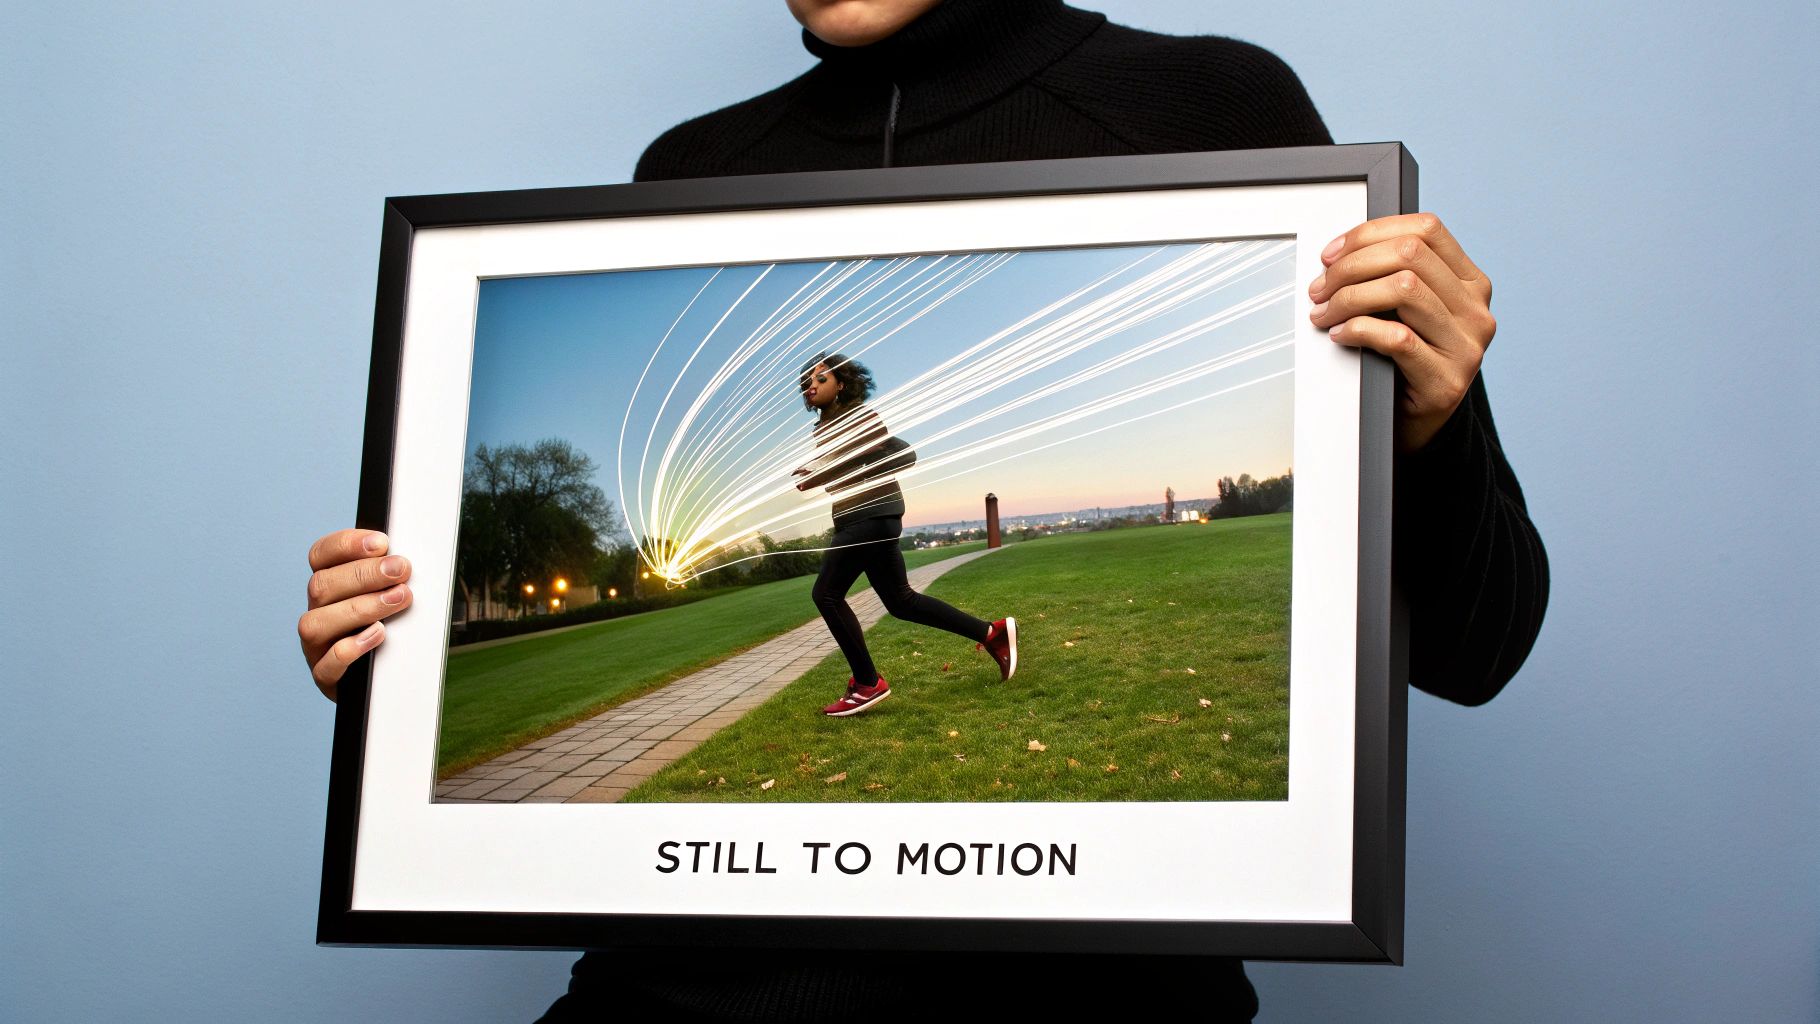
From Still Photo to Dynamic Video
Ever been scrolling through social media and seen a photo subtly start moving? A portrait where the person blinks, or a landscape where the clouds drift across the sky? That’s this technology in action. These tools are designed to skip the technical hurdles and give you a straight shot from a simple picture to an eye-catching video.
The whole idea is pretty clever: an AI analyzes the different parts of your image and then figures out how to apply realistic motion effects.
Think about the possibilities. You could take a product photo for an ad and make it gently rotate to show off every angle. Or, you could add a subtle breeze to a nature shot, making the trees sway just enough to feel real. It’s a game-changer for marketers, artists, and just about anyone creating content online.
If you want to explore this further, we've got a detailed guide on how to create a video from pictures that covers even more techniques.
Why Use AI for Image to Video Conversion?
It’s about more than just adding a little movement. These AI tools are built for speed and simplicity, putting video creation into everyone's hands.
A quick look at the key benefits of using an AI video generator to animate your photos.
| Benefit | How It Helps You |
|---|---|
| Speed & Efficiency | Forget spending hours in a video editor. You can generate a polished clip in just a few minutes, freeing you up to focus on the creative side of things. |
| No Pro Skills Needed | These tools are incredibly intuitive. If you can upload a photo, you can create a video. No need for expensive software or a steep learning curve. |
| Creative Freedom | Instantly test out different animation styles and effects. You can experiment with a dozen looks in the time it would take to create one manually. |
This accessibility means you can go from an idea to a finished video in record time.
The process usually just involves picking a tool and uploading your image, as you can see in the example below.
As you can see, today’s creative toolkit is packed with options. Each one offers a different way to transform your static visuals into stories that move.
Choosing the Right Image for Animation
The magic of an ai video generator from image really starts before you even touch the "generate" button. The quality of your source photo is the single biggest factor in getting a slick, fluid animation versus something that just looks… off.
Think of it like giving the AI a clean blueprint to work from.
A high-resolution image with a clear, obvious subject is always your best bet. A portrait with a simple background, for instance, makes it easy for the AI to isolate the person and apply motion without getting confused. On the other hand, if you upload a chaotic group photo with people overlapping and a busy background, you’re basically asking the algorithm to guess, which often leads to weird warping effects.
Good contrast helps, too. When your main subject really pops against the background, you're giving the AI more data to work with. I often do a quick edit to bump up the brightness or sharpen the details before I even think about animating.
This visual guide breaks down what makes a great source image.
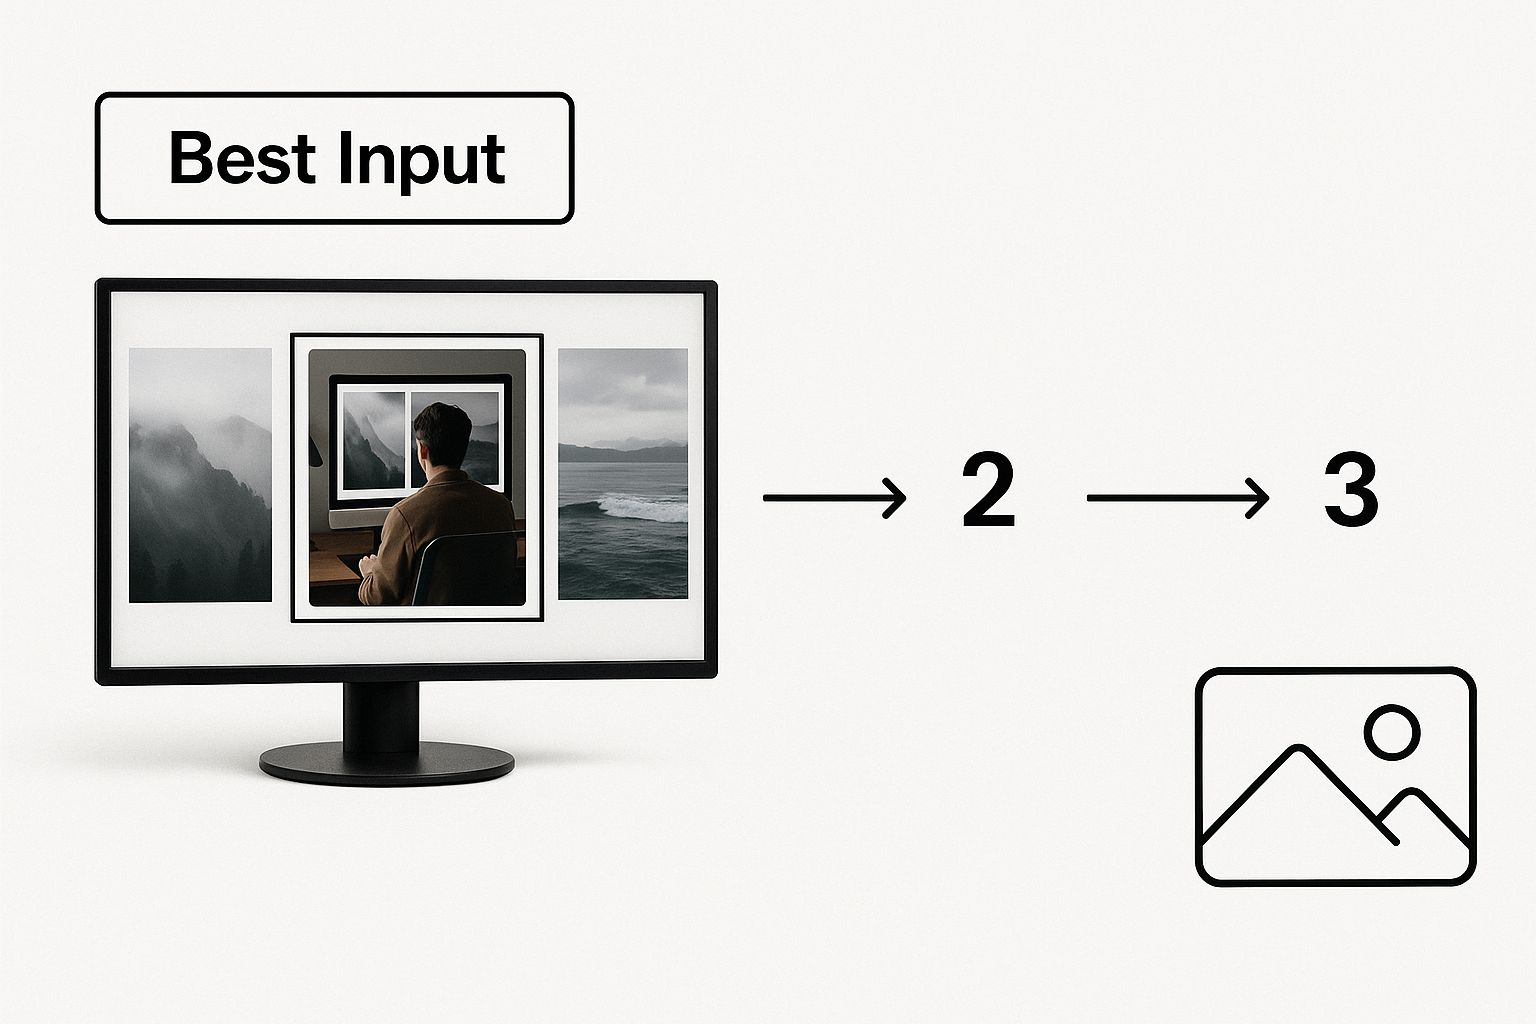
As you can see, clarity and focus are non-negotiable if you want the best results.
Pre-Editing for Better Animation: A Quick Tutorial
Spending just a minute or two making small tweaks to your image can make a world of difference. Here's a quick, step-by-step process you can follow:
- Crop for Focus: Open your image in any basic editor. Use the crop tool to remove distracting elements from the edges. Frame your main subject so it’s the clear star of the shot. This tells the AI, "Hey, this is the important part!"
- Adjust Brightness/Contrast: Is your subject a bit dark? Use the brightness slider to make them stand out. Use the contrast slider to create a sharper separation from the background.
- Enhance Sharpness: If the photo is slightly soft, apply a sharpening filter. Don't overdo it—just enough to make the edges crisp.
Pro Tip: If your photo has some minor blemishes or just isn't as sharp as you'd like, running it through a dedicated tool first is a great move. We actually have a whole guide on AI image enhancement that walks you through getting your photos ready for animation.
Taking these extra steps ensures the AI has the best possible ingredients, which almost always leads to a more polished and professional-looking video.
Generating Your First AI Animated Video: Step-by-Step
Okay, with your image prepped and ready, it's time for the fun part. Using an AI video generator from image is surprisingly simple. Here’s how to do it:
- Upload Your Image: Drag and drop your edited photo into the generator's interface.
- Select a Motion Style: Most tools offer preset camera movements like Zoom, Pan, Tilt, or Rotate. Pick one that matches your goal.
- Write a Text Prompt: Describe the specific action you want. (We'll cover this in detail below).
- Adjust Intensity: Use a slider to control how fast or strong the motion is. Start low!
- Generate & Review: Click the generate button, wait a few moments, and see your result.
Choosing Your Animation Style: A Practical Guide
The motion you apply completely sets the mood. Here are some practical examples of which style to choose for a specific result:
- For a dramatic portrait: Select the "Zoom" preset. In the prompt box, type "Slowly zoom in on the subject's eyes." This creates a sense of intimacy and focus.
- For a sprawling landscape: Choose the "Pan" style. Prompt it with, "Gently pan from left to right across the horizon." This mimics how our eyes naturally scan a scene, making it feel massive and immersive.
- For a product shot: Use the "Rotate" or "Dolly Zoom" effect. A good prompt would be, "Subtly rotate the product clockwise to show all angles." This gives your product a high-end, professional vibe.
Don't be afraid to experiment. Since these generations are quick, you can test a few different styles and see what feels right for your specific image.
The core idea is to match the movement to the image's content. A fast, jarring motion on a calm nature scene will feel out of place, while a slow, graceful pan on an action shot might kill the energy.
Crafting an Effective Text Prompt
Beyond the built-in presets, the real magic comes from text prompts. This is where you describe the exact motion you're picturing. Here's a simple formula for writing better prompts:
[Speed] + [Action] + [Direction] + [Focus/Detail]
- Weak Prompt: "Move the camera."
- Strong Prompt: "[Slowly] [drift camera] [right] [to reveal the sunset over the mountains]."
This level of detail gives the AI so much more to work with. If you really want to get good at this, check out our guide on how to write AI prompts for better results. And as you get comfortable, exploring the diverse AI video tools available can really broaden your creative horizons.
Adjusting Motion Intensity
The last key setting is motion intensity. Think of this as the "strength" or speed of the animation.
A low setting creates a gentle, almost imperceptible movement, which is perfect for just adding a hint of life to a still photo. On the other hand, a high setting produces a much more dramatic and noticeable effect. When you're starting out, always begin with a low intensity and gradually increase it until you find the perfect balance.
The ability of AI image-to-video tools to turn static images into dynamic clips is a game-changer. Platforms like ImagineArt and Kling 2.5 Pro are really pushing the envelope here, focusing on speed and realism to create cinematic clips in seconds. This kind of efficiency is perfect for anyone creating content for social media or ads on the fly. You can learn more about some of the top free AI image-to-video tools on imagine.art.
Taking Your Video From Good to Great
So you've made your first video. That's a great start, but the default settings only get you so far. The real creative control comes when you start telling the ai video generator from image exactly what you want. This is where you go from just animating a picture to directing a scene.
Most people generate a video and call it a day. But the secret sauce is in the refinement. You have to learn how to layer your commands to create camera movements that look deliberate and professional, not just like a simple "zoom" effect.
Directing the AI With Better Prompts
Vague commands get you vague results. It’s that simple. If you want a specific look, you need to talk to the AI like you're a film director. Here's a tutorial on how to transform your prompts for specific results:
Goal: Create a professional-looking pan for a real estate photo.
- Vague Prompt: "Pan left"
- Director's Prompt: "Begin a gentle 5-second pan from right to left, starting on the window and ending on the fireplace."
Goal: Make a portrait feel more emotional.
- Vague Prompt: "Zoom in"
- Director's Prompt: "Perform a slow, subtle dolly zoom, keeping the subject's face centered and in focus."
Adding qualifiers like "slow," "gentle," "swiftly," or "smoothly" gives the AI crucial information about the mood and pacing. You’re essentially removing the guesswork.
Specificity is your best friend when working with AI. The more detailed your prompt formula, the more control you exert over the camera's speed, direction, and focus, leading to a much more polished video.
Fixing Annoying Animation Glitches: A Troubleshooting Guide
Every now and then, the AI will throw a curveball. You might see wobbly edges or weird warping. Don't just scrap the video! A quick prompt adjustment can often fix it.
Problem: The video looks shaky or jittery.
- Solution: Add
stabilize motionorsmooth camera pathto your prompt. For example: "Slowly zoom in on the main building,stabilize motion."
- Solution: Add
Problem: The background is distorting when it should be still.
- Solution: Tell the AI what not to move. Add
keeping the background elements staticto your prompt. For example: "Pan right across the character's face,keeping the background elements static."
- Solution: Tell the AI what not to move. Add
Getting comfortable with these little fixes is what separates the amateurs from the pros when using an ai video generator from image.
Creative Ways to Use Your AI Videos
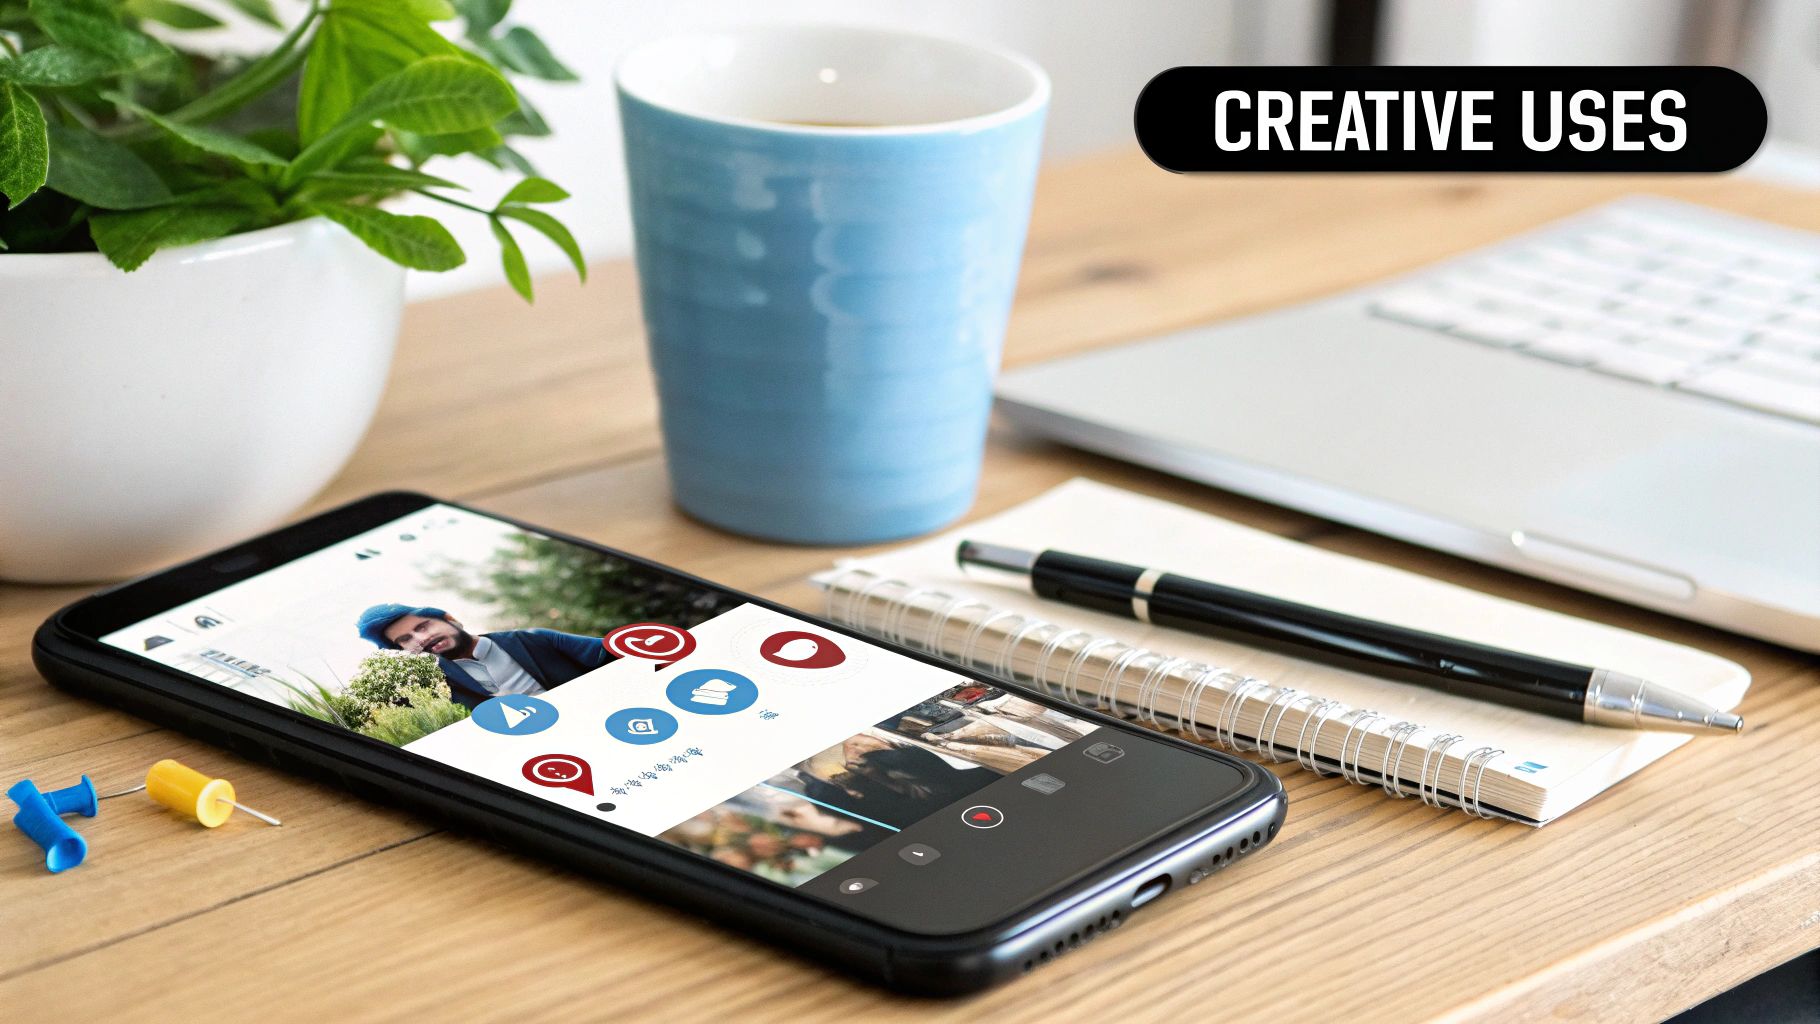
Okay, so you've made your first AI video. Now what? The real magic happens when you start thinking about where and how to use it. An AI video generator from image isn't just a novelty toy; it's a serious tool for grabbing attention where it matters most.
Here are some practical ideas you can try today:
- Website Hero Banner: Take the main image from your homepage and add a slow, subtle zoom effect. This immediately makes your site feel more dynamic and modern.
- Social Media Posts: Turn a static Instagram photo into a 5-second video clip for Reels or Stories. That unexpected movement is enough to stop users from scrolling past.
- Product Listings: Animate your product photos with a gentle 360-degree rotation. This allows customers to see the item from all angles, increasing their confidence to buy.
Beyond Social Media Feeds
This isn't just for influencers and marketers. The same idea works wonders in the corporate world. Think about that stale business presentation you have to give. Instead of a static company logo on every slide, what if it had a subtle, clean animation? It's a small touch, but it adds a layer of polish that people notice.
Data visualization is another huge opportunity. A static chart is fine, but you can use an AI video generator to add a gentle zoom or a slow pan. This technique naturally draws the eye to the key figures you want to highlight, making complex data much easier to digest.
The most important thing to remember is context. A high-energy, fast-paced animation is perfect for a TikTok ad. But for a website background, you'll want a slow, cinematic pan that doesn't distract from the main content.
The demand for these tools is exploding. In fact, the global AI video generator market is projected to hit $1.5 billion by 2029. That growth is fueled by people needing to create content more efficiently. With 43% of users already saying they trust AI for producing high-quality video, it’s clear this is more than just a trend. You can dig into more stats over at artsmart.ai's post on the rise of AI video generators.
One last tip: always pair your video with the right audio. A great soundtrack or sound effect can multiply its impact ten times over.
Common Questions About AI Video Generation
Diving into an AI video generator from image for the first time usually sparks a few questions. Let's get those out of the way so you can jump right into making incredible videos. I'll walk you through some of the most common things people ask.
What Kind of Images Work Best?
Right off the bat, most people wonder what kind of photo will give them the best results. The answer is pretty simple: start with a high-resolution image that has a clear subject.
Think of it this way: the AI needs to understand what it's looking at. Good lighting and a crisp separation between your main subject and the background make its job a whole lot easier. This translates to smoother, more predictable animations. A sharp product photo against a plain backdrop? Perfect. A professional portrait where the person is in focus? Ideal.
On the other hand, a blurry, low-res, or visually cluttered photo can trip the AI up. It might struggle to figure out what's what, leading to some weird, unnatural warping.
How Much Creative Control Do I Really Have?
Another big question is about control. You're not going to get the frame-by-frame control you'd find in traditional animation software, but you have more influence than you might think. Your real power lies in the text prompts you write.
This is where you can truly direct the animation. Instead of just picking a generic preset like "zoom out," you can craft prompts that tell the camera exactly what to do. Your creativity in describing the motion is what truly guides the final video.
My advice? Think like a film director. Don't just prompt the action—prompt the mood. Phrases like 'pan slowly to the right' or 'a gentle breeze moves from left to right' give the AI subtle cues that result in a far more natural and intentional look.
Can I Use These Videos for My Business?
This is a crucial one. The ability to use AI-generated videos commercially almost always depends on the tool's terms of service.
As a general rule, free plans might have restrictions, like limiting commercial use or requiring you to credit the platform. Paid subscriptions, however, usually come with full commercial rights. Always, always double-check the licensing agreement before you use a creation for a business project.
How Do I Make the Motion Look More Natural?
Finally, how do you avoid that robotic, artificial look? The trick is to start small. Cranking up the intensity settings right away can create a jarring, distorted effect that just doesn't look good.
For a more believable result, try this:
- Use subtle language: Add words like “gentle,” “slow,” or “subtle” to your prompts to specify the speed.
- Start with low intensity: Keep the motion settings on the lower end at first. You can always dial it up.
- Iterate in small steps: Make minor tweaks and see how they affect the outcome. It’s all about finding that sweet spot for your particular image.
If you want to understand how these tools fit into the bigger picture, it's worth exploring the many AI applications in digital marketing. It gives you some great context on how professionals are using this technology.
Ready to turn your static images into captivating videos? With AI Photo HQ, you can generate stunning animations in seconds. Start creating today at aiphotohq.com

