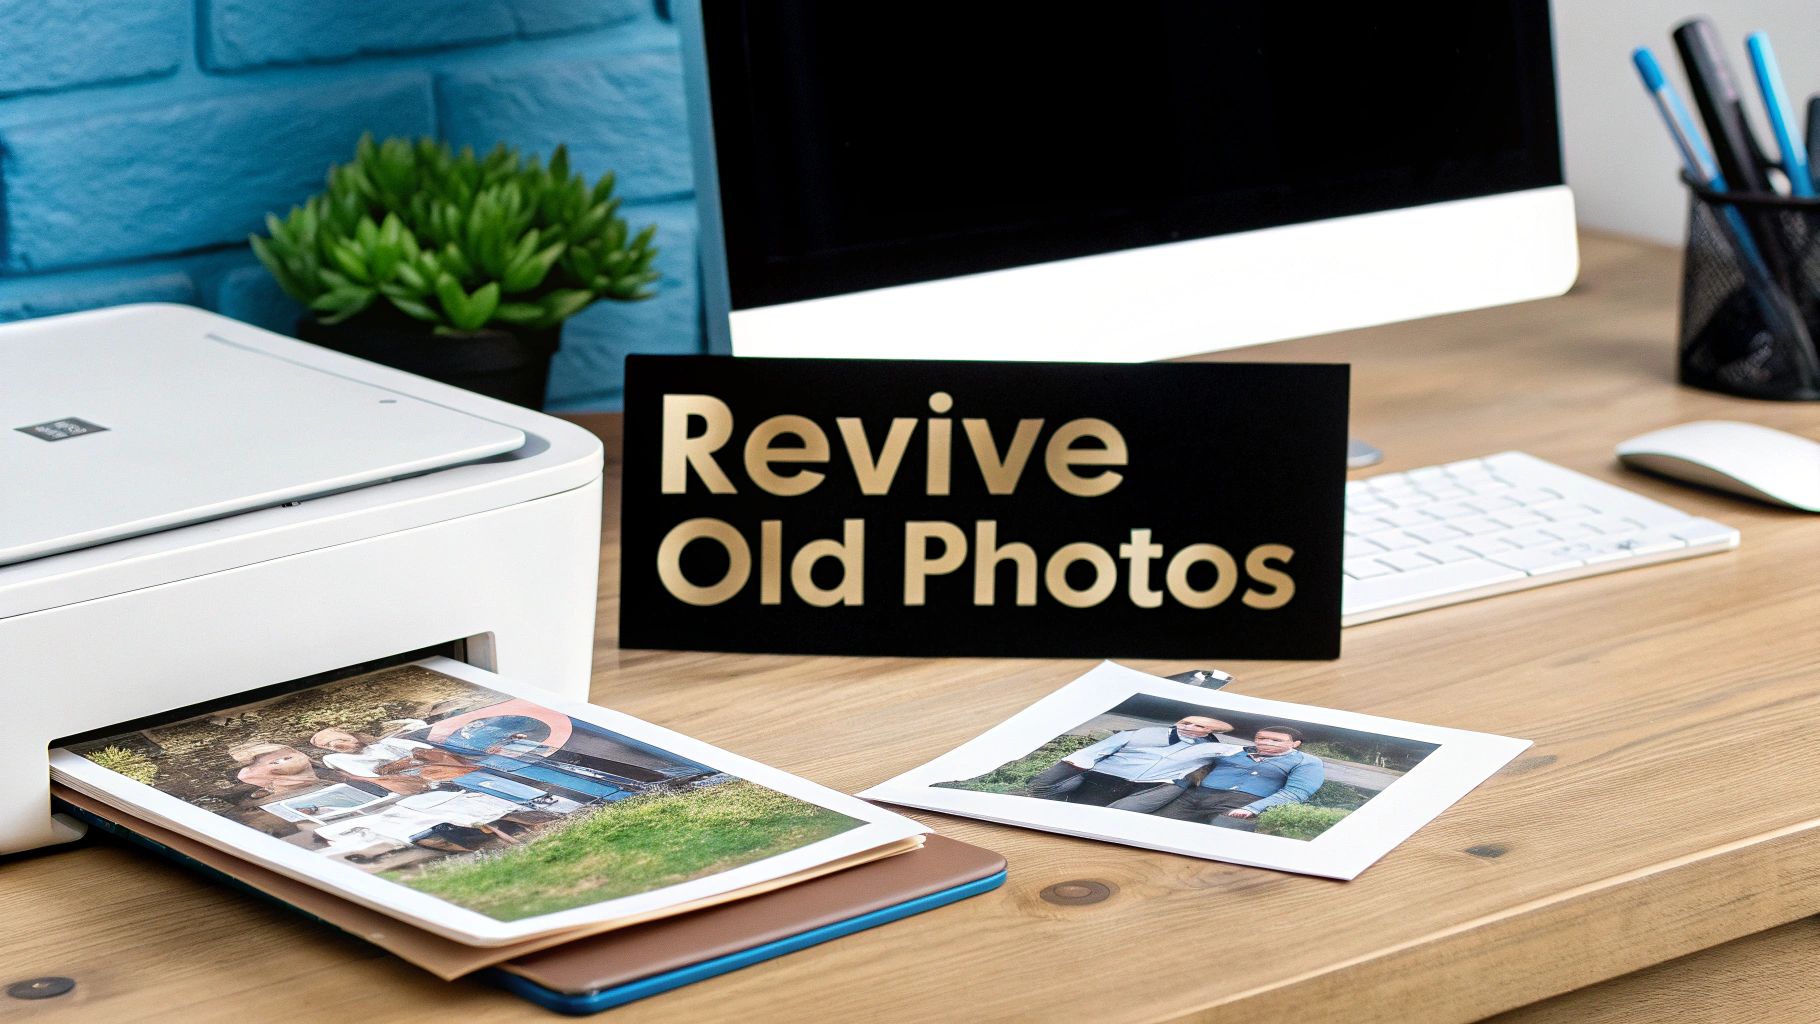
That dusty old box of family photos? It’s a treasure trove of memories, but let's be honest—time hasn't been kind. The good news is you no longer need to be a Photoshop wizard to bring them back. Modern AI tools make it incredibly easy to enhance old photographs, fixing scratches, waking up faded colors, and sharpening details with just a few clicks.
Bringing Faded Memories Back to Life with AI
Every creased, discolored, or scratched photograph tells a story—not just of the moment it captured, but of its own journey through time. For decades, fixing these precious images was a painstaking manual process, something left to skilled professionals. It meant hours of meticulous work, carefully cloning textures, painting over blemishes, and guessing at what the original colors might have been.
This traditional method, while effective, put restoration out of reach for most of us. The time, cost, and technical skill involved meant countless family histories were left locked away in dusty albums, slowly degrading.
The New Era of Photo Restoration
The arrival of AI-powered tools has completely changed the game. Instead of you making manual adjustments, these systems analyze millions of images to learn what a clean, sharp photograph is supposed to look like. This lets them intelligently repair damage and restore quality almost instantly.
What once took a professional several hours can now be done in minutes by anyone. It's no wonder this accessibility is driving a huge surge in interest for preserving family heritage. In fact, the global market for photograph restoration services was valued at $1,476.1 million in 2024 and is expected to keep growing, largely thanks to AI making it easier than ever. You can dig into the numbers in this report on the booming photo restoration market.
The core difference is simple: Manual editing requires you to tell the software what to fix, pixel by pixel. AI-powered tools already know what a damaged photo looks like and how to correct it, saving you immense time and effort.
AI Restoration vs Traditional Manual Editing
To really see the practical benefits, it helps to compare the two approaches side-by-side. The advantages of using an AI tool like AI Photo HQ become crystal clear.
| Feature | AI Restoration Tools | Traditional Manual Editing |
|---|---|---|
| Speed | Completes complex repairs in seconds or minutes. | Can take several hours per photograph for an expert. |
| Skill Level | Beginner-friendly, with intuitive one-click options. | Requires advanced skills and deep software knowledge. |
| Cost | Typically low-cost subscriptions or pay-per-use. | Can be very expensive, costing hundreds per image. |
| Consistency | Delivers consistent, high-quality results every time. | Results can vary based on the editor's skill and effort. |
| Accessibility | Anyone can use it from a web browser or app. | Requires specialized software and powerful hardware. |
The takeaway is simple: AI has removed the barriers. It empowers anyone to get professional-grade results without the professional-grade hassle.
This guide will walk you through exactly how to use this powerful technology. You have everything you need to become your family's own digital archivist.
How to Properly Digitize Your Old Photos
A stunning restoration always starts with a high-quality scan. Before you can work any AI magic to enhance old photographs, you first need a solid digital version to work from. Think of it like building a house—if you start with a shaky foundation, the whole thing will be compromised. The better your initial scan, the more spectacular your final result will be.
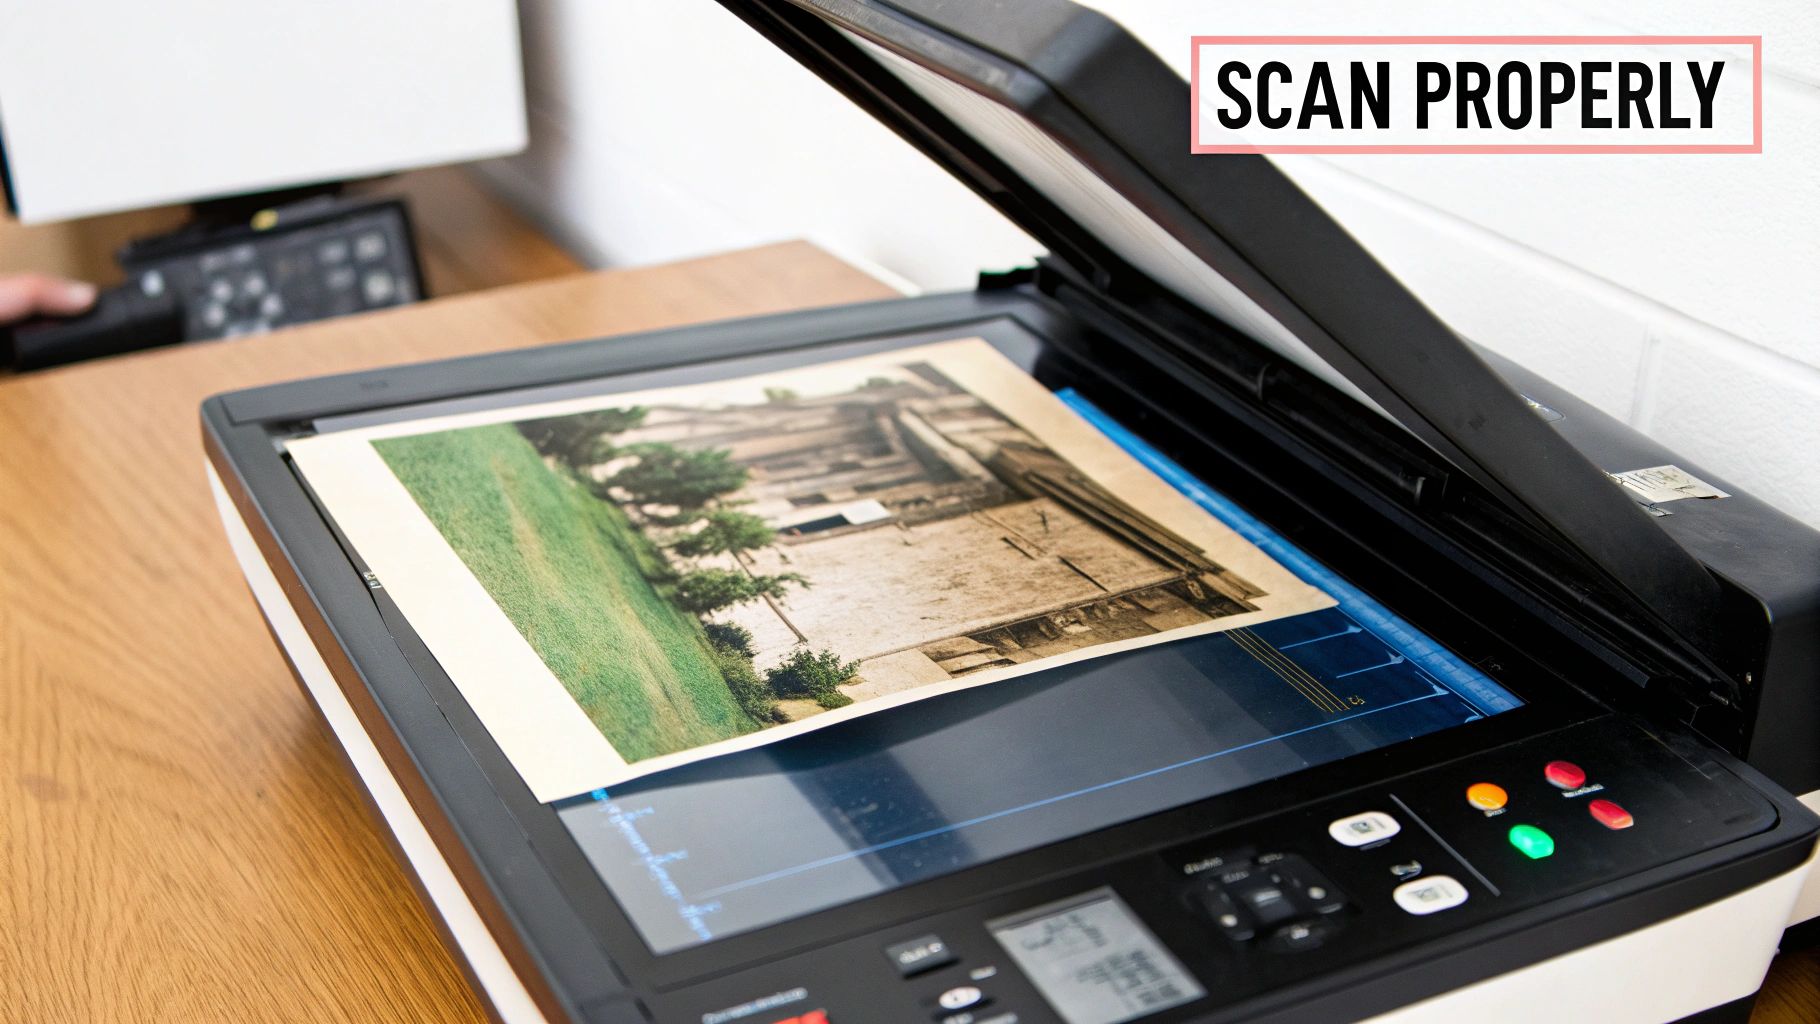
This first step is all about capturing as much detail as you possibly can from the original print. Rushing this is probably the most common mistake I see, and it can seriously limit what even the best AI tools are capable of fixing later on.
Setting Up Your Scanner for Success
Follow these steps to get a perfect scan every time. The single most important setting you need to get right is your scanner's resolution, which is measured in DPI (dots per inch). Scanning at a low resolution is like taking a blurry photo of a beautiful painting; you completely lose the fine details that make it special.
To give the AI enough information to work with, stick to these guidelines:
- Step 1: Set the Resolution (DPI). Open your scanner software. Look for a setting called "Resolution" or "DPI."
- For standard prints (up to 5x7 inches): Set your scanner to a minimum of 600 DPI. This gives you plenty of data for cleaning up damage and even allows for a bit of enlargement without things getting pixelated.
- For small photos (like wallet-sized prints): You'll want to bump that up to 1200 DPI. This makes sure you capture every tiny detail, which is crucial if you ever want to upscale it for a larger print down the road.
- Step 2: Set the Color Mode. Choose "Color Photo" or "24-bit Color" even if you are scanning a black-and-white image. This captures the subtle tonal variations of aging, which can help the AI restoration.
- Step 3: Choose the File Format. Before scanning, find the "Save As" or "Format" option. Select TIFF (.tif). This is your "digital negative" that preserves all the data.
A higher DPI scan creates a larger file, but it’s a necessary trade-off. It’s the digital equivalent of giving the AI a magnifying glass, allowing it to see and repair imperfections you might not even notice yourself.
Prepare the Photo and Scanner
Before you hit that scan button, take a minute for some physical prep. Dust, fingerprints, and smudges on either the photo or the scanner glass will show up in your digital file, just creating more work for you and the AI.
- Clean the Scanner Glass: Use a lint-free microfiber cloth to gently wipe down the glass bed of your scanner.
- Clean the Photograph: Use a can of compressed air or a very soft, dry cloth to gently remove dust from the photo's surface. Never use cleaning liquids on the photo itself, as you can cause permanent, heartbreaking damage.
- Position the Photo: Place the photo face-down on the scanner glass, aligning it with the corners to ensure a straight scan.
Choosing the Right File Format
Once the scan is complete, you'll need to save your new digital file. The format you choose here really matters for the quality of your restoration. You'll typically see two main options: TIFF and JPEG.
| File Format | Best Use Case | Key Characteristic |
|---|---|---|
| TIFF (.tif) | Archival and Restoration | Lossless compression. This is the one you want. It saves every single pixel of data from the scan, giving the AI the highest possible quality to work with. |
| JPEG (.jpg) | Sharing and Web Use | Lossy compression. This format shrinks file sizes by throwing away some image data, which can reduce quality and create weird-looking digital artifacts. |
Always, always scan and save your initial file as a TIFF. This is your new "digital negative"—your pristine master copy. You can always export a JPEG from it later for sharing online, but you can’t get back the data that's lost when you save directly to JPEG. When you're thinking about how to properly digitize your old photos, looking into various modern digital photo solutions can provide some great insights into managing digital files, which is key for keeping your restored images safe.
Taking the time to do this right is part of a huge movement. The digital photo scanning service market was valued at around $3.5 billion in 2023, which just goes to show how many people are working to preserve their family histories. By following these steps, you're in good company, creating that perfect digital copy that’s ready for the next stage of its life.
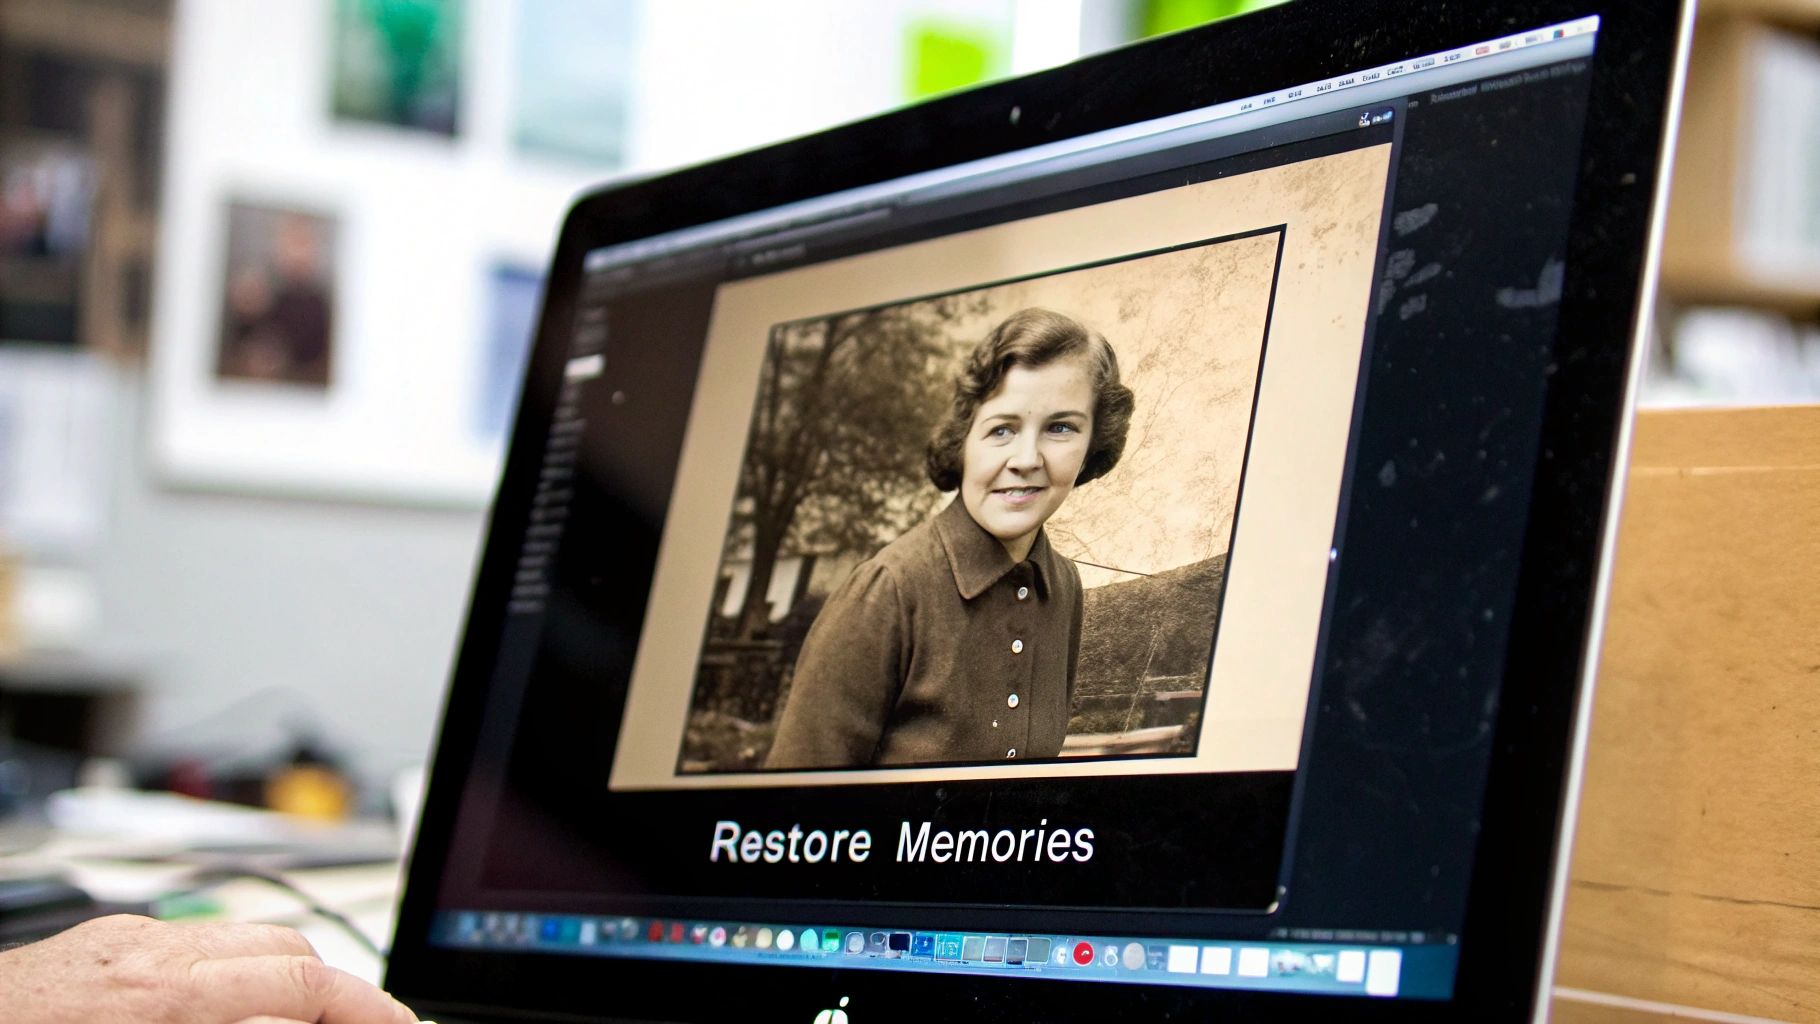
A Practical Guide to AI Photo Enhancement
Alright, you've got your high-quality scan ready to go. Now for the fun part: letting the AI work its magic. This section provides a step-by-step tutorial on how to use a typical AI restoration tool to bring your old photographs back to life.
The whole process is surprisingly simple. You're basically just moving from uploading your image, to making some targeted fixes, and then saving the restored memory.
This little workflow visualizes the three main stages, from the initial upload to the final, polished photo.
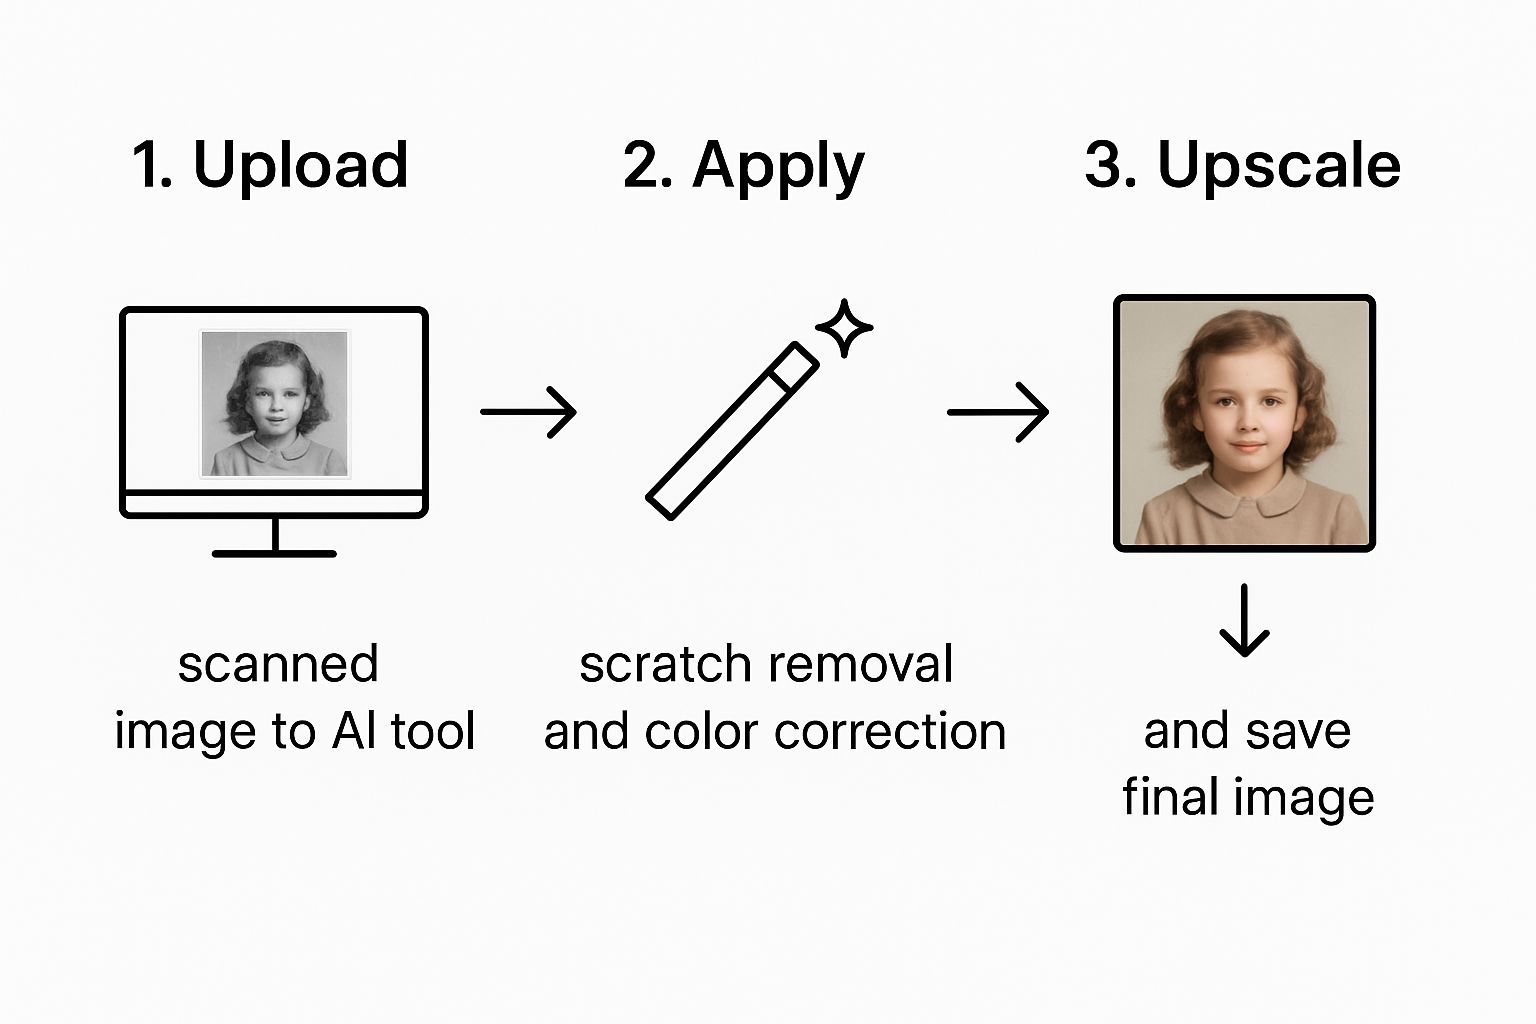
What this really shows is that the power of AI isn't about making things complicated. It’s about simplifying a process that used to be incredibly difficult into just a few logical steps. The AI does all the heavy lifting, so you can focus on the final picture.
Kicking Off Your First Restoration Project
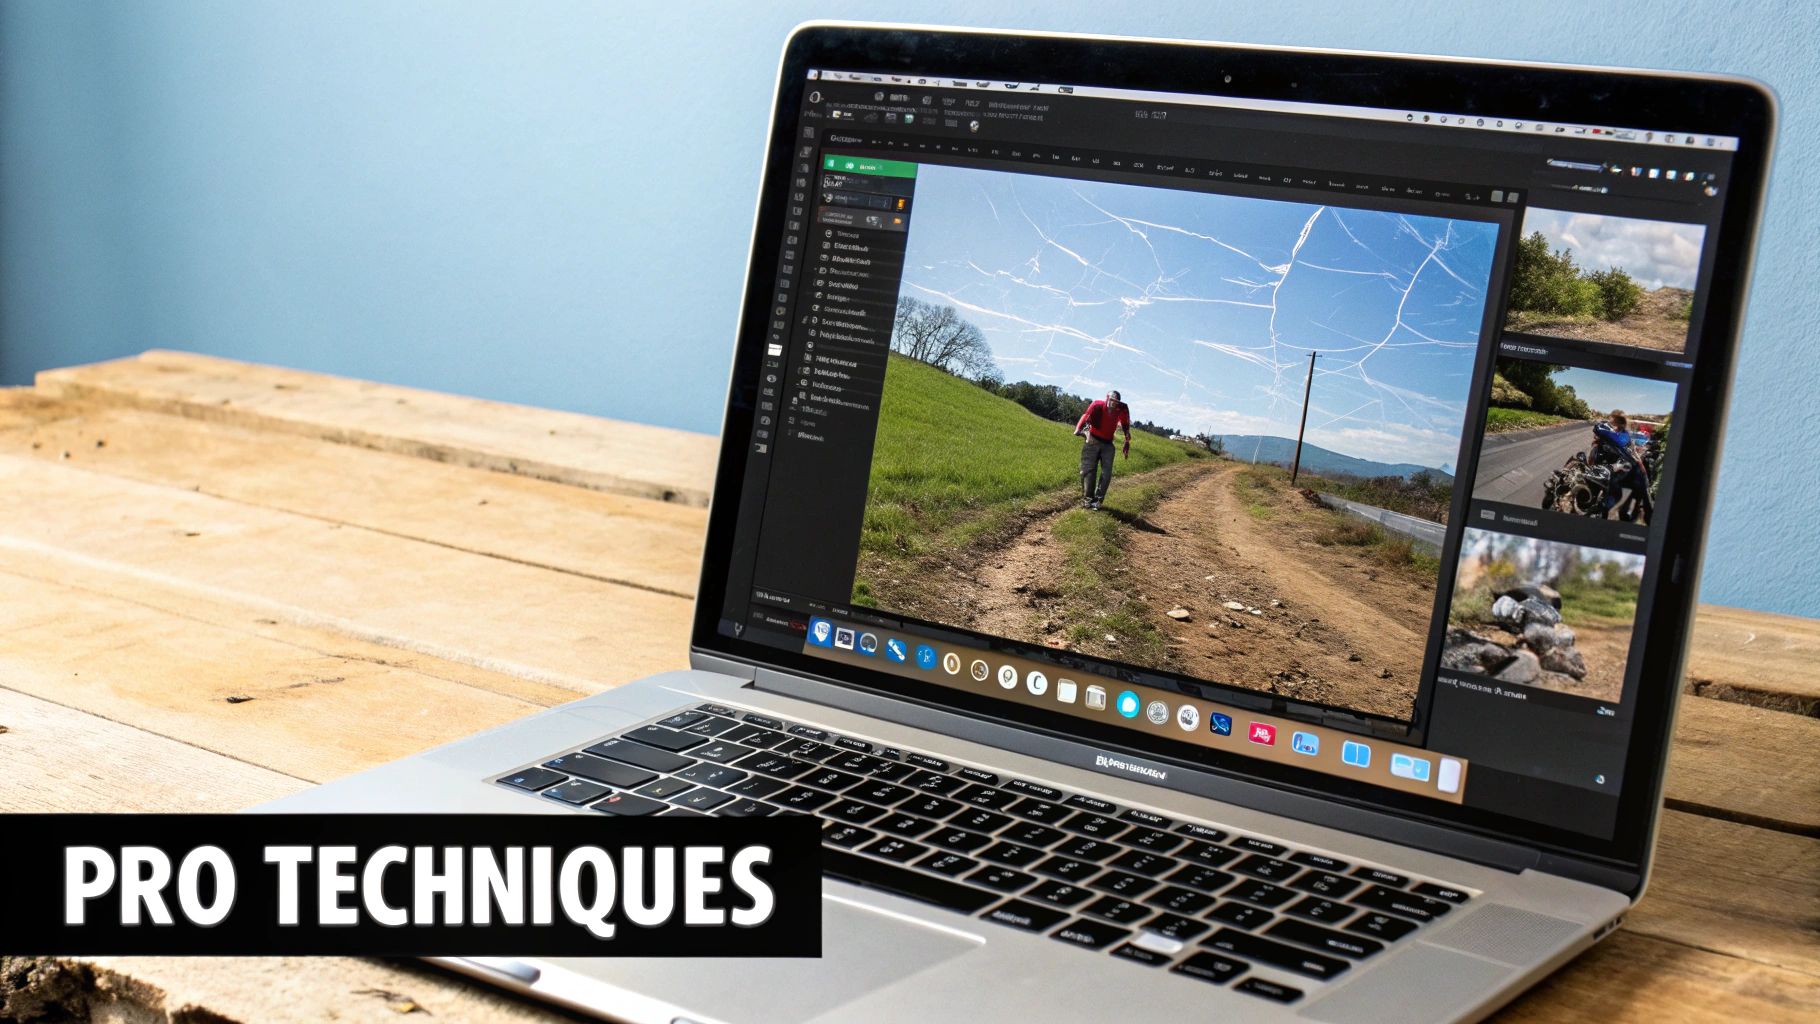
The first move is always the same: get your scanned TIFF file uploaded into the AI tool. Once it's loaded, you’ll see a dashboard with a bunch of options. Don't get intimidated! Most of these tools are designed to be user-friendly, with simple sliders and on/off switches for each major function.
This ease of use is a huge reason why the AI photo restoration market is booming, with a conservative global estimate of $500 million in 2025. These tools automate complex tasks, putting professional-level results within reach for just about anyone. You can read more about the growth of AI in photo restoration on datainsightsmarket.com.
Here’s a conceptual look at an interface, which shows how these enhancement tools are usually laid out for clarity and control.
The main takeaway here is that functions like clarity, scratch removal, and upscaling are all separate. This lets you apply them one by one or stack them for a bigger impact.
Using the Core AI Enhancement Tools: A Step-by-Step Tutorial
Let's walk through a common restoration scenario. With your photo on the screen, apply these features one by one to see the biggest difference.
- Step 1: Remove Scratches and Blemishes. This is often the most jaw-dropping fix.
- Locate the "Scratch Removal" or "Blemish Fix" feature.
- Toggle it on. Many tools have a slider to control intensity. Start it at a medium level (around 50%).
- Examine the result. If some scratches remain, increase the intensity. If the image looks overly smooth or "waxy," decrease it.
- Step 2: Correct or Add Color.
- For a faded color photo, find the "Color Correction" tool. A single click should automatically balance the colors and contrast.
- For a black-and-white photo, find and click the "Colorize" button. The AI will analyze the scene and add realistic colors. It’s an educated guess, but the results are often shockingly good.
- Step 3: Enhance Facial Details. This is a game-changer for portraits.
- Select the "Face Enhancement" or "Portrait Fix" option.
- This tool automatically detects faces and sharpens eyes, smooths skin texture, and brings clarity to features that have blurred over the decades. It's designed to be subtle, so you don't get that overly "airbrushed" or fake look.
Pro Tip: Apply enhancements one at a time so you can see what each one does. I always start with scratch removal to give the other tools a clean slate. Then I’ll move on to color adjustments and face enhancements.
Upscaling for Prints and Sharing
The last common step is Upscaling. If your original photo was pretty small, this feature uses AI to blow it up to a higher resolution without the pixelated mess you’d normally get. It intelligently adds new, natural-looking pixels, making it possible to turn a tiny wallet photo into a beautiful 8x10 print.
- To get a sharp digital image: Select a 2x Upscale. This is perfect for posting on social media or viewing on screens.
- To make a large physical print: Choose 4x Upscale or higher. This will give you the resolution needed for high-quality prints to hang on the wall.
Combining these tools gives you a seriously powerful workflow for just about any old photo you throw at it. The options can vary a bit between programs, so checking out the best photo restoration software can help you find the perfect fit for your needs. The more you experiment with these settings, the quicker you'll get a feel for what each photo needs to look its best, giving you the confidence to tackle your whole family archive.
Pushing the Limits: Advanced Tricks for Tough Photos
While the one-click AI tools are incredible for most old photos, you'll inevitably run into a few that just don't want to cooperate. I'm talking about the really stubborn ones—the prints with deep creases, major tears, or that strange, blotchy color fading that looks almost impossible to fix.
When you want to truly enhance old photographs that have lived a hard life, you need to think a little more strategically. A layered approach is your secret weapon for getting a flawless result.
This means you need to channel your inner professional restorer, even when using automated tools. Instead of just throwing every AI feature at the photo at once and hoping for the best, you’ll get far cleaner outcomes by applying enhancements in a logical, step-by-step sequence.
Layer Your AI Enhancements: A Step-by-Step Workflow
The real secret to tackling a heavily damaged photo is to treat each type of problem on its own. It's a simple but powerful idea: run a scratch removal pass, save that improved version, and then run a colorization pass on the new, cleaner file. This gives the AI a much better starting point for each specific task.
Here’s a practical workflow I use for photos with multiple issues:
- Step 1: Fix the Structure First. Always start by repairing the physical damage.
- Upload your scanned TIFF file.
- Run only the Scratch Removal tool. Set the intensity as needed.
- Download and save this structurally repaired image as a new TIFF file (e.g.,
photo_pass1_scratches_removed.tif).
- Step 2: Tackle Color and Tone.
- Upload the newly saved clean file from Step 1.
- Now, run the Color Correction or Colorize feature.
- Save this second version (e.g.,
photo_pass2_colorized.tif).
- Step 3: Sharpen the Details Last.
- Upload the color-corrected file from Step 2.
- Apply Face Enhancement or a 2x Upscale to boost clarity.
- Save your final, fully restored image.
This methodical process keeps the AI from getting "confused" by trying to fix scratches and guess colors at the same time. The result is a final image that looks far more natural and accurate.
Spotting and Correcting Common AI Goofs
Let's be real: AI is amazing, but it's not infallible. When you enhance old photographs, you'll sometimes spot small, strange mistakes in the final version. Knowing how to spot these—and what to do about them—is what separates a decent restoration from a truly great one.
A classic issue is what I call "AI eyes," where the Face Enhancement tool generates eyes that look a bit glassy, unnatural, or just slightly out of alignment. Another one to watch for is color bleed, where the Colorize tool gets a little too enthusiastic and might splash some of a red dress onto the wall behind it.
When you see an AI artifact, don't just settle for it. The first thing to try is running the enhancement again, but this time with a lower intensity. I've found that dialing back the "AI Strength" or "Enhancement Level" to around 70% often fixes the problem while keeping all the good stuff.
If the issue is isolated to one specific spot, you might need a hybrid approach. This just means taking the AI-restored image into a basic photo editor for a quick, targeted manual fix.
Knowing When to Go Manual (Just for a Minute)
Sometimes, an AI tool just hits a wall. For photos with huge tears, completely missing corners, or really bad water damage, the AI might not have enough visual information to accurately rebuild what's gone.
This is where a quick manual touch-up can be a lifesaver. You don't need to be a Photoshop wizard; even simple, free tools can make a huge difference. For example, using a "clone stamp" tool can help you rebuild a simple background or fill in a torn edge before you even upload it to the AI. For a deeper dive, our guide on restoring water-damaged photos has specific strategies for these extra-tough cases.
This combined workflow gives you the best of both worlds. You get the incredible speed and power of AI for 80% of the heavy lifting, and the precision of manual control for that final 20% of polish. This is how you can confidently tackle even the most daunting photo restoration projects in your family's collection.
How to Save and Share Your Restored Memories
You've done the hard work, and the results are stunning. Now what? The final, absolutely crucial step is to properly save and share your beautifully restored image. It needs a safe digital home and a plan for how you’ll actually enjoy it.
The first big decision is what file format to use. Think of them as different containers, each built for a specific job.
For archival purposes—the master copy you'll print from or return to later—saving as a TIFF (Tagged Image File Format) is the only way to go. TIFFs are what we call "lossless," meaning they hang on to every single pixel of data from your restoration. This ensures you're always working with the absolute highest quality version.
When it comes to sharing online, whether on social media or in an email to family, a JPEG (Joint Photographic Experts Group) is your best friend. JPEGs are much smaller files, so they load quickly. The key here is to always save the JPEG as a copy of your TIFF. Never, ever overwrite your master file.
Organizing Your Digital Collection
As you restore more photos, you'll quickly find that keeping them organized is essential. A simple, consistent naming system can save you from a massive headache down the road.
Forget generic names like image_001_final.jpg. Instead, try a descriptive method that packs key information right into the filename. I've found a system like this works wonders:
- Format:
YYYY-MM-DD_[Event/Subject]_[Original-Number].tif - Example:
1968-07-15_Grandmas-Wedding_001.tif
This simple trick automatically sorts your photos by date and tells you exactly what you're looking at with just a glance. A logical folder structure is just as important. For a much deeper dive into building an efficient system, check out our guide on how to organize digital photos and keep your growing collection safe.
Showcasing Your Restored Images
Now for the fun part: showing off your work! A restored photograph is one of the most personal and meaningful gifts you can give. Imagine printing a high-quality version of a restored family portrait and framing it—it instantly becomes a cherished heirloom.
Once you've brought those faded memories back to life and have a physical print in hand, proper framing is the final touch. It protects your work and presents it beautifully. For a practical guide on framing your restored prints without any fuss, this resource is incredibly helpful. It ensures your restored memories aren't just saved, but truly celebrated.
Common Questions About Restoring Old Photos with AI
Dipping your toes into AI-powered photo restoration usually brings up a handful of good questions. Getting a handle on what the technology can—and can't—do is the key to setting the right expectations and getting results you’ll be thrilled with.
One of the first things people ask is if AI can truly fix a photo that's severely damaged. While the tech is incredible for correcting things like scratches, fading, and discoloration, it definitely has its limits.
What about pictures with big chunks missing, like a torn-off corner or a face that's been completely blotted out? In those cases, the AI has to get creative and invent the missing information. It uses all the data it was trained on to make a really smart guess, but the result is more of a creative reconstruction than a 100% historically accurate fix. Think of it less like a time machine and more like a master artist filling in the gaps.
Can I Trust the Colors AI Adds?
Another big question is about the accuracy of AI colorization. When you ask an AI to color a black-and-white photo, it's essentially making a very well-informed guess.
It's brilliant at identifying universal elements—it knows the sky is blue and that grass is generally green. But what it can't know is the specific shade of your great-uncle's vintage Ford or the exact floral pattern on your grandmother's favorite dress.
The colors an AI picks are designed to be plausible and look great together, creating a scene that feels real and believable. It's best to view the final colored photo as a beautiful interpretation, not a perfect historical record.
Does This Process Damage My Original Photos?
This is a common worry, and luckily, it's one you can put to rest completely. The entire AI restoration process is digital and completely non-destructive.
You start by scanning your physical photograph to create a digital copy. Every single enhancement, from getting rid of scratches to adding color, is applied only to that digital file. Your original, physical photo remains safe and sound, completely untouched.
This means you can experiment as much as you want without any risk to your precious heirlooms. Your originals stay preserved while their digital twins are brought back to life in vibrant detail.
Ready to see what AI can do for your family archives? AI Photo HQ makes it simple to restore, colorize, and enhance your old photographs in just a few clicks. Start your restoration journey today!

