
Ever wondered how to superimpose a picture? It’s simply the art of layering one image on top of another to create a single, combined picture. This could be as straightforward as placing a logo on a product shot, or a more creative endeavor, like blending multiple photos to create a surreal, artistic scene. It’s a foundational skill in photo editing that, once you master it, opens up a world of creative possibilities.
What It Means to Superimpose a Picture
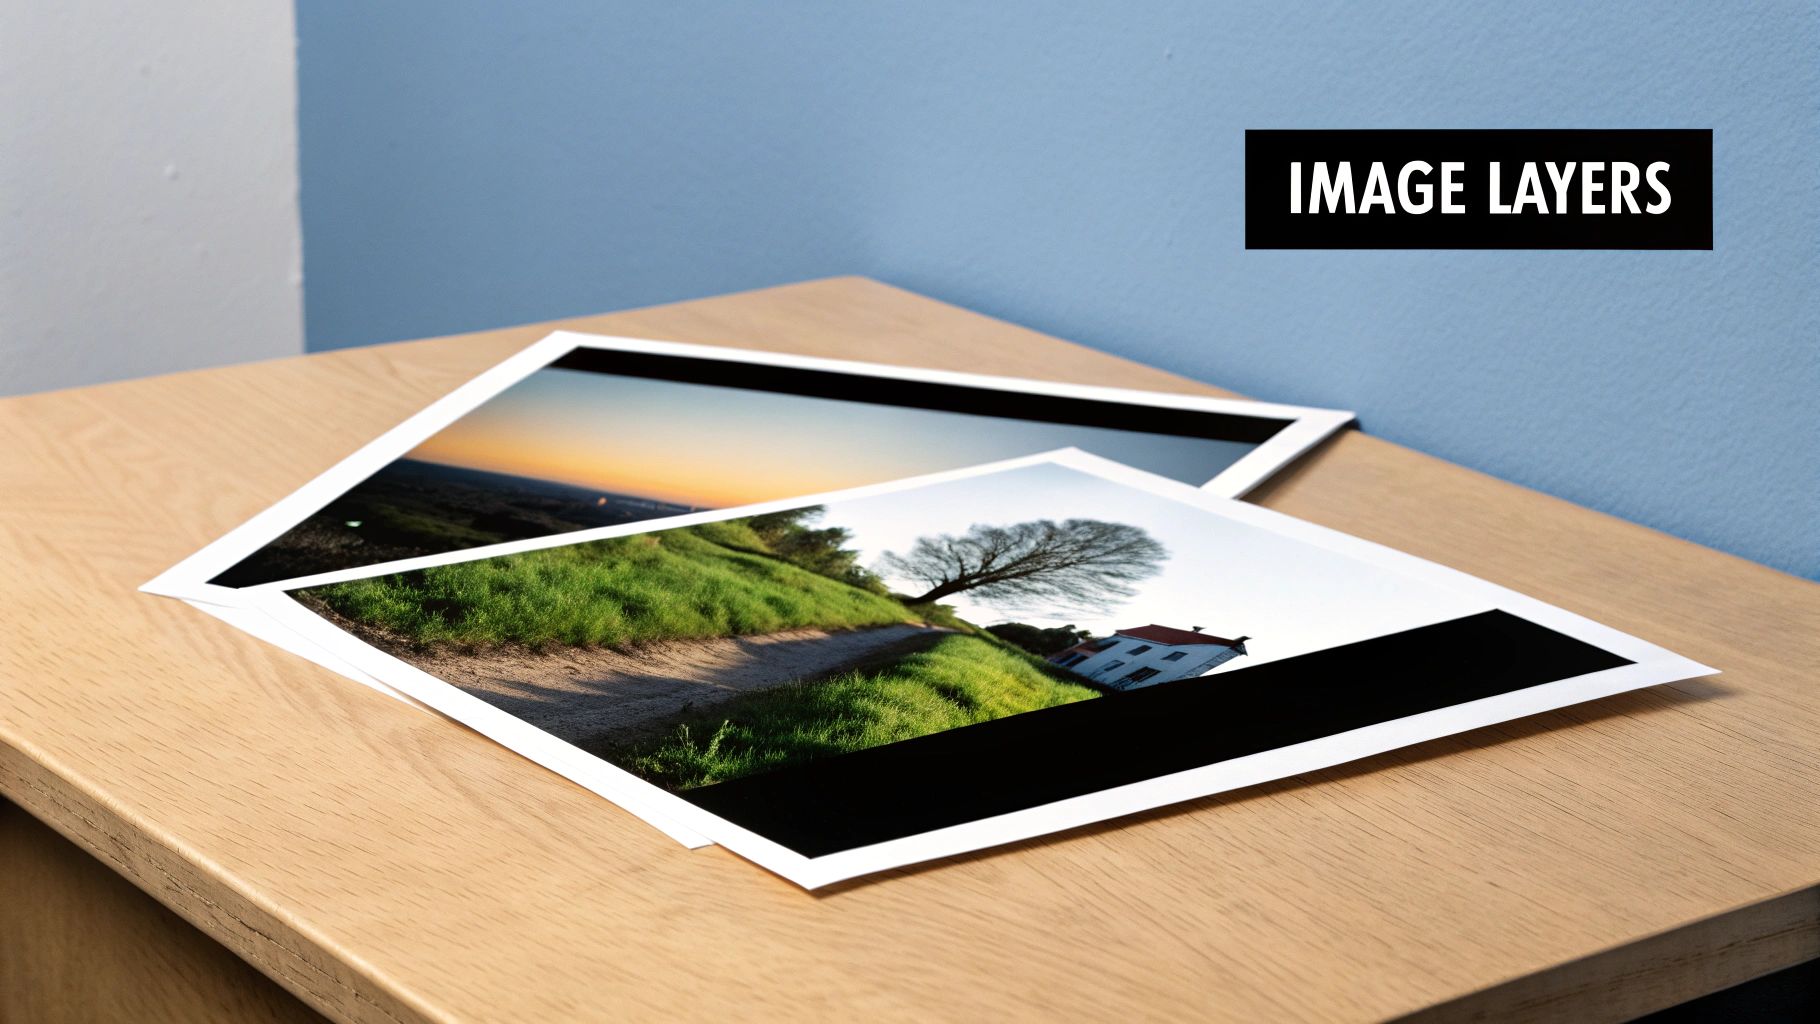
At its heart, superimposing is all about digital layering. Think of it like stacking transparent sheets—each sheet has a different part of the final image. The real magic begins when you start tweaking how those layers interact with each other, letting you build a composite that looks seamless and intentional.
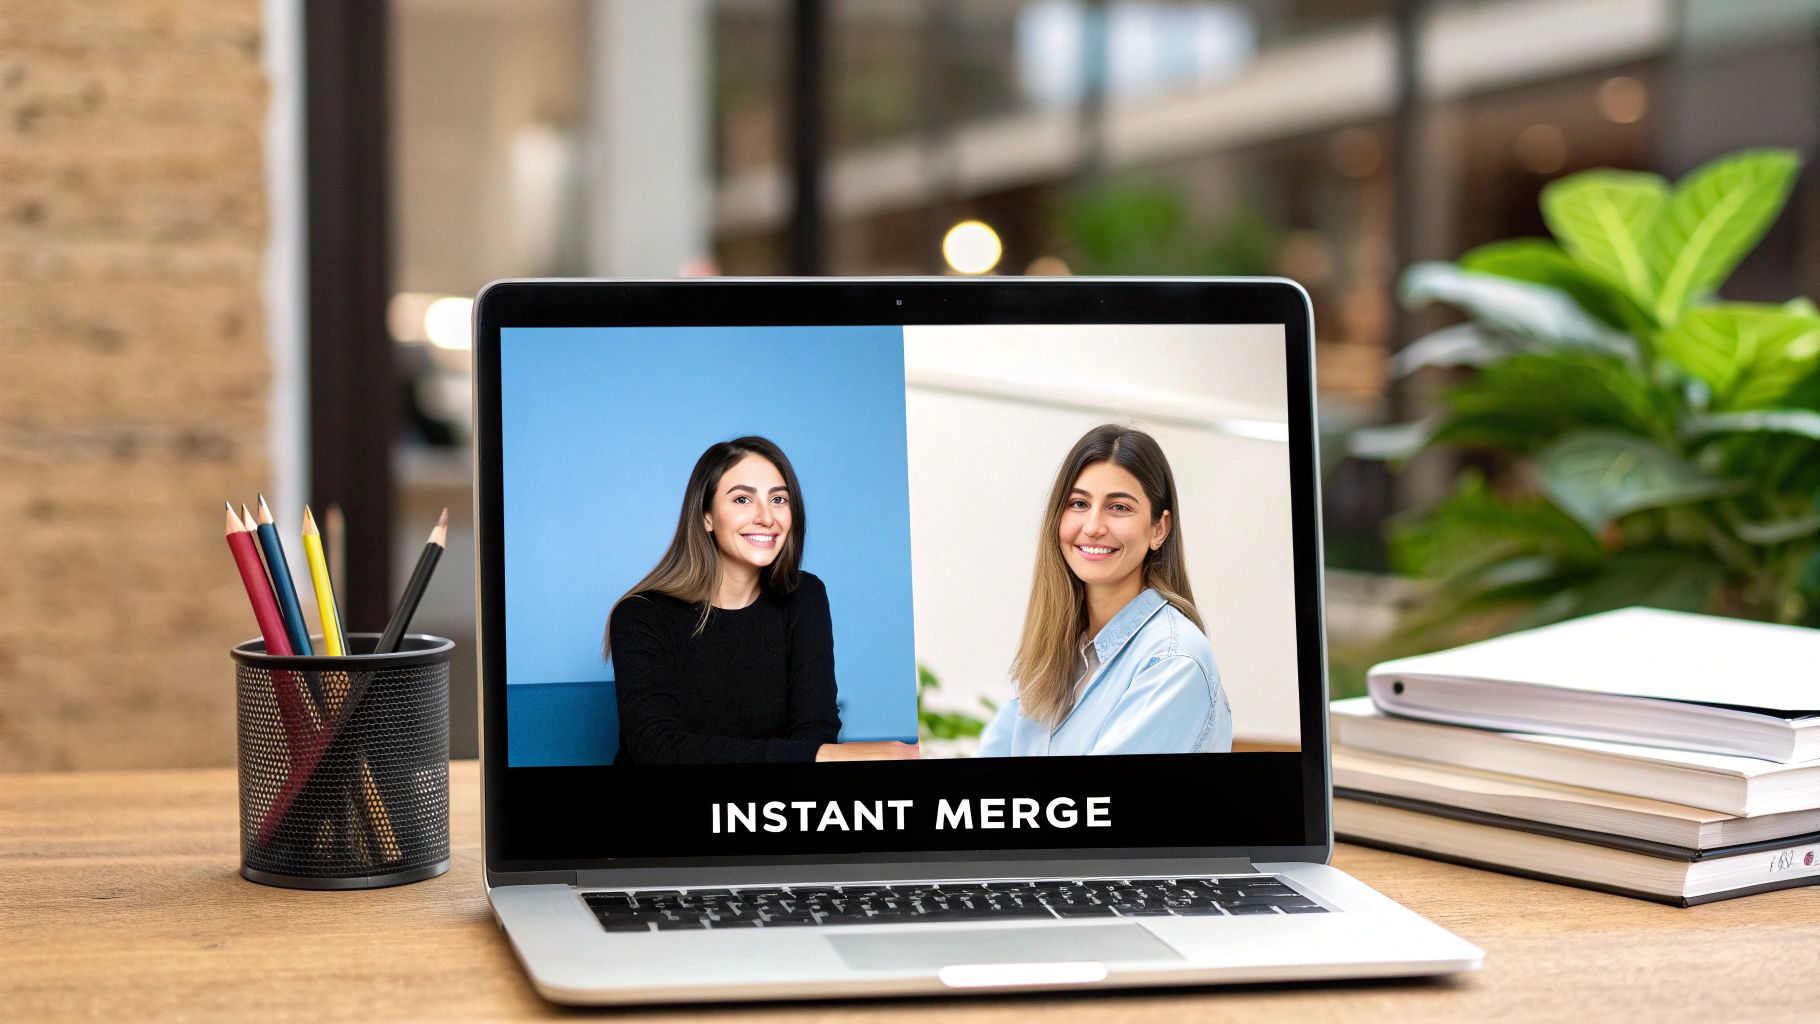
You see this technique everywhere. From slick marketing campaigns to fun social media edits, layering images helps people tell more interesting stories. A graphic designer might superimpose a new gadget onto a lifestyle photo to show it in a real-world setting. An artist, on the other hand, might merge a portrait with a cityscape to create a cool double-exposure effect.
The Building Blocks of Superimposition
To really nail this, you need to get comfortable with a few key concepts. These are the controls that give you power over the final image:
- Layers: These are the individual images you're working with. Your editing software stacks them, and you can rearrange, edit, and blend them independently.
- Transparency (or Opacity): This setting controls how see-through a layer is. At 100% opacity, the top layer completely blocks the one beneath it. As you lower the opacity, it becomes more transparent, letting the bottom layer peek through.
- Blending Modes: This is where things get really interesting. Blending modes are special settings that change how the pixels on one layer interact with the pixels on the layer below. Modes like 'Overlay,' 'Multiply,' or 'Screen' can create some seriously cool effects with light, color, and texture.
The secret to a good superimposition isn't just dropping one photo onto another. It's about control—making the images look like they belong together by carefully manipulating their layers, transparency, and how they blend.
While we think of it as a modern creative tool, the idea has been around for a while in some surprising fields. For instance, the technique of craniofacial superimposition has been used in forensic science since at least 1937. It helps experts identify human remains by overlaying a person’s photograph onto a skull. Today's digital tools just give us pixel-perfect accuracy for that kind of critical work. You can read the full research about the history of this technique if you're curious.
Quickly Superimpose Photos with Online Tools
For a fast and easy result, browser-based tools like Canva or Photopea are perfect. They offer powerful features right from a browser tab, letting you knock out a great-looking superimposed picture in minutes.
Let's walk through a common example: placing a product shot (a coffee mug) into a lifestyle setting (a rustic wooden table).
Step-by-Step: Adding an Object to a Background
- Upload Your Images: Open your chosen online editor and upload both photos: the background (wooden table) and the object (coffee mug with a plain background).
- Set Your Base Layer: Place the wooden table photo onto your canvas. This will be your base layer.
- Add the Top Layer: Now, add the coffee mug photo on top of the table. It will appear as a new layer, but its original background will be covering the table.
- Remove the Background: This is the key step. Select the mug layer and look for a "Remove Background" or "Magic Cut" tool. Most online editors offer a one-click solution that will automatically detect and erase the plain background, leaving just the mug.
- Resize and Position: With the background gone, the mug now looks like it's sitting on the table. Click on the mug layer and drag its corners to resize it to a believable scale. Then, drag the mug to a natural-looking spot on the table.
- Adjust Opacity: For a final touch, find the transparency or opacity slider for the mug layer. Nudge it down slightly, perhaps to 95%. This subtle change helps the lighting blend and makes the object feel more integrated into the scene.
One of the most common mistakes is leaving the top layer at 100% opacity. This often makes the object look like a cheap sticker. Dialing back the transparency, even slightly, helps it blend into the new environment.
This kind of photo manipulation is everywhere. The market for imaging software is massive, projected to rocket past $10 billion by 2025. Simple overlay features are now standard in apps like Instagram and Snapchat, which are used to edit tens of billions of images every year by over 2.4 billion people. If you're curious, you can learn more about the evolution of photo technology and its market growth to see just how common these techniques have become.
Advanced Superimposition with Desktop Software
When you’re ready to move beyond quick edits, it's time for more powerful software. For professional and highly customized superimposed images, programs like Adobe Photoshop AI open up a universe of creative possibilities. This is where you can fine-tune every detail.
These beefier programs give you access to game-changing tools like blending modes and layer masks. Instead of just tweaking transparency, blending modes completely change how the pixels of one layer interact with the pixels of the layer underneath.
Tutorial: Creating a Double Exposure Effect
A double exposure is a classic artistic technique where you blend two photos, often a portrait and a scene (like a forest or cityscape). Here's how to do it:
- Prepare Your Layers: Open your portrait photo (this will be the base). Then, place your scene photo (e.g., a forest) on a new layer above it.
- Desaturate the Portrait: Select the portrait layer and desaturate it (turn it black and white). This helps the colors of the top layer pop.
- Experiment with Blending Modes: Select the top (forest) layer. Go to the Blending Mode dropdown menu (it usually says 'Normal' by default) and try different options. For double exposures, 'Screen' is a fantastic starting point. It will make the forest appear within the lighter areas of the portrait. 'Lighten' and 'Overlay' also produce interesting results.
- Refine with Layer Masks: The forest texture is now everywhere. To control it, add a layer mask to the forest layer. Select the mask, grab a soft black brush, and paint over the areas where you want to hide the forest texture (like the person's face) to bring back the original portrait details. Paint with white to reveal the texture again.
- Adjust and Finalize: You can now move, resize, or rotate the forest layer to get the composition just right. You can also add adjustment layers to tweak the overall color and contrast of the final image.
With a layer mask, you can simply paint with black on the mask to hide the texture from the person's skin while leaving it visible on their jacket and the background. This non-destructive workflow gives you pinpoint control, which is absolutely essential for professional-looking work.
It's pretty amazing how accessible these techniques have become. Before digital tools, superimposing pictures was a complex and unforgiving analog process. By the 1990s, success rates hovered around 85–90%, but it wasn’t until high-definition tech became common in the late 2000s that it really went mainstream.
Choosing the Right Tool for Your Project
So, what's the best tool to superimpose a picture? Honestly, there's no single right answer. It really boils down to what you're trying to accomplish. Are you making a quick meme or meticulously crafting a piece of digital art? The software that's perfect for one job can be overkill—or underpowered—for another.
For example, a blogger needing to add a watermark to photos will prioritize speed and simplicity, making an online editor ideal. On the other hand, a digital artist creating a complex fantasy scene needs granular control over layers, masks, and lighting, making advanced desktop software like Adobe Photoshop or Affinity Photo the only real option.
Comparing Your Options
When you're weighing your choices, you need to look at three key things: your skill level, your budget, and the complexity of the task at hand. A free mobile app might be all you need for quick edits on the go. But if you're doing professional work, a subscription to a powerful desktop suite is a necessary investment.
To help you sort it out, I've put together a simple comparison table that gives you a quick look at what each type of platform brings to the table. If you want to dive even deeper, check out our guide to the best AI photo editing software on the market today.
The most powerful tool isn't always the best one. The best tool is the one that lets you get the result you want with the least amount of friction. It has to match your skills and your project's needs.
Comparison of Photo Superimposition Tools
Here’s a quick overview of the most common options to help you find your perfect match.
| Tool Type | Best For | Learning Curve | Key Features | Cost |
|---|---|---|---|---|
| Online Editors | Quick, simple tasks like adding logos or creating memes. | Low | User-friendly interface, templates, one-click functions. | Free / Freemium |
| Desktop Software | Complex, high-resolution art and professional composites. | High | Advanced layering, masks, blending modes, color grading. | Subscription / One-time Fee |
| Mobile Apps | On-the-go edits, social media content, creative filters. | Low-Medium | Touch-friendly controls, filters, quick sharing. | Free / In-App Purchases |
Ultimately, whether you pick a lightweight online tool or a feature-packed desktop program, understanding their strengths and weaknesses is the first step toward creating incredible superimposed images.
Pro Tips for a Flawless and Realistic Result
Making a superimposed image look truly believable is an art form, and the secret lies in the small details. The three biggest giveaways of a faked image are mismatched lighting, color, and perspective. Here's a quick tutorial on how to fix them.
Aligning Light and Color: A Step-by-Step Guide
- Analyze the Light Source: Look at your background image. Where is the main light coming from? Is it to the left, right, or above? Are the shadows sharp and dark (like on a sunny day) or soft and light (like on an overcast day)?
- Create a Matching Shadow: Add a new, empty layer underneath your superimposed object layer. Select a soft black brush tool and lower its opacity to around 15-25%. Paint a shadow on this new layer, positioning it on the opposite side of your object from the light source. This will instantly make your object feel grounded.
- Match the Color Temperature: If your object was shot in cool, indoor light and you've placed it in a warm, sunny scene, it will look out of place. Select your object layer and find the "Color Balance" or "Photo Filter" adjustment tool. Add a new adjustment layer and link it only to your object. Gently slide the colors toward yellow/red to warm it up, or blue/cyan to cool it down, until it matches the overall tone of the background.
This decision tree can help you figure out the best tool for the job, whether you're after quick results or professional-level control.
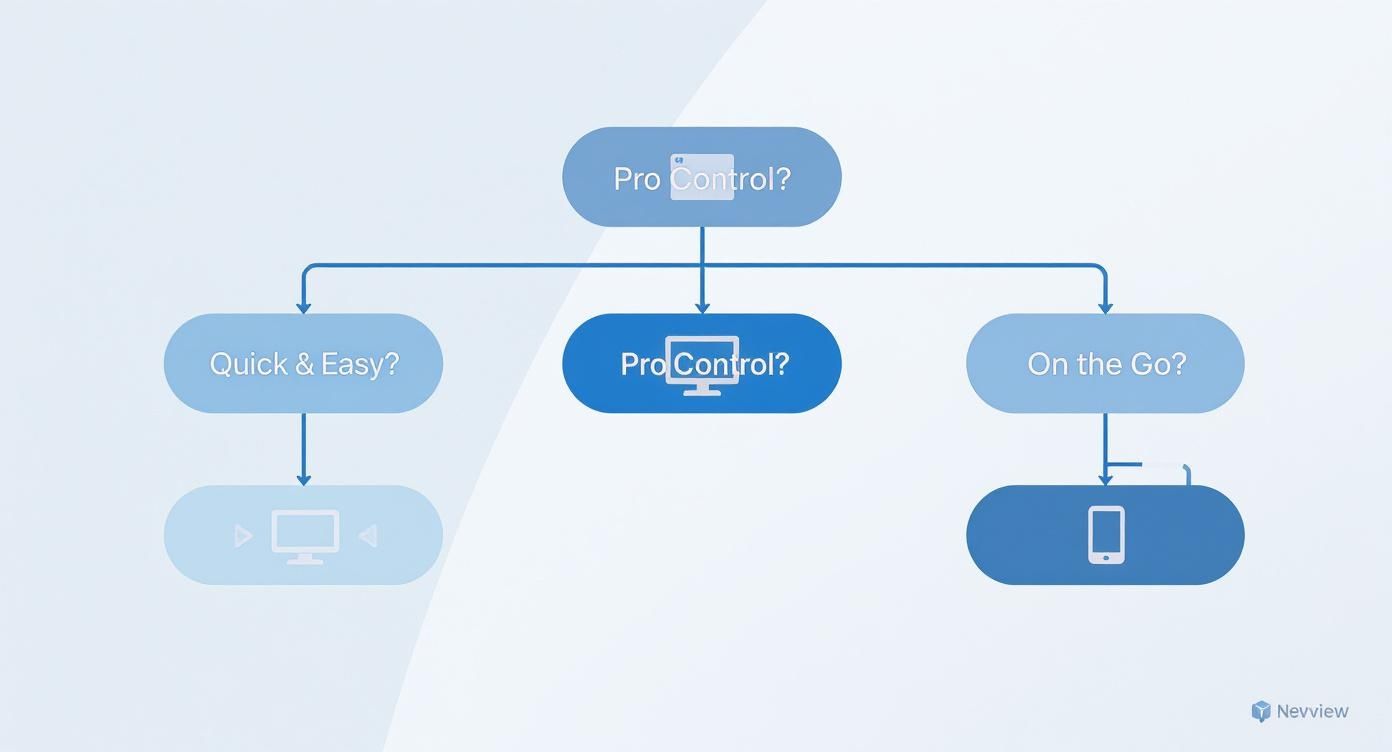
As you can see, your project’s needs—whether it's speed, control, or portability—point you directly to the ideal software, so you don't end up with something that's either overkill or underpowered.
Pro Tip: A final, subtle blur on your foreground layer can make a world of difference. If your background has a soft focus (a shallow depth of field), a tack-sharp overlay will look fake. A tiny Gaussian blur helps it blend into the scene's natural depth.
Once you've perfected your image, you'll want it to load quickly if you plan to share it online. It's worth looking into optimizing your images for web to make sure your flawless results are delivered efficiently.
Got Questions About Superimposing Pictures?
When you’re just getting the hang of superimposing images, you'll probably run into a few common roadblocks. Here are practical answers to the most common questions.
How Do I Get Rid of the Background on My Top Image?
For clean backgrounds, use the one-click "Remove Background" feature found in most modern editors. For more complex images (like those with hair or fur), you'll need a more precise tool. The "Magic Wand" can select solid-color backgrounds instantly. For ultimate control in advanced software like Photoshop, use the "Pen Tool" to trace your subject manually, creating a perfect cutout.
Once the background is gone, always save the image as a PNG file. This is critical. PNGs support transparency, which means you won't have that ugly white box around your subject when you layer it onto a new background.
Why Does My Image Look So Flat and Fake?
This "sticker" look is almost always caused by a lack of shadows. Your added object needs to interact with the scene's lighting.
Here's the fix:
- Create a new layer and place it underneath your object layer.
- Select a soft, black brush tool.
- Lower the brush's opacity to 10-20%.
- Gently paint where a shadow would naturally fall, based on the light source in the background photo.
This simple addition creates depth and makes the composite instantly more believable.
The most convincing superimposed images don't just layer pictures; they layer light and shadow. A well-placed shadow is what truly sells the effect and makes the final result feel authentic.
What's the Best Blending Mode to Use?
There’s no single "best" mode—it all comes down to your goal. The best way to learn is to experiment, but here are some go-to choices for specific tasks:
- To Add Texture or Shadows: Use Multiply. It darkens the image by combining the color information of your layers.
- To Add Light Effects (Sparks, Lens Flare): Use Screen. It brightens the image and is perfect for light-based elements.
- To Boost Contrast and Depth: Use Overlay. It's a versatile mode that makes light areas lighter and dark areas darker, making textures pop.
My advice? Just play around with them. Click through the different modes and see what happens. You'll quickly get a feel for which ones work for the specific look you’re after.
Ready to create stunning, high-quality images with just a few clicks? AI Photo HQ gives you the power to generate professional photo shoots, restore old pictures, and create unique art in seconds. Start creating with AI Photo HQ today!


