
Ever thought about what separates a simple photo slideshow from a video that actually pulls people in? It's all about the story. The basic idea is simple: you bring your photos into an editor, line them up, add some movement and music, and you're done. But doing it well? That's what turns a collection of static images into something dynamic and memorable, perfect for sharing on social media or just keeping for yourself.
It's a straightforward process on the surface, but a little intention goes a long way.
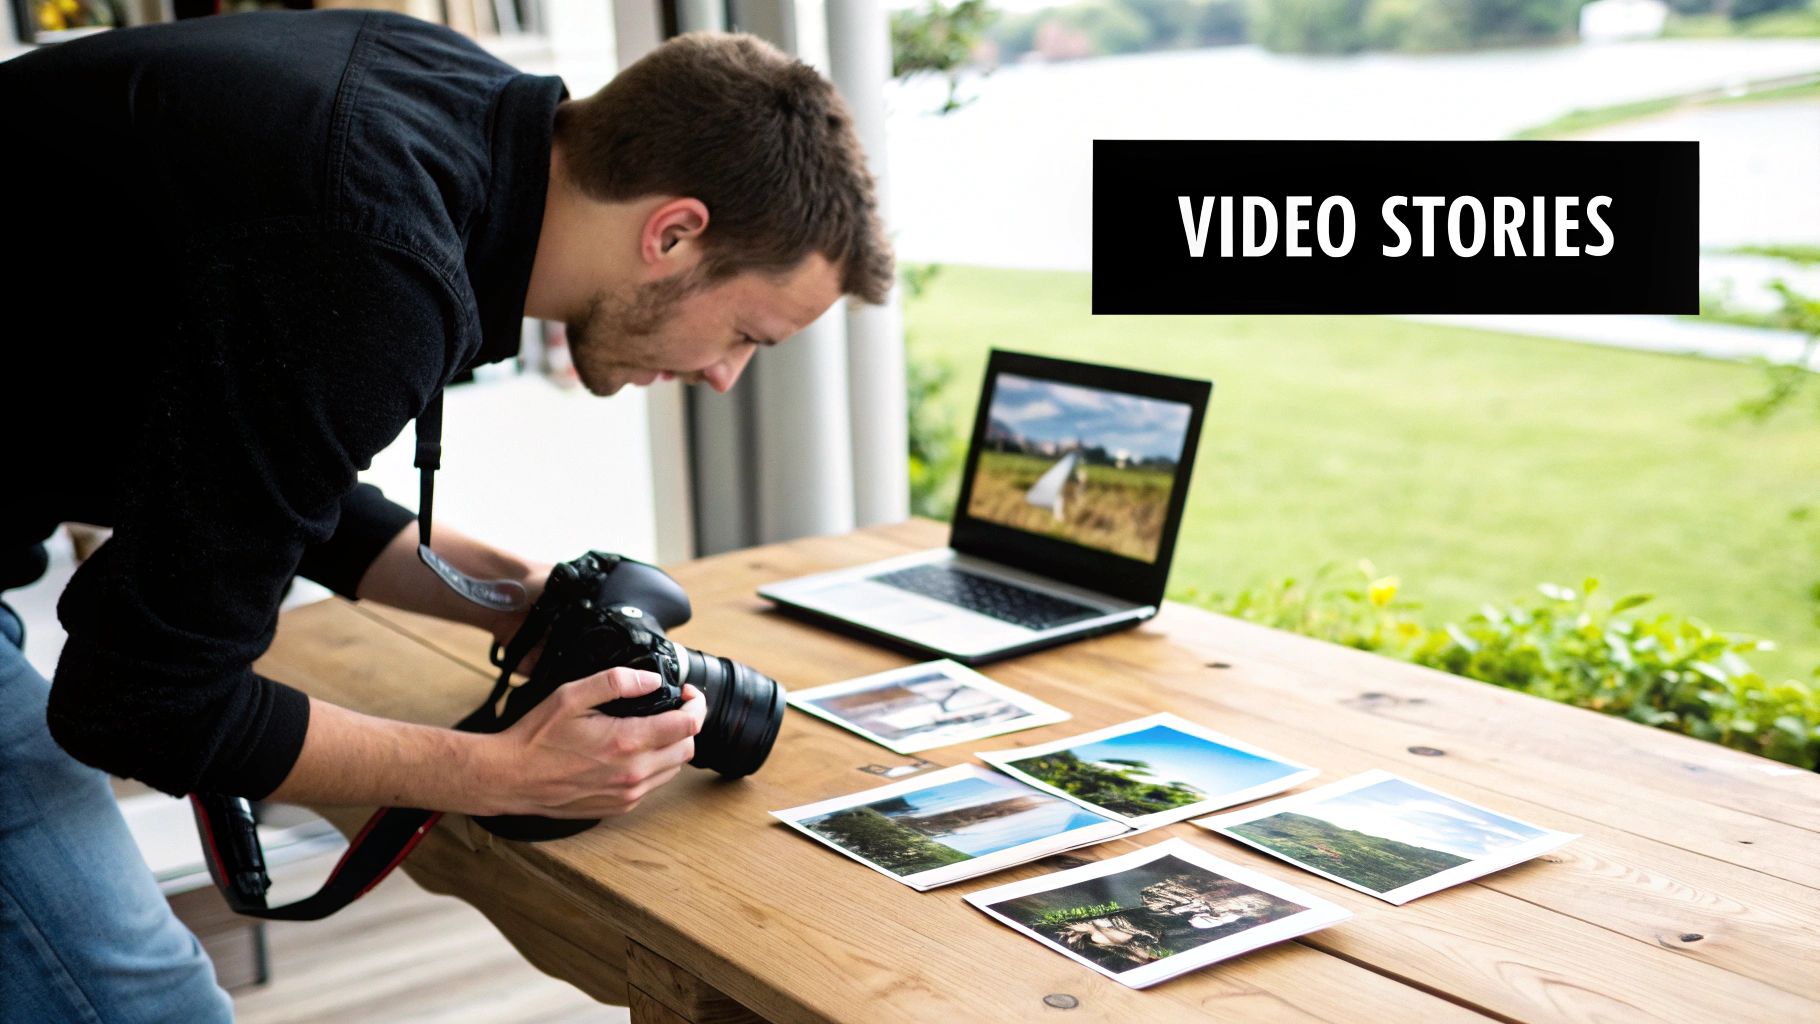
Turn Your Photos Into Compelling Video Stories
The real goal here is to move beyond just a sequence of pictures and start weaving them into a narrative that actually connects with your audience. Think of each photo as a single scene in a much larger movie. Your job isn't just to display the pictures; it's to guide the viewer on a journey. This applies whether you're putting together a travel diary, a product showcase, or a tribute to a family member.
The magic really happens when you combine smart photo selection with deliberate pacing and the right soundtrack. In this guide, I'll walk you through a practical workflow you can use today to turn that folder of images sitting on your computer into a polished, genuinely engaging video.
Building Your Narrative Arc: A Practical Example
Every story has a beginning, a middle, and an end. Your video should be no different. Let's create a video celebrating a "First Year of College" experience.
- The Beginning (The Hook): Start with an image that immediately grabs attention. For our college video, this could be a wide shot of the iconic campus entrance on move-in day. It establishes the setting and the start of the journey.
- The Middle (The Story): This is where you build the narrative. Don't just show random photos. Create mini-sequences. For example:
- Academics: A photo in a lecture hall, then one studying in the library, followed by a proud shot holding a finished project.
- Social Life: A picture at a football game, then a group photo in the dorm, then a candid shot laughing with friends at a coffee shop.
- This section moves the story forward by showing different facets of the college experience.
- The End (The Resolution): Conclude with a memorable image that provides closure. For our example, a perfect final shot would be a smiling portrait during the last week of finals, looking confident and happy. It resolves the "first year" journey.
Arranging your photos this way gives your video a clear structure and a real sense of purpose. If you want to go a bit deeper on this, there are some great, proven visual storytelling techniques that can help you build a stronger narrative from the ground up.
The key is to think like a storyteller, not just a photo collector. Ask yourself, "What feeling do I want my audience to have?" and "What is the main message I want to convey?"
Once you've answered those questions, every other decision—from which transitions to use to what song to pick—becomes so much easier. We're going to demystify each step of the process, and I'll show you that you absolutely do not need to be a professional editor to get a fantastic result.
Prepping Your Images for a Flawless Video
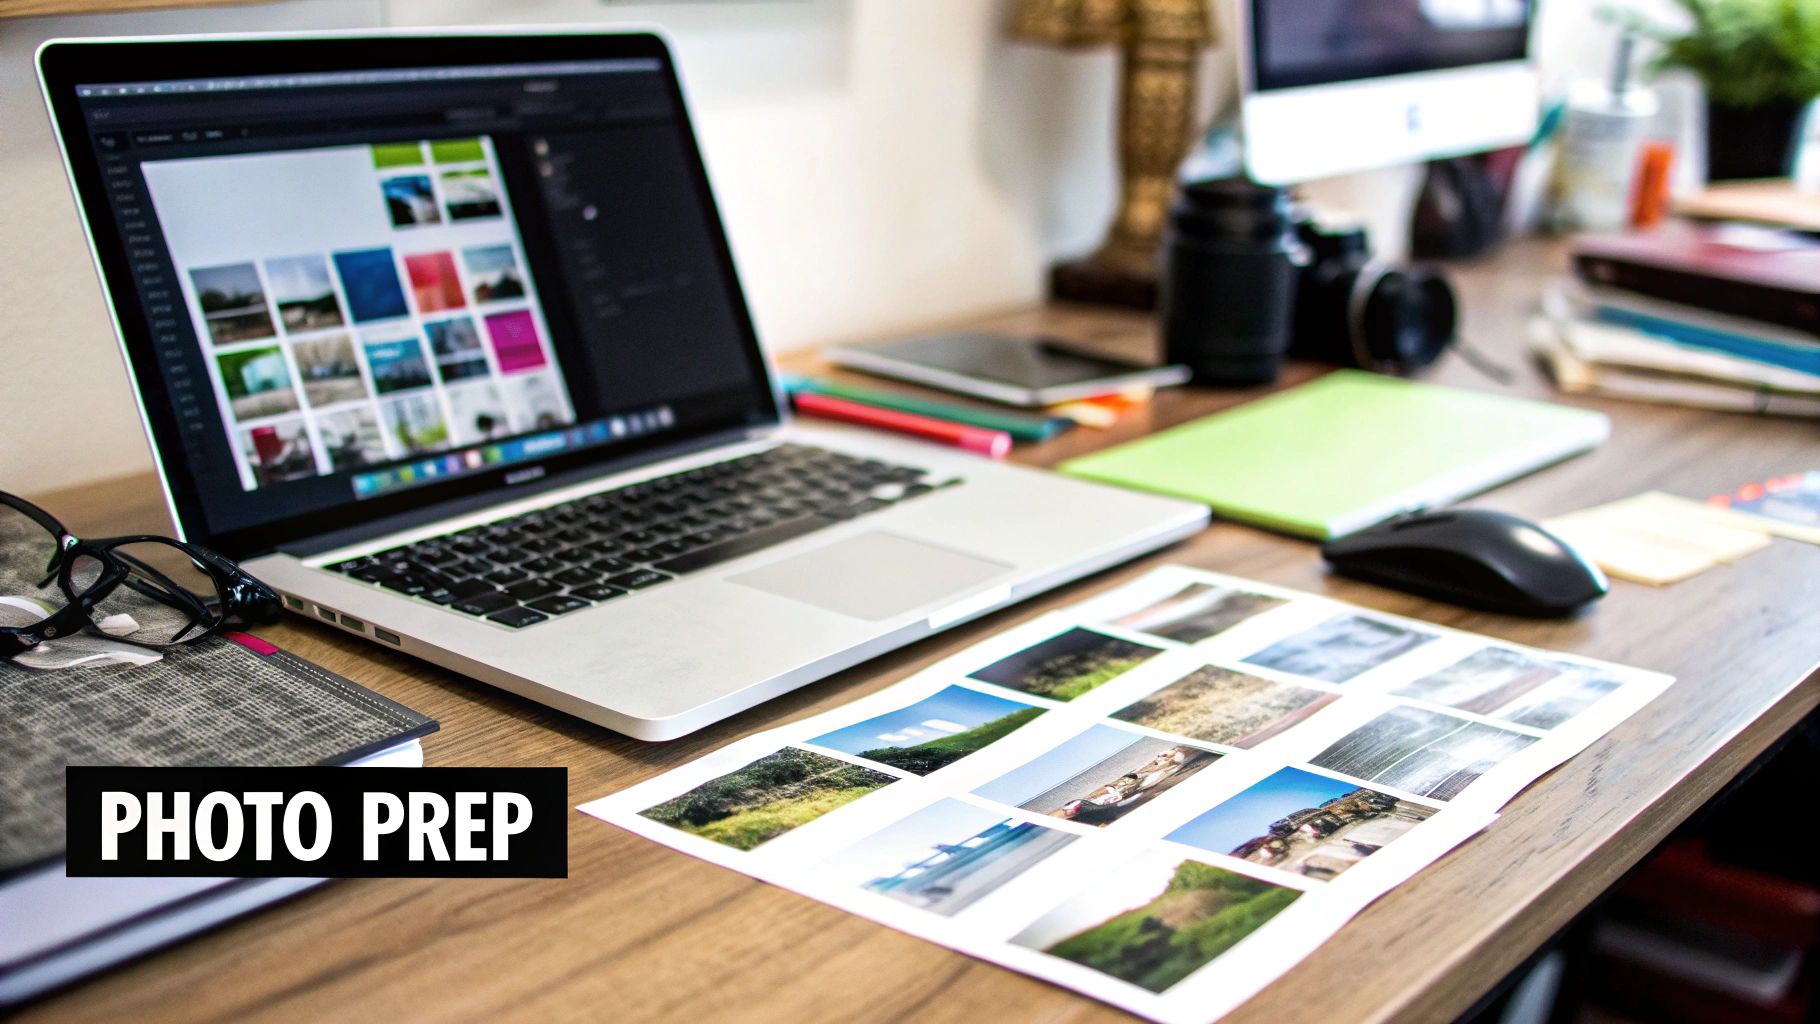
The secret to a killer video isn't always fancy editing—it's often the prep work you do before you even upload a single file. Think of it like a chef getting all their ingredients ready before cooking. Getting your photos organized is that foundational step that saves you headaches later and takes your final video from just "good" to genuinely great.
First things first: quality is everything.
A low-resolution image might look decent on your phone, but it will turn into a blurry, pixelated mess when stretched to fit a full-screen video. Always, always start with the highest-resolution photos you have. This one choice has a massive impact on how professional your final video feels.
If you’re stuck with some older or lower-quality photos that you absolutely have to use, don't sweat it. You might find our guide on AI image enhancement useful for bringing them up to snuff.
Beyond just quality, you need to think about consistency. A video that jumps between random vertical, horizontal, and square images can feel chaotic and unprofessional. Taking a few minutes to pre-crop your images to a uniform aspect ratio makes for a much smoother, more polished viewing experience.
Curating a Cohesive Set
Remember, you're trying to tell a story, not just flash a random collection of pictures on the screen. Lay out all your potential photos and start grouping them. Do they share a color palette? A subject? A certain mood? This curation process is how you build a solid visual theme.
Let's say you're making a travel video about a beach vacation. You could group your shots like this:
- Bright, sunny photos of the beach and ocean for your intro.
- Action shots of swimming, surfing, or exploring for the energetic middle part.
- Warm, golden-hour sunset pictures for a calm, beautiful conclusion.
Arranging your photos this way builds an emotional arc that pulls the viewer along. It’s what turns a simple slideshow into something that feels intentional and impactful.
The Practical Prep Work: A Step-by-Step
Okay, you've selected and curated your images. Now for the final, slightly tedious (but totally worth it) step: organization. I promise this will save you a ton of time during the actual video creation.
- Create a Project Folder: On your computer, make a new folder named something clear, like "Beach Vacation Video Project."
- Copy, Don't Move: Copy all your selected photos into this new folder. This leaves your original files untouched.
- Crop for Consistency: Open the photos in a simple editor (even the default one on your computer works). If your target is YouTube, crop them all to a 16:9 horizontal aspect ratio. If it's for Instagram Reels, crop to 9:16 vertical.
- Rename in Sequence: This is the game-changer. Rename the files in the order you want them to appear in the video. Use a simple naming convention like
beach-01.jpg,beach-02.jpg,beach-03.jpg, and so on.
When you import these sequentially named files into your video editor, they will often automatically line up on the timeline in the correct order, saving you a huge amount of manual rearranging.
Taking these steps—starting with high-res images, keeping a consistent aspect ratio, curating for story, and organizing your files—sets you up for a smooth and successful video project. It’s the difference between fighting with the tool and just letting your creativity flow.
Bringing Your Photos to Life With Motion and Effects
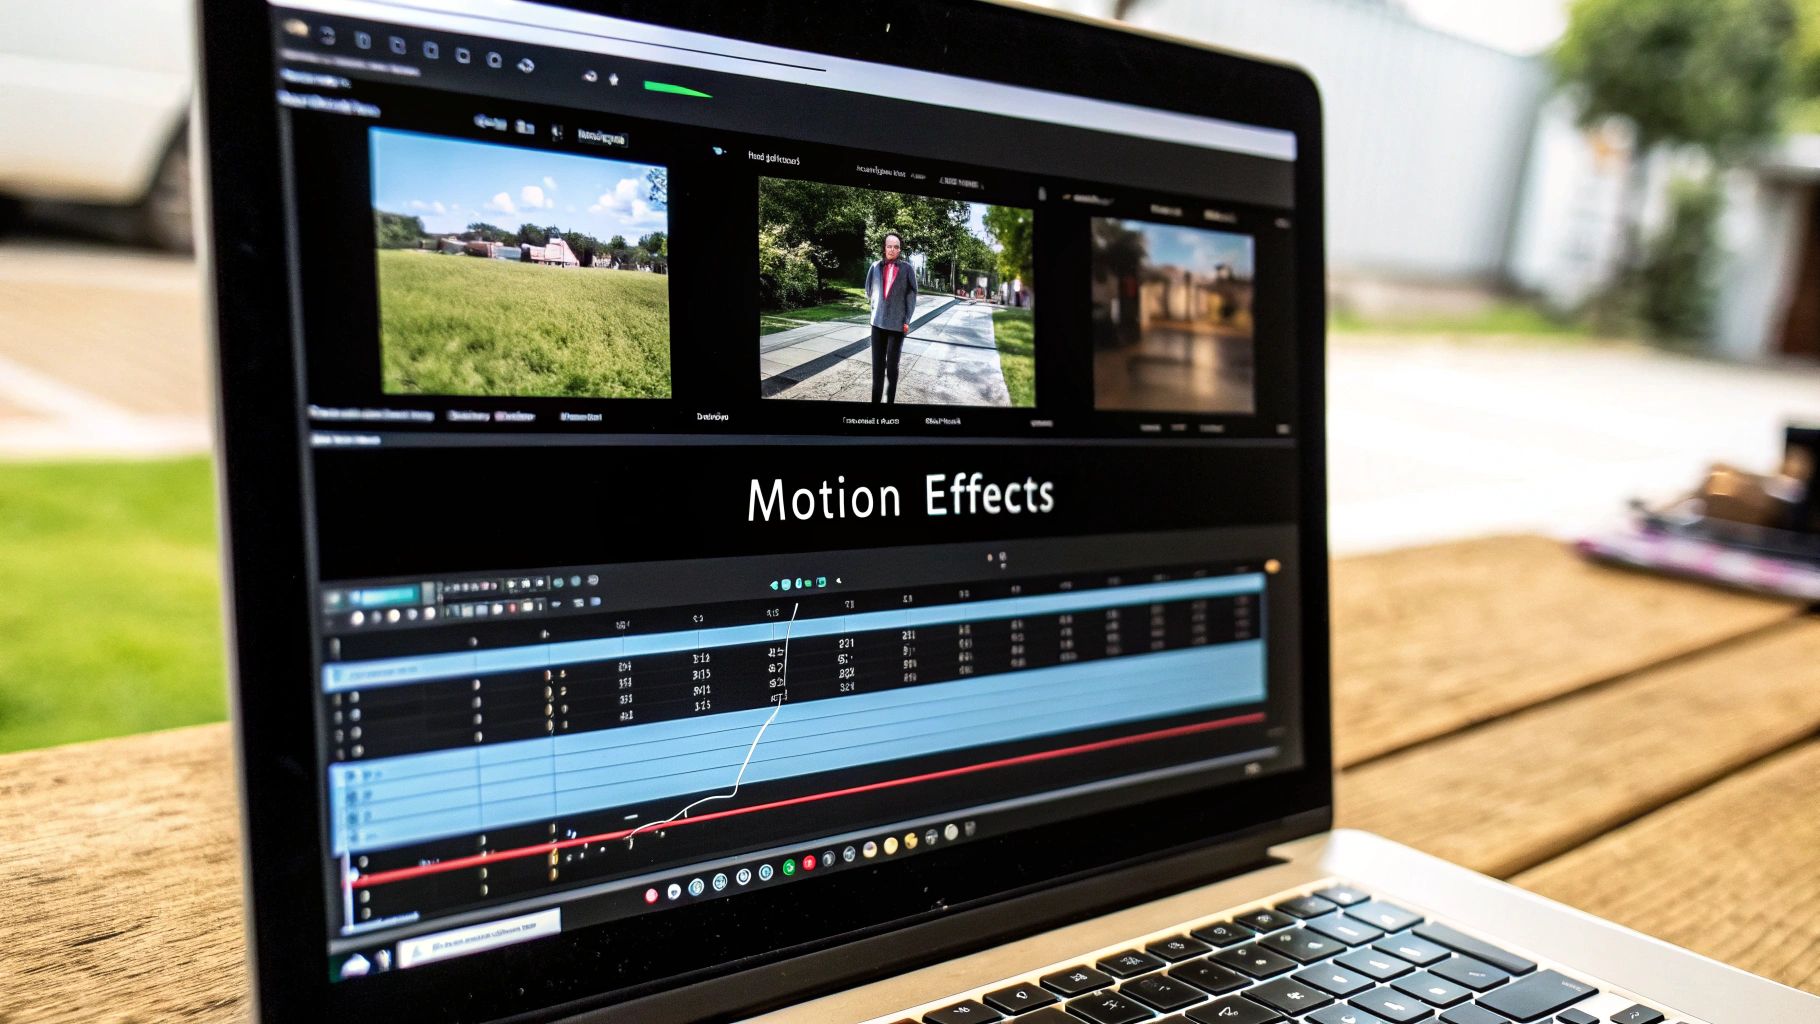
Alright, this is where the magic really happens. We're about to take that neat folder of static images and breathe some life into them. Let’s walk through a real-world tutorial using a common scenario: a travel highlight reel from a trip to the coast.
Step-by-Step: Adding Motion to Your Photos
A video made from still photos can feel a bit... dead. The easiest and most effective way to fix this is by adding a little motion. The go-to technique here is the Ken Burns effect, which is just a fancy name for slowly panning and zooming.
Let's apply this to our coastal trip video in a typical editor like CapCut or Adobe Premiere:
- Import Your Photos: Drag your sequentially named photos (e.g.,
coast-01.jpg,coast-02.jpg) onto the timeline. - Select the First Photo: Click on the first image on your timeline (the open road shot).
- Apply Motion: Look for the "Animation," "Motion," or "Keyframe" controls.
- To Zoom In: At the very beginning of the clip, set a keyframe for the image scale (e.g., 100%). Move to the end of the clip, set another keyframe, and increase the scale slightly (e.g., to 110%). This creates a slow, forward-moving zoom.
- To Pan Across: On your wide beach shot, set a keyframe for the image's position at the beginning. Move the image so the left edge is visible. Go to the end of the clip, set another keyframe, and slide the image horizontally so the right edge is now visible. This creates a smooth pan.
- Repeat for All Photos: Apply a subtle zoom, pan, or combination to every photo. The key is to vary the direction to keep it interesting.
The key word here is subtlety. The movement should always serve the photo, not distract from it. Keep the motion gentle and consistent across all your clips, and your final video will feel polished and cohesive.
As you get deeper into adding motion and effects, you might notice your computer starting to struggle. This is where quality hardware makes a world of difference; investing in high-end workstations for video editing can ensure your creative flow is never interrupted by lag.
Tutorial: Choosing Transitions That Match the Mood
Transitions are the glue that holds your story together. The transition should fit the vibe of your video. For our laid-back coastal reel, a simple cross-dissolve is perfect.
How to Apply a Cross-Dissolve:
- In your editor's timeline, locate the point where two photo clips meet.
- Open the "Transitions" or "Effects" panel.
- Find "Cross Dissolve" or "Fade."
- Drag and drop the transition directly onto the cut between the two clips.
- Adjust the duration of the transition (usually 0.5 to 1 second works well) for a smooth, gentle blend.
A quick cheat sheet:
- Cross-Dissolve: Perfect for thoughtful, slow-paced, or emotional content.
- Cut: The best choice for fast, energetic videos where you want sharp, snappy changes. (This is often the default and requires no effect).
- Wipe/Slide: Works well for tutorials or corporate presentations to show a clear progression.
How to Use Text Overlays for Context
Finally, don't forget about text. A few well-placed text overlays can add crucial context without cluttering the screen.
Adding a Title:
- Go to the "Text" or "Titles" tool in your editor.
- Drag a basic text template to a new track above your first photo.
- Type in your title, like "Coastal Escape."
- Choose a clean, simple font and position it in the lower third of the screen.
- Add a gentle fade-in and fade-out effect to the text clip for a professional touch.
By combining deliberate motion, fitting transitions, and a little bit of text, you've officially moved beyond a simple slideshow and created a video that tells a genuine story.
Mastering Audio to Elevate Your Video's Impact
Sound is what turns a simple slideshow into a real experience. It's the hidden ingredient that guides your audience's emotions, often without them even realizing it. The right audio track can make a collection of photos feel exciting, deeply nostalgic, or genuinely inspiring.
Think about it. If you're creating a video to show off a new product line, a punchy, upbeat electronic track immediately creates a sense of innovation and energy. But for a family montage, a gentle piano melody is what will really bring out the warmth and happy memories. The music you pick is your first, best tool for setting the perfect tone.
How to Source and Add the Perfect Soundtrack
One of the biggest headaches when making a video from your pictures is finding music you can actually, legally use. You need to stick with royalty-free music. Here’s a quick tutorial on using the YouTube Audio Library:
- Find Music: Go to the YouTube Audio Library. Use the filters to search by mood (e.g., "Calm"), genre (e.g., "Acoustic"), and duration.
- Download: Preview tracks and download the one that best fits your video.
- Import: In your video editor, import the downloaded music file.
- Add to Timeline: Drag the music file onto an audio track below your photo clips.
- Trim and Fade: Trim the music to match the length of your video. To avoid an abrupt ending, apply an "Audio Fade Out" effect to the last few seconds of the music track.
Other great resources I often turn to include Epidemic Sound and Artlist.
How to Record and Add a Voiceover
Sometimes, music just isn't enough. A clear voiceover can provide crucial context or add a personal touch.
- Record: Use the voice memo app on your smartphone. Find a quiet room (a closet works great for dampening echoes), hold the phone about 6 inches from your mouth, and speak clearly.
- Transfer: Email or AirDrop the audio file to your computer.
- Import and Place: Import the voiceover file into your editor and place it on a separate audio track.
- Balance the Volume: This is critical. Select the background music track and lower its volume (often called "gain" or "level") significantly while you are speaking. A good rule is to set music to -18dB when a voiceover is present, and bring it back up to around -10dB when there is no talking.
This technique is more common than you might think. In fact, 89% of businesses now use video as a marketing tool, and 73% of those use explainer videos—the exact kind that pairs images with narration. Before you hit export, it can be really helpful to understand a bit about professional audio production. Getting a basic grasp of the difference between mixing and mastering will give you a new appreciation for how sound engineers achieve that polished, perfectly balanced feel.
Key Takeaway: Your audio isn't just background noise; it's a core part of your story. Always test your video with headphones to catch any subtle balance issues you might miss through your computer speakers. A well-balanced soundtrack is the final polish that makes your video feel truly complete.
Exporting and Sharing Your Video for Maximum Reach
Alright, you've done the hard part. Your masterpiece is rendered, and now it's time to get it out into the world. But hold on—this final step is just as critical. Choosing the right export settings is the difference between a video that looks crisp and professional and one that gets butchered by a platform's compression algorithm.
Think about it: a video perfectly formatted for a widescreen YouTube monitor is going to look terrible in a vertical TikTok feed. Every social platform speaks its own "language." You have to export your video fluently in that language.
Step-by-Step Guide to Exporting
To get any real traction, you have to play by the rules of each platform. Let's say you're exporting for Instagram Reels.
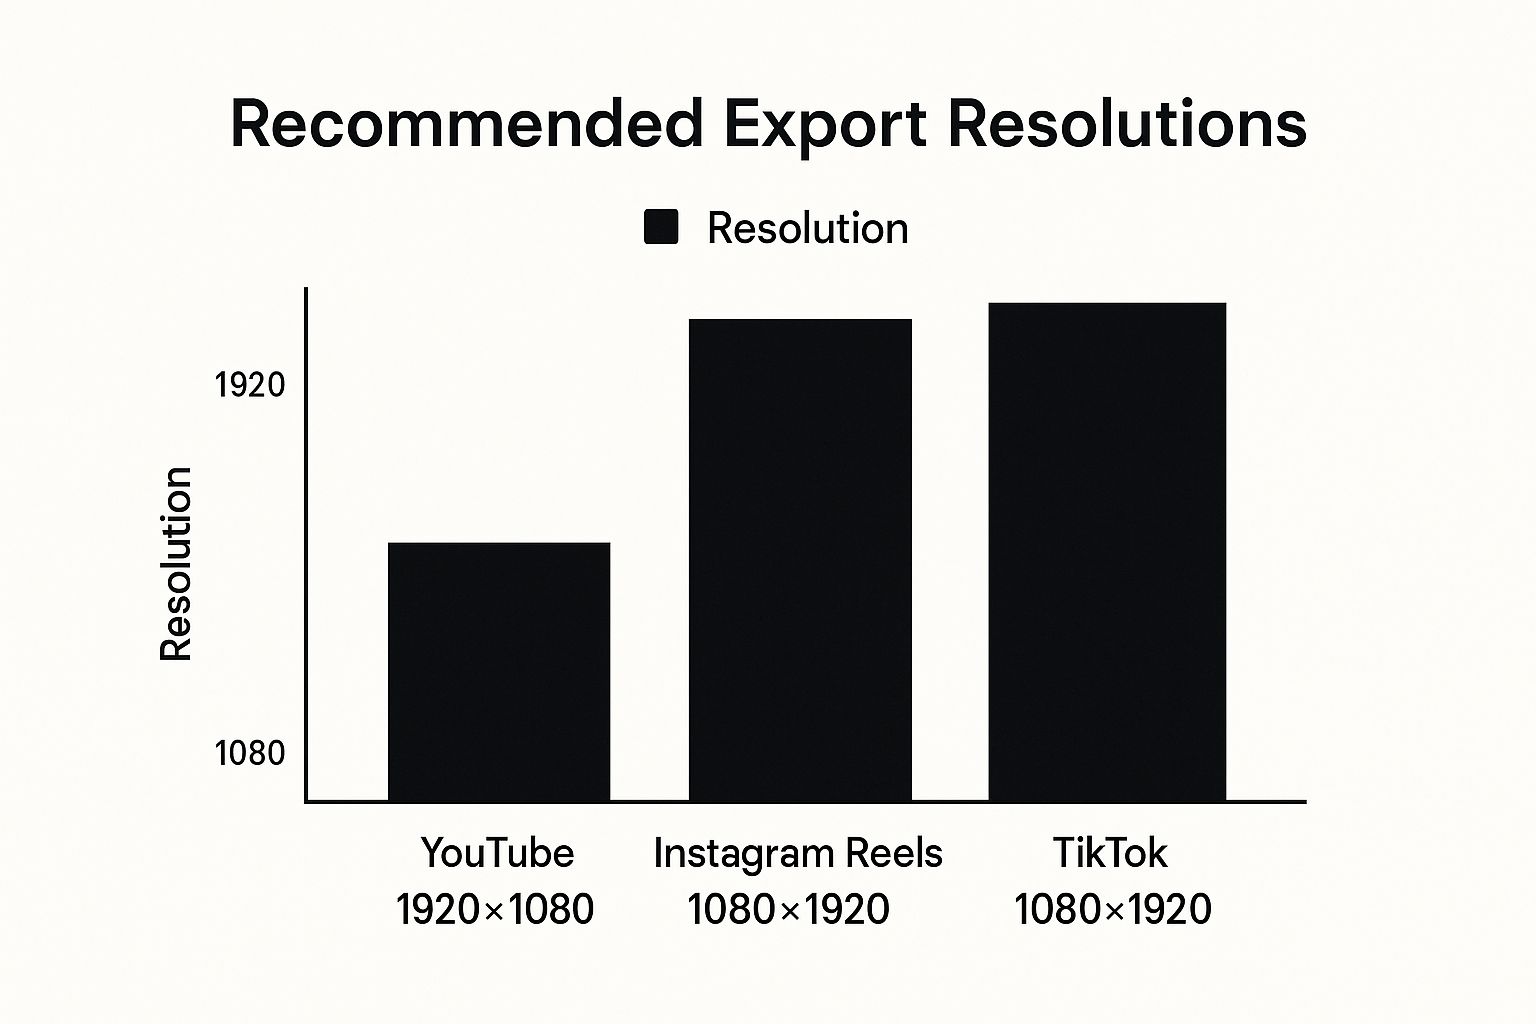
- Set Project Dimensions: Before you even start editing, set your project or sequence settings to a 9:16 aspect ratio (1080 pixels wide by 1920 pixels tall).
- Open Export Menu: Once editing is complete, go to File > Export > Media (the exact path may vary).
- Choose a Preset: Most editors have presets. Look for "Instagram Reels," "TikTok," or a generic "1080x1920 HD" preset. This will configure most settings for you.
- Check Key Settings:
- Format: H.264 (this is the universal standard, often in an .MP4 container).
- Resolution: 1080 x 1920.
- Frame Rate: 24 or 30 FPS (Frames Per Second).
- Bitrate: For 1080p video, a target bitrate of 10-15 Mbps is a good starting point for high quality.
- Export: Choose a filename and location, and click "Export."
To make this even easier, I've put together a quick reference table. Bookmark this page so you can pull it up whenever you're ready to export.
Optimal Video Export Settings for Social Media Platforms
A quick reference guide for the best video specifications to use when exporting your video for different social media channels.
| Platform | Recommended Aspect Ratio | Ideal Resolution | Max File Size / Length |
|---|---|---|---|
| YouTube | 16:9 (Horizontal) | 1920x1080p or 3840x2160p (4K) | 256GB / 12 hours |
| Instagram Reels | 9:16 (Vertical) | 1080x1920p | 4GB / 90 seconds |
| TikTok | 9:16 (Vertical) | 1080x1920p | 287.6MB (iOS), 72MB (Android) / 10 mins |
| Facebook Feed | 1:1 (Square) or 4:5 (Vertical) | 1080x1080p or 1080x1350p | 10GB / 240 mins |
| X (Twitter) | 16:9 (Horizontal) or 1:1 (Square) | 1280x720p or 720x720p | 512MB / 140 seconds |
Writing Captions and Using Hashtags
Once your video is exported with the perfect specs, you're almost there. A killer caption can be the thing that stops a user mid-scroll.
Here is a practical example for our coastal trip video on Instagram:
- The Hook: "Can you smell the salt in the air? 🌊"
- The Context: "Packed a week of coastal adventures into 30 seconds. From misty morning drives to golden hour on the beach, this trip was one for the books."
- The Call to Action (CTA): "What's your favorite spot on the coast? Let me know in the comments! 👇"
The power of video online is just staggering. Projections show it will soon account for 82% of all internet traffic, and a whopping 90% of marketers are seeing a positive ROI from their video campaigns. To get a piece of that action, your sharing strategy has to be on point. You can get a deeper dive into these numbers by checking out the latest video marketing statistics.
Your thumbnail is your video's first impression. Find the most visually interesting frame from your video and use it as your cover image. A compelling thumbnail dramatically increases the chances of someone clicking to watch.
Finally, pull it all together with a smart mix of hashtags. I've found the best approach is to combine a few popular, high-traffic tags with several smaller, niche-specific ones to hit that visibility sweet spot. With the right export settings and a thoughtful sharing plan, you’re giving the video you worked so hard on the best possible chance to take off. And if you're really aiming for the stars, our guide on how to create viral content is packed with more advanced tips.
Common Questions About Turning Pictures Into Videos
When you first dive into making a video from a stack of photos, you'll almost certainly run into a few common questions. I see them pop up all the time. Getting these figured out early on can save you a ton of headaches and make the whole process feel less like a chore and more like a creative project.
Let's walk through some of the biggest hurdles people face.
What’s the Best Software to Create a Video From Pictures?
The honest answer? It really depends on what you’re trying to do. There's no single "best" tool for everyone, but there's definitely a best tool for your specific project. The right choice comes down to your technical comfort level and how much creative control you actually want.
- For Speed & Simplicity: Tools like Animoto or Lumen5 are brilliant. They use AI to analyze your photos, apply slick motion effects, and even suggest music. You can go from a folder of images to a finished video in just a few minutes.
- For Total Creative Control: When you need to tweak every single detail, Adobe Premiere Pro or DaVinci Resolve are the industry heavyweights. They come with a steeper learning curve, but the creative possibilities are practically endless.
- For Quick Mobile Edits: If you need to knock something out on the go, apps like CapCut or InShot pack a surprising amount of power right on your phone.
How Many Pictures Do I Need for a 1-Minute Video?
There isn't a magic number here. It’s all about the rhythm and pacing you want to create. A slow, thoughtful video is going to use far fewer photos than a high-energy, fast-paced one.
A good rule of thumb is to show each photo for about 3 to 5 seconds. Let's break down the math for a 60-second video:
- At 5 seconds per photo, you'll need 12 pictures.
- At 3 seconds per photo, you'll need 20 pictures.
Of course, for something like a travel recap set to an upbeat track, you might flash images on screen for only a second or two to match the song's energy. The real key is to play it back and ask yourself: does the pace feel right for the story I'm telling?
How Can I Make My Video Feel Less Like a Slideshow?
This is probably the most common challenge, and the fix comes down to two things: motion and sound. A static image with no audio is a slideshow. An image with some subtle movement and a great soundtrack is a video.
To instantly make your project feel more dynamic, apply the "Ken Burns effect"—a slow, subtle pan and zoom—to every single photo. It’s a simple touch, but it adds a cinematic feel and keeps the viewer's eye moving. It also helps to vary how long each picture stays on screen to avoid a boring, predictable rhythm.
But the single most impactful thing you can do is add a great audio track. Music is what sets the emotional tone. A well-recorded voiceover can guide the story. That combination is what truly elevates a sequence of images into a compelling video.
Can I Use Popular Copyrighted Music in My Video?
I'd strongly recommend against it. Using music you don't have a license for on platforms like YouTube or Instagram is a fast track to getting your video muted, demonetized, or taken down entirely.
The safest and most professional way forward is to use royalty-free music. Lots of video editors have built-in libraries with plenty of options. For a wider selection, services like the YouTube Audio Library, Epidemic Sound, and Artlist offer massive collections of high-quality tracks that are totally safe to use.
Ready to create something more compelling than a basic slideshow? AI Photo HQ gives you the tools to not only restore old photos but also generate entirely new, captivating images and short AI videos perfect for any project. Explore our platform and see how easy it is to bring your creative vision to life.

