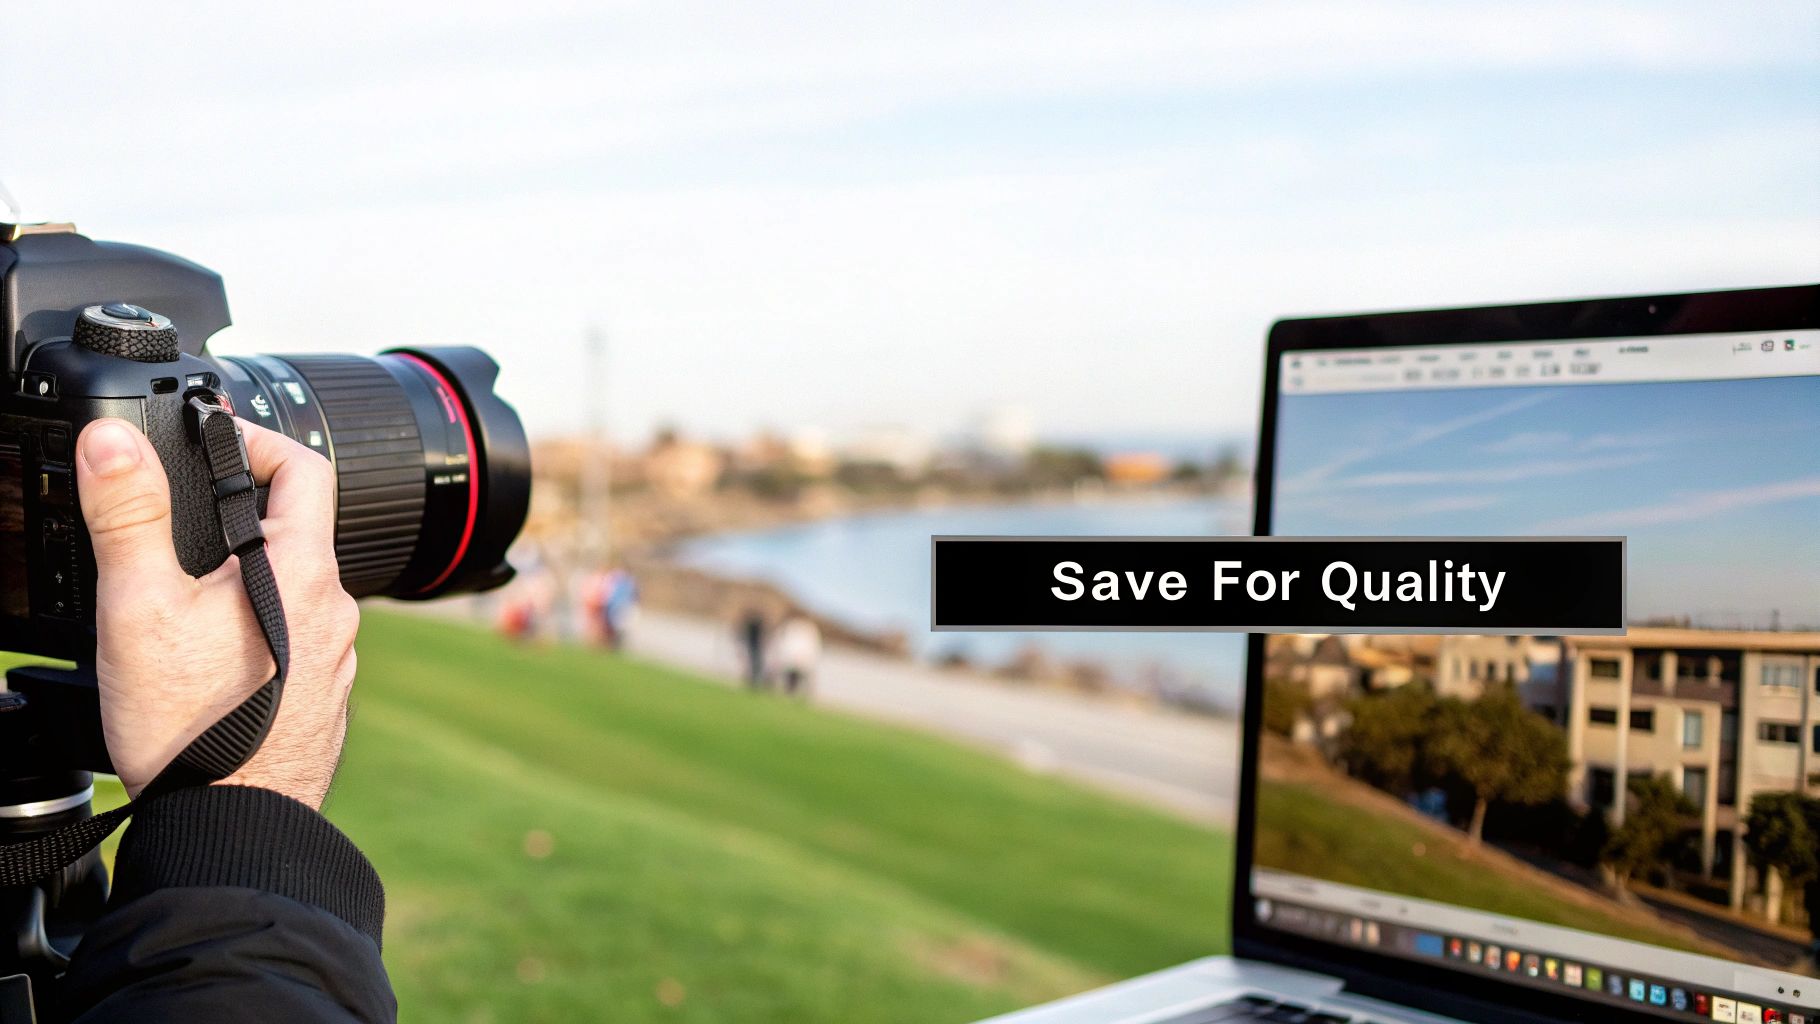
Ever had a photo that looked great on your phone, but turned into a blurry, pixelated mess when you tried to print it or zoom in? That's an image resolution problem, and it's a super common headache.
Think of your digital photo as a giant mosaic made up of tiny colored squares. These squares are called pixels, and the total number of them is what we call resolution.
When a picture doesn't have enough pixels, each little square has to stretch to cover more space. That's when you get that blocky, unprofessional look. It’s like trying to make a big quilt with only a few patches of fabric—the gaps are just too big to fill. The file simply lacks the data needed to create a sharp, high-quality image.
Two Paths to a Clearer Picture
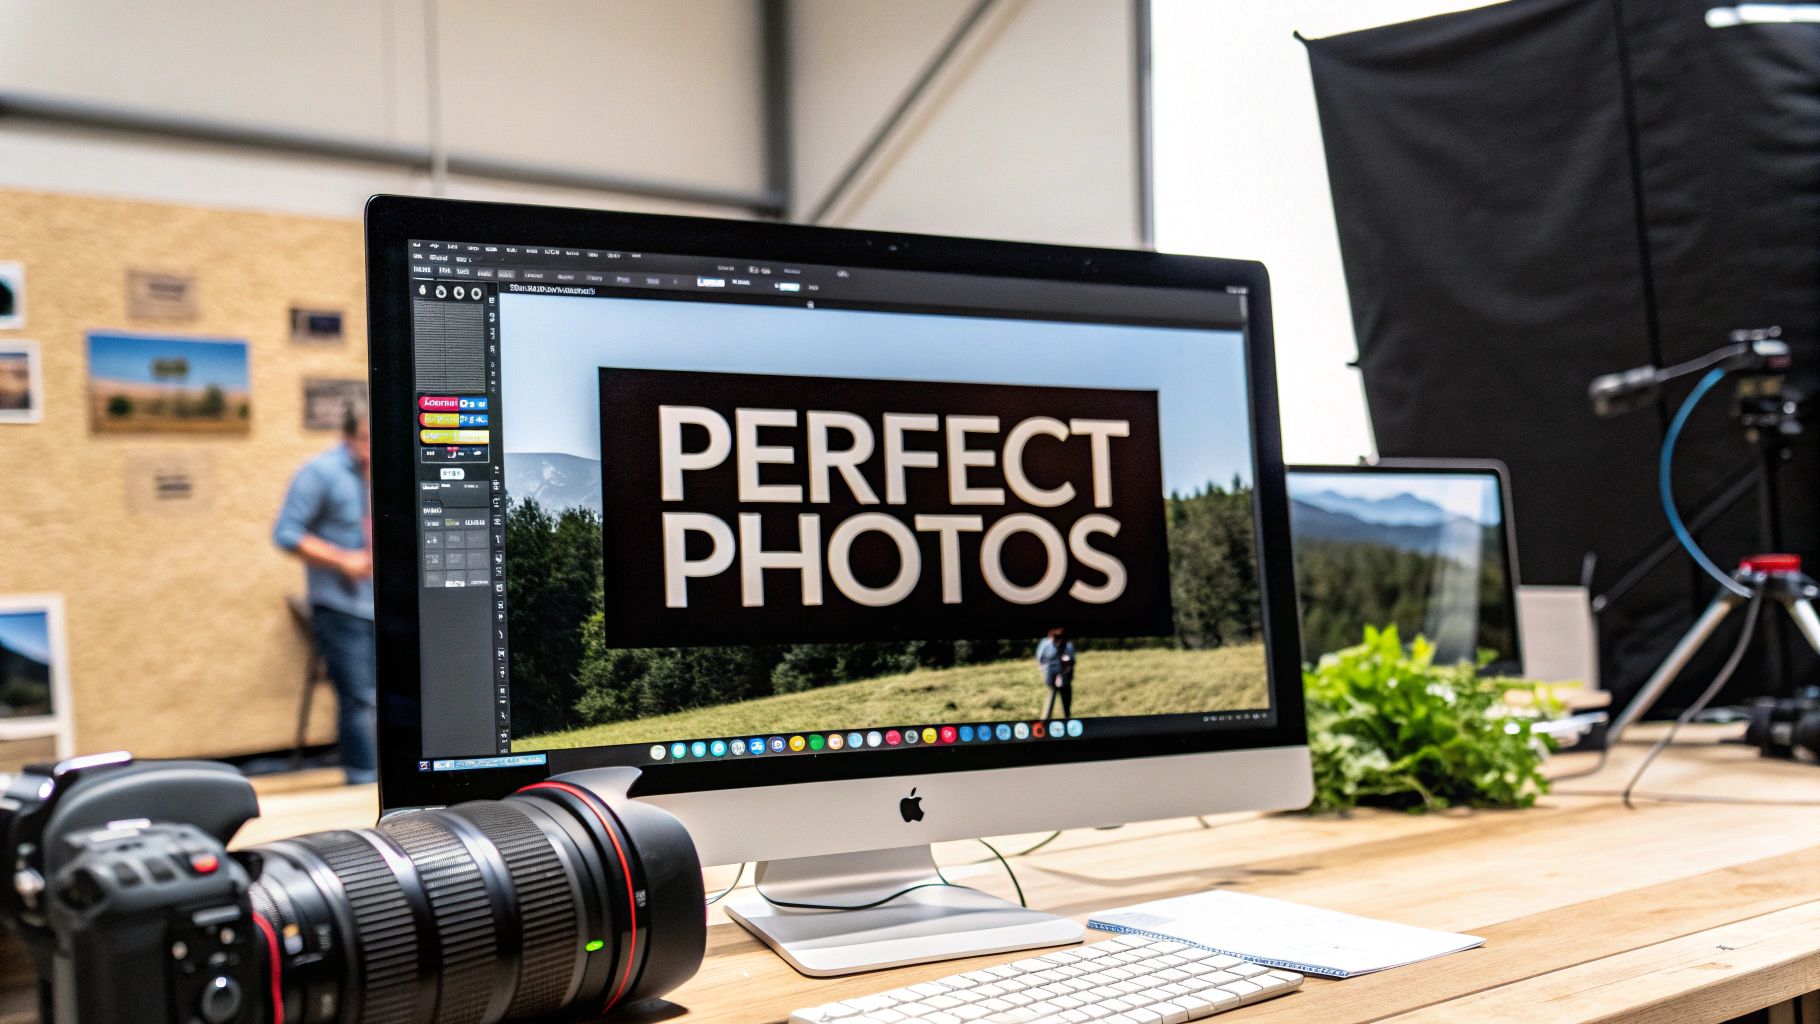
So, how do you fix it? You've basically got two options. The first is the old-school, hands-on method using software like Adobe Photoshop or GIMP. This route gives you meticulous control, letting you manually resize and sharpen things just so. It’s perfect when you have a decent image to start with and just need to fine-tune it.
The other approach is to use a modern AI-powered upscaler. This is where things get really interesting. Instead of just making the existing pixels bigger, these tools actually analyze your photo and intelligently create brand new pixels to fill in the missing detail.
The results can be pretty dramatic, especially if you're trying to rescue a really low-quality image. Historically, just using a simple sharpening filter couldn't convincingly bring back detail that was never there in the first place. You can read more about how image resolution standards have changed and see why older techniques fall short.
To help you decide which path to take, here’s a quick breakdown of the methods available.
Quick Guide to Improving Image Resolution
| Method | Best For | Key Outcome |
|---|---|---|
| AI Upscaling | Rescuing very small or blurry images, quick enhancements. | Generates new, realistic detail for a dramatic quality boost. |
| Manual Resizing | Making precise size adjustments to decent-quality images. | Increases image dimensions with direct user control. |
| Sharpening Filters | Enhancing focus and edge definition on slightly soft photos. | Creates the appearance of more detail and crispness. |
| Noise Reduction | Cleaning up grainy photos, often from low-light conditions. | Smooths out unwanted digital "grain" for a cleaner look. |
Ultimately, the right tool depends entirely on your starting point and your final goal.
Key Takeaway: For precise control over a good-quality image, manual editing is your best bet. If you need to bring a tiny or blurry photo back from the dead, turn to an AI upscaler to create new, believable detail.
If you'd rather have complete, hands-on control, then traditional editing software like Adobe Photoshop or the free alternative, GIMP, is the way to go. These tools give you the power to make every adjustment yourself, ensuring the final image is exactly what you had in mind.
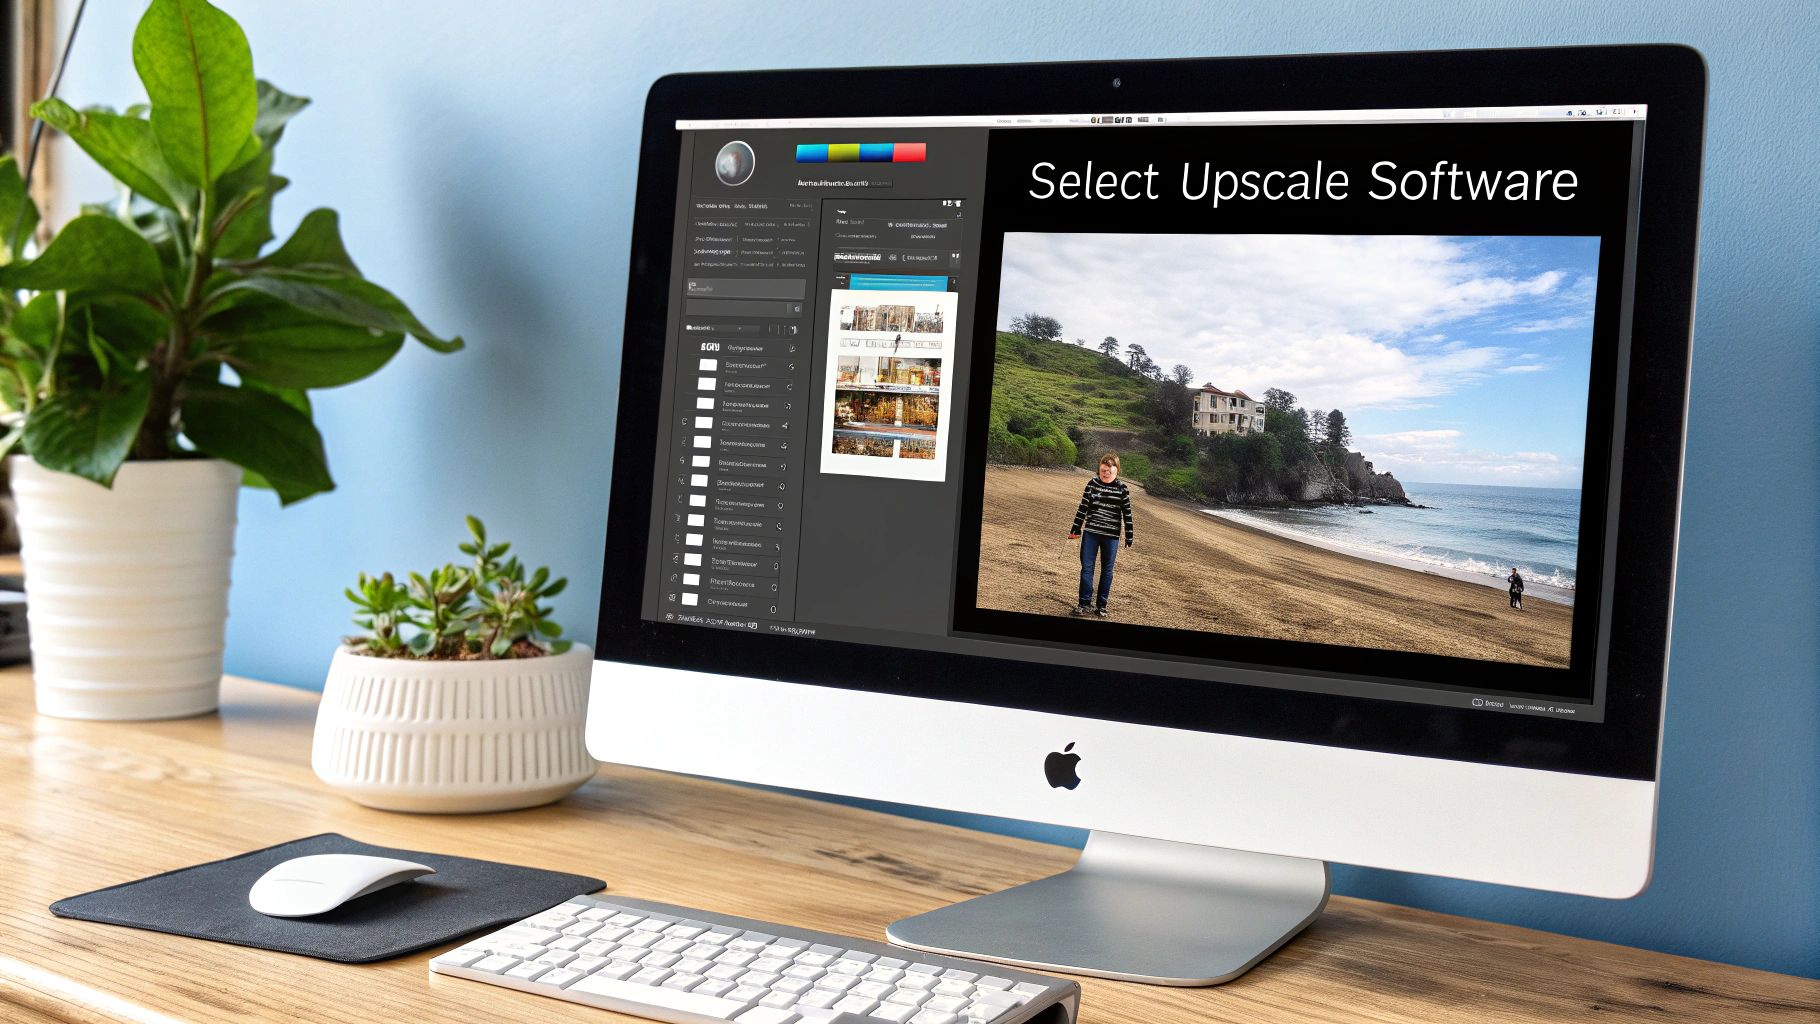
Let's walk through a common real-world problem. You've got a small graphic from your website, maybe 600x400 pixels, and now you need to blow it up for a poster. Just stretching it out will turn it into a pixelated, blurry disaster. This is where you need to get your hands dirty with manual resampling.
Step-by-Step Guide: Resampling in Photoshop
Here’s a practical, step-by-step tutorial for manually increasing image resolution in Adobe Photoshop.
- Open Your Image: Launch Photoshop and open the image you want to enlarge.
- Access the Image Size Dialog: Go to the top menu and click
Image > Image Size. A new window will pop up with all the details about your image's dimensions and resolution. - Check the "Resample" Box: This is the most crucial step. At the bottom of the window, make sure the "Resample" box is checked. This tells Photoshop to create new pixels instead of just stretching the existing ones.
- Choose a Resampling Method: Click the dropdown menu next to "Resample." You have several options, but for enlargements, these two are your best bet:
- Bicubic Smoother (for enlargements): This algorithm is specifically designed to create smooth gradients when adding pixels, preventing a blocky look.
- Preserve Details 2.0: A newer, AI-assisted option that intelligently upscales while reducing noise artifacts. It’s often the best choice for complex images.
- Enter Your New Dimensions: You can enter your desired
WidthandHeightin pixels, inches, or percent. To avoid distortion, make sure the link icon between Width and Height is active, which keeps the aspect ratio locked. - Apply and Check: Click "OK" to apply the changes. Zoom in to 100% to inspect the result.
Pro Tip: Don't try to go from 100% to 400% in one giant leap. Instead, increase the size in small steps, around 10-15% at a time. It’s a bit more work, but this gradual approach almost always gives you a cleaner result.
Bringing Back the Sharpness
After you've resampled, the image will be bigger, but it'll probably look a little soft. The next step is to bring back that crisp, sharp detail. The classic tool for this is the Unsharp Mask (Filter > Sharpen > Unsharp Mask).
Here’s a quick tutorial on how to use it effectively:
- Open Unsharp Mask: With your upscaled image open, navigate to
Filter > Sharpen > Unsharp Mask. - Adjust the "Amount" Slider: Start by setting the Amount to around 100-150%. This controls the overall strength of the sharpening effect.
- Set the "Radius": The Radius determines how many pixels around an edge are affected. For web images and fine details, a small radius between 0.5 and 1.5 pixels is ideal. A larger radius can make the image look crunchy.
- Fine-Tune the "Threshold": The Threshold tells the filter to ignore subtle pixel differences, which is perfect for preventing it from sharpening unwanted noise or grain. A setting between 2 and 10 usually works well.
- Preview and Apply: Use the preview window to check your changes. The goal is to make edges look crisp, not to introduce glowing halos. When you’re happy, click "OK".
If you really want to get into the weeds on this, we’ve got a whole guide on how to make an image clear with more advanced sharpening tricks.
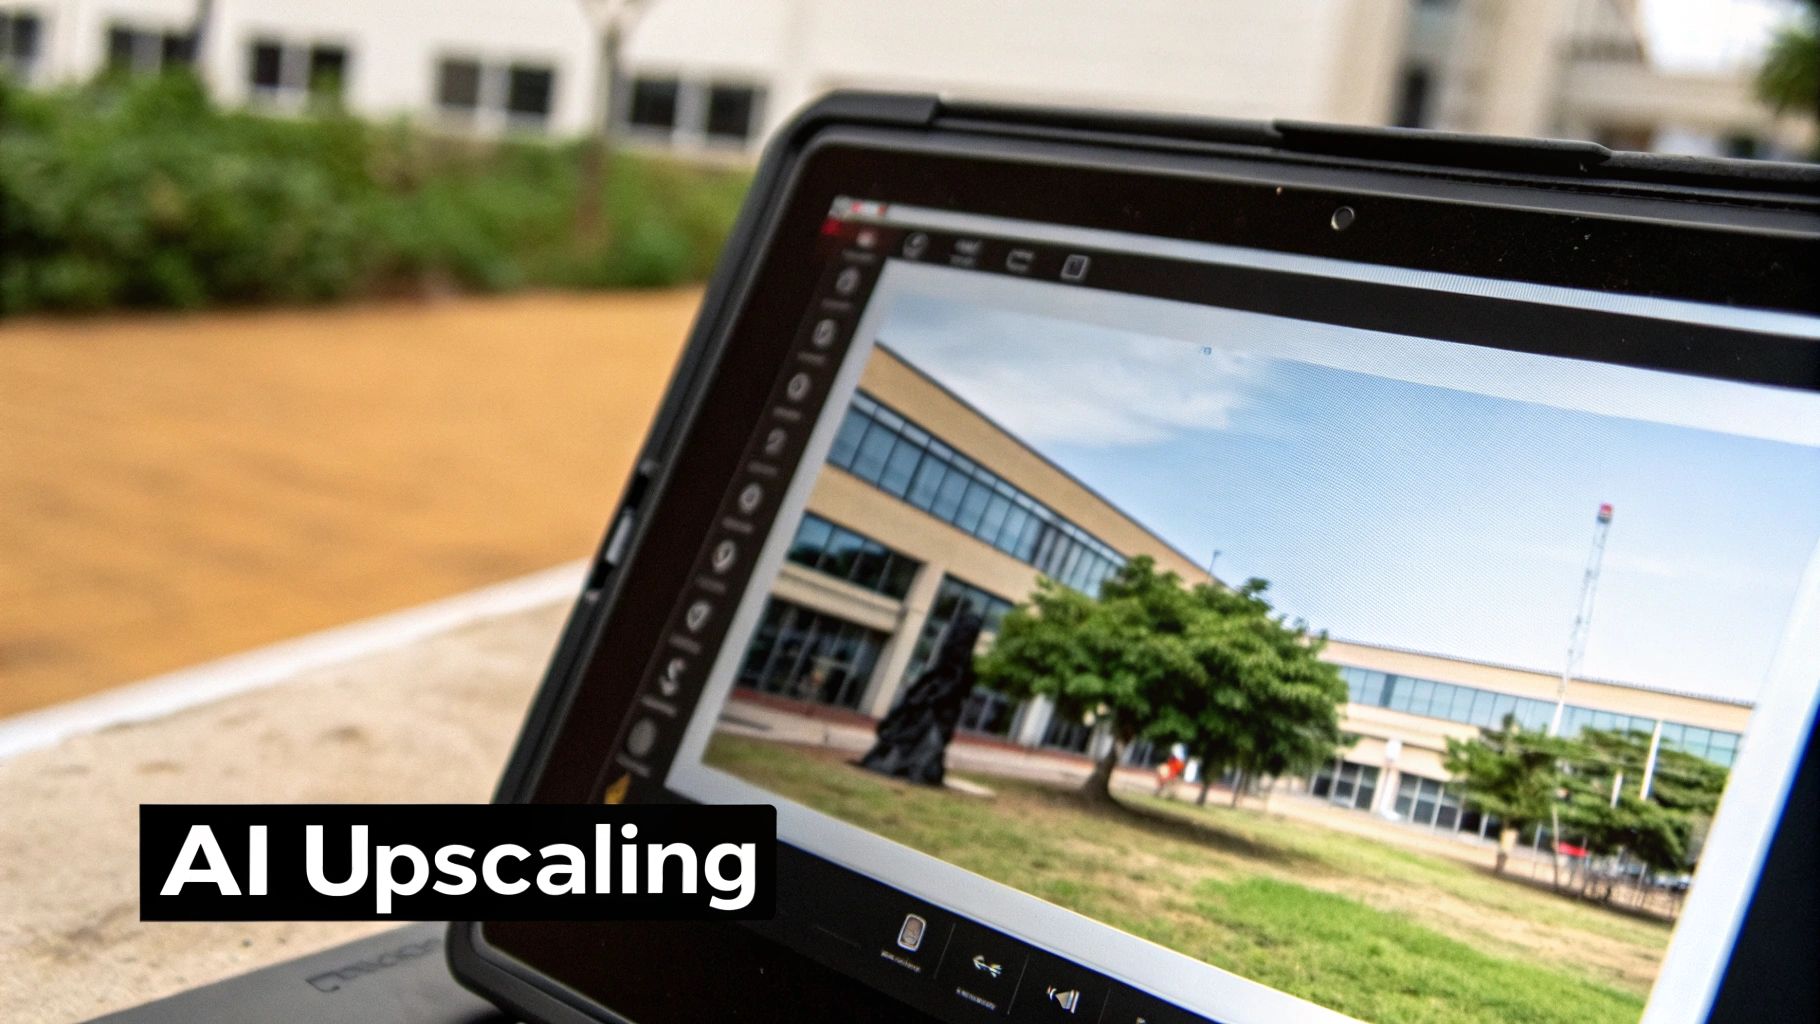
Using AI for Automatic Image Upscaling
Manual edits in Photoshop give you a ton of control, but let's be honest—they take time. And when you're starting with a genuinely low-quality image, you'll quickly hit a wall. No amount of sharpening can save a file that's just too small or heavily compressed.
This is where AI-powered tools come in and completely change the game. Instead of just stretching out the pixels you already have (which is what standard resizing does), these platforms use sophisticated algorithms to intelligently generate new, context-aware details. It’s less like enlarging a photo and more like rebuilding it from the ground up.
The result is a genuinely higher-resolution picture with a kind of clarity that used to be impossible. While the core idea of super-resolution has been around since the 1980s, it was the explosion of deep learning models around 2014 that made this tech accessible to everyone. If you're curious about the history, IBM's community blog has some great insights into how it all evolved.
A Practical Walkthrough with an AI Upscaler
Imagine you found an old photo from a first-gen digital camera. It's pixelated, blurry, and way too small for what you need. Our goal is to turn it into something crisp enough for a large print. For this, we'll turn to a typical online image upscaler.
The whole process is designed to be incredibly simple, usually just a few clicks.
Here's a step-by-step tutorial for using a standard online AI tool:
- Navigate to the Website: Open your web browser and go to the AI upscaler's homepage.
- Upload Your Image: Look for a button that says "Upload Image," "Select File," or a drag-and-drop area. Click it to browse your computer for the low-resolution photo, or simply drag the file directly onto the webpage.
- Choose Your Settings: Once uploaded, you'll see options for enhancement.
- Upscale Factor: Select how much you want to enlarge the image. Common choices are 2x, 4x, or 8x. For our old photo example, 4x is a great starting point.
- Enhancement Type (Optional): Some tools offer specific modes like "Photo," "Art," or "Face Enhance." Choose the one that best fits your image.
- Start the Process: Click the "Start," "Process," or "Upscale" button. The AI will analyze your image and begin generating new pixels. This usually takes less than a minute.
- Review and Download: The tool will present a preview, often with a slider comparing the "before" and "after" versions. If you're happy with the result, click the "Download" button to save the new high-resolution image to your computer.
The AI Difference: Remember, traditional resizing just duplicates pixels, which creates that classic blurry or blocky effect. The AI is much smarter. It analyzes patterns, textures, and shapes in your image and then predicts what the missing pixels should look like. It can restore everything from fine hair and fabric textures to subtle details in a landscape.
Seeing the Before-and-After Results
The transformation can be pretty stunning. A photo that started as a 400x600 pixelated mess can become a sharp, detailed 1600x2400 masterpiece. The AI doesn't just make it bigger; it makes it better. It fills in the gaps with plausible data, fixing compression artifacts and bringing out details you thought were lost forever.
This is how you truly improve image resolution and break past the limitations of the original file.
Choosing the Right Tool for Your Project
So, should you reach for traditional software or an AI upscaler? The right answer really hinges on what you're trying to accomplish. Each method has its own strengths, and knowing when to use which is the secret to getting a great result every time you need to improve image resolution.
Let's say you're trying to bring a faded, low-resolution family photo back to life. You know, the kind that’s been sitting in a shoebox for decades. This is where an AI tool absolutely shines. It can intelligently guess and reconstruct facial features and textures from very little information, pulling off a kind of magic that manual sharpening just can't replicate. AI is brilliant at filling in the blanks when critical data is long gone.
When Precision Is Paramount
Now, picture a different scenario: you're prepping product shots for an e-commerce site. You've already started with a high-quality photo, but you need to make sure it looks tack-sharp when customers zoom in. For this, manual editing in a program like Photoshop or GIMP gives you total control. You can meticulously adjust the sharpening, fine-tune the contrast, and manage any weird artifacts, all without any AI guesswork.
The same goes for an artist upscaling their digital work for a huge print. They need to preserve the integrity of every single brushstroke and color choice. Manual resampling, maybe with a careful application of a filter like Unsharp Mask, offers that granular control that's so essential.
This decision tree gives you a quick visual guide for picking a technique based on your image's starting point.
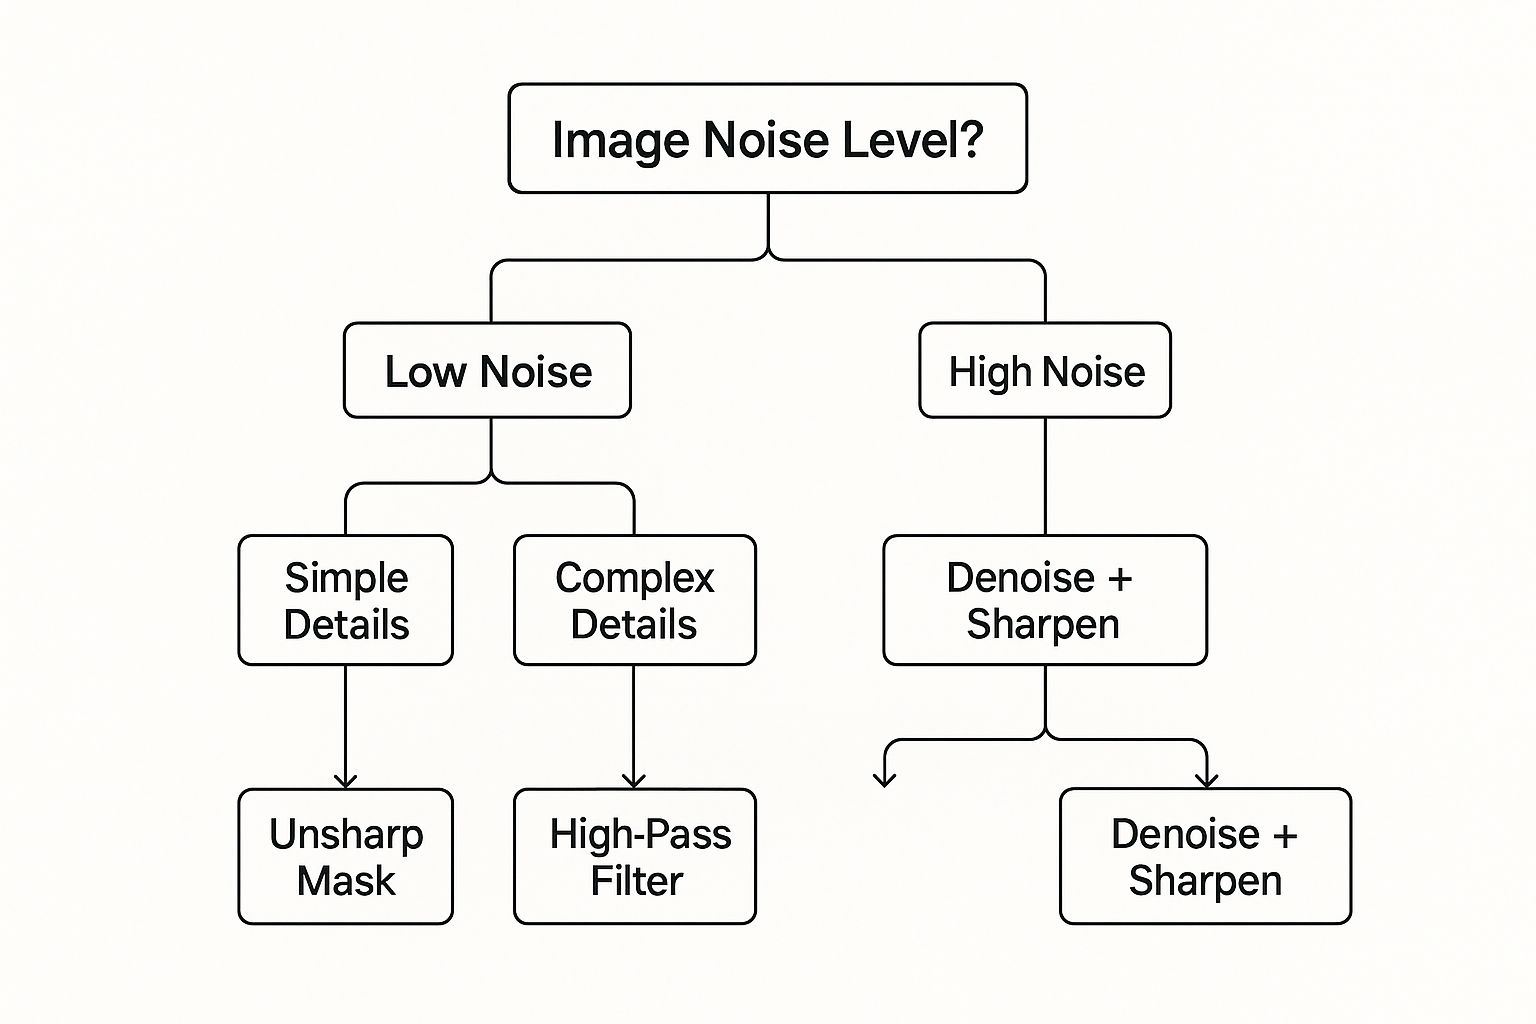
As you can see, for clean, low-noise images, traditional filters are often your best bet. But if you're dealing with a noisy photo, a combo of AI denoising and sharpening is the way to go.
Traditional Software vs AI Upscalers: A Comparison
To make the choice even clearer, let's break down the key differences between these two approaches. Think of this as a quick reference guide to help you decide which tool is the right fit for your specific task.
| Feature | Traditional Software (e.g., Photoshop) | AI Upscaling Tools |
|---|---|---|
| Best For | High-quality images needing precise tweaks. | Low-res, blurry, or old photos needing restoration. |
| Control Level | High. You control every pixel and setting. | Low to Medium. The AI makes most of the decisions. |
| Speed | Slower, requires manual adjustments. | Very fast, often a one-click process. |
| Learning Curve | Steep. Requires knowledge of tools/filters. | Minimal. Very user-friendly and intuitive. |
| Outcome | Sharpens existing details. | Reconstructs and adds new, realistic details. |
| Artifacts | Can create halos or noise if overused. | Can sometimes create "hallucinated" or unnatural details. |
Ultimately, having both options in your arsenal gives you a seriously powerful toolkit. In fact, a lot of modern workflows involve a hybrid approach: use AI to do the initial heavy lifting and then jump into Photoshop to put on the finishing touches.
To see how different tools stack up, you can explore some of the best AI photo editing software available today.
Common Mistakes to Avoid When Enhancing Images
Even with the best tools, a few wrong moves can leave your image looking worse, not better. I've seen it happen time and time again. Knowing the common pitfalls is the first step to getting that clean, professional finish you're after when you need to improve image resolution.
One of the biggest culprits is over-sharpening. It’s so tempting to crank that sharpness slider all the way up, but this almost always creates those weird, unnatural "halos" around edges and gives the whole picture a gritty, over-processed vibe. A subtle touch is all you need.
Another classic mistake is just stretching an image's dimensions in a basic editor without using a proper resampling algorithm. This doesn't magically add new detail—it just blows up the existing pixels, which usually just makes things blurrier.
Other Key Missteps
Beyond just sharpening and resizing, a few other things can trip you up and compromise your final image. It really pays to pay attention to your file formats and the quality of the image you start with.
- Choosing the Wrong File Format: Saving a detailed photo as a heavily compressed JPG can introduce those ugly, blocky artifacts. For anything that needs a transparent background or super crisp lines, PNG is usually the way to go.
- Having Unrealistic Expectations: Let's be real—not every image can be saved. If you're starting with a tiny, 100x100 pixel thumbnail you grabbed from the web, there's very little data to work with. Even the smartest AI can only do so much to rebuild it from scratch.
- Ignoring Web Performance: This one's huge. While getting a high-res image is great, it’s a massive mistake to forget how that giant file will slow down your website. It's crucial to balance quality with speed by optimizing images for website performance.
Steer clear of these common errors. It's the surest way to make sure your efforts produce a clean, genuinely enhanced image instead of something that just looks artificial and strange.
Got Questions About Image Resolution?
We hear a lot of the same questions about improving image resolution. It's a common sticking point for many people. Let's clear up some of the most frequent points of confusion with simple, practical answers.
Can You Really Add Detail to a Blurry Photo?
It's a classic problem. You have a photo you love, but it's just a bit fuzzy or pixelated.
Traditional software like Photoshop can only sharpen the pixels that are already there; it can't magically invent new detail. If the information is gone, it's gone.
This is where modern AI tools have completely changed the game. They use trained models to analyze the image content and intelligently generate new, realistic details. It's almost like they can "guess" what was lost and fill in the blanks, effectively creating information that wasn't in the original low-res file.
What's the Real Difference Between DPI and PPI?
This one trips people up all the time. They seem similar, but they're for completely different worlds: the screen and the printed page.
Here’s the simplest way to think about it:
- PPI (Pixels Per Inch) is all about digital screens. It’s the density of pixels on your monitor, tablet, or phone. For anything you're viewing on a screen, your main concern is the total pixel dimensions (like 1920x1080).
- DPI (Dots Per Inch) is purely for physical printing. It refers to the literal dots of ink a printer lays down on paper.
If you're designing for the web, focus on pixel dimensions. But if you're planning to print a high-quality photo, you need a file with a high PPI (usually 300) to make sure the final result is sharp and crisp, not a pixelated mess.
The key is matching the medium. High pixel dimensions are what matter for screen clarity, while a high PPI count is what makes a printed photo look sharp and professional.
Will Increasing Resolution Fix an Out-of-Focus Photo?
This is a tough one, but the short answer is no, not really.
Upscaling resolution works best on images that are clear and in focus, but just too small. If the original photo is blurry because the camera missed focus or there was motion blur, making it bigger will just give you a bigger blurry photo.
Some advanced AI tools do have separate "deblur" or "sharpen" features, which is a different process entirely. But upscaling itself can't fix a fundamentally out-of-focus shot.
Ready to see what AI can do for your images? AI Photo HQ gives you the power to upscale, restore, and generate stunning photos in seconds. Try AI Photo HQ today and transform your pictures with just a few clicks.

