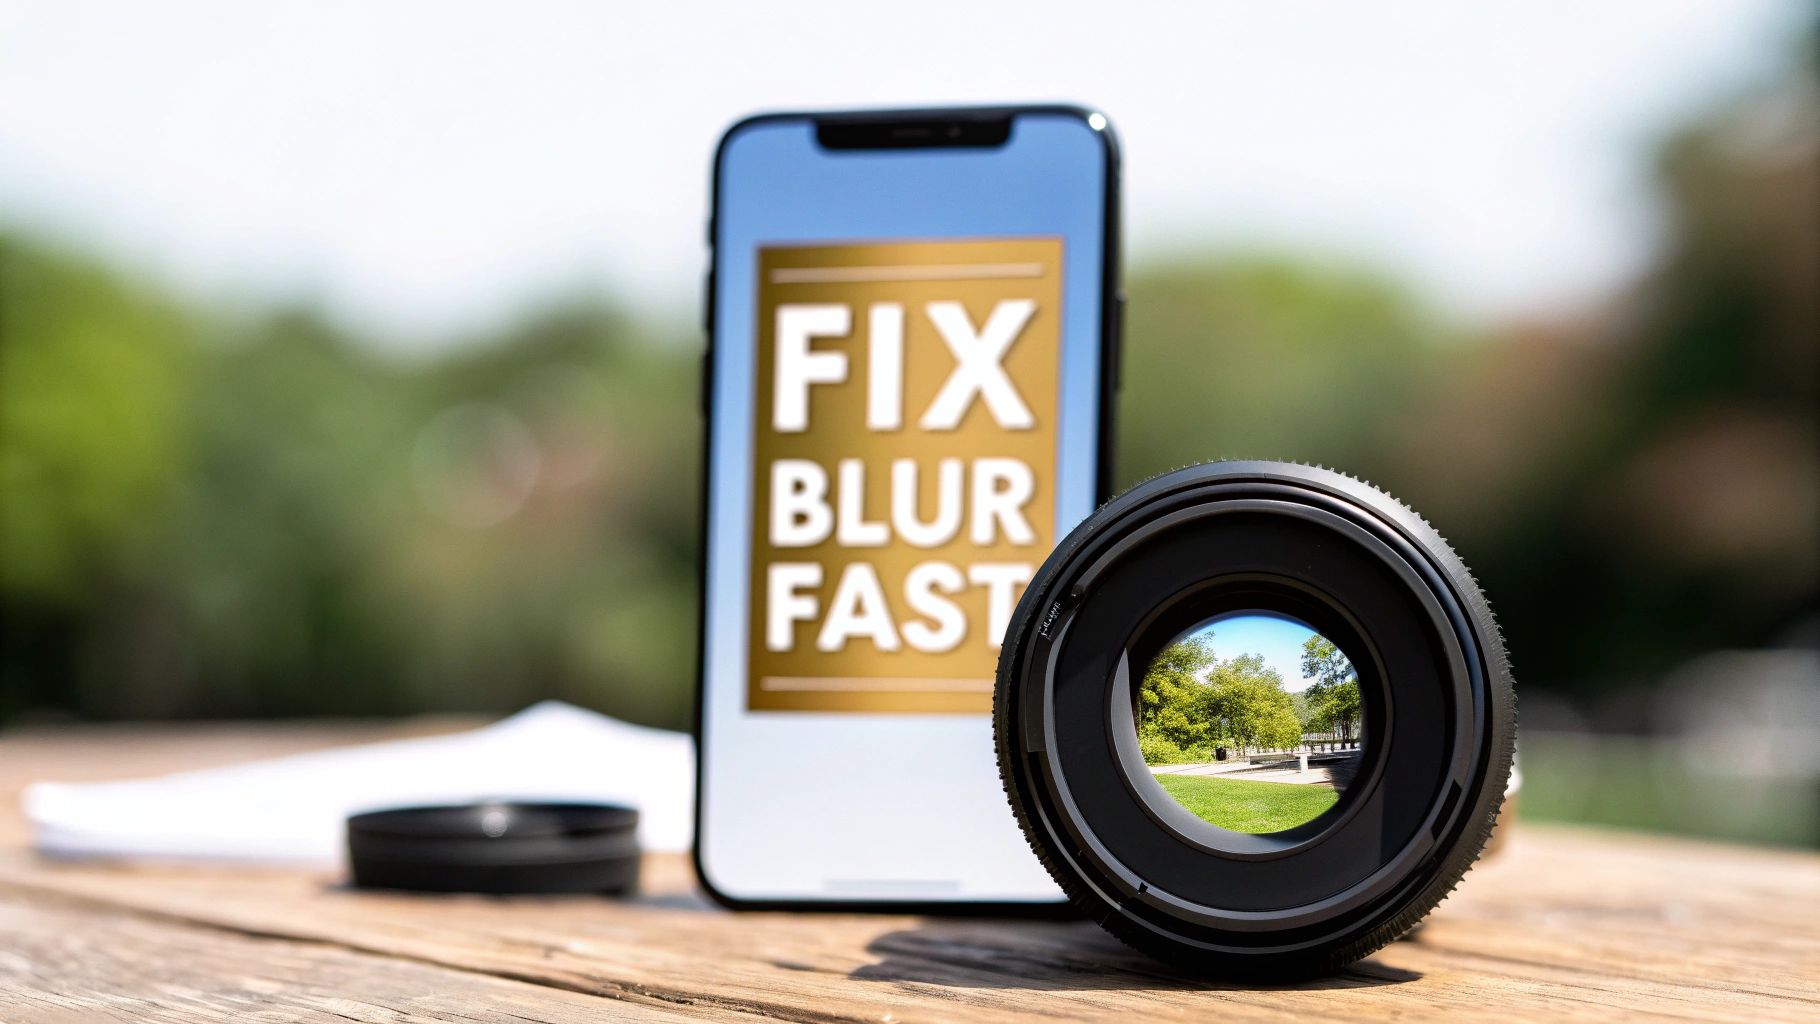
Got a blurry photo on your hands? Don't toss it just yet. You can sharpen it up with a slick AI-powered tool or get your hands dirty with manual editing software. Both will help sharpen edges and pull out hidden details.
But first, you need to play detective. Figuring out why your photo is blurry—was it a shaky hand, a missed focus, or just a soft lens?—is the key to picking the right fix for a crystal-clear image.
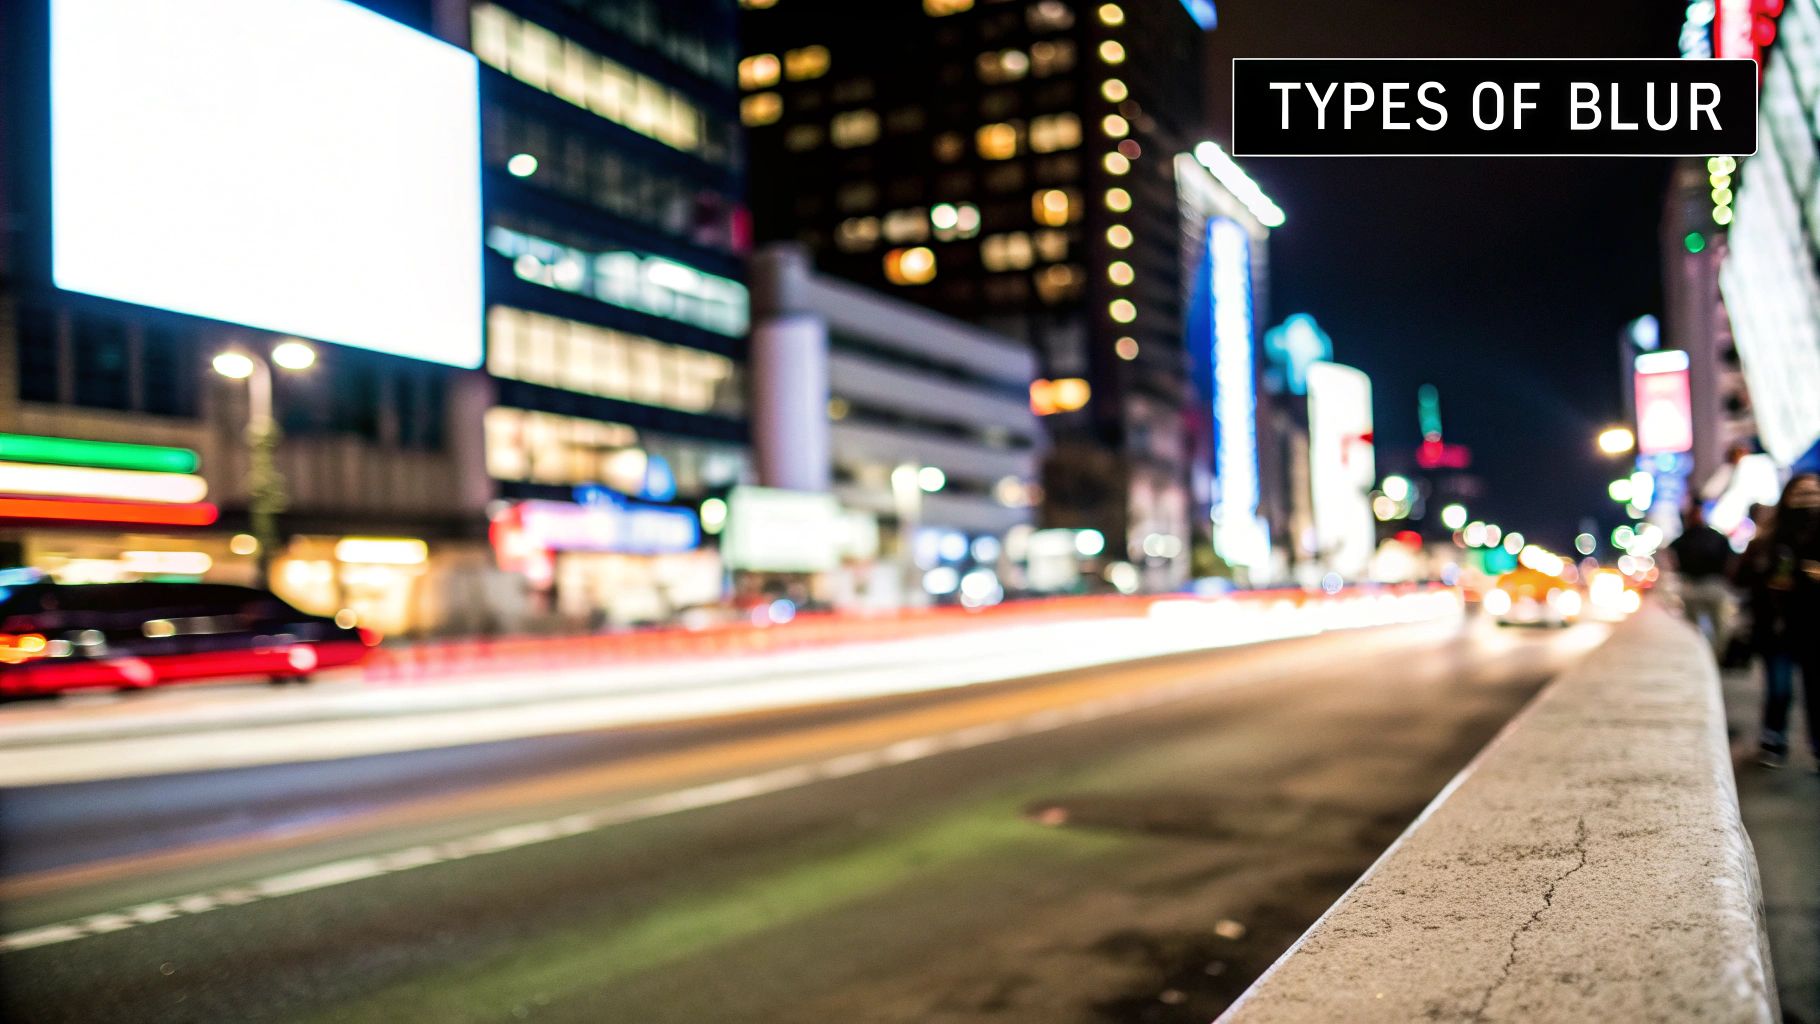
Why Your Photos Are Blurry and What to Do About It
Before you can fix a blurry photo, it helps to understand what went wrong in the first place. A slightly soft portrait needs a completely different touch than a photo blurred by a fast-moving subject. Once you identify the culprit, you're halfway to a sharp, stunning final image.
Most blur issues boil down to one of three common problems:
- Motion Blur: This is the classic "shaky hand" effect. It happens when either the camera or your subject moves while the shutter is open, creating tell-tale streaks or a general fuzziness. It’s a common problem in low-light situations or when you're trying to capture a moving target, like a running pet.
- Focus Blur: This happens when your camera’s lens misses the mark and locks onto the wrong thing. You'll know it's focus blur when your intended subject is soft, but another part of the image—often the background—is perfectly sharp. It’s the photographic equivalent of a classic “oops.”
- Lens Softness: Sometimes, the problem isn't you—it's your gear. Cheaper lenses or shooting with your aperture wide open can produce images that are a bit soft across the entire frame, even if your focus and technique were perfect.
Identifying and Fixing Common Types of Photo Blur
Use this quick reference to diagnose the blur in your image and find the most effective starting point for fixing it.
| Type of Blur | What It Looks Like | Best Sharpening Approach |
|---|---|---|
| Motion Blur | Directional streaks or a "ghosting" effect. | Start with an AI tool like AI Photo HQ that's specifically trained to correct motion. For manual work, try the Shake Reduction filter in Photoshop. |
| Focus Blur | The intended subject is soft, but other parts of the image are sharp. | AI deblurring can often recover surprising detail. Manually, targeted sharpening with a layer mask gives you the most control. |
| Lens Softness | A general lack of "pop" or crispness across the entire photo. | A global sharpening adjustment (like the Unsharp Mask filter) usually works well here. Just be careful not to overdo it. |
Once you've diagnosed the issue, you can jump in and fix it. Modern tools like AI Photo HQ can intelligently deblur and sharpen your images with a single click. If you're someone who likes more granular control, manual software like Adobe Photoshop lets you fine-tune every last detail.
The ability to fix blurry images digitally has come a long way. The early digital restoration era, from about 1990 to 2015, moved the process from physical darkrooms to software like Photoshop. This shift cut down restoration times from months to weeks, but the results often still had issues like leftover blurriness and unnatural colors. Learn more about the evolution of photo restoration and see how far the technology has advanced.
Fixing Blur in Seconds with AI Photo Enhancers
Look, we've all been there. You capture a perfect moment, but when you look back at the photo, it’s just a little soft. Maybe your hand shook, or the focus wasn’t quite right. In the past, that photo might have been a lost cause, but now, you can fix it in literally seconds.
AI photo enhancers are the fastest way to sharpen a blurry image without diving into complicated editing software. You don't need to know anything about unsharp masks or clarity sliders. The entire process is built around a simple idea: upload your photo, and let the AI handle the rest.
A Step-by-Step Guide to One-Click Sharpening
The beauty of this approach is its pure simplicity. It's designed for people who want great results without spending hours learning a new skill. Here’s a typical workflow:
- Select Your Photo: Find the blurry image on your computer or phone that you want to fix.
- Upload to the AI Tool: Navigate to an AI enhancer website. You’ll usually see a prominent "Upload Image" button. Click it and select your photo.
- Let the AI Work: The software automatically analyzes the image to identify the type of blur and begins processing. This usually takes just a few seconds.
- Review the Result: You’ll be presented with a preview, often a side-by-side comparison slider showing the "before" and "after." Check to see if the details have been restored to your liking.
- Download Your Sharpened Image: If you're happy with the result, click the "Download" button to save the clear, high-resolution version to your device.
It's a game-changer. This isn't just for professional photographers anymore. Anyone can now restore a precious but imperfect memory and bring back details that seemed lost for good.
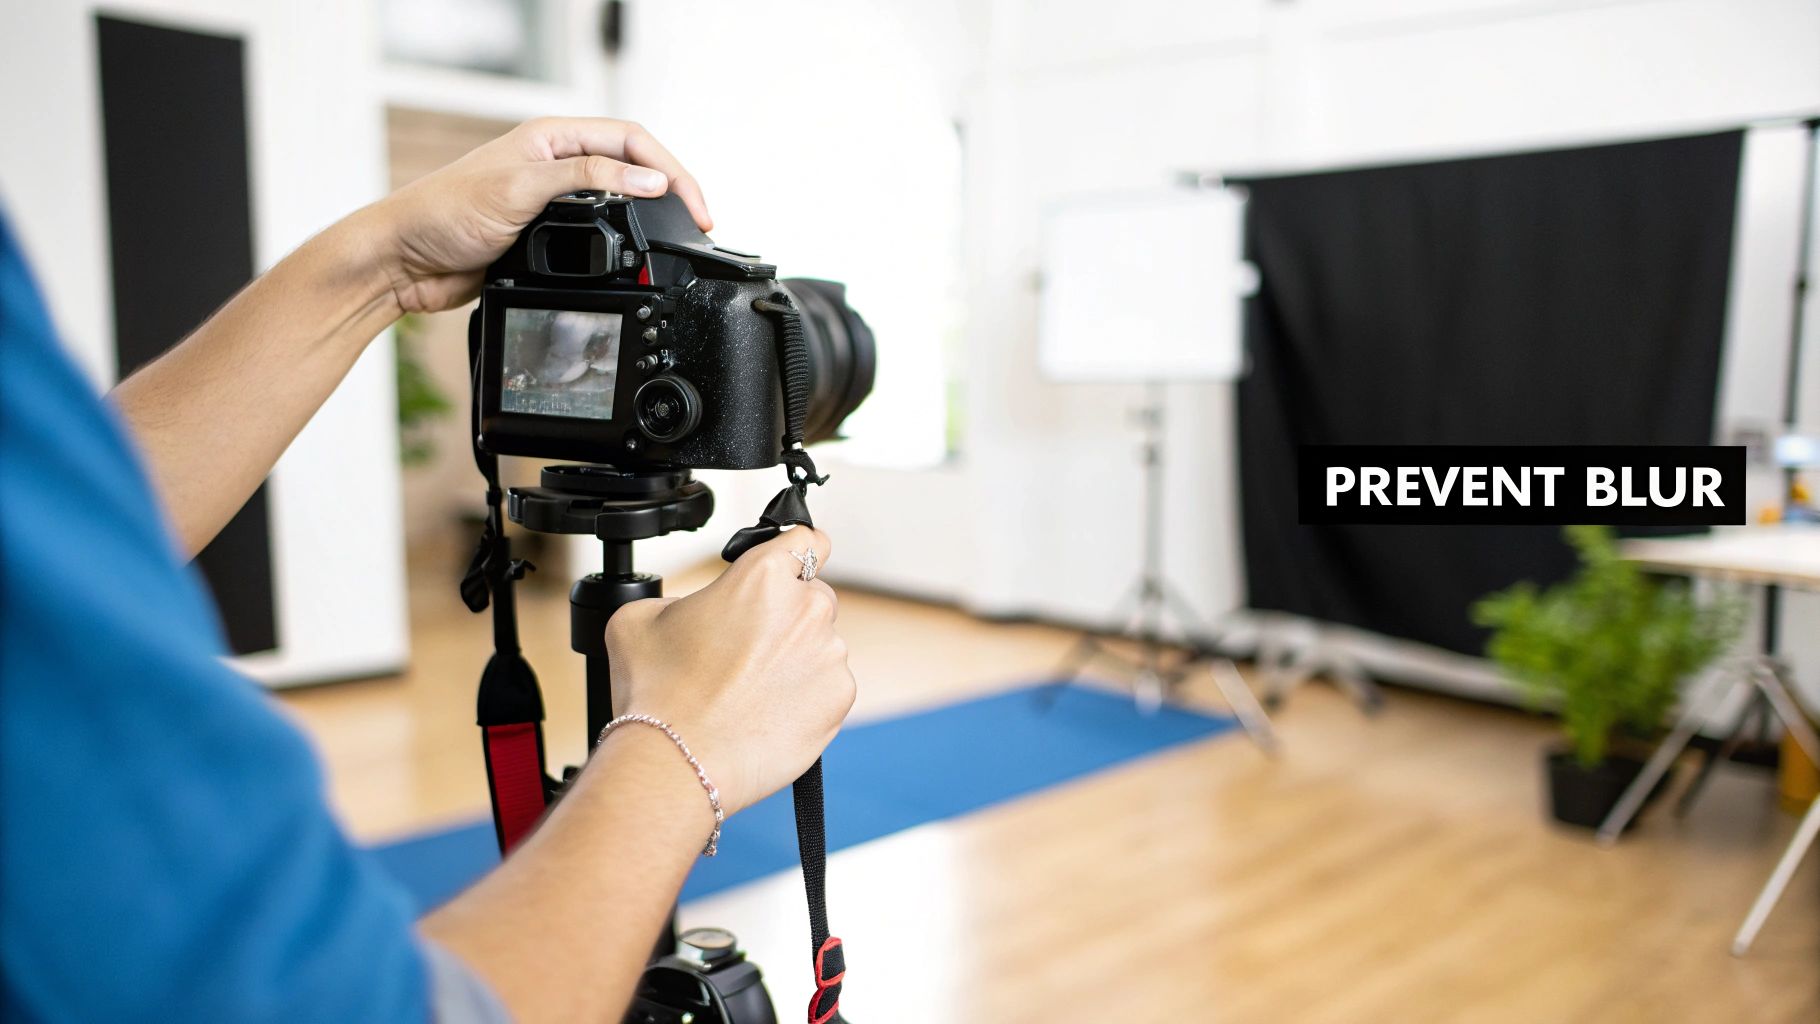
Of course, the best way to deal with blur is to avoid it in the first place. Getting your camera settings right is key. This quick guide shows the relationship between the three most important settings for getting sharp photos every time.
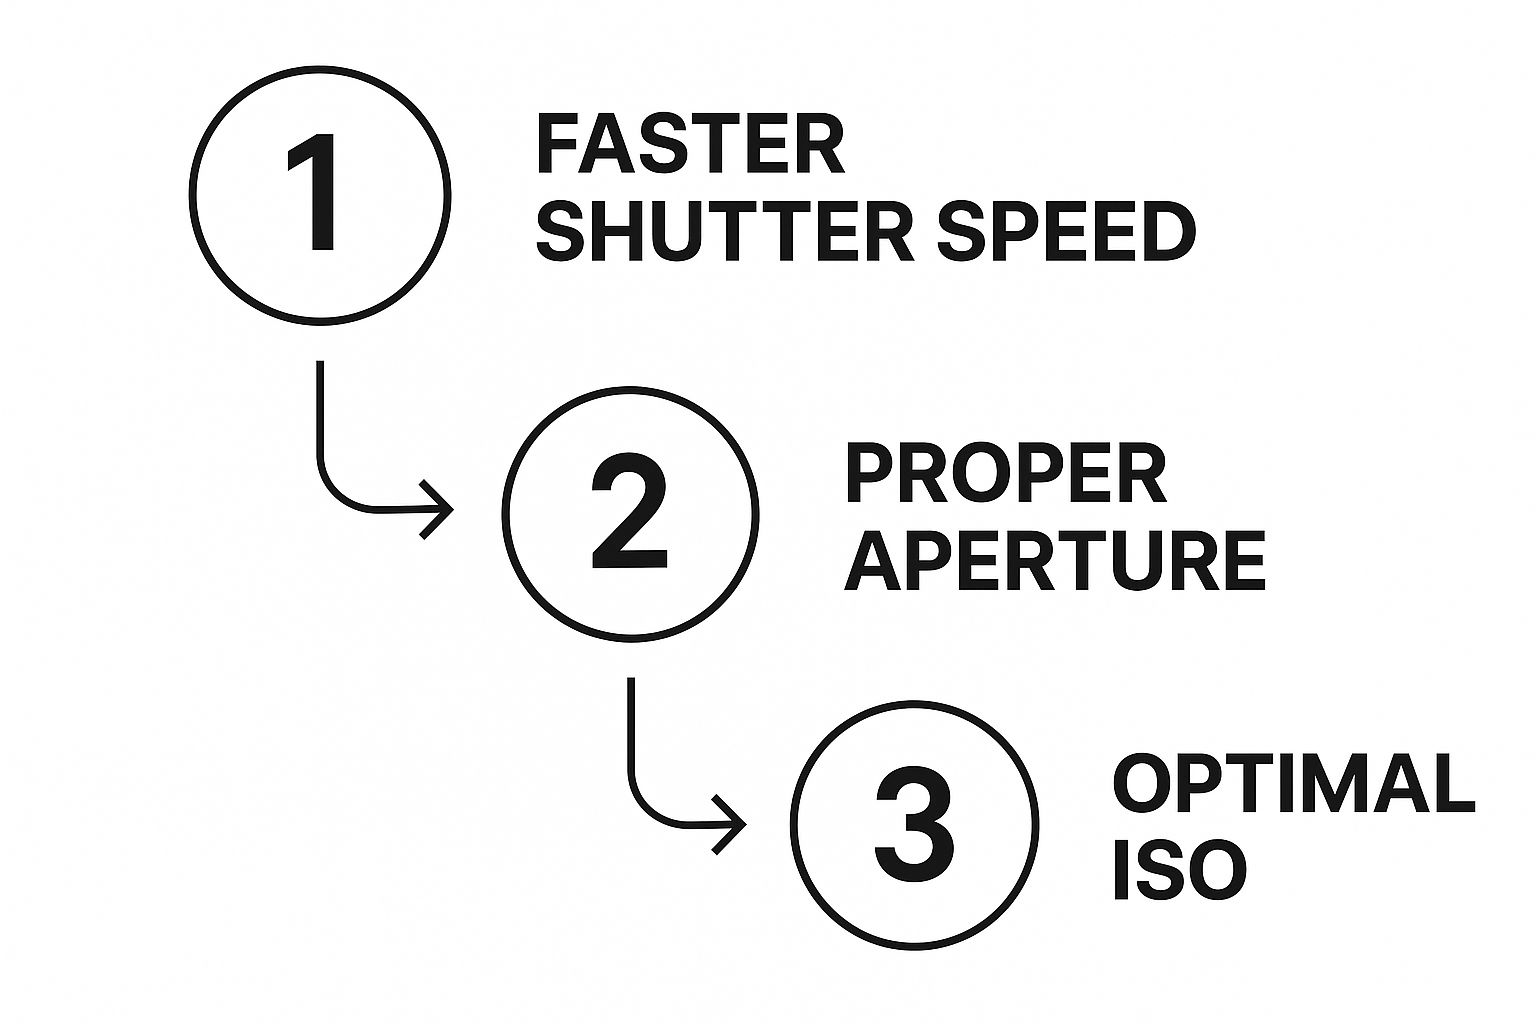
Mastering shutter speed, aperture, and ISO is the foundation of good photography and your best defense against blurry shots.
But for the photos you've already taken, AI offers an incredible fix. What used to take specialized software and a fair bit of know-how is now something you can do from your web browser in less than a minute. If you're curious about how this all works, the technology behind AI image enhancement is pretty fascinating, involving algorithms trained on millions of images to understand what a "sharp" photo should look like. It's truly the easiest way to rescue your favorite pictures.
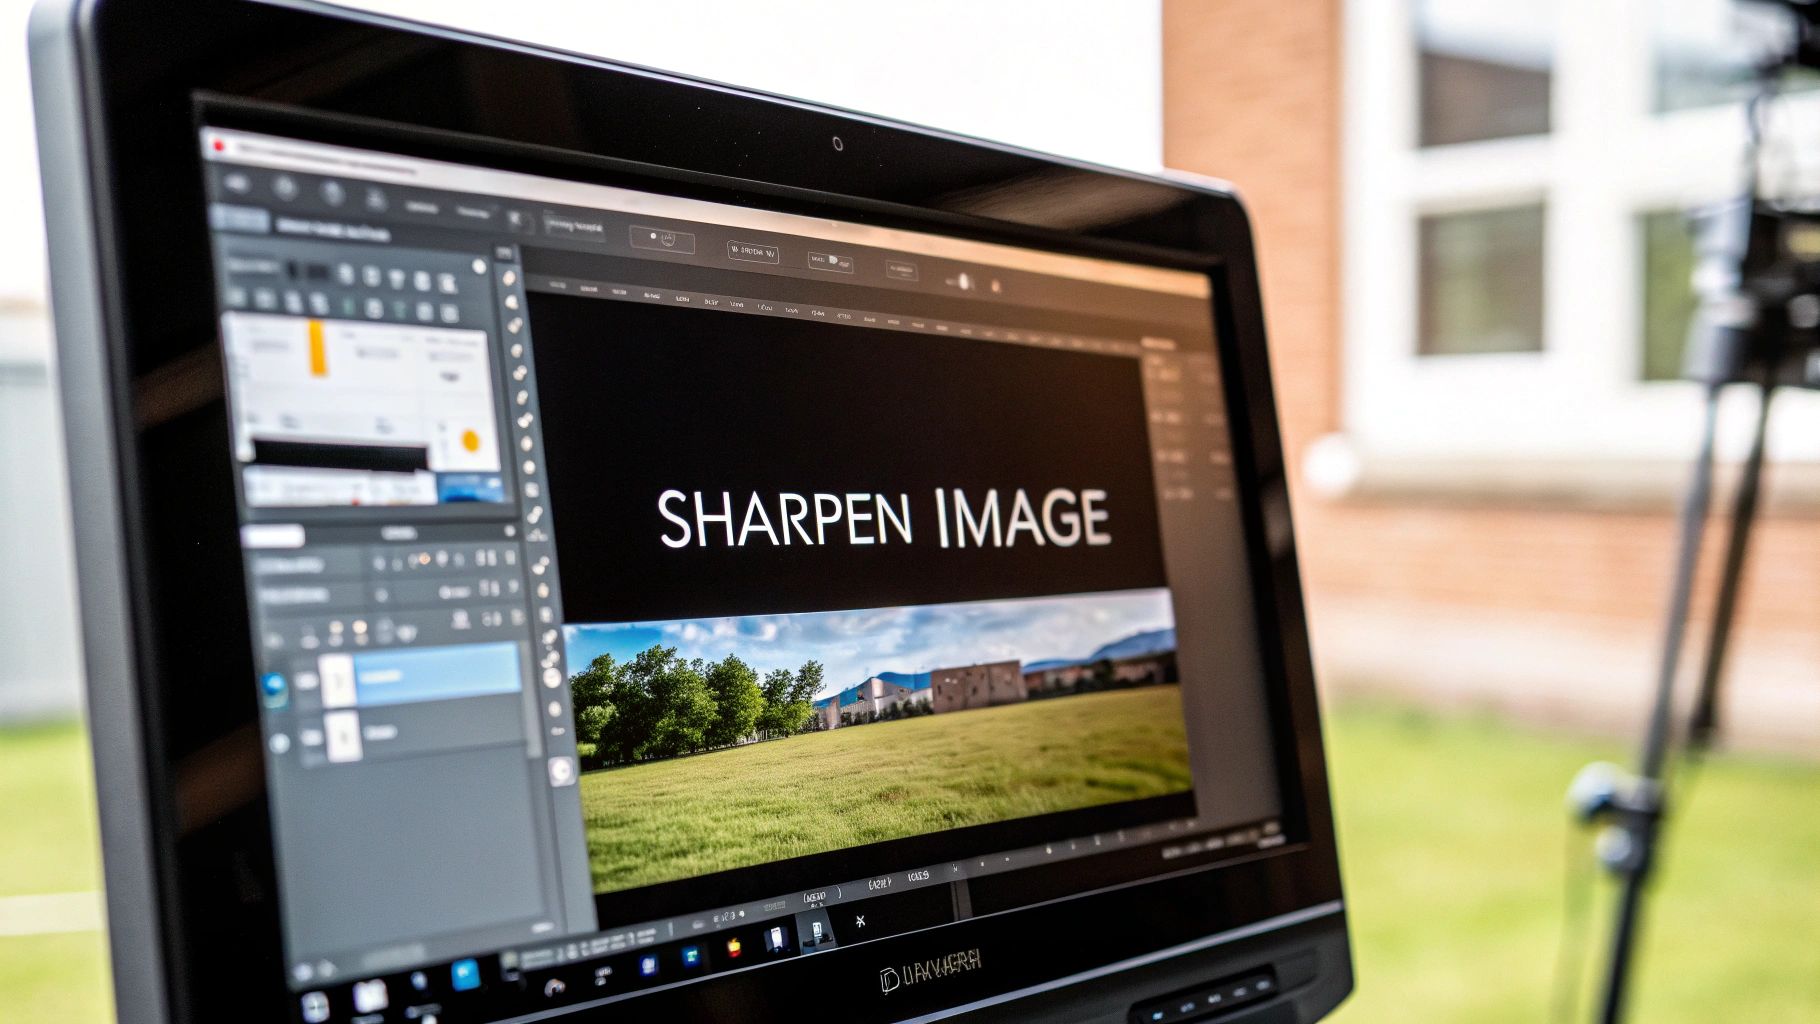
Mastering Manual Sharpening in Editing Software
While AI tools work wonders in a click, sometimes you just need to get your hands dirty for that perfect finish. This is where manual editing software like Adobe Photoshop or GIMP really comes into its own, giving you granular control to make a photo less blurry. Forget the basic "Sharpen" filter—we're diving straight into a professional-grade tool: the Unsharp Mask.
The name "Unsharp Mask" might sound completely backward, but it's one of the most powerful ways to add crispness to an image. It works by creating a slightly blurred (unsharp) version of your photo and then using it to find and increase contrast only along the edges. It’s a clever technique that has roots in old-school darkroom processing from the 1930s before being adopted into the digital tools we use today.
To use it effectively, you really only need to get a feel for its three main controls.
How to Use the Unsharp Mask Filter: A Tutorial
Getting these settings right is the key to achieving a sharp look that feels natural, not digital and overprocessed. Mess them up, and you'll end up with ugly halos and amplified noise. Here’s a quick step-by-step tutorial:
- Open your image in Photoshop or GIMP and zoom in to 100% to accurately see the effect.
- Duplicate the layer. This is a non-destructive editing best practice. You can do this by pressing
Ctrl+J(Windows) orCmd+J(Mac). - Navigate to the filter. In Photoshop, go to
Filter > Sharpen > Unsharp Mask. In GIMP, it'sFilters > Enhance > Unsharp Mask. - Adjust the Amount: Start with this slider. It controls the intensity of the sharpening. A good starting point is between 100% and 200%.
- Set the Radius: This determines the width of the edges you're sharpening. Keep this value low, typically between 0.5 to 2 pixels, to avoid halos.
- Fine-tune the Threshold: This slider protects smooth areas from being sharpened. A value between 3 and 10 will prevent noise in skies or on skin from being amplified.
- Click OK when you're satisfied with the preview.
Pro Tip: Always, always view your photo at 100% zoom when you’re sharpening. It’s the only way to see what’s actually happening to the pixels and avoid that brittle, over-sharpened look.
Applying Sharpening with Precision Using Layer Masks
Simply slapping a sharpening filter over your entire image is an amateur move. The real trick is applying the effect selectively. Here's how:
- After applying the Unsharp Mask to your duplicated layer, click the "Add Layer Mask" icon at the bottom of the Layers panel. It looks like a rectangle with a circle in it.
- Your layer mask will appear as a white thumbnail. Press
Ctrl+IorCmd+Ito invert the mask to black. This will hide the sharpening effect completely. - Select the Brush Tool (B) and set your foreground color to white.
- Paint over the areas of the image you want to be sharp, like a person's eyes or the texture on a building. The sharpening effect will be revealed only where you paint.
This targeted approach is what separates a good edit from a great one. If you're looking for a quick tool to handle these kinds of adjustments, a good online image editor can be a lifesaver.
For a more in-depth guide on taking your skills to the next level, check out our complete walkthrough on sharpening blurred photos.
When AI and Manual Edits Are Better Together
So what happens when a single click just doesn't cut it? For those really tough, severely blurry photos, I've found the best approach is often a hybrid one. You start with AI to do the heavy lifting, then jump in with manual edits for that final, perfect polish. This method is your secret weapon for rescuing images that one technique alone simply couldn't save.
Let’s say you’ve got a cherished portrait, but it's just a little too soft. The focus is slightly off, and the critical details in the eyes and hair are lost in the haze. An AI tool is the perfect place to start.
Uploading it to a platform like AI Photo HQ lets the software analyze and intelligently reconstruct all that missing data. What you get back is a much stronger baseline image to work from. The AI is brilliant at recovering major details and structure in a way that would be next to impossible to fix by hand.
Step-by-Step Hybrid Workflow
Once the AI has worked its magic, here’s how you can add the final, artistic touches that make the image sing.
- Start with AI: Upload your soft portrait to an AI enhancer and download the improved version.
- Open in Editor: Bring the AI-enhanced photo into Photoshop or your preferred editor.
- Duplicate and Sharpen: Duplicate the layer and apply a subtle Unsharp Mask or High Pass filter. Don't worry about the whole image; focus on getting the right texture for the details you want to pop.
- Create and Invert Mask: Add a layer mask to your sharpened layer and invert it to black, hiding the effect.
- Paint with Precision: Using a soft white brush at a low opacity (around 20-30%), carefully paint over the areas you want to sharpen. For a portrait, this means the irises and lashes of the eyes, the lips, eyebrows, and any jewelry or hair details. Avoid painting over skin to keep it looking natural and smooth.
By combining the broad recovery power of AI with the targeted precision of manual tools, you get a final image that is both technically sharp and artistically refined. It’s all about using the best tool for each part of the job.
Targeted Sharpening Techniques
With your AI-enhanced base ready to go, you can use manual tools for those final, targeted improvements. Two of my go-to methods for this stage are the Unsharp Mask and the High Pass filter, both applied with layer masks for ultimate control.
- Refining Facial Features: Grab a soft brush and, on a layer mask, paint in the sharpening effect only over the eyes, eyebrows, and lips. This simple trick brings life and focus right back to the most important parts of the portrait.
- Enhancing Textures: For things like clothing or hair, a controlled dab of sharpening can restore lost texture beautifully. You can make the fabric of a sweater look crisp or bring out individual strands of hair without making the rest of the image look unnatural.
This integrated approach is the key to mastering how to deblur a photo, especially when you're dealing with challenging shots. It’s a workflow that will give you consistently professional results every time.
How to Stop Taking Blurry Photos for Good
Let's be honest: the best way to fix a blurry photo is to not take one in the first place. While editing tools have become incredibly powerful, nothing beats the crisp, clean detail of a shot that was sharp right out of the camera. Shifting your focus from fixing to preventing will save you a ton of time and give you much better original files to work with.
This isn't just for people with fancy DSLRs, either. The same principles apply whether you're shooting on a high-end camera or just your smartphone. A few simple habits can make a night-and-day difference in your image sharpness.
We've come a long way from the early days of digital photography. With over 1.4 trillion photos taken every year now, most are shot on phones with impressive sensors and image stabilization, making sharp images more accessible than ever before.
Master the Fundamentals of Sharpness
To freeze motion and get rid of that dreaded camera shake, you just need to get a handle on a few core techniques. Nailing these fundamentals is the key to getting consistently clear pictures.
- Bump Up Your Shutter Speed: Trying to get a clear photo of your dog catching a ball? You'll need a fast shutter speed to freeze that action. I'd aim for 1/500th of a second or even faster. For still subjects in dimmer light, like a group photo at a restaurant, try not to drop below 1/60s to avoid blur from your own handshake.
- Hold Your Camera Like You Mean It: Tuck your elbows in against your body. This creates a surprisingly stable base. Always use two hands—one to grip the camera or phone and the other to support the lens or the bottom of the device. It makes a huge difference.
- Use Tap-to-Focus: Don't just let your phone guess what's important in the scene. Tap your finger right on your subject's face on the screen. This tells the camera exactly where you want the focus to be sharpest.
Beyond just technique, the gear you're using definitely plays a part. If you're in the market for a new phone, checking out a guide on how to choose a good camera phone can point you toward a device that’s built for capturing sharp images from the get-go.
Making these small adjustments part of your routine will fundamentally change the quality of your photos. If you want to go even deeper, we have a whole guide on how to take pictures professionally.
Common Questions About Fixing Blurry Photos
Diving into photo editing usually brings up a few common questions. Let's tackle some of the most frequent hurdles you'll encounter when trying to fix a blurry picture.
Can You Unblur a Completely Out of Focus Photo?
This is where technology hits a hard wall. If a photo is just a total blur, the original pixel information is gone for good.
AI tools are incredible at guessing and rebuilding details from a slightly soft image, but they can't create something from nothing. For photos that are just a little out of focus, the results can be mind-blowing. But for a completely blurry mess? A perfect fix just isn't in the cards.
Does Sharpening an Image Reduce Its Quality?
It’s a bit of a "yes and no" situation. Sharpening works by cranking up the contrast along the edges in your photo, which makes things look crisper. But if you push it too far, you’ll start seeing nasty digital noise and weird, harsh "halos" around objects.
The secret is to be subtle. A gentle, targeted sharpen can bring an image to life, but going overboard will definitely make it look worse. Always check your work at 100% zoom to see what's really happening.
What Are the Best Free Tools to Fix Blurry Photos?
If you want to get solid results without opening your wallet, you’ve got options.
- A great free tool is GIMP, which is basically a free alternative to Photoshop. It has powerful manual tools like the Unsharp Mask that give you a ton of control.
- Plenty of online AI photo enhancers also offer free trials or a certain number of free edits. These are perfect when you just need a quick fix for a single photo.
Ready to see how easily AI can handle the heavy lifting? Give AI Photo HQ a try and watch your blurry photos transform into sharp, clear memories in seconds. Get started with AI Photo HQ today!

