So you've got a blurry photo. Don't worry, it happens to all of us. The good news is, you can often save it. The trick is to figure out why it's blurry in the first place before you start messing around with sliders and sharpening tools.
There are really two ways to tackle a soft image: get it right in the camera from the start, or clean it up later in editing. Your best bet is always a combination of both, but it all starts with playing detective.
Understanding Why Your Photos Are Blurry
Before you can fix a blurry photo, you have to know what you’re up against. Each type of blur leaves its own unique signature, and using the wrong fix can actually make things worse.
The three usual suspects are camera shake, motion blur, or missed focus. Getting to the root cause is the most critical step.
Think about it this way: motion blur leaves tell-tale streaks. It happens when your subject zips past faster than your shutter can freeze them. Camera shake is different—it creates a more general, all-over softness, usually because your hands weren't perfectly still, especially in dim light. And then there's missed focus, where the camera decides the background tree is more interesting than the person standing right in front of it.
The Three Main Types of Blur
Once you can spot the difference, you're halfway to a sharp photo. Ask yourself a couple of quick questions: Is the whole picture a little soft, or is it just the dog running across the yard? Did your camera lock onto the background instead of your friend's face?
Here's a quick rundown of the culprits:
- Motion Blur: This is all about your subject moving too quickly for your shutter speed. It's the classic nemesis of anyone shooting sports, wildlife, or hyperactive toddlers.
- Camera Shake: This one's on you—or more specifically, your hands. Even a tiny tremor while you press the shutter can create a subtle, frustrating softness. This is a common issue when shooting with slow shutter speeds. (If you're dealing with low light, our guide to lighting techniques in photography has some great tips.)
- Missed Focus: The simplest one to explain. Your camera's autofocus just got it wrong and locked onto something other than your intended subject.
To make it even easier, this handy decision tree will help you diagnose the problem in seconds.
This table can also help you quickly spot what went wrong and how to approach fixing it.
A Quick Guide to Identifying Photo Blur
| Type of Blur | What It Looks Like | Common Cause | Best Solution |
|---|---|---|---|
| Motion Blur | Directional streaks or ghosting on a moving subject. | Shutter speed is too slow to freeze the action. | Use a faster shutter speed or a deblurring tool like AI Photo HQ. |
| Camera Shake | The entire image is slightly soft or has a double-image look. | Unsteady hands, especially with slow shutter speeds. | Use a tripod, image stabilization, or a faster shutter speed. |
| Missed Focus | One part of the image is sharp, but your subject isn't. | The camera's autofocus locked onto the wrong point. | Use single-point AF, reshoot, or try post-processing sharpening. |
By checking for a moving subject first, then considering your own stability, you can quickly narrow down the cause and apply the right solution. It's a challenge photographers have been dealing with for decades. The very first digital camera prototype in 1975 had a 23-second exposure time—talk about an open invitation for blur! It's fascinating to look back at the early history of digital cameras and see how far we've come.
Dialing In Your Camera Settings for Sharp Photos
Getting out of "Auto" mode is the single best thing you can do to prevent blurry photos. Your camera's settings are your most powerful tool, giving you direct control over sharpness so you can adapt to any lighting or action. It’s the difference between crossing your fingers for a clear shot and actually guaranteeing one.
The number one culprit for blurry photos? A shutter speed that’s just too slow for the scene.
Here's a quick step-by-step to freeze motion:
- Switch to Shutter Priority Mode (S or Tv on your dial). This lets you control the shutter speed while the camera handles the rest.
- For a person walking: Start with a shutter speed of 1/250s.
- For a running child or pet: Increase it to 1/500s or 1/1000s.
- For fast sports like soccer: Aim for 1/1000s or faster.
- Take a test shot. If it's too dark, you'll need to increase your ISO or use a wider aperture to compensate.
Mastering Aperture and Autofocus
While shutter speed handles motion, your aperture (the f-stop setting) dictates how much of your photo is in focus from front to back.
Follow these steps to control your focus depth:
- Switch to Aperture Priority Mode (A or Av on your dial). This lets you set the f-stop.
- For a single-person portrait with a blurry background: Choose a wide aperture like f/1.8 or f/2.8.
- For a group photo where everyone needs to be sharp: Use a narrower aperture, like f/5.6 or f/8.
- For a landscape where everything should be in focus: Set it to f/11 or higher.
Your camera’s autofocus (AF) mode also plays a massive role. Here's how to select the right one:
- Find the AF Mode setting in your camera's menu or on a dedicated button.
- Select Single AF (AF-S or One-Shot AF) for stationary subjects like portraits or landscapes. Half-press the shutter to lock focus on your subject's eye, then recompose and take the shot.
- Select Continuous AF (AF-C or AI Servo) for moving subjects. Keep the shutter half-pressed and your focus point over the subject, and the camera will continuously track them.
By getting comfortable with these three settings—shutter speed, aperture, and focus mode—you take complete command of your camera's ability to produce tack-sharp images. It’s the foundational skill set that elevates your pictures from simple snapshots to deliberate, professional-looking photographs.
Of course, learning these settings is just part of the journey. For a deeper dive into improving your technique, check out our guide on how to take pictures professionally, which covers everything from composition to lighting. It’s all about building those small habits that lead to huge improvements.
Simple Stabilization Techniques for Crisper Images
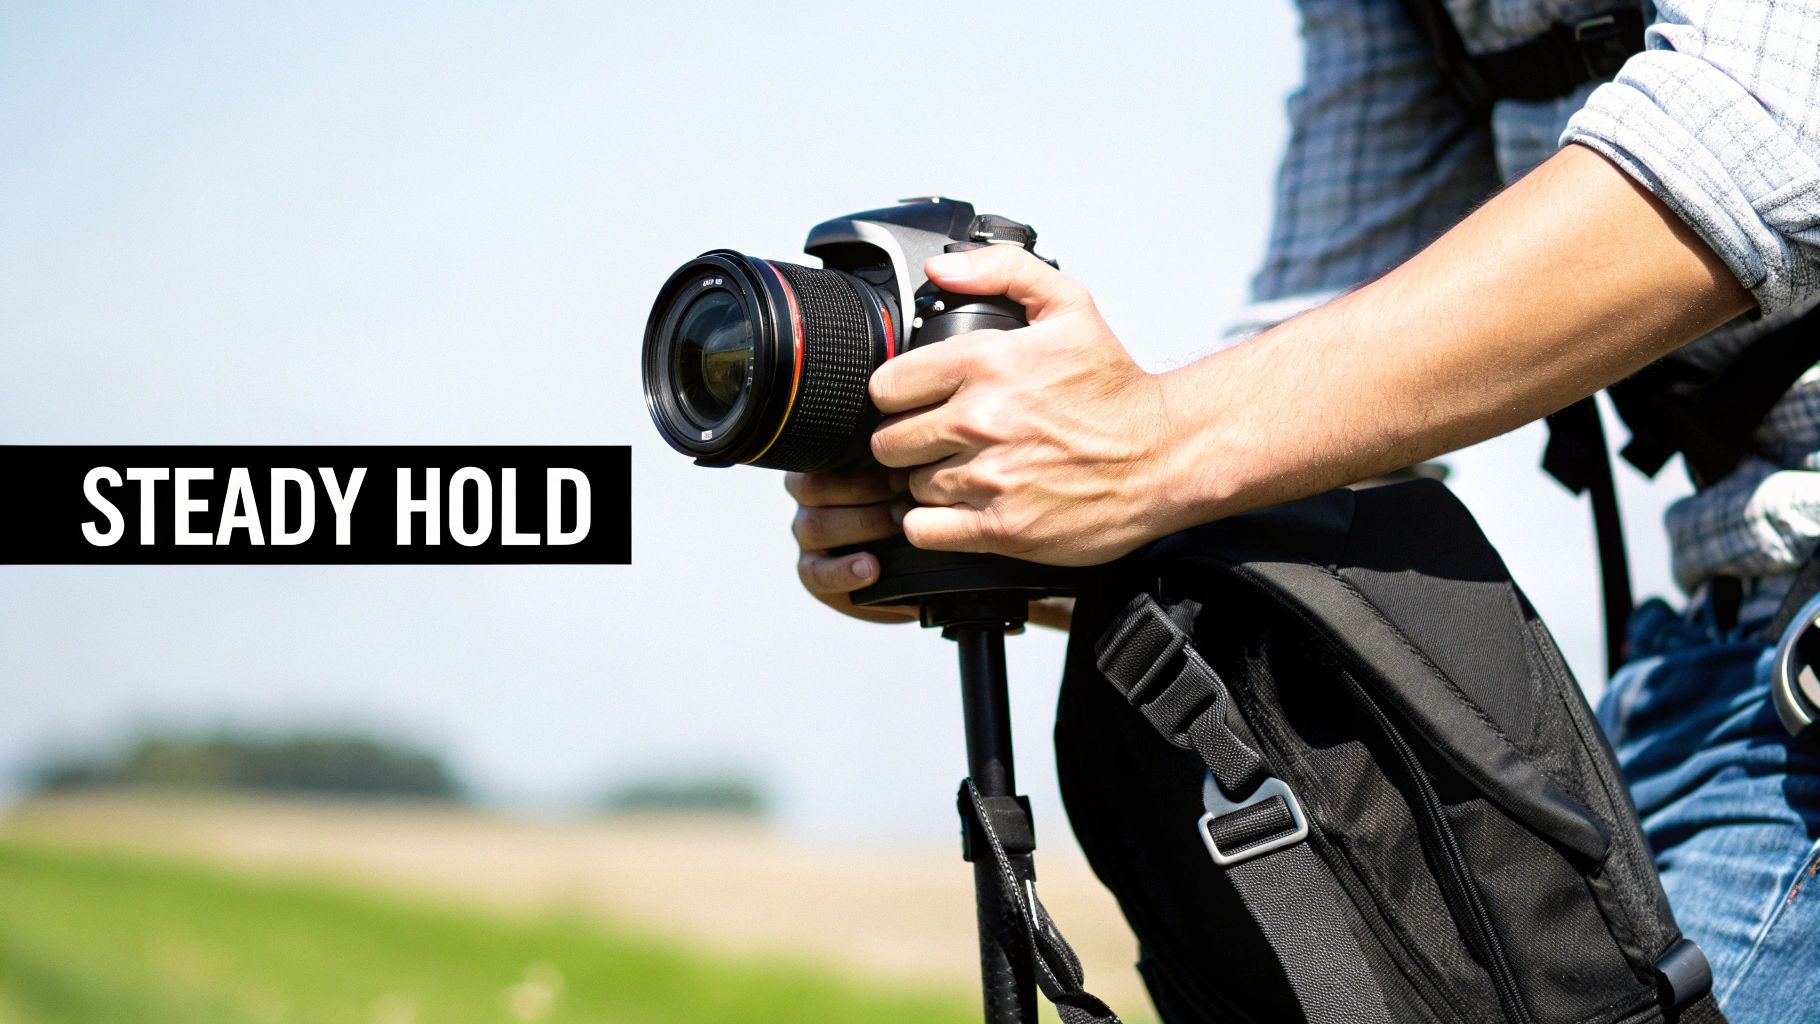
Even with your camera settings perfectly dialed in, the tiniest wobble can ruin a shot. How you hold your camera isn't just a basic step—it's a foundational skill that can transform your body into a surprisingly effective stabilizer.
Here’s a step-by-step tutorial for the perfect handheld stance:
- Stand with your feet shoulder-width apart to create a stable base.
- Use your right hand to grip the camera body firmly.
- Place your left hand underneath the lens to support the weight and operate the zoom or focus ring.
- Tuck your elbows into your chest/sides. This creates a "human tripod" and dramatically reduces sway.
- Bring the viewfinder to your eye. This creates a third point of contact with your face, increasing stability.
- Gently squeeze the shutter button instead of jabbing it.
Finding Support in Your Environment
You won't always have a tripod with you, so it pays to get creative.
- Lean: Find a wall, tree, or lamppost and lean your shoulder or back against it. This provides significant support.
- Brace: Rest your elbows on a solid surface like a table, a railing, or the top of a fence.
- Get Low: For low-angle shots, place your camera on your bag or a bundled jacket on the ground. You can even kneel and rest one elbow on your knee for a steadier shot.
Getting a stable shot is about resourcefulness. Any solid surface can become your ally in the fight against blur. From a park bench to a stack of books, stabilizing your camera is often the simplest way how to make photos less blurry.
Tools of the Trade: Tripods and Monopods
When you absolutely cannot have any camera shake, nothing beats a good tripod. They're essential for things like long-exposure shots of silky smooth waterfalls or capturing the stars at night. A tripod completely removes your body from the equation, letting you use shutter speeds that would be impossible handheld.
A monopod, on the other hand, is a fantastic compromise between stability and mobility. It won't give you the rock-solid base of a tripod, but it's much lighter and quicker to set up. This makes it perfect for sports, wildlife, or event photography where you're constantly on the move.
Even smartphone photographers can apply these ideas. Instead of tapping your screen to take a picture—which inevitably jiggles the phone—use the volume button as a shutter release. It’s a small change in habit that can dramatically reduce blur.
These physical techniques have been at the core of photography for a long time. Back in the days of film, photographers relied on fast shutter speeds between 1/125s and 1/1000s for sharp action shots, but physical stability was always just as critical for overall clarity. You can read more about the historical approaches to exposure to see how these fundamentals have evolved.
Using AI Editing Tools to Fix Blurry Photos
We've all been there. You nail the perfect shot—a fleeting moment you can't recreate—only to find it's just a little soft when you view it on a larger screen. It’s frustrating. But before you drag that photo to the trash bin, there’s a good chance you can save it.
This is where modern AI editing tools come into play. Forget the old-school sharpening filters that just crank up the contrast on edges, often making things look crunchy and adding a ton of digital noise. AI "unblur" features are much smarter. They actually analyze the photo, figure out why it's blurry, and intelligently reconstruct the lost details. It's the perfect fix for those amazing but slightly imperfect shots.
A Step-by-Step Tutorial for Unblurring with AI
Using a tool like Photo HQ, you can bring a blurry image back to life in just a few clicks. The process is designed to be fast and intuitive. Let's walk through it.
- Navigate to the Tool: Open your web browser and go to the AI Photo HQ unblur image page.
- Upload Your Image: You will see a prompt to either drag and drop your photo into the window or click a button to browse your computer's files. Select the blurry photo you want to fix.
- Let the AI Process: Once uploaded, the AI automatically analyzes the image to detect the type and severity of the blur. This step is completely automated and takes just a few moments.
- Review and Compare: The tool will present you with a "before and after" comparison. Use the slider to move back and forth between the original blurry photo and the newly sharpened version. Pay close attention to key details like eyes, text, or fabric textures to see the improvement.
- Download Your Result: If you are happy with the unblurred photo, click the "Download" button to save the high-resolution, sharpened image to your device.
The real game-changer with AI is its ability to tell the difference between actual detail and unwanted noise. It can sharpen the texture in a sweater or bring out the crispness in someone's eyes without amplifying the grain in the background—a classic pitfall of traditional sharpening methods.
This targeted approach gives you a result that looks naturally sharp, not over-processed.
And if you're wondering what else is possible, there's a whole world of AI tools for photo editing that can tackle everything from color correction to removing unwanted objects. But for now, knowing how to rescue a blurry photo is an incredible skill to have in your back pocket.
Tapping Into Your Camera’s Built-In Anti-Blur Tech
Beyond the settings you can dial in yourself, most modern cameras and even smartphones are packed with some seriously smart technology designed to kill blur before it even starts. Getting a handle on this internal wizardry can be the difference between a throwaway shot and a keeper, especially when you don't have time to fiddle with manual controls.
Here's a quick tutorial on how to use your phone's 'Night Mode' for sharper low-light photos:
- Open your phone's camera app in a dimly lit environment. It should automatically detect the low light and suggest or switch to 'Night Mode' (often indicated by a moon icon).
- Frame your shot. The camera will tell you how long the exposure will be (e.g., 3 seconds).
- Hold your phone as steadily as possible. Brace your arms against your body or rest the phone on a stable surface.
- Press the shutter button and hold still until the countdown finishes. The phone is capturing multiple frames during this time.
- Review your photo. The phone's software has now aligned and merged the best parts of all those frames into one brighter, sharper image.
How Cameras Physically Fight the Shakes
When you step up to professional or enthusiast-level cameras, you’ll run into the MVP of anti-blur tech: In-Body Image Stabilization (IBIS). This is a physical system, a tiny marvel of engineering where the camera's sensor literally floats on a mechanism. As your hand shakes, the IBIS system senses the movement and shifts the sensor in the opposite direction to cancel it out.
To use it, simply find the "Image Stabilization" or "SteadyShot" option in your camera's menu and ensure it's turned On. Some lenses also have a physical IS switch on the barrel.
Think of it like a tiny, invisible tripod built right into your camera. It’s incredibly effective and lets you get away with shooting handheld at shutter speeds that would have been a blurry mess just a few years ago.
The Software Side of the Sharpness Game
But the magic doesn't end with hardware. The software side has made some incredible leaps, too. Back in the early 2000s, a wild technique called coded exposure—also known as the 'flutter shutter'—popped up. Instead of a simple open-and-close, this method uses randomized shutter patterns to capture light. It actually encodes enough information into the blur itself that software can later reconstruct a sharp image.
Lab tests have shown it can boost clarity by 30–50% over old-school methods. It’s a fascinating look at how code is constantly reshaping what we thought was possible in photography. If you're a tech nerd like me, you can dive deeper into coded exposure photography and see just how clever this stuff gets.
Common Questions About Fixing Blurry Photos
Even when you do everything right, questions pop up. Let's tackle some of the most common things photographers ask when they’re trying to get those perfectly sharp images.
Can a Very Blurry Photo Actually Be Fixed?
Honestly, it depends. Modern AI tools are shockingly good at sharpening up photos with a bit of camera shake or a slightly missed focus. They can often reconstruct details you thought were gone for good.
But there's a point of no return. If a photo is so blurry that you can't make out the basic shapes and outlines of your subject, there just isn't enough information left for the software to work with. For any deblurring tool to do its magic, the core forms need to be at least somewhat recognizable. That's why getting it right in the camera is always plan A.
Your best bet for saving a photo is when the blur is moderate. Think of a portrait where the eyes are a little soft, not a shot where your subject is an unrecognizable streak. AI needs a foundation to build upon.
Does a More Expensive Camera Guarantee Sharper Photos?
Not on its own, no. While it's true that high-end cameras often have incredible autofocus systems and better image stabilization, the person behind the camera matters far more than the price tag.
A photographer who has mastered shutter speed, aperture, and holding the camera steady on an entry-level DSLR will always get sharper photos than a beginner fumbling with a pro-level camera on auto mode. Your knowledge is the real tool; the camera just follows your lead.
Why Are My Low Light Photos Always Blurry?
This is almost always a shutter speed issue. When you're shooting in the dark, your camera has to keep the shutter open longer to soak up enough light for a decent exposure.
That extra time is a huge window for blur to creep in. The tiniest shake from your hands or movement from your subject gets recorded as a soft, blurry mess. The fix? You have to stabilize your camera. A tripod is the gold standard, but even just enabling your camera’s 'Night Mode' or bracing it on a steady surface like a table or a wall can make a massive difference.
Ready to rescue those almost-perfect shots? The AI Photo HQ unblur tool uses advanced algorithms to bring your blurry photos back into sharp focus in just a few clicks. Stop deleting memories and start saving them. Try AI Photo HQ today!

