It's surprisingly easy to turn a photo you love into a piece of anime art. You don’t need any artistic skill—just the right AI tool, like AI Photo HQ, which can do the heavy lifting for you in just a few clicks. I'm going to walk you through exactly how it's done with practical steps and examples.
Your Journey Into AI-Powered Anime Art
Ever look at one of your photos and wonder what it would look like in that vibrant, expressive anime style? It’s a cool thought, and it taps into a huge global phenomenon. Anime has a unique visual language that just adds a certain drama, charm, or punch to any scene.
That's exactly what this guide is all about. We'll skip the super technical stuff and get right into a practical tutorial for turning your everyday pictures into something that looks like it's straight out of an anime. Whether you're after a new profile pic, a unique gift, or just want to have some fun, you're in the right place.
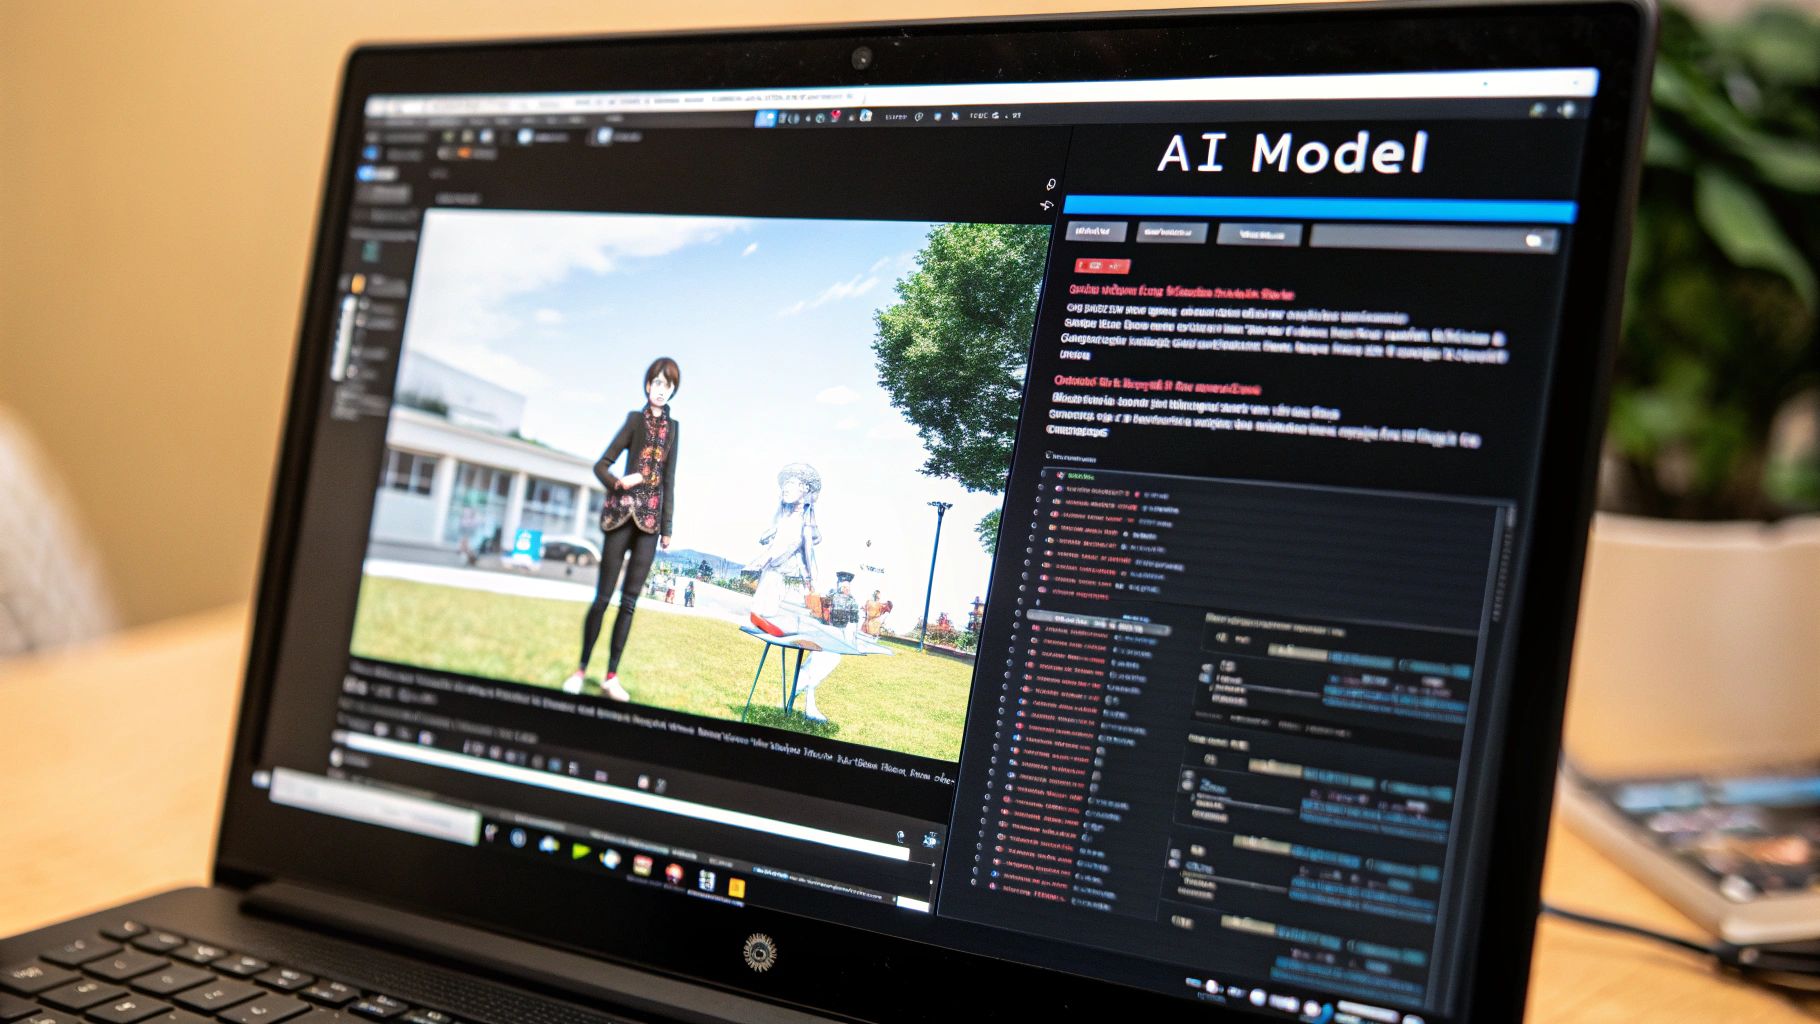
The screenshot below shows a typical AI tool interface. The process is straightforward: upload a photo, select a style, and let the AI work its magic.
As you can see, the whole process is designed to be simple, even if you've never touched an AI image tool before.
The Growing Appeal of Anime Aesthetics
The fascination with anime is more than just a niche hobby; it's a massive cultural movement. The anime market was valued at around USD 32.15 billion in 2023 and is expected to hit USD 72.35 billion by 2035. A big part of that explosion comes from streaming platforms making anime incredibly easy to access worldwide. You can discover more insights about the anime market's growth if you're curious.
This popularity has naturally created a demand for tools that let fans get hands-on with the art style themselves.
AI anime generators are more than just a fun gimmick. They're a gateway for people to get creative and show their love for a unique art form, putting some seriously powerful tools right at their fingertips.
Here's a quick look at what you'll learn in this guide:
- How to pick the perfect photo to convert.
- A step-by-step walkthrough for generating your anime image.
- Tips for using text prompts to get the results you really want.
- Simple tricks for adding those final polishing touches.
Step 1: Choosing the Right Photo for Anime Conversion
The secret to a jaw-dropping AI anime image isn’t some complex prompt or hidden setting. It all starts with the photo you choose. Not all pictures are created equal, and your choice here is the difference between a result that’s "okay" and one that’s amazing.
Think of it like giving the AI a solid blueprint. The better your starting point, the better the final construction will be. Your goal is to make an image anime that still feels like the original person, and for that, the AI needs clear information.
This isn't about complex edits beforehand. It’s simply about making a smart choice from your camera roll. By focusing on a few key elements, you can steer the AI toward creating a masterpiece.
Key Characteristics of a Great Source Photo
As you scroll through your photos, look for ones that have these qualities. I’ve found that these images produce the cleanest and most recognizable anime art. A little prep work here saves a ton of frustration.
Here’s my checklist for a perfect source photo:
- Clear, Focused Portraits: The AI works best when the subject's face is front and center. A close-up or a simple head-and-shoulders shot provides the most detail for the AI to interpret.
- Good, Even Lighting: Avoid harsh shadows or blown-out highlights. These can confuse the AI and lead to strange artifacts. Soft, natural light that illuminates the face evenly is ideal.
- Simple Backgrounds: A busy or cluttered background is the enemy. The AI might try to merge background elements into your character, creating a chaotic image. A plain wall or simple outdoor scene works best.
The old saying "garbage in, garbage out" is 100% true here. The quality of your input photo directly dictates the quality of the AI's output. A blurry, low-res image will almost always give you a muddy, indistinct anime conversion.
Common Pitfalls to Avoid
Steering clear of a few common mistakes will dramatically improve your results. A photo that looks fine to our eyes might have elements that throw off an algorithm.
Try to avoid these types of images:
- Low-Resolution Files: Pixelated images don't give the AI enough data. Always use the highest resolution photo you have.
- Group Shots: Converting group photos is tricky. The AI often struggles to tell faces apart, sometimes merging features. Stick to single subjects for best results.
- Obscured Facial Features: Photos where hair, hands, or sunglasses cover parts of the face are problematic. Ensure the eyes, nose, and mouth are clearly visible for an accurate translation into an anime style.
Step 2: Generating Your First Anime Image
You've picked the perfect photo. Now it's time for the fun part—turning it into anime art. With a tool like AI Photo HQ, this process is simple and intuitive.
Here is a step-by-step tutorial:
- Upload Your Image: Navigate to the AI anime generator and look for the "Upload Image" button. Select the high-quality portrait you chose in Step 1.
- Explore the Style Presets: Once uploaded, you'll see a gallery of anime styles. These are pre-made filters designed to give you a specific look with one click.
- Select a Style and Generate: Click on a style that catches your eye, such as "Modern," "90s Retro," or "Cinematic." Then, press the "Generate" button. The AI will process your image, which usually takes less than a minute.
- Review and Iterate: Look at the result. Does it capture the vibe you want? If not, simply go back and try another style. Don't be afraid to generate 3-4 versions to compare.
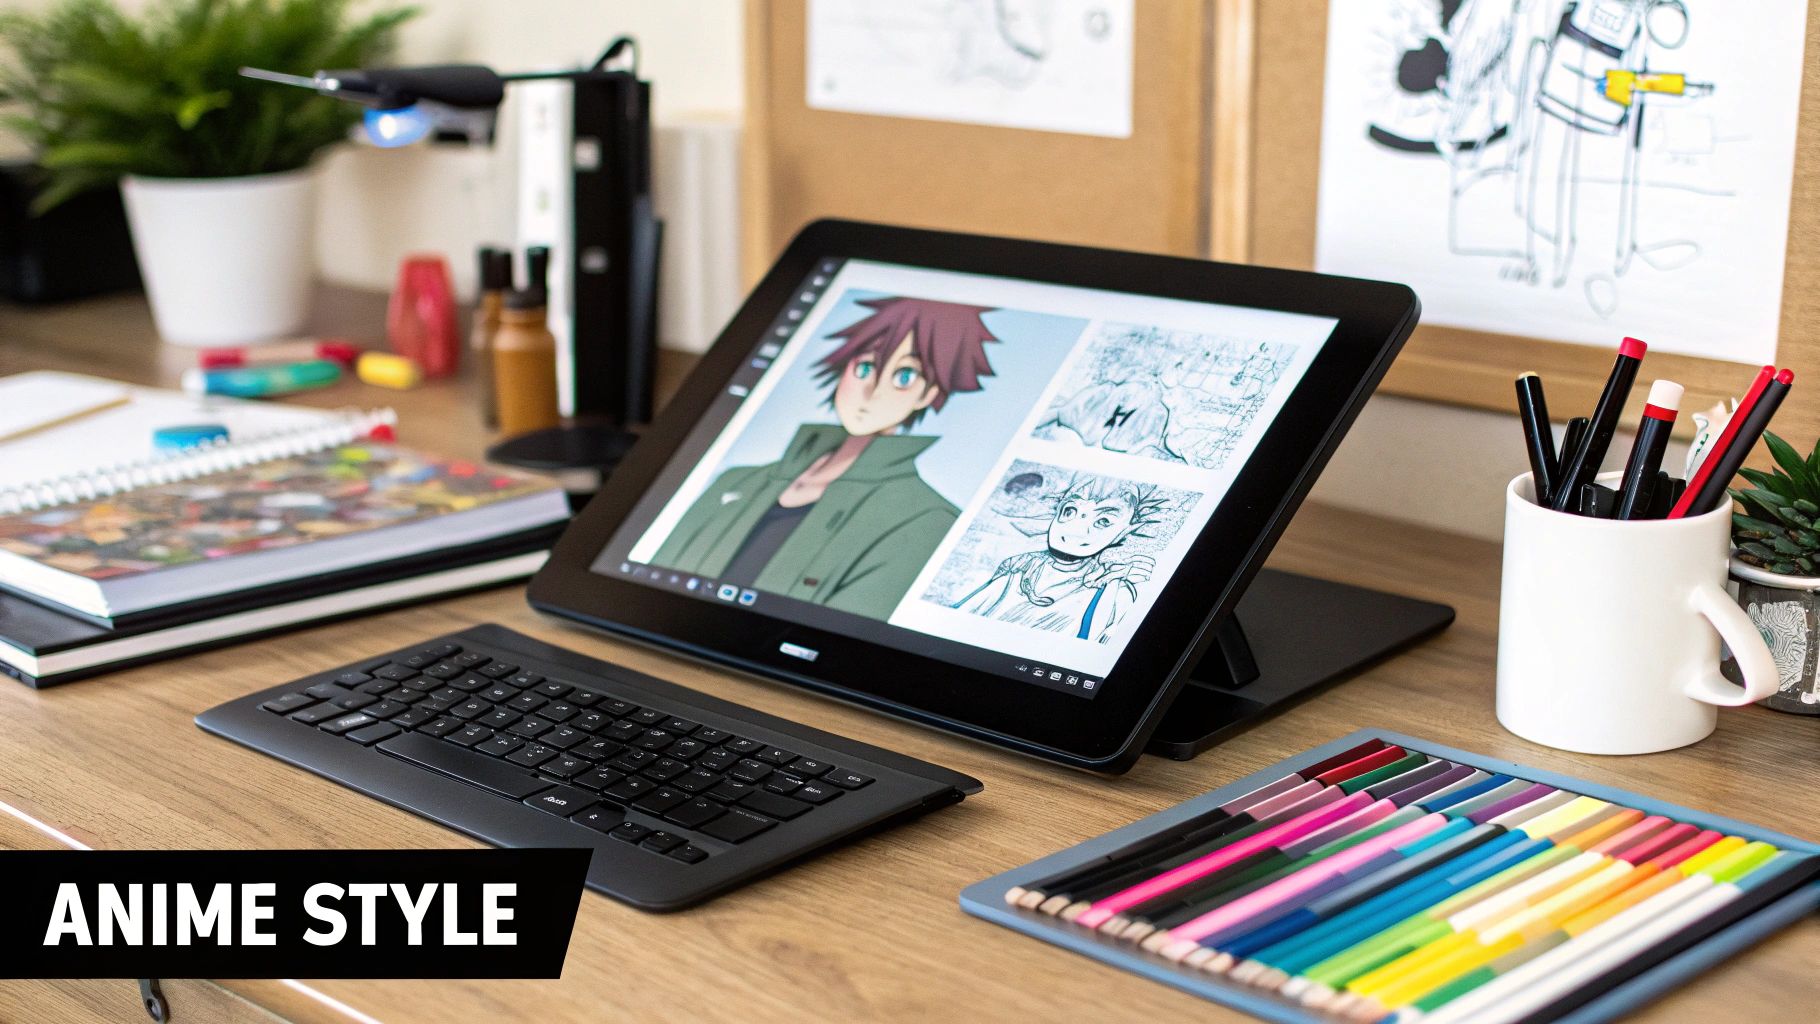
Finding the Right Anime Vibe
This step is all about experimentation. Each filter has been trained on a unique aesthetic, which is one of the main things that sets different AI models apart. For a deeper dive on that, our guide on Stable Diffusion vs Midjourney breaks it all down.
Common styles you'll encounter:
- Classic '90s: Perfect for a retro feel. Think bold outlines and cel-shading.
- Modern Cinematic: A polished, high-definition look with softer lighting.
- Chibi: A fun, super-stylized option with exaggerated characters.
- Ghibli-Inspired: Mimics the beautiful, painted look of Studio Ghibli films.
Here's a pro tip: Think of your first generated image as a starting point, not the final product. The best way to make an image anime is to start with a broad style and then get more specific with your tweaks.
It’s no surprise so many AI tools focus on Japanese anime. The global influence is huge, with Japan alone holding over 40% of the global market share. Now that you have your first image, let's learn how to take control with text prompts.
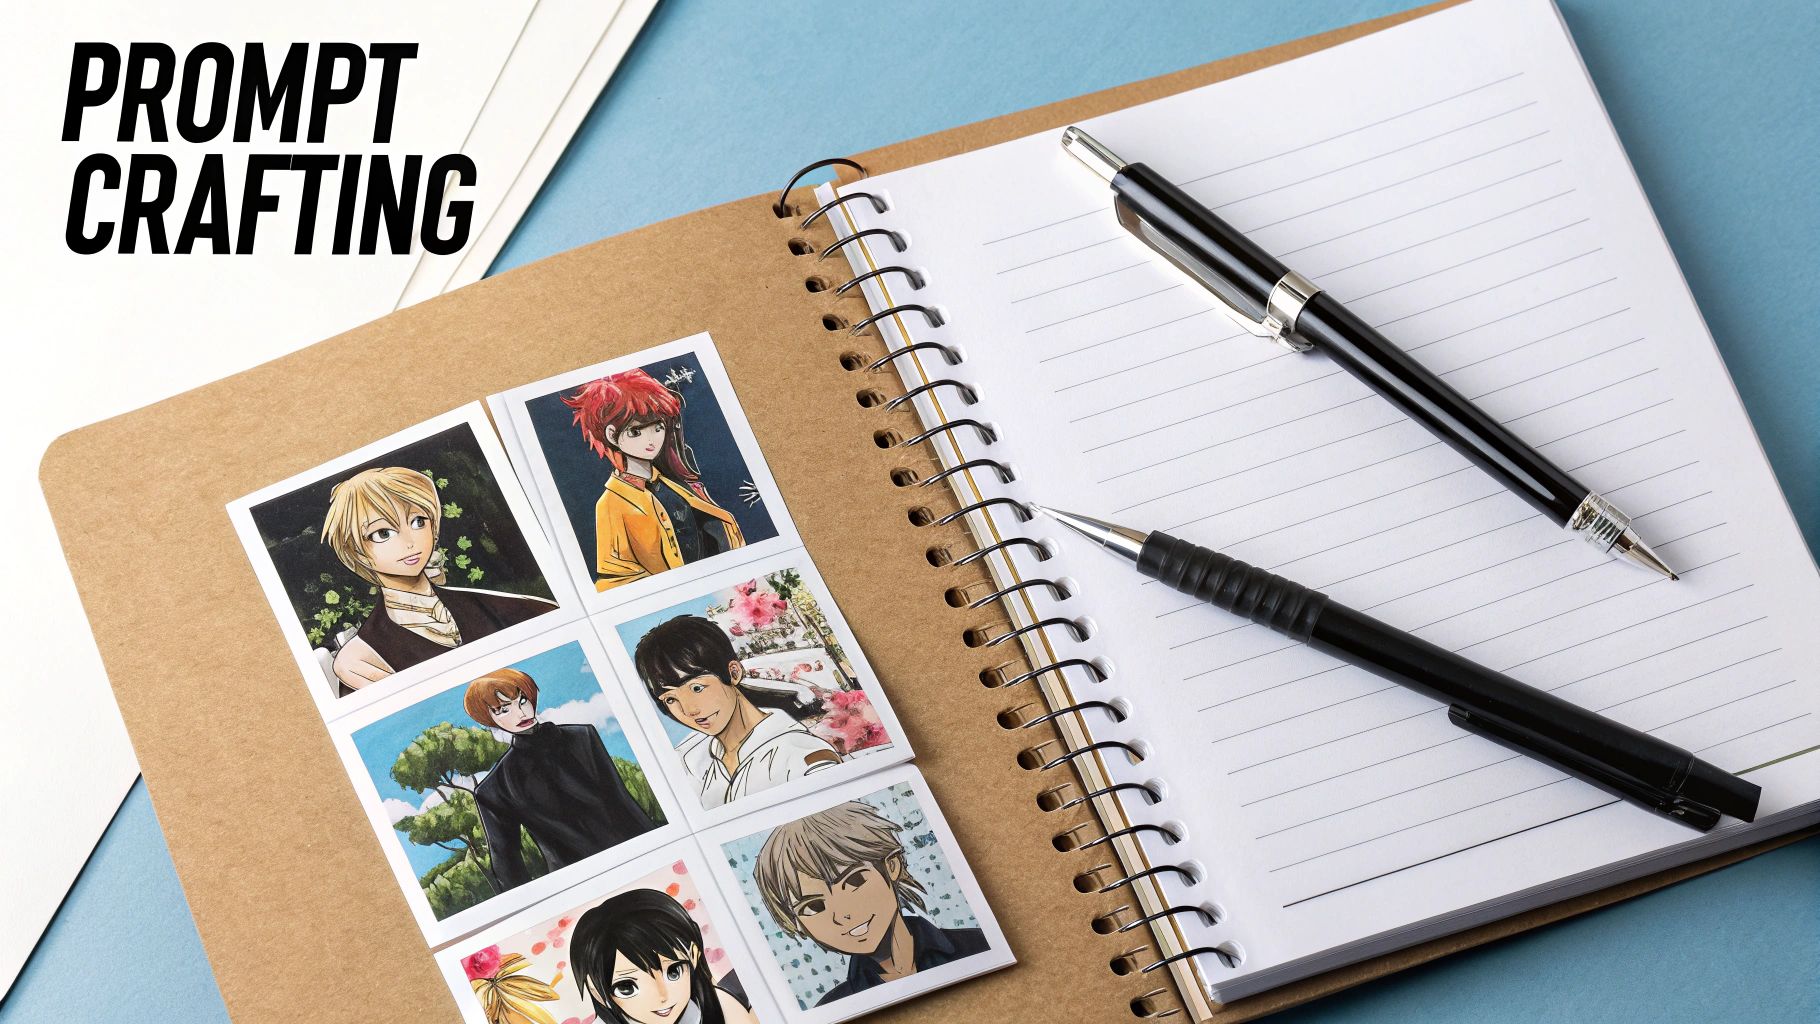
Step 3: Crafting Prompts for Your Unique Anime Style
Going beyond pre-set filters is where the real fun begins. Text prompts are your direct line to the AI, allowing you to get the exact look you're after. Mastering this is the key to turning a photo into anime that perfectly matches your vision.
A simple prompt like "anime style" will get you a result, but a detailed one unlocks so much more. For example, instead of just converting a landscape, try: "Ghibli-inspired landscape, watercolor sky, soft lighting." Specificity is your best friend.
This infographic breaks down the technical details behind popular anime styles.
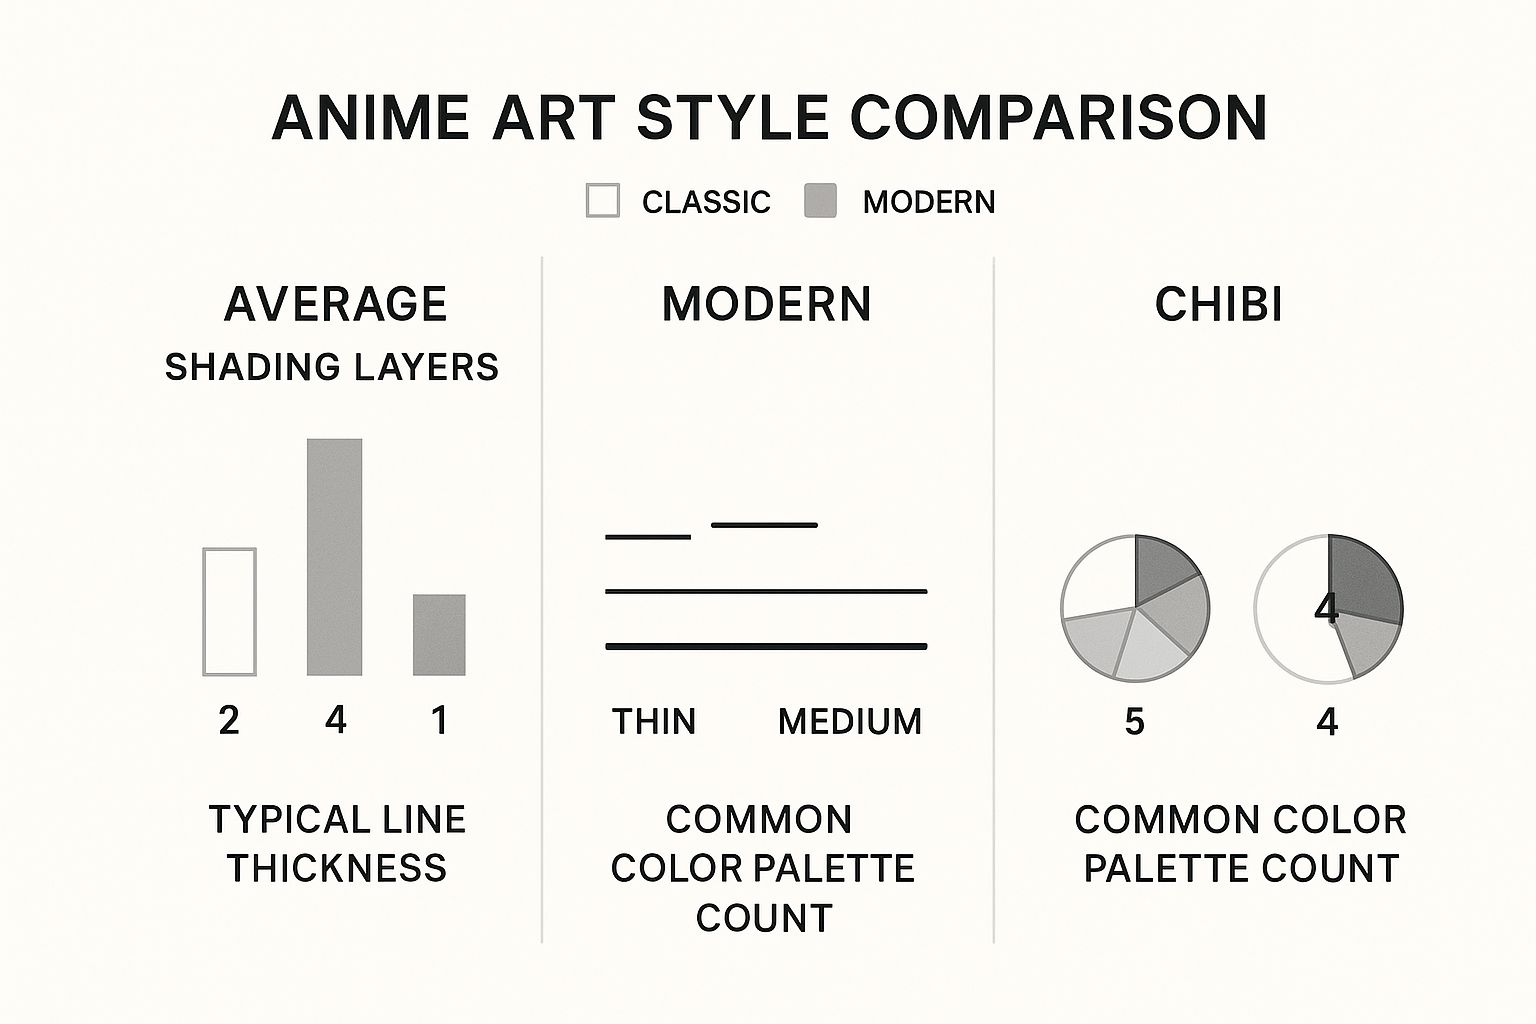
As you can see, a modern style often uses twice the shading layers of a classic one. You can hint at these details in your prompts to steer the AI.
Fine-Tuning with Prompts and Settings: A Practical Example
Let's refine an image with a specific goal. Imagine we have a portrait and want a dramatic, action-oriented look.
- Start with the Preset: Choose a "Modern" or "Cinematic" style as a base.
- Add a Descriptive Prompt: In the text box, enter a prompt like:
Dynamic shonen action pose, cel-shaded, intense energy effects, sharp lines, vibrant colors.This tells the AI the genre, shading style, and mood. - Adjust the Style Strength: Find the "style strength" slider. For our action shot, we'll set it high (around 75-90%). This gives the AI more freedom to create a dynamic new image inspired by the original.
- Generate and Compare: Create the image. Now, lower the style strength to 40% and generate again. You'll see the second image looks more like the original photo, while the first is a more dramatic reinterpretation.
Here's how I think about it: A low setting is like a light sketch traced over your photo, while a high setting is a brand-new painting inspired by it. There's no right answer; it just depends on what you’re trying to create.
To really get the hang of this, it helps to understand the building blocks of talking to an AI. Our full guide on how to write AI prompts dives much deeper into the techniques that get the best results.
Prompt Crafting Comparison
The table below shows how a simple change in your prompt can drastically alter the final anime image, even when starting with the same photo.
| Prompt Type | Example Prompt | Expected Outcome |
|---|---|---|
| Basic | "Turn my photo into anime." | A generic conversion with a standard filter. It’ll look okay but will lack a distinct personality or artistic direction. |
| Genre-Specific | "Dynamic shonen action pose, cel-shaded, intense energy effects, sharp lines, vibrant colors." | A completely transformed image with a specific, recognizable style. It tells a story and has a much stronger visual impact. |
| Artist-Inspired | "Anime portrait in the style of Makoto Shinkai, detailed background, lens flare, melancholic mood." | An output that tries to mimic a famous director's aesthetic, focusing on atmosphere, lighting, and emotional tone. |
Experimenting with artist names, specific genres, and technical terms will elevate your creations from simple conversions to unique pieces of art.
Step 4: Adding the Final Polish to Your Artwork
Getting a great image from the AI is a fantastic start, but finishing touches make it shine. When you make an image anime, you’ll sometimes spot minor flaws—a strange artifact in the background or an odd detail on a character’s face.
These are easy to fix with free tools like Photopea (browser-based) or GIMP.
Quick Cleanup Tutorial:
- Open Your Image: Load your generated anime PNG into Photopea or GIMP.
- Select the Healing Brush Tool: This tool is perfect for removing small imperfections. It's often represented by a band-aid icon.
- Click on the Flaw: Simply click on the stray pixel or awkward smudge you want to remove. The tool will automatically blend the area with its surroundings.
- Save Your Work: Once you're done, export the cleaned-up image. This simple step makes your final piece look far more professional.
Upscaling and Exporting Your Creation
AI often generates images at a lower resolution. To prepare your art for printing or high-quality display, you'll need to upscale it.
Most good AI tools have a built-in "Upscale" button. This can increase the resolution (e.g., from 1024x1024 to 4096x4096 pixels) without making it blurry. For a deeper dive, check our guide on AI image enhancement.
Quick tip: Save your final artwork in the right format. A high-quality JPG is great for social media, but if you’re building a portfolio or plan to print, always go with a lossless format like PNG. It preserves every single detail.
The global demand for anime is booming. In 2024, the US anime market alone hit USD 10.3 billion. This growth means there's a hungry audience for high-quality content. If you're curious, you can read the full report on global streaming expansion.
Got Questions About Your AI Anime Art?
Jumping into the world of AI art is exciting, but it's normal to have a few questions. Let's walk through some common ones.
First off, you don't need to be an artist. The AI handles the drawing; your job is to be the director. You choose the photo and give the AI clear instructions to get the look you're after.
What to Do When Your Anime Creation Looks... Off
So, your generated image looks nothing like the person in your photo. This is a common problem, usually caused by the "style strength" being set too high.
Don't get discouraged. The easiest fix is to dial back the "style strength" or "creativity" setting. This tells the AI to pay closer attention to the original photo's facial structure.
If that doesn't solve it, here are a few other steps that work well:
- Swap Your Photo: A picture with clearer lighting and a direct view of the face can make a world of difference.
- Just Try Again: Seriously, hitting "generate" again can produce a completely different—and much better—result due to the randomness in AI.
- Tweak Your Prompt: Get more specific. Adding phrases like "maintain facial features" or "realistic anime portrait" can give the AI the extra guidance it needs.
Most platforms offer free credits or a trial, which is perfect for experimentation. For high-resolution downloads, you'll usually need a subscription.
Once you get the hang of creating AI anime art, you might think about sharing it or even making money. As you build a portfolio, you can explore UGC creator platforms to see how your style might fit with brands or creative projects.
Ready to create your own stunning anime art? With AI Photo HQ, you have all the tools you need to transform your photos in seconds. Get started with AI Photo HQ today and bring your creative vision to life.

