If you've ever wanted to make your own chibi characters, you know the style: huge heads, big expressive eyes, and tiny little bodies. It's an iconic look, but getting it right used to mean diving into complex art theory and spending hours practicing.
Not anymore. Thanks to some clever AI tools, you can skip the steep learning curve and start creating custom profile pictures, unique stickers, or just have some fun with a new art style—all in a matter of minutes. Seriously, you don't need any drawing experience. Just bring your imagination.
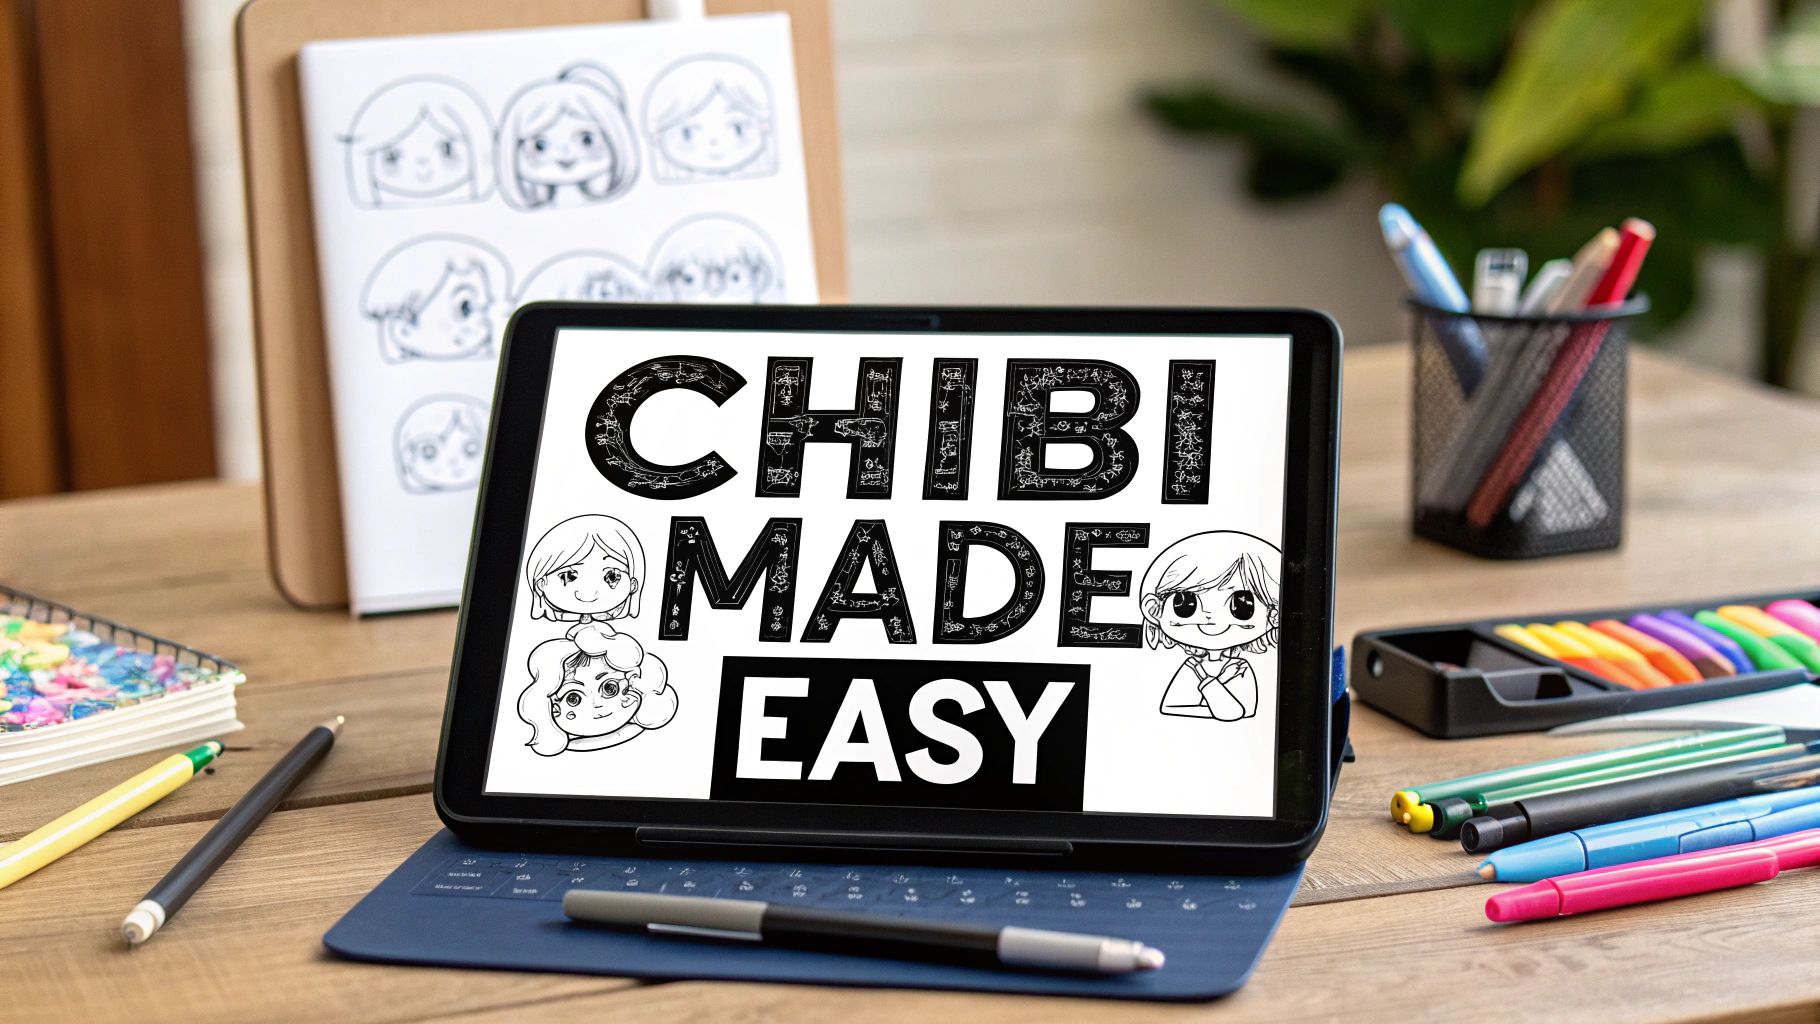
Your Quick Start Guide to Making Chibi Characters
Ready to create your own adorable chibi? Let's get right to the fun part. This guide is all about action, skipping the dense technical jargon and jumping straight into using AI tools to bring your ideas to life.
Think of this as your launchpad for making charming art, the easy way. We'll cover the core ideas that make a chibi look great and show you exactly how modern AI makes it simpler than ever. Whether you're after a new avatar or a set of cute digital stickers, you're in the right place.
Understanding What Makes a Chibi Adorable
Before you can make great chibi characters, you need to get a feel for what makes them so ridiculously cute. It really all boils down to their unique proportions.
The classic chibi look hinges on a very specific 1:1 or 1:2 head-to-body ratio. This is what gives them that iconic "super-deformed" or squished-down appearance that’s central to the style. Get this part right, and you're halfway there.
What started as a niche art style has exploded into a global phenomenon. Chibis are instantly recognizable symbols of Japanese pop culture, and their popularity has skyrocketed right alongside anime. To put it in perspective, nearly 63.5% of Americans now watch anime, which shows just how mainstream this aesthetic has become. You can see these trends playing out in real-time on platforms like poggers.com.
Another key element is simplification. Don't get bogged down in tiny details. Instead, focus on what makes the biggest impact: oversized, expressive eyes and simple, clean shapes for their clothing and hair.
Once you have a solid grasp of these visual basics, you'll find it much easier to write AI prompts that actually work. If you want to dive deeper into the core principles of what makes a character design compelling, check out our guide on character design fundamentals.
How To Write The Perfect AI Prompt For Your Chibi
Watching a tiny character pop off the screen is magical, and it all starts with the words you choose. Asking for a "chibi girl" is a gamble. Instead, let's build a prompt step-by-step to get the exact result you want.
Step 1: Start with the Core Subject
Begin by clearly defining your character. Be specific.
- Vague:
chibi girl - Better:
chibi girl with wavy chestnut brown hair tied in a messy bun
This simple addition tells the AI the color, texture, and style of the hair, giving you a much more intentional result.
Step 2: Add Descriptive Details
Now, layer on more information. Break it down into clear, comma-separated details.
- Outfit:
wearing an oversized yellow hoodie and blue shorts - Action/Pose:
waving happily, holding a giant lollipop - Art Style:
soft watercolor style, bold line art, simple vector illustration
Here’s how you combine them:chibi girl with wavy chestnut brown hair tied in a messy bun, wearing an oversized yellow hoodie and blue shorts, waving happily, holding a giant lollipop, soft watercolor style
Step 3: Set the Scene and Mood
Finally, add a background and atmosphere. This elevates your character from a simple drawing to a complete scene.
- Background:
standing under moonlit cherry blossoms - Atmosphere:
glowing fireflies, gentle breeze, confetti falling
Your final prompt becomes:chibi girl with wavy chestnut brown hair tied in a messy bun, wearing an oversized yellow hoodie and blue shorts, waving happily, holding a giant lollipop, soft watercolor style, standing under moonlit cherry blossoms, glowing fireflies

Perfect prompts follow a simple flow: subject, then details, then mood.
To see how this transforms your prompt, compare these examples:
Vague vs. Specific AI Prompts for Chibi Creation
This table demonstrates how adding detail to your AI prompts dramatically improves the quality and accuracy of the generated chibi character.
| Prompt Element | Vague Prompt Example | Specific Prompt Example | Resulting Improvement |
|---|---|---|---|
| Hair Style | “chibi girl” | “wavy chestnut brown hair tied in a messy bun” | Captures color, texture and hairstyle intent |
| Pose | “smiling” | “hands clasped, head tilted to the side” | Conveys personality and a dynamic stance |
| Background | “garden” | “moonlit cherry blossom grove at dusk” | Creates a vivid setting and lifts the mood |
Tuning each element this way delivers more consistent and higher-quality outputs.
For a deeper dive on constructing winning prompts, head over to our complete guide on how to write AI prompts.
Give these tips a shot next time you’re sketching out a chibi—and watch your characters come to life.
Taking Your AI Chibi From Good to Great
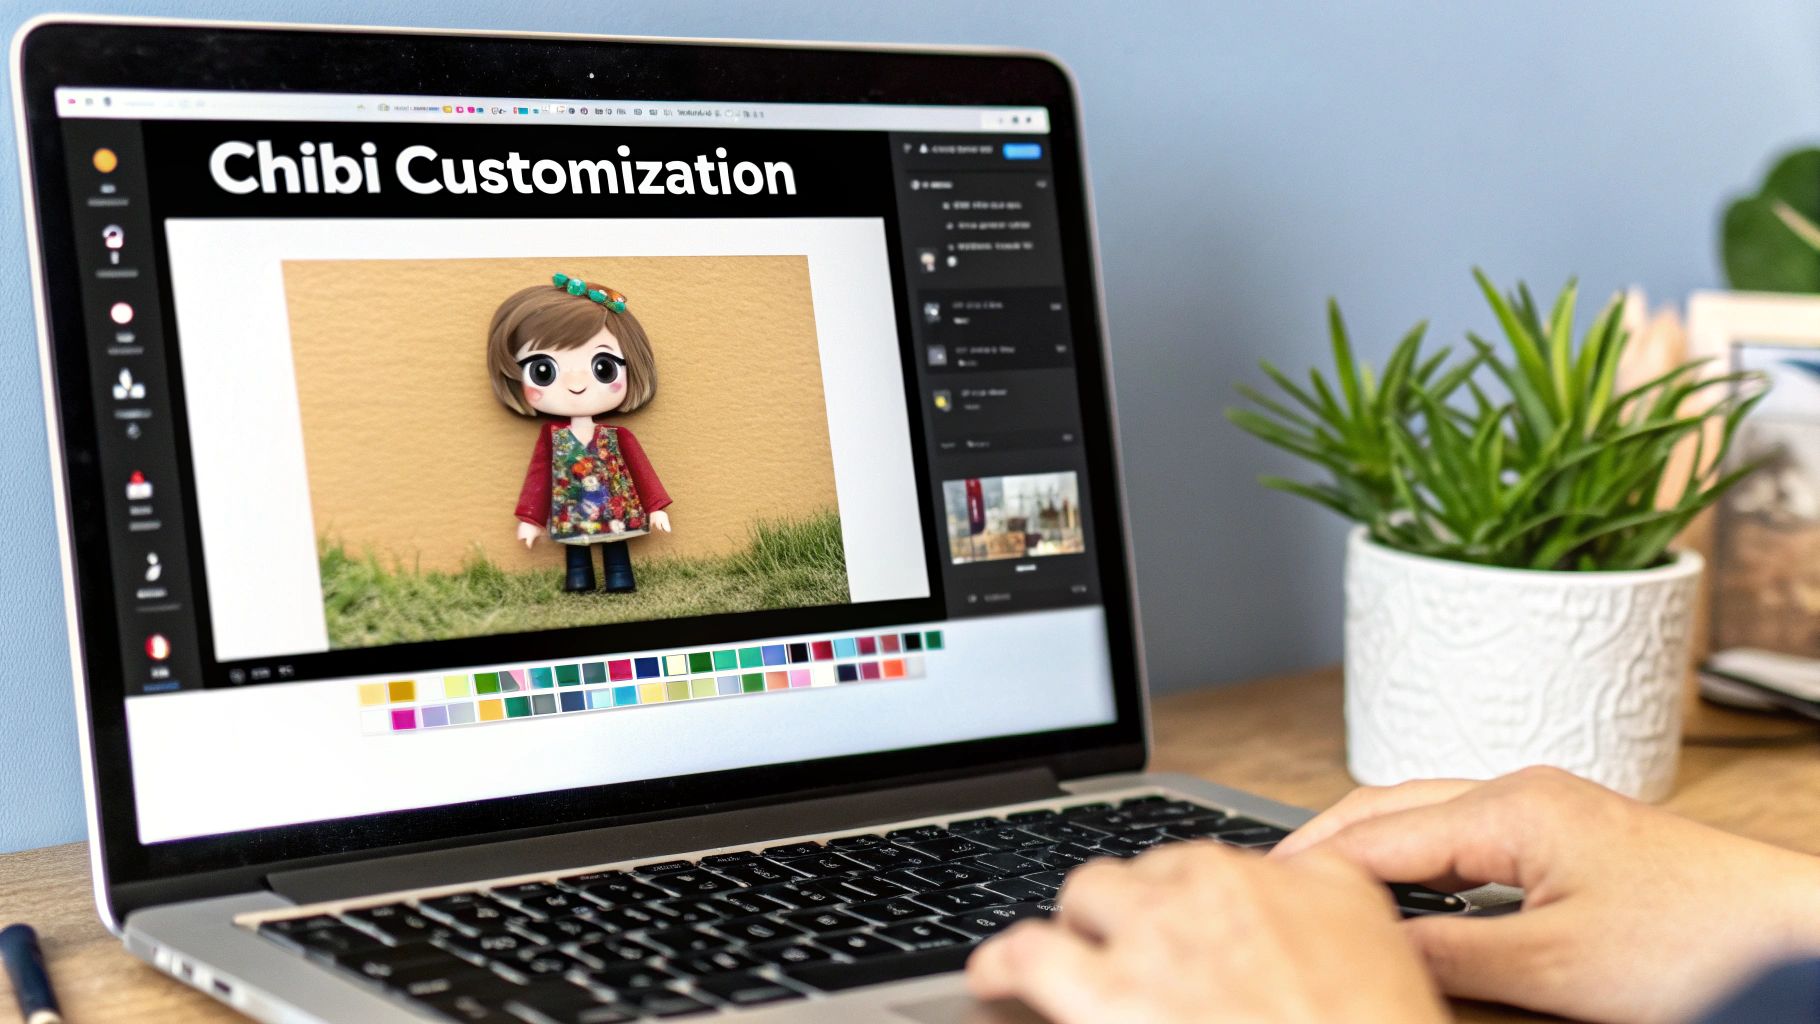
The first image your AI spits out is a fantastic starting point, but the real magic happens in the refinement stage. This is where you inject your own personality and flair into the character.
Think of it like this: the AI gives you the clay, but you're the sculptor.
A Step-by-Step Guide to Refining Your Chibi
Let's walk through a simple refinement workflow you can use with free tools.
- Generate Your Base Image: Use the prompting techniques from the previous section to create your initial chibi. Don't worry if it's not perfect.
- Export the Image: Save the generated image to your computer, preferably as a high-quality PNG with a transparent background if the AI tool allows it.
- Open in a Free Editor: Go to a web-based tool like Canva or Photopea. No installation is needed. Upload your chibi image.
- Add Text and Graphics: This is the easiest way to add personality.
- In Canva, use the "Text" tool to add a speech bubble with a fun quote.
- Search the "Elements" tab for stickers like sparkles, hearts, or stars and drag them around your character.
- Create a Custom Background: Don't like the AI's background? Drag a photo or a colored shape behind your chibi layer to create a new one instantly.
- Fix AI Quirks: Let's be real, AI isn't perfect. Sometimes you'll get odd results like wonky hands or mismatched accessories.
- For minor issues, use a simple eraser tool or a "clone" tool in Photopea to paint over the mistake.
- For major issues like a badly formed hand, try generating a new chibi with a prompt that specifies the hand's action, like
hands clasped behind backorholding a book.
For more complex fixes, it helps to understand how the AI "thinks" about anatomy. Our guide on how to generate full-body shots with Stable Diffusion XL has insights that are just as useful for chibis as they are for full-scale characters.
Practical and Fun Uses for Your Chibi Characters
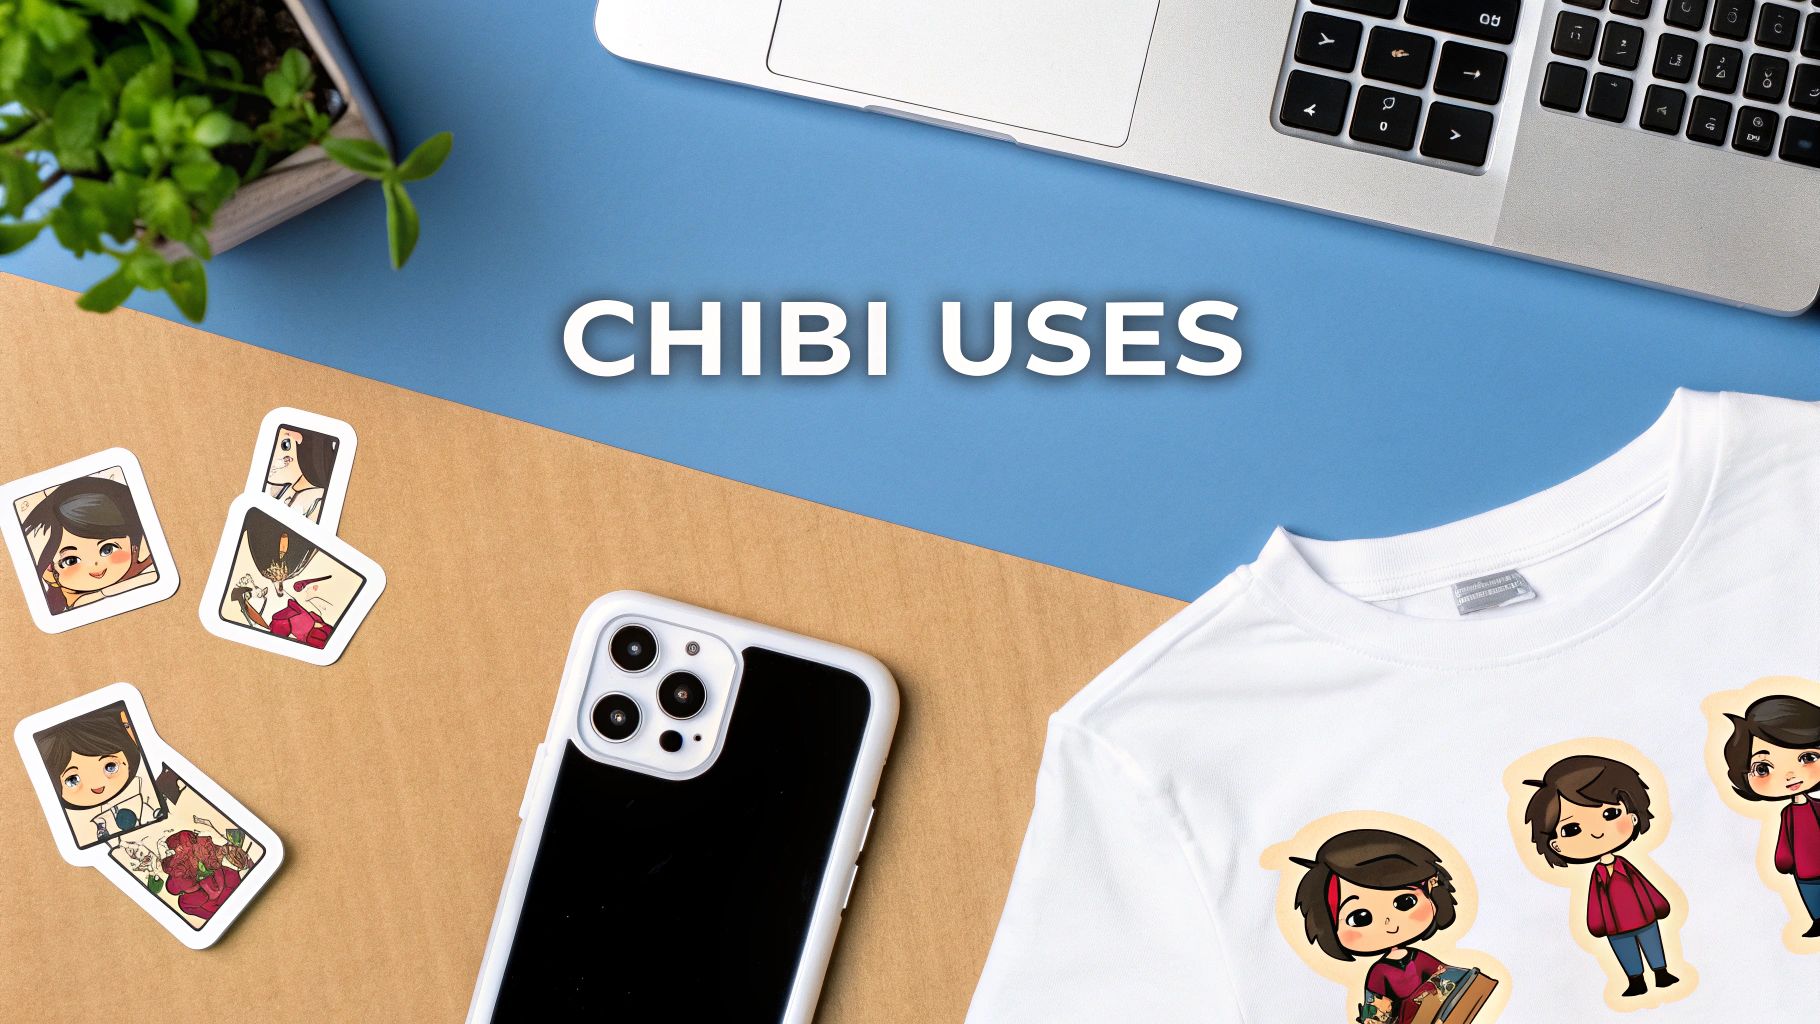
Alright, you've generated some fantastic, adorable chibi characters. Now for the fun part: showing them off. Here are some step-by-step ideas.
Tutorial: Making a Custom Discord Sticker
- Generate a Chibi: Create a chibi with a clear emotion (e.g.,
chibi boy laughing,chibi girl crying comically). Generate it with a transparent background. - Resize the Image: Discord stickers need to be 320x320 pixels. Use a free online image resizer to get the dimensions right.
- Upload to Discord: In your server settings, go to "Stickers" and upload your resized image. Give it a name, and you're done!
Tutorial: Creating a Social Media Avatar
- Focus on the Face: Use a prompt that emphasizes the head and shoulders, like
chibi portrait, cute girl with glasses, smiling at the camera, clean background. - Crop to a Square: Most profile pictures are square. Use any basic image editor (even your phone's) to crop the image into a 1:1 aspect ratio.
- Upload: Set it as your new profile picture on Instagram, Twitter, or any other platform.
The global appeal of "kawaii" (cute) culture is massive. Franchises like Chiikawa recently broke into China's top 10 best-selling intellectual properties, proving how these styles have become huge cultural exports.
You can also bring your chibis into the real world. By prepping your designs for print-on-demand, you can create t-shirts, mugs, or keychains. It's worth exploring the different printing methods to bring your chibi design to life on a t-shirt to ensure your final product looks amazing.
Got Questions About Making Chibi Characters?
Jumping into the world of AI-generated chibis is a blast, but it's natural to have a few questions pop up as you get started. Let's tackle some of the most common ones I hear so you can get back to creating.
What’s the Best AI Tool for This Style?
While tons of AI image generators can spit out a chibi, you’ll get the best results from tools that are specifically trained on anime and illustrative art.
The real game-changer is finding a platform that gives you robust control over negative prompts. This is how you tell the AI what not to include. Think of it as your way of saying, "no realistic proportions" or "no overly complex details." Getting this right is how you truly nail that signature chibi look.
How Can I Keep My Character Looking Consistent?
Ah, the classic AI consistency challenge. It can be frustrating when you get the perfect character but can't recreate them. The secret is to find the core of your prompt and reuse it religiously.
Pin down the exact details that define your character—like their specific hair color, eye shape, and that one signature piece of clothing—and lock them into your prompt every single time you generate a new image.
Pro-Tip: Some of the more advanced tools out there have a feature called a "seed number." If you find one, use it! By plugging in the same seed, you can tell the AI to create subtle variations of the exact same initial image. It's a fantastic trick for building a whole set of consistent-looking pictures.
Can I Legally Use the Chibis I Create?
This is a big one, and the answer is: it depends. The two key factors are the terms of service of the AI tool you're using and what you plan to do with the art.
- For personal use, like a new social media avatar or just sharing with friends, you're almost always good to go.
- For commercial use, you absolutely must check the platform's licensing rules. The good news is that many modern tools grant you full commercial rights to whatever you generate.
The bottom line? Always read the fine print before you start planning to sell your awesome chibi creations.
Ready to create your own adorable chibi characters in just a few clicks? At AI Photo HQ, our templates and powerful AI engine are designed to make it simple and fun. Get started with AI Photo HQ today!

