Online photo restoration is a game-changer. It uses AI-powered tools to automatically fix up old pictures—tackling everything from scratches and tears to that awful faded look. It’s a super quick and accessible way for anyone to digitally repair and preserve precious memories, no fancy software or pro skills needed.
Giving Your Old Photos a Second Chance
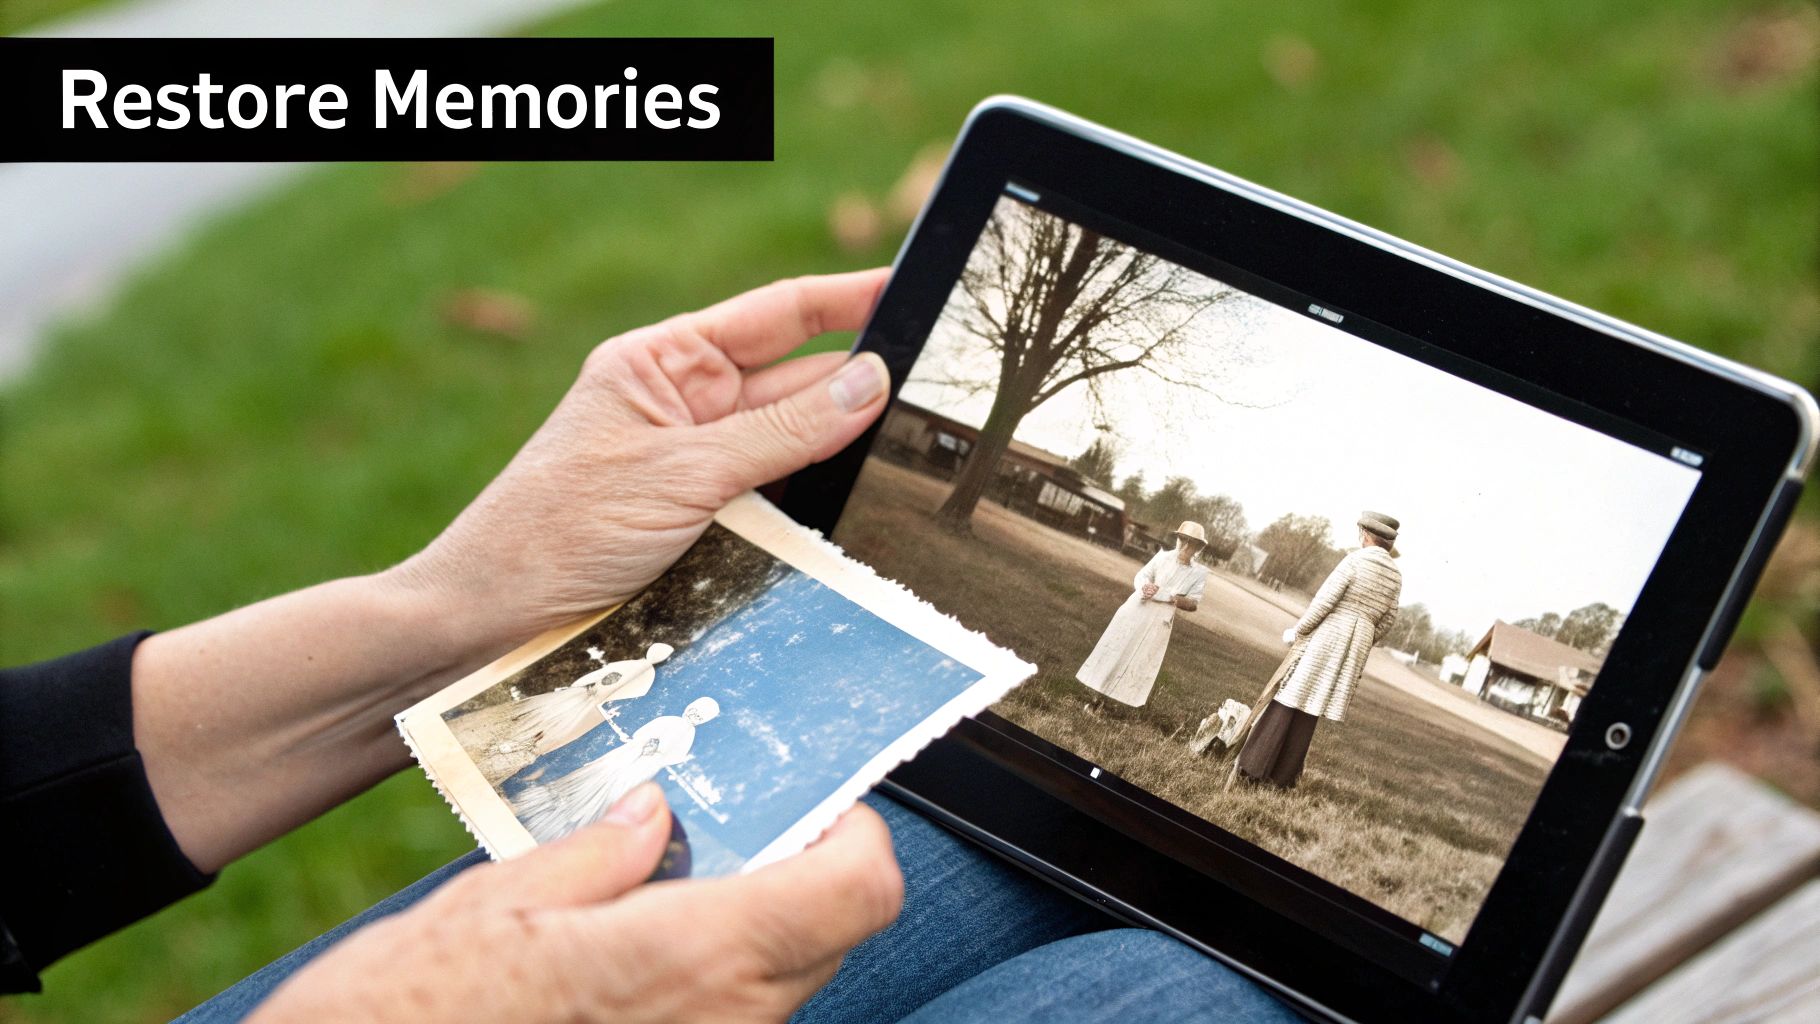
We all have them. Those shoeboxes stuffed with faded, torn, and discolored photographs that hold priceless memories. For years, fixing them meant shelling out for expensive professional services, but today's technology lets anyone bring these images back to life right from their computer.
This guide is here to show you just how simple it can be. We're skipping the technical jargon and focusing on practical steps. I'll walk you through transforming those fragile old prints into vibrant digital keepsakes, proving you don't need to be an expert to salvage your family's history.
The Growing Demand for Digital Preservation
The desire to save old photos isn't just some niche hobby; it's a huge and growing market. The global online photo restoration space was valued at around $1.48 billion in 2024 and is expected to rocket to $3.5 billion by 2035. This boom shows just how much people want to preserve family memories, and AI is making it easier than ever.
Of course, restoring your photos is just the first step. Proper storage is just as critical for the long haul. For some solid advice on long-term care, our article on https://aiphotohq.com/blog/2025/07/how-to-preserve-old-photos offers some essential tips.
The real magic of AI restoration is that it's made a once-exclusive skill available to everyone. What used to take a professional retoucher hours of painstaking work can now be done with a few clicks. It’s all about making memory preservation accessible.
To give you a better idea of what modern AI can handle, I've put together a quick table.
Common Photo Damage and AI Fixes
This table gives you a quick look at typical photo damage and how effectively modern AI restoration tools can address each issue.
| Damage Type | Description | AI Restoration Capability |
|---|---|---|
| Scratches & Tears | Physical marks, lines, or rips on the photo surface. | High. AI is excellent at filling in these gaps seamlessly. |
| Fading & Discoloration | Colors have washed out or shifted over time due to light exposure. | High. AI can reintroduce lost color and correct tones. |
| Stains & Water Damage | Blotches or spots from spills or moisture exposure. | Medium to High. Effective on minor to moderate stains. |
| Low Resolution | Older photos that are blurry or lack detail when digitized. | High. AI upscaling can significantly enhance sharpness. |
| Missing Pieces | Small sections of the photo are physically gone. | Medium. AI can reconstruct small areas based on context. |
As you can see, AI is incredibly powerful for most common issues, making it a fantastic tool for most restoration projects.
More Than Just a Digital Fix
Once your photo is restored, the creative fun can really begin. Beyond just a digital repair, you can reimagine your memories in a whole new way. For instance, you could learn how to turn photo into painting to give them a timeless, artistic quality. This approach transforms a restored image into a new piece of art, perfect for displaying in your home.
How to Properly Digitize Photos for Restoration
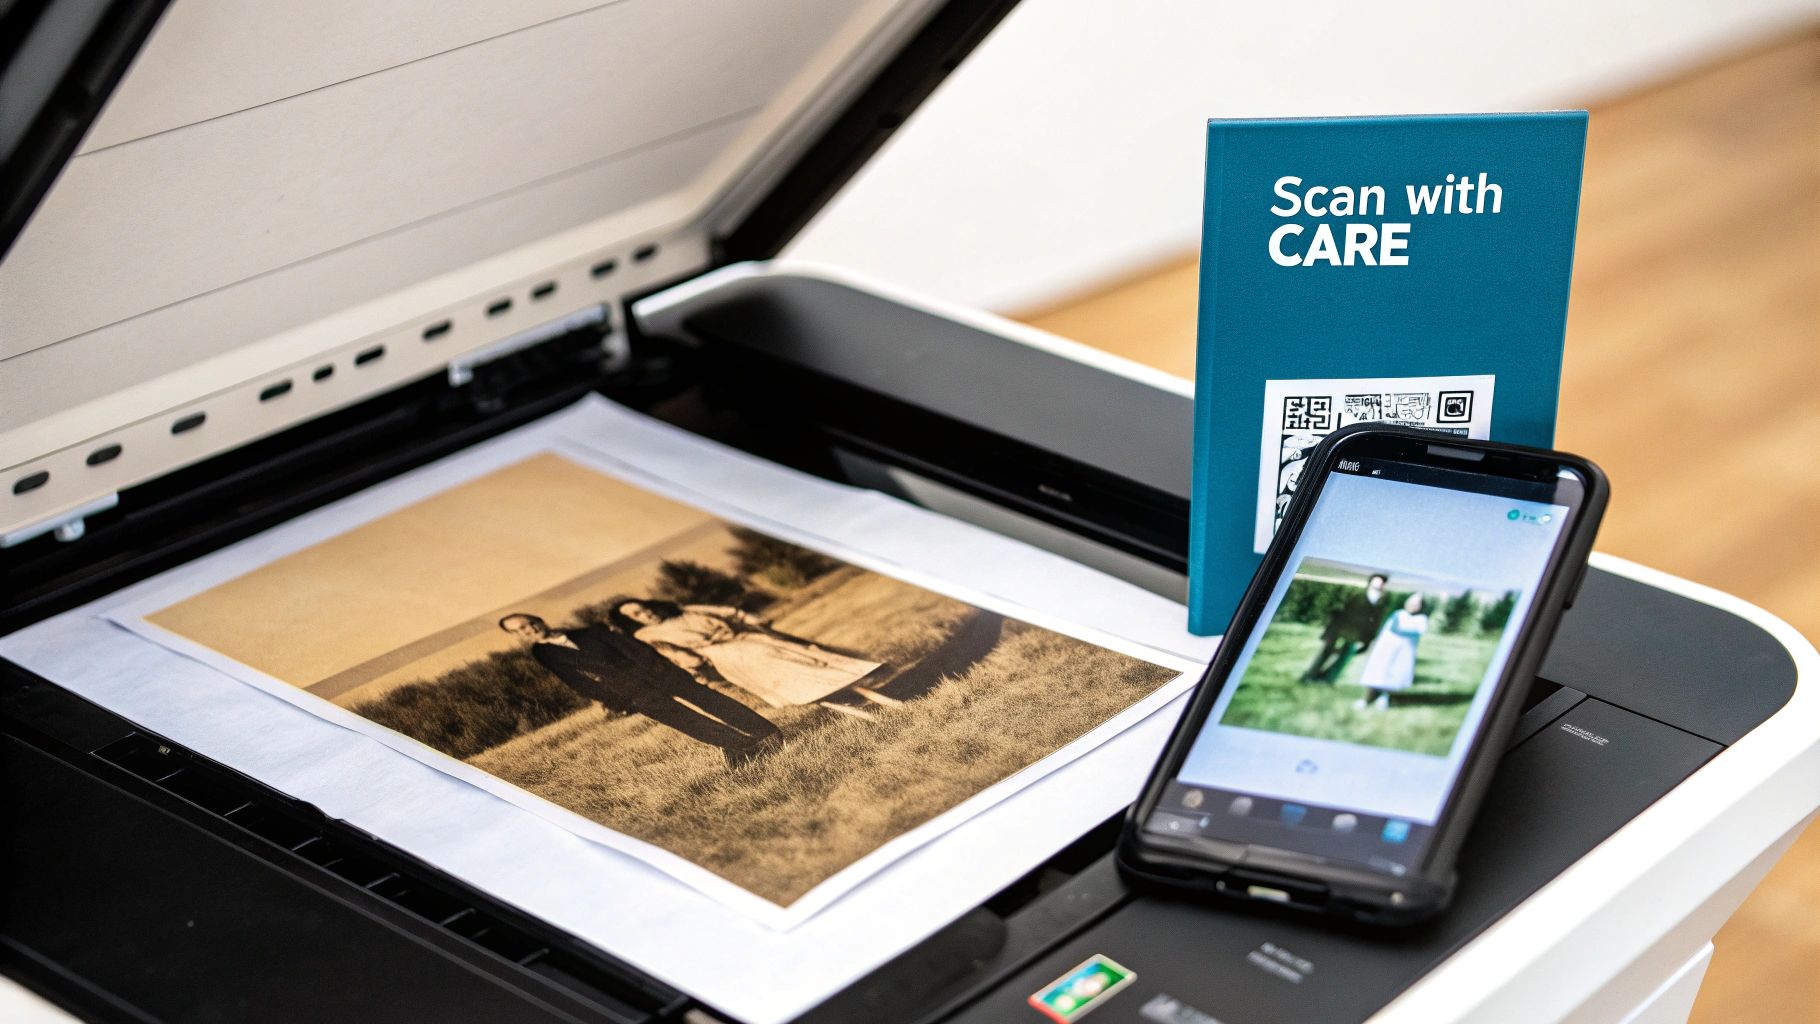
The success of any online photo restoration hinges on one crucial, and often rushed, step: the quality of your digital copy. An AI tool is only as good as the information you give it. Think of it this way—a high-quality scan gives the AI a clear blueprint to work from, setting it up for the best possible results.
Whether you're using a dedicated flatbed scanner or just your phone, the main goal is to capture as much detail as you can. A blurry, low-quality scan can actually introduce new problems like digital noise, which only confuses the AI and leads to a less-than-impressive final image.
Choosing Your Digitization Method
You really have two main paths for turning a physical print into a digital file: a flatbed scanner or a smartphone. Each has its pros and cons, but you can get excellent results from either if you just follow a few key principles.
A flatbed scanner is the gold standard, no question. It gives you even lighting, a perfectly flat surface, and precise control over resolution. It's what the pros use, and for good reason. If you have a big box of family photos to get through, investing in a decent scanner is definitely worth it.
That said, your smartphone camera is surprisingly capable. Modern phone cameras are incredibly powerful, and with the right technique, you can create a fantastic digital copy that's more than ready for restoration. This method is convenient and perfect when you only have a handful of photos to digitize.
Scanner Settings for Maximum Quality: A Step-by-Step Guide
If you're going the scanner route, don't just hit the default "scan" button. Take a moment to dive into the settings to ensure you’re capturing the best image possible.
- Clean the Glass: Before you do anything, wipe down the scanner's glass bed with a lint-free cloth. Dust and smudges will show up in your scan and create more work for the AI.
- Open Advanced Settings: In your scanner software, look for a button labeled "Advanced Mode," "Professional Mode," or something similar.
- Set Resolution (DPI): Set your scanner to a minimum of 600 DPI (dots per inch). For smaller photos (like old 3x5 prints) that you might want to enlarge later, choose 1200 DPI. This high resolution grabs all the fine details the AI needs.
- Choose File Format: Select TIFF as your output format. TIFF is a "lossless" format, meaning it preserves all the original image data without compression. If TIFF isn't an option, choose the highest-quality JPEG setting (usually 100%).
- Disable Auto-Corrections: Turn off any automatic "enhancements," "color correction," or "dust removal" features in the scanner software. You want the AI restoration tool to work with the raw, untouched scan.
Remember, you can always save a high-quality restored TIFF as a smaller JPEG for sharing online later. But you can't add detail back into a low-quality scan. Always start with the best source file you can create.
Smartphone Scanning: A Quick Tutorial
Using your phone requires a bit more care to get right, but it's totally achievable. Follow these steps to avoid common pitfalls like glare and distortion.
- Find the Right Light: Go near a window for bright, indirect natural light. Avoid direct sunlight, which causes harsh glare. Turn off any overhead lights to prevent shadows.
- Set the Scene: Place your photograph on a flat, neutral-colored surface (like a black or white piece of poster board).
- Position Your Phone: Hold your phone directly above the photo, ensuring it's perfectly parallel. Use your camera's on-screen gridlines to align the edges of the photo.
- Focus and Expose: Tap the screen to focus on the most important part of the photo (like a face). This also sets the exposure correctly.
- Take the Shot: Hold your phone steady with both hands and take the picture. Avoid using the zoom feature, as this reduces quality. Instead, move your phone closer if needed.
- Crop and Straighten: In your phone's photo editor, crop out the background and use the straighten tool to fix any slight angles.
Once you have your digital files, the next step is getting them organized. Check out our guide on how to organize digital photos to create a system that works for you. The growing popularity of digital photo scanning services, which are projected to be valued at $367.5 million in 2025, shows just how many people are digitizing their collections, making organization more important than ever. You can learn more about the growth of digital photo scanning services on datainsightsmarket.com.
A Practical Walkthrough of AI Restoration Tools
Okay, you've got your high-quality digital scan. Now for the fun part—actually fixing the photo. We're going to walk through the process using a tool like AI Photo HQ to show you just how simple it is to undo decades of damage in a matter of minutes. That journey from a faded, scratched print to a vibrant memory is surprisingly fast.
Getting started is as easy as dragging and dropping your file into the tool or clicking the big "Upload Image" button. Once it’s loaded, the AI immediately gets to work, analyzing the image for all the usual suspects: fading, scratches, discoloration, and general wear and tear.
This infographic breaks down the core workflow you'll find in most AI restoration tools. It’s a simple three-step process.
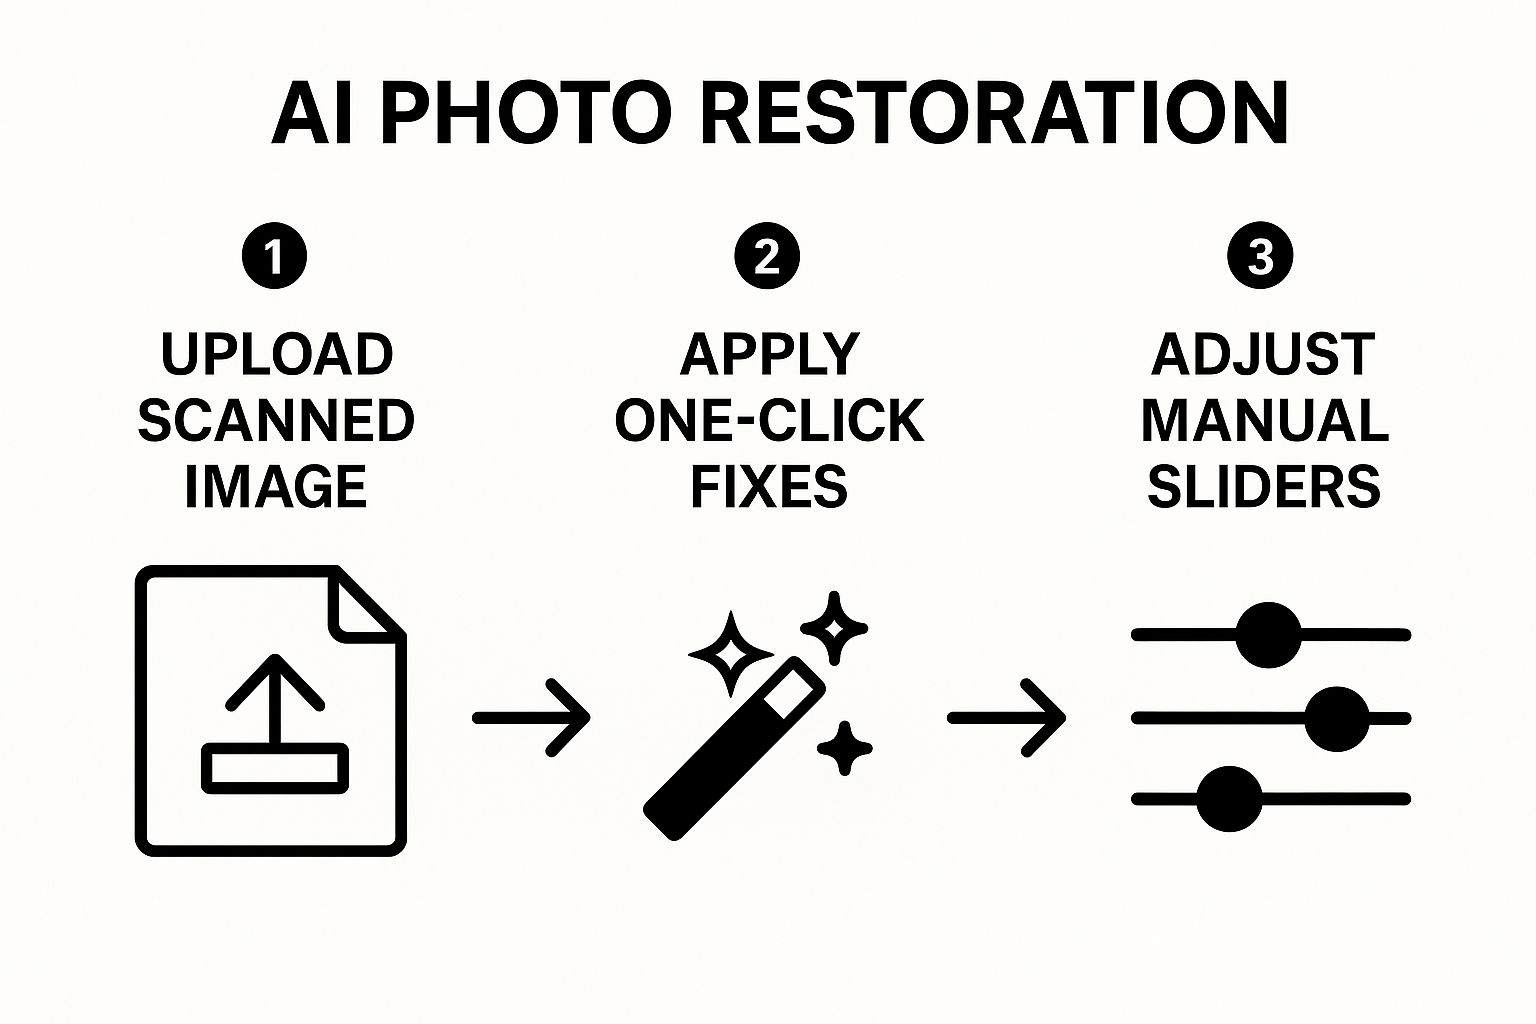
As you can see, it’s all about simplicity. You upload the file, let the AI work its magic, and then you step in to make the final tweaks.
Tutorial: Your First One-Click Restoration
The real magic of modern restoration tools is their one-click functionality. Let’s walk through it.
- Upload Your Photo: Drag your scanned image file onto the web interface or use the "Upload" button to select it from your computer.
- Locate the "Restore" Button: Most tools will present a prominent "Restore," "Enhance," or "Fix" button. Find this primary function.
- Click and Wait: Press the button. The AI will now analyze and apply a whole suite of fixes at once—correcting color, smoothing creases, and sharpening features. This usually takes less than a minute.
- Review the Result: The tool will typically show you a side-by-side or slider comparison of the "before" and "after." For over 80% of common photos, this single step is enough to get a fantastic result.
The restored image immediately shows clearer details, more vibrant colors, and the removal of physical damage—all handled by the AI's initial pass.
Fine-Tuning with Manual Controls
While the automatic fix does the heavy lifting, sometimes you need a more delicate touch. Here's a quick tutorial on using manual sliders to perfect the AI's work.
- Problem: Scratches are gone, but a face looks too soft. Find the Scratch Removal or Clarity slider. Dial it back slightly until you see fine details (like hair or fabric texture) reappear without the scratch returning.
- Problem: The restored colors look too intense or unnatural. Locate the Color Correction or Saturation slider. Reduce it in small increments until the tones look more realistic and less like a cartoon.
- Problem: The photo looks a little blurry. Use the Sharpening slider. Nudge it up just enough to make edges look crisp. Stop before you see "halos" or a gritty texture appear.
My personal tip is to always run the one-click fix first. Let the AI do its thing. Then, zoom in on key areas like faces and backgrounds and use the manual sliders for small, targeted adjustments. This hybrid approach gives you the best of both worlds—speed and precision.
How to Colorize a Black-and-White Photo
One of the most mind-blowing features in online photo restoration is the 'Colorize' function. Here's how to use it effectively.
- Restore First: Before adding color, run the standard restoration process to fix any scratches or fading. A clean black-and-white image gives the AI the best chance at accurate colorization.
- Find the 'Colorize' Tool: Look for a specific button or toggle labeled "Colorize" or "Add Color."
- Apply and Evaluate: Click the button. The AI will analyze the shades of grey to predict and apply original colors. Look closely at skin tones, clothing, and backgrounds.
- Adjust Intensity (Optional): If the colors look too vibrant or "painted on," find a Color Intensity or Saturation slider. Reduce it to achieve a more subtle, hand-tinted vintage look.
If you're looking to sharpen up these newly colorized photos, you might want to explore an online image upscaler to really make the details pop. The technology behind visual enhancement is truly remarkable. For a broader look at how AI is being used to visually alter environments, this Virtual Staging AI Guide to Transforming Spaces is a fascinating read.
Advanced Techniques for Difficult Photos
After you get the hang of basic fixes, you’ll eventually run into that photo. You know the one—it has severe fading, a nasty tear running right through someone's face, or a blur that obscures a crucial detail. This is where you move past one-click solutions and get into the real art of online photo restoration. It's about blending the AI's raw power with your own strategic touch.
Here's the thing: you can't just hit the "restore" button harder and hope for the best. With really tough photos, the order you apply fixes in is everything. Get the sequence wrong, and you can actually make things worse. For example, if you try to colorize a photo before fixing deep scratches, the color can bleed into the damaged areas, making the final repair look messy and unnatural.
The Correct Restoration Workflow: A Step-by-Step Guide
For any photo with a cocktail of problems, follow this specific order to get a clean, professional result.
- Step 1: Structural Repairs First: Use the tools for Tears and Creases. Focus the AI on fixing the physical damage. This gives you a solid, clean canvas to work on.
- Step 2: Blemish and Scratch Removal: Next, run the Scratch Removal or Noise Reduction tool. This clears away smaller imperfections like dust, minor blemishes, and film grain.
- Step 3: Color and Tone Adjustments: Now, correct fading or color shifts with the Color Correction tool. If it’s a black-and-white original, this is the point where you’d apply the Colorize feature.
- Step 4: Final Sharpening: Sharpening is always last. Apply a sharpening filter after all other repairs are complete. This ensures you're enhancing the clean details, not the original flaws.
The golden rule for difficult photos is repair before you enhance. Fixing a tear across a face before colorizing ensures the AI has the best information to reconstruct features accurately. Getting this order right is the single biggest factor in achieving a professional-looking restoration.
Case Study: A Torn and Faded Portrait
Let's walk through a super common scenario: a vintage portrait with a big tear running right through the person's eye and that classic yellow tint from age. A simple, automated fix would likely choke on this, trying to reconstruct a complex facial feature while also correcting the color.
Here is the step-by-step process for this specific problem:
- Isolate the Tear: Instead of a full "Restore," look for a manual repair or "Inpainting" tool. Use your mouse to draw a mask directly over the tear on the person's face.
- Apply the Repair: Hit "Apply" or "Fix." The AI will now use only the surrounding pixels (the other eye, the cheek) to intelligently reconstruct just the damaged area.
- Correct the Color: Now that the structure is fixed, run the main Color Correction or Auto Enhance function. The AI can now accurately balance the tones without getting confused by the tear.
- Sharpen the Details: As the final step, apply a light sharpening filter to bring out the details in the newly repaired eye and the rest of the face.
This is where automated AI and human guidance really meet. It’s no surprise that the market for photo retouching services was estimated to hit $610 million in 2025 and is still climbing. While AI does a lot of the heavy lifting, the demand for a skillful, human touch on important images isn't going anywhere. You can read more about the photo retouching market on datainsightsmarket.com.
Troubleshooting Common AI Restoration Issues
AI is an amazing assistant for restoring old photos, but let's be honest—it's not perfect. Every now and then, the AI's interpretation of a faded or damaged image can produce results that are just a little... off.
You know what I'm talking about. Skin that looks unnaturally smooth and waxy, colors bleeding outside the lines, or brand-new details that the AI seems to have invented out of thin air.
Don't worry, this is a totally normal part of the process. It doesn't mean your photo is a lost cause. The real skill is learning to spot these little glitches and using the manual controls to nudge the AI toward a more authentic result.
Think of the AI’s first pass as a rough draft. Your job is to step in as the final editor and make those critical, human-touch adjustments.
Fixing Unnatural Skin Textures: A Quick Tutorial
One of the most common issues is the "plastic doll" effect, where noise reduction removes natural skin pores. Here’s the step-by-step fix:
- Identify the Problem: Zoom in on a person's face. If it looks overly smooth and lacks texture, the AI's enhancement was too strong.
- Locate the Intensity Slider: Find the main "Restoration," "Enhance," or "Beauty" slider that controls the overall strength of the effect.
- Dial It Back: Reduce the slider's intensity by 10-15%. Watch the image as you do. You want to see a hint of the original film grain or skin texture return without the photo looking noisy again.
- Fine-Tune with Clarity: If the face still looks a bit soft, use a separate Clarity or Texture slider to add back a small amount of detail just to the skin areas.
A great rule of thumb is to focus on the eyes. If you can restore a natural-looking texture to the skin without making the eyes look overly sharp or artificial, you've found the perfect balance for your online photo restoration.
Correcting Color Bleed with Masking: A Step-by-Step Guide
AI colorization can sometimes "spill" colors where they don't belong. Masking tools let you fix this with precision.
- Select the Masking Tool: In your toolset, find an icon that looks like a paintbrush, often called a "Mask" or "Selection" tool.
- Paint Over the Problem Area: Carefully use your mouse to paint over the section where the color is wrong (e.g., the blue from a dress that has bled onto an arm). The area will usually be highlighted in a semi-transparent color.
- Adjust the Selection: With the area masked, find the color adjustment sliders. Decrease the Saturation slider for that area to remove the unwanted color, or use the Hue slider to change it.
- Feather the Edges: Look for a "Feather" setting for your mask. Increasing this slightly will soften the edges of your correction, helping it blend seamlessly into the rest of the image.
This targeted approach gives you pinpoint control to clean up those little color spills. It’s these subtle tweaks that take a good restoration and make it a truly believable and polished one.
Have Questions About Photo Restoration?
Jumping into photo restoration for the first time, you're bound to have some questions. It’s powerful stuff, but knowing what to expect from the technology is the key to getting great results. Let's tackle some of the most common things people ask before they get started.
Can AI Really Fix Photos That Are Badly Damaged?
You'd be surprised. Modern AI has been trained on literally millions of images, which lets it make incredibly smart guesses to fill in missing pieces, erase deep scratches, and even piece together facial features.
Now, if a photo is almost completely gone, there’s only so much it can do. But for significant tears, heavy stains, and bad fading, the results are often stunning. Honestly, these tools can produce fixes that would have taken a professional artist hours of painstaking work, and they do it in seconds.
The trick is to give the AI something to work with. As long as there are some recognizable details left in the picture, you have a very good chance of a successful restoration.
Is It Safe to Use My Original Photos Online?
Absolutely, and this is a big one. It's a common worry, but let me put your mind at ease: when you use an online tool like AI Photo HQ, you are only working with a digital copy.
Your original, physical photograph is never, ever touched or put at risk. You upload a scan or a picture you took with your phone, and all the magic happens on that digital file.
Think of it like making a photocopy to write on. Your original document stays safe and sound. Once you have a good digital version, you should store your precious original photos properly and work only with the copy.
What's The Difference Between Restoration and Enhancement?
Good question—the terms get thrown around a lot, and many tools do both. They're actually two different jobs with distinct goals.
- Photo Restoration: This is all about repair. The main goal is to fix damage—scratches, tears, water spots, fading—and bring the photo back to how it originally looked.
- Photo Enhancement: This is all about improvement. You take a photo that's already in good shape and make it look even better by tweaking the brightness, contrast, color balance, or sharpness.
Many platforms, AI Photo HQ included, let you do both. A typical workflow is to first restore the photo to fix the damage, and then enhance it to make the details sharper and the colors really pop.
How Much Does This Usually Cost?
The cost can be all over the map, but the great news is that AI has made photo restoration more affordable than ever. A lot of tools use a "freemium" model, which means you can usually fix a few photos for free just to see how it works.
If you plan on doing more, a monthly subscription is pretty standard, often in the $5 to $15 range.
To put that in perspective, a professional artist doing manual restoration can charge anywhere from $50 to several hundred dollars for a single image, especially if the damage is complex. The AI route really opens this up for everyone.
Ready to bring those cherished memories back to life? Give AI Photo HQ a try and see for yourself how easy it is to restore, enhance, and even colorize your old photos. Get started today at https://aiphotohq.com.

