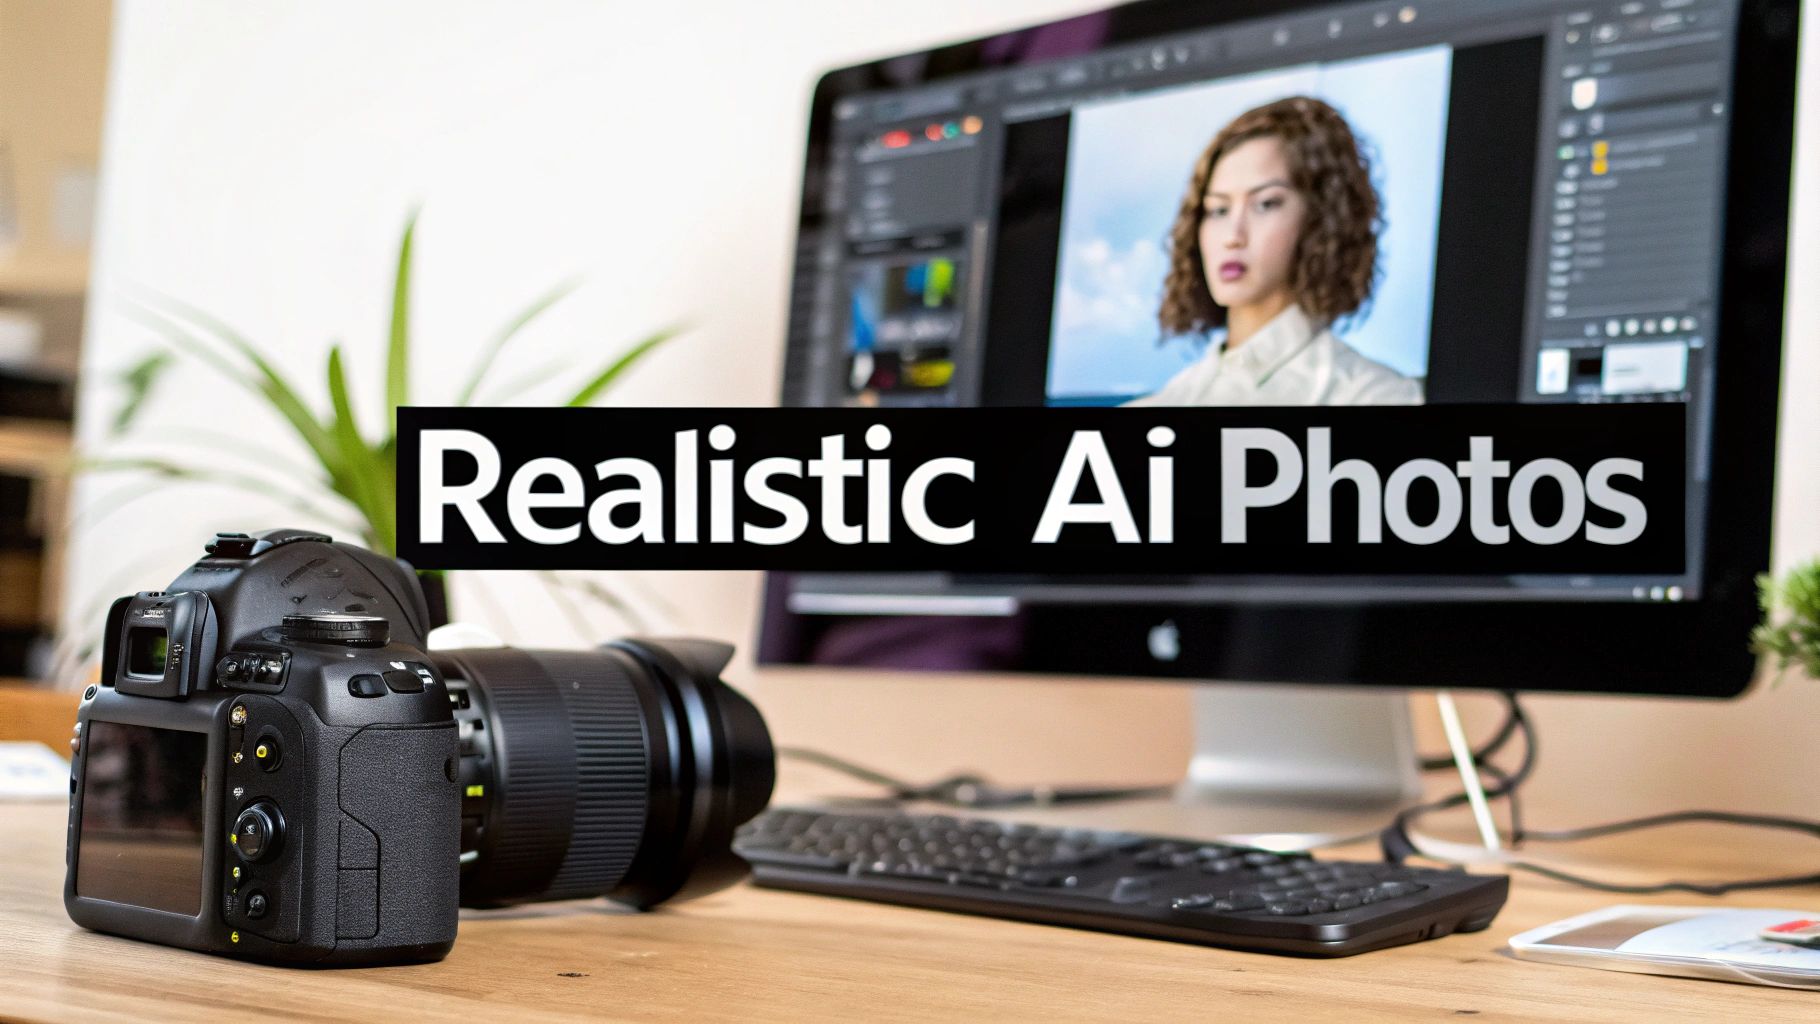
Realistic AI photos are exactly what they sound like: high-quality images churned out by artificial intelligence that are so convincing, you’d swear they were shot with a real camera.
The magic happens when you feed a descriptive text prompt to a powerful AI, like Stable Diffusion XL, telling it exactly what to create. It’s all about blending your artistic vision with the right technical instructions to nail that perfect, photorealistic look.
The New Era of AI Photography
Welcome to the wild world of AI photorealism, where your words can literally conjure up stunningly real images. This is where we stop talking theory and start seeing the incredible power of this technology firsthand.
Think of yourself as a director and the AI as your personal, infinitely skilled photographer. It's ready to create any scene you can dream up, on demand. Learning what makes an AI-generated photo feel "real" is a game-changing skill that unlocks a universe of creative possibilities.
To get a sense of just how big this is, look at the numbers. The creation of realistic AI photos is a huge slice of the generative AI pie. A staggering 34 million AI images are created every day. Since 2022, that number has ballooned to over 15 billion images, with a whopping 80% of them coming from tools built on Stable Diffusion.
Why Photorealism Matters
Chasing photorealism isn't just a cool technical exercise; it’s about creating digital art that connects with people. When an AI image feels authentic, it suddenly becomes incredibly useful for everything from eye-catching marketing campaigns to professional headshots. The whole point is to make people forget they're looking at a generated image and just feel its impact.
This ability to generate true-to-life imagery has some massive advantages:
- Cost-Effectiveness: Forget about expensive photoshoots, location scouting, and hiring models. High-quality visuals are now within reach for everyone.
- Creative Freedom: You’re no longer boxed in by reality. You can create scenes from any point in history, dream up impossible landscapes, or stage the perfect product shot, all from your computer.
- Speed and Efficiency: Need to test a dozen visual concepts for a campaign? You can now do it in minutes, not weeks. This speed completely changes the creative workflow.
"The aim is not to just replicate reality, but to control it. With AI, you can craft the perfect lighting, composition, and mood that a traditional camera could only capture by chance."
Ultimately, getting good at creating realistic AI photos gives you a powerful new way to tell compelling stories. As we get into the practical side of things, you’ll see how the right mix of descriptive words and technical commands can transform a simple idea into something breathtakingly real. The influence of artificial intelligence in photography is only getting bigger, and this guide is your starting point for creating your own lifelike images.
How AI Turns Digital Noise into Photorealism
To really get the hang of creating realistic AI photos, it helps to peek behind the curtain. The magic powering tools like AI Photo HQ, which often relies on a model called Stable Diffusion XL (SDXL), isn't about finding a picture—it’s about building one from scratch, out of pure chaos.
Think of an old TV screen showing nothing but static. That's what the AI starts with: a canvas of meaningless digital noise. Your text prompt is the instruction manual, telling the AI how to methodically chip away at that noise, bit by bit, until a clear image emerges.
This whole procedure is called diffusion. The AI model has been trained on a massive library of billions of images and their text descriptions. It learned what "golden hour" looks like—the specific colors, the long shadows, the warm light. Now, it uses that knowledge to reverse the process, slowly turning random pixels into a picture that actually matches what you described.
The Secret Language of AI Generation
This entire creative act doesn't happen in the world of pixels we see. Instead, it takes place in a compressed, abstract world called latent space. You can think of latent space as the AI's imagination. It's a much more efficient place to work.
Instead of wrestling with huge, high-resolution pixel data from the get-go, the AI translates your prompt and the initial static into this conceptual format. In this space, it can make big, foundational changes easily—like setting the overall composition or a person's pose.
Once the main idea is locked in, the model translates it back into the pixel grid we're familiar with, filling in all the fine details that make it look real. This is why one small tweak to your prompt can completely change the final image; you're essentially altering the blueprint in the AI's mind.
The journey from a simple idea to a finished image is a pretty straightforward workflow.
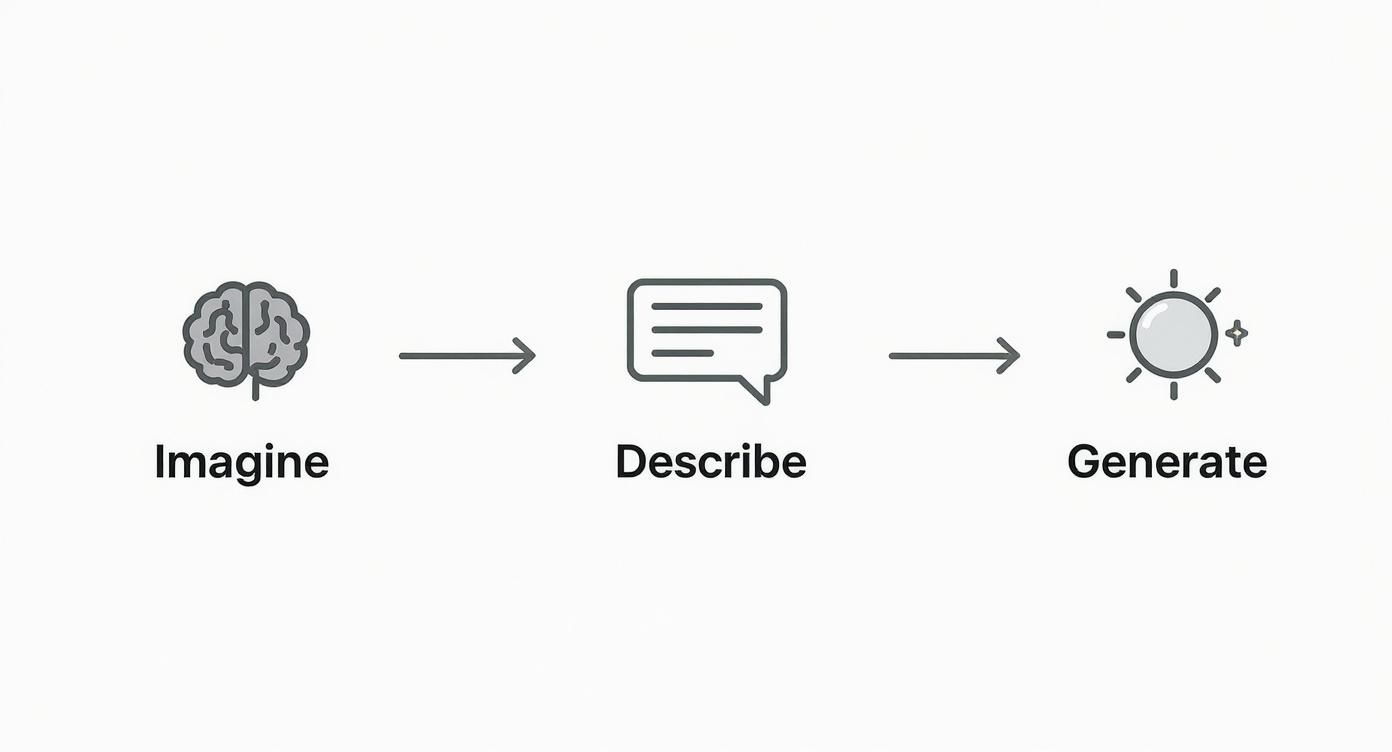
As you can see, it all starts with an idea. You describe that idea in a prompt, and the AI gets to work generating the image.
From Pixels to Perfection
After the core image is generated, there's often one more critical step: upscaling. This isn't just stretching the image to make it bigger. The AI intelligently adds new, context-aware details, analyzing the existing pixels and filling in the gaps with sharper textures and crisper lines. It’s what turns a standard-quality output into a high-resolution masterpiece you can actually use professionally.
Understanding this journey—from noise to latent space to a fully rendered, upscaled photo—is what separates good results from great ones. You're not just barking orders at a machine; you're collaborating with an intricate artistic process.
By grasping the foundational concepts of diffusion and latent space, you shift from being a passive user to an active director. You learn to speak the AI's language, enabling you to guide it toward creating the exact realistic AI photos you envision.
Knowing the AI builds images from concepts helps you write better prompts. Instead of just listing objects, you can start describing the mood, the lighting, and the composition—the very building blocks the AI uses in its own imagination. This is the first real step toward getting stunning, predictable results every time.
Your Toolkit for Crafting Realistic AI Photos
Getting into realistic AI photos isn't about mastering complex software. It's really about getting a feel for a few key controls.
Think of an AI image generator like AI Photo HQ as a fancy new camera. At first, all the dials and buttons might seem a little intimidating, but once you figure out what each one does, you unlock total creative freedom. This is where we'll get our hands dirty.
We’re going to walk through the essential settings and create our first realistic image together. The point isn’t just to click a button; it's to understand why certain settings push an image toward photorealism. By the end, you'll have a solid foundation for bringing your own ideas to life.
Navigating the Creative Dashboard
When you first open up an AI image generator, you’ll see a simple but powerful workspace. The most obvious part is the prompt box—that's where you'll describe the image you want to create. But the real magic for getting hyper-realistic results happens in the settings around it.
To really get good at crafting your own realistic AI photos, it helps to know what tools are out there. While we're focused on a specific workflow here, it's worth exploring the wider world of the best AI for image generation tools to get more context and inspiration.
Here are the main controls you need to get a handle on:
Aspect Ratio: This just sets the shape of your image. Are you making a vertical story for Instagram (9:16), a classic portrait (2:3), or a cinematic landscape shot (16:9)? Nailing the aspect ratio from the get-go is key for a good composition.
Style Selector: Think of this as your creative shortcut. Instead of typing out "photorealistic, cinematic lighting, 8k," you can just pick a "Photorealism" or "Cinematic" style. This instantly tells the AI what you're aiming for, saving you a ton of typing.
Negative Prompt: This is easily one of the most powerful tools for fine-tuning. It's where you tell the AI what you don't want to see. If your images keep looking like cartoons, you can add words like "animation, illustration, 3d render, cartoon" to push the AI back toward reality.
Your First AI Portrait: A Step-by-Step Guide
Alright, let's put this into practice. We're going to create a simple, realistic portrait—a professional headshot of a woman in an office.
Craft the Main Prompt: Start with a clear, descriptive sentence. Let's go with:
Professional headshot of a female architect in her 30s, smiling warmly, in a bright modern office with large windows.Select the Right Style: In the style selector, find an option like "Photorealism" or "Professional Headshot." This tells the AI to focus on realistic details like skin texture, natural light, and sharp focus right away.
Set the Aspect Ratio: Since it's a headshot, a vertical orientation makes the most sense. We'll choose the 2:3 aspect ratio to frame our subject perfectly.
Use a Negative Prompt for Realism: To keep the AI from getting too artistic, we'll use the negative prompt. Add this:
animation, painting, illustration, video game, 3d, unrealistic, blurry.This works like a quality filter, forcing the output to look more like a photograph.Generate and Refine: Hit the generate button. The AI will give you a few options based on your instructions. Look them over and see what needs tweaking. Maybe the lighting is a little off, or you want to be more specific about her clothes. You can easily adjust the prompt by adding details like
soft natural window lightingorwearing a black blazerto get closer to your vision.
By following these simple steps, you've gone from just watching to actually creating. You successfully guided the AI to turn a text idea into a believable, realistic AI photo using the core tools of prompting, style selection, and negative prompting.
This first run-through is just the beginning. Once you get comfortable with these basic controls, you can start digging into more advanced techniques. Many platforms also come with built-in editing features. If you're curious about taking your images to the next level, check out our in-depth guide on powerful AI tools for photo editing.
Step-by-Step Guides to Creating Realistic AI Photos
Alright, theory is one thing, but getting your hands dirty is how you really learn to create stunning realistic AI photos. It's time to put the prompting techniques we've talked about into practice with three detailed, step-by-step tutorials.
We’ll walk through a few common and incredibly useful scenarios, giving you the exact prompts and breaking down why they get such great results. Think of these as a repeatable formula for success. By following along, you'll see how specific keywords for lighting, composition, and technical details all come together.
Let's jump from concept to creation.
Tutorial 1: Creating a Professional Corporate Headshot
The goal here is a clean, polished, and trustworthy portrait that would look perfect on a LinkedIn profile or a company "About Us" page. We need to control the lighting to be flattering and make sure the attire is professional, steering clear of anything too artsy or distracting.
The Prompt:Photorealistic corporate headshot of a female financial analyst in her early 40s with a warm, confident expression. She is wearing a dark navy blue blazer and a white silk blouse. The background is a modern, out-of-focus office interior with soft, diffused light coming from a large window. Shot on a Canon EOS 5D Mark IV with a 100mm f/2.8 lens, creating a shallow depth of field. Clean, bright, professional photography.
Why This Prompt Works:
- Specific Subject: We didn't just ask for a "businesswoman." We got specific: "financial analyst," "early 40s," and a "warm, confident expression." This gives the AI the concrete details it needs to render a more believable person.
- Controlled Environment: The "modern, out-of-focus office interior" sets a professional scene without stealing the show. Adding "shallow depth of field" is the key to getting that classic portrait look where the subject really pops.
- Precise Lighting and Camera: "Soft, diffused light" is a classic portrait photographer's trick for flattering results. But the real secret sauce is mentioning a specific camera and lens (Canon EOS 5D Mark IV, 100mm f/2.8). This tells the AI you want the look of a high-end studio shoot, not just a quick snapshot.
Tutorial 2: Designing a Cinematic Landscape
For this one, we're aiming for a breathtaking landscape that feels like a still from a blockbuster film. It's all about atmosphere, mood, and a sense of drama. We want an image that tells a story all on its own.
The Prompt:Epic cinematic wide shot of a lone hiker standing on a rocky cliff overlooking a misty valley in the Scottish Highlands at sunrise. Dramatic golden hour lighting with long shadows and volumetric rays of light breaking through the fog. Moody and atmospheric. Shot on a wide-angle 16mm lens, panoramic composition, ultra-detailed, 8K resolution.
Why This Prompt Works:
- Atmospheric Keywords: Words like "misty," "moody," "atmospheric," and "dramatic" are doing the heavy lifting here. They guide the AI’s entire color palette and the overall feel of the scene.
- Lighting is Everything: "Golden hour lighting" is an immediate instruction for warmth and long, interesting shadows. "Volumetric rays of light" is a pro-level detail that adds that incredible, god-ray effect for a sense of grandeur.
- Composition and Detail: "Wide shot" and "panoramic composition" establish the epic scale. Telling the AI to use a "wide-angle 16mm lens" reinforces that perspective, while "ultra-detailed, 8K resolution" ensures the final image is tack-sharp and immersive.
This kind of image generation is making huge waves in industries from entertainment to advertising. In fact, the market for AI image generators was valued at USD 418.5 million in 2024 and is projected to explode to USD 2,633.2 million by 2035. That's a clear sign of how vital this tech is becoming. You can dig deeper into the AI image generator market growth to see just how it's reshaping creative fields.
By mastering these prompting skills, you are tapping into a rapidly expanding technology. The ability to create specific, high-quality scenes on demand is no longer a futuristic concept but a practical tool for modern creators.
Tutorial 3: Generating a High-End Product Shot
Our final walkthrough focuses on a clean, minimalist product shot—the kind you’d see on a high-end e-commerce site or in a sleek social media ad. The keys here are flawless lighting, sharp focus, and a commercial aesthetic that makes you want to click "buy now."
The Prompt:High-end commercial product photography of a luxury wristwatch with a black leather strap and a silver case. The watch is placed on a piece of dark, textured slate. Clean, minimalist composition. Studio lighting with a softbox to create soft, even highlights and subtle shadows. Shot on a Fujifilm X-T4 with a macro lens, tack-sharp focus on the watch face, shallow depth of field, 8K.
Why This Prompt Works:
- Commercial Language: Using terms like "high-end," "commercial," and "luxury" instantly signals the desired aesthetic to the AI. It knows you want something polished and premium.
- Studio Lighting Control: "Studio lighting with a softbox" is a very specific command that prevents ugly, harsh glares. It tells the AI to mimic the controlled, flattering light you’d find in a professional product studio.
- Technical Precision: Specifying a "macro lens" and "tack-sharp focus on the watch face" is crucial for product shots—you want to see every little detail. The "shallow depth of field" then helps the watch stand out beautifully against its textured background.
Use these examples as your starting point. Begin with these templates, then start swapping out subjects, changing the lighting conditions, and experimenting with different camera details. Before you know it, you'll be creating your own library of amazing, realistic AI photos.
Mastering the Art of the Perfect Prompt
If you think of an AI image generator as your camera, then the prompt is everything else—your lens, your lighting rig, and your artistic direction, all rolled into a few lines of text. Just telling the AI to create "a portrait of a woman" is like giving a world-class photographer a vague, blurry sketch and expecting a masterpiece. To get truly realistic AI photos, you have to give the model a detailed blueprint.
Think of your prompt less like a command and more like a recipe. Every single word you add is an ingredient that refines the final image, guiding the AI from a fuzzy idea to a crisp, believable photograph. This is the heart of prompt engineering: the art and science of telling the AI exactly what you see in your mind.
And it's a skill worth learning. The market for AI image generators is exploding, valued at a massive USD 9.10 billion in 2024. Projections show it rocketing to USD 63.29 billion by 2030, all thanks to how quickly businesses and creatives are adopting these tools.
The Anatomy of a Powerful Prompt
A truly great prompt isn't just a jumble of keywords; it’s structured and layered. It doesn’t just describe the "what" but also nails down the "how" and "where." Breaking it down into key components makes it so much easier to build complex instructions that get stunningly realistic results. For a complete walkthrough of the basics, check out our guide on how to write AI prompts that actually work.
Let’s dissect the core elements of a killer prompt:
- Subject: This is your main character or object. Get hyper-specific. Don't say "man"—say "a weathered fisherman in his 60s with a thick, salt-and-pepper beard."
- Environment: Where is your subject? "By the water" is okay, but "on a weathered wooden pier at dawn, with fog rolling over the water" is worlds better.
- Lighting: This is absolutely critical for realism. Use evocative terms like "soft morning light filtering through the trees," "dramatic side lighting," or "the warm glow of golden hour."
- Composition: How is the shot framed? Tell the AI what you want. Is it a "close-up portrait," a "sweeping wide-angle landscape," or composed using the "rule of thirds"?
- Camera & Technical Details: Here’s the secret sauce for true photorealism. Specifying camera models, lenses, and even film stock tells the AI you’re not looking for a digital illustration—you want a photograph.
Before and After: The Power of Detail
Let's see this in action. We'll start with a bare-bones prompt and progressively build it up, transforming a generic image into something that looks like a professional photograph.
Initial Prompt (Vague):a woman in a cafe
This prompt gives the AI way too much creative freedom. The result will probably be generic, maybe even a bit cartoonish, because we haven't given it any stylistic direction.
Adding Subject and Lighting Detail (Better):a young woman with curly red hair, smiling, sitting in a cozy cafe, soft natural light from a window
Much better. Now we have a clear subject and, crucially, specific lighting. The image will feel much more like a real scene, but it might still be missing that professional polish.
By specifying details like hair color, an expression, and a specific light source, you've already steered the AI away from generic clip art and toward a more intentional, realistic scene.
Adding Camera Specifications (Mastery):photorealistic portrait of a young woman with curly red hair, smiling, sitting in a cozy cafe, soft natural light from a window, shallow depth of field, **shot on a Sony A7R IV with an 85mm f/1.4 lens, Kodak Portra 400 film style**
This is where the magic happens. By adding technical camera details, we’ve given the AI an unmistakable command to mimic a high-end photoshoot. The final image will have a tack-sharp subject, a beautifully blurred background (that lovely bokeh effect), and the unique color tones of a classic film stock.
Prompting Strategies for Different Photographic Styles
Trying to dream up the perfect prompt from scratch can be a challenge. You can use the table below as a handy reference to mix and match keywords for all sorts of popular photographic styles.
This framework is a great way to make sure you’re covering all your bases, giving you the best shot at generating high-quality, realistic AI photos for any project.
| Photographic Style | Key Subject Descriptors | Essential Lighting Keywords | Camera & Lens Specifications |
|---|---|---|---|
| Corporate Headshot | Professional attire, confident expression, clean background, 40-year-old executive | Softbox lighting, three-point setup, bright, clean, diffused light | Shot on Canon EOS 5D, 100mm f/2.8 lens, studio shot, sharp focus |
| Cinematic Landscape | Majestic mountains, serene lake, dramatic coastline, dense forest | Golden hour, blue hour, dramatic shadows, volumetric rays, moody, atmospheric | Wide-angle shot, 16mm f/2.8 lens, drone photography, anamorphic lens flare |
| Lifestyle Product Shot | Product used in context, natural setting, clean composition, minimalist | Bright natural daylight, soft shadows, warm ambient light, backlit | Shot on Fujifilm X-T4, 50mm f/1.8 lens, shallow depth of field, natural bokeh |
| Street Photography | Candid moment, bustling city street, reflections in puddles, diverse people | Harsh midday sun, neon lights at night, high contrast, long shadows | Shot on Leica M11, 35mm lens, grainy film aesthetic, motion blur, candid |
By building your prompts with these components, you take back creative control. You stop being a spectator and become the director, telling the AI precisely how to produce the exact realistic AI photo you’ve imagined.
Frequently Asked Questions About AI Photos
As you start your journey into creating realistic AI photos, you’re bound to hit a few snags. It’s all part of the process. This section is here to walk you through those common hurdles with straightforward, practical advice so you can get back to what matters: creating incredible images.
Let's dive into the most common questions that pop up when you're chasing that perfect, photorealistic look.
Why Do My AI Photos Still Look Fake?
Ever create an image that's almost perfect but something just feels... off? You've stumbled into the "uncanny valley." It's that weird space where an image is hyper-realistic but small, flawed details give away its artificial origins, and our brains spot them instantly.
The usual suspects are things like skin that looks unnaturally smooth (like a plastic doll), shadows that don't quite match the light source, or wonky proportions, especially with hands and eyes. The fix? You need to get more descriptive in your prompt while also telling the AI what not to do with negative prompts.
- For Unnatural Skin: Add phrases like
detailed skin texture, pores, realistic skin, imperfectionsto your prompt. This tells the AI to skip that airbrushed, flawless look and aim for something more human. - For Bad Lighting: Don't leave lighting to chance. Be specific with terms like
soft natural window lighting, golden hour,orthree-point studio lightingto set the mood and direction of the light. - Use Negative Prompts: This is your "do not include" list. Add terms like
plastic skin, blurry, cartoon, 3d render, illustration, deformed hands, extra fingersto the negative prompt field to push the AI away from common digital artifacts.
How Can I Create Consistent Characters?
Getting the same face to appear in different scenes is a huge goal, whether you're telling a story, building a marketing campaign, or just designing an avatar. It can feel like a game of chance, but there’s a solid technique to make it happen: descriptive persistence.
The trick is to build a detailed "character sheet" for the AI and reuse it every single time. You need to lock in the core features so the AI has a consistent blueprint to work from.
Think of your character prompt as a detailed profile. You need to include consistent identifiers like age, ethnicity, unique facial features (e.g., "a small scar above the left eyebrow"), a specific hairstyle and color, and even their default expression.
For instance, don't just ask for "a man." Instead, use something like this: a 45-year-old man of Japanese descent with short, salt-and-pepper hair, warm brown eyes, and a confident smile. By pasting that exact description into prompts for different scenarios—like posing in a boardroom or drinking coffee in a cafe—you dramatically improve your odds of getting the same person every time.
What Are the Ethical Rules for Creating Realistic AI People?
With the ability to generate realistic AI photos of people who don't even exist, it's incredibly important that we use this technology responsibly. This isn't just about making cool pictures; it's about being mindful of consent, misrepresentation, and being transparent.
Here’s how to navigate the ethical side of things:
- Don't Recreate Real People Without Permission: This is a big one. Never generate images of real, identifiable people without their explicit consent. It's an invasion of their privacy and their right to control their own likeness.
- Be Clear That It's AI: When you share realistic images of people, especially for business or in a public forum, it's a good practice to disclose that they're AI-generated. This prevents the spread of misinformation and helps build trust with your audience.
- Stay Away From Harmful Deepfakes: Using AI to create malicious or deceptive content is a hard line you should never cross. Placing someone in a situation they weren't in is not only unethical but often illegal. Keep your creations positive and creative.
Once you get the hang of creating amazing images, you might want to bring them into the real world. A fantastic next step is to learn how to create custom art from your AI photos to hang on your wall.
Ready to stop reading and start creating? AI Photo HQ provides the tools you need to generate thousands of high-quality, realistic images in just a few seconds. Forget wrestling with complex software and start bringing your ideas to life. Try AI Photo HQ and see what you can make today.

