It's a frustrating moment for any photographer: you capture what you think is the perfect shot, only to find it's frustratingly blurry. In the past, this often meant the photo was a lost cause. Traditional sharpening filters could only do so much, usually just adding harsh contrast around edges without actually fixing the core problem.
But now, thanks to AI-powered tools, we can restore blurred photos in ways that feel like magic. These intelligent algorithms don't just sharpen—they analyze the image and actually rebuild the details that were lost. To get the best results, though, it helps to understand what caused the blur in the first place.
Understanding Why Your Photos Are Blurry
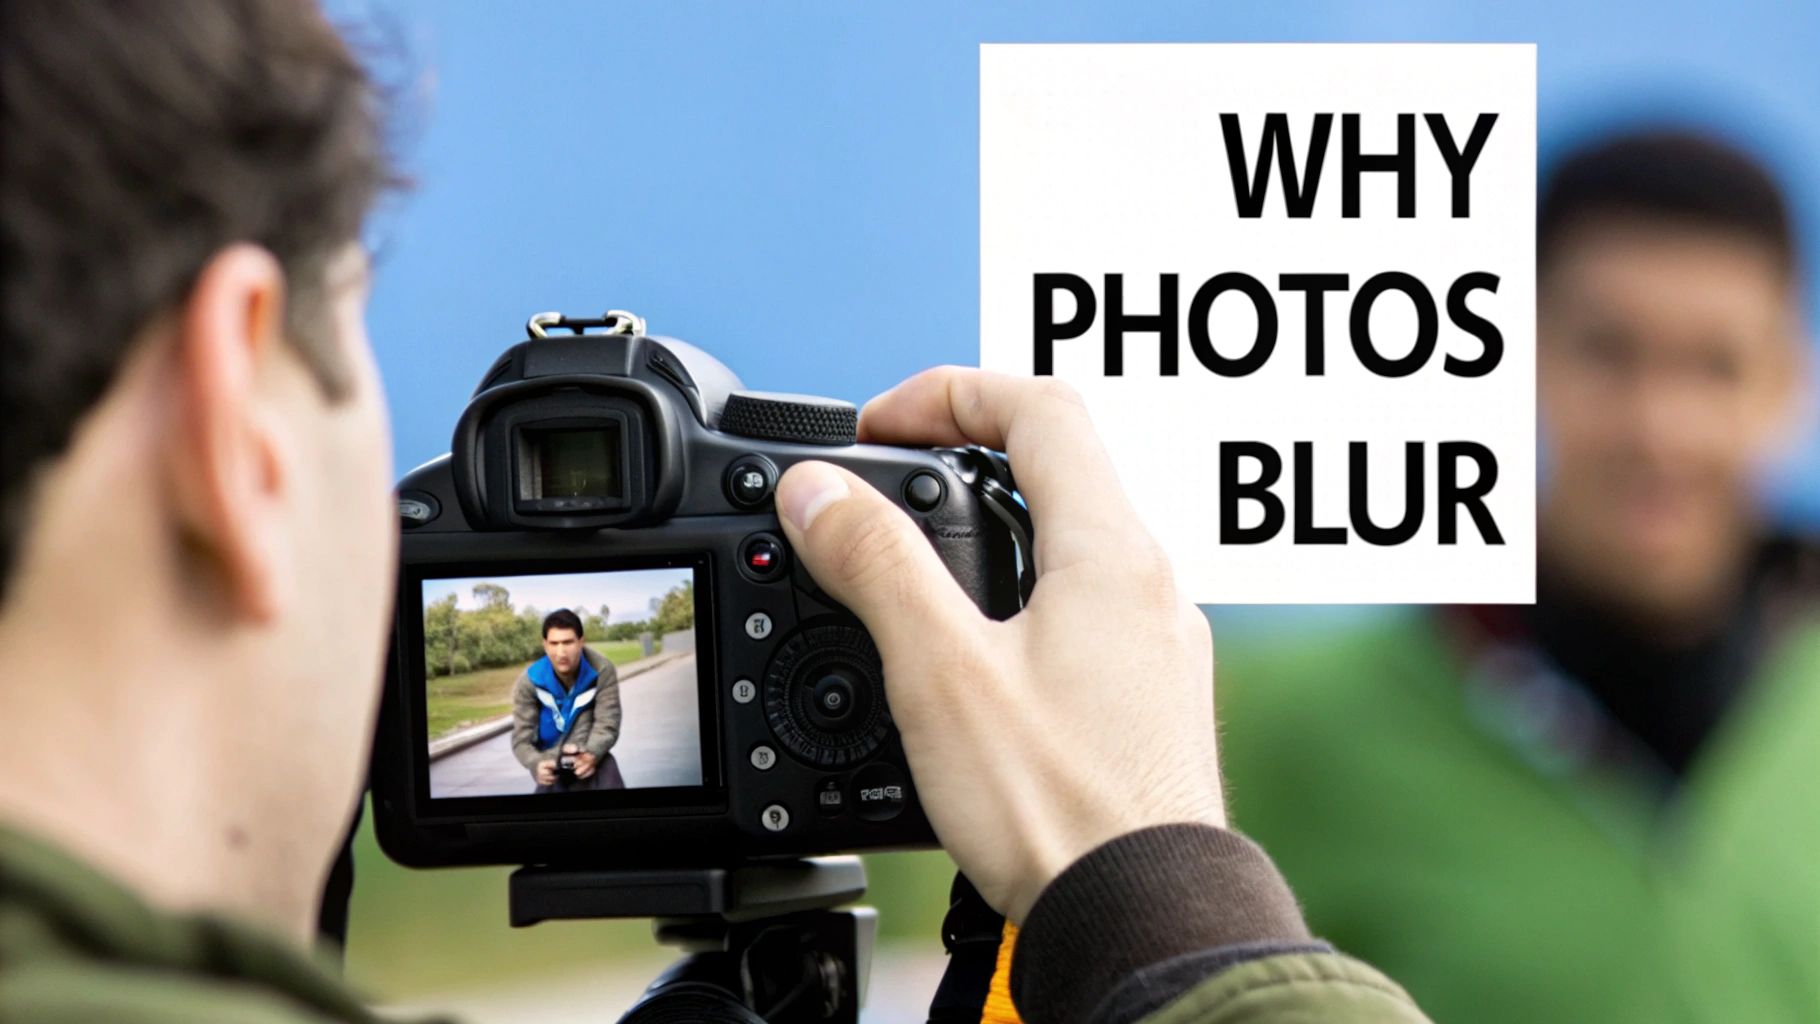
Before you jump into a fix, take a second to diagnose the problem. A fuzzy image isn't a single issue; it's a symptom. Figuring out the root cause helps you select the right AI settings and gives you a realistic idea of what to expect from the restoration.
This need to salvage irreplaceable memories is driving huge growth in the photo restoration market. Valued at roughly $420 million in 2023, the industry is expected to skyrocket to nearly $1.2 billion by 2032. It’s clear that people are more eager than ever to preserve their family histories and important moments. You can find more data about the photograph restoration market over at Dataintelo.com.
Common Causes of Photo Blur
So, what went wrong with your shot? Most blurry photos fall into one of these three buckets:
Motion Blur: This is the classic culprit when either your subject or your camera was moving as the picture was taken. You'll see it as telltale streaks or a "ghosting" effect. It’s especially common in low-light situations where your camera uses a slower shutter speed to let in more light, like a shot of a busy city street at night.
Focus Issues: Sometimes the camera just gets it wrong. If the tree behind your friend is crystal clear but their face is soft and fuzzy, you've got an out-of-focus blur. The camera simply locked onto the wrong part of the scene. These can be tough to fix, but modern AI can work wonders in recovering facial details and other key elements.
Low Resolution: The image might not be blurry in the traditional sense, but just too small. When you try to enlarge a low-resolution photo—like one you saved from a social media site—it gets blocky and fuzzy because there just isn't enough pixel data to work with.
Knowing the difference is the first step toward a great restoration. Of course, preventing the blur in the first place is even better. If you want to sharpen your skills, take a look at our guide on how to take pictures professionally.
To help you quickly identify what you're dealing with, here's a simple breakdown of common blur types and how AI addresses them.
Common Blur Types and How AI Solves Them
| Type of Blur | Common Cause | How AI Fixes It |
|---|---|---|
| Motion Blur | Camera shake or subject movement | The AI identifies the direction of the blur and reconstructs the image along that motion path, effectively "un-smearing" the details. |
| Focus Blur | Camera focused on the wrong object | It intelligently sharpens the soft areas by predicting the original detail, often using context from the rest of the image to fill in the gaps. |
| Low Resolution | Small file size or excessive cropping | The AI upscales the image, creating new pixels that blend seamlessly with the original ones to produce a larger, clearer photo. |
This table is a great starting point for diagnosing your photo's issues before you begin the restoration process.
The real game-changer with AI is its predictive power. A traditional sharpening filter just adds a crude layer of contrast to existing edges, which can look artificial. AI, on the other hand, analyzes the specific blur pattern and intelligently rebuilds the information that was lost, resulting in a far more natural and detailed image.
Prepping Your Photos for the Best AI Results
The quality of your restored photo is often decided before you even upload it. I’ve seen it time and time again: the better the starting point, the more incredible the final result. Think of it like a detective—the more clues (or pixel data) you give the AI, the better it can solve the case of the blurry image.
This is where the old saying "garbage in, garbage out" really hits home. If you feed the AI a heavily compressed, low-resolution JPEG you downloaded from Facebook, you’re asking it to work miracles with very little information. It has to guess what's a compression artifact and what’s an actual detail you want to save. It's a tough job.
Start With the Best Possible Source
This is, without a doubt, the most critical step. You absolutely must begin with the highest-quality version of the photo you can get your hands on. Let's walk through how to do this.
Tutorial: How to Scan a Physical Photo for Restoration
- Clean the Scanner and Photo: Use a microfiber cloth to gently wipe the scanner glass and the surface of your photo. Dust specks will show up in the scan.
- Set the Resolution: Open your scanner software. Look for a setting called "Resolution" or "DPI."
- For a standard-sized photo (4x6, 5x7), set it to 600 DPI.
- For a small photo you want to enlarge (like a wallet-sized picture), set it to 1200 DPI.
- Choose the File Format: Find the "Save As" or "Format" option. Select TIFF or PNG. Avoid JPEG to prevent quality loss.
- Perform the Scan: Place the photo face-down on the scanner, close the lid, and click "Scan." Save the resulting file to your computer.
For digital photos, try to find the original file from the camera, a hard drive, or cloud storage. Avoid using versions from social media or text messages.
I can't stress this enough: a good, high-DPI scan can be the difference between a decent result and a truly jaw-dropping restoration. You're giving the AI the best possible chance to succeed.
Perform Simple Cleanup Before Uploading
Once you’ve secured the best version of your photo, a few quick edits can give the AI a cleaner slate to work from. For a more detailed look at this process, we've put together a guide on building an effective photo editing workflow.
This simple pre-processing workflow shows the key stages for getting your image ready.
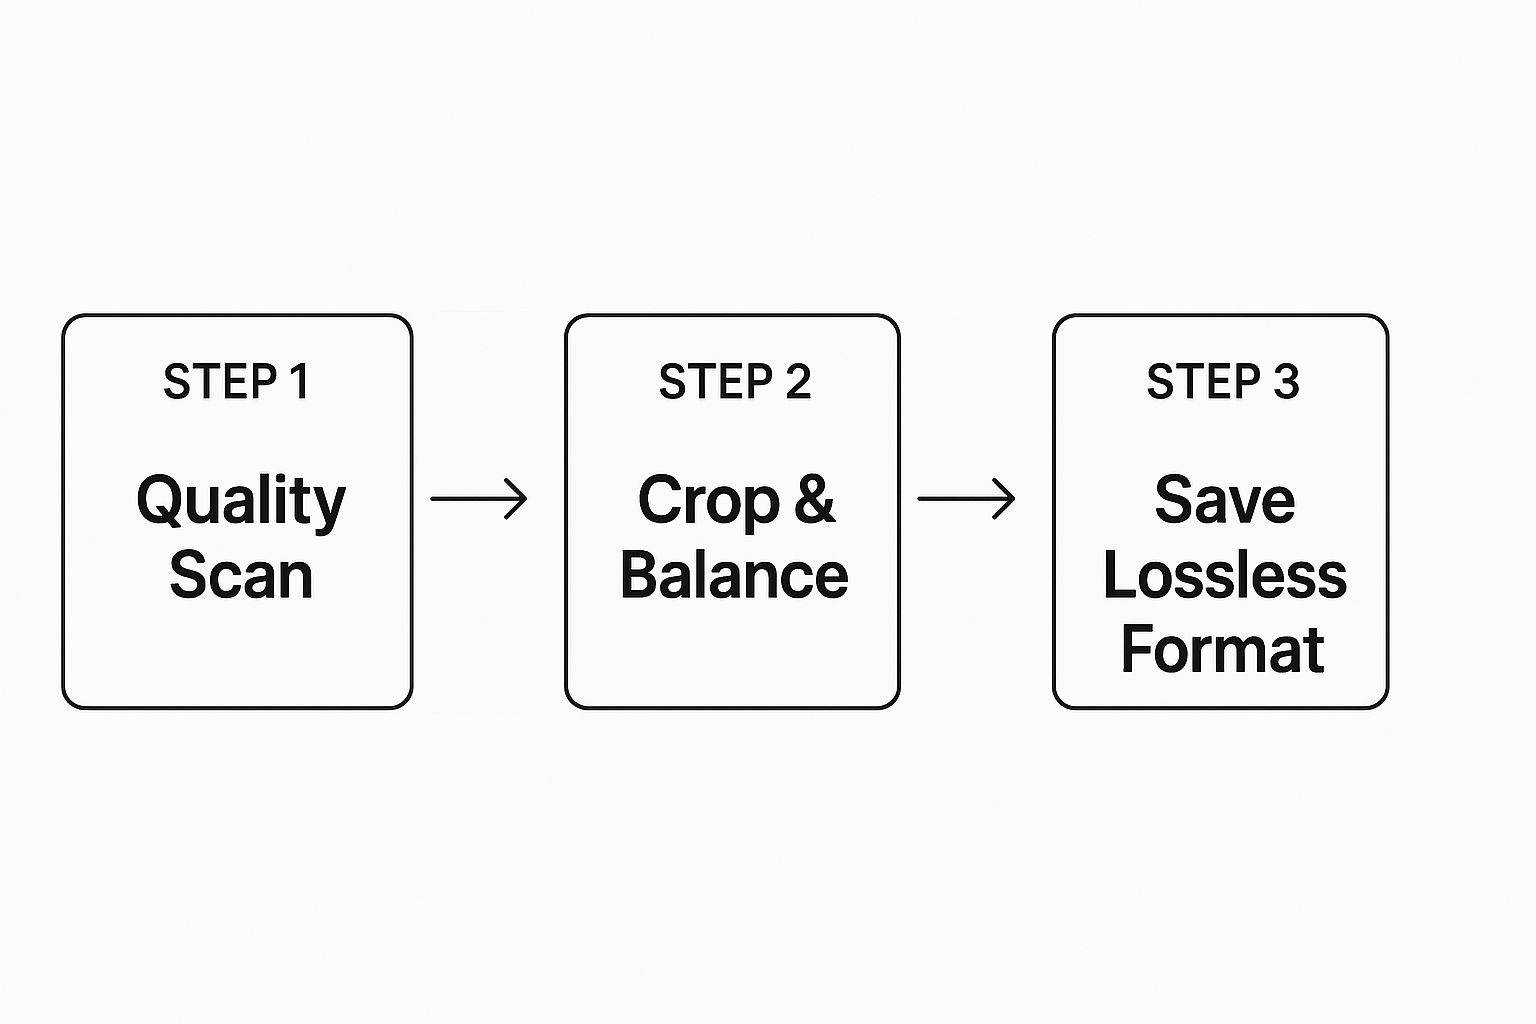
Quick Step-by-Step Cleanup Guide:
- Open the Image: Use any basic photo editor (even the one built into your OS).
- Crop: Select the crop tool. Drag the corners to remove damaged edges, white borders, or distracting background elements. The goal is to frame your main subject.
- Adjust Levels (Optional): If the photo is very dark or faded, look for an "Auto Levels," "Auto Tone," or "Auto Color" button. This can reveal hidden details in the shadows, giving the AI more to work with.
- Save as PNG or TIFF: Go to "File > Save As" or "Export" and choose a lossless format like PNG or TIFF. This ensures no quality is lost before you upload to the AI tool.
Choose the Right File Format
Okay, last step before uploading: how you save the file. This might seem minor, but it's a big deal.
Different file formats treat image data in different ways.
- Avoid JPEG: Every single time you open and re-save a JPEG, it undergoes what’s called lossy compression. A little bit of data is permanently thrown away. Do this a few times, and the image quality degrades noticeably.
- Use TIFF or PNG: My advice? Always save your scans or prepped files as a TIFF or PNG. These formats use lossless compression, which means they keep every last bit of the original pixel data intact. It's a simple choice that ensures the AI has a complete, uncompromised file to work its magic on.
A Hands-On Guide to Using AI Photo HQ
Alright, you've prepped your image and you're ready for the fun part. Let's fire up AI Photo HQ and transform that fuzzy memory into a photograph that’s sharp and crystal clear. This isn't just theory—I’m going to walk you through the exact tools I use to bring blurry photos back to life.
The whole interface is designed to be incredibly intuitive. The idea is to get you from a blurry photo to a restored one without a bunch of confusing steps, letting you focus on the creative outcome.
Step-by-Step: Your First Restoration
- Upload Your Photo: Go to the AI Photo HQ website. Click the "Upload" button or simply drag your high-quality PNG or TIFF file directly onto the upload area.
- Locate the Controls: Once uploaded, your photo appears in the main viewer. On the side, you'll see the control panel with sliders like Unblur, Denoise, and Upscale. This is your command center.
- Adjust the Unblur Slider: Start by slowly moving the Unblur slider to the right. Watch the live preview update in real-time. The goal is to find the sweet spot where details become clear without looking artificial.
- Combine Tools (If Needed): If your photo is also noisy or small, adjust the Denoise and Upscale sliders. We'll cover this in more detail below.
- Download Your Result: When you're happy with the preview, click the "Download" button to save the restored photo to your device.
Mastering the Unblur Slider: Practical Examples
The Unblur slider is where the real magic happens. But instead of just cranking it to 100, let's look at how to use it for different types of photos. Great restoration is about subtlety.
Example 1: A Slightly Soft Portrait
- Problem: The subject's face is just a little out of focus.
- Solution: Start with the Unblur slider at 0 and slowly increase it. For a soft portrait, a setting between 25-40 is often perfect. Watch the eyelashes and strands of hair. As soon as they become crisp, stop. Going further can make skin look unnatural.
Example 2: Moderate Motion Blur
- Problem: A photo of a child running, with a noticeable "ghosting" trail.
- Solution: This requires a stronger setting. Push the slider into the 50-75 range. The AI will analyze the direction of the blur and reconstruct the details. The goal is to "freeze" the motion and define the child's features clearly.
Example 3: A Very Blurry Old Photo
- Problem: A precious family photo that is significantly blurry overall.
- Solution: Here you may need a high setting (80-100). Be cautious and zoom in on the preview. High settings can sometimes create artifacts. If faces look waxy or unnatural, dial it back slightly. A little softness is better than a weird digital look.
My personal rule ofthumb? Start low. I slowly push the slider up while keeping a close eye on the live preview. I stop the moment the details look sharp but still feel natural. The goal is clarity, not that strange, hyper-real effect.
Combining Tools for a Complete Fix: A Step-by-Step Workflow
If you really want to restore blurred photos like a pro, you have to learn how to use the tools together. The Unblur slider rarely does its best work alone. Here's a practical workflow for a common scenario: a grainy, blurry, small photo scanned from an old album.
Tutorial: Restoring an Old, Grainy, Blurry Photo
- Upload the Photo: Start by uploading your prepared image file to AI Photo HQ.
- Step 1: Denoise First: Old photos often have film grain or digital noise. Before sharpening, we want to clean this up.
- Move the Denoise slider to a low setting, around 20-30. This will smooth the grain without destroying important details.
- Step 2: Apply Unblur: Now that the image is cleaner, the Unblur tool can work more effectively.
- The photo is moderately blurry, so adjust the Unblur slider to around 45-60. Watch the faces and clothing in the preview to see them snap into focus.
- Step 3: Finish with Upscale: The original print was small, so the scanned file isn't big enough for a new print.
- Select the Upscale 2x option. This will double the photo's dimensions, making it suitable for modern screens and printing.
- Download the Final Image: Review the final result and click "Download."
This layered approach gives you much more polished and natural-looking results than just maxing out one setting. For a deeper dive into how different AIs stack up, you can explore this overview of AI photo restoration software. And if you're interested in improving your images beyond just deblurring, you might find some great general tips for making photos look professional with AI.
Advanced Techniques for Professional-Level Restorations
Once you’ve gotten the hang of the basic sliders, you can really start pushing the boundaries to get some truly exceptional results. The secret to a professional-grade restoration isn't just about using one tool; it's about layering multiple AI processes in a smart, thoughtful sequence. This approach gives you so much more control over the final look.
It's no surprise that people are getting more interested in these techniques. The global market for photograph restoration services is booming—it's expected to jump from around $846.3 million in 2025 to a massive $1.5 billion by 2035. This really shows how much we value preserving old memories with the best tools available. You can dig deeper into this trend in this detailed report on photograph restoration services.
Stacking Enhancements for Maximum Impact: A Practical Tutorial
One of the most powerful methods is AI stacking. This means you run one enhancement, download the result, and then re-upload it to perform a different enhancement. This lets each AI process focus on one job at a time, often leading to cleaner results.
Tutorial: Using AI Stacking to Unblur and Upscale a Photo
Scenario: You have an old photo that is both blurry and very low resolution.
Pass 1: The Unblur Pass
- Upload your original photo to AI Photo HQ.
- Focus only on the Unblur slider. Ignore the other tools for now.
- Adjust the Unblur slider until the sharpness is perfect.
- Click Download to save this newly sharpened, but still small, image. Let's call it
photo_sharpened.png.
Pass 2: The Upscale Pass
- Go back to the AI Photo HQ uploader.
- Now, upload
photo_sharpened.png. - This time, leave the Unblur slider at 0.
- Select the Upscale 2x or 4x option to increase the resolution.
- Click Download again. You now have a final image that is both sharp and large.
By separating the tasks, you prevent the AI from getting confused by trying to deblur and create new pixels simultaneously, which almost always produces a better result.
Spotting and Fixing Common AI Artifacts
As you work to restore blurred photos, you’ll probably notice that the AI can sometimes get a little... creative. These quirks, which we call AI artifacts, pop up when the algorithm has to make some aggressive guesses to fill in missing details from a heavily damaged or blurry source.
An AI artifact is just an unwanted visual mistake the algorithm made during processing. Learning to spot and fix these is the key to getting a natural-looking restoration.
How to Spot and Fix Common Artifacts:
Problem: Waxy Skin: Faces look overly smooth, like plastic dolls.
- Cause: The Denoise or Unblur setting is too high.
- Fix: Reduce the intensity of both sliders. Try lowering Denoise first, then Unblur. The goal is to retain some natural skin texture.
Problem: Weird Backgrounds: Abstract or nonsensical patterns appear in blurry backgrounds.
- Cause: The Unblur setting is too high, causing the AI to "invent" details.
- Fix: Dial back the Unblur slider. It's better to have a softly blurred background than a distracting, artificial one.
Problem: Garbled Text: Text on signs or clothing becomes misshapen.
- Cause: The AI misinterpreted the blurry letter shapes.
- Fix: Lower the Unblur setting. If that doesn't work, this may be a limitation of the source image.
Final Polishing in an External Editor
AI Photo HQ is fantastic for the heavy lifting—the actual reconstruction of the image. But for me, the final 10% of polish comes from a few quick tweaks in a separate photo editor. You don't need anything fancy; free tools like GIMP or Photopea work perfectly for this.
Quick Tutorial: Final Polishing Steps
- Open Restored Photo: Open your downloaded, AI-restored image in GIMP or Photopea.
- Adjust Contrast: Look for the "Levels" or "Curves" tool. Create a gentle "S" shape with the curve line. This deepens the blacks and brightens the whites, adding a nice "pop."
- Correct Color Cast: Find the "White Balance" or "Color Balance" tool. If the photo has a yellow tint, add a little blue. If it's too green, add a little magenta. Adjust until the colors look natural.
- Apply Selective Sharpening: Use a "Sharpen" brush or a "masking" feature to apply a final touch of sharpness only to the most important areas, like the subject's eyes. This avoids over-sharpening the whole image.
This final, hands-on step is what truly separates a good restoration from a great one. It gives your photo that handcrafted, professional finish that AI alone can't quite replicate.
Common Photo Restoration Mistakes to Avoid
When you first dive in to restore blurred photos, it’s so easy to get carried away. You’ve got these powerful sliders, and the temptation to just crank everything up to 100 is real. But honestly, I've learned that the best restorations are usually the most subtle. Knowing what not to do is just as crucial as knowing how to use the tools.
The number one mistake I see is over-sharpening. When you push the "Unblur" or "Sharpen" settings too far, the AI creates these nasty digital halos—harsh, bright outlines around people and objects. This is the algorithm trying way too hard, forcing contrast along edges and making the whole image look fake and processed.
Pushing the AI Too Far
The real art is finding that sweet spot between clarity and authenticity. Trust me, a slightly softer, natural-looking photo is always going to be better than one that’s so sharp it screams, "I've been edited!" It’s like salting food; you want just enough to enhance the flavor, not so much that you can’t taste anything else.
My personal rule is simple: I zoom right in on a critical detail, like someone's eyes or the texture on a piece of clothing. I nudge the sharpness up slowly until I see a real improvement, and then I stop. The moment I spot those halos forming, I know I've gone too far and pull it back.
This desire for authentic results isn't just a niche thing, either. The global photograph restoration market is booming and expected to hit $2.5 billion by 2025, largely because everyone is trying to digitize their old family photos. As more people work to save their memories, the demand for natural, high-quality work just keeps growing. You can dig into the numbers in this comprehensive market analysis.
Managing Your Expectations
The other trap is expecting miracles. AI photo restoration is amazing, but it isn't magic. At the end of the day, the AI is a reconstruction tool, not a mind reader.
Here’s the reality check:
- AI can’t create detail that was never captured. If your photo is a complete smear with no recognizable shapes, the software has nothing to work with. It will take a guess, but you’ll likely end up with something strange—distorted faces or weird, waxy textures.
- A better starting point means a better result. A photo that’s just a little soft has a fantastic chance of looking incredible after restoration. A hopelessly blurry one? Not so much.
By keeping these limits in mind and resisting that urge to overdo it, you’ll start to get a feel for what makes a restoration look genuinely good. It’s the best way to avoid frustration and get results that make the original memory shine without looking artificial.
A Few Final Questions About AI Photo Restoration
Let's wrap up by tackling some of the most common questions that pop up when you're first diving into photo restoration. Getting these answers sorted out will help you sidestep common roadblocks and feel more confident in your results.
Can AI Really Fix Any Blurry Photo?
AI is incredibly impressive, but it’s not magic. Its sweet spot is photos with mild to moderate motion blur or a soft focus. In these cases, there's enough original information for the software to intelligently rebuild the missing details.
However, if a photo is extremely blurry, the AI has very little to work with. It might struggle to figure out what it's looking at and "hallucinate" strange, unrealistic textures.
Think of it this way: an expert art restorer can work wonders on a faded painting, but they can't create a masterpiece from a completely blank canvas. For the best results, always start with the highest-quality version of the photo you have.
Will Using an AI Tool Mess Up My Original Picture?
Absolutely not. A well-designed tool like AI Photo HQ works non-destructively. When you upload your picture, the software makes a copy and applies all the enhancements to that new file.
Your original image stays untouched and safe on your computer or phone. You're simply downloading the brand-new, restored version the AI creates. It's always a good habit to keep your originals backed up somewhere safe, just in case.
A core principle of good photo restoration is to preserve the original. AI tools are built to create a new, improved version, so your precious original is never at risk of being altered or overwritten.
What’s the Difference Between AI Unblur and a Regular Sharpen Filter?
The difference is night and day. A standard sharpen filter in a photo editor just amps up the contrast along any edges it can find. This can make an image look a little crisper, but it often creates a harsh, gritty look with telltale white "halos" around objects. It doesn't actually add any real detail back into the photo.
AI unblurring is a much smarter process. It analyzes the entire image to understand the specific type of blur and then reconstructs the missing information, pixel by pixel. The result is a far more natural and authentic restoration without the clunky side effects of a basic sharpen tool.
Should I Unblur the Photo Before or After Color Correction?
It's almost always better to unblur the photo first.
The AI relies on the original pixel data to rebuild details accurately. If you make heavy-handed color or contrast adjustments beforehand, you can alter that crucial data. This can sometimes confuse the AI and lead to a less effective restoration.
Lock in the sharpness and detail first. Then, you can move on to making your color and tonal adjustments on the newly restored image for the cleanest possible outcome.
Once those precious memories are sharp and clear again, you might start thinking about how to display them. For some great inspiration on turning them into lasting family keepsakes, check out these ideas for creating cherished memory books.
Ready to bring your own fuzzy memories back into focus? Give AI Photo HQ a try today and see just how simple it is to restore blurred photos. You can get started right at https://aiphotohq.com.

