A stable diffusion sampling method is really just the specific recipe the AI follows to create your image. It’s the algorithm that takes a canvas full of random digital noise and, step-by-step, turns it into a coherent picture based on your prompt. Think of it as the technique the model uses to clean up the initial static, with each method offering a different balance between speed and final image quality.
How Samplers Turn Noise into Art

Ever wonder how Stable Diffusion actually goes from a chaotic, static-filled mess to a beautiful work of art? That’s where the sampler comes in, and it's a fascinating process.
Imagine a sculptor staring at a rough block of marble. They don't just see a rock; they see the finished statue hiding inside. The initial digital noise is that raw marble, and the sampling method is the sculptor's unique set of tools and techniques for chipping away the excess to reveal the image you described. Each sampler has its own "personality," which directly impacts the look and feel of your final creation.
Getting a handle on this is the key to moving from just randomly picking a sampler to making a smart, deliberate choice for every project. If you're looking to go deeper into the AI magic that makes all this possible, there are some great Generative AI courses out there.
The Core Idea Denoising Step by Step
At its heart, the whole thing is about gradual refinement. The AI doesn't just magically produce the image in one go. Instead, it takes a series of small, calculated steps to remove the noise, checking its progress against your text prompt at every stage.
This step-by-step process is everything. A sampler is what tells the model how to approach the noise reduction at each interval.
- Fast Samplers: You could say these use big, aggressive chisels. They get to a recognizable image very quickly but might shave off some of the finer details in their haste.
- Quality-Focused Samplers: These are the artists with tiny, precise tools. They take more time and more steps, but the result is often a much sharper, more polished, and coherent image.
Speed vs Quality The Fundamental Trade-Off
Ultimately, the biggest decision you'll face when picking a stable diffusion sampling method comes down to speed versus quality. There’s no single "best" sampler for every situation; the right choice is completely dependent on what you're trying to accomplish at that moment.
The release of Stable Diffusion in 2022 was a huge moment. Developed by Stability AI and its partners, it was built to run on regular consumer-grade computers. This was a massive shift, making powerful image generation tech available to everyone, unlike the closed-off, proprietary models that came before it.
This accessibility is exactly why understanding samplers is so valuable—it puts you, the creator, in the driver's seat. If you're just getting started with this stuff, we have a detailed guide that explains more about what is generative AI.
Choosing the right sampling technique lets you work smarter. You can rapidly brainstorm ideas with a fast sampler, then, once you’ve landed on a concept you love, switch to a high-quality one to produce that final, stunning masterpiece. It’s a workflow that saves you a ton of time and resources.
A Visual Guide to Core Sampling Methods
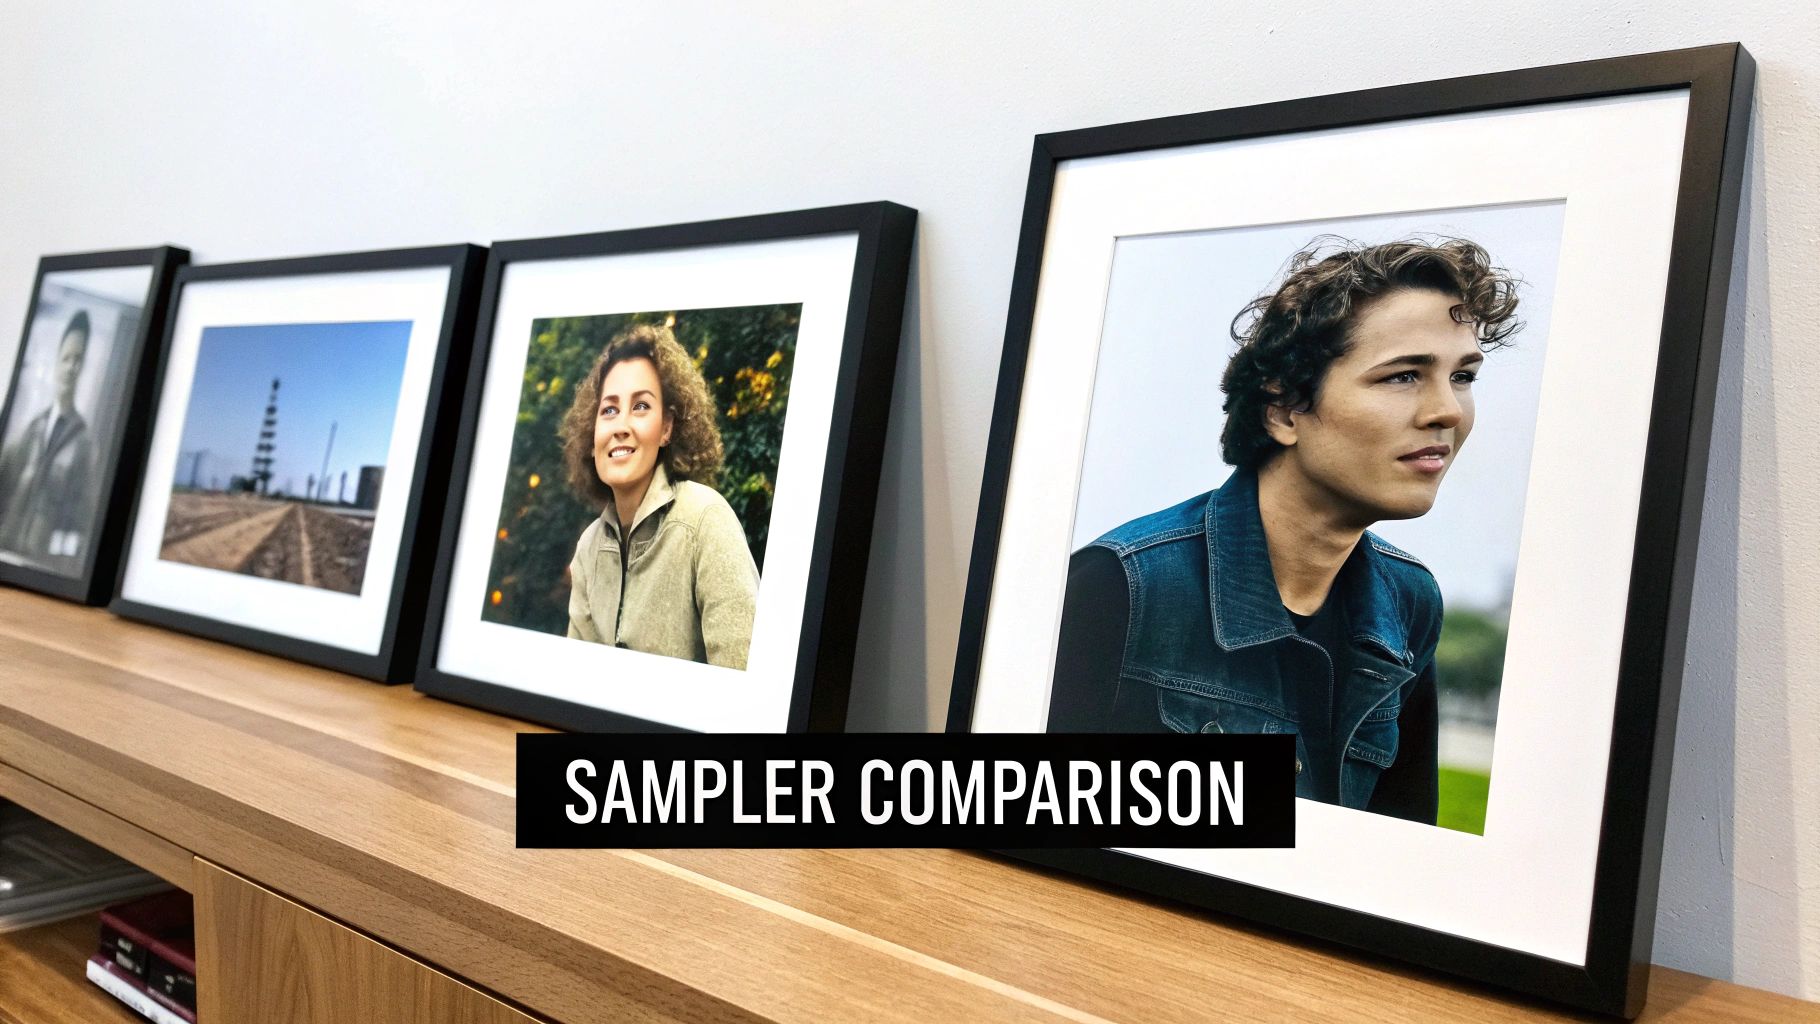
Theory is one thing, but seeing how a stable diffusion sampling method actually performs is where the rubber meets the road. Let's get our hands dirty and walk through some of the most popular samplers out there, exploring their unique "personalities" and the kind of images they kick out.
To make this a fair fight, we'll use the exact same prompt and seed for every example in a common interface like AUTOMATIC1111. This way, we can be sure that any differences we see are purely down to the sampler itself.
- Our Test Prompt:
cinematic photo of a majestic lion with a flowing mane, standing on a rocky cliff at sunrise, golden light, high detail, photorealistic - Seed:
12345
This simple setup takes all the abstract technical settings and turns them into real, tangible results, showing you exactly what to expect from each option.
Euler a: The Fast and Creative Explorer
First up is Euler a. The 'a' stands for ancestral, and you can think of this sampler as your go-to for quick brainstorming. It's one of the fastest options available, which makes it perfect for churning through dozens of ideas without having to wait around all day.
Because it's an "ancestral" sampler, Euler a injects a tiny bit of randomness at each step. This means that even with the same seed, you might notice slight changes in the final image if you tweak other settings. This little bit of creative chaos can be a huge help when you're just hunting for inspiration.
How to Use It:
- Pop open the "Sampling method" dropdown menu in your user interface.
- Select Euler a from the list.
- Set your "Sampling steps" on the lower side, usually between 20 and 30. Euler a gets to a solid image fast, so cranking the steps much higher doesn't usually add much.
- Keep the "CFG Scale" right around 7.
The images it produces often have a softer, more painterly feel. It’s fantastic at capturing a mood or a general concept quickly, even if it’s not always the best for razor-sharp details on the first go.
DPM++ 2M Karras: The High-Detail Finisher
Once you've landed on a concept you love and need to create a polished, high-quality final image, DPM++ 2M Karras is a phenomenal choice. It's a more modern and sophisticated sampler known for producing sharp, detailed, and coherent results. The "Karras" part means it uses a special noise schedule that's brilliant at cleaning up the image in the final stages of generation.
Unlike Euler a, this sampler is deterministic. What does that mean? With the same prompt, seed, and settings, you will get the exact same image every single time. That kind of predictability is golden when you're making tiny tweaks and need to see their precise effect.
Step-by-Step Selection:
- In the "Sampling method" dropdown, find and select DPM++ 2M Karras.
- Give it a few more steps to work its magic, typically between 25 and 40. This gives it the time it needs to really dial in the details.
- A "CFG Scale" of 7 is a great starting point here, too.
You'll immediately notice the difference. The image will likely have crisper lines, richer textures, and just feel more realistic compared to the faster, more creative samplers. This makes it the perfect tool for portraits, photorealistic scenes, and any project where detail is king.
Key Takeaway: The choice between an ancestral sampler like Euler a and a deterministic one like DPM++ 2M Karras really boils down to your goal. Use Euler a for creative exploration and speed; switch to DPM++ 2M Karras for predictable, high-detail final images.
DDIM: The Predictable Classic
DDIM (Denoising Diffusion Implicit Models) is one of the old guard, a classic sampler that’s been around for a while. While many of the newer kids on the block can produce better quality in fewer steps, DDIM is still a reliable and predictable workhorse. It’s fully deterministic, giving you perfectly repeatable results every time.
It usually needs more steps to get to the same level of quality as DPM++ 2M Karras, but its behavior is incredibly consistent. If you ever watch an older tutorial or follow a workflow online, there's a good chance it uses DDIM, simply because it was the standard for so long.
How to Select It:
- Method: Pick DDIM from your sampler list.
- Steps: You'll want to give it more runway to look good, often in the 40-60 step range.
- CFG Scale: A value of 7 is still a solid, balanced choice.
The world of samplers has moved fast. While DDIM set an early benchmark, newer options like DPM and its successor DPM++ (2022) came along and offered better accuracy. Since then, even more advanced methods like UniPC (2023) have shown up, slashing generation times by getting fantastic results in just 5 to 10 steps. You can read more about the progress in sampling methods and see how they continue to shape image quality.
Matching the Sampler to Your Creative Goal
There's no magic bullet or single "best" stable diffusion sampler. The real secret is knowing which one to pick for the job at hand. Once you move past the technical jargon, the skill lies in choosing your tools with a clear purpose. Are you just spitballing ideas, or are you creating a final masterpiece?
This goal-oriented mindset will help you pick your sampler with confidence, saving you a ton of time and giving you much better results. Let's walk through a few common scenarios and see which sampler fits best.
Scenario 1: Brainstorming and Rapid Ideation
Imagine you’ve got a rough idea for a new character, but the details are still fuzzy. You need to pump out dozens of concepts fast to see what works. In this stage, speed is everything. Pixel-perfect quality can wait.
Your goal is pure creative exploration and quantity over quality. You need a sampler that can give you a recognizable image in as few steps as possible so you can iterate on your prompt without waiting around.
Tutorial: Rapid Brainstorming
- Sampler: Select Euler a.
- Sampling Steps: Set to a low value, like 20.
- CFG Scale: Keep it at 7.
- Batch Size: Set this to 4 or 8 to generate multiple concepts at once.
- Generate: Hit generate. Review the batch of images. If you don't like any, change your prompt slightly and generate again. The speed of Euler a makes this process fast and fluid.
For this, Euler a is your undisputed champion. It's incredibly fast and can often whip up a coherent image in just 20-30 steps. Since it’s an ancestral sampler, it also throws in a little randomness. This can lead to some happy accidents and unexpected creative turns—which is exactly what you want when you're just exploring.
Scenario 2: Creating a Flawless Final Image
Okay, now you've nailed down the perfect concept from your brainstorming session. It's time to create the final, high-resolution version. This one needs to be sharp, detailed, and perfectly polished.
Your priorities have completely flipped. Now it’s all about quality and precision, not speed. You need a sampler that’s a master at rendering fine textures and creating a clean, professional-looking final image.
Tutorial: High-Quality Final Render
- Sampler: Switch to DPM++ 2M Karras.
- Sampling Steps: Increase this to 30-35.
- CFG Scale: 7 remains a great starting point.
- Hires. fix: Enable this feature to upscale the image and add more detail (more on this later).
- Generate: Create your single, high-quality masterpiece.
This is where DPM++ 2M Karras really shines. It’s a modern, highly efficient sampler known for producing crisp, artifact-free images. It does require a few more steps—usually somewhere between 25 to 40—but the payoff in detail and coherence is huge. It's the go-to for photorealistic portraits, complex scenes, or any project where final quality is everything.
Scenario 3: Replicating a Specific Style or Image
Sometimes you'll come across an image online with a style you absolutely love. Maybe the creator even shared their prompt and seed, and you want to generate the exact same image to see how they did it or use it as a launchpad for your own work.
In this case, reproducibility is what matters most. You need a sampler that is deterministic, which is just a fancy way of saying it will produce the identical image every single time, as long as the prompt, seed, and other settings match.
Tutorial: Replicating an Image
- Find the Generation Data: Locate the prompt, negative prompt, seed, sampler, steps, and CFG scale used to create the original image.
- Sampler: Select the exact sampler used, for example, DPM++ 2M Karras or DDIM.
- Input all Settings: Carefully copy every parameter—prompt, seed, steps, CFG, resolution—into your user interface.
- Generate: The resulting image should be identical to the one you're trying to replicate.
DDIM or DPM++ 2M Karras are your best bets here. Both are deterministic, cutting out the randomness that you get with ancestral samplers. This predictability is critical when you're trying to deconstruct another artist's process or make very precise, controlled tweaks to your own creations. For example, if you're trying to generate consistent full-body shots for a character sheet, a deterministic sampler makes sure that small changes to your prompt don't completely alter the character's pose. You can learn more about creating consistent character shots in our detailed guide.
Stable Diffusion Sampler Performance Comparison
To make the choice even clearer, let's put these popular samplers side-by-side. This table breaks them down based on the practical things that matter most in your day-to-day workflow, helping you choose the right one for your specific needs.
| Sampler Name | Typical Steps | Generation Speed | Detail Level | Best Use Case |
|---|---|---|---|---|
| Euler a | 20 - 30 | Very Fast | Good | Rapid brainstorming, exploring concepts, and creative ideation. |
| DPM++ 2M Karras | 25 - 40 | Moderate | Excellent | Creating final high-quality images, photorealism, and detailed artwork. |
| DDIM | 40 - 60 | Slow | Good | Replicating images with a known seed, tutorials, and when predictability is key. |
| DPM++ SDE Karras | 20 - 35 | Fast | Very Good | A great all-rounder that offers creative variation and high quality. |
By understanding these trade-offs, you can stop guessing and start choosing your sampler with a clear strategy in mind.
Pro Tip: Think of your image generation process in two stages. Use a fast sampler like Euler a for the initial
txt2imgstep to quickly find a composition and vibe you love. Then, send that image over toimg2imgand switch to a high-detail sampler like DPM++ 2M Karras to refine it into a masterpiece.
Advanced Workflows for Professional Results
Getting the hang of individual samplers is a great start, but the real magic happens when you start combining their strengths. Pros don't just pick one stable diffusion sampling method and call it a day; they use different tools for different parts of the job to get cleaner, sharper results more efficiently.
Think of it like a two-step creative process. First, you have a quick, messy drafting stage to nail the composition. Then, you move to a detailed, high-resolution finishing stage. By using a fast sampler for the initial idea and a high-detail one for the final touches, you really do get the best of both worlds.
The Hires Fix Workflow Step by Step
One of the most powerful techniques for creating incredible high-resolution images is the Hires. fix feature, which is baked into most Stable Diffusion interfaces. This automates the two-pass process I just mentioned: it generates a smaller base image first, then cleverly upscales and refines it in a second pass.
Here’s how you can put it to work, step-by-step:
- Craft Your Prompt: Begin with a detailed, descriptive prompt. A strong prompt is crucial here because this workflow is going to add a ton of detail, and you need to guide the AI effectively. For a deep dive into prompt engineering, check out our complete Stable Diffusion prompt guide.
- Select Your Base Sampler: In your main settings, go for a speedy sampler like Euler a. Keep the steps low—around 20-25 is usually plenty. The goal here is speed and getting a solid composition, not a perfect final product.
- Enable Hires. fix: Find the "Hires. fix" checkbox and enable it. You'll see a new set of options appear, which are just for the upscaling pass.
- Choose an Upscaler: Pick an upscaler from the dropdown. Models like Latent or 4x-UltraSharp are fantastic choices for adding detail without creating weird artifacts.
- Select Your Hires Sampler: Now for the important part. For this second pass, choose a high-detail, deterministic sampler. DPM++ 2M Karras is a go-to for many because it's great at refining textures and sharpening the image.
- Set Hires Steps and Denoising: Set the "Hires steps" to a moderate number, somewhere between 15-25. The most critical setting here is "Denoising strength." A value between 0.4 and 0.6 is a safe place to start. This tells the AI how much to alter the original image—if it's too high, it might change your composition, but if it's too low, it won't add enough new detail.
- Generate Your Image: Hit generate! The AI will quickly create the low-res base with Euler a, then switch over to DPM++ 2M Karras for the detailed upscaling pass. You get a single, high-quality image at the end.
This two-sampler approach is at the heart of professional AI art creation. It saves a massive amount of time, letting you iterate on compositions quickly before you commit to a slower, high-quality render for the final piece.
Combining Samplers for Txt2img and Img2img
This principle of using different samplers for different jobs isn't limited to a single feature like Hires. fix. A common pro workflow involves manually taking an image from text-to-image (txt2img) and moving it over to image-to-image (img2img) for more hands-on control.
This gives you even more precision over the final refinement.
- Txt2img for Foundation: Use a fast, creative sampler like Euler a or DPM++ SDE Karras in txt2img. The goal is to generate a batch of images and find one with the perfect composition and vibe.
- Img2img for Refinement: Once you've got a winner, send it over to the img2img tab. Now, switch your stable diffusion sampling method to a precise, detail-oriented option like DPM++ 2M Karras. You’ll want to lower the denoising strength way down (e.g., to 0.2-0.5) to simply refine existing details instead of changing the image's core structure.
This infographic lays out a simple decision tree to help you pick the right sampler for what you're trying to do.

The visual guide really hammers home the core concept: use fast samplers when you're exploring ideas and high-detail samplers when you're creating a final, polished piece. By adopting these multi-step workflows, you'll start elevating your work from simple generations to professional-grade art.
Sorting Out Common Sampler Problems
Ever hit a wall where your generations come out as blurry messes, noisy disasters, or just plain weird? It's a frustrating but common part of the process. The good news is that these aren't random flukes. More often than not, the culprit is your chosen stable diffusion sampling method and its settings.
Think of this as your field guide to troubleshooting. Once you learn to spot the visual tells, fixing the problem is usually as simple as tweaking a slider.
Problem: My Images Look Blurry or Unfinished
You know the look—it resembles a half-finished painting. You can make out the basic shapes and colors, but the whole thing is coated in a fuzzy, undefined haze, completely lacking crisp detail.
This is almost always a sign that your Sampling steps are too low for the sampler you've chosen. It’s like a sculptor putting down their tools halfway through the job. The rough form is there, but none of the fine, defining details have been carved out yet. The AI simply ran out of time to finish denoising the image.
The Fix: A Step-by-Step Guide
- Identify the Blur: Notice your image lacks sharpness. For example, you used DPM++ 2M Karras at 15 steps and the result is mushy.
- Increase Steps Incrementally: Don't jump from 15 to 100. Bump the "Sampling steps" up to 25.
- Regenerate and Compare: Generate the image again with the same seed. The new version should be noticeably sharper.
- Find the Sweet Spot: If it's still not perfect, try 30 or 35 steps. You'll reach a point where adding more steps doesn't improve the quality. That's your sampler's ideal range. For most samplers, this is between 20-40 steps.
This one simple change gives the sampler the time it needs to do its job, transforming a noisy blob into a sharp, coherent picture.
Problem: My Images Are "Overcooked" with Weird Artifacts
Now for the other side of the coin. Sometimes an image comes out looking "fried"—the colors are way too intense, the contrast is cranked to eleven, and you start seeing bizarre, distorted shapes or textures that look like melted plastic.
This is a classic symptom of a CFG (Classifier-Free Guidance) Scale that’s set way too high. The CFG scale is what tells the AI how strictly it needs to follow your prompt. A little bit of direction is great, but too much backs the AI into a corner, causing it to churn out these harsh, burned-in results.
What Exactly is the CFG Scale?
Imagine the CFG Scale is like a leash on the AI's creativity. A low value (say, 2-6) gives it a lot of slack to get creative and interpret your prompt, leading to softer, often more artistic results. A high value (12-15+) yanks that leash tight, forcing it to stick to the prompt with zero deviation, which can cause that over-sharpened, distorted look. For most people, the sweet spot is right around 7.
The Fix: A Step-by-Step Guide
- Spot the "Burn": Your image looks harsh and over-saturated. You check your settings and see the "CFG Scale" is at 14.
- Reduce the CFG Scale: Lower the CFG value significantly. A great, neutral starting point is 7.
- Regenerate and Observe: Generate the image again with the same seed. The new result should look much more natural and balanced.
- Fine-Tune if Needed: From a CFG of 7, you can make small adjustments. If you want it to follow the prompt a bit more strictly, try 8. If you want more creativity, try 6.
By dialing back the CFG, you give the AI the creative breathing room it needs to generate something that looks great while still honoring your prompt. Honestly, learning how to balance your steps and CFG will solve over 90% of the image quality issues you'll run into.
Frequently Asked Questions About Samplers
Even after you get a feel for the different samplers, a few common questions always seem to pop up. Nailing down the answers can make a real difference in your workflow and help you get much better images out of your favorite stable diffusion sampling method.
Let's clear the air, bust some myths, and get you the practical answers you need to get past the most common hangups.
What Is the Difference Between a Sampler and a Scheduler?
You’ll often see these terms used interchangeably in interfaces like AUTOMATIC1111, but they're actually two different cogs in the machine. A good way to think about it is planning a road trip.
- The scheduler is your map. It plots the entire route from pure noise to a finished image by setting a specific "noise level" for every single step. It decides how much noise gets removed at each stop along the way.
- The sampler is the car. It’s the actual algorithm that drives the route laid out by the scheduler. It does the real work of navigating from step to step, progressively denoising the image until it reaches the final destination.
When you pick something like "DPM++ 2M Karras" from a dropdown menu, you're actually selecting a bundle: the DPM++ 2M sampler (the car) paired with the Karras noise schedule (the map). It's a convenient shorthand, but knowing the difference helps you understand what's really going on under the hood.
Should I Always Use the Maximum Number of Steps?
Definitely not. This is one of the biggest misconceptions out there. Pushing the step count to the max is usually just a waste of time and GPU cycles.
Every sampler has a sweet spot where the image quality "converges," or basically settles into its final form. Going way past that point gives you seriously diminishing returns. At best, you see no improvement. At worst, you can over-bake the image and introduce weird artifacts.
A classic beginner mistake is cranking the steps up to 100 or 150, hoping for a masterpiece. The truth is, most of an image's core structure and detail are locked in during the first 20-40 steps. Anything beyond that is often just polishing something that's already done.
Instead of guessing, here are some solid starting points:
- Euler a: Tends to look great between 20-30 steps.
- DPM++ 2M Karras: Really hits its stride in the 25-40 step range.
- DDIM: This one is a bit slower to the finish line and often needs 40-60 steps to look its best.
Start with these ranges. Only bother increasing the step count if your image still looks a bit blurry or unfinished.
Can Changing the Sampling Method Affect My Image Composition?
Yes, and it can be a pretty dramatic change! The secret lies in understanding the difference between deterministic and ancestral (or non-deterministic) samplers.
A deterministic sampler, like DDIM or DPM++ 2M Karras, is predictable. Give it the same prompt, seed, and settings, and it will produce the exact same image every single time. This is fantastic when you need consistency or want to fine-tune an existing image with small, controlled changes.
On the other hand, an ancestral sampler, like Euler a or DPM++ SDE Karras, injects a tiny bit of randomness at each step. This means that even with the same seed, just changing the step count or CFG scale can lead to a totally different composition. This isn't a bug—it's a feature! You can use this to your advantage to explore variations on a theme without having to rewrite your whole prompt.
Ready to stop guessing and start creating stunning visuals? AI Photo HQ gives you access to the latest Stable Diffusion models through an easy-to-use interface. Generate thousands of high-quality images, restore old photos, and explore endless creative styles today. Visit https://aiphotohq.com to begin your creative journey.

