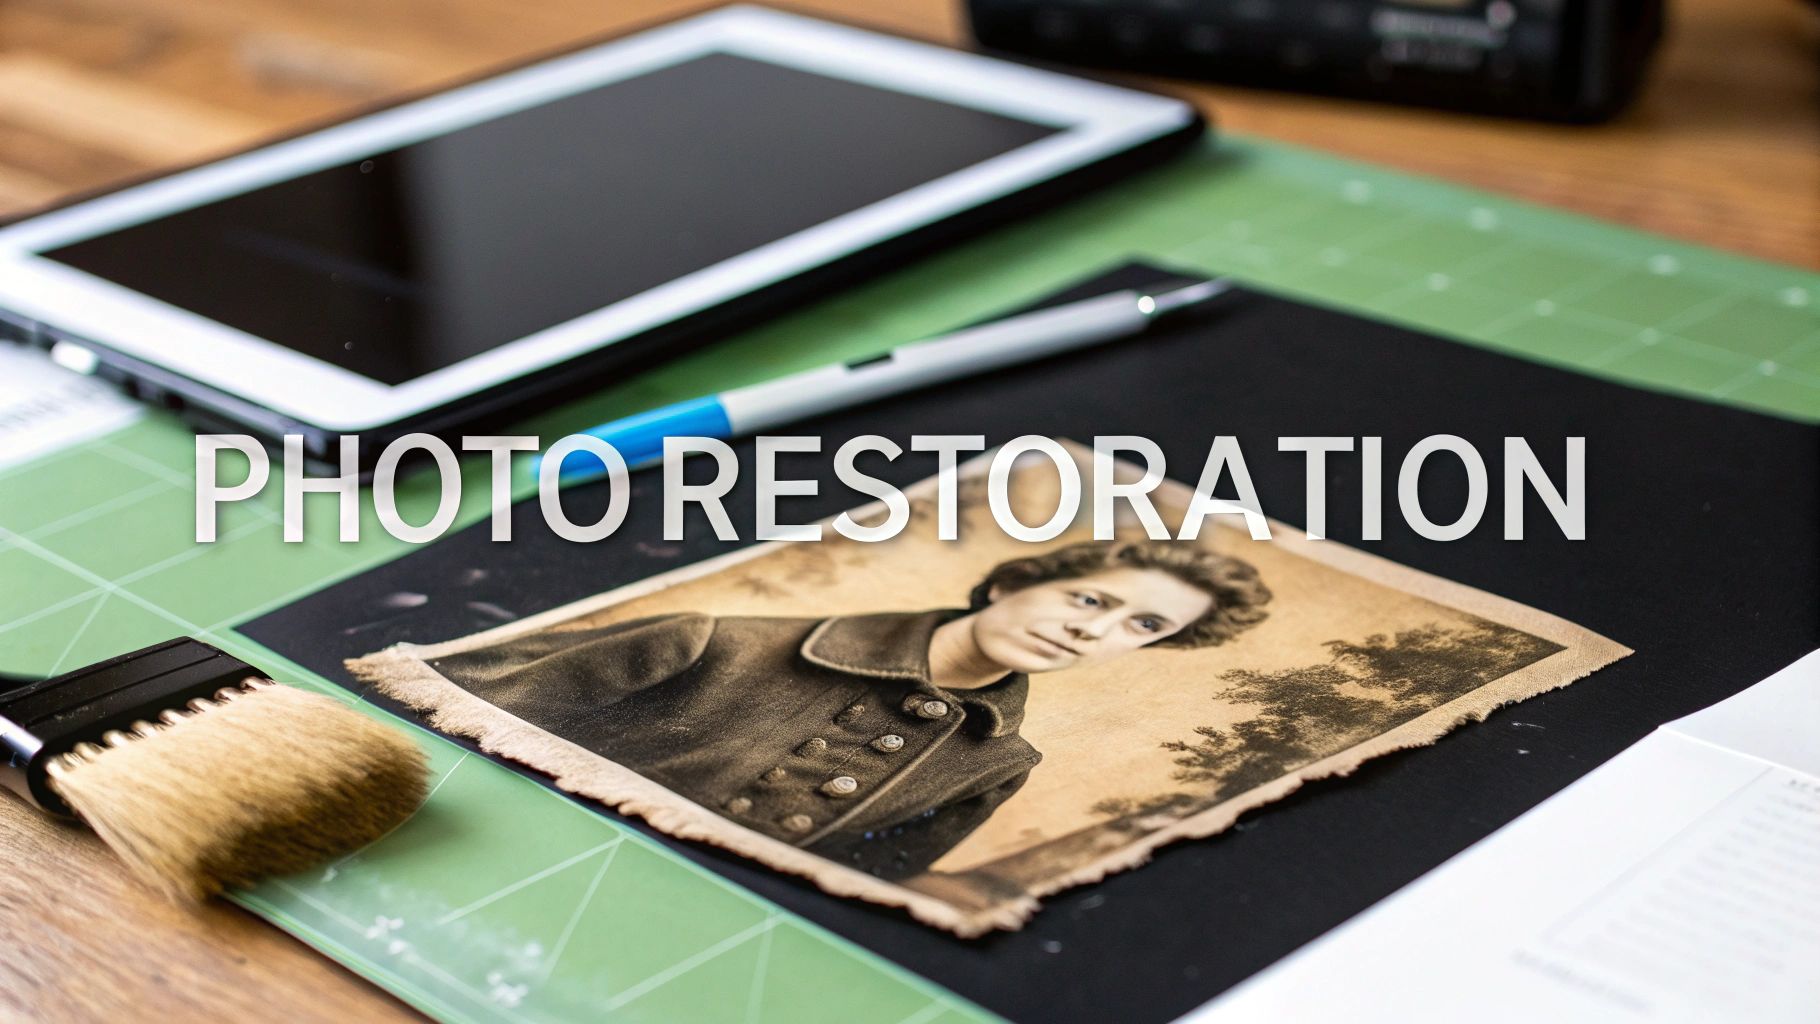
When you’ve got a shoebox full of damaged photos, you’ve really got two ways to go: the hands-on precision of manual retouching or the incredible speed of AI-powered tools. No matter which path you choose, it all starts with a high-quality digital scan. That scan is your canvas, the foundation for wiping away scratches, reviving faded colors, and even rebuilding parts of the image that have been lost to time.
Giving Your Cherished Memories New Life
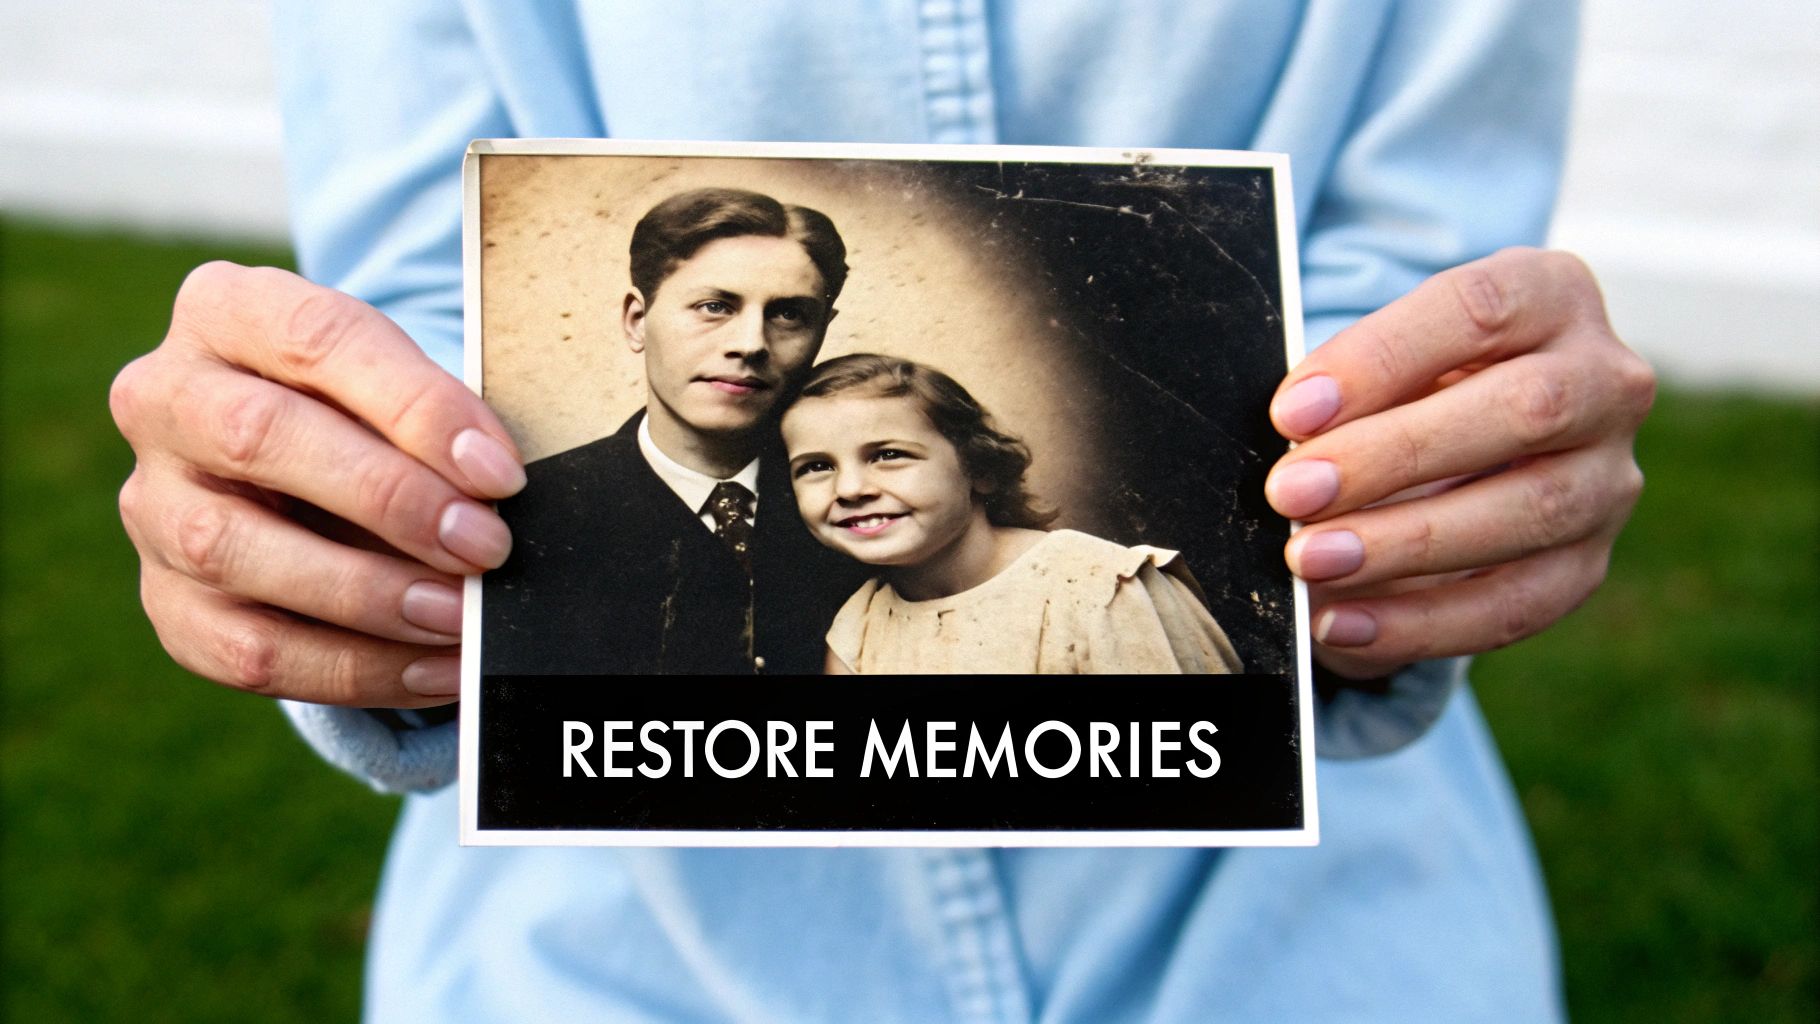
Old photographs are so much more than just paper—they’re a direct line to our family history and moments we hold dear. But over the years, these treasures can fall victim to fading, scratches, water spots, and tears. Learning how to repair damaged photos isn't just about mastering a technical skill; it's about preserving a legacy and giving a voice back to memories that were fading away.
This guide is your roadmap. We’ll walk through the entire restoration process, from getting that perfect digital copy to mastering both manual and automated repair techniques. Whether you’re just starting out or you’re aiming for pro-level results, you'll find a clear path forward here.
Understanding the Value of Restoration
The drive to save these old images is a big deal. The global market for photo restoration services was valued at a whopping $799.2 million in 2024 and is expected to soar past $1.5 billion by 2035. That number says a lot about how deeply we value our visual heritage.
Of course, restoration is only half the battle. Knowing how to preserve old photographs properly is just as crucial. Good storage and careful handling can stop future damage in its tracks, making sure these memories are around for the next generation.
"Every old photo has a story to tell, but damage can silence its voice. Restoration gives that voice back, letting future generations hear the stories of their past clearly and vibrantly."
What to Expect in This Guide
We’re going to dive into two powerful approaches to photo repair. Each has its own strengths, and knowing when to use which is key. Here’s a quick peek at what you’ll learn:
- Manual Restoration: This is all about artistic control. Using software like Photoshop or GIMP, you can get in there and meticulously fix complex, one-of-a-kind damage. It’s for when every single detail has to be perfect.
- AI-Powered Restoration: Need speed and efficiency? Nothing comes close to AI. These tools can automatically fix common problems like scratches, fading, and blur in just a few seconds, which is a lifesaver when you have a whole stack of photos to get through.
Creating a Perfect Digital Foundation
The final quality of your restored photo is often decided the moment you scan it. A blurry, low-resolution scan creates a weak foundation that even the most powerful editing tools can't fully fix.
Think of it as building a house—you wouldn't construct walls on shaky ground. Your digital file is that ground, and making it solid from the start is non-negotiable for anyone serious about photo restoration.
Getting this right is about more than just hitting the "scan" button. It's about capturing every last bit of image data, which gives you more to work with later. This first step can be the difference between a passable fix and a breathtaking result.
Preparing Your Photos for Scanning
Before a photo even touches the scanner, a little prep work can prevent a lot of headaches. Decades in storage often mean a buildup of dust, fingerprints, or other gunk. Trust me, trying to edit out hundreds of tiny dust specks is tedious work you can easily avoid.
Here's a quick step-by-step cleaning tutorial:
- Find a clean, well-lit workspace.
- Gently wipe the photo's surface with a soft, lint-free microfiber cloth, moving from the center outwards.
- For stubborn dust, hold a can of compressed air at least 6 inches away from the photo and use short bursts to blow away particles.
- Important: Never use water, cleaning solutions, or paper towels. These can cause irreparable damage to the photo's delicate emulsion layer.
Handling Fragile and Damaged Prints
Old photos are rarely pristine and flat. They might be curled, cracked, or even stuck to other items. Your goal is to get the flattest, clearest scan possible without causing more harm.
- For Curled Photos: Don't try to force a curled photo flat. Instead, place it inside a clean, heavy book for a few days to gently uncurl it. If you're in a hurry, you can place it under the scanner lid with a piece of clean, heavy cardstock on top to help press it down.
- For Cracked or Torn Photos: Handle these with extreme care, ideally with cotton gloves to avoid transferring oils from your skin. Scan them as-is, making sure all pieces are aligned as closely as possible. All the real repair work will happen digitally.
A common mistake I see is people trying to clean a cracked photo too aggressively. This can cause the emulsion to flake off along the cracks, making things worse. Gentle preparation is always the safest approach.
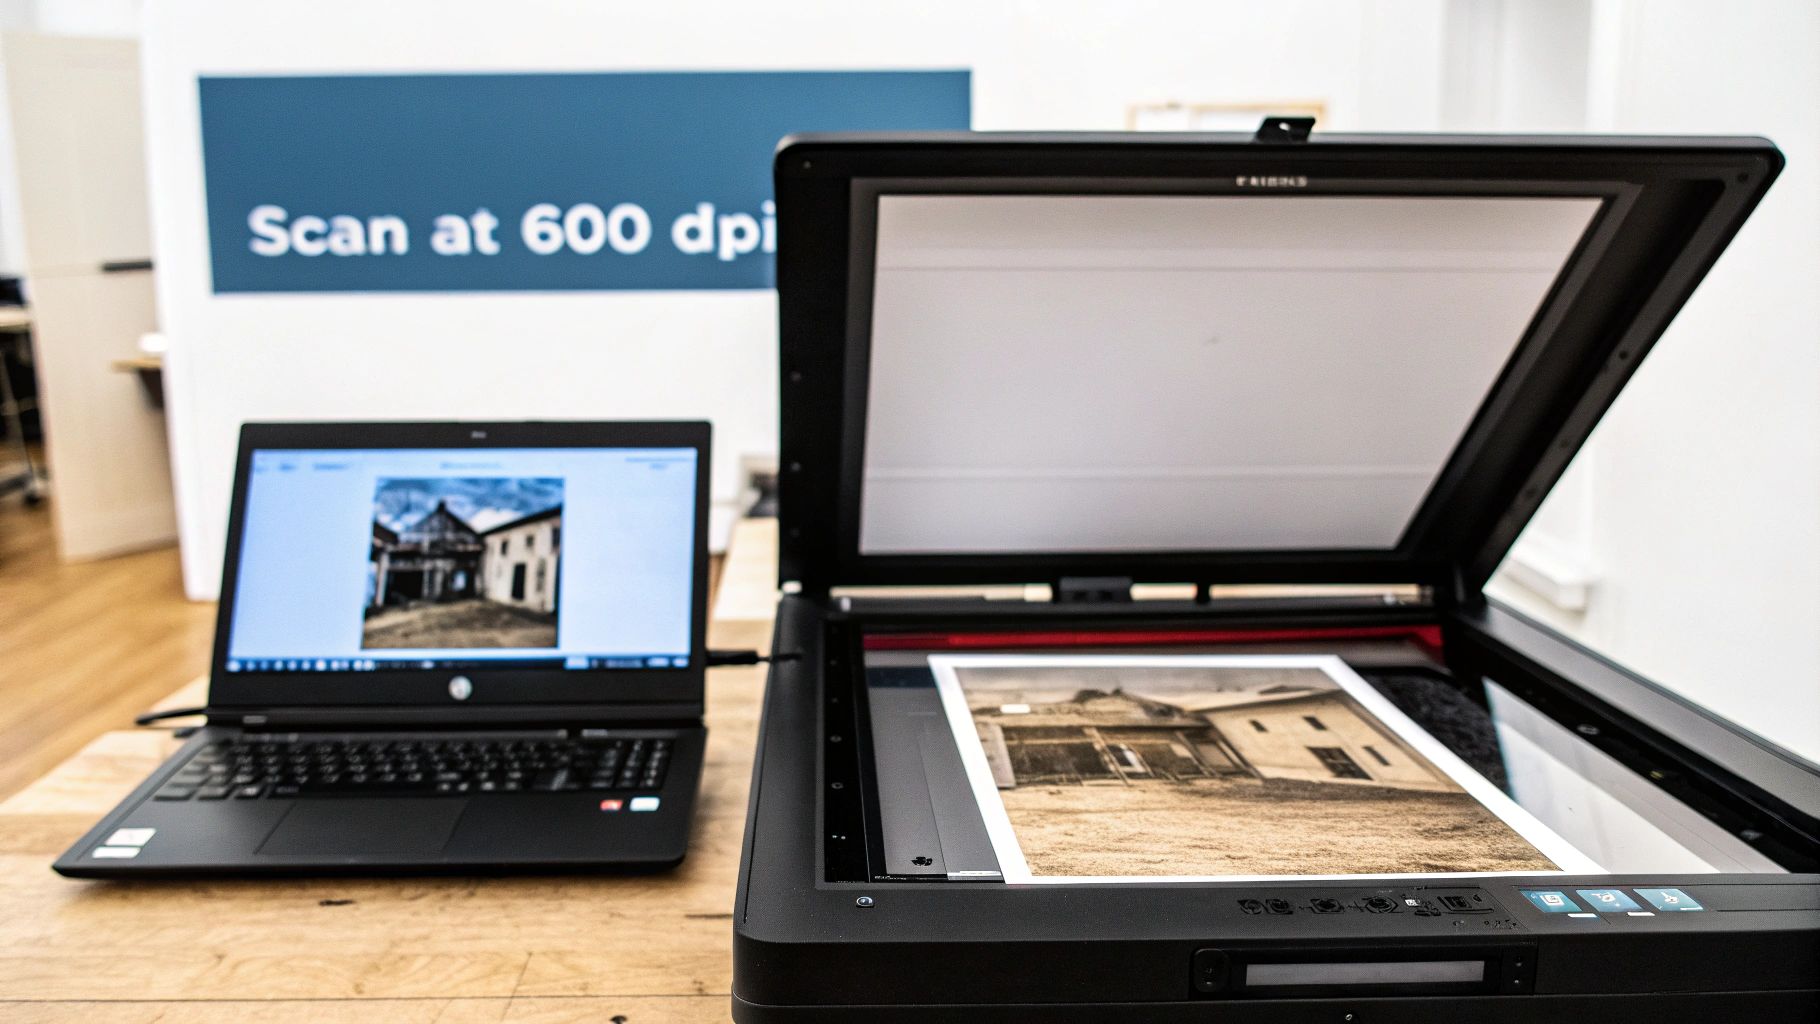
Choosing the Right Scanner Settings
Your scanner settings are easily the most critical part of this stage. These choices determine the detail, color information, and overall quality you'll have to work with.
Here’s a practical step-by-step guide to optimal scanner settings:
- Open your scanner software and look for an "Advanced" or "Professional" mode.
- Set Resolution (DPI): Select a minimum of 600 DPI (Dots Per Inch). For very small photos (like wallet-sized prints), increase this to 1200 DPI.
- Choose File Format: Select TIFF (Tagged Image File Format). Unlike JPEGs, TIFF is a lossless format, which means it preserves all the original image data without compression. This is crucial for editing.
- Select Color Depth: Choose the highest bit-depth available, typically 48-bit color (or 16-bit for grayscale). This captures more tonal variations, making it easier to correct faded colors.
- Preview and Scan: Do a preview scan, adjust the crop box to fit the photo, and then perform the final scan.
Once you have these high-quality scans, you'll need a good system to keep them organized. Having a clear digital filing system from the get-go saves a ton of time. Our guide on how to organize digital photos offers a great workflow for this.
Nailing this foundational step makes every part of the repair process easier and more effective, setting you up for a fantastic restoration.
Mastering Manual Photo Retouching
While AI tools offer incredible speed, manual photo retouching is where the real artistry and precision come in. For anyone who wants complete control over every single pixel, software like Adobe Photoshop or GIMP is your best friend. This is where you can meticulously bring a photo back to life, one careful brushstroke at a time.
This isn't just about covering up flaws. It's about understanding the image's original texture, lighting, and character to pull off a seamless repair. When you need to rebuild a complex pattern on a piece of clothing or subtly correct a delicate facial feature, nothing beats the control of manual techniques.
The Foundation of Manual Repair: Layers
Before you even think about touching a pixel on the original image, you need to live by one golden rule: work non-destructively. This just means making all your edits on separate layers, leaving your pristine, high-quality scan completely untouched.
Here's how to set up your file for non-destructive editing in Photoshop:
- Open your scanned TIFF file.
- In the Layers panel, right-click on the "Background" layer and select "Duplicate Layer...".
- Name the new layer something like "Retouching" and click OK.
- Click the eye icon next to the original "Background" layer to hide it. Now all your work will be done on the new layer, keeping the original safe.
Pro Tip: For even more flexibility, create a new blank layer above your "Retouching" layer. When using tools like the Clone Stamp or Healing Brush, check the "Sample All Layers" option in the top toolbar. This places all your fixes on a separate, empty layer, making them even easier to edit or remove later.
Rebuilding Textures with the Clone Stamp Tool
The Clone Stamp tool is the undisputed workhorse of manual photo repair. Its job is simple: it copies pixels from one area of your image (the source) and lets you paint them onto another area (the target). This is absolutely perfect for fixing scratches, tears, or missing chunks that cut through textured backgrounds.
Let’s say you have a nasty scratch running across a person's patterned wool sweater. Here's a step-by-step tutorial:
- Select the Clone Stamp Tool (shortcut: 'S' key).
- Choose a soft-edged brush. The size should be slightly larger than the scratch you're fixing.
- Hold down Alt (or Option on Mac) and click on a clean, undamaged area of the sweater's pattern right next to the scratch. This sets your source point.
- Move your cursor over the beginning of the scratch and click and drag to paint over it. You'll see the texture you just sampled being painted right over the damage.
- Crucial Step: Release the mouse button, then Alt/Option-click a new source point nearby. Continue painting. Constantly resampling prevents a repetitive, "stamped" look and helps the repair blend seamlessly.
Seamlessly Removing Blemishes with the Healing Brush
While the Clone Stamp copies pixels exactly, the Healing Brush Tool is a bit smarter. It samples the texture from your source point but intelligently blends the color and brightness with the area you're painting on. This makes it a much better choice for repairing damage on skin or in areas with smooth, gradual color changes.
Let's fix a dust spot on a person's cheek:
- Select the Healing Brush Tool (shortcut: 'J' key).
- Just like with the Clone Stamp, Alt/Option-click on a clean area of skin right beside the blemish to set your source.
- Click once over the spot. The tool automatically replaces the blemish with the sampled texture while perfectly matching the surrounding color and light. For larger blemishes, you can click and drag.
Correcting Color Fading and Casts
Over time, the chemicals in old photo paper break down, often leading to a faded look or a weird color cast—where everything might look too yellow, red, or blue. You can fix this easily using Adjustment Layers.
To tackle that common yellowing effect you see in so many faded photos:
- In the Layers panel, click the "Create new fill or adjustment layer" icon (it looks like a half-filled circle) and select "Color Balance".
- In the Properties panel that appears, make sure the dropdown is set to Midtones.
- Gently drag the top slider (Cyan-Red) away from Red and the bottom slider (Yellow-Blue) towards Blue until the yellow cast is neutralized.
- Switch the dropdown to Shadows and then Highlights, making small adjustments to each until the colors look natural and balanced.
The beauty of this method is that it's entirely non-destructive. You can go back and tweak the settings on your adjustment layer at any time or even lower its opacity to dial the effect back.
Addressing Digital Noise and Grain
Sometimes, the scanning process itself can add digital noise, or the original photograph might just be very grainy. While a little bit of grain can add character, too much of it can be distracting. To get a deep dive into this specific problem, check out our guide to remove photo grain from your images for a smoother finish.
Manual retouching is a skill that marries technical know-how with an artistic eye. It definitely takes patience and practice, but the results are incredibly rewarding. There’s nothing quite like saving an old memory with a personal, handcrafted touch. To really take your skills to the next level for intricate repairs, an advanced photography course bundle can give you in-depth training on all sorts of image manipulation, including these restoration techniques.
Using AI for Rapid Photo Restoration
Manual retouching is a true art form, but let's be honest—it takes a ton of time and a seriously steady hand. For most of us trying to figure out how to repair damaged photos, artificial intelligence is a much more practical answer. AI has completely changed the game, turning hours of digital surgery into a job that often takes just a few seconds and a single click.
These tools are built from the ground up for speed and simplicity. You just upload your scanned image, and complex algorithms immediately get to work hunting down and fixing common problems. They analyze the photo for cracks, scratches, fading, and even blurry faces, then automatically apply corrections. It's an unbelievably efficient way to bring an entire box of old family photos back to life in an afternoon.
How AI Restoration Works Its Magic
So what’s happening under the hood? At its core, an AI photo restoration tool has been trained on millions of images—both damaged and perfect ones. This massive library teaches it what a "normal" photograph is supposed to look like. When you upload a picture with a tear running through it, the AI sees the problem and uses the surrounding pixels to intelligently fill in the missing information.
This isn't a simple copy-and-paste job. It's a generative process. The AI understands context, so it can rebuild the texture of a lawn or the gentle curve of a cheekbone with shocking accuracy. This makes it especially good at tackling widespread damage, like a spiderweb of fine cracks or severe fading across the whole print.
A huge advantage of AI is its ability to process images in bulk. If you have a hundred photos with similar fading or discoloration, you can run them all through an AI tool far faster than you could ever fix them by hand.
A Practical Walkthrough with Real Examples
Let's run through a common scenario. Imagine you've scanned a faded, black-and-white wedding photo from the 1950s. It's got a few noticeable creases, and the contrast is totally washed out.
Here's a step-by-step tutorial using an AI tool like AI Photo HQ:
- Navigate and Upload: Go to the AI restoration website and find the "Upload" button. Select your high-resolution TIFF scan from your computer.
- Select Restoration Options: The platform will analyze the photo. You'll typically see a simple interface with toggles or checkboxes. For this example, you would enable "Scratch Removal," "Colorize," and "Face Enhance."
- Process the Image: Click the main "Restore" or "Process" button. The AI gets to work, and within seconds, you'll see a side-by-side comparison of the original and the restored version.
- Download the Result: The creases will be gone, the contrast will be crisp and clear, and the black-and-white scene will now be filled with plausible, natural-looking color. Simply click "Download" to save the finished image.
This same process works wonders on other problems, too. A photo with a torn corner can be rebuilt, or a blurry group shot can have its faces sharpened to bring out the details. To get a better sense of how these algorithms sharpen images, check out our post on AI image enhancement.
Understanding AI's Strengths and Weaknesses
While AI is incredibly powerful, it's not a silver bullet for every single problem. Knowing where it shines—and where it might stumble—is the key to getting great results.
Where AI Excels:
- Common Damage: It's fantastic at fixing scratches, dust, minor tears, and uniform color fading.
- Speed and Efficiency: Nothing beats AI for restoring large batches of photos quickly.
- Colorization: Modern AI can add realistic color to black-and-white photos, making them feel vibrant and new.
- Face Sharpening: It can often bring surprising clarity to out-of-focus portraits.
Where AI Can Fall Short:
- Subtle Details: AI can sometimes smooth over important textures, like the fine pattern on clothing or the grain of wood, making them look a bit unnatural.
- Unique or Severe Damage: For a photo with a large, complex missing piece (like half a face), an AI might generate a result that looks "off" or generic.
- Artistic Nuance: The AI makes its best guess, but it lacks the human touch needed for artist-specific corrections. It might restore color to a faded sunset, but it won't know the exact, emotionally resonant shade of orange you remember.
The photographic services market, valued at $35.78 billion in 2024, is growing fast, with forecasts expecting it to hit $64.68 billion by 2034. A huge driver of this growth is AI, which makes restoration workflows so much more efficient.
Ultimately, AI is a phenomenal starting point and often a complete solution for most damaged photos. It gives anyone the power to achieve impressive results without needing years of technical training.
The Hybrid Method For Flawless Results
Why pick between AI’s speed and hands-on finesse when you can combine them? In my experience, a hybrid workflow turns photo restoration from a chore into a craft. You let AI tackle the heavy lifting—think widespread cracks, deep fading, and color imbalance—then you swoop in for the delicate, human-centered details.
It really feels like a tag team. AI clears away the bulk of damage in seconds. After that, you step in as art director, fine-tuning the parts that bring back real emotion and authenticity.
Starting With An AI-Powered First Pass
Imagine uncovering a faded family portrait from the 1970s. Years of yellowing and a web of hairline cracks have stolen its charm. Manually cloning out every flaw could eat up your entire afternoon.
Here is a practical workflow:
- Scan your photo at 600 DPI as a TIFF file.
- Upload the scan to an AI tool like AI Photo HQ.
- Apply the general restoration and color correction features.
- Download the result. This AI-repaired image is now your new base file, likely 90% of the way to a perfect restoration.

This quick pass builds a polished base so you can skip right to the subtle, human touches.
Refining The Details With Manual Precision
With that AI-enhanced version in hand, open your favorite editor—Photoshop, GIMP, Affinity Photo, whatever you prefer. Now, you can focus on the final 10% where AI sometimes trips up, like restoring the texture of a wool sweater that the AI smoothed over.
Here’s what to look for:
- Unnatural Textures: Wool fabrics looking too smooth, wood grain disappearing.
- Flattened Details: Gentle facial shadows erased, reducing character.
- Minor Color Errors: Skin tones that look slightly off or background colors that don't feel authentic.
These quirks are the difference between a good fix and a great one. Only a discerning eye and precision tools can restore texture and tone exactly as you remember.
The goal of this hybrid approach isn’t to override the AI’s work but to enrich it. You’re building on a clean slate and weaving back the soul of the image.
Blending Edits With Layer Masks
This is where the magic happens. You don’t discard the AI result—you refine it selectively with layer masks. Here's a step-by-step tutorial for blending:
- Open your original scan in Photoshop.
- Place the AI-repaired version on a new layer directly above the original.
- Select the AI layer and click the "Add layer mask" icon (a rectangle with a circle inside) at the bottom of the Layers panel.
- Press Ctrl+I (or Cmd+I on Mac) to invert the mask to black, completely hiding the AI layer.
- Select the Brush Tool (shortcut 'B'), choose a soft white brush, and set the opacity in the top toolbar to 20–30%.
- Now, paint over the areas of the photo where the AI did a great job (like removing cracks in the background). The AI's fixes will gently appear.
- By leaving areas like clothing or faces unpainted, you preserve the original, authentic texture from the scan while using the AI's power to fix simpler damage.
This hybrid strategy respects your time without skimping on quality. The end result? A technically pristine photo that still carries the warmth and personality only a human touch can deliver.
Got Questions About Fixing Old Photos? We've Got Answers.
Jumping into photo restoration for the first time can feel a bit overwhelming. You've got stacks of faded, torn, and discolored memories, and a whole lot of questions. That's perfectly normal. Let's walk through some of the most common things people ask when they're learning to bring old photos back to life.
What Resolution Should I Scan My Old Photos At?
This is probably the most critical first step, and getting it right saves you a ton of headaches later. For most standard-sized prints—think your typical 4x6 or 5x7—scanning at 600 DPI (Dots Per Inch) is the sweet spot. It gives you plenty of detail to work with for serious edits and even lets you print a slightly larger version without it looking pixelated.
Now, if you're dealing with a tiny original, like an old wallet-sized photo, you'll want to bump that up to 1200 DPI. The same goes if your end goal is a large, high-quality print for the wall.
Pro tip: Always, and I mean always, save your initial scan as a lossless TIFF file. JPEGs are great for sharing, but they compress and discard data. For restoration work, you need every single pixel you can get.
Is a Photo with a Huge Missing Piece a Lost Cause?
Not at all. In fact, this is where the magic of modern restoration really comes into play. If a chunk of the background is gone—say, a bit of sky or grass—you can often rebuild it yourself using the Clone Stamp tool in software like Photoshop. It takes a bit of patience, but it’s very doable.
What about something more complex, like a piece of a face or intricate clothing? This is where AI tools are absolute game-changers. They can analyze the surrounding context and intelligently generate the missing details. The best results usually come from a hybrid approach: let an AI do the heavy lifting to fill the gap, then jump in with your manual tools to blend it in and add those subtle, human-finishing touches.
A common mistake is giving up on a photo with a ripped corner or a major tear. With the right mix of AI generation and manual blending, even photos that look hopeless can be rescued.
AI Tools vs. Manual Software: Which One Is Better?
There's no single "better" option here—it’s all about picking the right tool for the job. They each have their strengths and are designed for different tasks.
AI Tools are your go-to for: Speed and convenience. If you have a mountain of photos with common problems like scratches, dust, or fading, an AI tool will get you 90% of the way there in a fraction of the time. They're perfect for batch processing and for anyone who isn't a Photoshop wizard.
Manual Software (like Photoshop or GIMP) is essential for: Absolute control. When you need to perform a delicate repair on a unique piece of damage or want to apply your own artistic touch, nothing beats manual software. You have pixel-level control that an algorithm just can't match.
Honestly, the most powerful workflow is to use both. Start with an AI to handle the bulk of the cleanup, then bring the image into a manual editor for those final, perfecting tweaks.
My Photos Are Super Faded or Have a Weird Color Cast. How Do I Fix That?
Faded photos are an easy fix once you know the right tools. Look for the 'Levels' or 'Curves' adjustments in your editing program. These let you reset the black and white points of the image, which instantly brings back lost contrast and makes the photo pop.
If you’re dealing with a color shift—like a photo that's turned yellow or magenta over the decades—you'll want to use an adjustment layer like 'Color Balance' or a 'Photo Filter' to neutralize the unwanted tint. This is another area where AI excels. The colorization features in many AI tools are brilliant at analyzing a faded or black-and-white image and restoring vibrant, natural-looking colors with just one click.
Ready to see the magic for yourself? AI Photo HQ uses powerful AI to automatically repair scratches, restore color, and sharpen faces in seconds. Stop staring at faded memories and start enjoying them again. Get started with AI Photo HQ today!

