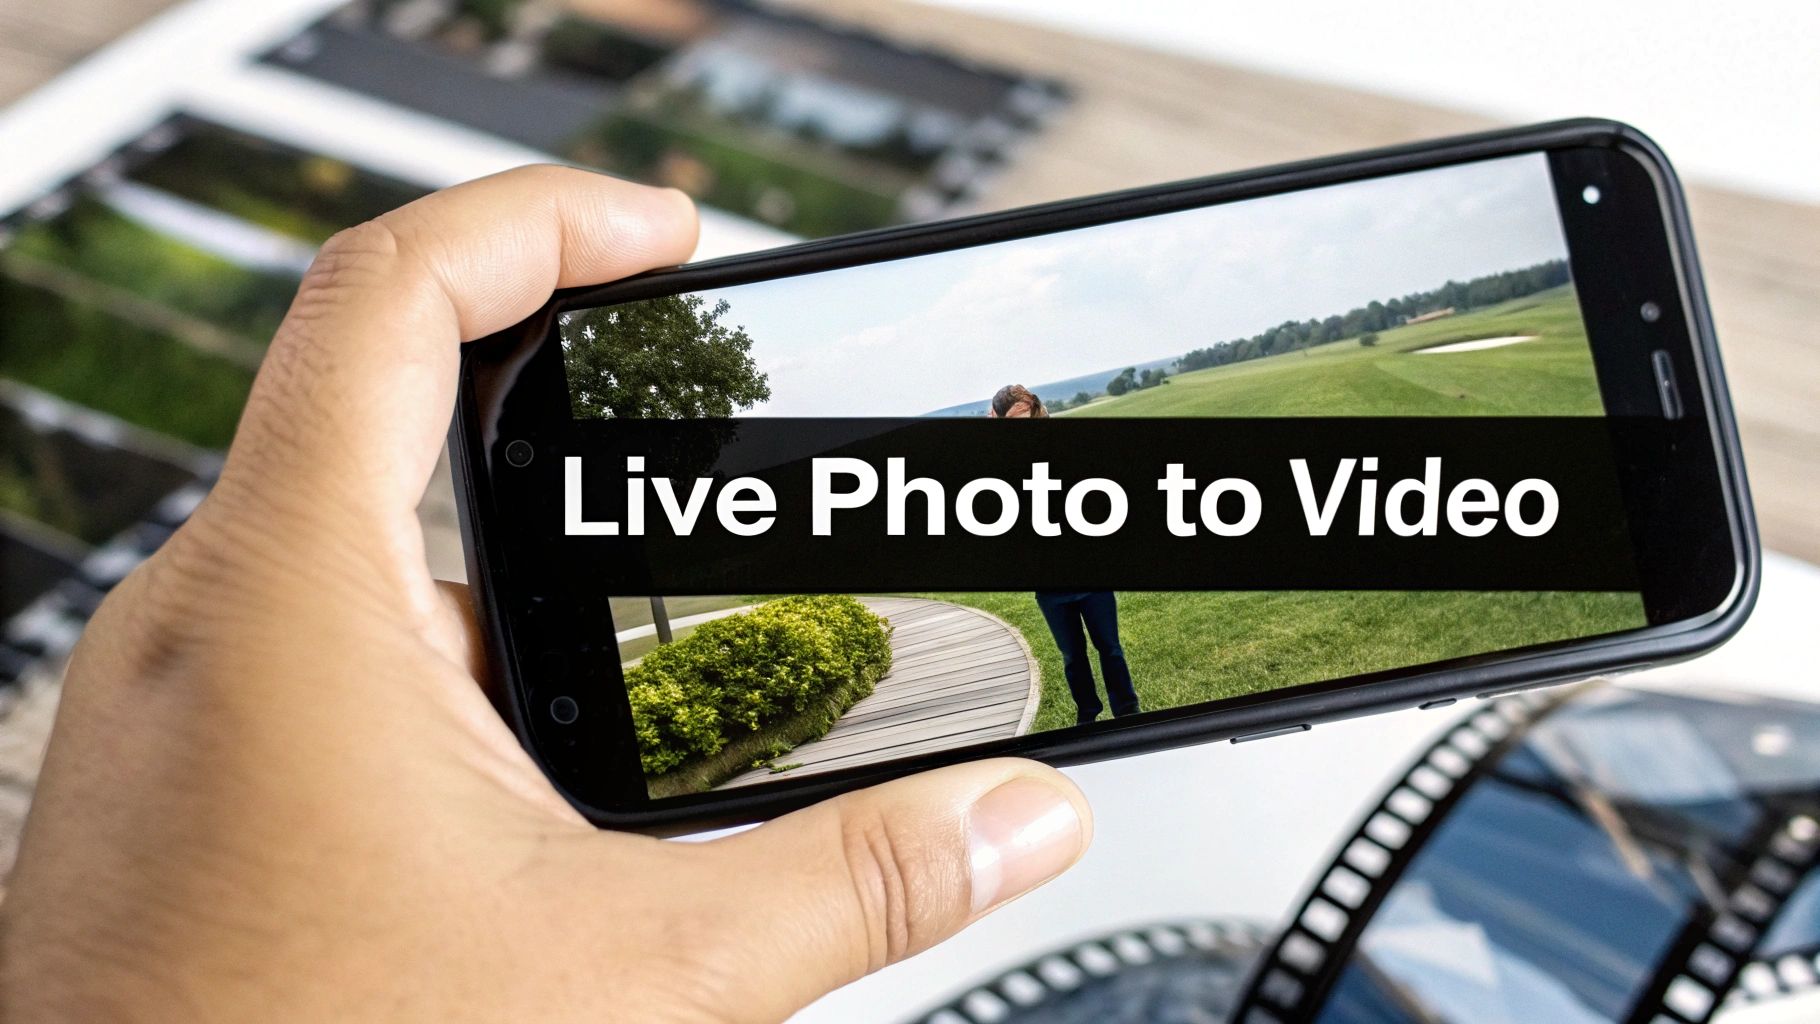
Ever taken a Live Photo and thought, "This would be so much better as a video"? Good news. Tucked inside every Live Photo is a 3-second video clip—sound and all—just waiting to be set free. The fastest way to do it is already built into your iPhone's Photos app, and this guide will walk you through exactly how.
Your Guide to Live Photo Video Conversion
A Live Photo isn't just a single picture; it captures 1.5 seconds of action before you press the shutter and 1.5 seconds after. This creates a tiny, living memory that brings a still moment to life. But while they're great for flipping through on your phone, they aren't as easy to share as a regular video.
Converting them unlocks their real potential. Once you turn that little animation into a proper video file, you can use it for all sorts of things:
- Social media stories for Instagram or TikTok that capture the full moment.
- Sharing in group chats where not everyone has an iPhone.
- Weaving them into vacation highlight reels or digital albums.
This guide provides practical, step-by-step tutorials, starting with the simple, built-in method. From there, we'll get into more creative options using third-party apps for adding music, effects, and even using AI to give your clips a professional touch.
Before you start, this quick decision tree can help you figure out which path to take.
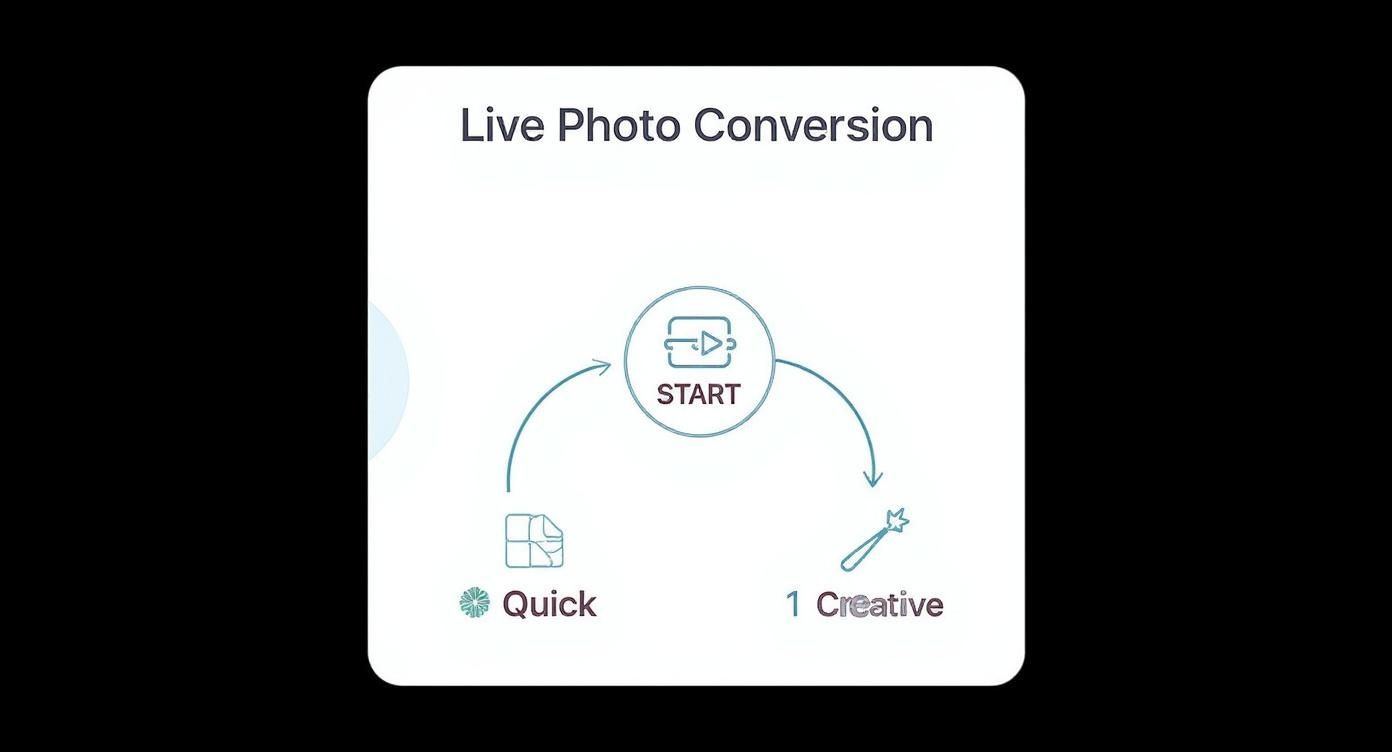
As you can see, you have two main options: a quick, no-fuss conversion right in the Photos app or a more creative route using other tools for extra flair. What you want to do with the final video will determine the best way to get there.
Comparing Your Live Photo to Video Options
Here's a quick look at the best methods for converting Live Photos, from the simplest built-in tool to advanced creative apps. This should help you pick the right tool for the job.
| Method | Best For | Key Features | Ease of Use |
|---|---|---|---|
| Native Photos App | Quick, simple conversions without extra apps. | Converts directly to video; includes audio. | Very Easy |
| Third-Party Apps | Adding effects, music, and creative edits. | Trimming, filters, text overlays, combining clips. | Easy to Moderate |
| AI Photo HQ | Creating unique, AI-enhanced short videos. | AI-driven effects, motion styles, upscaling. | Easy |
Ultimately, the native method is perfect for a fast and simple share. But if you want to get creative and make something that really stands out, exploring a dedicated app is definitely the way to go.
Using Your iPhone's Native Photos App
The easiest way to turn a Live Photo into a video is already built right into your phone. No third-party apps are needed—your iPhone's Photos app can handle the job perfectly. It's the best place to start for a quick and simple conversion.
Step-by-Step: The "Save as Video" Method
This is the most direct route. Let's say you have a great Live Photo of a friend blowing out their birthday candles. That little bit of animation captures the exact moment the flames go out, but you want to post it as a short clip on their Instagram Story. Here’s the step-by-step tutorial:
- Open the Photos App: Find and open the Photos app on your iPhone.
- Find Your Live Photo: Navigate to the Live Photo you want to convert. You can identify it by the "LIVE" icon in the top-left corner.
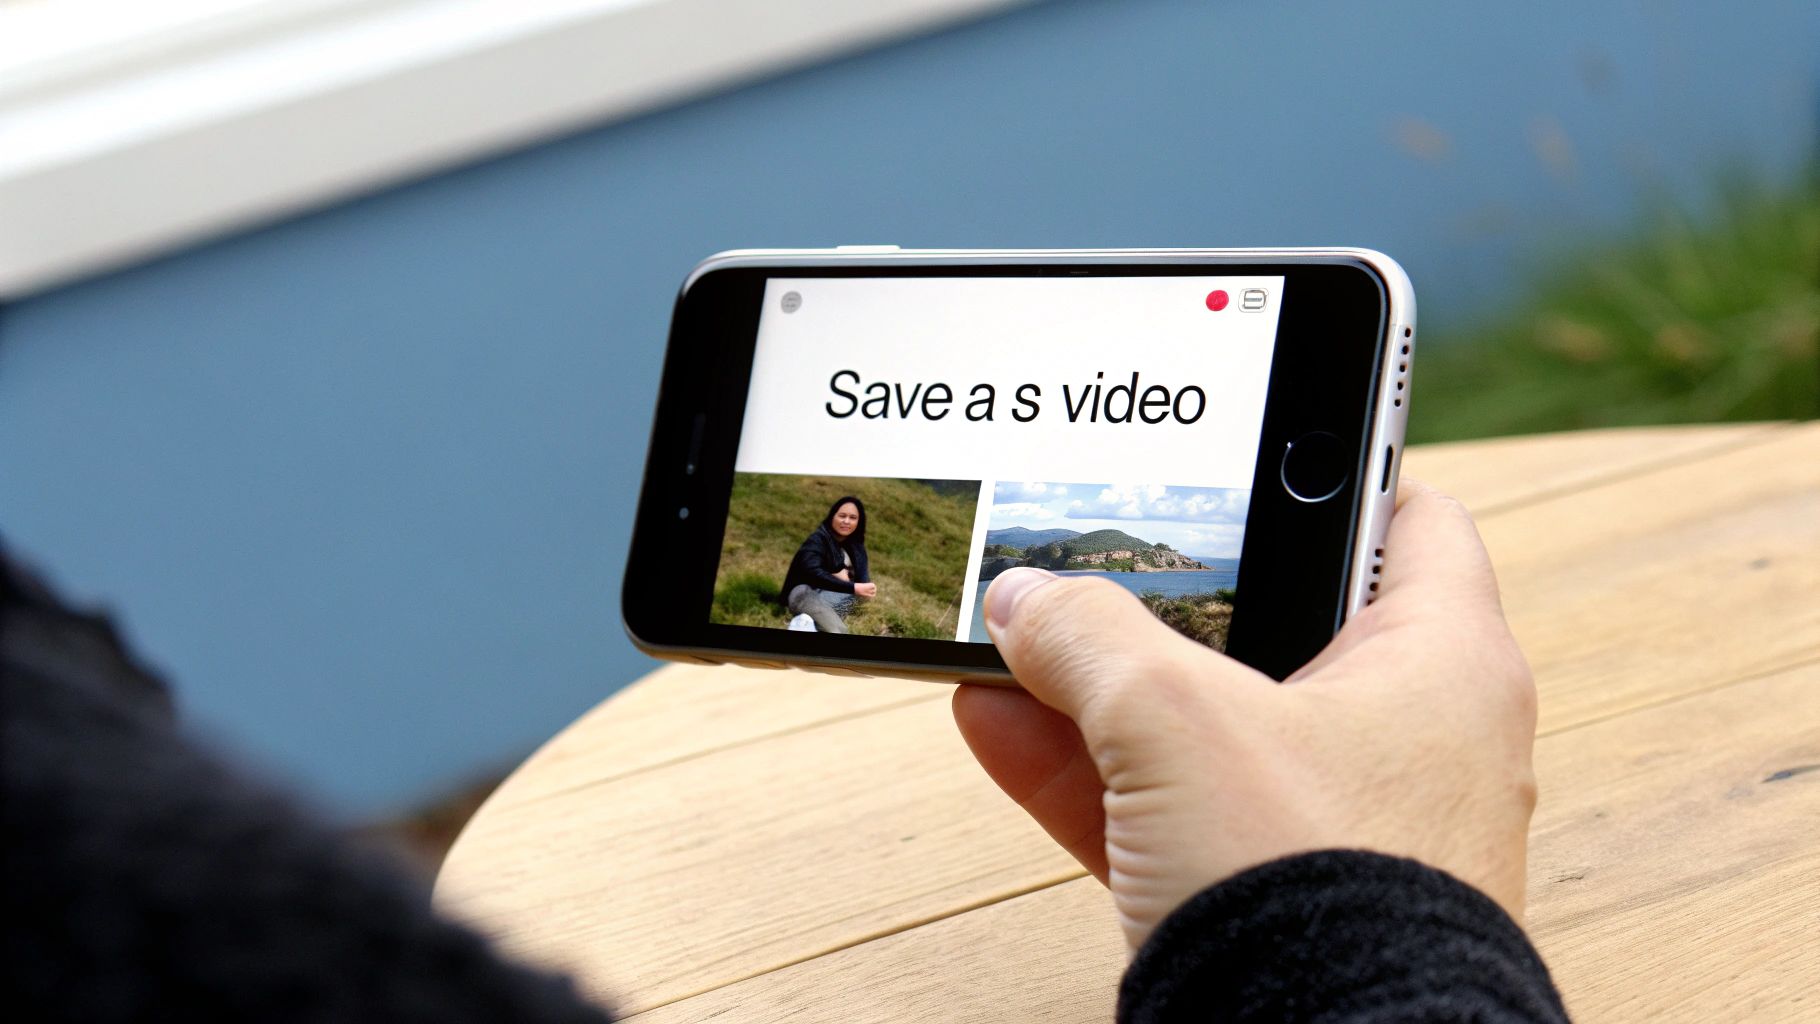
- Tap the Share Icon: In the bottom-left corner of the screen, tap the share icon (the little box with an arrow pointing up).
- Select "Save as Video": A share sheet will pop up. Scroll down the list of options until you see "Save as Video."
- Tap it! Your iPhone will instantly create a new video file in your camera roll, sound and all, ready for sharing. You'll find it saved right next to the original Live Photo.
Step-by-Step: Adding Creative Effects
Beyond just a straight conversion, the Photos app has a few fun tricks that also export your Live Photo as a video. These are perfect for making your content a bit more dynamic with just a single tap. Here’s how to do it:
- Open the Live Photo: Navigate to the Live Photo you want to edit.
- Tap the "LIVE" Button: In the top-left corner of the screen, tap the "LIVE" text. A dropdown menu will appear.
- Choose an Effect:
- Loop: This turns your Live Photo into a seamless, repeating video. It works great for anything with constant motion, like a crackling campfire or a flowing waterfall.
- Bounce: This is like Instagram's Boomerang. It plays the clip forward and then immediately reverses it. It’s perfect for capturing surprising or funny moments, like someone jumping into a pool.
- Done! As soon as you select either Loop or Bounce, your iPhone automatically saves the result as a video file in your "Animated" album.
How to Combine Multiple Live Photos into One Video
Here's a lesser-known but incredibly useful tutorial. You can stitch several Live Photos together into one longer video, which is fantastic for creating a quick highlight reel from an event without a separate video editor.
- Open the Photos App: Go to your photo library.
- Tap "Select": In the top-right corner, tap the "Select" button.
- Choose Your Live Photos: Tap on all the Live Photos you want to merge into a single video.
- Tap the Share Icon: In the bottom-left corner, tap the share icon.
- Choose "Save as Video": Scroll down and select "Save as Video." Your iPhone will combine them in chronological order, creating one seamless clip.
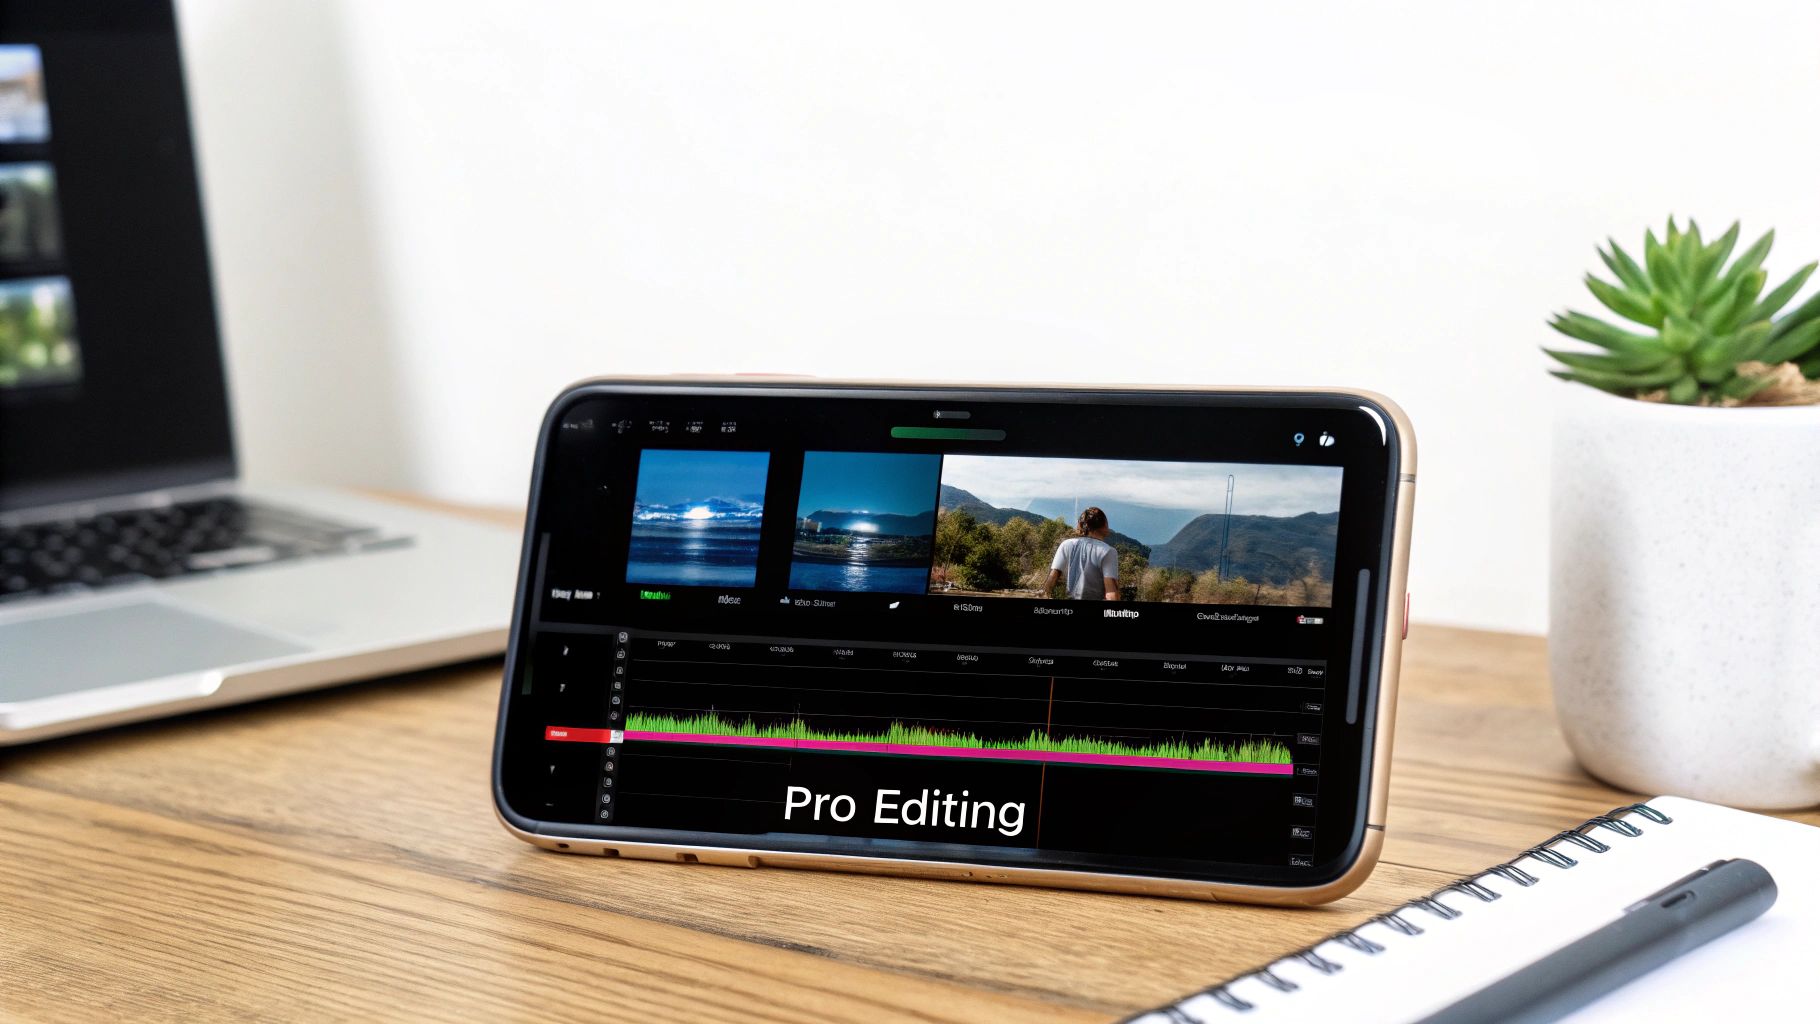
Unlocking Creative Control with Third-Party Apps
While your iPhone’s built-in tools are fine for a quick save, third-party apps are where the real fun begins. When you really want to turn a Live Photo into a video with some personality, you’ll need to look beyond the native options. These apps unlock precise editing, filters, and audio tweaks.
Think about it. You've got a great Live Photo of a waterfall. A standard conversion is okay, but a specialized app lets you turn it into something more cinematic. You can trim it to the most dramatic second, add a fitting soundtrack, and apply a color grade that makes the whole scene pop.
Popular Apps and Their Strengths
Two of the most popular choices are Lively and LP (Live Photo Converter). They both get the job done, but each has its own strengths depending on your goal.
- Lively: Great for its simple interface and export options. It's ideal for creating not just videos but also GIFs and single frames. The trimming tool is a breeze to use—just a simple slider to pick your start and end points.
- LP (Live Photo Converter): If you're looking for more creative effects, LP is your app. You can reverse your clips, adjust the playback speed, and export in different formats.
For instance, you could use LP to take a Live Photo of your dog catching a treat and turn it into a hilarious looping GIF that plays forward and then backward. Or, with Lively, you could take that same photo and export a high-resolution video to drop into a family movie project.
It’s amazing how user-friendly this has all become. This trend is happening in the business world, too. Roughly 18% of companies are now using AI-powered tools for video production, which includes converting things like Live Photos into marketing content.
A Quick Tutorial for Getting Started with an App
Most of these editing apps follow a similar workflow. Once you learn one, you can navigate others easily. Here’s a general step-by-step tutorial:
- Import Your Live Photo: Open the app and grant it permission to access your photo library. Scroll through your camera roll and select the Live Photo you want to edit.
- Edit and Customize: Now for the creative part. Use the app's tools to trim the video using a slider, apply a filter to change the mood, add text overlays, or even drop in some background music from the app's library or your own.
- Export Your Creation: Once you're happy with the result, tap the "Export" or "Save" button. Most apps will let you save it as an MP4 video, a GIF, or even extract a single high-quality still frame.
This process gives you the freedom to tailor your content for any platform, whether it’s a perfectly timed video for an Instagram Reel or a funny GIF for the group chat. And if you want to take this a step further, you can even see how an AI video generator from an image can spin up even more dynamic content from a single picture.
Enhancing Videos with AI-Powered Tools
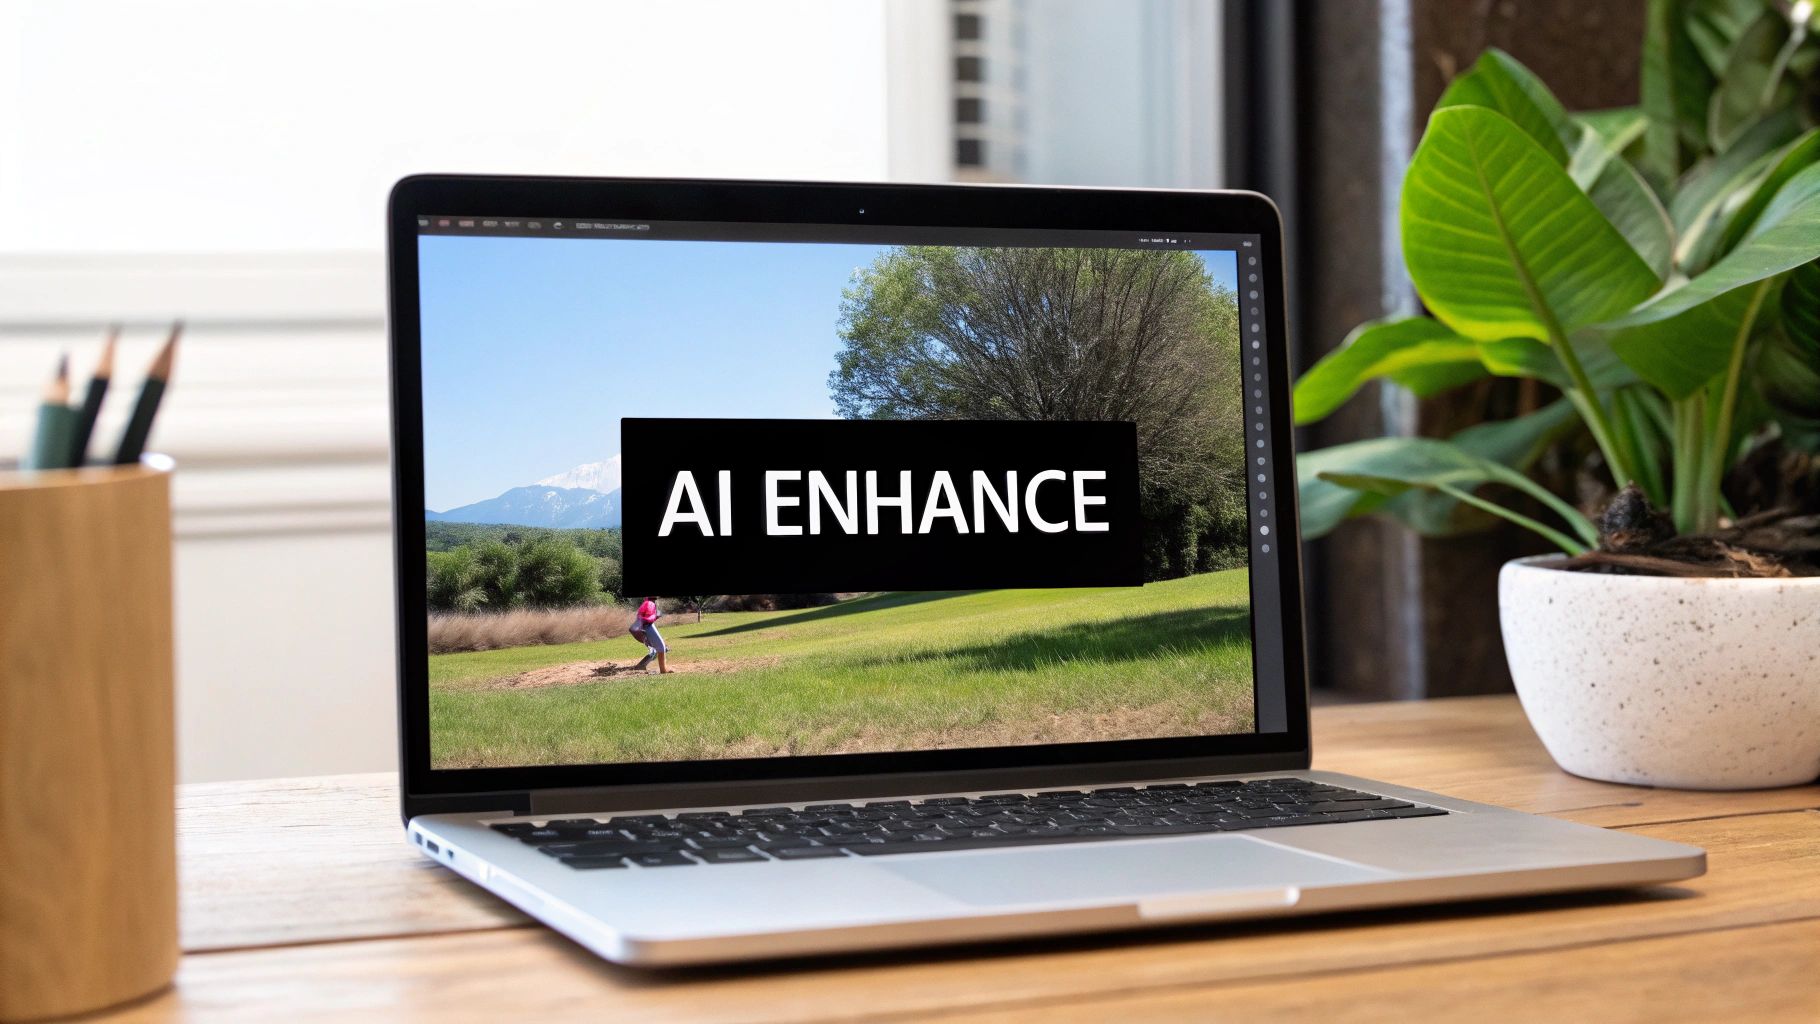
So you've got your Live Photo converted into a basic video clip. Now, what's next? If you really want to make it stand out, artificial intelligence is where the magic happens. A new wave of AI-powered tools can take that simple clip and elevate it into something far more dynamic and professional.
Imagine taking a short, 3-second Live Photo of a sunset and turning it into a gorgeous, 10-second video that pans smoothly across the horizon. AI makes this a reality by intelligently generating new frames to extend the clip, stabilizing any shaky hand movements, and boosting the colors to make them pop.
How AI Elevates Your Clips
Instead of just performing a simple file conversion, these tools analyze your video. They understand the movement—or lack thereof—and can intelligently add motion where there was none. Think of a slow, cinematic zoom on a portrait or a gentle pan across a landscape. It makes a static-feeling shot come alive, giving it a professionally filmed vibe.
Here’s a practical rundown of what AI tools can do:
- Motion Generation: Adds natural-feeling camera movements like zooms, pans, or tilts to static shots.
- Duration Extension: Smartly creates new frames to make your video longer without looking choppy.
- Automatic Stabilization: Smooths out the jitters from handheld shots for a polished finish.
- Color Enhancement: Automatically adjusts brightness, contrast, and saturation to make your visuals pop.
This isn't just a niche trend. The global AI video generation market is projected to explode to $10.5 billion by 2028, growing at a compound annual rate of about 29.1%. This insane growth just shows how powerful AI has become for turning simple assets like a Live Photo into something truly engaging.
Getting started with these tools is usually dead simple. You just upload your converted video, pick the enhancements you want—like "add smooth pan" or "extend by 5 seconds"—and let the AI work its magic.
To dig a little deeper, you can check out this guide on the best AI tools for content creators. And if you're really looking to push the creative envelope, learning more about image-to-video AI is a great next step.
Why This Simple Trick Is a Game Changer for Content
Figuring out how to turn a Live Photo into a video is way more than just a neat party trick. It's a powerful content strategy that's been hiding in plain sight on your iPhone all along.
Think about it: our feeds are absolutely dominated by video. This simple conversion gives you a zero-cost way to pump out a steady stream of engaging, bite-sized material. These short, dynamic clips are exactly what algorithms on platforms like Instagram Reels and TikTok are looking for.
For a small business or a personal brand, this is a massive win. That quick snap of a new product or a behind-the-scenes moment instantly becomes more interesting and shareable. You boost your reach without any extra effort or budget.
From Simple Snap to Strategic Asset
The power of video isn't up for debate anymore. By 2025, it's expected that 89% of businesses will be using video for marketing, and a staggering 95% of marketers already see it as a critical part of their strategy.
The ability to create short, eye-catching videos from your existing photos slots perfectly into this trend. Shorter clips almost always drive higher engagement, and this method turns your photo library from a collection of static memories into a bank of ready-to-go content.
Every Live Photo is an untapped opportunity to tell a bigger story. Converting it is the first step in making your content work harder for you, whether you’re marketing a product or just sharing a memory.
Once you get the hang of turning Live Photos into videos, it opens up a ton of new possibilities for your content. If you're serious about mastering short-form video and making it work for you, you should also explore more about short-form content strategies on ShortGenius.
Got Questions About Turning Live Photos Into Videos?
Once you start converting Live Photos, a few common questions might pop up. The process is straightforward, but a couple of issues can trip people up. Let's walk through the most frequent ones so you can get a perfect video every time.
Will I Lose Quality or Sound?
This is the big one. The good news is, when you use your iPhone's built-in "Save as Video" feature, the video comes out with the exact same resolution and quality as the original Live Photo. No compression, no fuzziness.
If you’re using a third-party app, it's smart to check the export settings. Some apps might default to a lower quality to save space, so always look for an "HD" or "1080p" option to be safe.
And what about the sound? That little snippet of audio captured 1.5 seconds before and after the shutter click is part of what makes a Live Photo special, and yes, it gets included in your video automatically. If you’d rather have a silent clip, you can easily mute it in the Photos app or any video editor after you've converted it.
Can I Undo It? And What If It’s Not Working?
So, can you go the other way and turn a video back into a Live Photo? Natively, no. Apple doesn’t offer a reverse feature. However, many App Store apps can create a Live Photo from a short video clip, which is a great trick for making custom live wallpapers.
Troubleshooting Tip: You might run into a frustrating issue where the "Save as Video" option just isn't there. Nine times out of ten, this happens because you've already applied an effect like Loop or Bounce to the Live Photo. To fix it, just open the photo, tap the effect button at the top (it will say "LOOP" or "BOUNCE"), and switch it back to the original "Live" setting. The "Save as Video" option should reappear in the share menu.
Ready to take your photos beyond a simple video conversion? AI Photo HQ can generate incredible, dynamic short videos from your images using powerful AI effects. Transform your photos today.

