Restoring a faded photo can feel like a daunting task, but it’s probably simpler than you imagine. The whole process boils down to two main stages: first, getting a high-quality digital scan of your print, and second, using the right software to bring it back to life. Whether you opt for a one-click AI tool or a more hands-on editor like Photoshop, you can breathe new life into an old memory in just a few minutes.
Why Bother Restoring Old Photos?
Let's be honest, old photographs are so much more than just faded paper. They're tangible links to our past—irreplaceable windows into moments that define our family history and personal stories. Each one holds something special.
But time, as we know, isn't always gentle. Fading, yellowing, and physical tears can slowly chip away at these precious heirlooms, threatening to wash away the details and the memories along with them.
There’s a real, deep satisfaction that comes from bringing a cherished photo back from the brink. When you restore the vibrant colors in a grandparent’s wedding picture or sharpen the focus on a blurry childhood portrait, you're doing more than just fixing an image. You're reconnecting with your heritage and preserving your family's legacy for everyone to see and enjoy for years to come.
Digital Tools Have Changed the Game
Thankfully, you no longer need to be a Photoshop wizard to get incredible results. Photo restoration is more accessible today than it has ever been, with powerful tools available for every skill level.
- One-Click AI Enhancers: Tools like AI Photo HQ are fantastic for this. They use automation to instantly correct fading, fix colors, and sharpen details with almost zero effort on your part.
- Professional Editing Software: If you're someone who likes to have total control over every little detail, programs like Adobe Photoshop offer an incredible depth of features for precise, manual adjustments.
This surge in easy-to-use tools is happening for a simple reason: people care deeply about their history. The global market for photo restoration services shot up to around USD 420 million in 2023 and is expected to climb to nearly USD 1.2 billion by 2032. This isn't just a niche hobby; it's a worldwide trend fueled by our desire to preserve the past and share it online. For a deeper dive, you can check out the full photo restoration market report from Dataintelo.
The goal of restoration isn't to make a photo look like it was taken yesterday. It's about bringing back its original heart and soul, honoring the memory without erasing its age.
Ultimately, whether you lean on a quick AI tool or get your hands dirty with manual editing, the effort is always worth it. You're not just fixing a picture; you're safeguarding a piece of your own story. In the next sections, we’ll walk through exactly how to do it.
Digitizing Your Photos for Flawless Restoration
Before any software can work its magic, you need a top-notch digital copy of your physical photograph. The success of your entire project really hinges on this first step. A bad scan will forever limit how good the final result can be.
Think of it as building a house. You need a solid foundation, and in photo restoration, your high-quality scan is that foundation. The better the raw material, the better the final image.
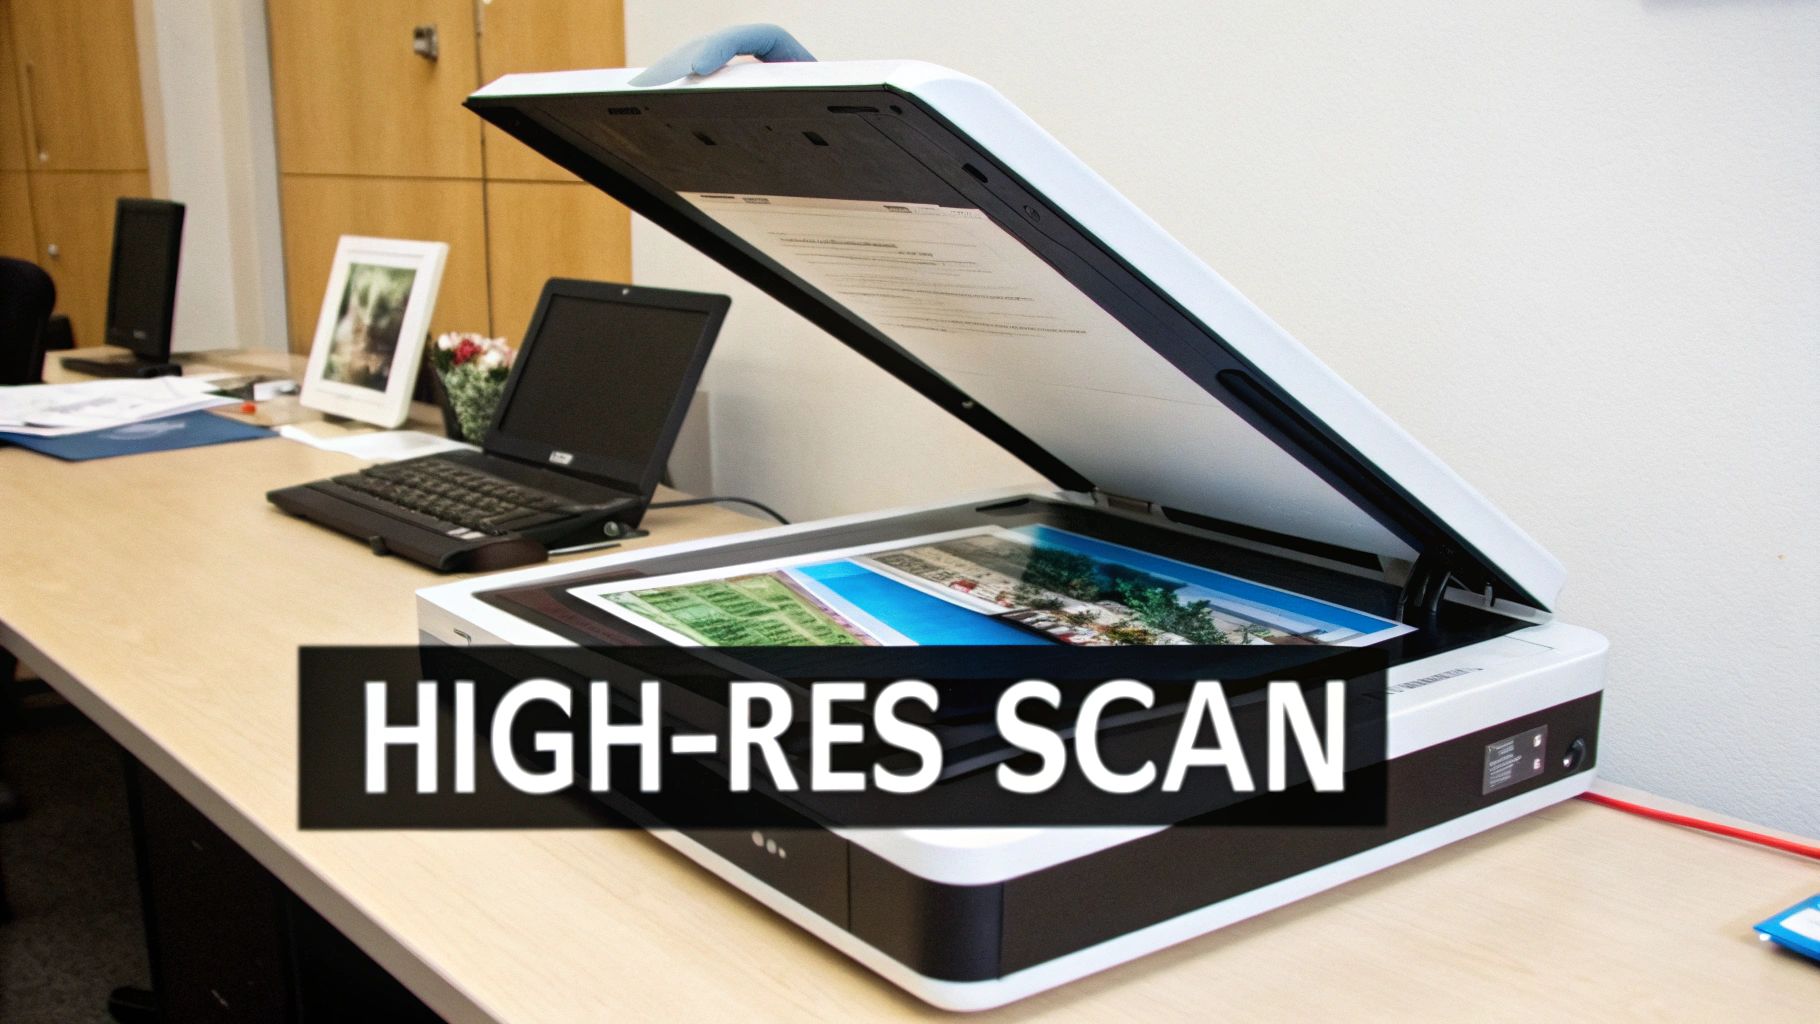
It might be tempting to just grab your phone and snap a quick picture, but that's a classic mistake that can sabotage your efforts right from the start. Phone cameras introduce weird lens distortion, uneven lighting, and glare, failing to capture the tiny details we need for a proper restoration. A flatbed scanner is the right tool for this job.
Choosing the Right Scanner Settings
Getting the settings right on your scanner is absolutely crucial for capturing every last bit of detail from the print. The most important setting to focus on is resolution, which is measured in DPI (Dots Per Inch).
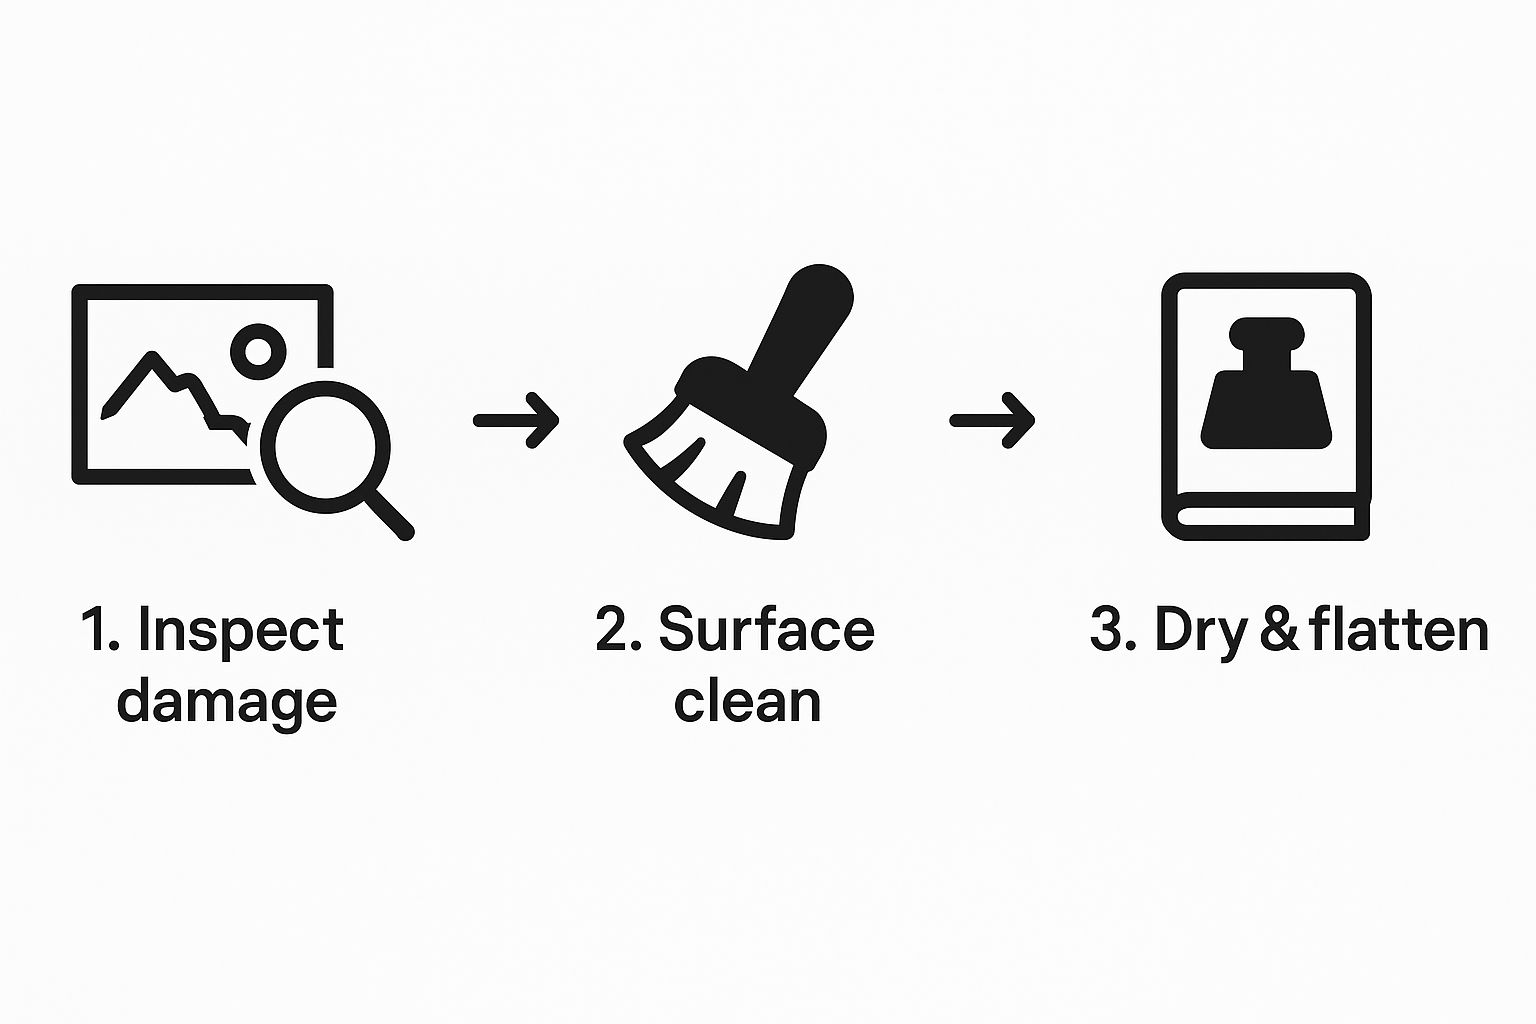
Here's a quick step-by-step tutorial for setting up your scan:
- Clean Your Equipment: Wipe the scanner glass with a microfiber cloth to remove dust and smudges. Gently clean the photo with a soft brush or canned air.
- Open Your Scanner Software: Launch the application that controls your scanner (e.g., Epson Scan, Canon ScanGear). Look for "Advanced" or "Professional" mode to unlock all the settings.
- Set the Resolution:
- For standard photos (4x6, 5x7), set the resolution to 600 DPI.
- For very small photos (wallet-sized, lockets), increase it to 1200 DPI.
- Choose the Color Mode: Select "24-bit Color" or "48-bit Color" for color photos. For black and white, choose "16-bit Grayscale."
- Select the File Format: Choose TIFF as your output format. This is critical for preserving all the image data.
- Preview and Scan: Perform a preview scan, adjust the cropping box to fit the photo precisely, and then hit the final "Scan" button.
Key Takeaway: The quality of your scan directly determines the potential of your restoration. Using a flatbed scanner at the correct resolution isn't just a suggestion—it's non-negotiable for getting a professional-looking result.
File Format Showdown: TIFF vs. JPEG
Okay, so you've got your resolution set. Next up, you need to choose a file format. Your scanner software will probably give you a few options, but the two you'll see most often are TIFF and JPEG.
Here’s the breakdown:
TIFF (Tagged Image File Format): This is the format you should always choose for your initial scan. TIFF is a lossless format. That means it saves every single bit of image data without compressing it and throwing information away. The files are big, yes, but they contain the maximum amount of detail—which is exactly what you need for editing.
JPEG (Joint Photographic Experts Group): This is a lossy format. To keep file sizes small and manageable, it discards some image data every single time you save the file. JPEGs are perfect for emailing to family or posting on social media, but they're a terrible choice for an archival master file that you plan to edit.
As you get your photos ready for digital work, it helps to get a handle on understanding lossy and lossless compression, as it really impacts the clarity of your final files. The rule is simple: Start with a lossless TIFF for editing, and only save a JPEG copy at the very end when you're all done.
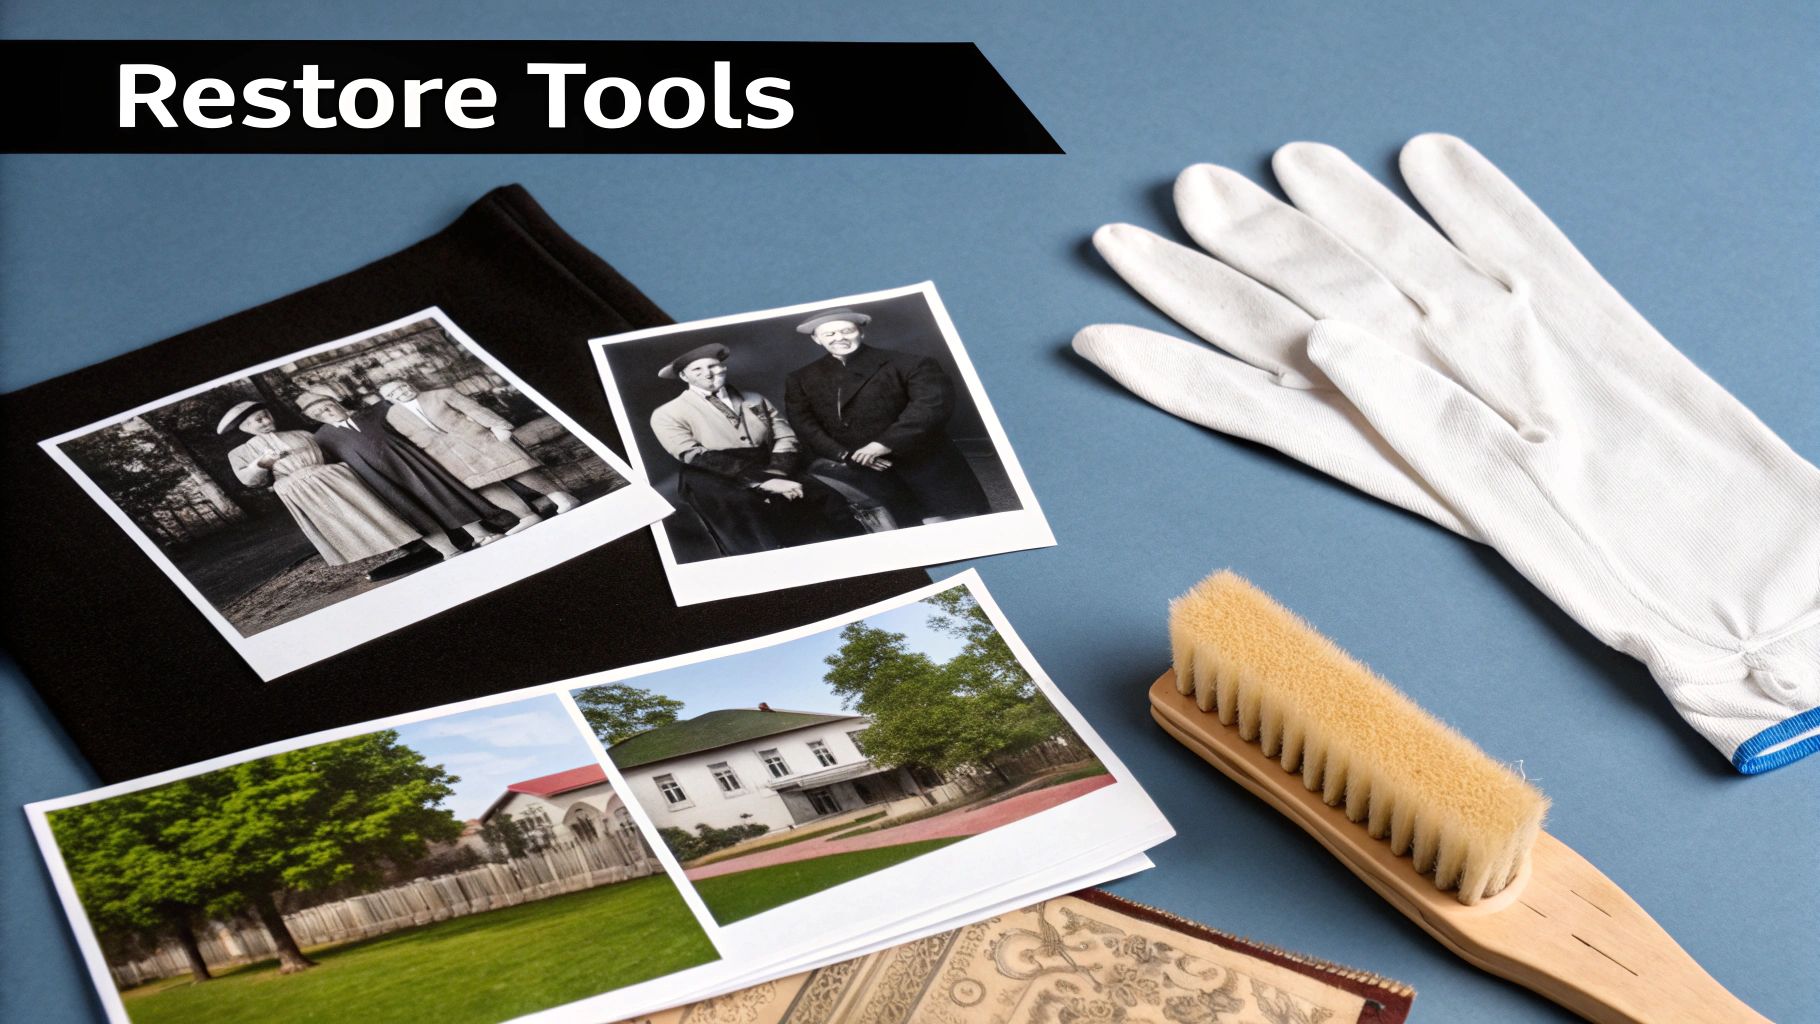
Handling Fragile and Dirty Photos
Old photos have often been through a lot, and they can be incredibly delicate. Before you lay one down on the scanner, take a moment to prep it carefully.
First, make sure your scanner glass is perfectly clean. I use a simple microfiber cloth and a gentle glass cleaner to wipe away any dust, smudges, or fingerprints.
If your photo itself has dust on it, a can of compressed air or a very soft, clean brush can gently clear it away. For photos that have curled up over the years, you can often flatten them by placing them inside a heavy book for a day or two. If a photo is extremely fragile or even torn, try placing it inside a clear plastic sleeve before scanning. This will help hold it together and protect it from further damage.
Using AI for Instant Photo Restoration
Alright, you've got your high-quality digital scan. Now for the fun part. Using an AI-powered tool is, without a doubt, the fastest way to breathe life back into a faded photo. The results can be jaw-dropping, often from just a single click. These tools have been trained on millions of images, so they know exactly how to spot and fix common issues like washed-out colors, fading, and blurriness.
The entire photographic services industry has been supercharged by this technology. The market was valued at USD 37.96 billion back in 2025 and is on track to hit a staggering USD 64.68 billion by 2034. AI handles the heavy lifting—things like color correction and blemish removal—with an accuracy that used to be reserved for professional restoration artists. Now, anyone can get those kinds of results.
The One-Click Restoration Process
Let's walk through a practical tutorial using a tool like AI Photo HQ. The process is designed to be incredibly straightforward.
- Upload Your Scan: Go to the website and find the upload button. Select the high-resolution TIFF file you saved from your scanner.
- Let the AI Work: The tool will automatically analyze your photo for fading, color loss, and lack of sharpness. This usually takes just a few seconds.
- Review the Result: The platform will show you a side-by-side comparison of the original and the restored version. Often, this automatic fix is enough to make a dramatic improvement, instantly correcting color fade and restoring lost contrast.
- Download Your Photo: If you're happy with the one-click result, you can download the enhanced image.
This simple, automated process is perfect for quickly restoring a large batch of family photos without a steep learning curve.
Fine-Tuning With Manual Controls
While the one-click fix is a fantastic starting point, the real magic often comes from making small, personal adjustments. A great AI tool won't lock you into its first guess; it will give you the controls to fine-tune the result so it feels right to you. This is key to avoiding that overly processed, artificial look.
Here’s a quick guide to using the typical adjustment sliders:
- Color Correction: If the auto-corrected colors feel too intense, find the "Saturation" or "Vibrance" slider. Nudge it down slightly until the skin tones and background look more natural.
- Contrast and Brightness: Faded photos often lack punch. Use the "Contrast" slider to make the darks deeper and the lights brighter. This adds instant depth. The "Brightness" slider can help lift the overall exposure if the photo is too dark.
- Detail Enhancement: This is your "Sharpness" tool. It can bring out fine details in hair, fabric, or faces. Be gentle! Increase it slowly until details pop, but stop before you see harsh edges or a "crunchy" texture.
My personal philosophy is to enhance, not erase. You want to bring back the photo's original beauty without wiping away its character and history. A light touch almost always produces a more authentic and powerful result.
By combining the AI's horsepower with your own creative eye, you can achieve a final image that's technically perfect but still feels true to the original memory.
For a deeper dive into how AI is changing the game across different creative fields, check out this great resource on the best AI automation tools.
And if you’re curious about the technology behind all this, we've got a great article that breaks down the principles of AI image enhancement.
If you prefer rolling up your sleeves and having total control over every pixel, a manual approach is the way to go. While AI tools are fantastic for their speed, nothing beats the precision you get from software like Adobe Photoshop or its excellent free counterpart, GIMP.
This path is for those who see photo restoration as a craft. It puts you in the director's chair, allowing for subtle, artistic adjustments that an automated tool might overlook. It definitely takes more time and practice, but the satisfaction of bringing a photo back to life with your own hands is incredible. If you want to learn how to restore faded photos from the ground up, this is where you start.
Restoring Contrast with Levels and Curves
The number one issue with old photos? They look flat and washed out. Over decades, the gap between the darkest shadows and brightest highlights shrinks, leaving the image looking dull. Your first mission is to reclaim that lost depth.
Step-by-Step with the Levels Tool (Beginner):
- In Photoshop, go to
Image > Adjustments > Levels(or create a Levels Adjustment Layer for non-destructive editing). - You'll see a graph (histogram) with three sliders underneath: black, grey, and white.
- Drag the black slider to the right, stopping just where the histogram data begins. This sets your true black point.
- Drag the white slider to the left, stopping where the histogram data on the right begins. This sets your true white point.
- Your photo will instantly have more pop and contrast.
Step-by-Step with the Curves Tool (Intermediate):
- Go to
Image > Adjustments > Curves(or use a Curves Adjustment Layer). - You'll see a diagonal line. Click on the lower third of the line and drag it slightly down. This deepens the shadows.
- Click on the upper third of the line and drag it slightly up. This brightens the highlights.
- This gentle "S" shape creates a rich, natural-looking contrast that you can fine-tune precisely.
Neutralizing Unwanted Color Casts
As old photo paper breaks down, it often leaves a color tint—usually yellow, red, or sometimes blue. Getting rid of this is key to making the photo look authentic again.
How to Fix a Yellow Tint in Photoshop:
- Create a Color Balance adjustment layer.
- In the properties panel, select "Midtones" from the dropdown menu.
- Notice the sliders are paired: Cyan-Red, Magenta-Green, Yellow-Blue. To fix a yellow cast, you need to add its opposite, blue.
- Slowly drag the Yellow-Blue slider towards Blue until the image looks more neutral.
- Repeat this process for the "Shadows" and "Highlights" if needed for a perfect balance.
Pro Tip: Look for something in the photo that should be white or gray—a shirt collar, a wedding dress, the whites of an eye. Use that as your reference point. Adjusting your colors until that spot looks neutral will help guide your entire image back to a natural balance.
Seamlessly Removing Imperfections
Now for the final, nitty-gritty part: cleaning up all those tiny dust specks, scratches, and creases. The Clone Stamp and Healing Brush are essential for this detail work.
How to Use the Healing Brush Tool:
- Create a new, empty layer above your photo layer to work non-destructively.
- Select the Healing Brush Tool from the toolbar.
- In the top options bar, set the "Sample" to "Current & Below."
- Find a clean, undamaged area of the photo near the scratch you want to fix. Alt-click (or Option-click on Mac) on this clean area to set your source point.
- Now, simply paint over the scratch or dust spot. The tool will automatically blend the texture and color for a seamless repair. Repeat for all imperfections.
Comparing AI and Manual Photo Restoration
So, which method is right for you? An AI tool like AI Photo HQ offers incredible speed and simplicity, while manual software like Photoshop provides ultimate control. Here’s a quick breakdown to help you decide.
| Feature | AI Restoration (e.g., AI Photo HQ) | Manual Restoration (e.g., Photoshop) |
|---|---|---|
| Speed & Ease of Use | Extremely fast. Often requires just a single click. | Time-consuming. Requires a significant learning curve and manual effort. |
| Control & Precision | Limited. The algorithm makes the decisions. | Total control. You can adjust every pixel and make artistic choices. |
| Best For | Bulk restorations, quick fixes, and users without technical skills. | Complex damage, artistic restoration, and professional-quality results. |
| Consistency | Very consistent. Applies the same logic to every photo. | Varies. Results depend entirely on the user's skill and patience. |
| Cost | Often subscription-based or pay-per-image, with free trials. | Can be a significant one-time cost (Photoshop) or free (GIMP). |
Ultimately, the best tool depends on your specific photo and your goals. For a shoebox full of old family snaps you want to quickly revive, AI is a lifesaver. For that one priceless, badly damaged heirloom photo, the patient, manual approach might be the only way to do it justice.
While a manual workflow demands patience, the level of detail and personalization you can achieve is unmatched. If you want to explore more options, there are many tools for photo restoration online that can help you on your journey.
Pro Techniques for a Professional Finish

Alright, once you get the hang of the basics, there are a few extra tricks you can pull out of your sleeve to take your work from a quick fix to something that looks professionally restored. The biggest secret to leveling up is learning to work non-destructively.
What does that mean? It’s simple: you make changes without permanently altering your original scan. This way, you can always go back and fine-tune your edits without having to start over from scratch. In programs like Adobe Photoshop, adjustment layers and smart objects are your absolute best friends for this. Instead of messing with the actual pixels of the photo, you're just adding layers of adjustments—like contrast or color—on top. It's a completely forgiving workflow that gives you total control.
Using Layer Masks for Selective Edits
Have you ever tried to brighten a photo, only to have the background get completely washed out? It’s a common problem. Maybe you just need to lift the shadows on someone's face without blowing out the highlights everywhere else. This is the perfect job for layer masks.
A Quick Tutorial for Selective Brightening:
- In Photoshop, create a Brightness/Contrast adjustment layer.
- Increase the brightness until the shadowed face you want to fix looks correct (ignore the rest of the image for now).
- The adjustment layer will have a white rectangle next to it – this is the layer mask. Click on it.
- Press Ctrl+I (or Cmd+I on Mac) to invert the mask to black. The brightening effect will disappear.
- Select the Brush Tool, choose a soft, round brush, and set your foreground color to white.
- Now, paint over the face. The brightening effect will be revealed only where you paint, leaving the background untouched.
A truly professional restoration is just a collection of many small, almost invisible tweaks. The aim is to guide the viewer’s eye and bring out the photo's original story, not to make it look obviously manipulated.
Adding Realistic Film Grain
One tell-tale sign of a digital restoration is when a photo looks too perfect. After you've painstakingly removed all the noise, dust, and scratches, the image can sometimes feel sterile and flat, losing that vintage charm.
Step-by-Step Guide to Adding Grain:
- Create a new layer and fill it with 50% gray (
Edit > Fill > 50% Gray). - Set this layer's blend mode to "Overlay." Your image will look normal again.
- Go to
Filter > Noise > Add Noise. - Check the "Gaussian" and "Monochromatic" boxes.
- Adjust the "Amount" slider to add a subtle grain. Start with a low value like 2-4%.
- You can now adjust the opacity of this grain layer to make the effect even more subtle.
Saving and Archiving Your Work
After all that effort, the last thing you want is to lose your work. Proper saving and archiving is the final, crucial step.
Here’s a simple system:
- Save a Master File: Always, always keep a layered TIFF or PSD file. This is your master version with all the adjustment layers intact. If you ever want to go back and change something, this is the file you'll use.
- Create Sharing Copies: For emailing, posting online, or printing, save copies as JPEGs.
- Backup Everything: Don't just save your files in one place. Keep your master files on your computer's hard drive and in a cloud storage service like Google Drive or Dropbox. This redundancy protects your beautifully restored memories from being lost forever.
Of course, the tools you use make a difference. Exploring different options is the best way to find a workflow that clicks for you. For a deeper dive, check out our roundup of the best photo restoration software on the market today.
Common Questions About Photo Restoration
https://www.youtube.com/embed/44WTvHA66fw
When you first dip your toes into the world of photo restoration, a lot of questions pop up. It's totally normal. Let's walk through some of the most common things people ask, so you can get started with confidence and a clear idea of what's actually possible.
Can I Really Fix a Blurry Photo?
This is probably the number one question I get, and the honest answer is... it's complicated. While today's tools, especially AI-powered ones, can work wonders sharpening an image, they can't invent sharp focus where it never existed in the first place.
So what does that mean for your old photos? Well, restoration software is fantastic at enhancing the details that are already there, making a slightly soft photo look much clearer. But if a picture was completely out-of-focus when it was snapped, you can't rescue it into a perfectly crisp image. You'll definitely see an improvement, but it's important to set realistic expectations.
What Is the Best Resolution for Scanning Old Photos?
For most standard prints, like your classic 4x6 inch photos, a resolution of 600 DPI (Dots Per Inch) is the sweet spot. This gives you more than enough detail to work with for high-quality edits and even allows you to print a slightly larger copy later without losing quality.
Now, if you're dealing with a really small original—think of a tiny portrait from an old locket or a wallet-sized school picture—you'll want to crank that up to 1200 DPI. This ensures you capture enough pixel data so the image doesn't look blocky or pixelated if you decide to blow it up.
Here's a pro tip: Always save your first scan as a lossless file like a TIFF. This format preserves every single bit of data, giving your restoration software the best possible raw material to work with.
How Do I Remove the Yellow or Red Tint from Old Pictures?
Ah, that classic yellowish or reddish hue. It's the tell-tale sign of chemical aging in old photo paper and, thankfully, it's one of the easier problems to fix.
You have a couple of good options here:
- Manual Correction: If you're comfortable in software like Photoshop or GIMP, the "Color Balance" tool is your best friend. You can manually counteract the color cast by adding its opposite on the color wheel—for instance, adding a bit of blue to neutralize a yellow tint.
- AI Correction: This is where things get really easy. Most modern AI restoration tools, including AI Photo HQ, have been trained to spot and fix these color casts automatically. Often, it just takes a single click.
Should I Use an AI Tool or Learn Photoshop?
This really boils down to your goals and how much time you're willing to put in.
For pure speed and convenience, you can't beat AI tools. They're absolutely perfect if you're trying to work through a big box of family photos with common issues like fading, scratches, and color shifts.
On the other hand, if you're tackling a photo with very complex damage, like large tears or missing pieces of the image, Photoshop is still king. It gives you the granular, artistic control you need for those tough jobs. A great workflow I often recommend is to let an AI tool do the initial heavy lifting, then pull the image into a manual editor for those final, precise touch-ups.
Ready to see what a single click can do for your cherished memories? AI Photo HQ makes it incredibly simple for anyone to restore faded, damaged, or discolored photos in just seconds. Give it a try today and watch the magic happen at https://aiphotohq.com.

