
Got a shoebox full of faded family photos? You can actually restore old photos online using AI tools that work like magic. They can automatically fix scratches, sharpen up blurry details, and even breathe realistic color into black-and-white pictures. These platforms use some seriously smart algorithms to analyze and repair damage, making pro-level restoration something anyone can do with just a few clicks.
Bringing Faded Family Histories Back to Life
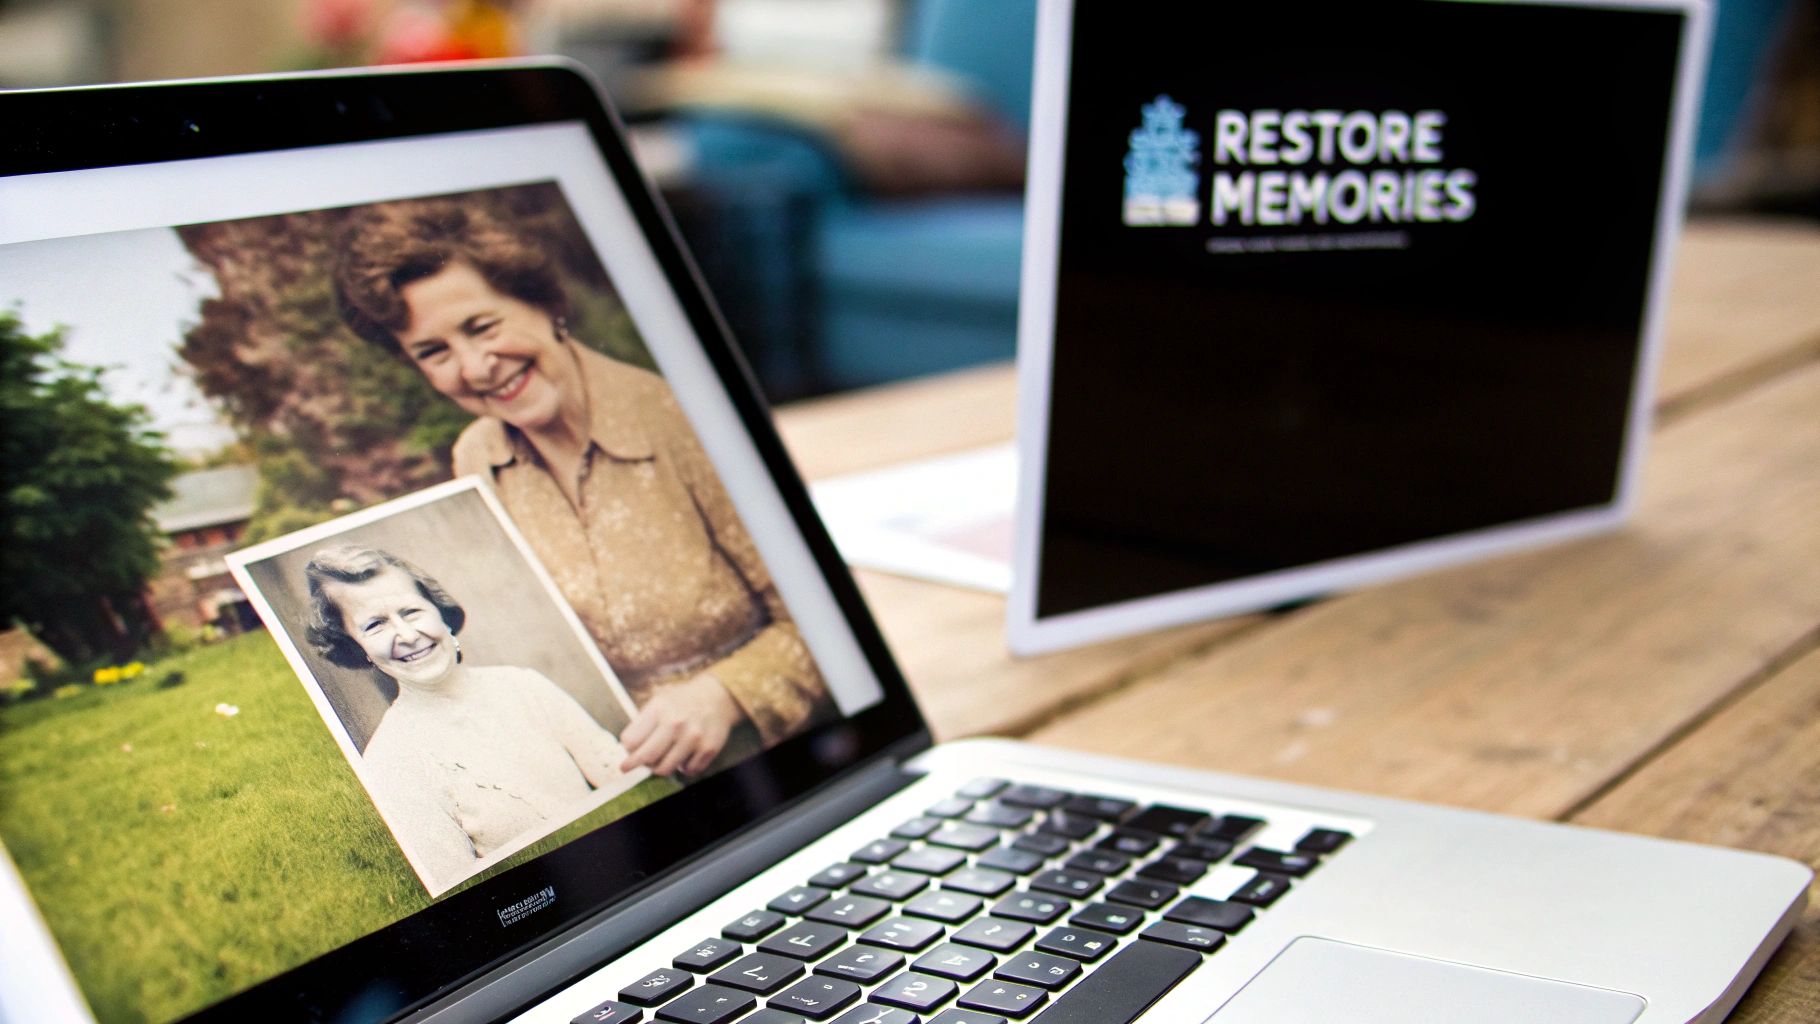
Every old photograph is a window into an irreplaceable memory. Not long ago, if you wanted to bring a torn, discolored, or faded photo back to its original state, you had to shell out for expensive professional services. AI has completely flipped the script, putting incredibly powerful restoration tools right at your fingertips.
This goes way beyond slapping a simple filter on an image. We're talking about intelligent, deep-level repair. AI can look at a photo pixel-by-pixel to mend cracks, erase water spots, and bring sharp focus back to faces that have softened over the decades. It’s an amazing way to reconnect with your family’s past and share a clear, vibrant legacy with the next generation.
And people are definitely catching on. The global photograph restoration service market was recently valued at a whopping USD 1.76 billion and is expected to hit USD 3.65 billion by 2032. The demand to preserve these histories is growing fast.
What Modern AI Restoration Can Really Do
The possibilities here are much bigger than just basic touch-ups. Today's online tools are built to handle all the common problems that plague vintage photos, and the best part is you don't need any design skills to get started.
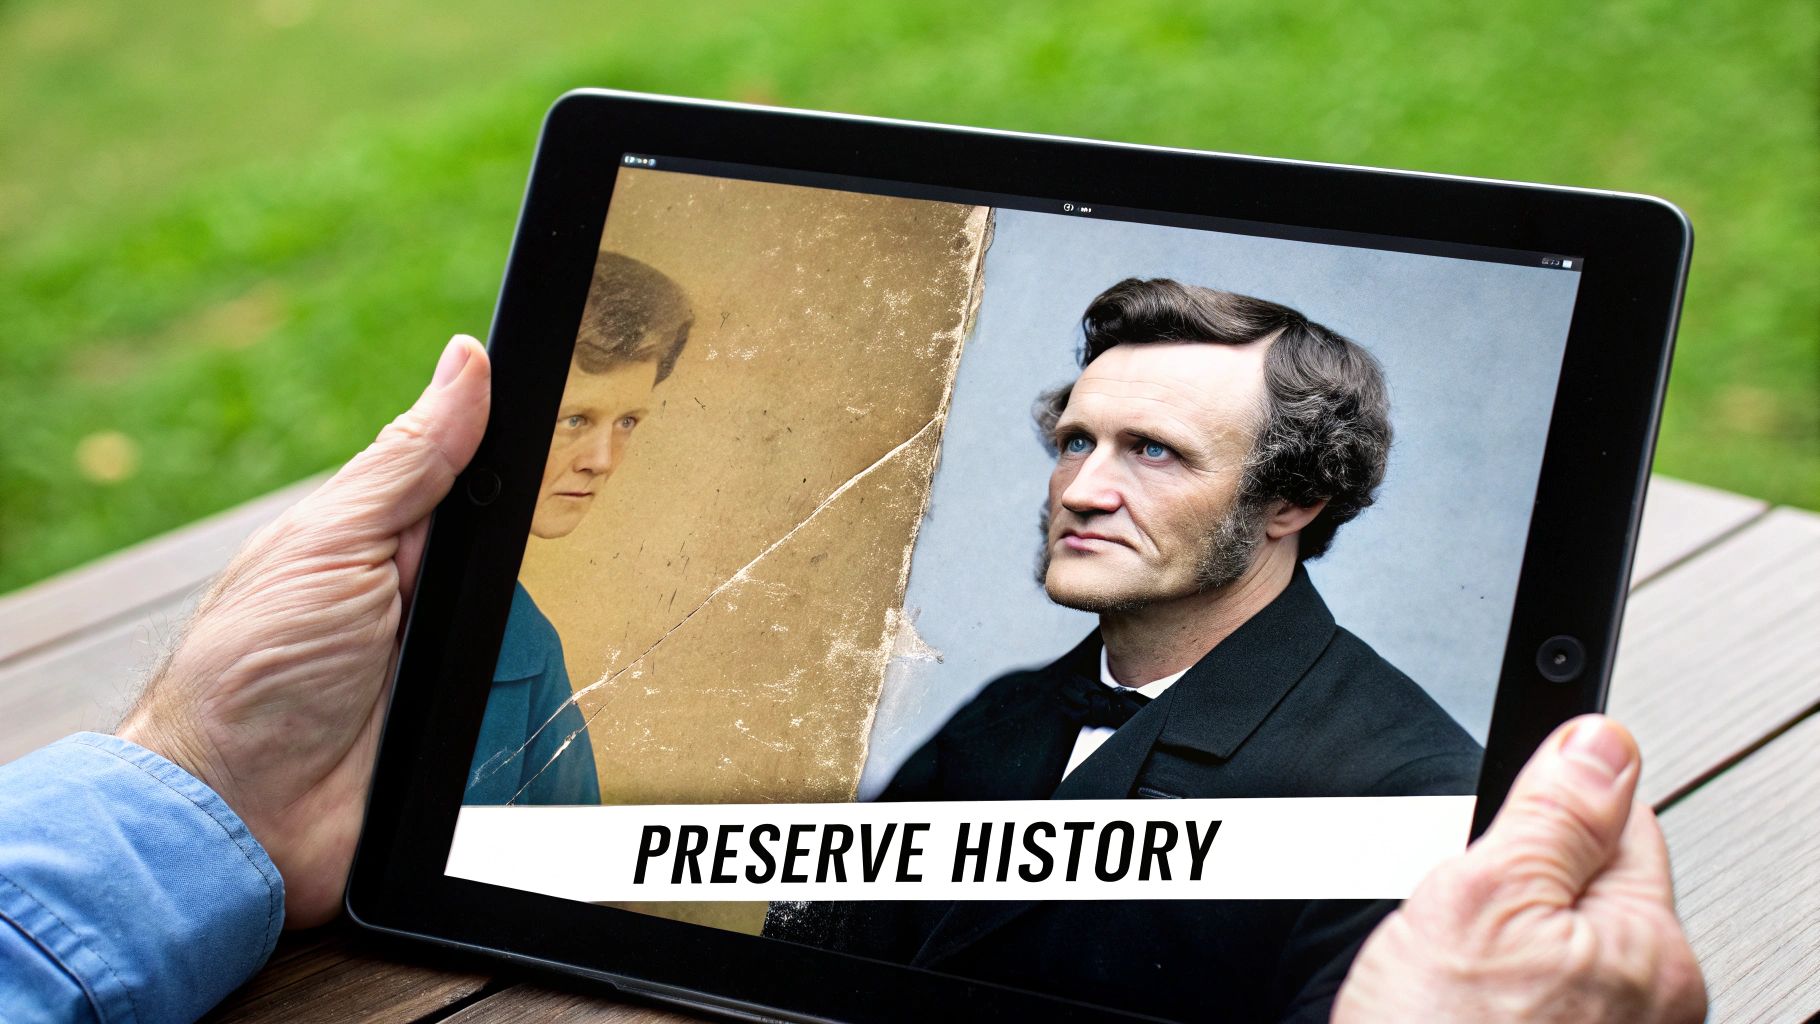
Take a look at what’s possible with just a single click in many of these new tools.
The image above really shows the dramatic difference an AI enhancer can make. It sharpens up facial features and brings incredible clarity to a portrait that was once blurry and indistinct. A soft, fuzzy image becomes a sharp, detailed memory.
The real magic of AI photo restoration is its ability to understand context. It doesn't just sharpen random pixels; it recognizes a face and enhances it, identifies a scratch and removes it, and even analyzes a scene to apply historically appropriate colors.
You can turn those forgotten photos into vivid stories you can treasure and share all over again. This guide will walk you through the practical, hands-on steps to get these incredible results for yourself.
For a wider look at the topic, you might also want to check out our complete guide to photo restoration online. Consider this your starting point for turning old prints into new memories.
Properly Digitize Photos for Flawless Restoration
The first step in any successful AI restoration is getting a great digital copy of your original photo. Think of it this way: the AI needs as much visual information as possible to work its magic. A sharp, high-quality scan gives the AI a crystal-clear roadmap to a stunning restoration. Let's walk through how to create a great digital file.
Step-by-Step Guide: Using a Flatbed Scanner
For the best quality, a flatbed scanner is unbeatable. It captures every detail, crack, and texture from the original print.
Here’s a quick step-by-step tutorial:
- Clean Your Equipment: Gently wipe the scanner glass and your photo with a soft, lint-free microfiber cloth. This prevents dust spots from appearing on your digital copy.
- Open Scanner Software: Launch your scanner's application on your computer and look for the "Preview" or "Prescan" button.
- Set the Right Resolution (DPI): In the settings, find the resolution option. For a standard 4x6 print, set it to 600 DPI. If you plan to print a larger version later, use 1200 DPI.
- Choose the Best File Format: Select TIFF as the file format. A TIFF is "lossless," meaning it saves all the original data, unlike a JPEG which compresses the file and loses information.
- Select Maximum Color Depth: Find the color settings and choose the highest bit-depth available, usually 24-bit or 48-bit, to capture the most accurate color tones.
- Scan and Save: Place the photo face down on the scanner glass, close the lid, and click the "Scan" button. Save the file to a dedicated folder on your computer.
A simple trick I've used for years with delicate or curled photos is to place a heavy book on the scanner lid. This gently presses the photo flat against the glass, preventing distorted, blurry scans and ensuring a much sharper final image.
Step-by-Step Guide: Using Your Smartphone
No scanner? No problem. Your phone can produce excellent results if you follow a few key steps. You are essentially taking a photo of a photo, so your setup is critical. Having some basic knowledge of a professional photography lighting setup can make a huge difference here.
Here's a tutorial for getting a great scan with your phone:
- Find the Right Light: Place your photo on a flat surface near a window with bright, indirect sunlight. Avoid direct sun or harsh overhead lights that cause glare.
- Position Your Phone: Hold your phone perfectly parallel to the photo. Using a tripod or stand can help prevent shaky, angled shots.
- Use a Scanning App: Download and use an app like Google PhotoScan. These apps guide you to take multiple shots from different angles and then stitch them together, automatically removing glare and distortion.
- Focus and Capture: If using your regular camera app, tap the screen to focus on the most important part of the photo (like a face). Hold your breath and gently tap the shutter button to avoid camera shake.
- Save as High-Quality: Check your camera settings to ensure you are saving photos in the highest possible quality.
With your high-quality digital scan ready, let's move on to the restoration itself. We're going to walk through a sample project to restore old photos online.
A Practical Tutorial: Your First AI Photo Restoration
Let’s go from theory to practice with a step-by-step walkthrough. We'll use a common example: a faded, scratched black-and-white portrait. Online tools like Richly AI, a powerful image generator, are built to be intuitive, making this process easy.
Step 1: Upload and Initial Enhancement
The first step is always the simplest.
- Navigate to the AI photo restoration tool of your choice.
- Look for the "Upload Image" button and select your scanned photo file.
- Many tools will automatically apply an initial enhancement. If not, click the "Enhance" or "Restore" button.
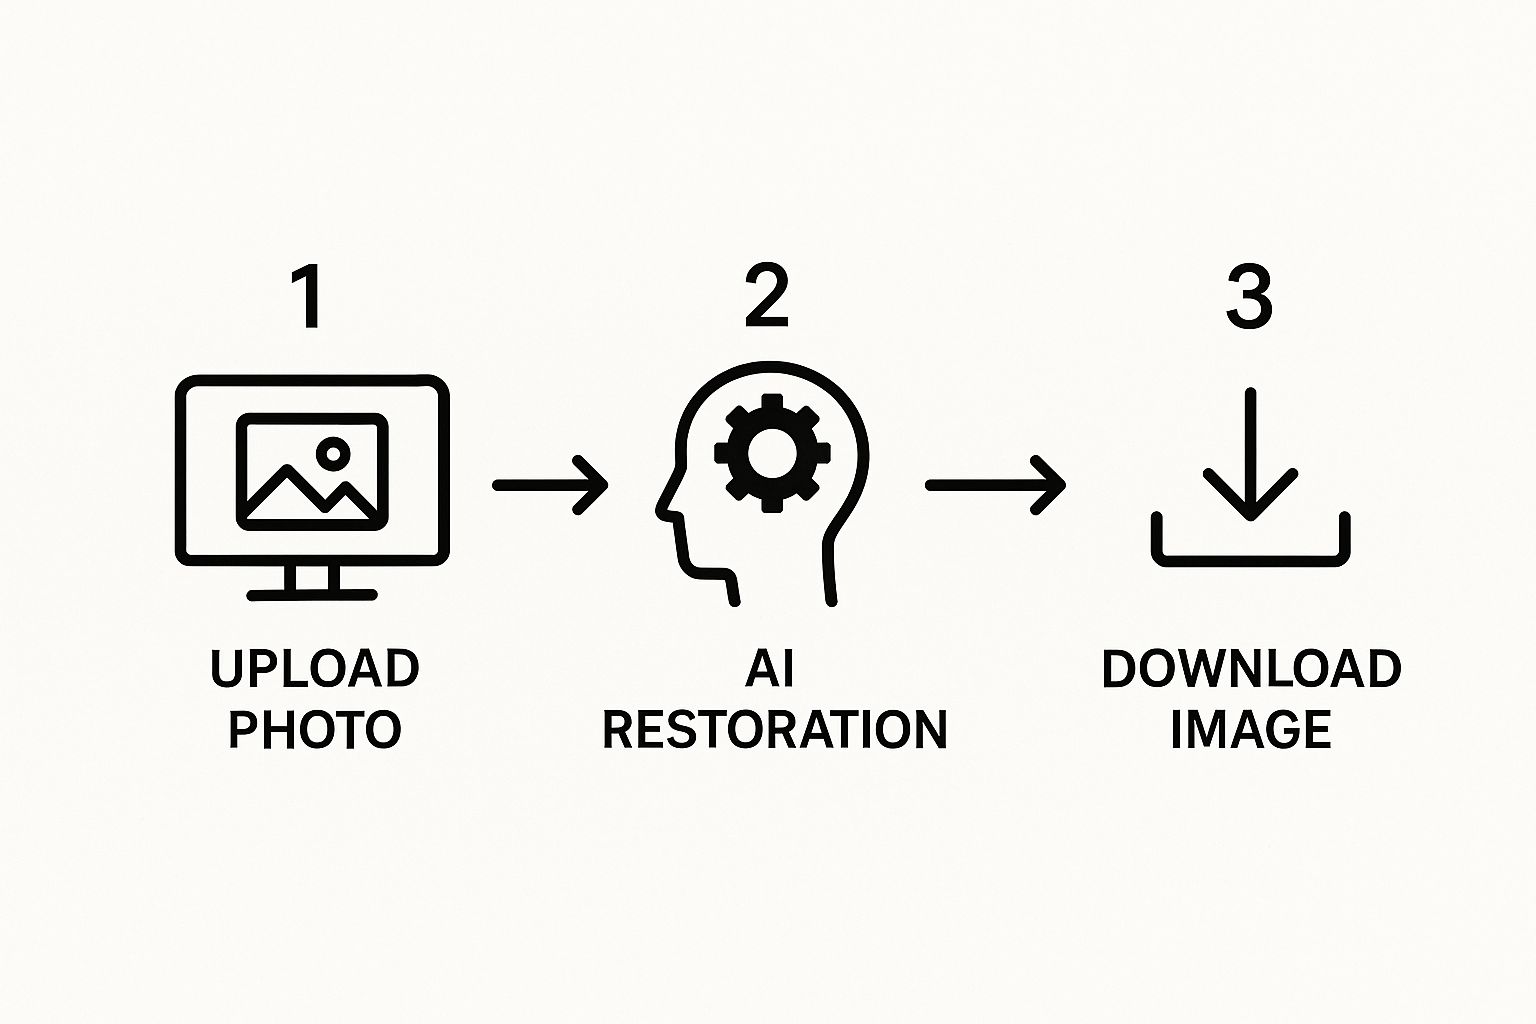
The AI will immediately analyze the image, sharpening focus on key features like eyes and faces. Within seconds, a blurry image becomes noticeably clearer. This simple, three-stage workflow is common across most platforms.
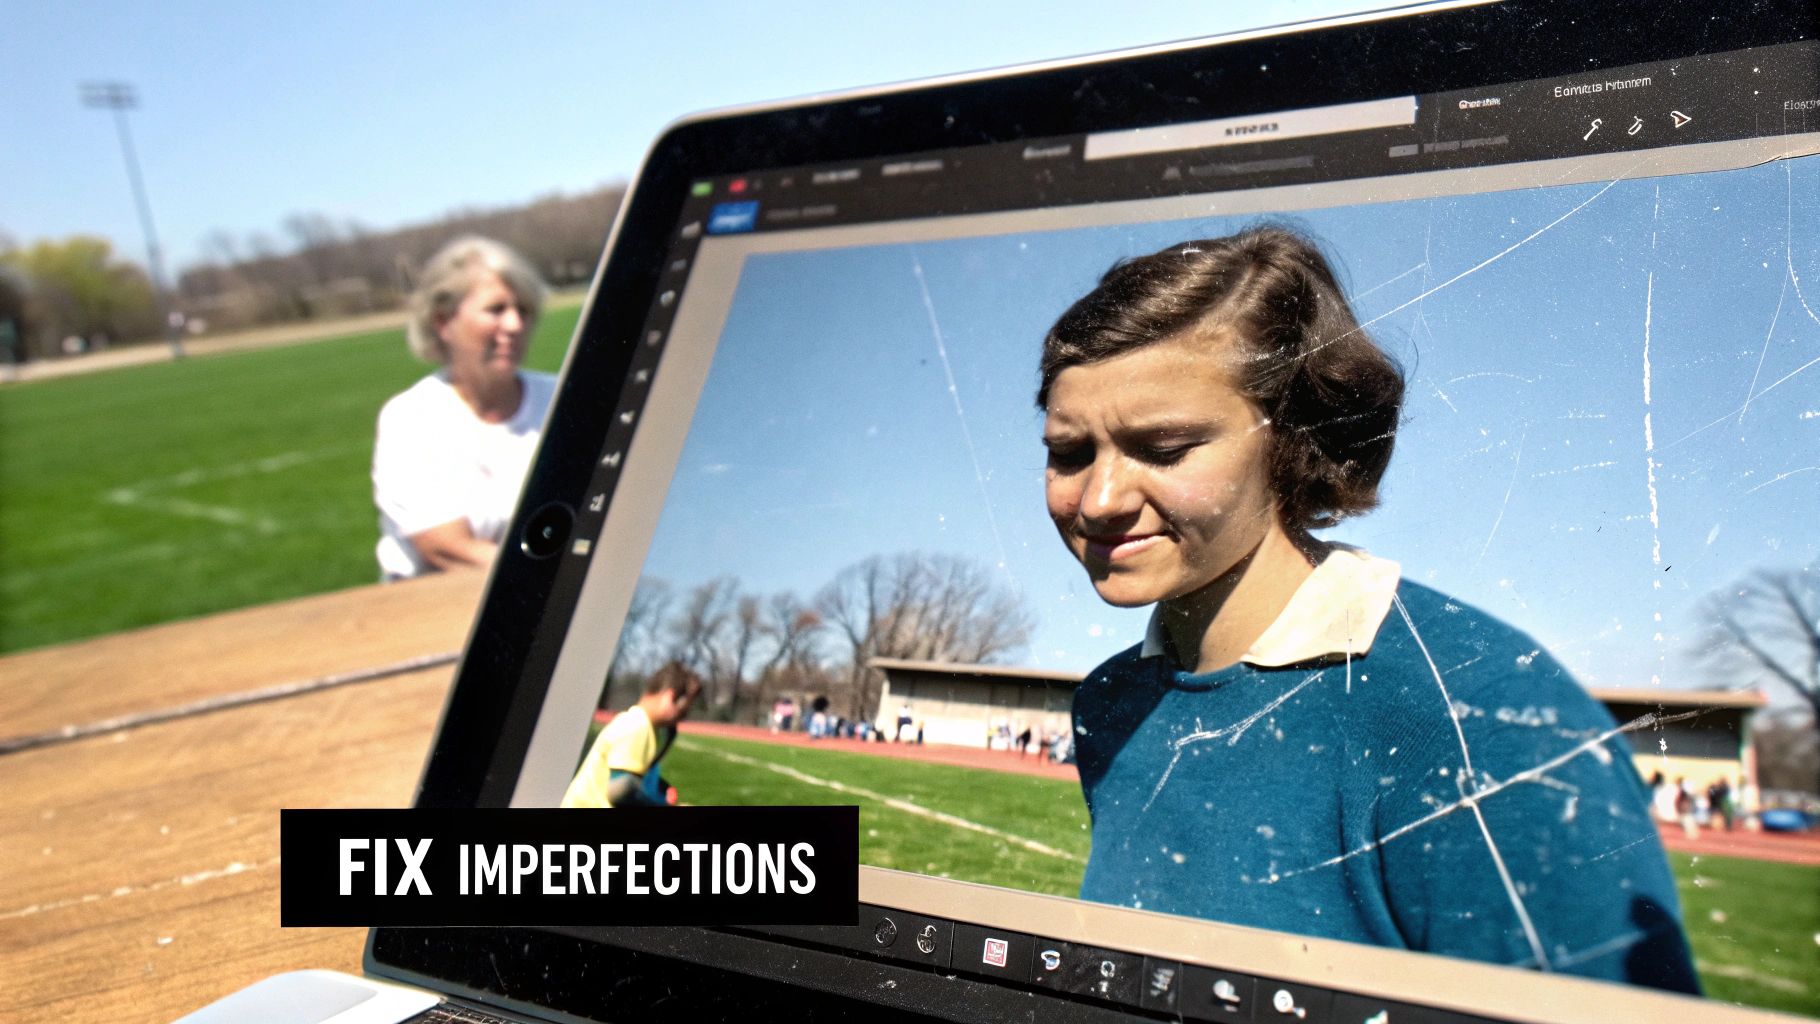
Step 2: Fixing Scratches and Blemishes
Now, let's tackle the physical damage.
- Look for a feature labeled "Scratch Removal," "Blemish Fix," or "Magic Repair."
- Click to activate the tool. The AI will scan for lines, creases, and spots that don't belong.
- The algorithm then intelligently fills in the gaps by analyzing surrounding pixels, ensuring the texture (like skin or fabric) remains consistent. The result is a seamless repair that looks natural.
Don’t be afraid to play around here. Many tools let you apply features in different orders. I've found that on really damaged photos, running the scratch repair before the main enhancement can sometimes give you a much cleaner final image.
Step 3: Adding Realistic Color
This is often the most dramatic step.
- Find and click the "Colorize" button.
- The AI will analyze the black-and-white image and apply historically plausible colors based on its training on millions of photos.
- It will differentiate between skin, hair, clothing, and backgrounds, applying realistic tones to each element. For example, it might render a 1950s dress in a muted pastel rather than a modern neon hue.
This technology has quickly become a vital part of preserving our visual history. Digital restoration is now the go-to method for everyone from major film studios to families looking to upgrade aging photos and protect their archives from fading away.
Step 4: Fine-Tuning and Saving
While one-click results are great, you can often improve them.
- Look for a "High Fidelity" or "High-Quality" toggle. Activating this tells the AI to use more processing power for finer details and more nuanced color.
- Once you're happy, look for the "Download" or "Save" button.
- Choose the appropriate file format. Select JPEG for easy online sharing or PNG/TIFF for a high-quality archival copy.
Choosing The Right AI Restoration Tool
Picking the right platform can feel overwhelming, but they each have their strengths. Here’s a quick comparison to help you decide which tool might be the best fit for your specific project needs.
| Feature | MyHeritage | VanceAI | Fotor |
|---|---|---|---|
| Best For | Genealogy and family photos | Batch processing and specific repairs | All-in-one editing and creative effects |
| Scratch Removal | Yes, integrated into the enhancement process | Yes, dedicated tool for scratches | Yes, part of the general "Photo Restorer" |
| Colorization | Excellent, with a focus on historical accuracy | Strong, with options to adjust saturation | Good, with additional artistic color filters |
| Ease of Use | Very high, designed for beginners | High, with a clear interface | Medium, more features can mean a steeper curve |
| Special Features | Deep Nostalgia™ (animation), family tree sync | AI upscaler, denoiser, and sharpener tools | Full photo editor, graphic design tools |
| Pricing Model | Subscription-based | Credits system or subscription | Freemium with a Pro subscription |
By following these stages and choosing the right tool, you can confidently bring any old, damaged photo back to life with incredible clarity and color.
Getting Professional-Grade Results
Moving beyond the simple one-click fix is how you truly start to restore old photos online with a professional touch. For tricky photos with severe damage, you’ll want more creative control. This is how you turn a good restoration into a breathtaking one.
Pro Technique 1: Isolate and Conquer
For a photo with serious damage—like a large tear across a face—don't throw the whole image at the AI at once.
- Crop the Damage: Use a free online photo editor to crop the image, isolating just the heavily damaged section.
- Restore the Piece: Upload this smaller piece to your AI restoration tool. This focuses all the AI's power on the most critical area.
- Blend It Back: Once the piece is repaired, use an editing tool with layers (like Photopea or Pixlr) to carefully place the fixed section back into the original, high-resolution scan, blending the edges for a seamless look.
Pro Technique 2: Manual Color Correction
Sometimes the AI gets colors wrong, making skin look greenish or a vintage dress an impossible neon pink. You can fix this easily.
- Open in an Editor: Load your restored photo into an online editor with color adjustment tools.
- Adjust Hue/Saturation: Find the "Hue/Saturation" or "Color Balance" controls.
- Fix the Color:
- For Unnatural Skin Tones: Select the "Yellows" or "Reds" channel and gently increase saturation, or decrease the "Greens" until the complexion looks natural.
- For Incorrect Object Colors: Use a "Selective Color" tool if available to target just the problematic color (like the pink dress) and shift its hue to something more historically plausible.
Honestly, the most impressive results I've ever seen come from a human-AI team-up. Let the AI do the heavy lifting—like fixing thousands of tiny cracks—and then you step in to make the final, nuanced corrections that require a human's understanding and a bit of historical context.
This combination of techniques is a cornerstone of modern digital imaging. In fact, the growth of the photographic services market is significantly boosted by AI-driven innovations that automate tasks like blemish correction and color adjustments. You can read the full research about photographic services growth to see how this technology is evolving.
Pro Technique 3: AI Chaining
Not all tools excel at the same tasks. "AI chaining" means using multiple tools in sequence, playing to their strengths.
- Step 1 - Scratch Removal: Upload your photo to Tool A, which is excellent at removing scratches and dust. Download the clean, repaired black-and-white image.
- Step 2 - Colorization: Take the clean image from Tool A and upload it to Tool B, a different service known for its superior and historically accurate colorization.
- Step 3 - Upscaling: If the final image is still a bit small, upload the colorized version to Tool C, a dedicated AI upscaler, to increase its resolution for printing.
This workflow takes a few extra minutes, but the final product is often miles ahead of what any single tool could have managed. As you get comfortable with these more advanced methods, it’s helpful to see how they fit into your bigger creative process. It's a lot like applying broader strategies for improving workflow efficiency in any kind of creative work. For those who want to dive even deeper, our guide on AI image enhancement covers more techniques to really make your restored photos pop.
Common Mistakes in Photo Restoration and How to Fix Them
 While today's AI tools have made it incredibly easy to restore old photos online, a few common pitfalls can make your results look artificial. Getting restorations that feel both stunning and believable is all about avoiding these classic mistakes.
The most frequent mistake is over-sharpening. Pushing the sharpness slider too far creates a "plastic" look on skin and unnatural halos around subjects. How to fix it: If details look "crunchy," you've gone too far. Dial back the sharpness until the image looks clear, not synthetic.
Another absolute non-negotiable: work on a copy of your digital scan. Always. Your original, high-resolution scan is your safety net. If an edit goes wrong, you can always revert to the source without losing anything.
Spotting and Fixing Unrealistic AI Colors
AI colorization can sometimes produce bizarre results, like neon green grass in a 1940s photo. How to fix it:
- Open the image in an editor with manual color tools.
- Find the color balance or saturation settings.
- Select the offending color (e.g., green) and reduce its saturation until it looks natural and historically appropriate.
A great rule of thumb is to find reference photos from the same time period. A quick search for "1940s color photography" can give you a much better sense of the muted, subtle color palette of the era, helping you guide the AI toward a more realistic outcome.
Knowing the Limits of Automation
AI is an amazing assistant, but it’s not a miracle worker. If you're dealing with a photo that has severe damage—like a huge tear right through someone's face or a completely missing corner—a one-click tool will struggle and likely produce a blurry mess.
When you hit a wall like this, it's a clear signal that the photo needs more than just automation. This is where you might need to try a more hands-on approach, like the "AI chaining" technique discussed earlier, or switch to more powerful software. To see what different platforms are capable of, it helps to check out reviews on the best photo restoration software. Learning to recognize when to step in and take manual control is a skill that will seriously level up your restoration results.
Common Questions About AI Photo Restoration
As you dive into restoring old photos online, a few questions almost always pop up. The tech is incredible, but it helps to know what it's great at and where its limits are. I get asked these all the time, so let's clear up some of the most common ones you'll encounter.
Can AI Really Fix Super Blurry Photos?
AI can do an amazing job sharpening photos that are a little soft or slightly out of focus. The results can be night and day. But, there's a limit. If a photo is so blurry that key features are indistinguishable, the AI has to guess, which can lead to strange, "uncanny valley" results. For best results, the AI needs a decent starting point to work from.
What’s the Best File Format for Saving My Restored Photos?
This depends on your goal. There isn't a single "best" format.
- For sharing online (social media, email): A high-quality JPEG is perfect. It looks great and the file size is small.
- For archiving, printing, or future edits: Always save a master copy as a PNG or TIFF. These are "lossless" formats that preserve every restored detail.
My personal workflow? I always save a master copy as a TIFF. Think of it as your new digital negative. From that master file, I can export smaller JPEGs for social media or email anytime, knowing the pristine, high-quality version is safe.
Should I Fix Scratches and Tears Before or After Colorizing?
Always fix the physical damage first. This is a non-negotiable rule for a clean, believable result. By repairing scratches, creases, and water spots on the black-and-white image first, you give the colorization AI a clean slate. If you try to colorize a damaged photo, the AI gets confused and will often highlight the flaws with bizarre splotches of color.
What About Photos with Big Missing Pieces?
This is where you hit the limits of most one-click AI tools. They are fantastic at filling in small imperfections like dust and minor cracks. However, they aren't designed to invent large, complex areas from scratch. If a significant part of the photo is missing, a simple AI tool will struggle. For that level of damage, you’d need a more powerful program like Adobe Photoshop and its Content-Aware Fill tool, or consider hiring a professional restoration artist.
Ready to see what your own family photos could look like? AI Photo HQ gives you the tools to restore, enhance, and colorize your cherished memories with professional-grade results in just a few clicks. Transform your faded photos into vibrant stories you can share for generations. Try AI Photo HQ today!

