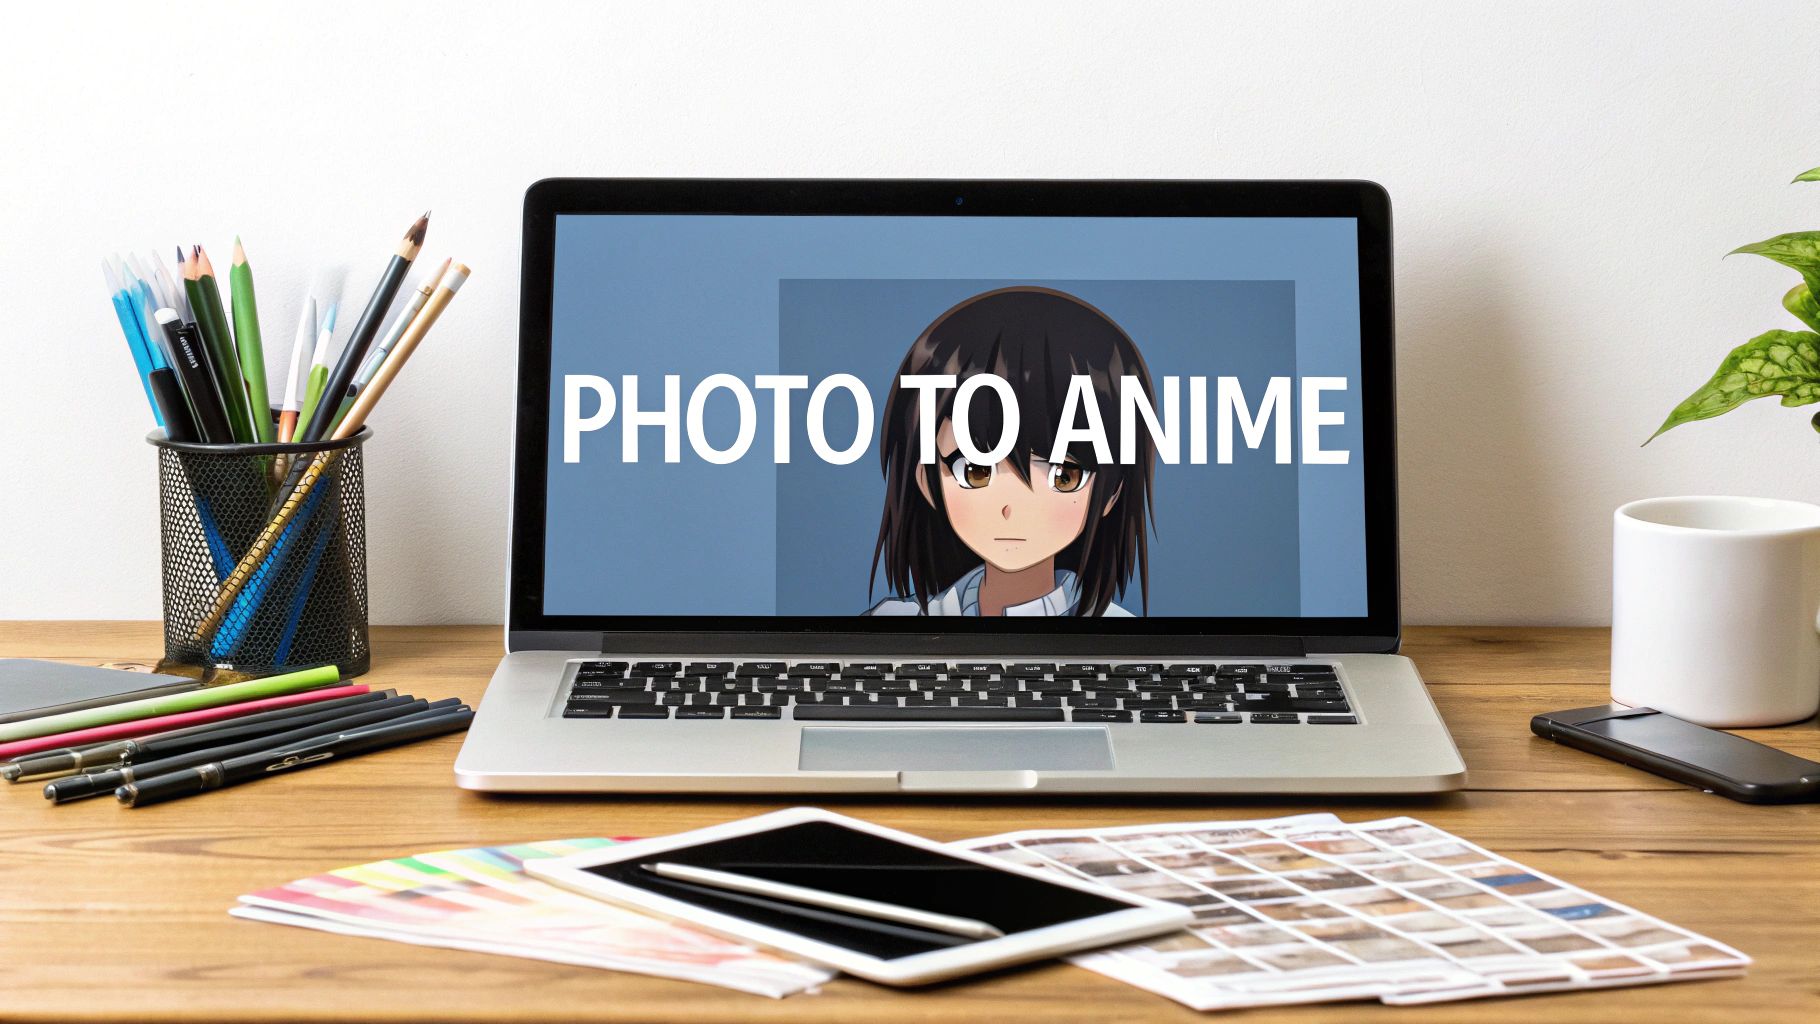
Ever wondered if you could turn a regular picture into a cool anime-style portrait without spending hours learning to draw? It's not only possible, it's surprisingly easy with tools like AI Photo HQ. These platforms look at your photo's key features and redraw them in different anime styles, letting you create a personalized piece of art in just a few seconds.
How AI Is Changing Anime Art Creation
The days of needing to be a professional artist to create anime art are long gone. Thanks to some serious leaps in artificial intelligence, anyone can now see their favorite moments reimagined in the style of Japanese animation. This isn't just a niche trend; it's exploded in popularity, right alongside the global love for anime itself.
This is more than just a fun filter—it’s a new way to express yourself. The AI uses complex algorithms to break down the most important parts of your photo, like your facial structure, hair, and even background details. It then reinterprets all that data, applying the stylistic rules that make anime so distinct.
This isn't just about slapping a filter on your photo. The AI is actually recreating the image from scratch. It merges your personal photo with the unique visual language of anime, resulting in something that's both recognizable and beautifully stylized.
Why Is Everyone Doing This?
The appeal is pretty obvious. You can finally see yourself as the hero of a shonen adventure, drop your pet into a whimsical Ghibli-inspired world, or turn a favorite memory into a scene from a slice-of-life series. It's this mix of personalization and pop culture that makes it so much fun.
The market numbers back this up, too. The global anime market is on track to hit a massive USD 60,272.2 million by 2030, according to a report from PR Newswire. This growth is powered by a huge global demand for content and the new technologies that make it accessible. AI image conversion is a big piece of that puzzle.
To give you a better idea of what happens behind the scenes, here’s a quick breakdown.
Anime Style Transformation at a Glance
Here’s a quick summary of what goes into turning your photo into compelling anime art.
| Aspect | What It Means for Your Photo | Why It Matters |
|---|---|---|
| Feature Analysis | The AI identifies key elements like eyes, nose, hair, and background. | This ensures the final art looks like you, just in an anime style. |
| Style Application | It applies specific artistic rules (e.g., large eyes, simplified lines). | This is what creates the authentic "anime" look and feel. |
| Re-Rendering | The AI generates a brand-new image based on the combined data. | It's not a simple overlay; it's a completely new piece of art. |
Ultimately, this process gives you a completely fresh take on your photos.
The technology driving these tools, often built on models like Stable Diffusion, has become incredibly powerful yet simple to use. If you want to get into the technical weeds, you can see how different engines stack up in our Stable Diffusion vs. Midjourney analysis. At the end of the day, these tools let you jump into the anime world and get creative, no drawing tablet needed.
Choosing the Right Photo for Your Transformation
To get a fantastic anime version of yourself, the photo you start with is everything. Think of the AI as an artist that needs a clear reference—the better your source material, the more impressive the final piece will be.
The single biggest factor here is clarity. A sharp, high-resolution photo gives the AI tons of visual data to work with. It can easily pick out distinct facial features, textures, and the specific shapes of your face, leading to a much more accurate and detailed anime reinterpretation.
On the flip side, a blurry or low-resolution image essentially starves the AI of information. This is what leads to those "muddy" results where features blend together, or the final image looks generic and doesn't capture your likeness at all.
Step-by-Step Guide to Selecting the Perfect Photo
Follow this simple checklist to choose an image that will give you the best anime transformation.
- Check for Good Lighting: Open your photo and look for balanced light. Avoid images with harsh shadows across the face or bright spots that wash out your features. Natural daylight is often best.
- Ensure Clear Facial Features: Zoom in on your face. Are your eyes, nose, and mouth clearly visible and not obstructed by hair, hands, or shadows? The AI needs to see these to create an accurate likeness.
- Evaluate the Background: Look at what's behind you. A simple, plain, or out-of-focus background is ideal because it helps the AI focus on you. A cluttered background can sometimes confuse the AI.
- Confirm Subject Prominence: Your face should be the star of the show. Choose a headshot or a photo where you are the main subject and your face occupies a significant portion of the frame. Avoid group shots where your face is small.
A common mistake I see is people using a group photo where their face is small and far away. For the best portrait, grab a headshot or a photo where your face takes up a good portion of the frame. This gives the AI the best possible reference to create an anime version that actually looks like you.
For instance, a selfie you took in natural daylight with a simple wall behind you is a perfect candidate. A photo from a dimly lit concert with flashing lights and a crowd in the background? That's a poor choice.
Picking the right image from the get-go saves you a ton of time and frustration. By paying attention to these details, you set yourself up for a fantastic transformation that you'll be excited to share.
Turning Your Picture into Anime with AI Photo HQ
Alright, let's get to the fun part. This tutorial will walk you through exactly how to transform a picture into anime using AI Photo HQ. The whole process is designed to be intuitive, getting you from your original photo to a fantastic anime version in just a few steps.
Step-by-Step Tutorial: From Photo to Anime
Let's turn a standard photo into an anime portrait. Follow these instructions carefully for the best result.
- Navigate to the Tool: Open your browser and go to the AI Photo HQ website. You'll immediately see the main interface.
- Upload Your Image: Click the "Upload Image" button. Select the high-quality photo you chose in the previous step from your device.
- Select an Anime Style: Once uploaded, you'll see a gallery of style presets. For your first attempt, try a popular one like "Modern Anime" or "90s Retro" to see how the core transformation works. Simply click on the style you want.
- Generate Your Art: After selecting a style, the AI will begin processing. This usually only takes a few seconds. Wait for the new, anime-style image to appear.
- Download the Result: Happy with the image? Click the "Download" button to save the final artwork to your computer.
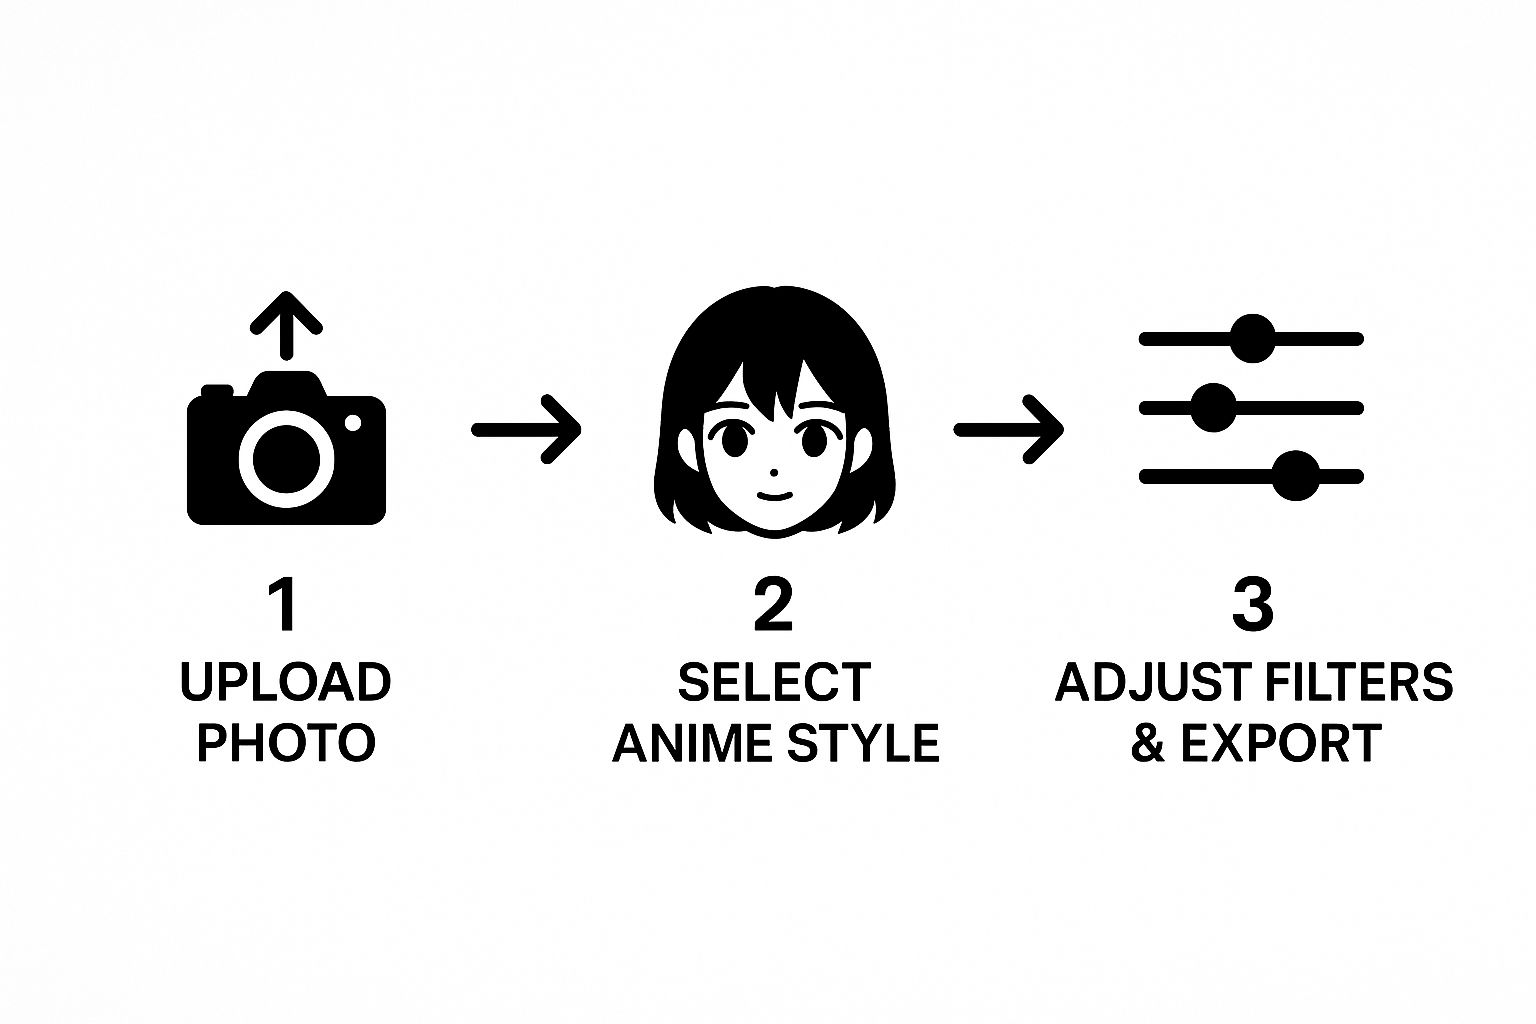
As you can see, it really is a direct path: upload your image, pick your style, and download the finished piece. No fuss.
This kind of accessibility is a huge deal. The global anime market has been completely reshaped by digital tools. In fact, by 2025, it's expected that anime creation software will grab a 22.3% market share. This boom is powered by tools that open up anime-style creation to everyone, not just professional animators.
Pro Tip: Don't just settle on the first style you try. I've found that experimenting is key. Upload the same photo and try generating it with 2-3 different style presets. A modern, high-contrast style might bring out different features in your photo compared to a soft, painterly one. This helps you find the perfect match.
While AI Photo HQ does most of the heavy lifting, having a basic understanding of techniques for applying filters to existing photos can give you a better creative eye for other projects, too.
Taking the Reins with Creative Prompts
Using a preset is a fantastic way to get your first anime image, but the real fun begins when you start writing your own text prompts. This is where you move beyond the default templates and truly transform a picture into anime based on your own creative vision. It’s how you take a good result and make it perfect.
Practical Tutorial: Using Prompts to Add Details
Let's take a basic anime portrait and add a specific mood or element.
- Upload Your Photo: Start by uploading your chosen picture to AI Photo HQ as before.
- Find the Prompt Box: Instead of clicking a preset, locate the text input field, usually labeled "Enter your prompt here."
- Write a Descriptive Prompt: Be specific. Instead of just saying "add flowers," try this prompt:
cherry blossom petals falling in the wind. This tells the AI the type of flower and adds a sense of motion. - Generate and Review: Click the generate button. The AI will now try to create an image that combines your photo, the anime style, and the new elements from your prompt.
- Refine if Needed: Not quite right? Tweak your prompt. Maybe change it to
a field of sunflowers at golden hourfor a completely different feel.
Here are some example prompts to try:
- For a futuristic vibe: Try a prompt like "cyberpunk city at night, neon signs reflecting in the rain."
- To get that nostalgic feel: Use "90s retro anime aesthetic, film grain, soft focus."
- For a touch of magic: A prompt like "standing in an enchanted forest, glowing mushrooms, mystical fog" will build a fantastical realm around your subject.
A common pitfall I see is being too vague. Don't just say "add flowers." Instead, get specific: "a field of sunflowers at golden hour." The more detail you feed the AI, the closer it'll get to what's in your head.
This level of detail is what really elevates an image from a generic AI creation to a compelling piece of art. For a much deeper look into writing these kinds of descriptions, our guide on how to write AI prompts is packed with great strategies.
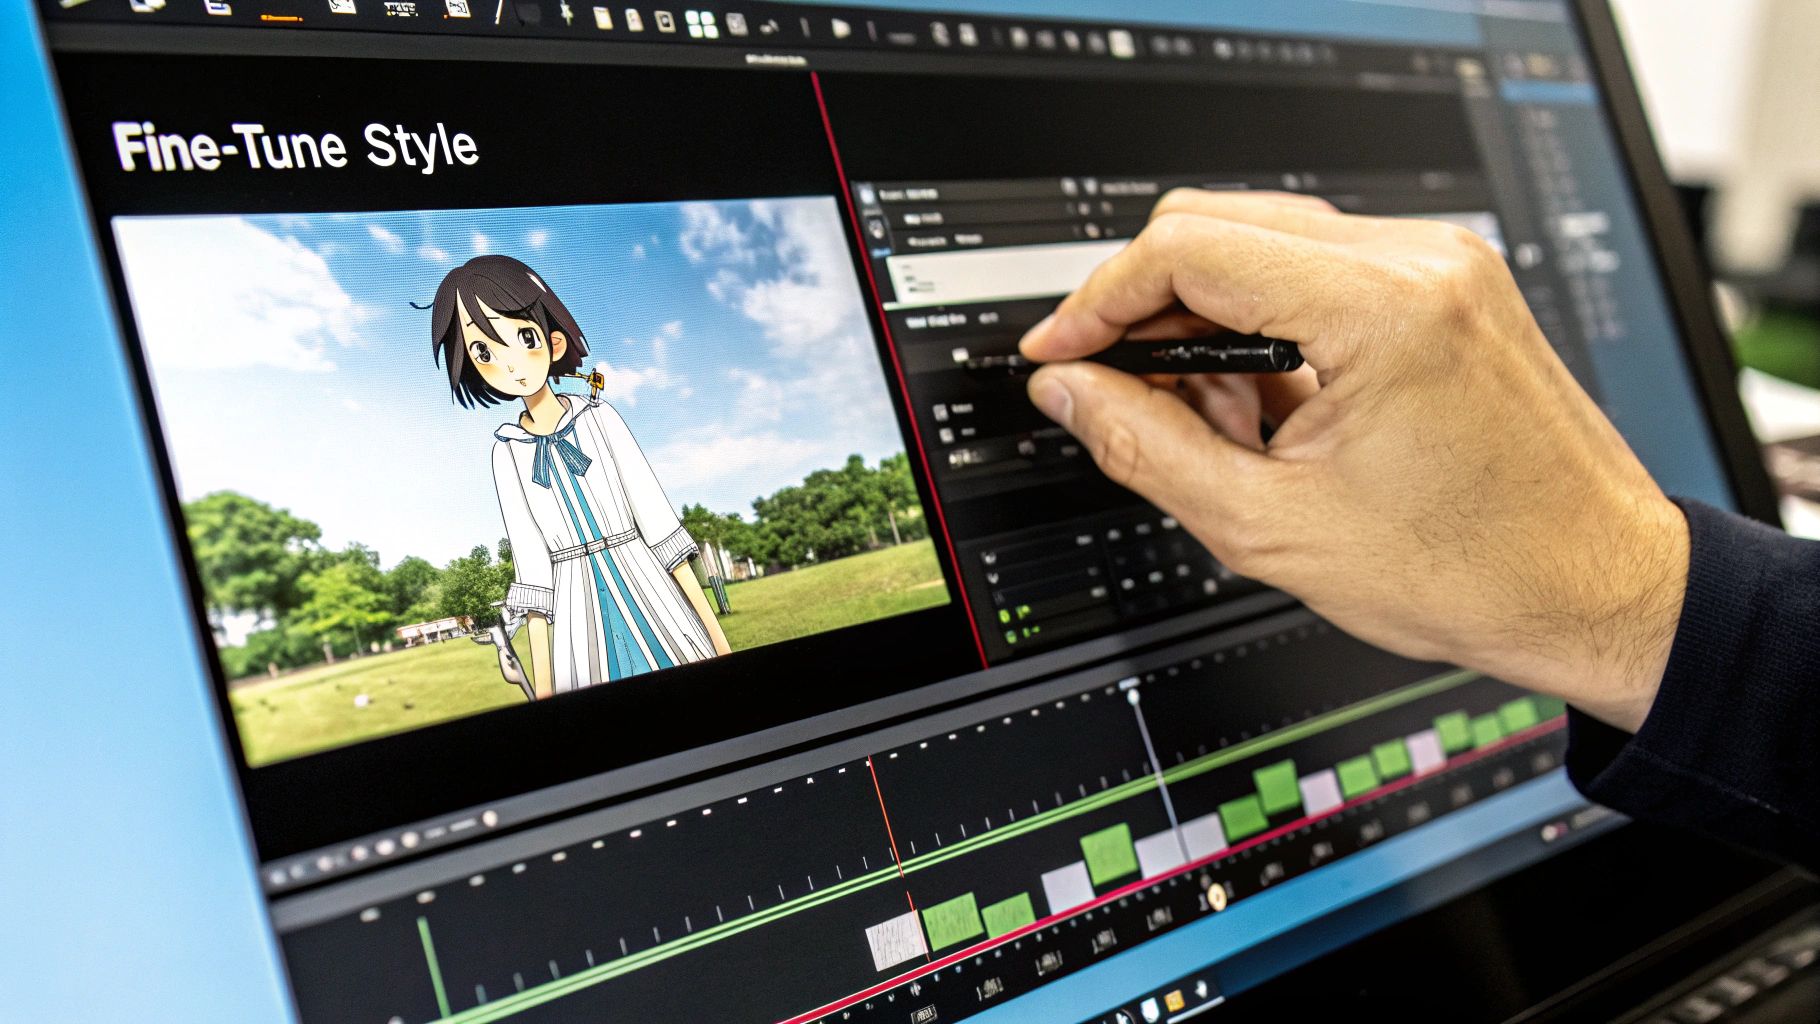
Fine-Tuning with Stylistic Prompts
Beyond just adding objects, you can also use prompts to nudge the AI toward a specific artistic style. The AI is smart enough to interpret stylistic commands, letting you adjust everything from the line work and shading to the entire color palette. This is especially handy when you're aiming for a look that isn't already available as a preset.
If you really want to master this, digging into resources on how to write effective AI prompts will seriously improve your results. Learning these core principles gives you the power to guide the AI with real precision, making sure the final image is a perfect match for what you envisioned.
Saving and Sharing Your Anime Masterpiece
You did it. You’ve created an incredible anime version of your photo, and now it's time for the fun part: getting it out into the world. After you transform a picture into anime, the next move is downloading it properly and figuring out the best ways to show it off.
When you're ready to download from AI Photo HQ, my advice is to always grab the highest resolution available. A high-quality file makes sure your new artwork looks crisp and professional, whether it’s for a new social media profile picture or a custom forum avatar.
How to Choose the Right File Format
The file format you choose really boils down to what you plan to do with the image. Picking the right one is key to preserving all the hard work you put into creating it.
- JPG (or JPEG): This is your best bet for anything online. It’s perfect for sharing on platforms like Instagram, Twitter, or Facebook because it keeps the file size small without sacrificing too much quality. Choose this for your profile picture.
- PNG: Go with this format if your image has any transparent areas or if you need the absolute best, lossless quality for digital use. Choose this if you plan to edit the image further or print it.
Once you have your image, don't just stop at a new profile picture. The creative possibilities are endless. You could get your anime self printed on a custom phone case, a coffee mug, or even a t-shirt. It’s a fantastic way to turn a fun digital project into a unique physical item.
This idea of turning personal art into products is bigger than you might think. The global anime market is on track to hit about $33.13 billion in 2025 and is projected to keep climbing. A huge chunk of that growth comes from merchandising, which just goes to show how much real-world value there is in anime-style art.
After you've spent time perfecting your anime art, you want to make sure it gets seen. It’s worth exploring some proven strategies to boost social media engagement so your masterpiece gets the attention it deserves. For more ideas on how to apply different cool aesthetics to your photos, take a look at our guide on AI image style transfer.
Common Questions When Turning Photos Into Anime
As you dive into the world of AI-powered anime transformations, you're bound to have a few questions. I've seen these pop up time and time again, so I’ve put together some quick answers to the most common ones. Think of this as your cheat sheet for getting fantastic results.
Can AI Handle Group Photos?
Yes, absolutely—but with a small catch. Modern AI tools are surprisingly good at transforming group photos, as long as each person's face is clear, well-lit, and reasonably close to the camera. The AI processes each individual, applying the anime style to everyone in the shot.
Where you might run into trouble is with very crowded scenes or photos where people are overlapping significantly. In those cases, the AI can sometimes get confused. Practical tip: For group shots, try to use a photo where everyone is looking at the camera and there's a bit of space between each person.
What’s the Best Resolution for My Original Photo?
This one's simple: the higher, the better. For a crisp, detailed anime conversion, you really want to start with a source photo that's at least 1080p (1920x1080 pixels). A sharp, high-resolution image gives the AI more data to work with, which directly translates into a cleaner, more refined result.
I can't stress this enough: starting with a blurry or low-resolution picture is the number one reason for a "muddy" or undefined anime image. The AI can’t invent details that were never there, so a quality input is non-negotiable for a quality output.
Does This Work on My Dog? Or a Landscape?
It sure does! While portraits are incredibly popular, don't limit yourself to just people. These tools are fantastic for turning pictures of just about anything into compelling anime art.
- Pets: Upload a photo of your pet to see them as an adorable anime sidekick.
- Landscapes: Use a vacation photo and add a prompt like "in the style of a classic anime film" to create a stunning background.
- Objects: Even still-life photos of food or cars can yield some surprisingly cool results.
Go ahead and experiment! The creative potential is massive, and you'll often be delighted by what the AI comes up with.
Can I Control the Exact Anime Style?
Yes, and this is where you can really start having fun and dialing in a specific look. Most powerful tools like AI Photo HQ offer a gallery of preset styles right out of the box. You can often choose between aesthetics like 'Modern Webtoon,' '90s Retro,' or a 'Cinematic' look with a single click.
For even more granular control, text prompts are your best friend. You can guide the AI by adding descriptive phrases to your prompt. Try things like "in the style of Studio Ghibli" or "shonen manga art" to tell the AI precisely what you're aiming for. This fine-tuning is what separates a generic conversion from a truly personalized piece of art.
Ready to see yourself as an anime character? With AI Photo HQ, you can transform your photos into stunning art in just a few clicks. Start creating your masterpiece today at https://aiphotohq.com.

