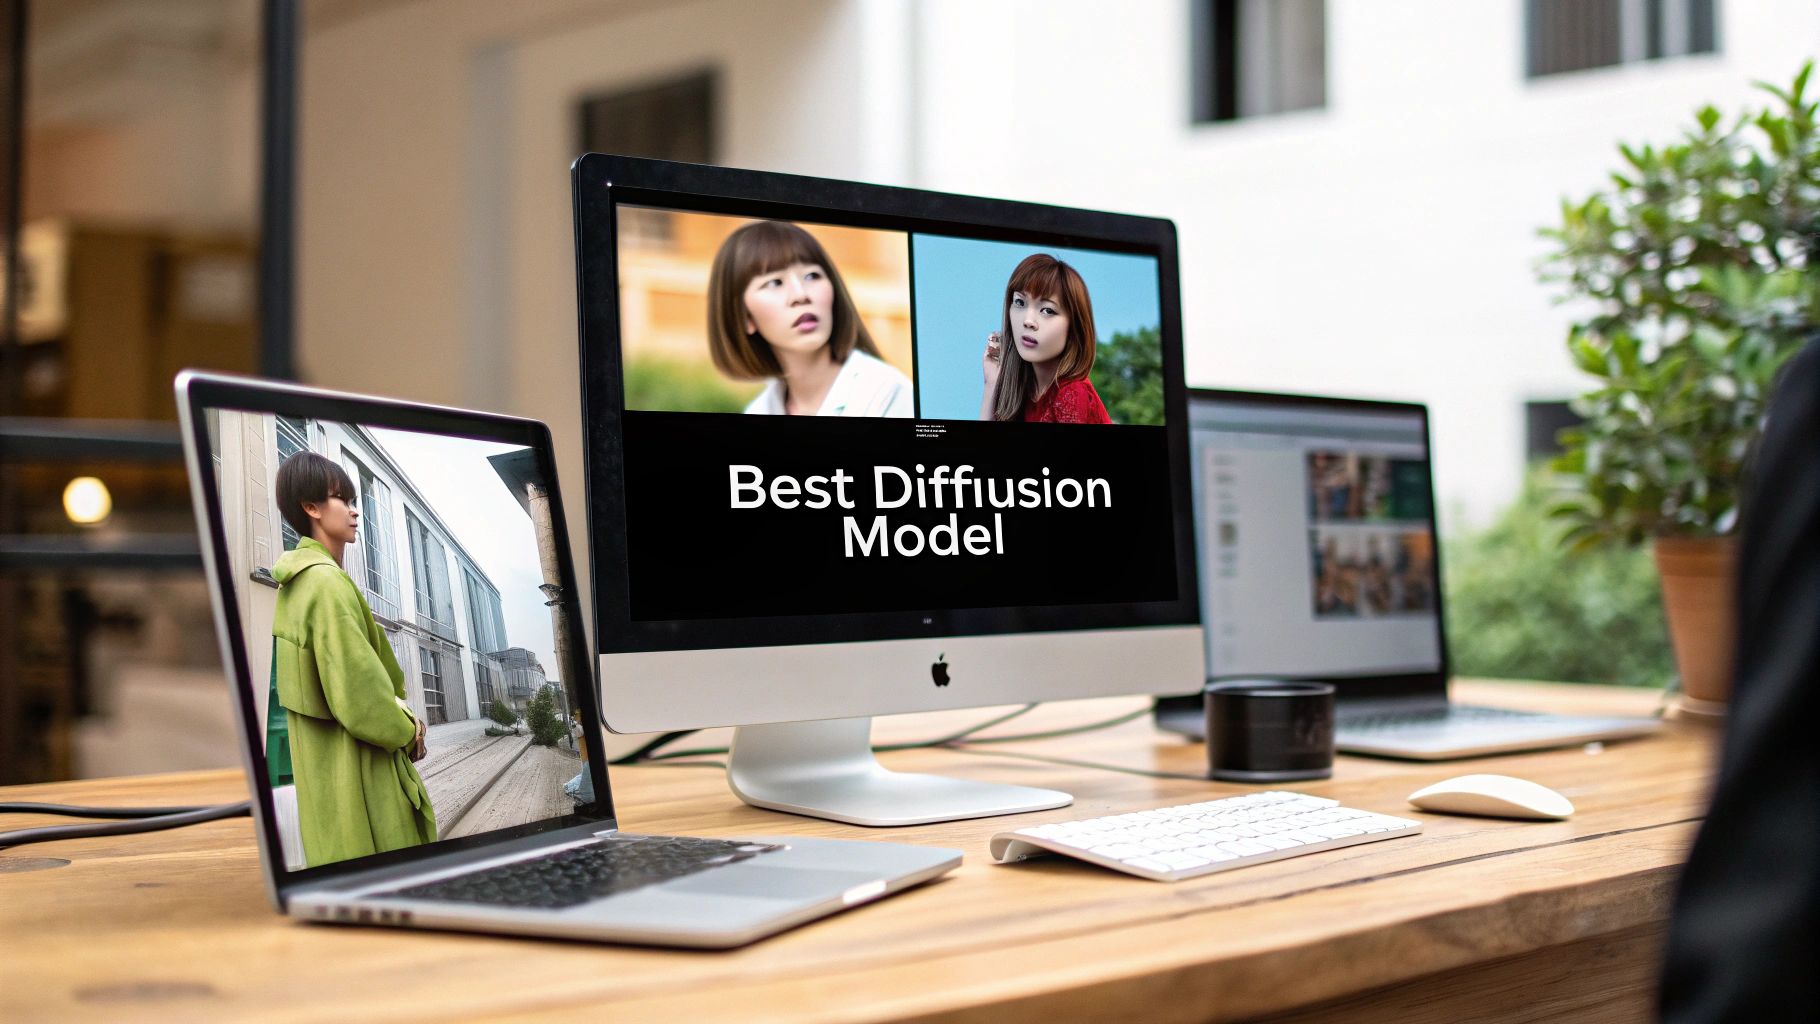
Choosing the best stable diffusion model isn’t about finding a single winner. It really comes down to what you’re trying to create, because there's no one-size-fits-all option.
If you’re chasing photorealism, models like Realistic Vision are phenomenal. But for something like anime or digital illustration, you’ll get much better results from specialized models like Anything V5.
Understanding Stable Diffusion Models
It’s helpful to think of Stable Diffusion not as one tool, but as a massive ecosystem of specialized AI models. A base model, like Stable Diffusion XL (SDXL), is like a raw block of marble. It holds incredible potential, but it needs a sculptor.
That’s where the community comes in. Artists and developers take that base model and "fine-tune" it, training it on carefully selected image datasets. This process creates new models that are absolute experts in a particular style.
This is why you see hundreds of different models out there, each with its own unique artistic personality. One might be a master at generating lifelike portraits with amazing skin texture, while another is trained to perfectly capture a specific anime aesthetic. The real magic happens when you match the right model with a great creative vision.
Of course, a great model is only half the battle. You also need a well-crafted prompt to get stunning results. To really nail that part of the process, our complete Stable Diffusion prompt guide covers all the essential techniques.
Why The Right Model Matters
The model you pick is the single biggest factor determining the style, quality, and overall feel of your final image. No matter how perfect your prompt is, a photorealistic model is going to struggle to create a convincing cartoon, and a cartoon model won’t produce a lifelike portrait.
Here are the key things that make each model different:
- Stylistic Accuracy: This is all about how well the model can nail a specific look, whether it's an oil painting, 80s sci-fi film stills, or anything in between.
- Prompt Coherence: Some models are just better at understanding what you want. They can interpret complex prompts and make sure all the requested elements actually show up in the final image.
- Resource Needs: The latest and greatest models can be demanding. Some require a pretty powerful graphics card to run smoothly.
When Stable Diffusion first launched back in 2022, it completely changed the game by making high-end image generation accessible on regular consumer hardware. Unlike cloud-only tools, it can run on GPUs with as little as 8 GB of VRAM, which opened the door for a global community of AI artists to jump in.
Comparing The Top Stable Diffusion Models
Picking the right Stable Diffusion model is a lot like choosing the right lens for a camera. You need to match the tool to your creative vision. Some models produce breathtakingly realistic portraits but are completely lost when you ask for stylized anime art. This kind of specialization is happening fast.
It's a trend that mirrors what's happening in the broader AI world. High-impact models are increasingly coming from the private sector. The Artificial Intelligence Index Report 2025 found that in 2024, nearly 90% of significant AI models were developed by industry, a big jump from 60% in 2023. This push is what gives us such a diverse and powerful toolkit.
For Photorealism
When you want an image that looks like it was captured with a real camera, you need a model trained on a diet of high-resolution, lifelike photos. These models know how to render convincing textures, lighting, and human anatomy.
One of the heavy hitters here is Realistic Vision. It’s famous for its ability to nail the small stuff—skin pores, fabric weaves, you name it—without a ton of prompt wrestling. Another fantastic option is Juggernaut XL, which tends to create images with more dramatic, cinematic lighting. It’s perfect for striking portraits or moody scenes.
The real test for photorealistic models is how they handle the tricky details. Realistic Vision, for instance, has a reputation for generating more accurate hands (a classic AI stumbling block). Juggernaut XL, on the other hand, really shines when creating complex, believable backgrounds.
For Anime And Illustration Styles
If you're an artist or just a fan of anime and illustrated art, the general-purpose models just won't cut it. You need something that speaks the visual language of the genre, trained on a massive library of anime, manga, and digital paintings.
Anything V5 is a legend in this space. It’s incredibly versatile and can mimic a huge range of popular anime aesthetics. For a slightly different flavor, check out Counterfeit. It often produces a softer, more painterly look that’s ideal for fantasy illustrations. These models understand style-specific keywords that would just confuse a photorealism model.
This image shows just how differently each model type interprets the same simple prompt.
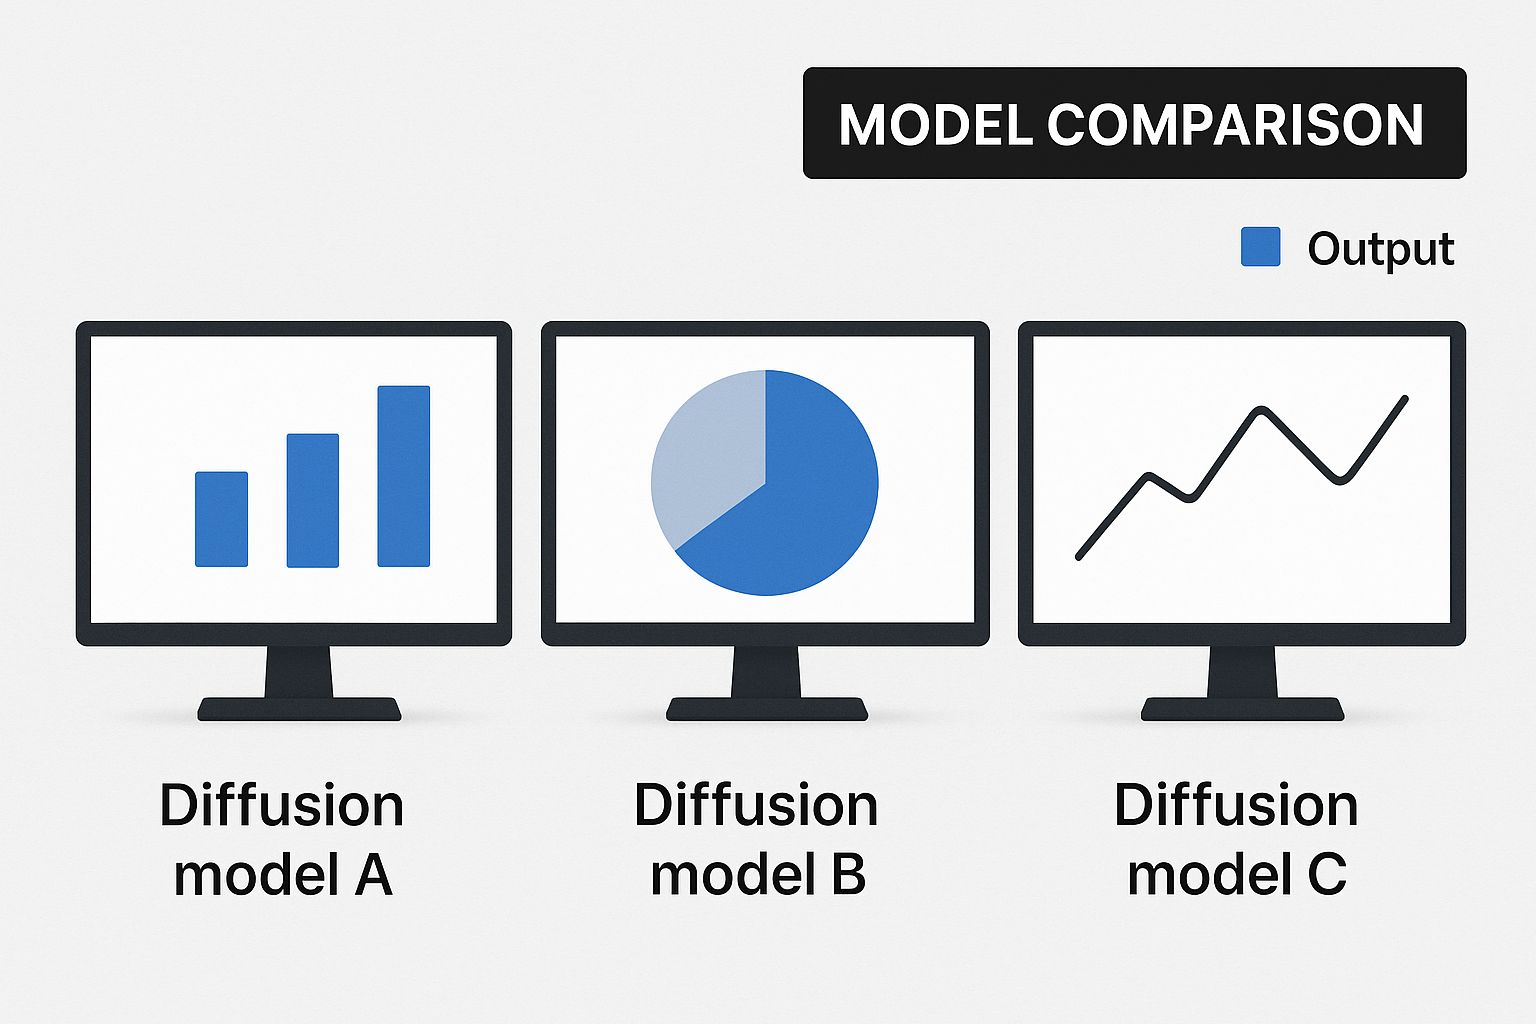
As you can see, the results are worlds apart. It really drives home how crucial it is to pick the right model for the job.
Stable Diffusion Model Feature Comparison
To help you decide at a glance, here’s a quick breakdown of the models we’ve discussed. Think of it as a cheat sheet for matching a model to your project's needs.
| Model Name | Primary Use Case | Strengths | Weaknesses | Ideal For |
|---|---|---|---|---|
| Realistic Vision | Photorealism | Exceptional detail, great with hands/faces, minimal prompting | Can be too "clean" or clinical for some styles | Lifelike portraits, product mockups, realistic scenes |
| Juggernaut XL | Cinematic Photorealism | Dramatic lighting, rich backgrounds, filmic quality | May require more prompt refinement for specifics | Striking portraits, concept art, cinematic stills |
| Anything V5 | Anime & Illustration | Highly versatile, covers a wide range of anime styles | Can produce generic results without specific prompts | Character design, fan art, replicating specific anime aesthetics |
| Counterfeit | Painterly Illustration | Soft, artistic look, excels at fantasy and ethereal styles | Less suited for sharp, modern anime styles | Fantasy illustrations, concept art, storybook visuals |
This table should give you a solid starting point, but the best way to find your favorite is to experiment.
Finding And Using New Models
The Stable Diffusion community is always building and sharing new models. The place to be for all of this is Civitai. It’s the central hub where you can discover, download, and see what others have created with thousands of different models.
This open-access library is a massive advantage when you're looking at Stable Diffusion vs Midjourney, as it gives you endless creative options.
Civitai is more than just a download site. Each model comes with a gallery of example images and the exact prompts used to create them. This is an invaluable resource for figuring out how to get the best results from a model you’ve never used before, making it much easier to find the perfect tool for your style.
How to Create Photorealistic Images
Getting photorealistic results from Stable Diffusion isn't about getting lucky—it's about methodically crafting the right instructions. Sure, starting with a top-tier model like Realistic Vision or Juggernaut XL gives you a massive head start, but the real magic comes from how you build your prompt and dial in the settings.
Let's walk through how to take a simple idea and turn it into a stunning, lifelike image. We'll start with a basic prompt and see how it evolves with more detail and technical specs.
Building Your Perfect Prompt: A Step-by-Step Example
The heart of a great photorealistic image is a detailed prompt that works like a director guiding a cinematographer. You have to give the model context for everything—the subject, the environment, and even the camera itself.
Step 1: Start with a Simple Subject
Let’s begin with a simple subject description. This is our foundation.photo of a woman with red hair
It's a start, but it leaves way too much up to the AI's imagination. To really take control, we need to add specific photographic and lighting details.
Step 2: Add Camera and Lens Specifics
Put on your photographer hat. Adding camera settings controls things like depth of field and perspective.photo of a woman with red hair, **shot on a Canon EOS R5, 85mm f/1.8 lens, shallow depth of field**
Just that small addition tells the model to mimic the distinct look of a professional portrait lens, which is famous for creating that beautifully blurred background.
Step 3: Define the Lighting
Lighting is arguably one of the most important elements for realism. Specify the type and direction of the light to create mood and dimension.**golden hour lighting**, photo of a woman with red hair, shot on a Canon EOS R5, 85mm f/1.8 lens, shallow depth of field, **soft rim light**
Now the model knows exactly what to do: create that warm, flattering light with a subtle highlight wrapping around the subject’s silhouette. It instantly adds a professional touch.
Using Negative Prompts to Remove Flaws
Negative prompts are your secret weapon for cleaning up AI images. They tell the model what to avoid, steering it away from common problems like mangled hands, waxy-looking skin, or a generic digital finish.
A well-crafted negative prompt is just as important as your positive prompt. Think of it as a quality filter that weeds out common AI artifacts before they even have a chance to show up in your image.
Here’s a powerful, all-purpose negative prompt you can start with:deformed, distorted, disfigured, poorly drawn, bad anatomy, wrong anatomy, extra limb, missing limb, floating limbs, mutated hands, blurry, low resolution, ugly, tiling, poorly drawn hands, poorly drawn feet, poorly drawn face, out of frame, extra limbs, disfigured, deformed, body out of frame, bad anatomy, watermark, signature, cut off, low contrast, underexposed, overexposed, bad art, beginner, amateur, distorted face, **(worst quality, low quality, normal quality:1.4), (waxy skin:1.2)**
By including this, you’re actively telling the model not to generate images with any of these unwanted traits.
Optimizing Your Generation Settings
Finally, you need to tweak the technical settings to get the sharpest, most detailed results possible. Here's a quick tutorial for setting up your generation:
- Select Your Sampler: In your UI's settings, find the "Sampling method" dropdown. Choose a modern sampler like DPM++ 2M Karras or Euler a. They're fantastic for producing crisp details in fewer steps.
- Set the Step Count: Locate the "Sampling steps" slider. For photorealism, drag it to a value between 25 and 40. Too few, and the image looks unfinished; too many, and you can start to see weird artifacts creep in.
- Adjust the CFG Scale: Find the "CFG Scale" slider. This setting controls how strictly the model sticks to your prompt. A value between 5 and 7 is usually the perfect balance between following your instructions and still having some creative freedom.
When you combine a detailed positive prompt, a strong negative prompt, and optimized settings, you’re giving the model a crystal-clear set of instructions. This is how you guide Stable Diffusion to create professional and hyper-realistic images, every single time.
How to Master Anime and Illustration Styles
To get those incredible anime and illustrative looks, you need a model that gets the genre's unique visual language. A photorealistic model sees a face, but a specialized model like Anything V5 or Counterfeit sees the world in terms of cel shading, clean line art, and specific character archetypes. Getting the hang of these models is all about learning to "speak" their language with the right prompts.
Forget about camera lenses and f-stops. Here, it’s all about artistic and aesthetic keywords. This shift in prompting gives you incredible control over the final style. Let's walk through building a prompt from scratch to create a top-tier illustration.
Crafting the Perfect Anime Prompt: A Step-by-Step Example
The real trick to amazing anime art is layering your keywords to define quality, the subject, and the overall style. You always want to start by setting a high-quality baseline with terms that tell the model to bring its A-game.
Step 1: Start with Quality and Core Subject Tags
A super simple prompt might just be a few descriptive tags:1girl, solo, long hair, looking at viewer, blue eyes
It works, but it's generic. To improve it, kick off your prompt with words that scream "excellence."**masterpiece, best quality,** 1girl, solo, long hair, looking at viewer, blue eyes
Step 2: Add Style and Artist Modifiers
Now, let's guide the aesthetic. Referencing specific artists or even popular anime series is a powerful way to influence everything from the character design to the color palette.masterpiece, best quality, **by makoto shinkai, artgerm, WLOP,** high contrast, vibrant colors, 1girl, solo, long hair, looking at viewer, blue eyes
Step 3: Build the Scene and Atmosphere
Finally, build the world around your character. Describe the background and atmosphere to flesh out the entire scene.masterpiece, best quality, by makoto shinkai, artgerm, WLOP, high contrast, vibrant colors, 1girl, solo, long hair, looking at viewer, blue eyes, **cinematic lighting, detailed background, cherry blossom trees**
This layered approach takes a simple character idea and turns it into a rich, atmospheric piece of art.
Using LoRAs for Specific Characters and Styles
What if you need to create a specific character or nail an art style the base model just doesn't know? That's where LoRAs (Low-Rank Adaptations) come into play. LoRAs are tiny files, usually under 200MB, that act like style patches, fine-tuning the model’s output without having to switch checkpoints.
Think of a LoRA as a specialized filter. It doesn't change the core model itself, but it injects a very specific set of visual data—like a character's exact outfit or an artist's signature brushwork—right into the generation process.
Here’s a quick tutorial on using them in a popular UI like Automatic1111:
- Find and Download: Head over to a community hub like Civitai and search for a LoRA of the character or style you're after. Grab the
.safetensorsfile. - Install the LoRA: Drop the file you just downloaded into the
stable-diffusion-webui/models/Loradirectory. - Refresh and Apply: In your UI, click the "Show/hide extra networks" button (often a purple icon). Go to the "Lora" tab and click the "Refresh" button. Your new LoRA should appear.
- Add to Prompt: Click the LoRA you want to use. It will automatically add a tag to your prompt, like
<lora:your_lora_name:1>. You can adjust the number at the end (the weight) from0to1to control how strong the LoRA's effect is.
Using a LoRA, you can generate images of obscure characters with stunning accuracy or apply a very particular aesthetic that would be nearly impossible to describe with words alone. This makes them one of the most powerful tools for anyone serious about creating stylized AI art.
How to Choose the Right Model for Your Project
Picking the best Stable Diffusion model isn't about chasing the highest technical specs. It's about matching a model's unique strengths to what you’re trying to create. A model that cranks out stunning, hyper-realistic portraits might be a terrible choice for stylized game assets. Getting this right means you’re not just using a good model, but the right one for the job.
The whole decision process boils down to your end goal. Let’s walk through how different professionals can find their perfect match in a few real-world scenarios. This will help you turn all the model comparisons from earlier into a smart, actionable choice.
For the Marketing Professional
If you're a marketer creating product mockups or social media content, you need one thing above all else: consistency. You need a model that gets the details right every single time. Object coherence is everything—it has to render logos, product shapes, and specific features without weird, distracting artifacts.
- Top Priority: Photorealism and object fidelity.
- Recommended Model Type: Photorealistic models like Juggernaut XL are a fantastic starting point. They've been trained on real-world objects and lighting, making them perfect for generating professional-grade product shots or lifestyle images for a campaign.
- Practical Tip: Be ridiculously precise with your prompts. Describe the product, the setting, and the mood you're after. Our guide on how to write effective AI prompts is a great resource for getting the most out of these powerful models.
For the Digital Artist and Illustrator
Digital artists need a creative partner, not just a rendering engine. You're looking for a versatile tool that helps with rapid ideation and stylistic exploration. Perfect realism isn't the goal; artistic expression and the ability to generate unique, compelling visuals that you can refine later is what counts.
For artists, the best model is often one that can be easily pushed toward a specific aesthetic. How well it follows a prompt matters, but so does the model’s own "artistic flair" and its knack for interpreting creative keywords.
- Top Priority: Stylistic versatility and creative output.
- Recommended Model Type: Models like Anything V5 or Counterfeit are built for this. They are designed for illustration and can produce a massive range of styles—from sharp anime to soft, painterly fantasy art—giving you a huge canvas to play on.
For the Game Developer
Game developers and concept artists are in a constant battle for consistency. You need models that can quickly generate assets and environments that all feel like they belong in the same world. Whether it's for 2D sprites, textures, or just inspirational concept art, the model has to stick to a specific art direction across dozens, if not hundreds, of generations.
- Top Priority: Stylistic consistency and asset generation.
- Recommended Model Type: Your best bet is a powerful, general-purpose base model like SDXL combined with specialized LoRAs. This setup allows you to fine-tune outputs to match your game’s unique world, ensuring every asset feels cohesive and intentional.
This kind of specialized approach is becoming the norm. The market for diffusion models is exploding, with forecasts predicting a compound annual growth rate of 32.6% through 2033, on its way to a value of around USD 16.09 billion. This boom is a direct result of the growing demand for specialized AI tools across all sorts of professional fields. You can dive deeper into these market trends and their implications on Growth Market Reports.
Common Questions About Stable Diffusion Models
As you start exploring the world of Stable Diffusion, a few questions tend to pop up again and again. Getting these sorted out early will save you a ton of headaches and get you creating much faster. Let's walk through some of the most common ones.
How Do I Install and Use Different Models?
One of the best things about the Stable Diffusion community is the sheer number of custom models available. Here’s a quick step-by-step guide to get them running in the most popular UIs.
These models usually come in two file formats: .safetensors or .ckpt. Think of these files as the "brain" of the model, containing all the data it needs to generate images in its unique style.
Step-by-Step Installation:
- Download the Model: Go to a site like Civitai and download the
.safetensorsfile for the model you want. - Locate Your Models Folder:
- For Automatic1111: Find your
stable-diffusion-webuifolder and place the model file insidemodels/Stable-diffusion. - For ComfyUI: The process is almost identical. Just find your
ComfyUIfolder and put the model file in themodels/checkpointsdirectory.
- For Automatic1111: Find your
- Activate the Model: Restart your UI or click the "refresh" icon next to the model selection dropdown menu at the top left of the interface.
- Select and Generate: Choose your newly installed model from the dropdown list, write your prompt, and start creating!
What Is the Difference Between a Base Model and a Fine-Tuned Model?
Getting your head around this is crucial for picking the best stable diffusion model for what you want to create. The easiest way to think about it is like this: a base model is your all-purpose flour, but a fine-tuned model is a ready-to-go cake mix.
A base model, like the original SDXL 1.0 from Stability AI, is a generalist. It’s been trained on a colossal, incredibly diverse dataset of images. It can generate almost anything you ask it to, but it won't be an expert in any single style. It's the foundation that everyone else builds on.
A fine-tuned model, on the other hand, takes a base model and trains it further on a very specific, hand-picked set of images. This is what most of the models you'll find on sites like Civitai are. For example, if you train a model on thousands of anime stills, it will absolutely blow a general base model out of the water when it comes to creating anime-style art.
This specialization is the secret sauce. It's why you can find models that are absolute masters of photorealism, 1980s cartoons, or delicate watercolor paintings. Fine-tuning essentially gives the AI an "artistic specialty."
Can I Mix or Merge Different Models?
Yes, you absolutely can! This is a more advanced technique, but it unlocks some seriously cool creative potential. Model merging lets you combine the traits of two or more models into a brand new, hybrid model.
For instance, you could take a photorealism model and merge it with an anime model to create a striking semi-realistic art style that’s entirely your own.
But be warned, it takes some work. You'll need to use the specific merging tools built into UIs like Automatic1111, and it involves a lot of trial and error. You have to play with different blend weights and settings to get something that looks good, as some merges just don't work out.
If you're just starting, my advice is to get comfortable with using individual models first. Once you've mastered prompting and know what to expect, diving into model merging is a fantastic next step to developing a signature style.
Ready to create stunning visuals without the complex setup? AI Photo HQ gives you access to the power of Stable Diffusion through an easy-to-use platform. Generate professional photos, custom avatars, and unique art styles in seconds. Start creating today at https://aiphotohq.com.

