Superimposing pictures is a creative technique for layering one image on top of another to create a single, unified picture. Think of it as a digital collage where you can blend photos together, add a person to a new background, or create unique artistic compositions.
So, What Does It Really Mean to Superimpose a Picture?
At its heart, superimposing is all about creating a composite image by taking elements from different photos and merging them into one cohesive scene. This isn't just some new digital trick, either—it has a surprisingly deep history that informs the tools and techniques we use today.
The creative potential here is massive. For example, you might want to:
- Create a Travel Composite: Place a photo of a friend into a stunning landscape they've never actually visited.
- Showcase a Product: Put a new product into a lifestyle shot for your online store.
- Design Surreal Art: Combine unexpected elements to make a unique piece of art.
- Craft a Double Exposure: Blend two images, like a portrait and a cityscape, for an artistic effect.
This double exposure is a perfect example. It shows how two completely different images can be layered to create a single, powerful picture that tells a story.
The result is this dreamlike image that’s way more complex and interesting than either photo could be on its own. Getting the hang of how do you superimpose pictures really starts with grasping this basic idea of layering. For some more hands-on examples, check out our full guide on how to superimpose pictures.
From Forensics to Fine Art
Here's something you probably didn't know: superimposing images has some serious scientific roots. It was formally developed way back in the early 20th century for something called craniofacial superimposition. It's a forensic technique used to identify skeletal remains by overlaying an image of a skull onto a photo of a person.
Over the past hundred years, this process has gone from manual overlays to sophisticated 3D digital methods.
Superimposing isn’t just for making cool pictures. It's a powerful visual storytelling tool that combines reality and imagination, whether you're creating art, engaging marketing content, or even solving complex scientific problems.
Knowing this backstory gives you a whole new appreciation for the process. Every time you blend two images, you're actually taking part in a long tradition of visual creativity and manipulation.
Choosing the Right Tool for Your Project
The tool you pick is going to make or break your entire workflow when you decide to superimpose pictures. Honestly, it all boils down to your budget, your current skill level, and what you’re trying to pull off with the final image. Getting this decision right from the jump saves a world of frustration later on.
We can really sort the options into three main buckets. First up, you have the intuitive online AI editors. These are fantastic for getting fast, automated results and are pretty much perfect if you're just whipping up a quick social media post or are new to the game.
Then you have the heavy hitters—professional software like Adobe Photoshop. This is the path for anyone who wants total creative control over complex projects, but be warned, it definitely comes with a steeper learning curve. Finally, don't sleep on the powerful mobile apps available today; they make on-the-go editing surprisingly effective, letting you create cool composites right from your phone.
Comparison of Picture Superimposing Tools
To help you figure out which way to go, I've put together a quick comparison. Each type of tool has its own clear strengths, and seeing them side-by-side makes it easier to match one to your project's needs.
| Tool Type | Best For | Ease of Use | Cost | Key Feature |
|---|---|---|---|---|
| Online AI Editors | Beginners & Quick Edits | Very High | Free to Low-Cost | Automated Background Removal |
| Professional Software | Complex & Detailed Work | Low to Medium | Subscription-Based | Total Layer & Mask Control |
| Mobile Apps | On-the-Go Projects | High | Free to Mid-Range | Convenience & Speed |
At the end of the day, the right tool depends entirely on what you're trying to create.
Think about your end goal. If you need a professional-grade composite with perfect lighting and shadows, investing the time to learn software like Photoshop is absolutely worth it. For a fun, quick image blend for Instagram, a mobile or AI tool is the much smarter choice.
While the specific software you use for superimposing is key, it also helps to zoom out and look at the bigger picture. Understanding the broader ecosystem of essential tools for content and UGC creators can seriously level up your entire content creation process.
Building a versatile toolkit means you're ready for any visual project that comes your way. Ultimately, the best tool is always the one that fits your creative vision and doesn't feel like a chore to use.
Using an AI Editor to Superimpose Pictures: A Step-by-Step Tutorial
If you want the fastest way to superimpose two pictures, an online AI photo editor is your best bet. These tools are perfect for beginners because they automate the tricky parts. Let’s walk through a practical tutorial: placing a product photo of a watch onto a lifestyle background.
Step 1: Upload Your Images
First, open your chosen online AI editor. You'll need two images: your base image (e.g., a photo of a wrist) and your overlay image (the watch). Most editors have a simple drag-and-drop interface. Upload both photos to get started.
Step 2: Remove the Background from Your Overlay Image
Click on the overlay image (the watch). Look for a feature called "Remove Background" or "Cutout." This is where the AI works its magic. With a single click, the tool will automatically detect the subject and erase its background, leaving you with a clean, transparent image of the watch. If you're curious about the tech behind this, you can learn more about artificial intelligence photo enhancement.
Step 3: Position and Blend the Images
Now for the fun part. Drag the watch cutout directly over the base image of the wrist. The key to making it look natural is getting the placement and size just right.
This little infographic breaks down the basic flow for getting your overlay image placed and sized correctly.
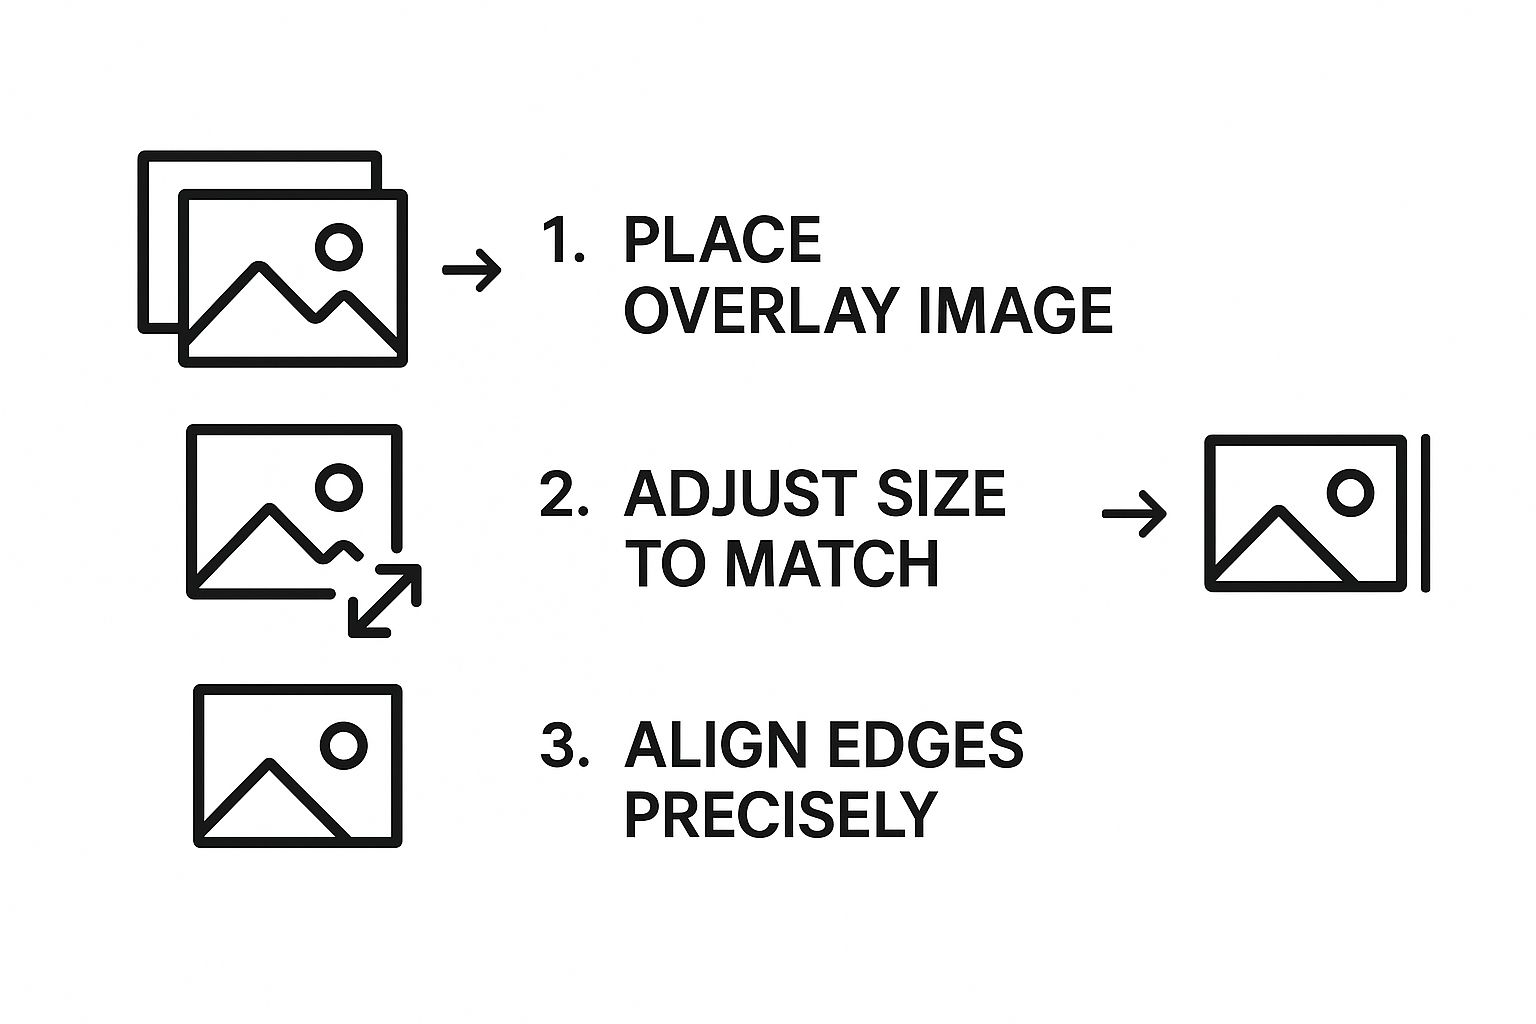
With your isolated watch image selected, make these key adjustments:
- Resize: Use the corner handles to scale the watch until it fits the wrist proportionally.
- Rotate: Adjust the angle of the watch so it follows the natural curve of the arm.
- Adjust Transparency: Find the opacity slider and lower it slightly. A value around 90-95% often helps the overlay blend more seamlessly into the lighting of the base photo.
The whole point is to make the new object look like it was there all along. Pay close attention to scale. The most common giveaway of an edited photo is an object that’s way too big or too small for its surroundings.
For bigger projects where you might need to process hundreds of images, you might want to look into dedicated AI automation services to handle the workload.
Once you’re happy with the result, just hit the export button to save your new, professionally superimposed image.
Getting Pro-Level Results With Photoshop: A Tutorial
For total creative freedom when superimposing pictures, Adobe Photoshop is the industry standard. Its layer-based system is built for creating seamless composites. The process is non-destructive, meaning you can always go back and make changes without damaging your original photos. Let's walk through the steps.
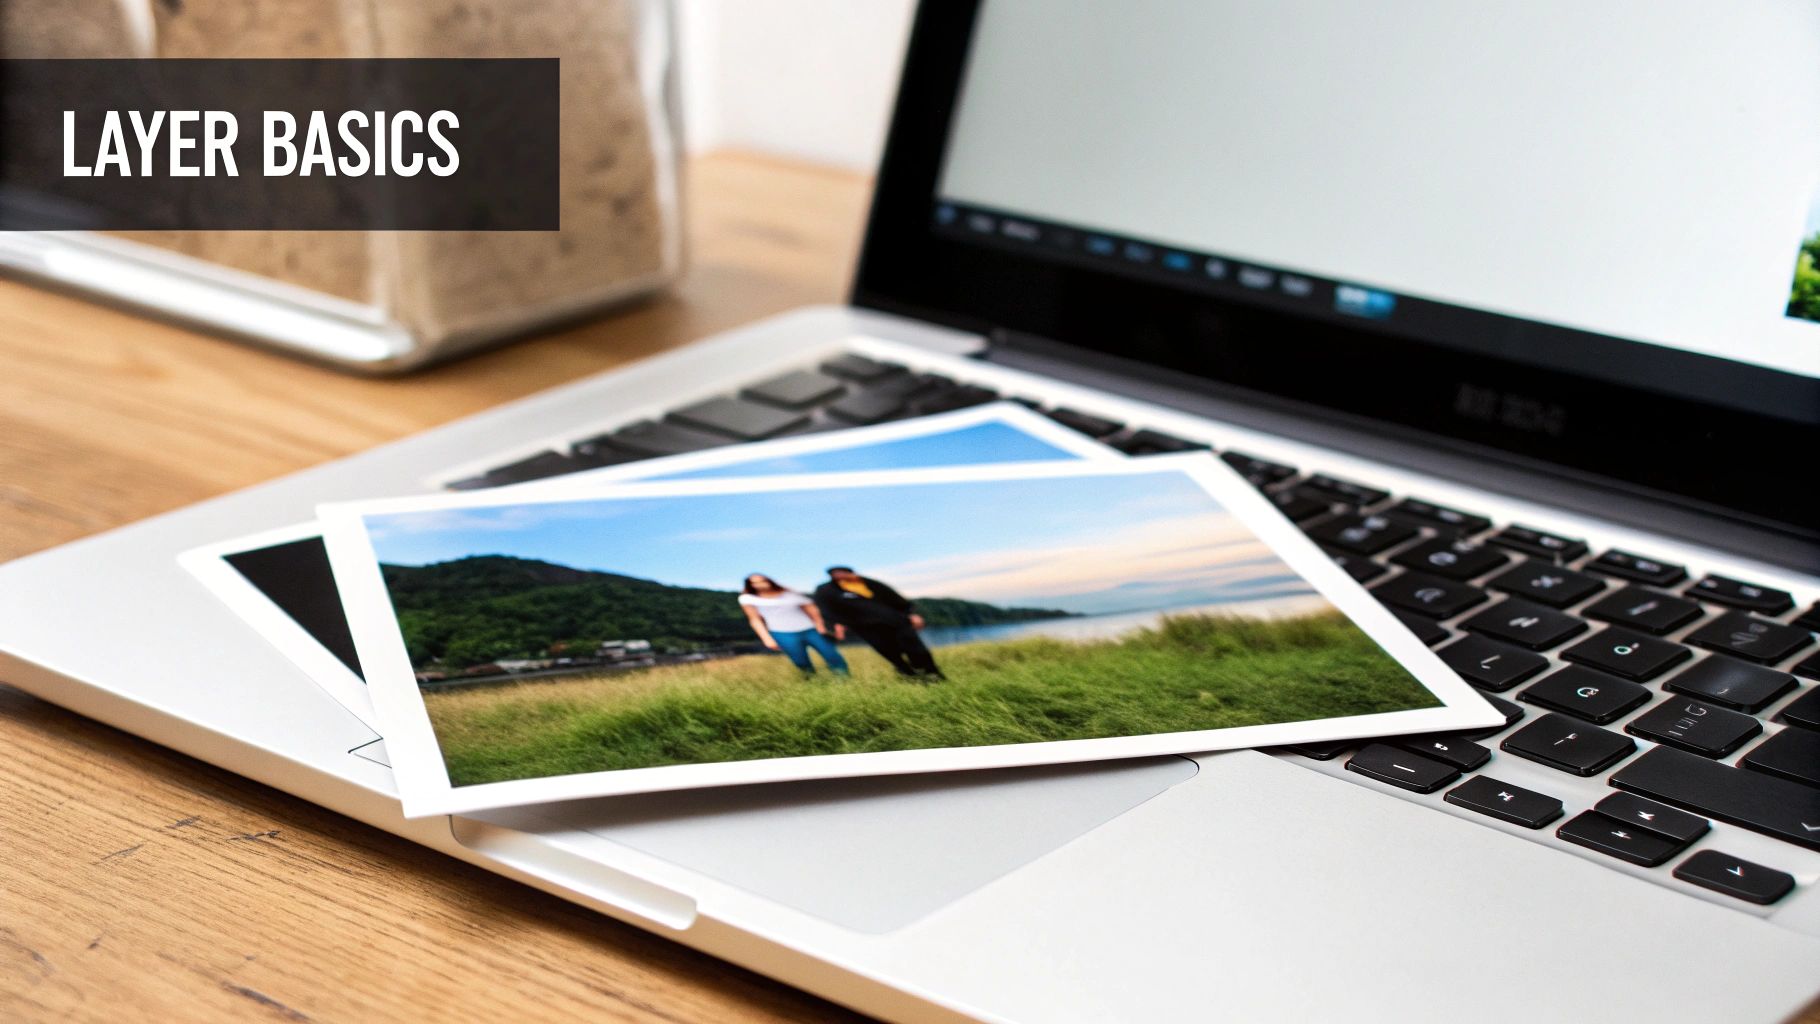
Step 1: Set Up Your Layers
First, open your base image in Photoshop. Next, go to File > Place Embedded and select your overlay image. This will place the new image on a separate layer above your background. In the Layers panel, you should now see two layers: your base image at the bottom and the overlay image on top.

This idea of stacking images isn't just a digital-age gimmick, either. The roots of this technique go way back. Early photography pioneers were already experimenting with combining elements. For instance, William Henry Fox Talbot’s calotype process back in 1840 introduced chemical fixing methods that were a conceptual forerunner to how we isolate and merge images today.
Step 2: Isolate Your Subject with a Layer Mask
With your top layer selected, you need to isolate the subject you want to keep. The Object Selection Tool is a great starting point. Drag a box around your subject, and Photoshop's AI will attempt to create a selection.
Once you have a selection, click the Add Layer Mask icon (a rectangle with a circle inside) at the bottom of the Layers panel. This creates a mask that hides everything outside your selection without permanently deleting it. You can refine the mask by painting on it with a black brush to hide more parts or a white brush to reveal them.
The biggest win with layer masks is pure flexibility. If you hide a bit too much of your subject, no big deal. Just switch your brush to white and paint it right back. It gives you the freedom to get it perfect without the fear of messing up permanently.
Step 3: Blend with Blending Modes
To make your subject look like it belongs in the new scene, you need to adjust how the layers interact using Blending Modes. This dropdown menu is located at the top of the Layers panel.
Experiment with different modes, but here are a few key ones:
- Overlay: This is great for adding textures. It increases contrast, making light areas lighter and dark areas darker to blend the layers together.
- Soft Light: A more subtle version of Overlay, this creates a soft, diffused blend that looks more natural.
- Multiply: Use this to create realistic shadows. It darkens the bottom layer with the colors from the top one.
Of course, the final result is only as good as the images you start with. Using high-quality source material from things like professional cinematic camera technology gives you the high-resolution detail you need for this kind of precise work. When you combine a clean mask with the perfect blending mode, you can create a composite that is truly convincing.
Achieving Realism with Light and Shadow
Making a composite image look real is all in the details. The biggest giveaway that a picture has been faked is when the lighting on the overlaid object just doesn't match the background. It creates that unnatural, "pasted-on" look that instantly shatters the illusion. Here’s a step-by-step tutorial to fix it.
Step 1: Match the Light Direction
Start by analyzing the light source in your background image. Is it harsh sunlight from the upper right? Is it soft, diffused light from an overcast sky? Once you identify the light's direction and quality, your job is to replicate it on the object you're adding.
Use Photoshop's "Dodge" tool to brighten the parts of your object facing the light source and the "Burn" tool to darken the sides facing away from it. This manually paints in highlights and shadows that match the scene.
Step 2: Create a Realistic Shadow
A shadow is the most important step for grounding your object in the scene. Without it, your object will look like it's floating.
- Create a new layer between your base and overlay layers.
- Select a soft, black brush with low opacity (around 20-30%).
- Paint a contact shadow directly where the object touches a surface. This should be small and dark.
- Paint a cast shadow stretching away from the object, opposite the light source. This shadow should be larger and softer.
- To make the shadow even more realistic, go to
Filter > Blur > Gaussian Blurand add a slight blur.
A well-placed shadow does more than just ground your subject; it tells a story about the environment's light, depth, and texture. Getting this right is what separates a good composite from a great one.
The principles here aren't just for artists. Modern medical imaging, for example, uses advanced three-dimensional superimposition to precisely overlay skeletal images for diagnostics. These methods offer way more accuracy than older 2D techniques, which just goes to show how critical precise layering is.
Step 3: Unify with Color Grading
Finally, unify the entire image with a consistent color grade. Create a new adjustment layer (like Color Balance or Curves) at the very top of your layer stack. Tweak the colors, saturation, and temperature until both the original background and the new object feel like they exist in the same environment. For a deeper dive, our guide on effective photo colour grading has more techniques you can use.
Frequently Asked Questions About Superimposing Pictures
As you dive into layering images, you’re bound to run into a few common questions. I see them pop up all the time. Getting these sorted out early will save you a ton of frustration and help you get the look you're after much faster.
Let’s tackle the most frequent hurdles people face.
What’s the Easiest Way to Superimpose for Free?
By far, the easiest and quickest route is to use an online AI photo editor. Many of these tools are web-based and come with surprisingly generous free plans. You can usually upload two images, have the AI automatically cut the background from one, and then drop it onto the other—all without spending a dime.
This is the perfect starting point for anyone new to photo editing.
- No Downloads: You don't have to install bulky software on your computer.
- Super Fast: The AI does the heavy lifting, like complex background removal, in just a few seconds.
- Intuitive: These tools are built for ease of use, so the interfaces are clean and simple.
It's an ideal setup for whipping up quick social media graphics or just playing around with creative concepts.
How Do You Make a Superimposed Image Look Natural?
Making a composite image look like it was shot that way boils down to three things: lighting, shadows, and color. Nail these, and you'll create a believable blend. The whole point is to make the new object look like it truly belongs in the original scene.
First, you have to match the lighting. Take a good look at your background photo. Where is the main light source coming from? Your overlaid object needs to have its highlights and shadows facing the same direction.
Next, add a soft shadow underneath the object. This is what grounds it and gives it weight. Without a shadow, things tend to look like they're just floating in space.
Finally, use color correction tools to get the color tones and temperature to match across both images.
An object dropped into a warm, sunny beach photo shouldn't have cool, blue-toned shadows. Consistency is everything—it's what sells the illusion and makes the final image feel real.
Can You Superimpose Pictures on a Phone?
Absolutely. You don't need a desktop computer anymore. Modern mobile apps have become incredibly powerful, and you can create some seriously professional-looking composites right from your phone.
Apps like Bazaart, Picsart, and Adobe Photoshop Express are packed with features for this. They often have one-tap background removers, full layer support, and different blending modes, giving you an impressive amount of control for editing on the go.
Ready to create stunning, unique visuals in seconds? AI Photo HQ gives you the power to generate custom AI photos, restore old images, and craft eye-catching art with an intuitive web interface. Start bringing your creative ideas to life at https://aiphotohq.com.

