Before you snip a single picture or click a single pixel, every great collage starts with the same three ingredients: a theme, your visuals, and a canvas. Getting these figured out first is the secret sauce that turns a random pile of images into something that really tells a story.
This isn't just about sticking things together; it's about building a visual narrative, whether you’re using old-school paper and glue or a slick digital app.
Your Starting Point: Nailing Down the Big Idea
So, where do you begin? The most important first step is defining your project's direction. Think of it as your creative compass—it ensures every single piece you add has a reason for being there. This is how you go from just making a collage to telling a story with one.
Let's walk through a practical example: creating a collage to celebrate a recent beach vacation.
- Step 1: Define the Core Feeling. What’s the main emotion? Is it "relaxing," "adventurous," or "family fun"? Let's choose "relaxing." This becomes your guiding theme.
- Step 2: Brainstorm Visual Elements. Based on "relaxing," what images come to mind? Photos of sunsets, close-ups of seashells, pictures of footprints in the sand, a shot of you reading in a beach chair.
- Step 3: Consider Non-Photo Elements. What else tells the story? A scanned map of the area, a ticket stub from a ferry, or even textures like sand or weathered wood.
This simple exercise gives you a clear shopping list for the visuals you'll need, ensuring your final piece feels cohesive and intentional.
Choosing Your Theme and Medium
Your theme naturally guides what kind of materials you'll need. A super personal, memory-filled collage might work best with physical photos and keepsakes you can hold. On the other hand, a professional design project is almost always better suited for digital tools where you can tweak and perfect every detail.
This choice between a physical or digital canvas is a big one. It completely shapes how you'll work.
There's something special about the tactile feel of a physical collage—the different textures and raised edges give it a unique, handmade quality. But a digital collage offers incredible flexibility. You can resize, layer, and edit to your heart's content without making any permanent cuts.
The idea of mixing different bits and pieces to create a cohesive whole is hardly new. Its roots go back almost two thousand years to the invention of paper. Some of the earliest examples we have are from 10th-century Japan, where calligraphers would glue down bits of paper and text to go along with their poems. It's a powerful reminder that collage has always been a medium for storytelling. You can discover more insights about the cultural history of collage art over on tobyleon.com.
A quick look at the two main approaches to collage making, helping you decide which path is right for your project.
Choosing Your Collage Medium
| Aspect | Digital Collage | Physical Collage |
|---|---|---|
| Flexibility | Extremely high. Undo, resize, and re-layer endlessly. | Low. Glue is pretty permanent! |
| Materials | Stock photos, digital art, scans, AI-generated images. | Photos, magazines, fabric, paper, found objects. |
| Feel & Texture | Flat and clean, but textures can be simulated. | Tactile and multi-dimensional. Unique, one-of-a-kind result. |
| Best For | Mood boards, social media graphics, professional design. | Scrapbooks, personal art projects, mixed-media art. |
| Tools | Software like Photoshop, Canva, or specialty collage apps. | Scissors, craft knives, glue sticks, Mod Podge, paper. |
Ultimately, there's no right or wrong answer—just the one that fits your vision and what you want to create.
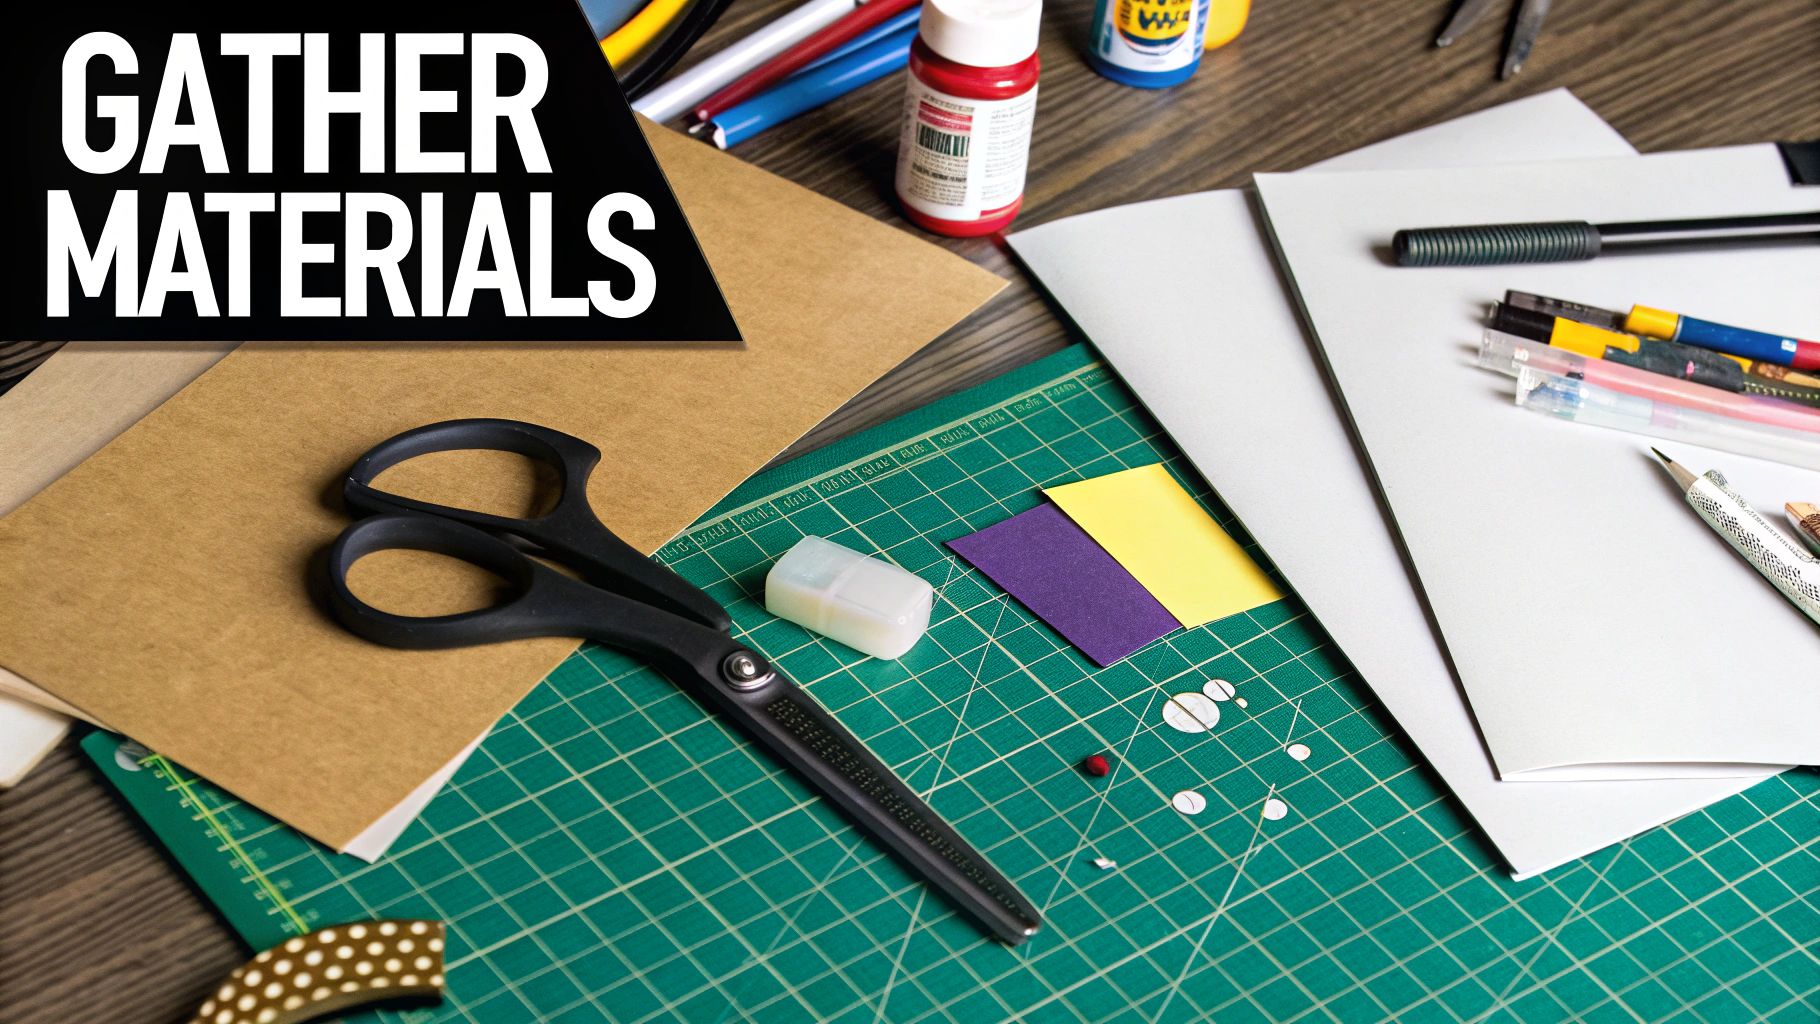
Time to Gather Your Visuals
Once you’ve locked in your theme and medium, the real fun starts: the treasure hunt for your visuals.
If you’re going the physical route, this is your excuse to raid old magazines, gather cool fabric scraps, collect interesting wrapping paper, and finally print out some of those photos stuck on your phone. A quick tutorial for gathering physical materials:
- Start a "Maybe" Pile: As you flip through magazines or sort photos, don't decide on final pieces yet. Just cut or pull out anything that catches your eye and fits the theme.
- Look for Variety: Make sure your pile includes large background images, smaller detail shots, interesting textures (like patterns or text), and a few potential focal points.
- Organize by Color: Group your clippings by dominant colors. This will make it much easier to create a balanced composition later.
For a digital collage, your source material is practically infinite. You can scan physical items like old letters or leaves, pull from your own photo library, or dive into the vast world of public domain image websites. A little prep work at this stage will save you a ton of headaches later.
Finding and Generating Compelling Images
A collage is only as good as the pieces you put into it. The images you choose are the raw ingredients that give your final work its flavor, texture, and meaning. Before you ever think about composition, your first job is to curate a visual library that's unique and personal.
This part of the process is like a treasure hunt, and you can search in both the physical and digital worlds. It's time to think beyond basic stock photos and start gathering materials with some real character.
Curating from Your Physical World
There's a certain magic to using tangible items. They bring a layer of personal history and texture that you just can't replicate with digital files. Here's a quick step-by-step for sourcing physical materials:
- Step 1: Raid Your Recycle Bin. Look for magazines, newspapers, and product packaging. Hunt for interesting typography, rich textures, and bold images. Don't just clip photos of people—look for architectural patterns, abstract landscapes, or even just cool-looking text.
- Step 2: Print Your Photos. Printing your own photos adds a deeply personal layer. Getting the right quality for your source images is key, so it’s worth understanding your options for choosing canvas and photo prints before you begin.
- Step 3: Collect Ephemera. Gather textured papers like wrapping paper, security envelopes with those cool patterns inside, old maps, or even scraps of fabric. These elements add a ton of visual interest and depth.
My advice? Collect way more than you think you’ll need. Having a rich palette of options to pull from will save you from hitting a creative wall when it's time to start arranging your pieces.
Finding High-Quality Digital Images
When you're working digitally, the quality of your source files is everything. Low-resolution images will only lead to a blurry, unprofessional-looking final collage. Thankfully, there are massive resources out there for finding crisp, clear, and copyright-free visuals.
A step-by-step guide to finding digital images:
- Start with Public Domain Sites: Websites like Unsplash, Pexels, and the Public Domain Review offer millions of high-resolution images that are free to use. Use specific keywords related to your theme (e.g., "moody forest landscape" instead of just "trees").
- Scan Physical Objects: Use your phone's camera or a flatbed scanner to digitize real-world textures. Scan a piece of burlap, a dried leaf, or a handwritten note to add a personal, tactile feel to your digital work.
- Organize into a Project Folder: Create a dedicated folder on your computer for your collage. As you download and scan images, save them all in this one location to keep your workflow tidy.
Generating Custom Visuals with AI
But what if you can’t find that perfect image? Simple. You create it yourself. AI image generators like Midjourney or the tools we have right here on AI Photo HQ give you the power to produce visuals that perfectly match your theme.
Let's do a quick tutorial. Imagine you need images for a surreal, dreamy collage. Here’s how you’d create a cohesive set:
- Step 1: Define Your Style Keywords. Choose a consistent style. Let's use:
dreamlike, ethereal, pastel colors, soft focus, in the style of surrealism. - Step 2: Create Your First Image. Combine your style keywords with a specific subject. Prompt:
A giant floating teacup in a cloudy sky, dreamlike, ethereal, pastel colors, soft focus, in the style of surrealism. - Step 3: Create Supporting Images. Keep the style keywords the same but change the subject. Prompt:
A staircase made of books leading to the moon, dreamlike, ethereal, pastel colors, soft focus, in the style of surrealism. - Step 4: Create a Texture Image. Generate a background element. Prompt:
An abstract swirling pattern of clouds and stars, dreamlike, ethereal, pastel colors, soft focus, in the style of surrealism.
By reusing the same stylistic descriptors, you're building a library of images that already feel like they belong together. To really master this, check out our guide on how to write effective AI prompts. This approach gives you total creative control.
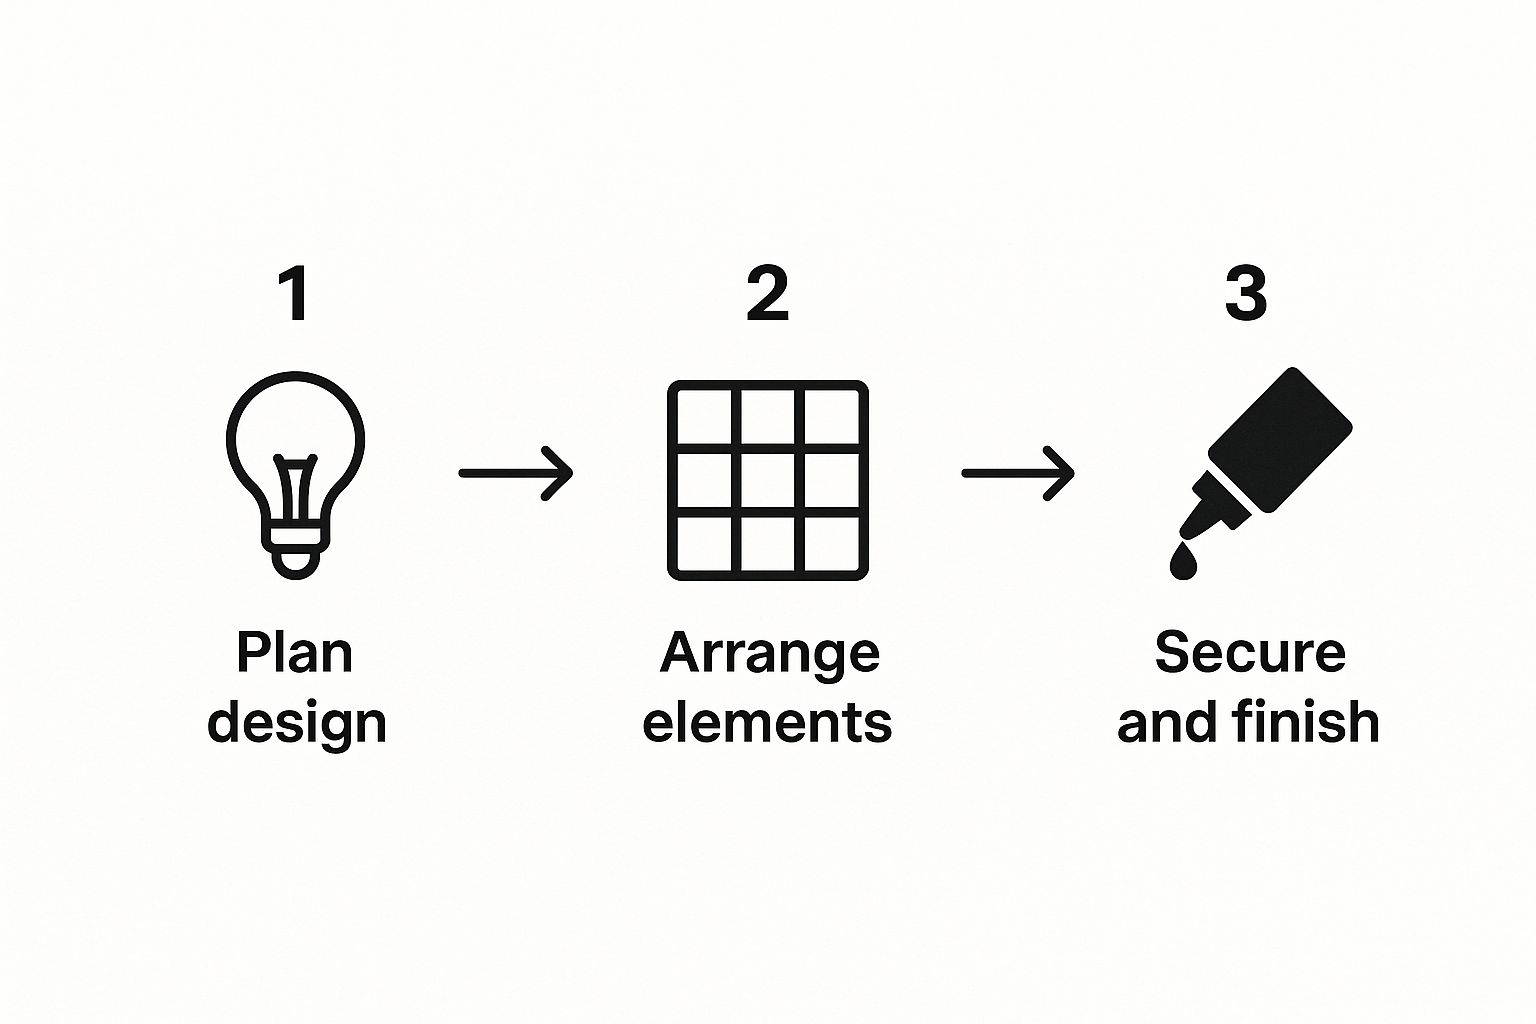
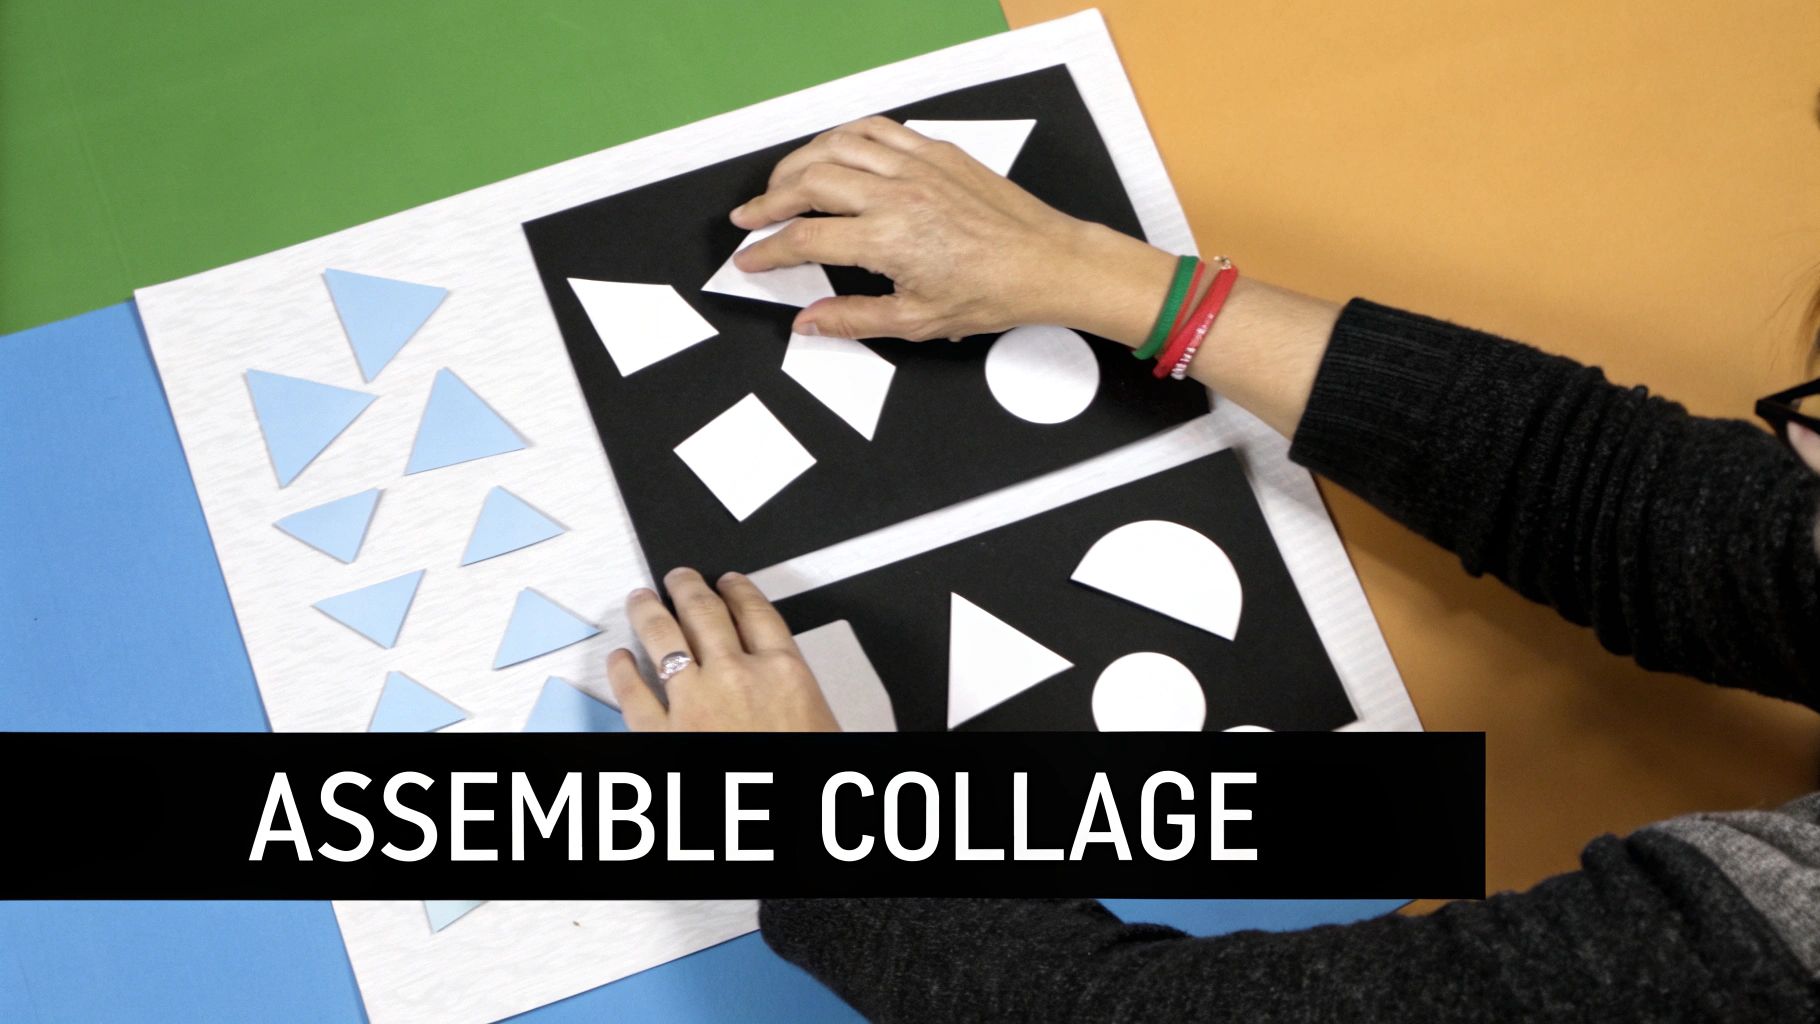
Mastering Composition and Visual Flow

Okay, you’ve gathered all your images. Now for the fun part—arranging your elements is how you go from a pile of cool pictures to a visual story. Good composition guides a person's eye through your work, turning separate pieces into a single, powerful piece of art.
First, Nail Down Your Focal Point
Every great collage has an anchor—a focal point. This is the first place a viewer's eye should land, and it must be the most important part of your story. It could be your largest image, the one with the most vibrant color, or a compelling human face.
Here’s a quick step-by-step to establishing your focal point:
- Step 1: Choose Your Hero Image. Look through your collection and pick the single most compelling image that best represents your theme.
- Step 2: Place It First. Before adding anything else, place this image on your canvas. Don't place it dead center; try positioning it slightly off-center using the "rule of thirds" for a more dynamic feel.
- Step 3: Build Around It. Now, begin arranging your other, smaller elements around this main image. They should support it, not compete with it. Use them to lead the viewer's eye towards your focal point.
Making this one decision will shape how you build the rest of your collage, creating a clear visual hierarchy that’s easy for anyone to follow.
Use Your Layout to Set the Mood
The way you structure your collage has a massive impact on the energy it gives off. A grid layout, with images aligned in neat rows and columns, brings a sense of order and calm. A more chaotic or overlapping layout creates energy and movement.
Here’s a mini-tutorial for an overlapping layout:
- Start with the Background: Place your largest, least-detailed images or textures at the bottom of your layer stack to establish the backdrop.
- Add Mid-Ground Elements: Layer your medium-sized, moderately important images on top. Overlap them slightly to start building depth.
- Place the Focal Point: Put your main subject on a top layer so it sits in front of most other elements.
- Add Foreground Details: Finish by scattering your smallest, most detailed elements (like text snippets, small icons, or fabric scraps) on the very top layers. Some can even overlap the edge of your focal point to better integrate it.
This idea of mixing things up to create new perspectives isn't new. The technique was famously pioneered between 1907 and 1912 by Cubist artists like Georges Braque and Pablo Picasso. They challenged traditional art by mixing everyday materials right onto the canvas with their paint. You can dive into the full historical evolution of collage art to see how those early experiments shaped everything we do today.
Step-by-Step Digital Collage Tutorial
Alright, theory is great, but let’s walk through creating a digital collage project from start to finish. We'll use a tool like Canva to show you just how easy it is.
Our Project: Create a social media graphic for a local coffee shop, with the theme "Cozy Autumn Mornings."
Step 1: Getting Your Creative Space Ready
First, open Canva and choose your canvas size. For an Instagram post, a square 1080x1080 pixel format is perfect. Once you have your blank canvas, find the 'Uploads' tab and upload all the images you gathered: a photo of a steaming latte, a picture of a cozy sweater, some autumn leaves, and a textured paper background.
Starting with an organized workspace like this is the secret to a smooth creative flow. No frantic searching for files mid-design.
Step 2: Building Your Collage With Layers And Blending
The real magic of digital collage is all in the layers. Think of them as clear, stackable sheets.
- Set the Background: Drag your textured paper image onto the canvas and stretch it to fit. This is your bottom layer.
- Place the Focal Point: Drag the latte photo on top. Make it the largest element and position it slightly off-center. This is your hero image.
- Add Supporting Images: Place the cozy sweater and autumn leaves images around the latte. Resize them to be smaller. To layer them, right-click an image and select "Send Backward" or "Bring Forward" until it's positioned correctly.
- Experiment with Transparency: Select the autumn leaves. Find the transparency slider (it often looks like a checkerboard icon) and dial it back to 70%. This makes the leaves feel more integrated into the background instead of just sitting on top.
- Use Blending Modes (for advanced tools like Photoshop): If your tool allows, select a texture layer and change its blending mode. Overlay will boost the contrast and make the texture pop, while Multiply will darken it for a grittier look.
Step 3: Tying It All Together With Filters and Text
Now, let's make it look cohesive.
- Apply a Unifying Filter: Select your main latte photo. Go to 'Edit Image' and apply a warm, vintage-style filter. Now, select each of the other images and apply the exact same filter with the same intensity. This is the fastest way to make different photos look like they belong together.
- Add Text: Click the 'Text' tool and add a headline like "Cozy Autumn Mornings." Choose a font that matches the cozy vibe—a script or a soft serif font works well.
- Position Your Text: Place the headline in an area of negative space. Add the coffee shop's name and location in a smaller, simpler font at the bottom. To create depth, you can position the text layer so it's slightly overlapped by one of the autumn leaves.
If you enjoy this kind of digital composition and want to see how these skills apply elsewhere, checking out how to create website mockups can give you some great insights into layout principles. By following these steps, you can confidently go from a blank slate to a polished, professional-looking digital collage.
Adding the Final Touches to Your Collage
You’ve done the hard work of arranging your masterpiece, but don't stop there. It's the final 10% of the effort that really elevates a collage from a simple project to a polished piece of art.
These finishing touches are what make your collage look professional and last for years, whether it’s destined for Instagram or a frame on your wall.
Polishing Your Digital Creation
Once your digital layout is locked in, the last job is to unify its visual tone. Here's a quick tutorial on final color adjustments:
- Export a Draft: Save your completed collage as a JPG or PNG file.
- Re-Import: Open a new, blank canvas of the same size and import the collage you just saved. Now you're working with a single, flattened image.
- Apply a Final Adjustment Layer: Instead of editing individual pieces, you can now apply one final filter or color adjustment over the entire image. Go to the image editing tools and slightly increase the warmth, boost the contrast by 5%, or add a subtle vignette effect.
- Add a Texture Overlay: Find a texture image (like film grain or subtle paper). Place it on a new layer covering your entire collage. Change its blending mode to 'Overlay' or 'Soft Light' and reduce its opacity to 10-20%. This subtle final touch adds a professional, tactile quality.
If you want to go deeper on these techniques, our complete guide on photo colour grading is a great next step.
Protecting a Physical Collage
For a physical collage, the final step is all about preservation. A sealant isn't just a nice-to-have; it's a non-negotiable final step. A decoupage medium like Mod Podge is the go-to for most crafters.
Here’s a quick tutorial for a flawless finish:
- Step 1: Choose Your Finish. Mod Podge comes in matte, satin, and gloss. A matte finish is great for reducing glare, while gloss will make your colors look more vibrant. For a scrapbook or art piece, matte is usually a safe bet.
- Step 2: Apply the First Coat. Use a soft, wide foam brush. Dip it in the Mod Podge and apply a thin, even coat over the entire surface. Use horizontal strokes, working from one side to the other. Don't worry if it looks milky; it will dry clear.
- Step 3: Let It Dry and Apply a Second Coat. Let the first coat dry to the touch (about 1 hour). Apply a second coat using vertical strokes. This cross-hatching technique ensures complete coverage.
- Step 4: Let It Cure. The collage will be fully protected once the Mod Podge is completely cured, which takes about 24 hours.
This simple process not only protects your artwork but gives it a uniform sheen, making it look like a single, intentional piece.
Got Questions About Making Collages? Let's Answer Them.
Once you start diving into collage making, a few questions always seem to come up. From picking the right software to making sure the final piece doesn't look like a jumbled mess, let's talk through the common roadblocks.
What Software Should I Use for a Digital Collage?
The "best" tool really just comes down to your project's needs and how much you want to micromanage the details.
- For Beginners: Start with Canva. It's free, intuitive, and has built-in templates and elements that make it easy to create something beautiful in minutes.
- For Advanced Control: If you want to dive deep into layers, masking, and professional blending effects, Adobe Photoshop is the industry standard.
How Do I Make My Collage Look... Good?
The secret is cohesion. Here is a simple checklist to ensure your collage looks unified:
- Stick to a Color Palette: Pick out three or four key colors from your main image and make sure the other pieces you add reflect those same tones.
- Use a Consistent Filter: Apply the same filter or color adjustment (e.g., "warm vintage") to every single photo element. This one move can instantly harmonize images from different sources.
- Balance Your Composition: Don't crowd everything into one corner. If you have a large, "heavy" element on the left, place a few smaller elements on the right to create visual balance.
- Incorporate Negative Space: Don't feel the need to cover every inch of the canvas. Leaving some empty space gives your composition room to breathe and helps draw attention to your focal point.
What's The Deal With Image Copyrights?
Navigating copyright can feel intimidating, but it doesn't have to be. Here’s a simple workflow to stay safe:
- Prioritize Your Own Content: Start with your own photos and any AI images you've generated yourself. Tools like AI Photo HQ let you create totally original, copyright-free visuals from scratch.
- Use Public Domain Resources: If you need stock photos, go directly to reliable public domain sites like Unsplash and Pexels.
- Check the License: Before you download an image from any website, look for the license information. You're looking for a Creative Commons (CC0) or a similar license that explicitly allows for free personal and commercial use without attribution. A quick check saves you a headache later.
Ready to create one-of-a-kind, copyright-free images for your next collage? With AI Photo HQ, you can generate stunning visuals in any style you can dream up, from hyper-realistic photos to imaginative fantasy art. Start making unlimited custom images today and bring your boldest ideas to life. Visit us at aiphotohq.com to get started

