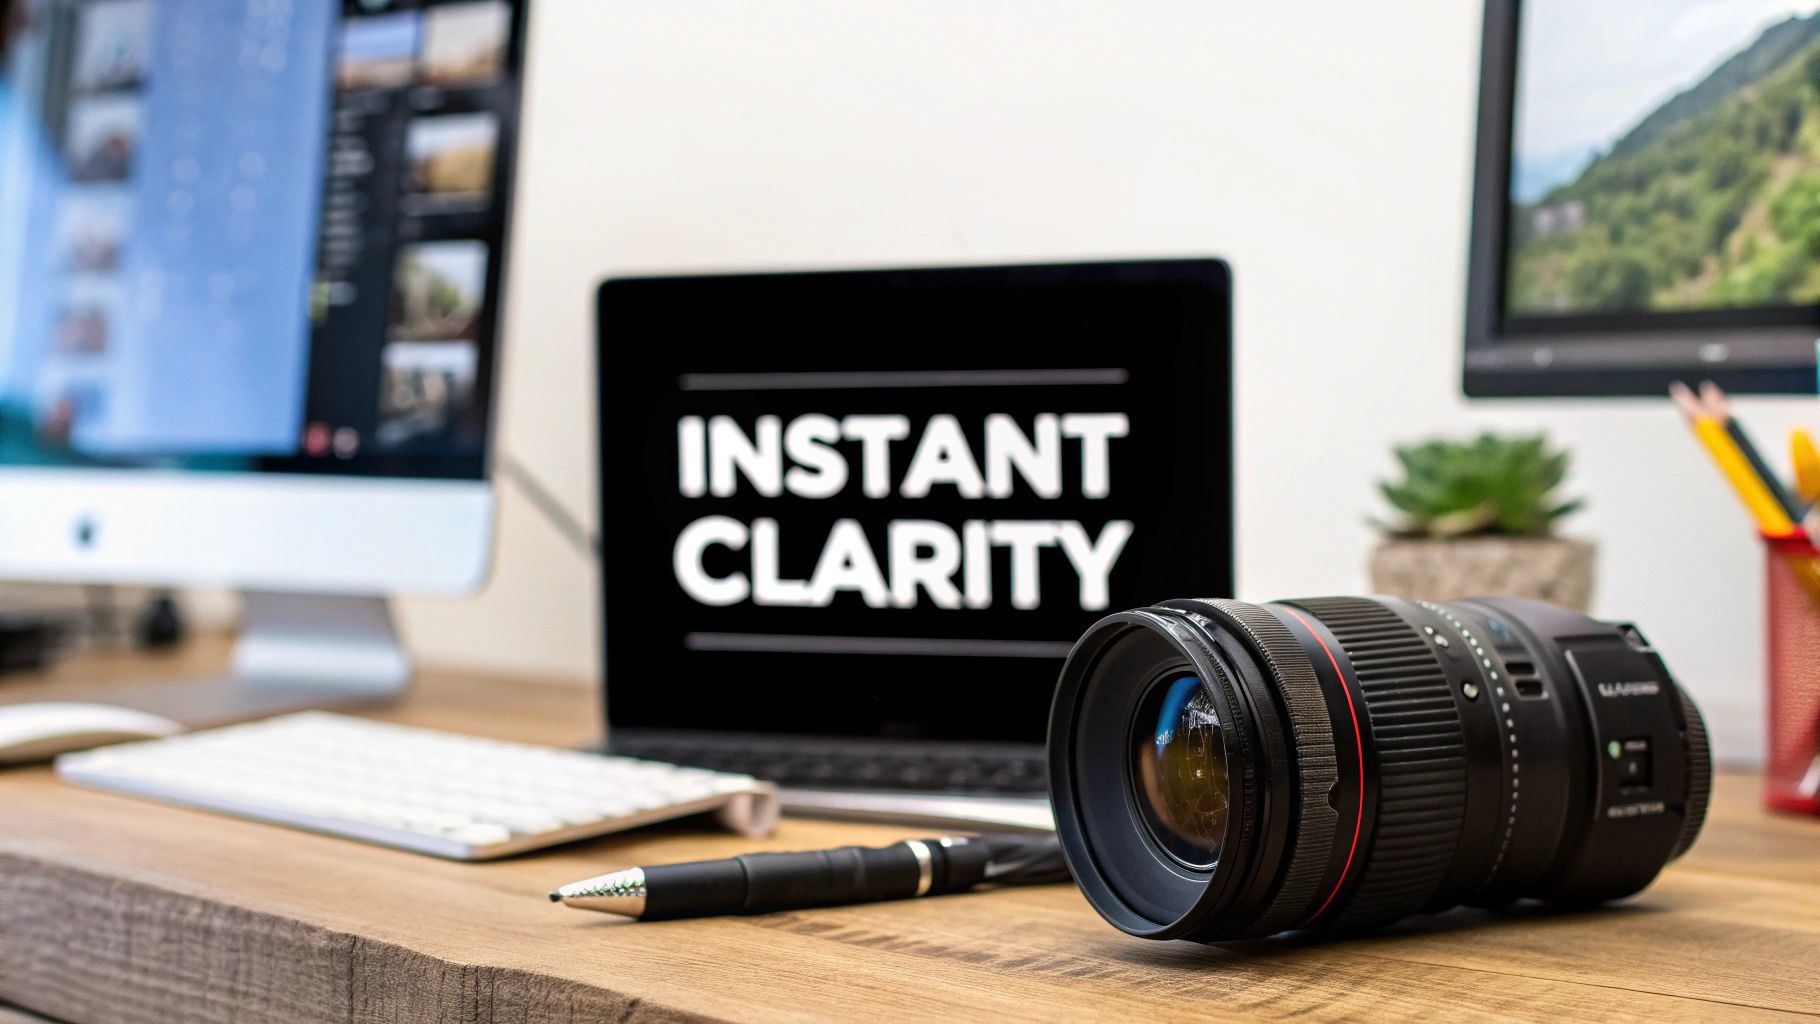
It's a frustratingly common problem: you think you've captured the perfect shot, only to find it's frustratingly blurry. The good news is, you can often bring that photo back to life with AI-powered tools like AI Photo HQ, which work by intelligently reconstructing the details that were lost.
The whole process is surprisingly straightforward. You just upload your image and let a specialized deblurring filter work its magic, correcting for common issues like motion, poor focus, or camera shake.
Understanding Why Your Photos Look Blurry
Before you can jump into fixing a blurry photo, it really helps to figure out what went wrong. A fuzzy image isn't just a random glitch; it's the direct result of how light, movement, and your camera's lens all came together the moment you hit the shutter.
Once you can spot the root cause, you'll know exactly which technique will give you the best results. Most blurriness falls into just a few common buckets, and each one has its own distinct look.
Motion Blur: This is the classic "streaky" look you get when your subject moves while the photo is being taken. Think of a blurry shot of a speeding car or a kid running through the yard.
Camera Shake: Very similar to motion blur, but this one's on you! It’s caused by your hands moving ever so slightly as you press the button. This often sneaks in when you're shooting in low light, which forces the camera to use a slower shutter speed.
Out-of-Focus Blur: This happens when the lens just doesn't lock onto the subject correctly. The result is an image that looks soft and almost dreamlike, with no part of it feeling truly sharp.
To help you quickly diagnose the issue, I've put together this simple reference table.
Common Blur Types and Primary Solutions
| Type of Blur | Common Cause | Best Correction Method |
|---|---|---|
| Motion Blur | Subject moving during a long exposure. | AI deblurring tools that specifically target motion vectors. |
| Camera Shake | Unsteady hands, especially in low light. | Image stabilization features or AI-based shake reduction. |
| Out-of-Focus Blur | The camera's autofocus missed the mark. | AI sharpening and focus correction filters. |
Being able to identify the specific type of blur you're dealing with is the first step toward a successful fix.
The Science Behind Deblurring
Modern tools that teach you how to remove blur from a picture don't just crank up the sharpness on every pixel. They use some seriously complex algorithms to analyze the image and basically reverse-engineer what went wrong.
This process often involves a mathematical model known as the point spread function (PSF), which describes how a single point of light gets distorted and smeared across the sensor. Statistically, a staggering 30-50% of photos taken by casual photographers suffer from blur caused by camera shake or a moving subject.
Deblurring software works by estimating that distortion and then calculating what the original, sharp image must have looked like. It's a fascinating process, and you can get a deeper dive into the science over at gophotonics.com.
By understanding the specific type of blur affecting your photo, you can set realistic expectations. While a slightly soft-focused portrait is highly recoverable, an extremely blurry image where the subject is unrecognizable may be beyond repair.
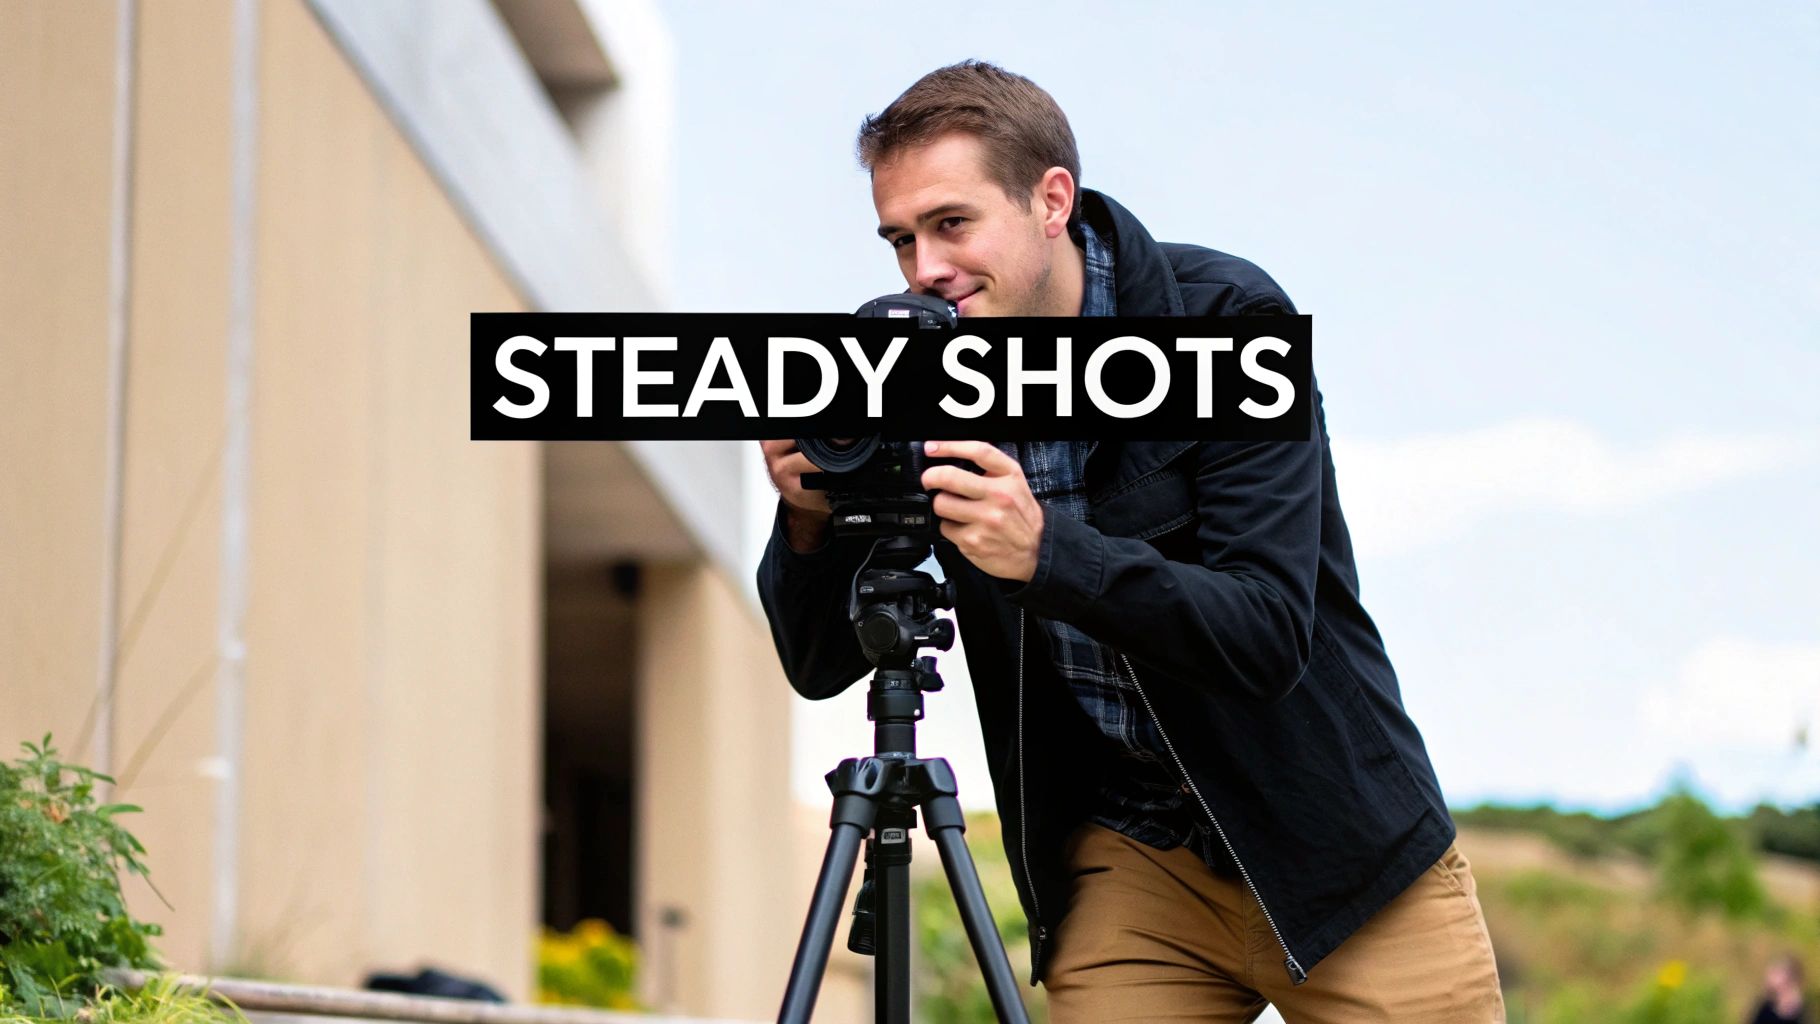
A Practical Guide to Using AI to Unblur Images
All the theory is great, but let's be honest—seeing a tool work its magic is where it all clicks. We're going to walk through a super common scenario to show you just how powerful AI deblurring can be.
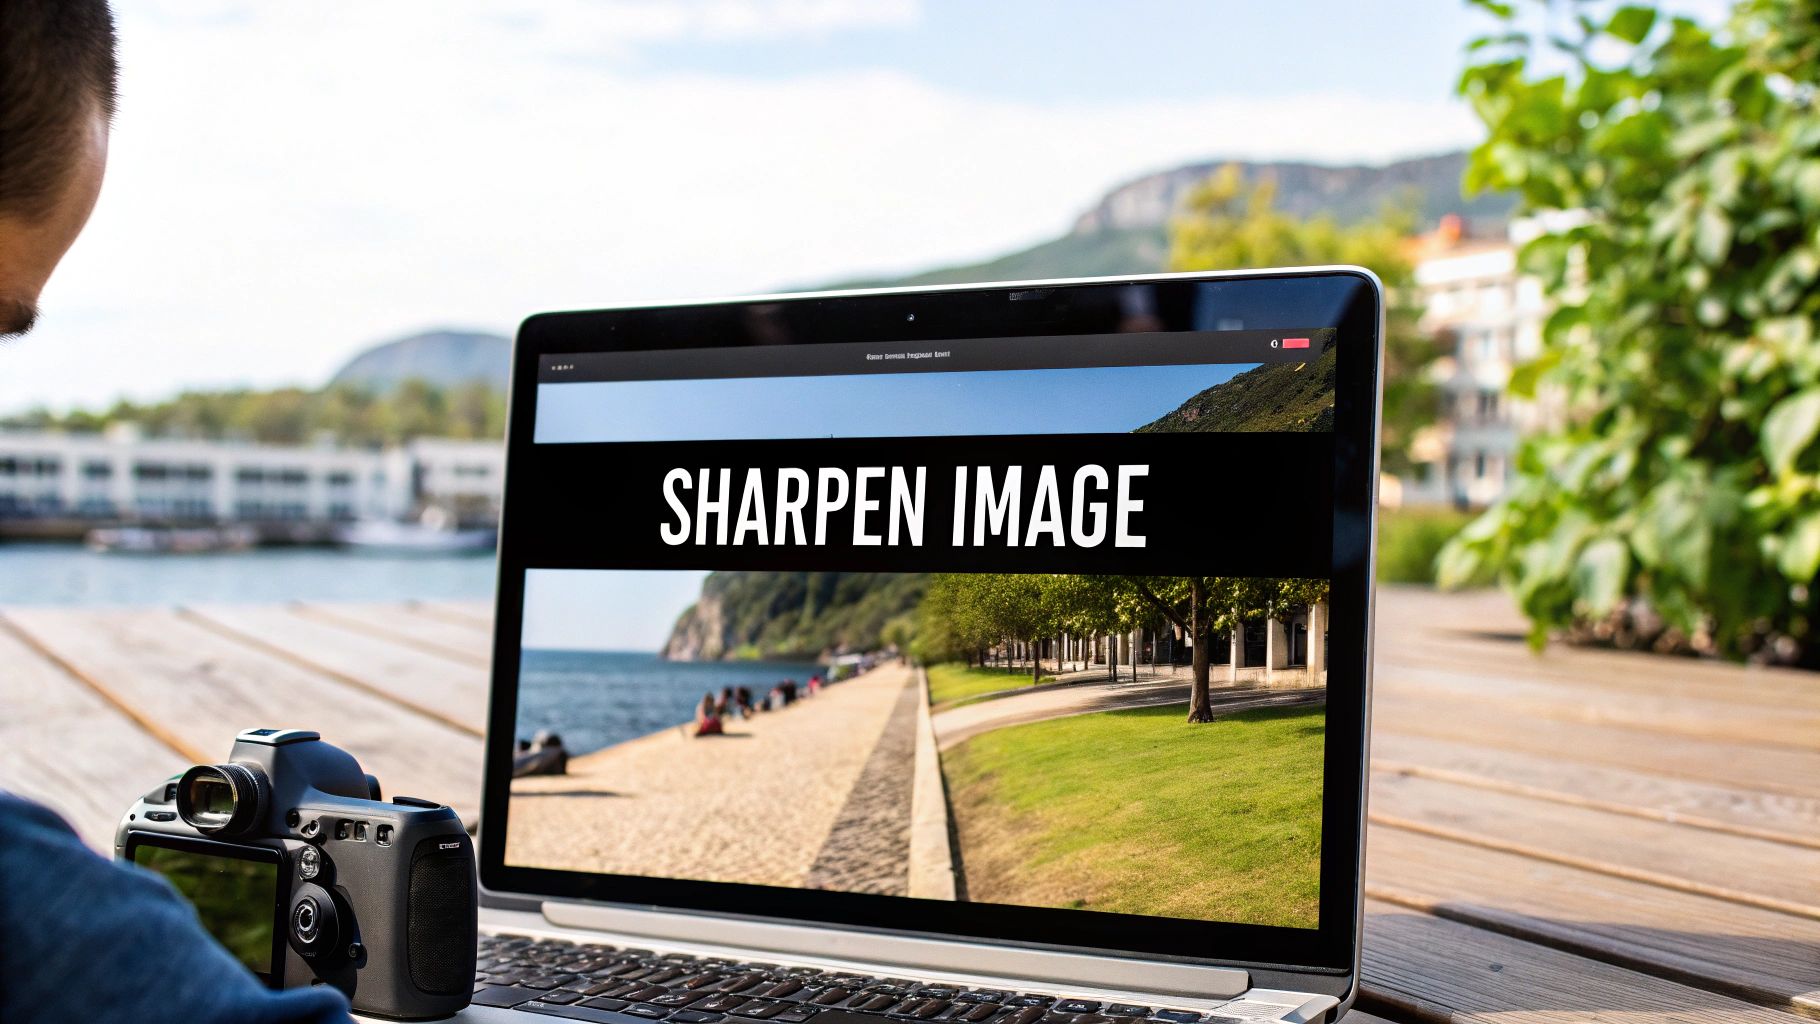
Picture this: you took a great portrait, but the focus was just a tiny bit soft. The subject's features aren't as crisp as you'd like. This is the perfect job for an AI-powered touch-up.
Here's a simple step-by-step tutorial using a typical AI deblurring platform like AI Photo HQ.
- Navigate to the Tool: Open your web browser and go to the deblurring website.
- Upload Your Image: Look for the "Upload" button and select the blurry photo from your computer or phone.
- Select the Right Model: Once uploaded, you'll see options. For our soft portrait, choose a 'Focus Correction' or 'Sharpen' model. If your photo had motion streaks, you’d pick 'Motion Deblur'.
- Adjust the Intensity: Use the provided slider to control the strength of the effect. Start at a medium setting (around 50%) to see the initial result in the preview window.
- Fine-Tune and Download: Zoom in on a key area, like the eyes, and adjust the slider until the details look sharp but natural. Once you're satisfied, click the "Download" button to save your restored photo.
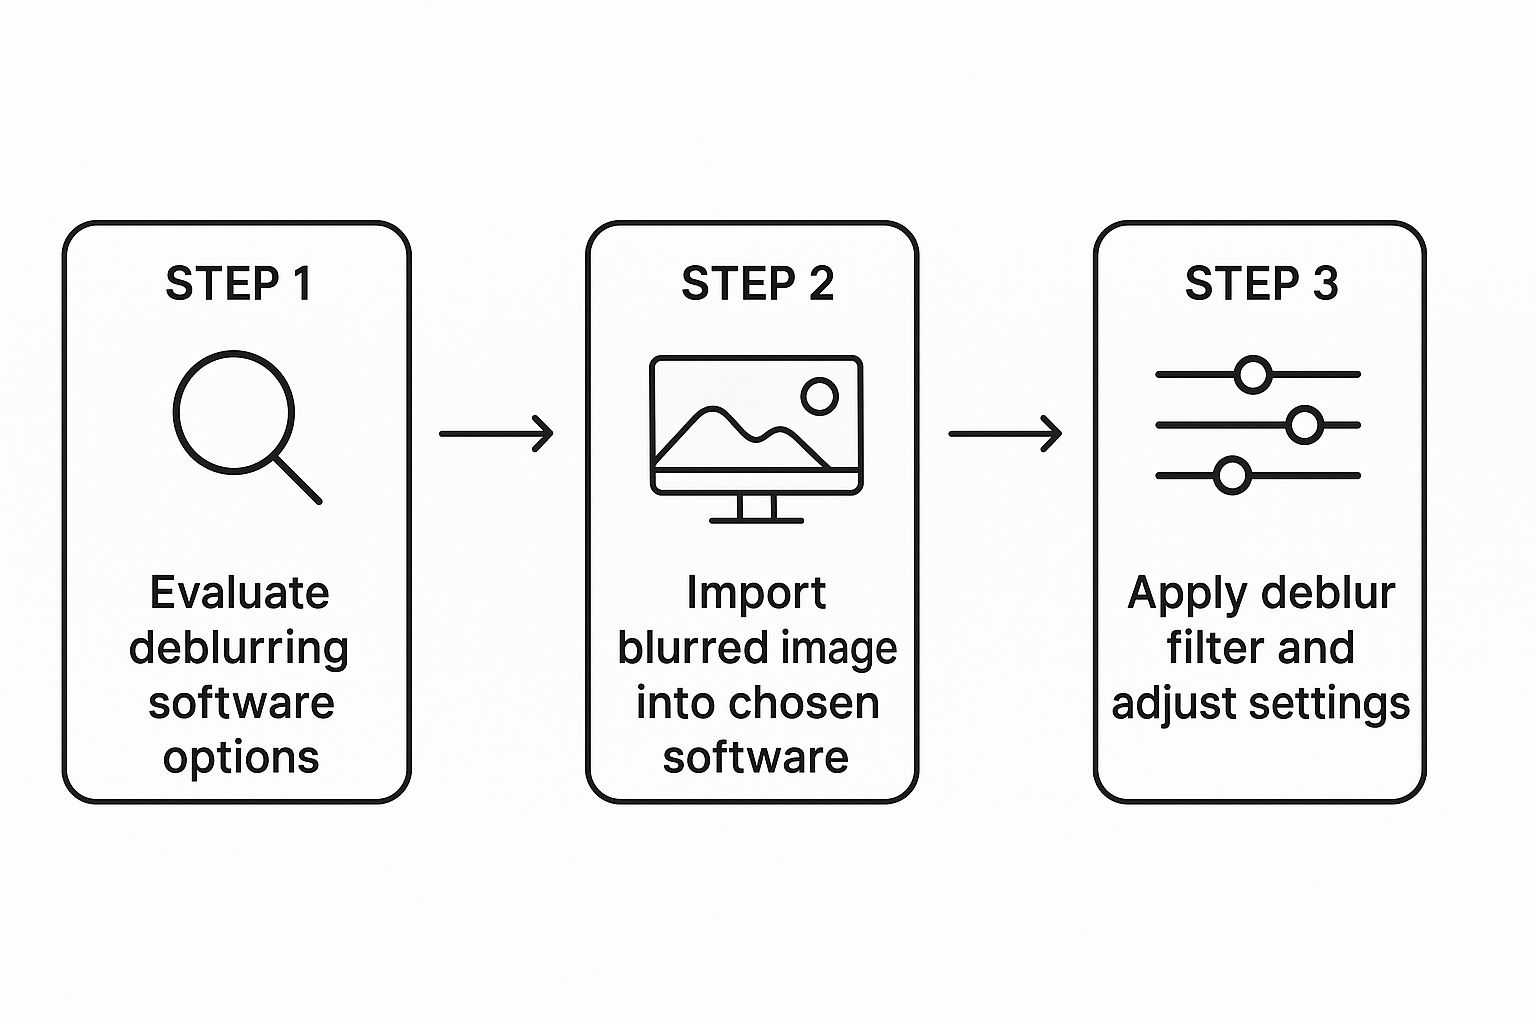
This graphic gives you the basic flow: pick your software, get your image in there, and start playing with the deblur filters and sliders. That last part—fine-tuning the adjustments—is where you really get to dial in the perfect result.
Getting Started with the Deblurring Process
Once your photo is uploaded, you’ll usually see a few different deblurring options. For our soft portrait example, something like a 'Focus Correction' model is exactly what you need. On the other hand, if your photo was blurry because of shaky hands, you'd want to go for a 'Motion Deblur' model instead. The key is to match the tool to the problem.
Most tools will give you an intensity slider, which puts you in complete control. I always suggest starting with a medium setting and seeing what the live preview looks like. You're aiming to bring back that lost detail without making the photo look weirdly over-sharpened.
Pro Tip: Zoom right in on a critical part of the photo, like the eyes in a portrait. This is the best way to see the subtle changes as you move the slider. It helps you find that sweet spot between sharp and natural.
The technology doing the heavy lifting here has come a long way. Modern AI tools often use advanced methods like scale-recurrent networks (SRN), which sharpen the image in multiple stages. It's a much smarter approach than older techniques that just did one pass, and it can dramatically improve the final image quality.
Checking Out Your Final Image
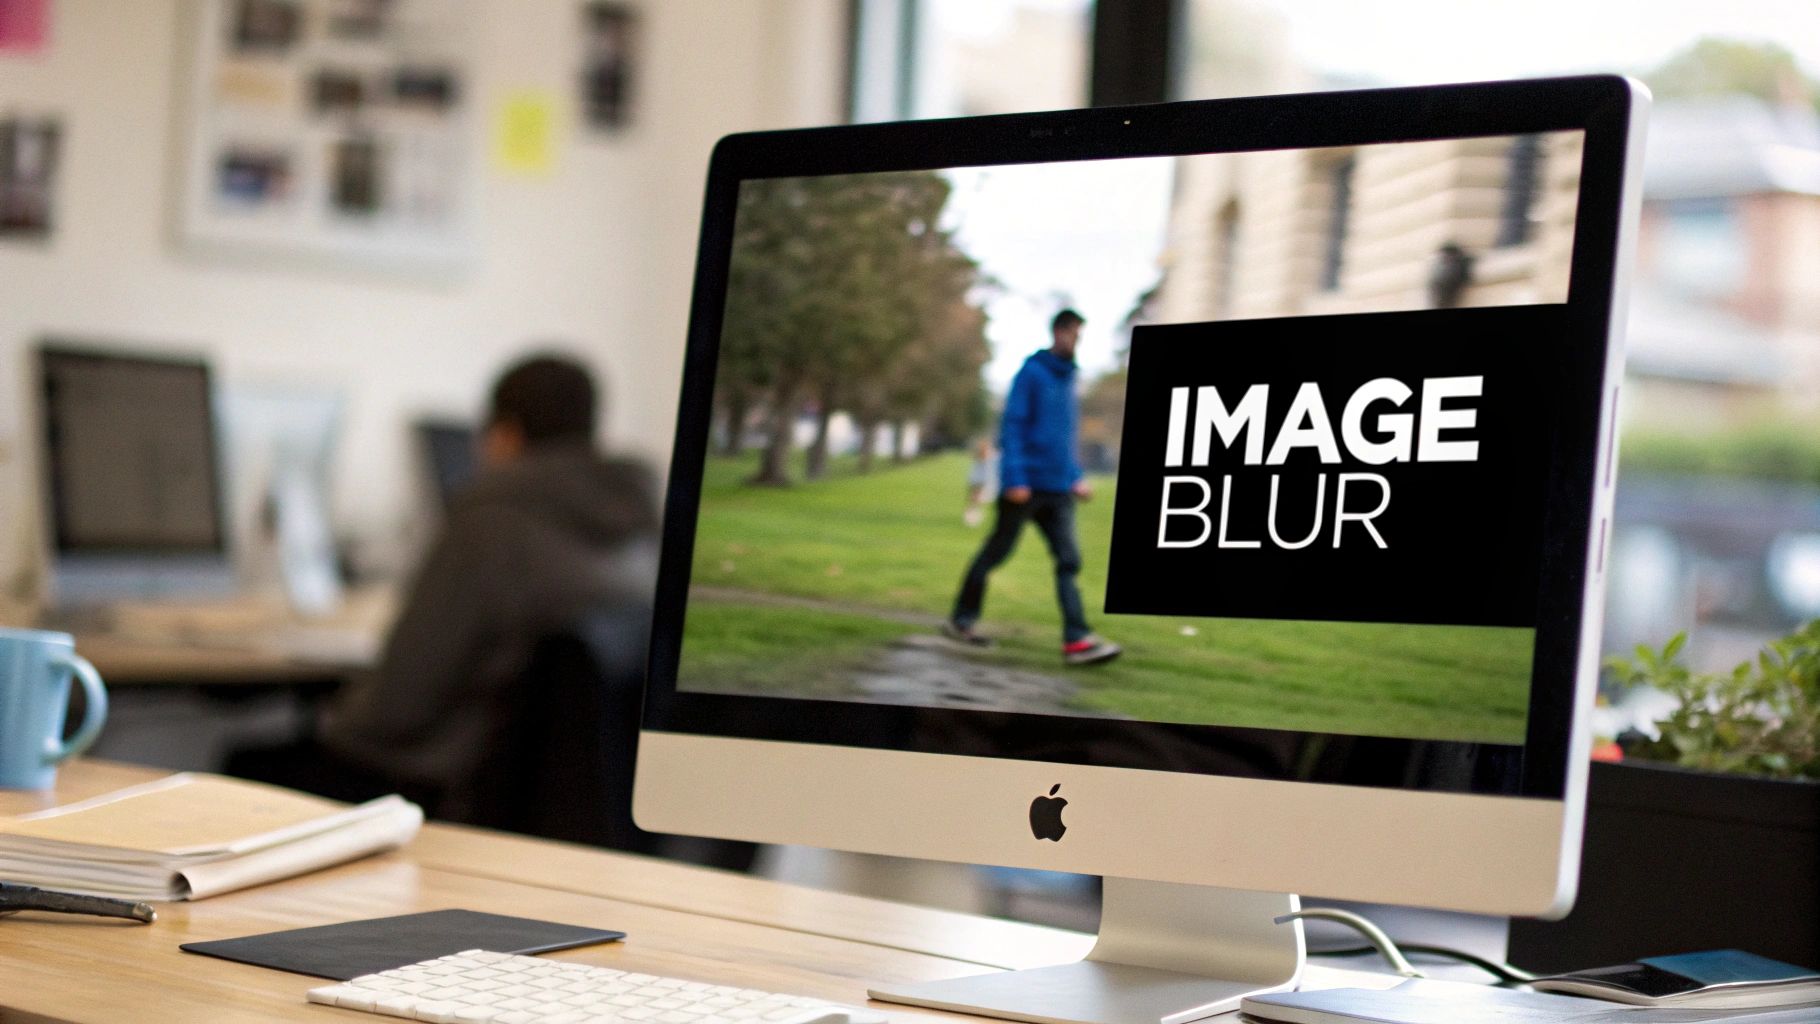
After you've applied the filter, it's time for the best part: the before-and-after comparison. This is where you really see the difference. Look for the restored texture in your subject's hair, the newly defined lines in their facial features, and just an overall sense of crispness that was missing before.
For even more examples and a deeper dive, you can check out our complete guide on how to remove blur from a photo.
Once you're happy with the result, just hit download. You'll have a beautifully enhanced, high-resolution image ready to go.
Advanced Techniques for Tough Photos
While one-click AI deblur tools are amazing for most photos, we've all run into those truly stubborn cases. For these, a single fix just won't cut it. Don't give up and hit delete. Instead, try a layered approach using a classic photo editor like Adobe Photoshop or GIMP. This hybrid workflow is my go-to for rescuing photos that seem like a lost cause.
Here’s a step-by-step tutorial for this advanced hybrid workflow:
- AI First Pass: Upload your severely blurry photo to an AI tool and apply a strong deblurring filter. This is your foundation. Download the improved image.
- Open in Editor: Launch Photoshop or GIMP and open the AI-enhanced image.
- Duplicate Layer: In your Layers panel, right-click the image layer and select "Duplicate Layer." This creates a non-destructive copy to work on.
- Apply Sharpening: With the new layer selected, go to
Filter > Sharpen > Unsharp Mask. Start with settings like Amount: 120%, Radius: 1.5, Threshold: 5. - Create a Layer Mask: With the sharpened layer still selected, click the "Add Layer Mask" button (it looks like a rectangle with a circle inside). The mask thumbnail will appear next to your layer, filled with white.
- Invert the Mask: Press
Ctrl+I(orCmd+Ion Mac) to invert the mask to black. This hides the sharpening effect completely. - Paint in Sharpness: Select the Brush tool, choose a soft-edged brush, and set your foreground color to white. Now, paint over the areas you want to sharpen (e.g., eyes, hair, details on clothing). The sharpening effect will only appear where you paint.
Refining Your Image with Manual Edits
Once the AI has done its thing, export that improved image and pull it into your favorite photo editor. This is where you get to be the artist and apply targeted, professional-level adjustments that an algorithm might miss. The goal isn't to re-sharpen the entire picture, but to selectively bring out the most important parts.
This level of manual control is what separates a good result from a fantastic one. You can dive deeper into combining these methods in our guide to AI image enhancement.
One of the coolest developments I've seen is how new deblurring models now use facial recognition to get even better results. By identifying facial landmarks, the software can intelligently apply more processing power to sharpen eyes, mouths, and other key features.
This targeted approach doesn't just look more natural; it's also more efficient. In fact, this selective process has shown the potential for power consumption reductions of up to 20% on mobile devices because the processor isn't working overtime on the whole image. You can get into the technical details by reading about these advancements in selective facial deblurring.
By using this multi-step strategy, you really can rescue photos you might have otherwise thrown away.
Common Mistakes When Sharpening Pictures
We’ve all been there. You get a little too excited with the sharpening slider, and suddenly your photo looks… off. Knowing how to deblur a picture is one thing, but knowing when to stop sharpening is a skill that separates the pros from the amateurs.
Pushing that slider too far is the quickest way to ruin an otherwise great shot. It creates some pretty nasty digital side effects that are often way worse than the original softness.
The Over-Sharpening Trap
The most common mistake by a long shot is over-sharpening. You can spot it a mile away. You’ll see these bright, unnatural white lines, often called "halos," popping up along the edges of people and objects.
Another dead giveaway is when subtle textures, like skin or fabric, start to look crunchy and exaggerated. It’s a bad look, almost like you’ve run sandpaper over your image.
Ditching the One-Size-Fits-All Approach
Applying one single, global sharpening setting across the entire photo is another classic mistake. It just doesn't work. Why? Because different parts of your photo need different treatment. You want the eyes in a portrait to be crisp and the texture on a brick wall to be clear, but the soft, out-of-focus background should stay smooth.
The goal of sharpening is to draw the viewer's eye to the key subject, not to make every single pixel razor-sharp. When you sharpen everything equally, you lose that sense of depth and subtlety that makes a photo feel professional.
The solution is selective sharpening. Get comfortable using tools like layer masks in your photo editor. This lets you paint sharpness only onto the areas that need it, giving you those clean, crisp details without wrecking the rest of the image. For a deeper dive, check out our full guide on how to fix blurry pictures.
And let’s bust a common myth right now: you can't sharpen a low-resolution image to magically create detail that isn't there. All you'll do is amplify the pixelation and digital noise, making things even worse.
Finally, once your photo is perfectly sharp and ready to go, don't forget the last step. A common oversight is uploading high-quality images without preparing them for the web. Understanding the best practices for WordPress image optimization ensures your great-looking visuals also load quickly, keeping your site fast and your visitors happy.
A Real-World Restoration: Bringing a 1970s Family Photo Back to Life
Theory is great, but let's walk through how this works in practice. I had this old scanned family photo from the 1970s sitting on my hard drive. It was one of those pictures that captures a perfect moment, but the original print had gone soft over the years, leaving a hazy, out-of-focus blur over everything.
Here’s exactly how I restored it:
- Initial AI Pass: I uploaded the scanned photo to an AI enhancer and selected the 'Old Photo' or 'Clarity' model. The tool sharpened the entire image, bringing back facial details but also amplifying the film grain in the background. I downloaded this version.
- Selective Editing in Photoshop: I opened the AI-enhanced image in my photo editor and duplicated the layer.
- Masking the Subjects: Using the Quick Selection tool, I created a rough selection around my family members. I then refined this into a layer mask.
- Targeted Sharpening: With the mask active, I applied a gentle
Unsharp Maskfilter. This ensured the sharpening effect was applied only to the people in the photo. - Background Softening: I then inverted the mask selection to target the background. I applied a very subtle
Gaussian Blur(around 0.5 pixels) to smooth out the crunchy film grain the AI had created, restoring a more natural look.
Fine-Tuning for That Authentic Feel
This is where the human touch comes in. I pulled the AI-sharpened version into a photo editor to do some targeted work. Using a layer mask, I was able to selectively "paint" the sharpening effect only onto the faces of my family. This is the key to getting a result that feels real, not like a cheap digital filter. I deliberately left the background a bit softer, which helped preserve the photo's original depth and character.
Combining a broad AI pass with precise manual edits is the secret sauce. You can restore clarity where it counts—on the people—without stripping away the image's nostalgic charm.
Remember, digital restoration is just one part of the equation. If you're working with precious originals, it’s worth learning some essential tips for preserving old photographs to protect the physical copies for decades to come.
In the end, I was left with a crisp, clear photo that brought a faded memory right back into focus. Perfect for sharing with the family.
Got Questions About Deblurring Photos?
When you first start trying to fix blurry pictures, a few common questions always seem to pop up. Let's tackle them head-on with some practical, no-nonsense answers.
Can I Really Fix a Super Blurry Photo?
I get this one a lot. While today's AI tools are amazing, they aren't magic wands. If a photo is so blurry that you can't even tell what the subject is, a perfect recovery is probably off the table.
These tools work best on photos with mild to moderate blur—think soft focus, a little bit of motion, or a slight camera shake. The software needs some information to work with to rebuild the details. The better the starting point, the more jaw-dropping the result will be.
Will Sharpening My Image Make It Look Worse?
This is a classic trade-off, and the answer is: it depends on how you do it. A light, careful touch of sharpening can absolutely enhance the details and make an image pop.
But be careful—over-sharpening is a photo-killer. It creates nasty digital artifacts, like weird bright halos around edges, and gives textures an unnatural, "crunchy" look. Subtlety is your best friend here.
Are the Free Online Tools Any Good?
For a quick fix on a photo that's just a little soft, many free online tools can do a surprisingly good job. They're a fantastic place to start and can be perfect for simple deblurring tasks.
But when you're dealing with more complex blur or you want finer control over the final look, dedicated software usually has the edge. It often comes packed with more powerful algorithms that can handle a wider range of issues.
Ready to bring your own photos back into sharp focus? Try AI Photo HQ and see how easy it is to restore clarity and detail to your favorite images. Get started at aiphotohq.com.

